

What this is
Ongage is a destination: data flows out of Zeotap CDP to Ongage, and nothing flows back. Ongage is an email marketing platform that helps your business personalise engagements and drive conversions through data. Integrated with Zeotap, it facilitates you to seamlessly transfer audiences (segments) from Zeotap CDP to Ongage, so that you can use those audiences for targeted and personalised campaigns within the Ongage platform. The transfer runs through storage you own: you give the destination an Amazon S3 bucket, region and folder, and Zeotap CDP stores your exported data there.Supported identifiers and actions
This integration supports Email addresses, Phone numbers, Country, First Name, Last Name, Address, Gender, IP and any custom attribute that you have created in Ongage. The following table lists the available action types for the integration and the supported features for each action type:Prerequisites
Ensure that you have the licence to use API with reasonable RPS (requests per second) limits. To do so, perform the following steps:1
Log into the Ongage platform from your Admin account.
2
Navigate to the Account Profile page.
3
Locate the line item labelled # of API Calls.
- If the account does not have API access, the “Current limit” column will display “Disabled”.
- If the account has API access, the “Current limit” column will display the number of API calls per minute allowed.
Gather the Ongage and Amazon S3 details
Ensure that you have the details about the below components of the Ongage before creating a Destination.- Username, Password and Account Code
- List ID
- S3 Bucket
- S3 Region
- Folder
- Access Token and Secret Access Token
Username, Password and Account Code
In order to connect to your Ongage account via the API, you need the following credentials:- Username — The Ongage User’s username.
- Password — The Ongage User’s password.
-
Account Code — You can find the Account Code in Ongage by performing the following steps:
1Go to your Ongage dashboard.2Click your account name in the top right corner.3Select Profile from the drop-down menu.4The Account Code appears below Company & Contact Information. Your email will also be listed there.
List ID
The List ID is a unique identifier assigned to your database on Ongage where you can send data from Zeotap CDP. You can obtain the List ID from your Ongage account by performing the following steps:1
Go to your Ongage dashboard.
2
In the left navigation panel, click the name of the List that you have created. For example, Test List.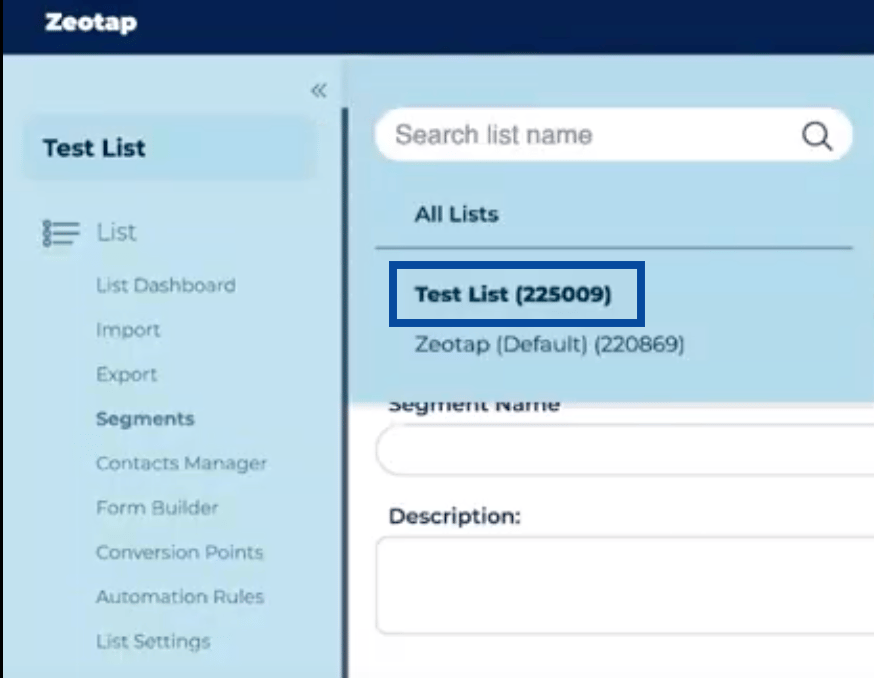
3
In the window that appears, find the List ID beside the List name. For example, in the screenshot above, the List ID for the “Test List” is 225009.
Bucket
This is the name of your S3 bucket. You can obtain this information on your Amazon S3 account by navigating to Buckets. In the example shown below, test-adobe-s3-bucket is the bucket name.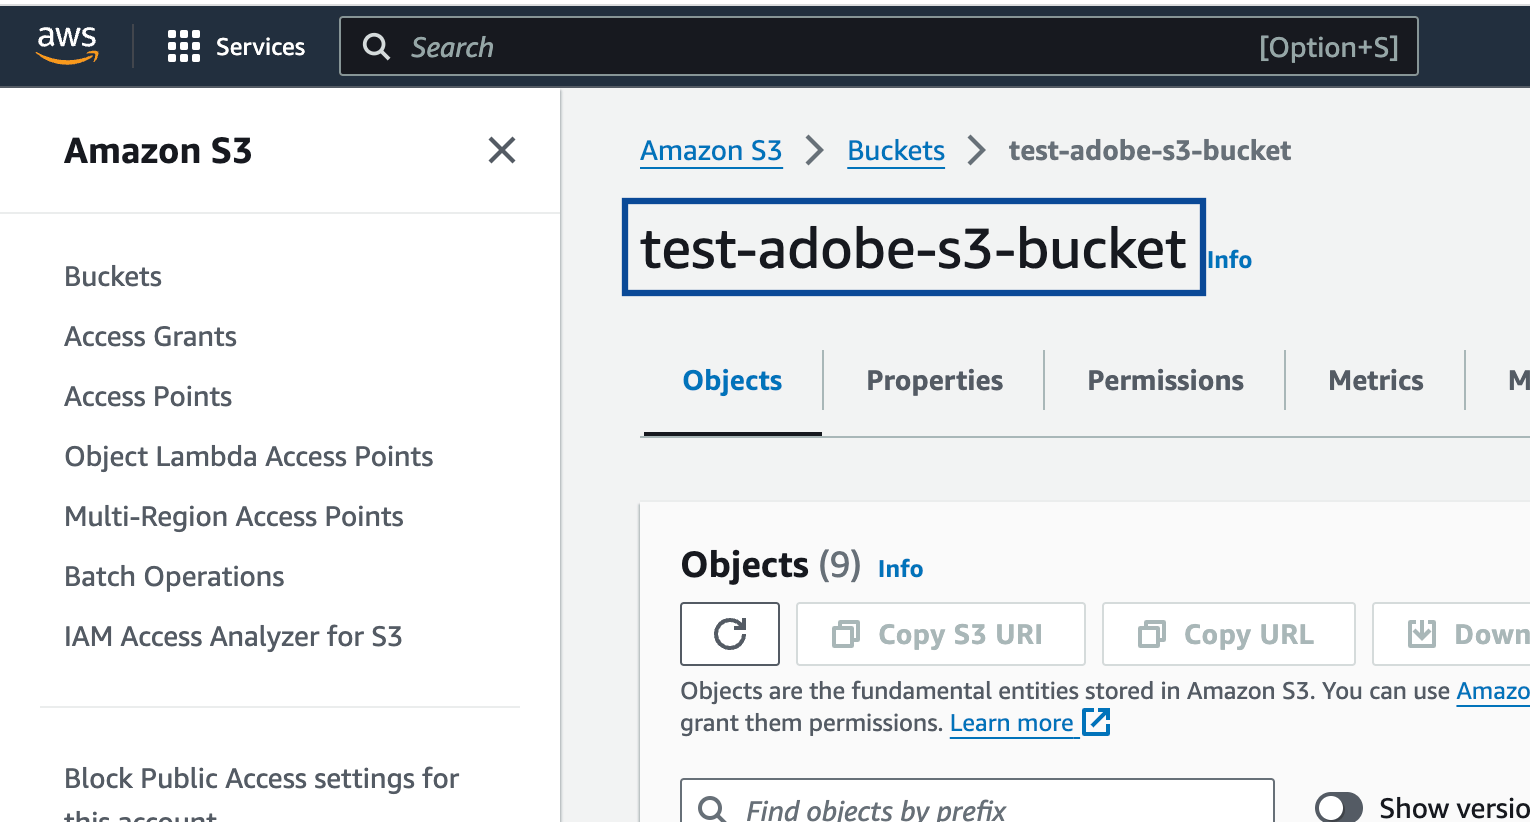
S3 Bucket Region
This is the geographical location where the Amazon S3 storage is available. You can obtain this information by navigating to the Properties tab under the Amazon S3 bucket as shown in the image below.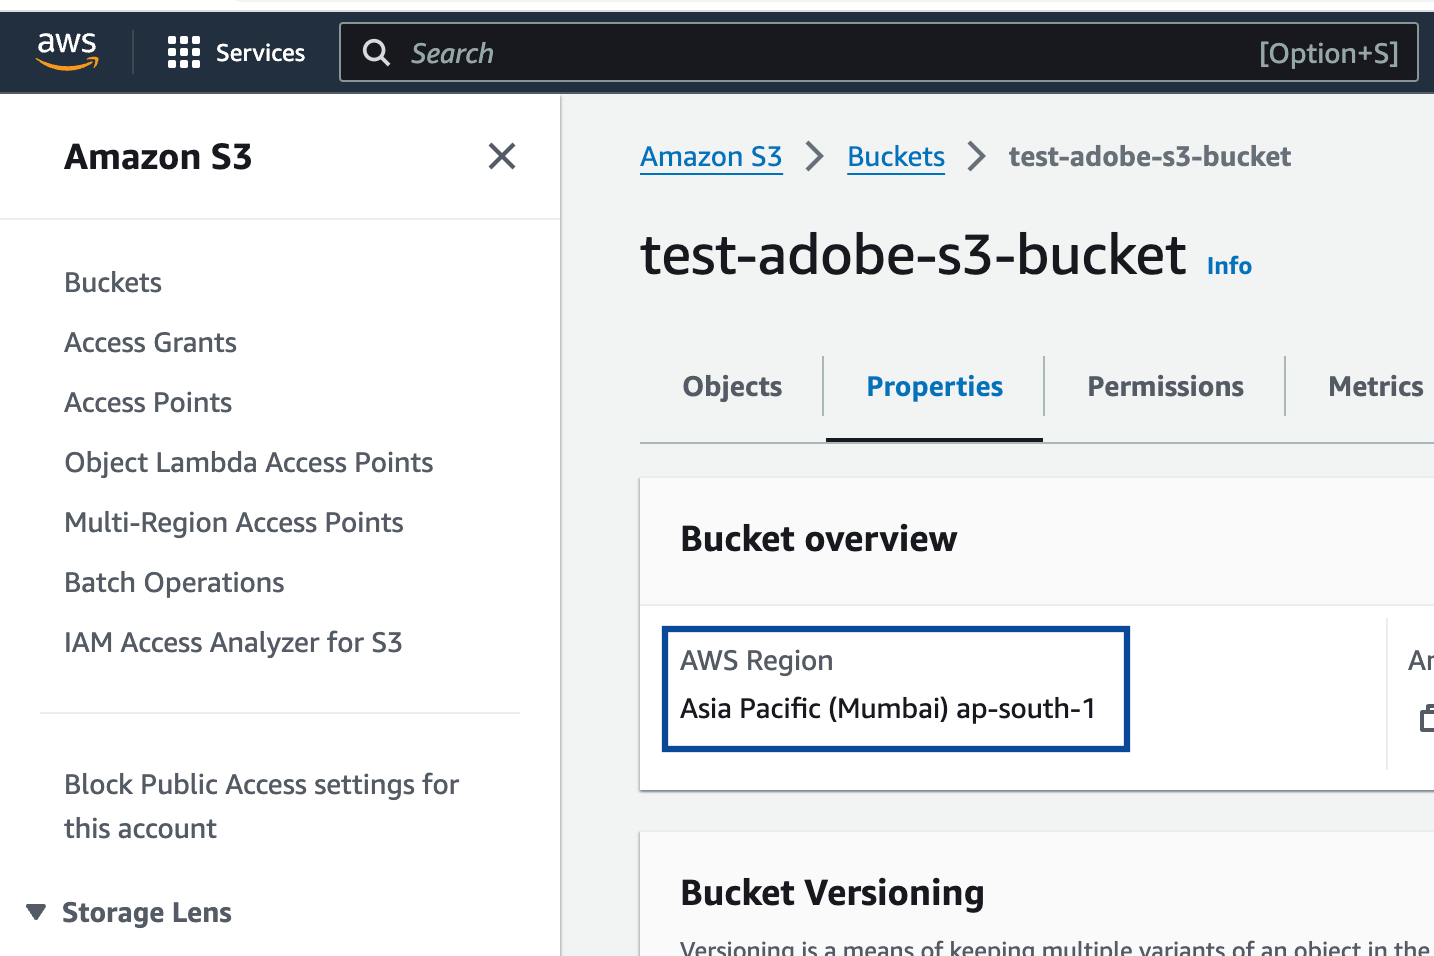
Folder
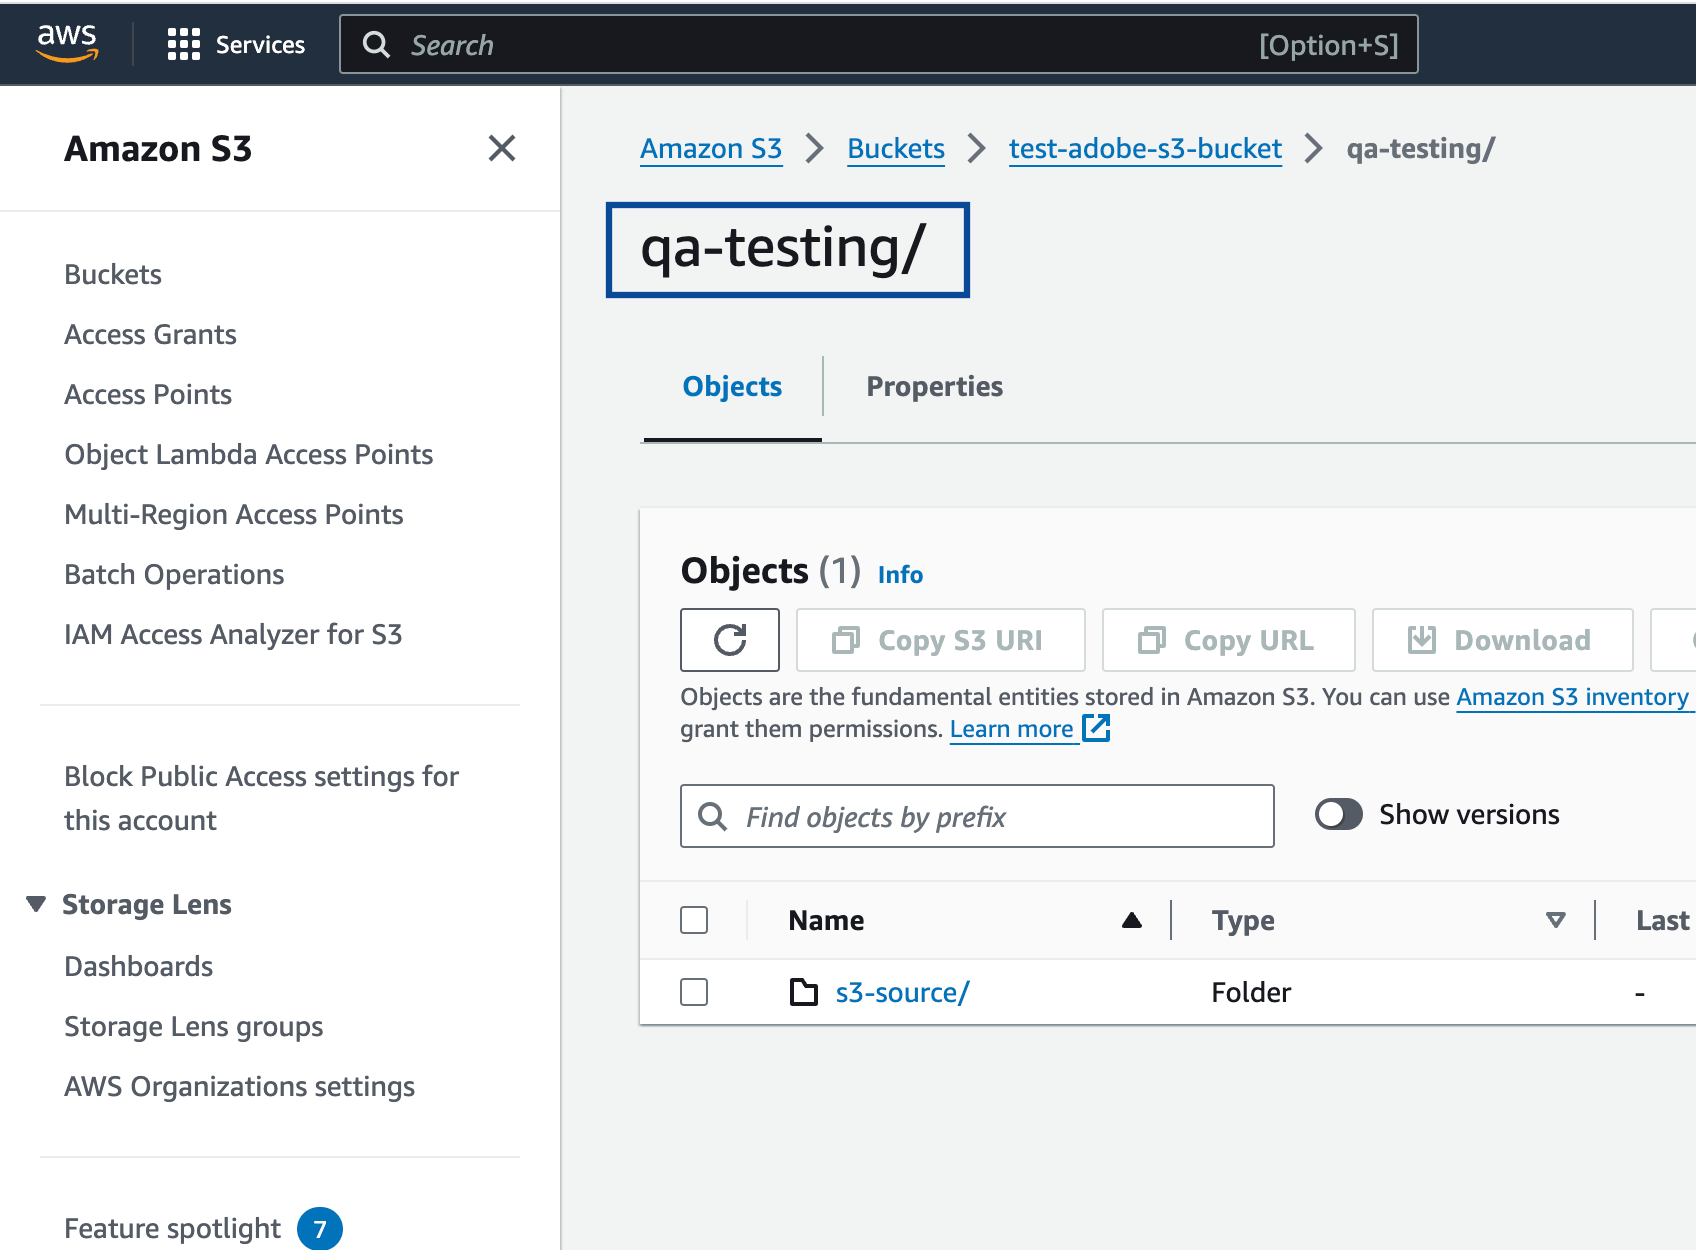
In Amazon S3, a folder serves as a logical container for organising stored objects within a bucket. In reality, there are no actual folders in Amazon S3. Instead, the folder concept is emulated by employing object key names containing slashes (”/”) to replicate a hierarchical arrangement. You can obtain this information from your Amazon S3 account by navigating to the Objects tab under the Amazon S3 bucket as shown in the image below. Ensure that you follow the folder structure shown below.folder_name/sub_folder_name/
Access Token and Secret Access Token
These are the security tokens that provide secure access to your Amazon S3 resources. You can obtain the Access Token and Secret Access Token by navigating to the AWS IAM Credentials tab under Security credentials in your Amazon S3 account.Restrict bucket access by IP address
If you have to allowlist specific IPs due to your security policy, then use theaws:SourceIp condition and allowlist the addresses below. They are the values published on Ongage’s outboundips-space-cidr.ongage.net record.
Create the Ongage destination
Perform the following steps to create a Destination for Ongage:1
Log in to the Zeotap CDP App and go to the Destinations application.
2
Click + Create Destination.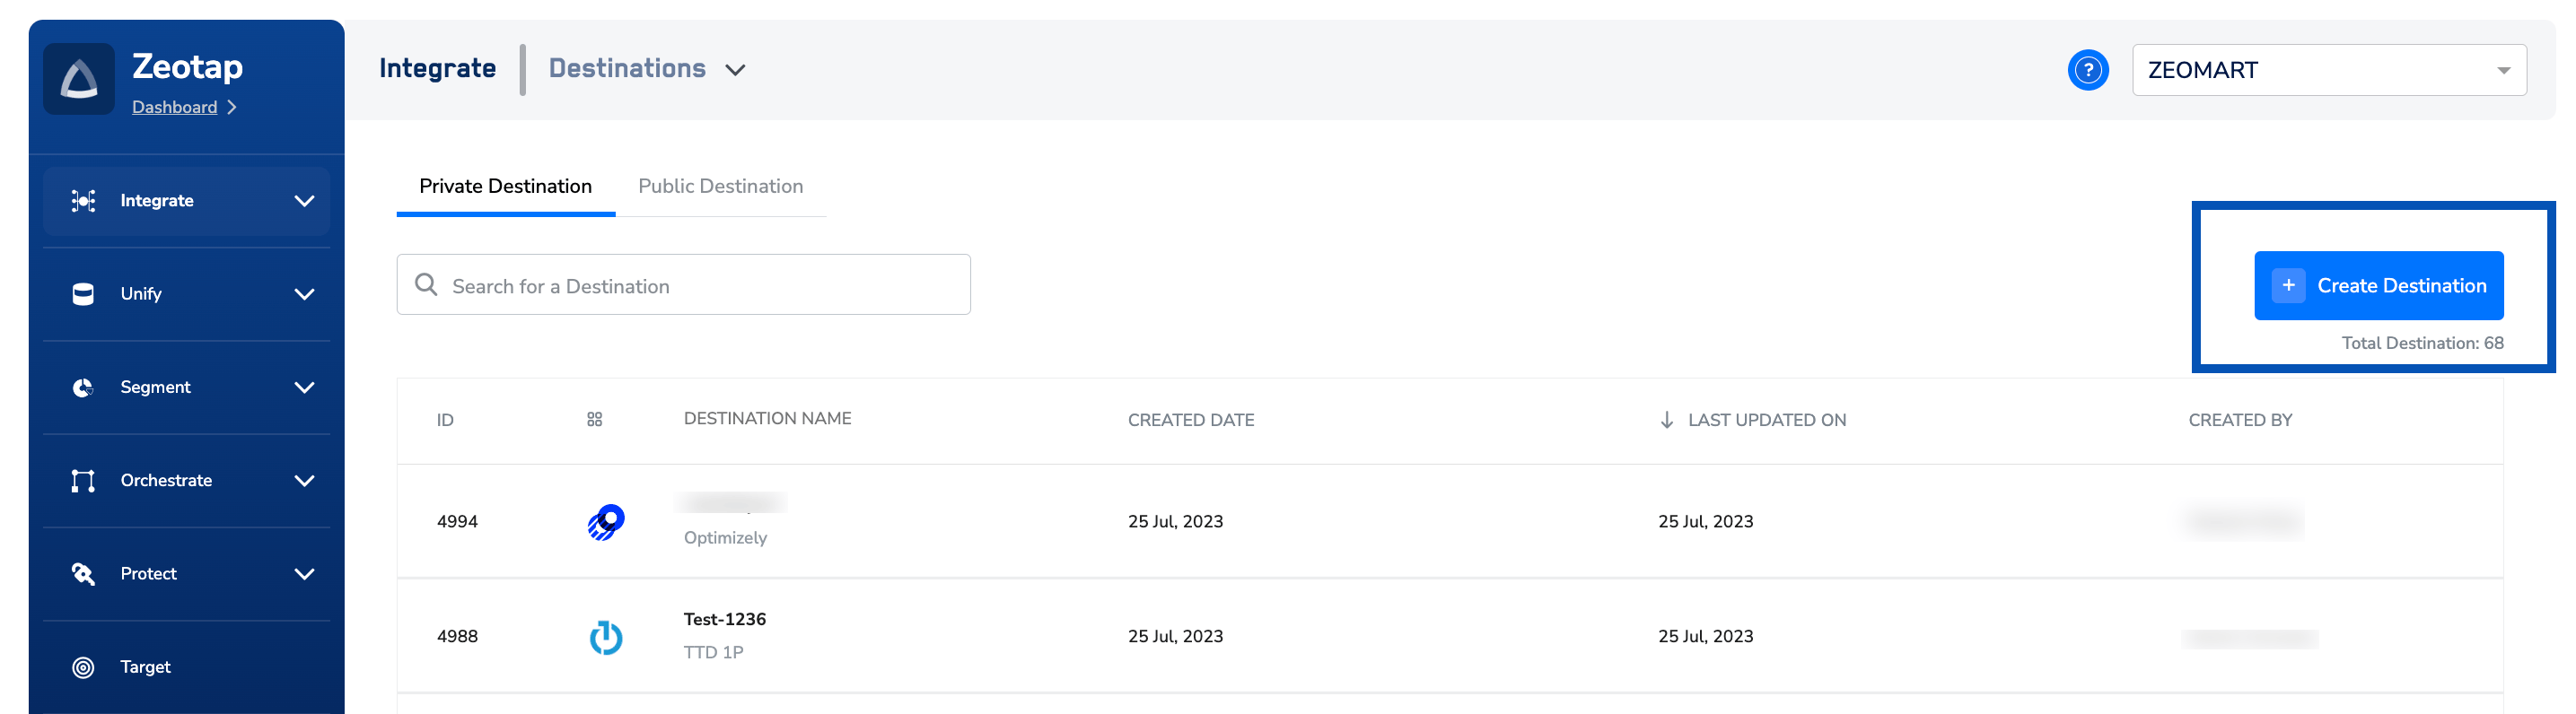
3
Under the All Destinations section, search for Ongage.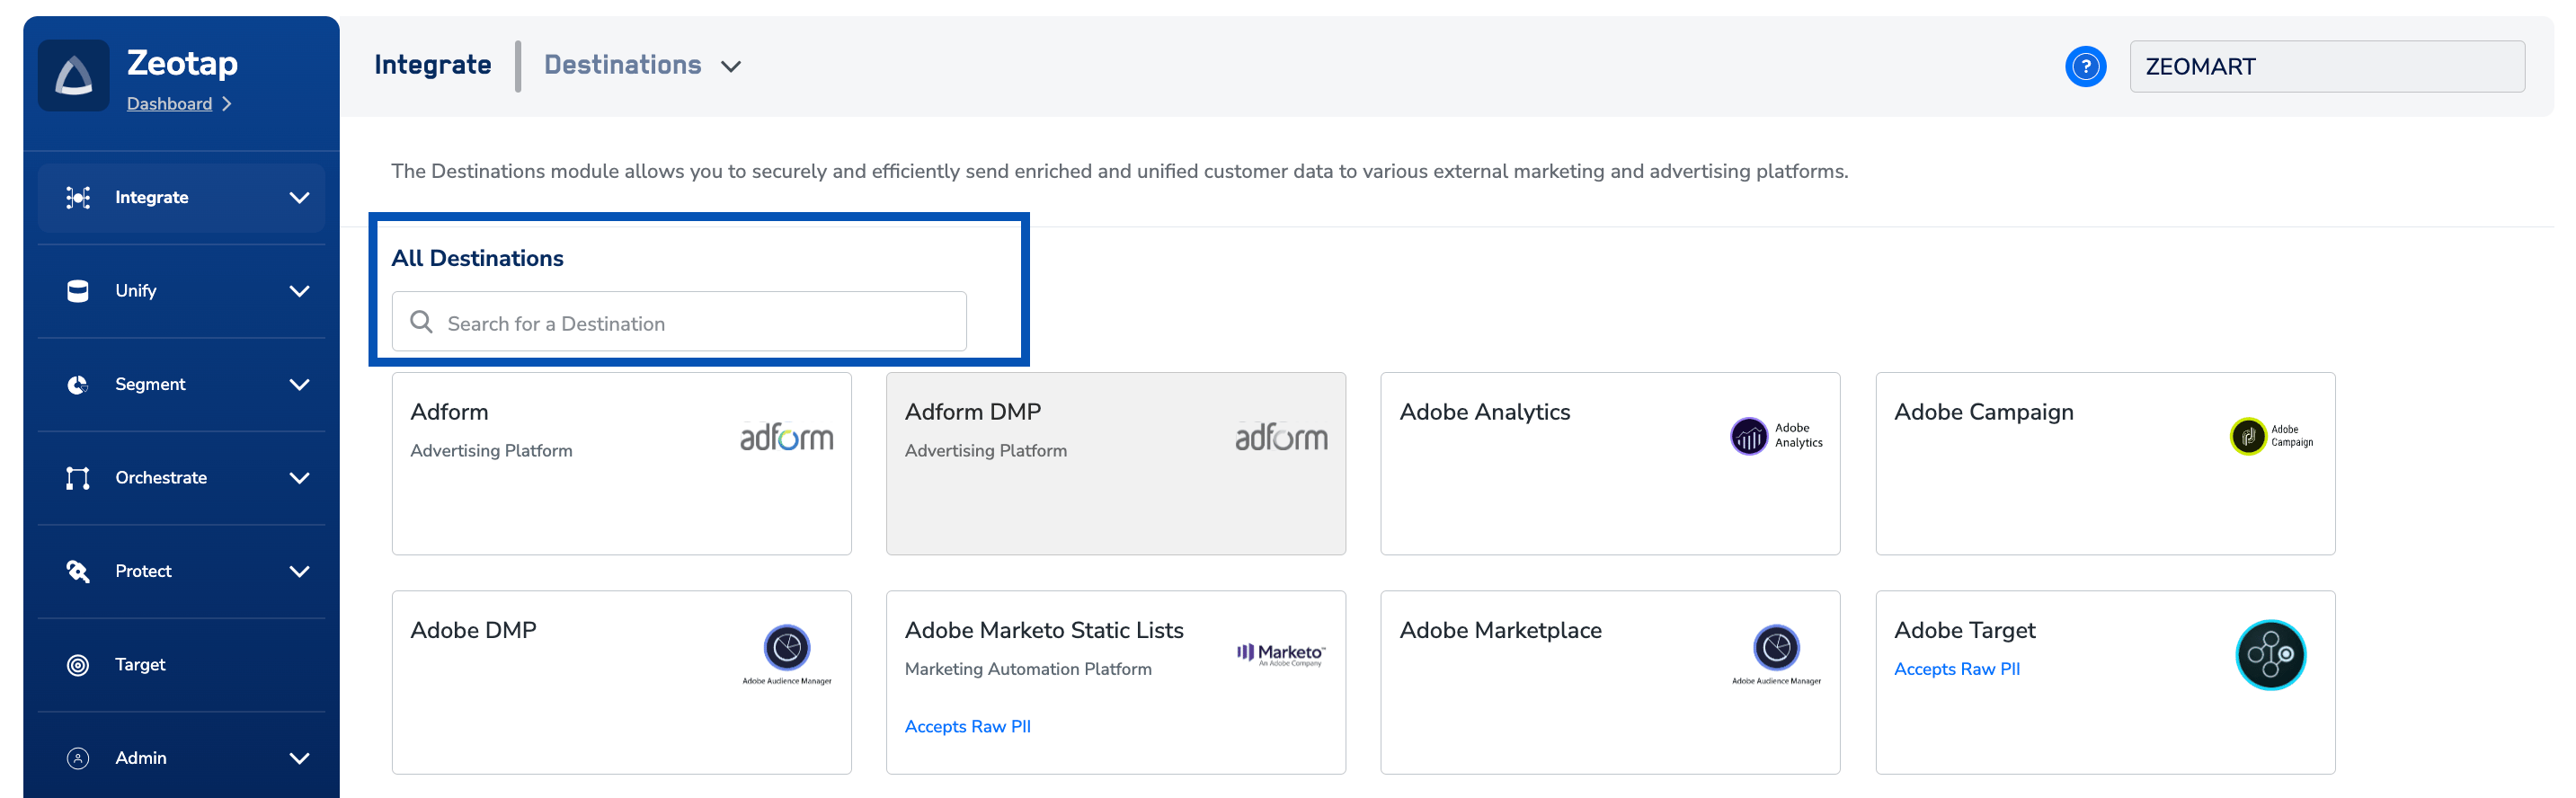
4
Click Ongage. A screen appears displaying details about the particular destination towards the left. On the right-hand side of the screen find a list of fields that are required for the integration to be established. Enter the required details as mentioned in the following steps:a. In Destination Name, enter a name for the Destination.b. Enter the Destination Instance Name.c. Enter the Username, Password, Account Code and List ID that you obtained from your Ongage account.d. In the Bucket field, provide the name of the Amazon S3 Bucket.e. In the S3 Bucket Region field, provide the geographical region where your Amazon S3 bucket is available.f. In the Folder field, provide the folder path in your storage location where Zeotap CDP can store your exported data.g. Enter Access Token and Secret Access Token that you obtained from your Amazon S3 account.h. Review all the values entered above and then click Next to proceed.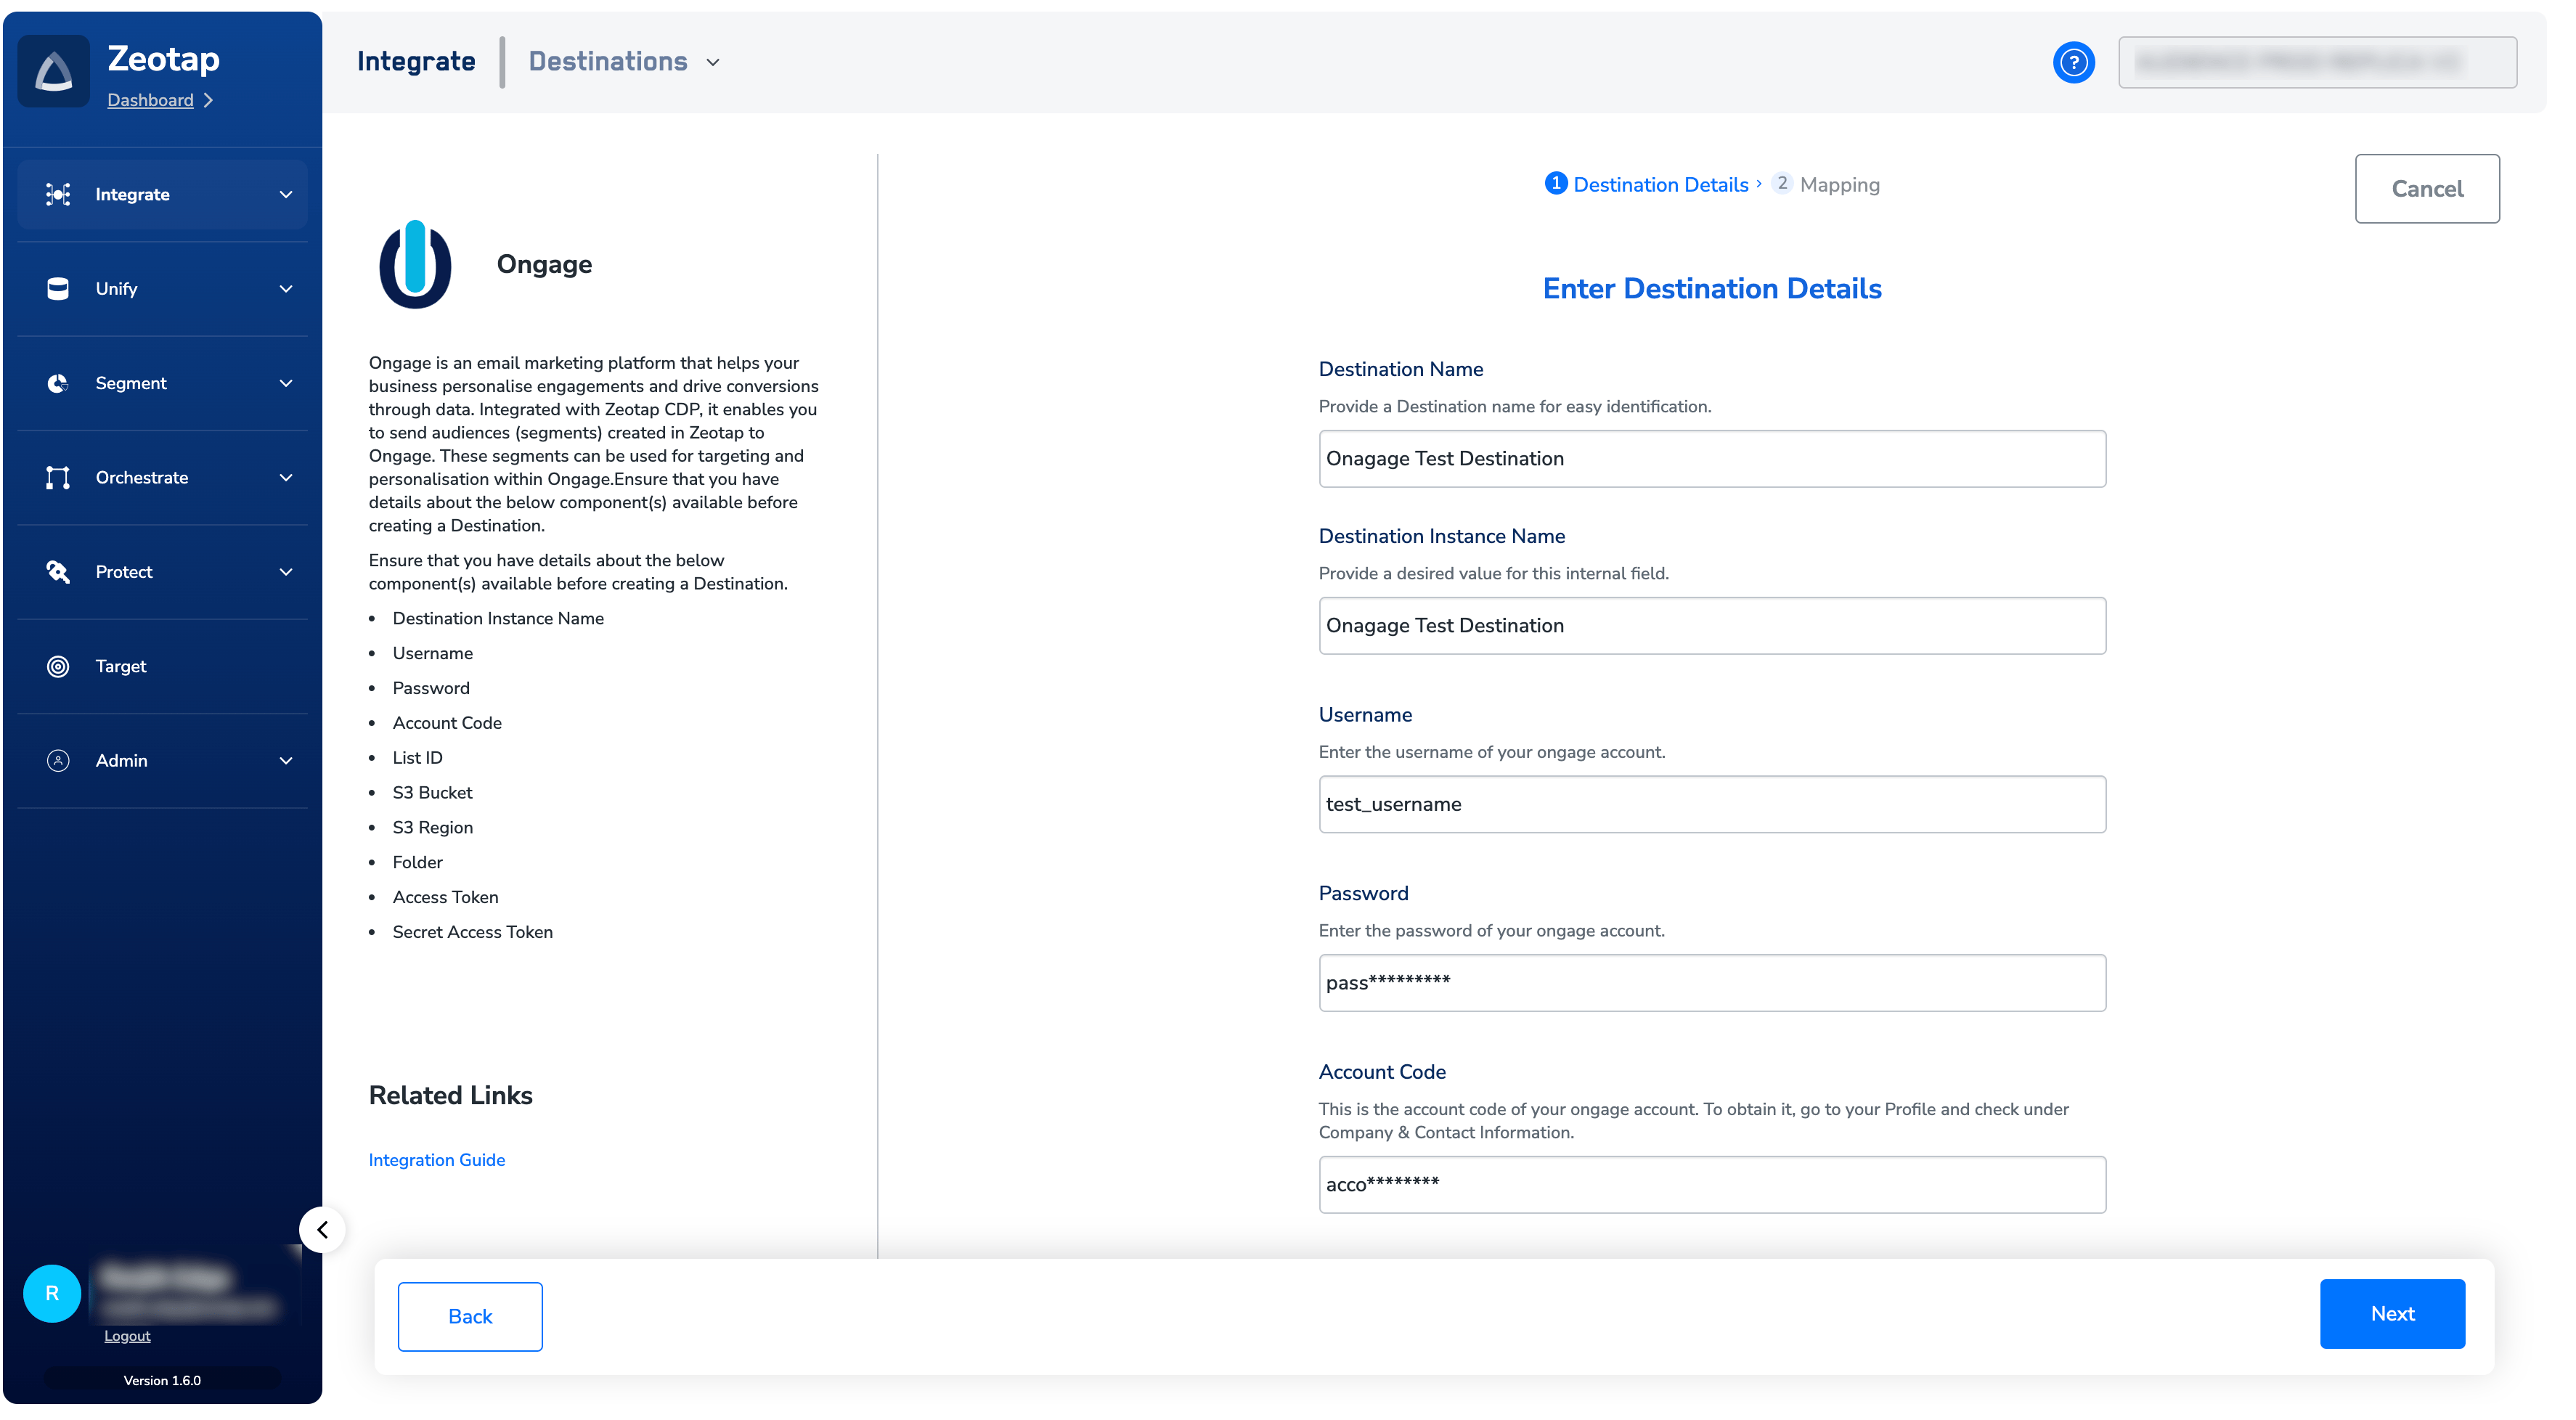
5
In the new screen that appears, under Choose your Action, choose Send Attributes and Identifiers to Ongage as your action. This populates the Output Identifiers and attributes that are accepted by the platform such as Email addresses, Phone numbers, Country, First Name, Last Name, Address, Gender and IP, under Map the Fields. You can edit or remove the mapping as per your requirement.
6
Click Create Destination. The created Destination gets listed in the Audiences application, which can be linked to an audience (segment).
Link an audience to the destination
For information about how to link an Audience or segment to the created Destination in the Audiences application, refer to Activate in Audiences.Note:The terms Audiences and Segments are used interchangeably to refer to customer cohorts
belonging to a specific category. For example, an Audience or a segment could be a specific
group of customers who are over 18 years of age and who have performed an
addToCart
event within the last 30 days.Verify the delivery
Confirm the delivery from both sides, as described in Verify the activation worked:- In Zeotap CDP — open the Ongage destination and review its activity. A successful delivery records a run with a non-zero qualified count and a completed status. A run that fails records an error message you can use to diagnose the cause.
- In Ongage — open the list whose List ID you configured on the destination and confirm the expected records are present.