Overview
Zeotap Private Channel is an internal channel of Zeotap. It allows you to define the location where the data needs to be uploaded. Using this channel, you can create any number of destinations and push segments directly into specific buckets. For each segment ID, a file with the list of all the user Ids is created. Ensure that each file contains information related to a specific segment only. You can upload the files in CSV format only. The file name format is zeotap_segmentId_timestamp(yyyy-mm-dd). Example The file name iszeotap-clienta/3p/2022-06-09. Wherein,
- the Bucket name is
zeotap-clienta - the Folder is
/3p/2022-06-09
Note:To know more about this channel and how it serves your use case, reach out to your Zeotap POC.
Supported Parameters
Zeotap Pvt. Channel supports MAIDs and raw PII identifiers (defined as per organisation catalogue). We are working towards providing support for ID+ as well.Available Actions and Supported Features
The following table lists the available action types for the integration and the supported features for each action type:| Action Name | ID EXTENSION | DELETE | DELTA UPLOAD |
|---|---|---|---|
| Send identifiers to Zeotap Private Channel | ✅ | - | - |
Components of Zeotap Pvt Channel
Ensure that you have details about the below component of Zeotap Pvt Channel available before creating a Destination.Upload Type
Upload Type primarily defines the kind of connection or location to which you may want to push your data. You can choose from the following options:- Azure
- S3
- GCP
- SFTP
Note:These are your own credentials and do not have to be cross-verified by Zeotap.
Create a Destination for Zeotap Pvt Channel
Zeotap Pvt Channel allows only one destination per segment. Perform the following steps to create a Destination for Zeotap Pvt Channel: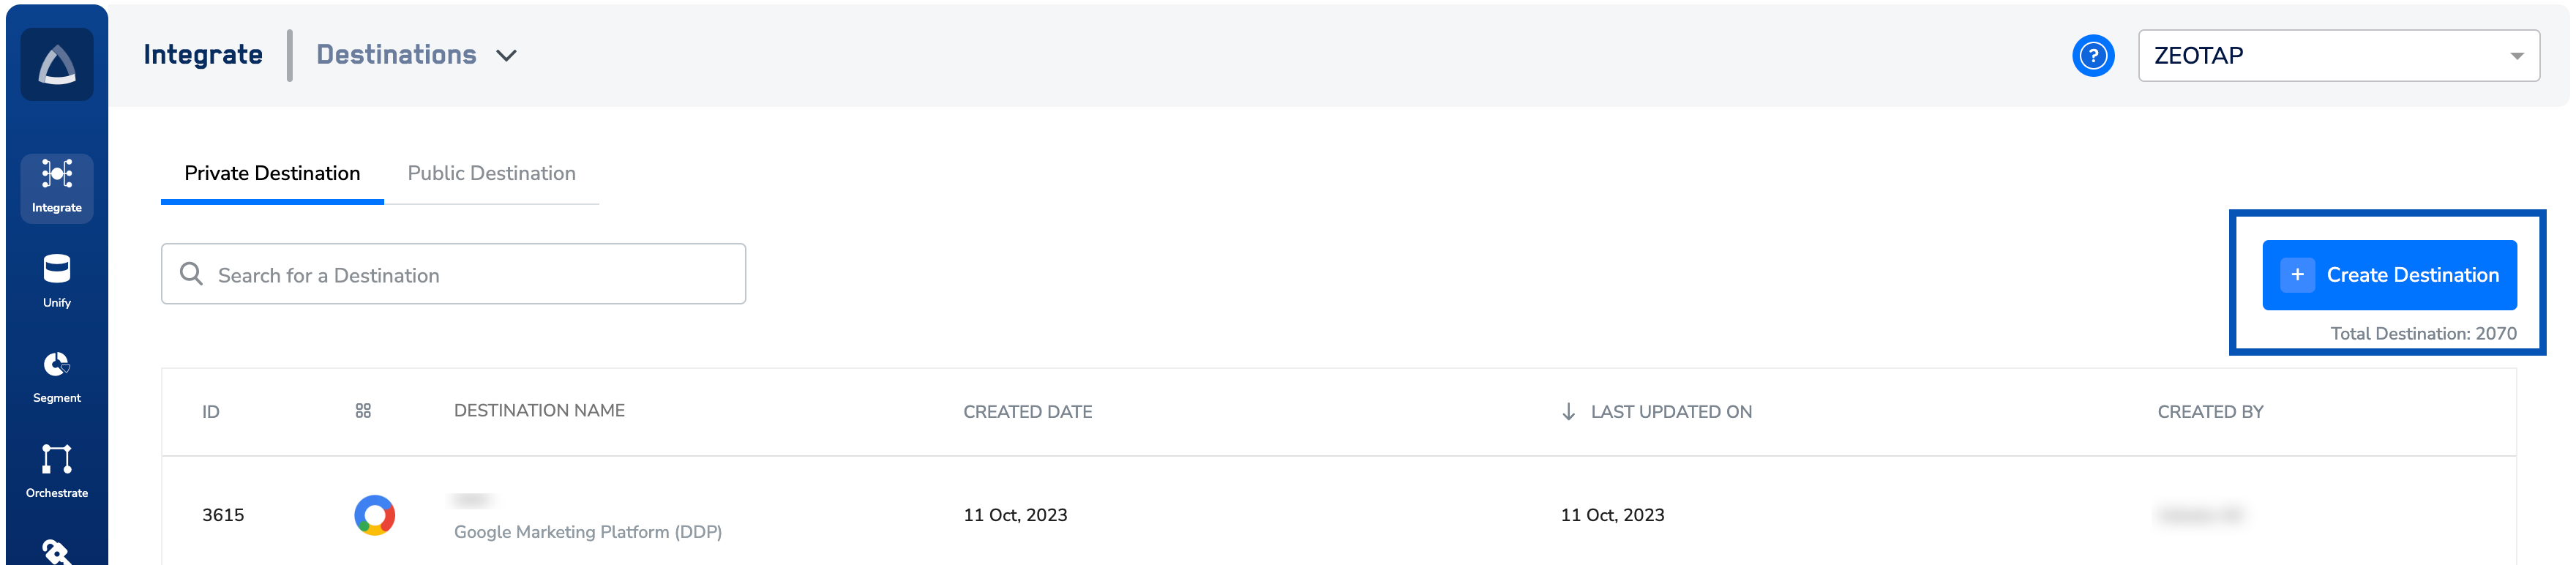
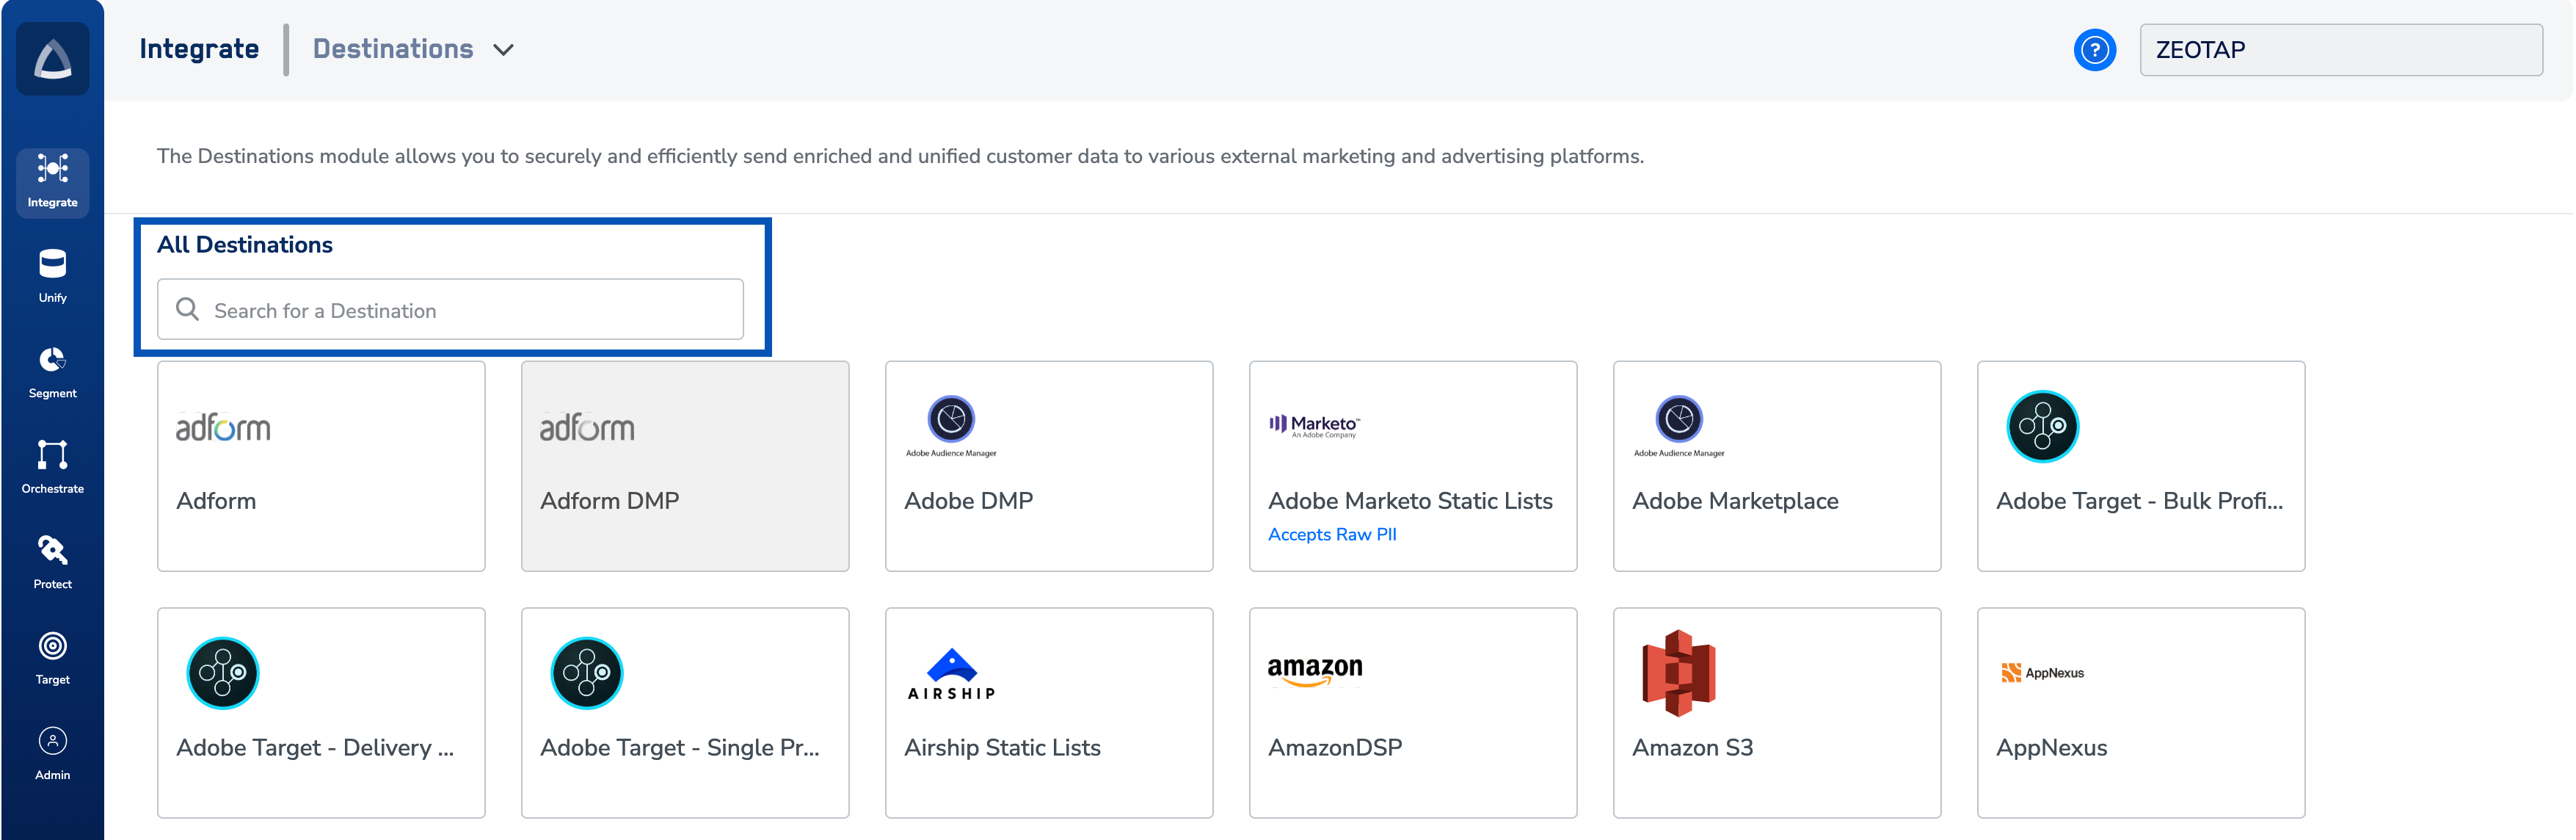
Click Zeotap Pvt Channel and enter the following details in the window that appears.a. Enter a name for the Destination.b. Enter the Client name.c. Choose the appropriate Upload Type and provide the secondary information based on the Upload Type you choose.d. Click Next to proceed to mapping.
In the new screen that appears, choose the appropriate Action and mapping as explained below.a. Choose the desired action under Choose your Action and then choose the corresponding identifiers under Map the Fields. By default, the Output Identifiers that are accepted by the platform such as, MAIDs, Cookies, email Ids and more are displayed. However, you can edit, add or remove an identifier from the list. To do so, refer here.b. Click Create Destination. The created Destination gets listed in the Target and Audiences applications, which can be linked to an Audience/segment.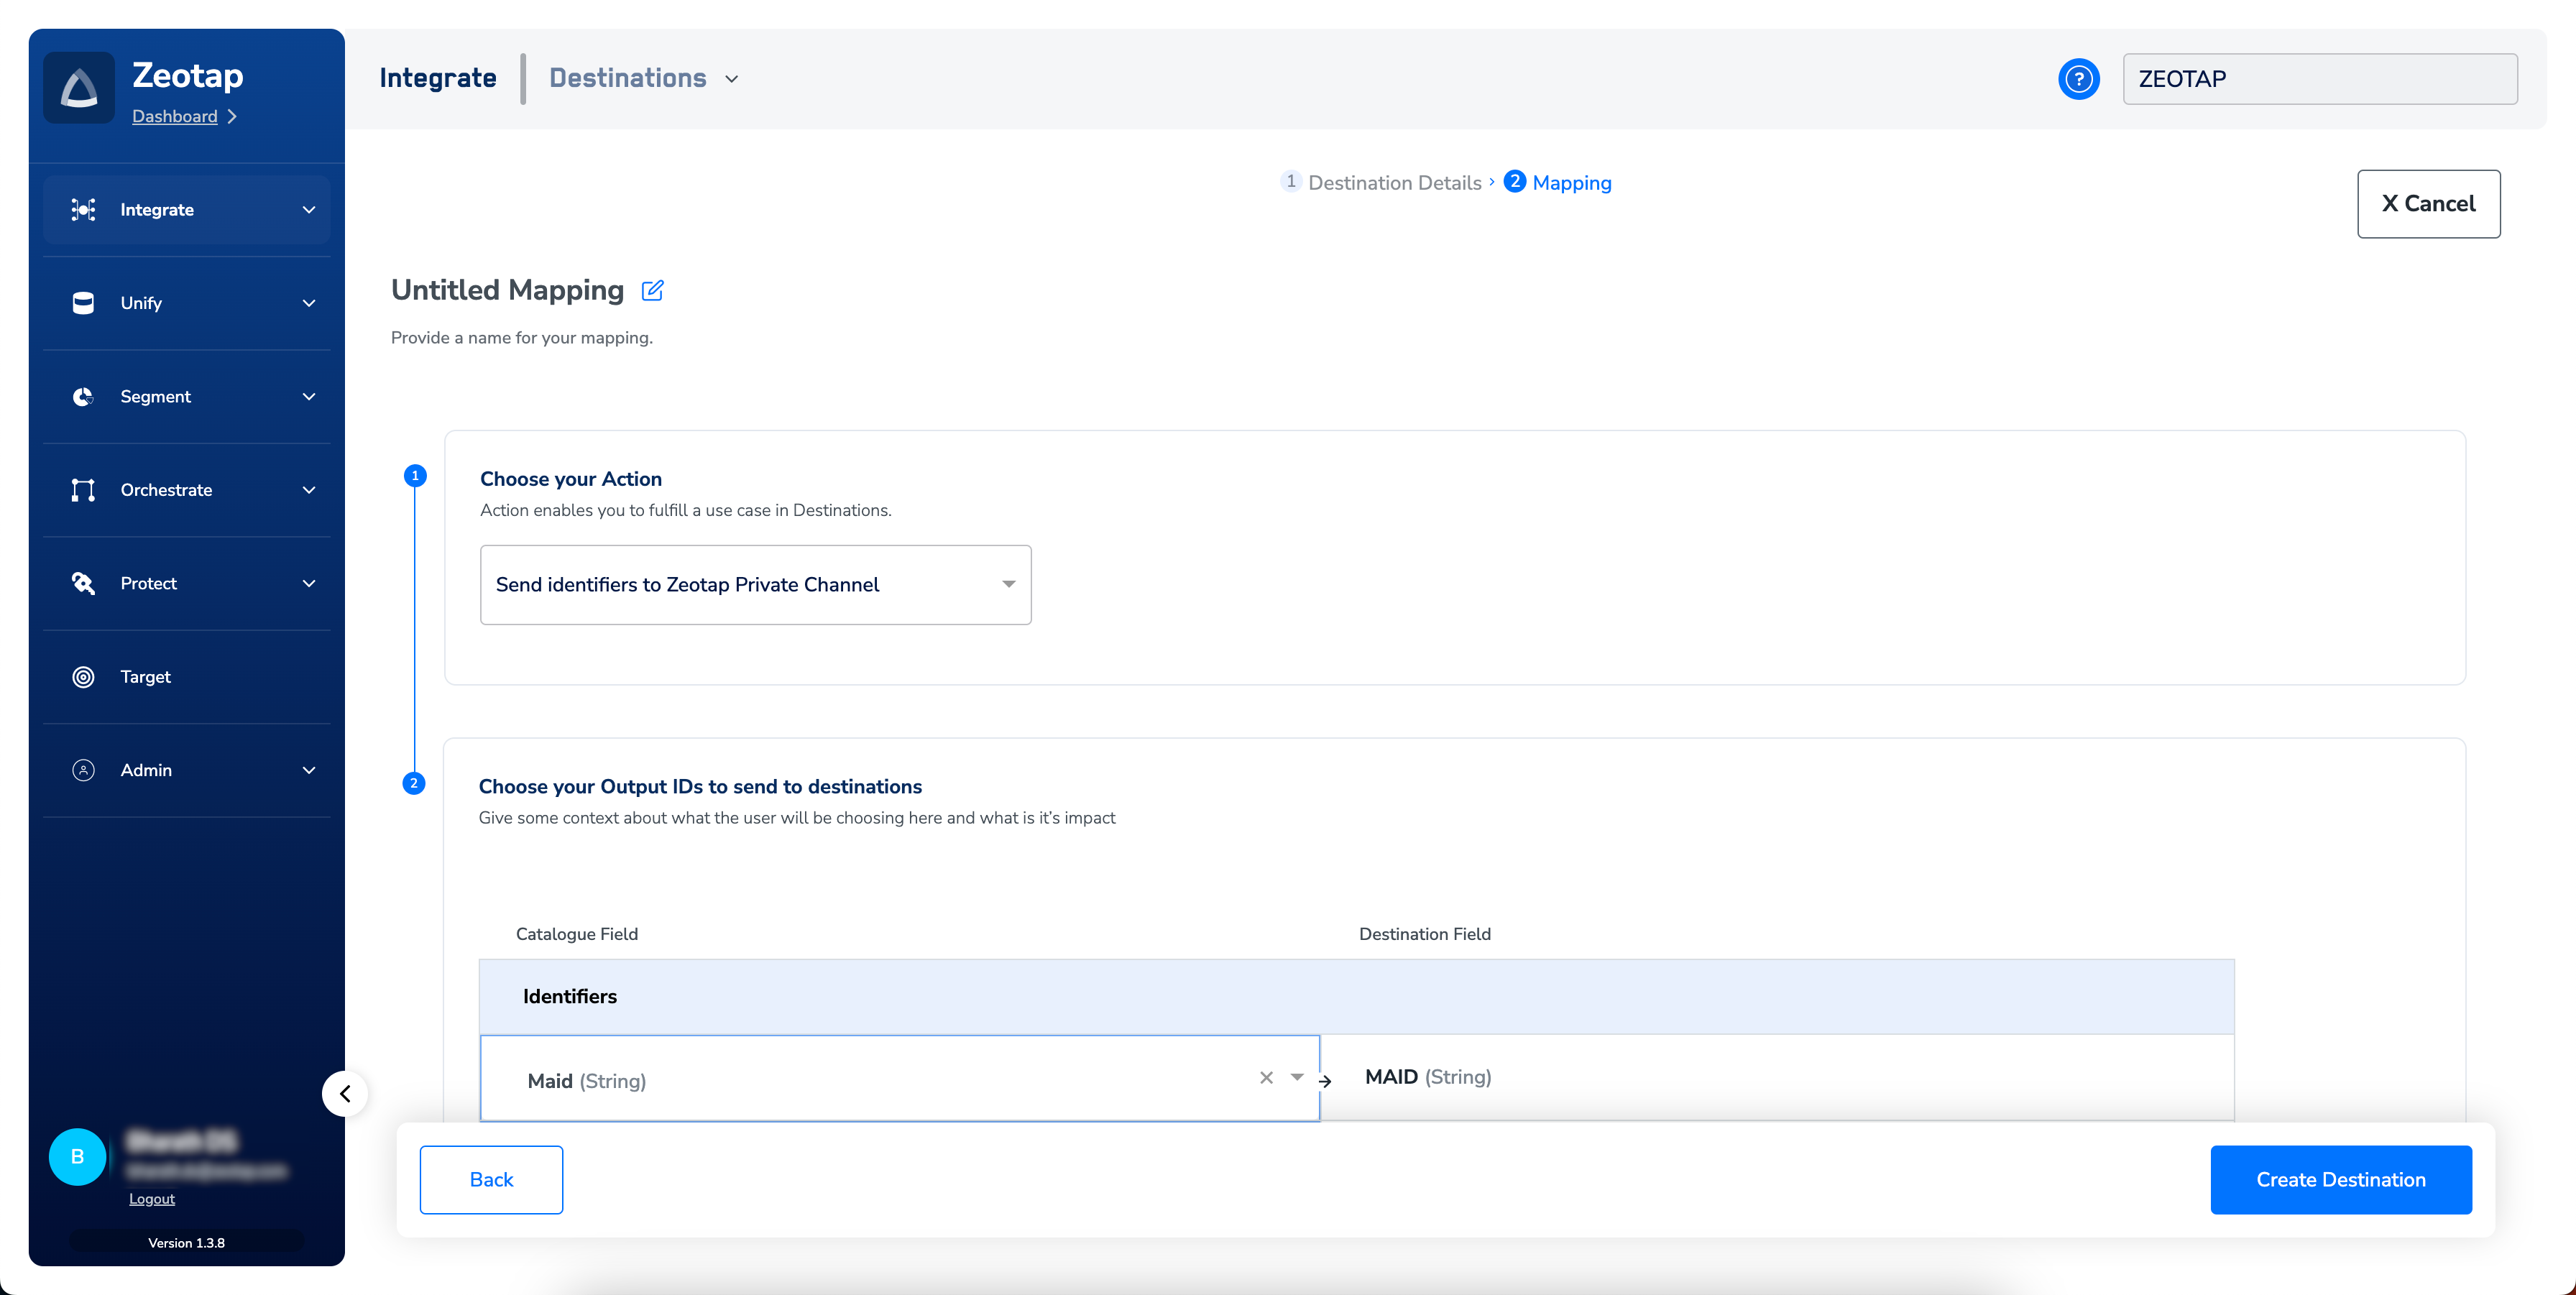
Link an Audience to the Zeotap Pvt Channel
For information about how to link an Audience or segment to the created Destination in the Audiences and Target applications, refer here. Note that it can take up to two business days for the segment to be available at the Zeotap Pvt Channel seat.Note:The terms Audiences and Segments are used interchangeably to refer to customer cohorts belonging to a specific category. For example, an Audience or a segment can be a specific group of customers who are over 18 years of age and have performed an
addToCart event within the last 30 days.