Overview
HubSpot is a CRM platform that helps you to gather and use data to engage with your customers. Integrated with Zeotap, this integration facilitates the seamless exchange of customer data between Zeotap’s Customer Data Platform (CDP) and HubSpot, empowering you to efficiently manage and utilise your contact information. Before initiating this integration, it is essential to understand some fundamental HubSpot concepts and fulfil certain prerequisites. Below, you can find an overview of the key components and steps involved:Note:This integration primarily involves the synchronisation of Contacts and Contact Lists between Zeotap and HubSpot.
Contacts, Contact List and HubSpot Account
Ensure that you understand the HubSpot concepts and take care of the prerequisites before starting this integration:- Contacts – In HubSpot, Contacts refer to information about an individual person. In this case, these are email addresses. In other words, it is the user profile information, such as first name, last name, cell phone number, email address and more.
- Contact List – In HubSpot, a Contact List is a segment/cohort of customers that is created within Zeotap CDP’s Connect or Audiences applications and then pushed to HubSpot.
-
HubSpot Account – Ensure that you have an active account on HubSpot. To learn how to create a HubSpot account, refer here.
Note:HubSpot allows you to add only those Contacts (email addresses) that are present in your HubSpot account to the Contact List (segment). Therefore, you have to first push the Contacts (user profiles) from Zeotap to HubSpot and subsequently, add the Contacts to the Contact Lists.
Supported Identifiers/Attributes
Zeotap sends Contact information to a Contact List (segment). Note that currently, only email addresses are sent as part of the Contact List attributes.Available Actions and Supported Features
The following table lists the available action types for the integration and the supported features for each action type:| Action Name | ID EXTENSION | DELETE | DELTA UPLOAD |
|---|---|---|---|
| Send Contact to Contact List | ✅ | ✅ | - |
| Create Contact | - | - | - |
| Update Contact | - | - | - |
Create a Destination for HubSpot
Perform the following steps to create a Destination for HubSpot: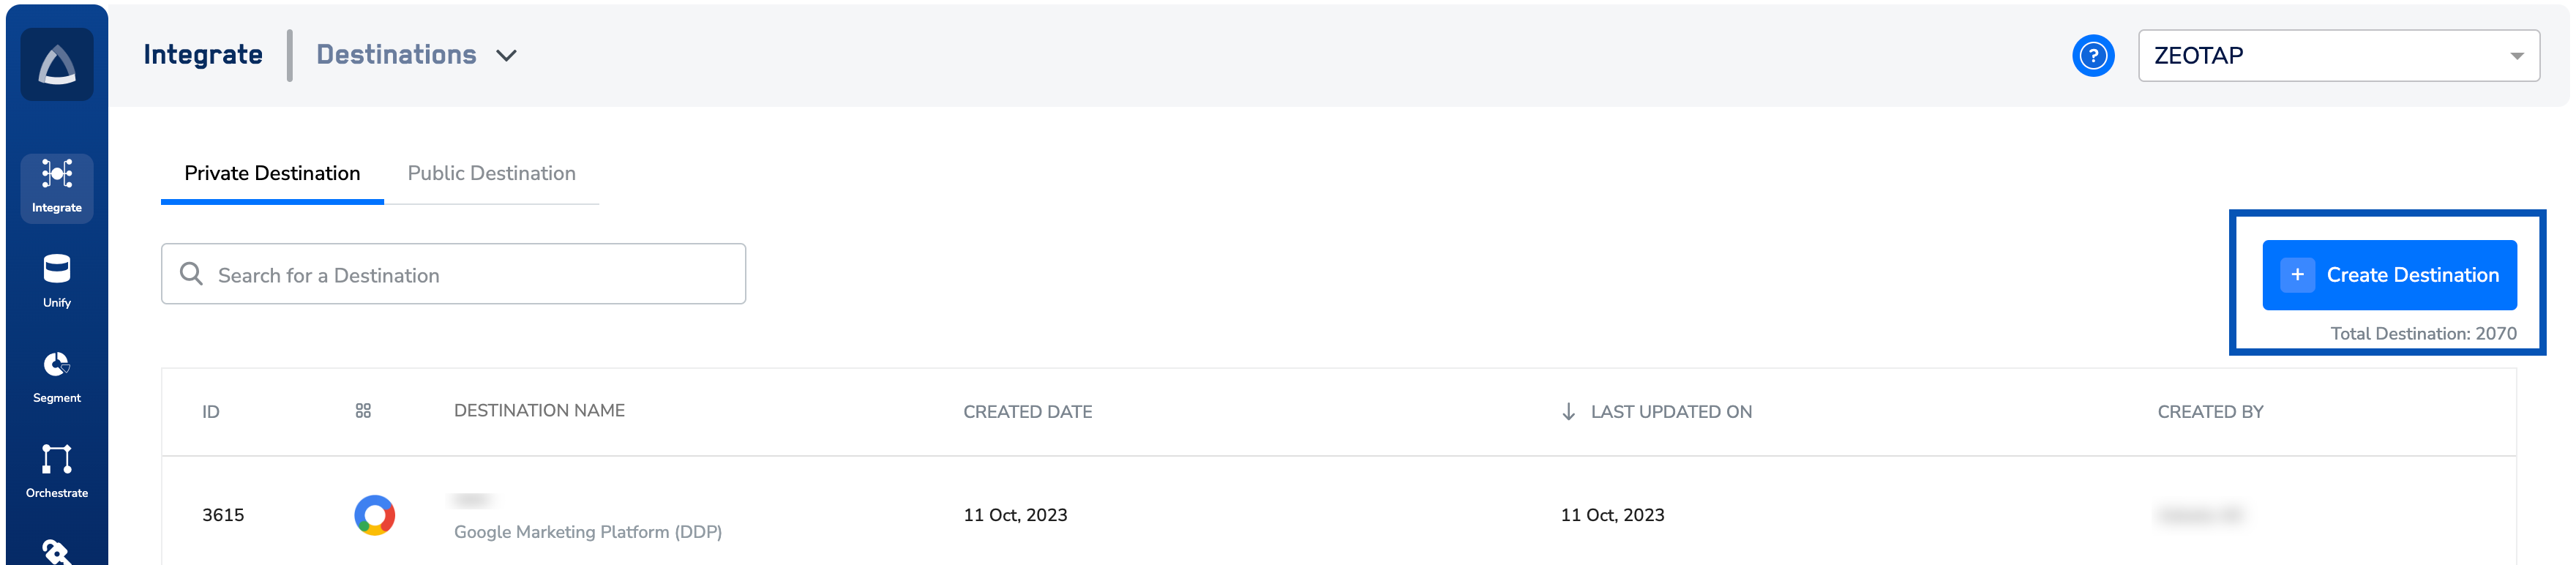
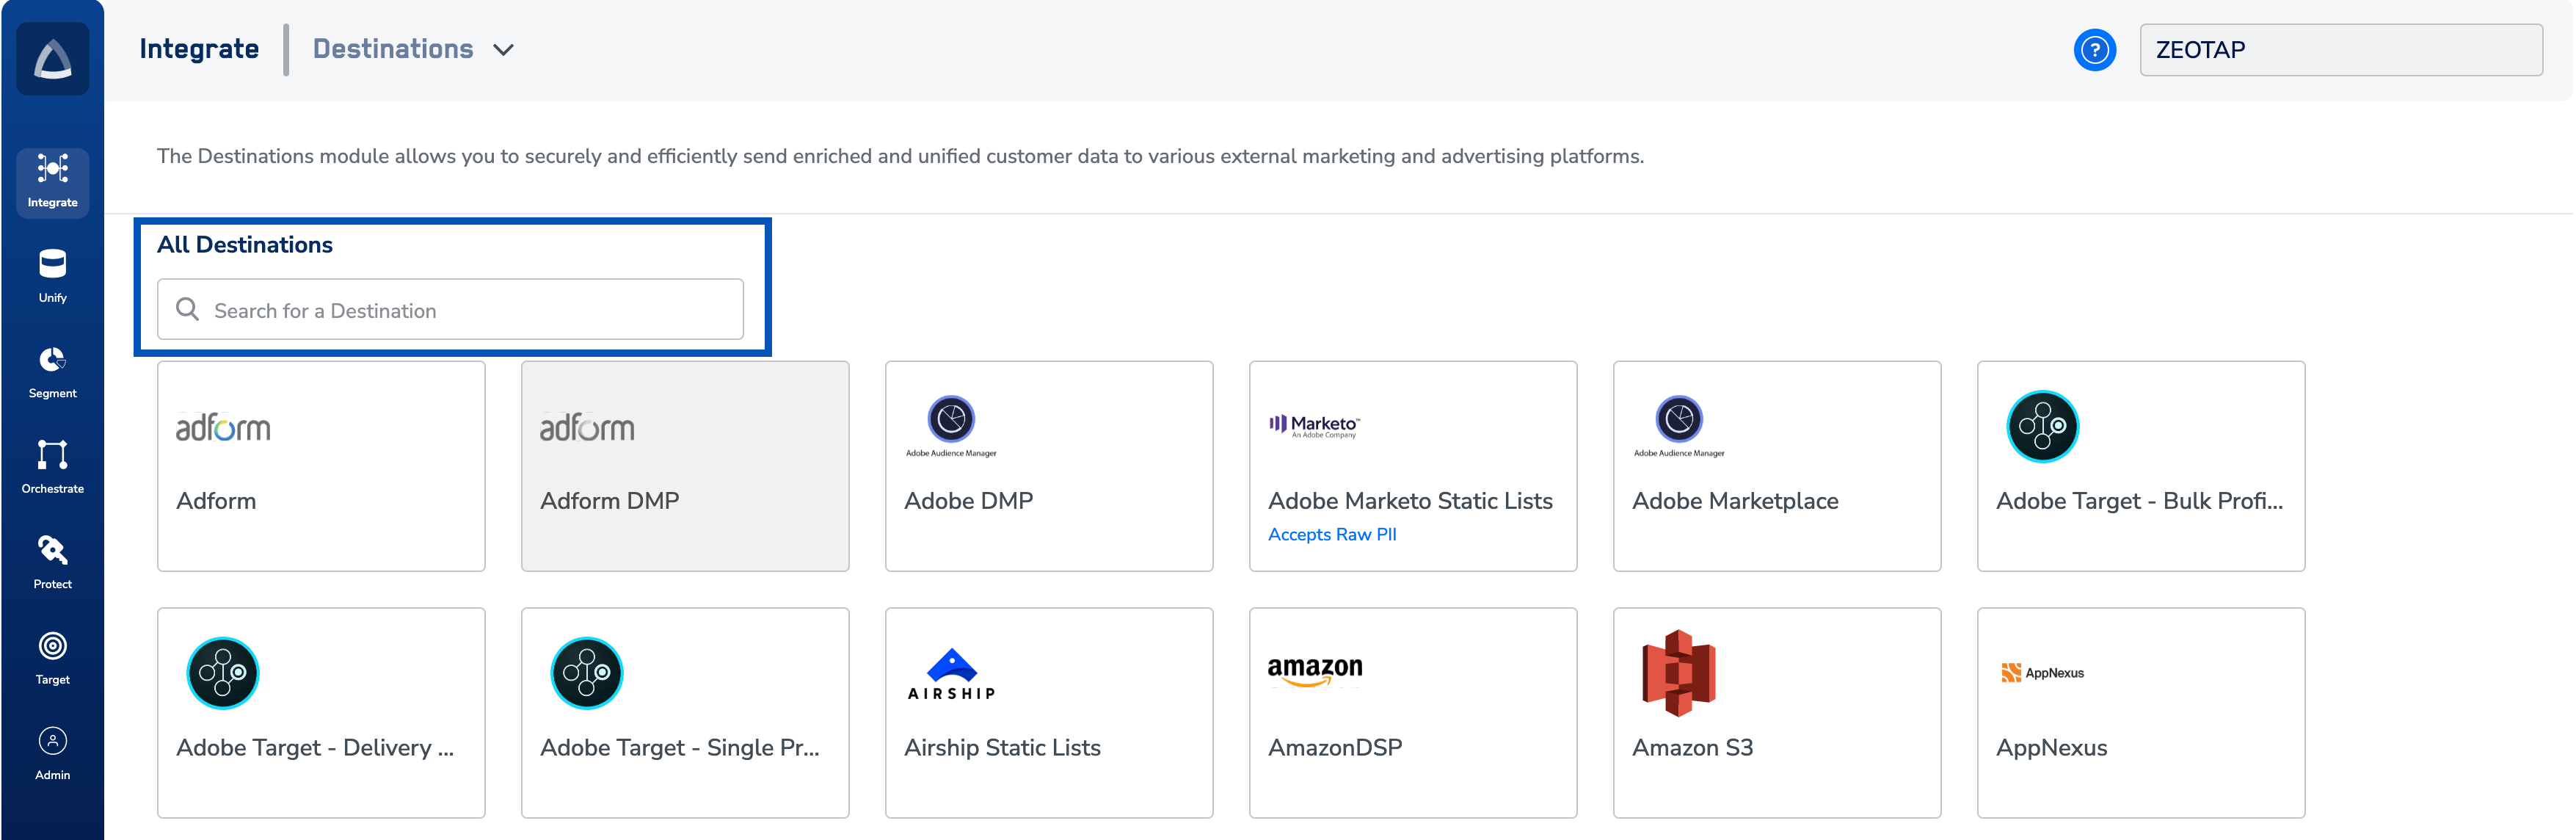
Click HubSpot. A screen appears displaying details about the particular destination towards the left. On the right-hand side of the screen find a list of fields that are required for the integration to be established. Enter the required details as mentioned in the following steps:a. Enter a name for the Destination.b. Enter the Client name, where the Client name indicates the placeholder for the destination. As a best practice and for easy identification, we recommend that you provide a name through which you can identify the destination.c. Click CONNECT HubSpot. You are redirected to the HubSpot Login Page.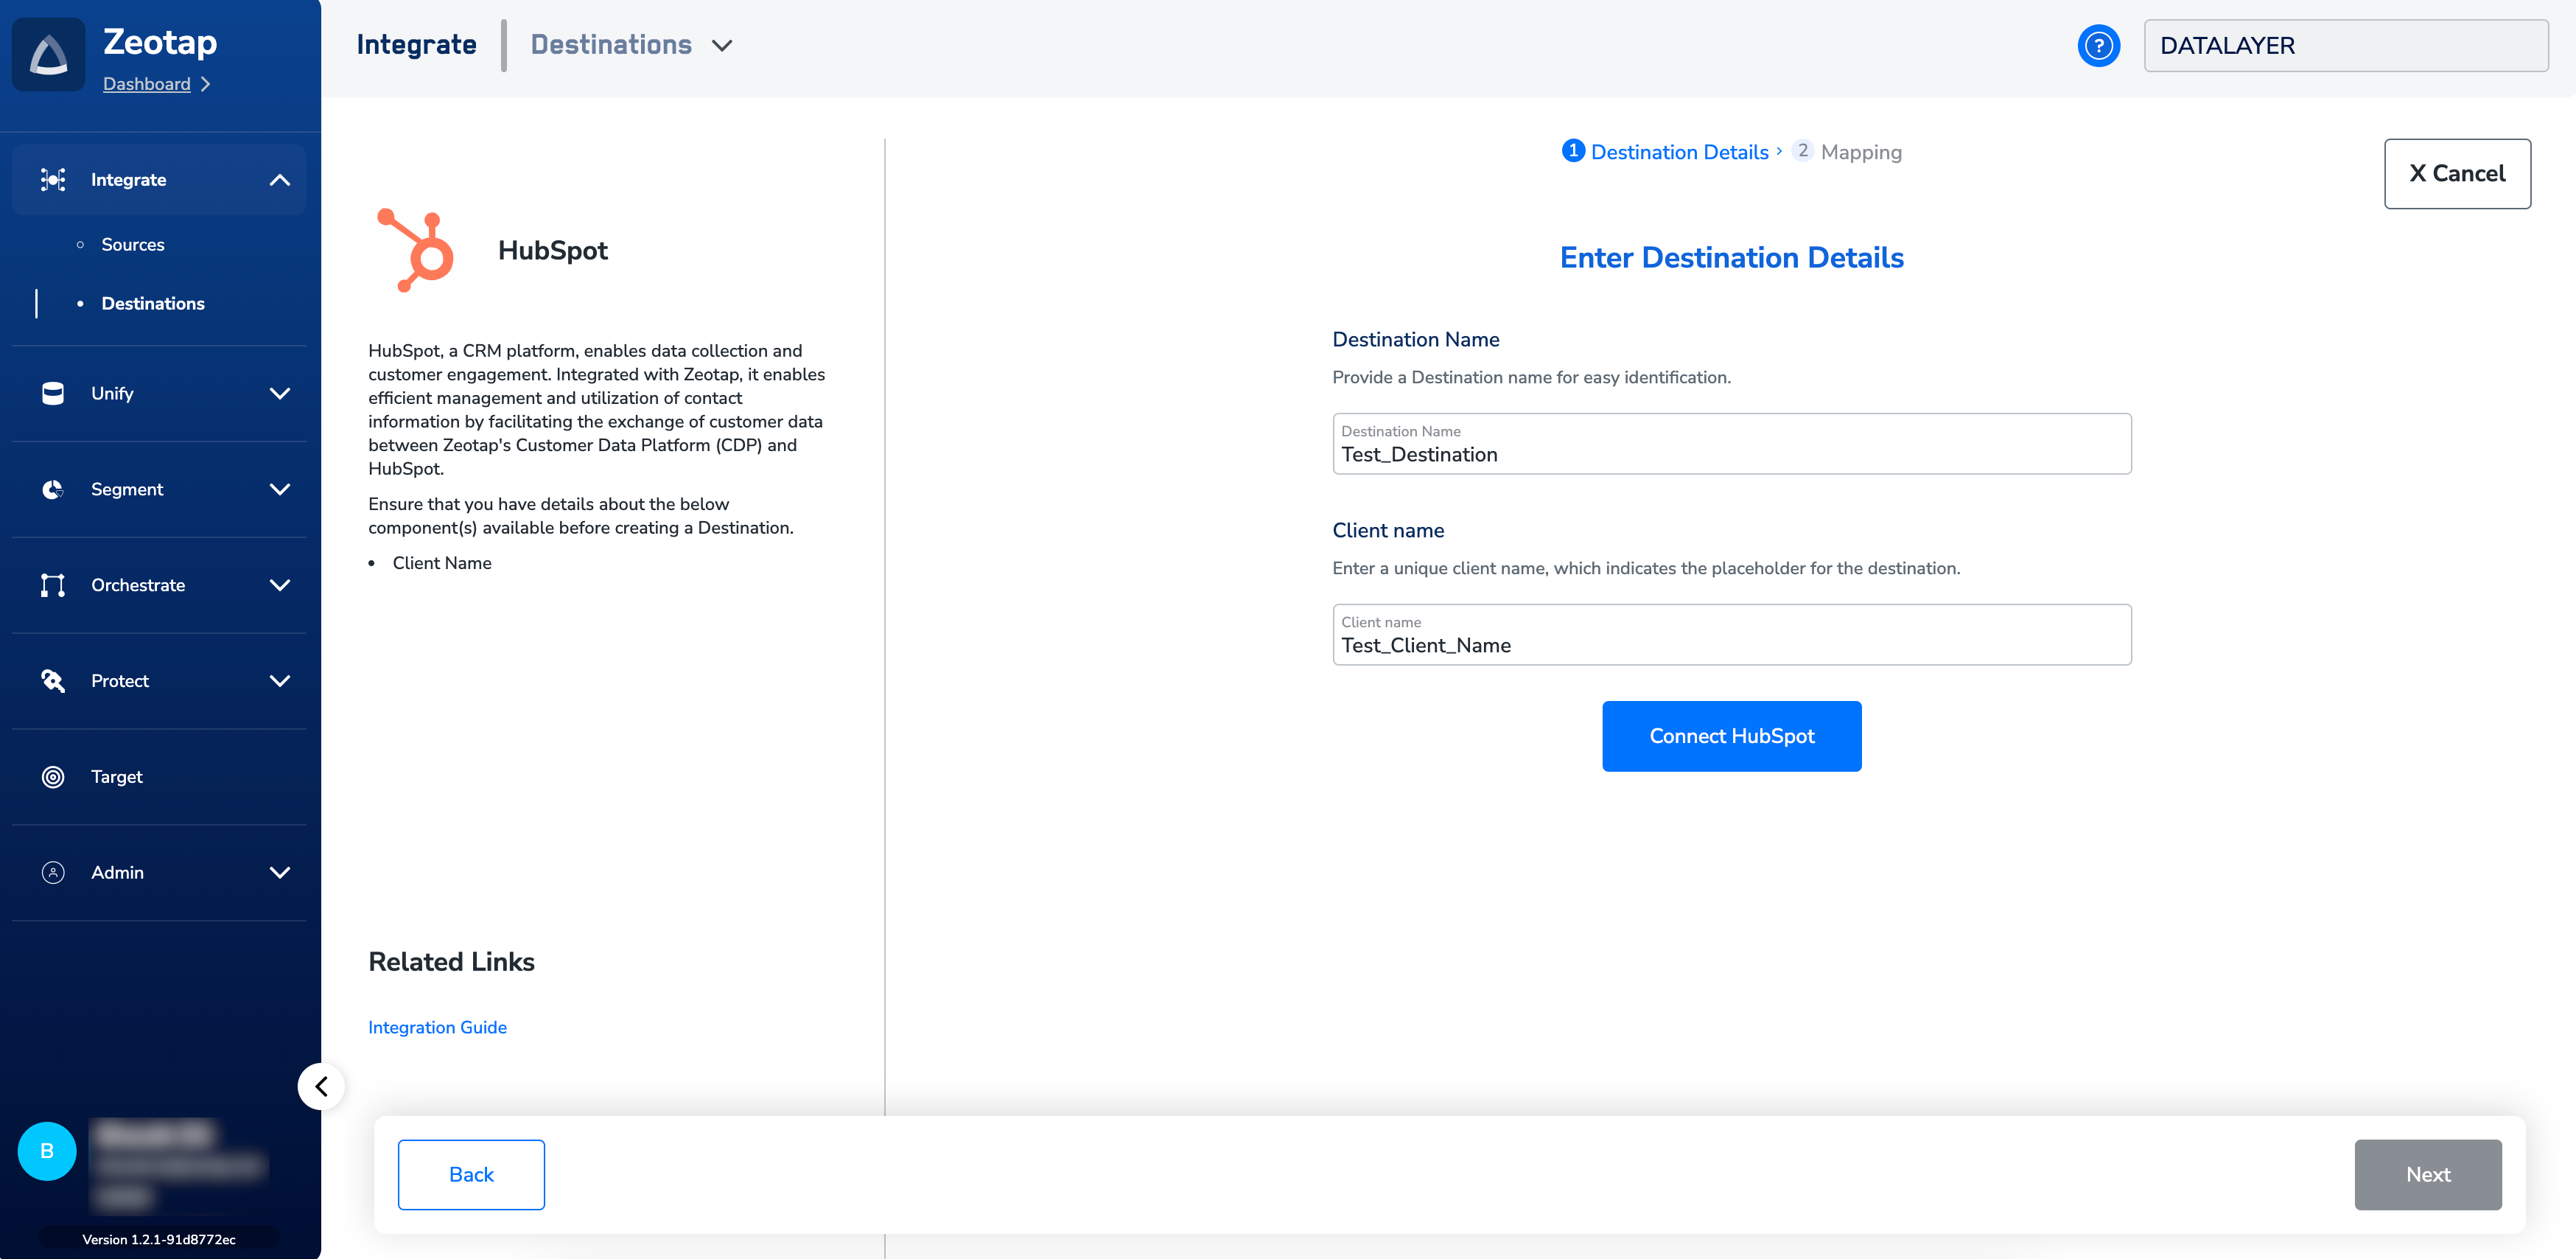

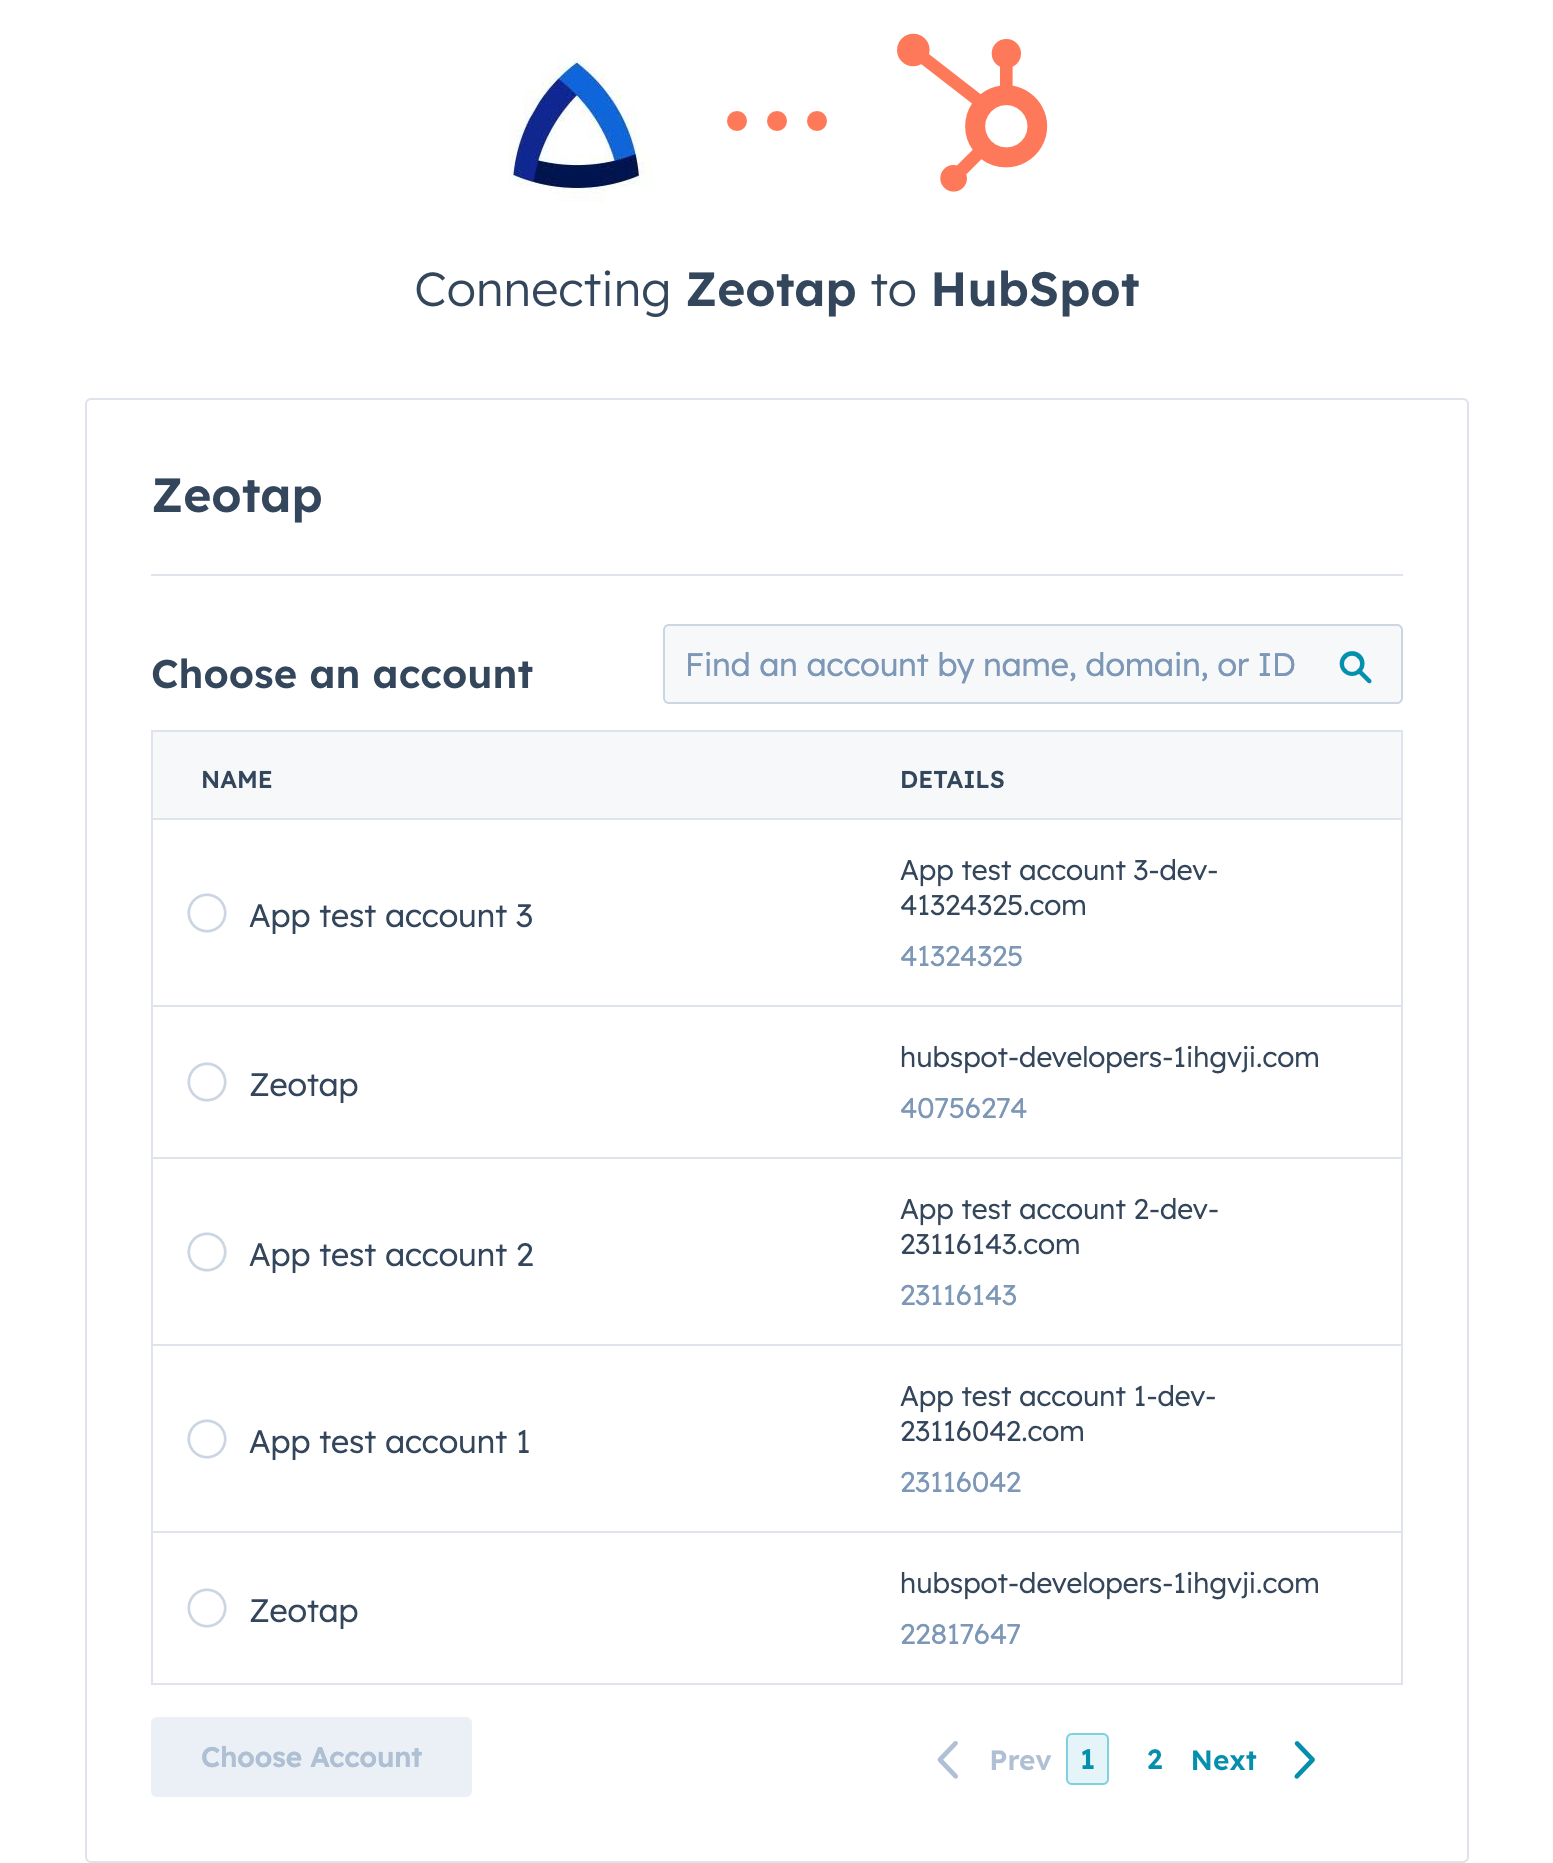
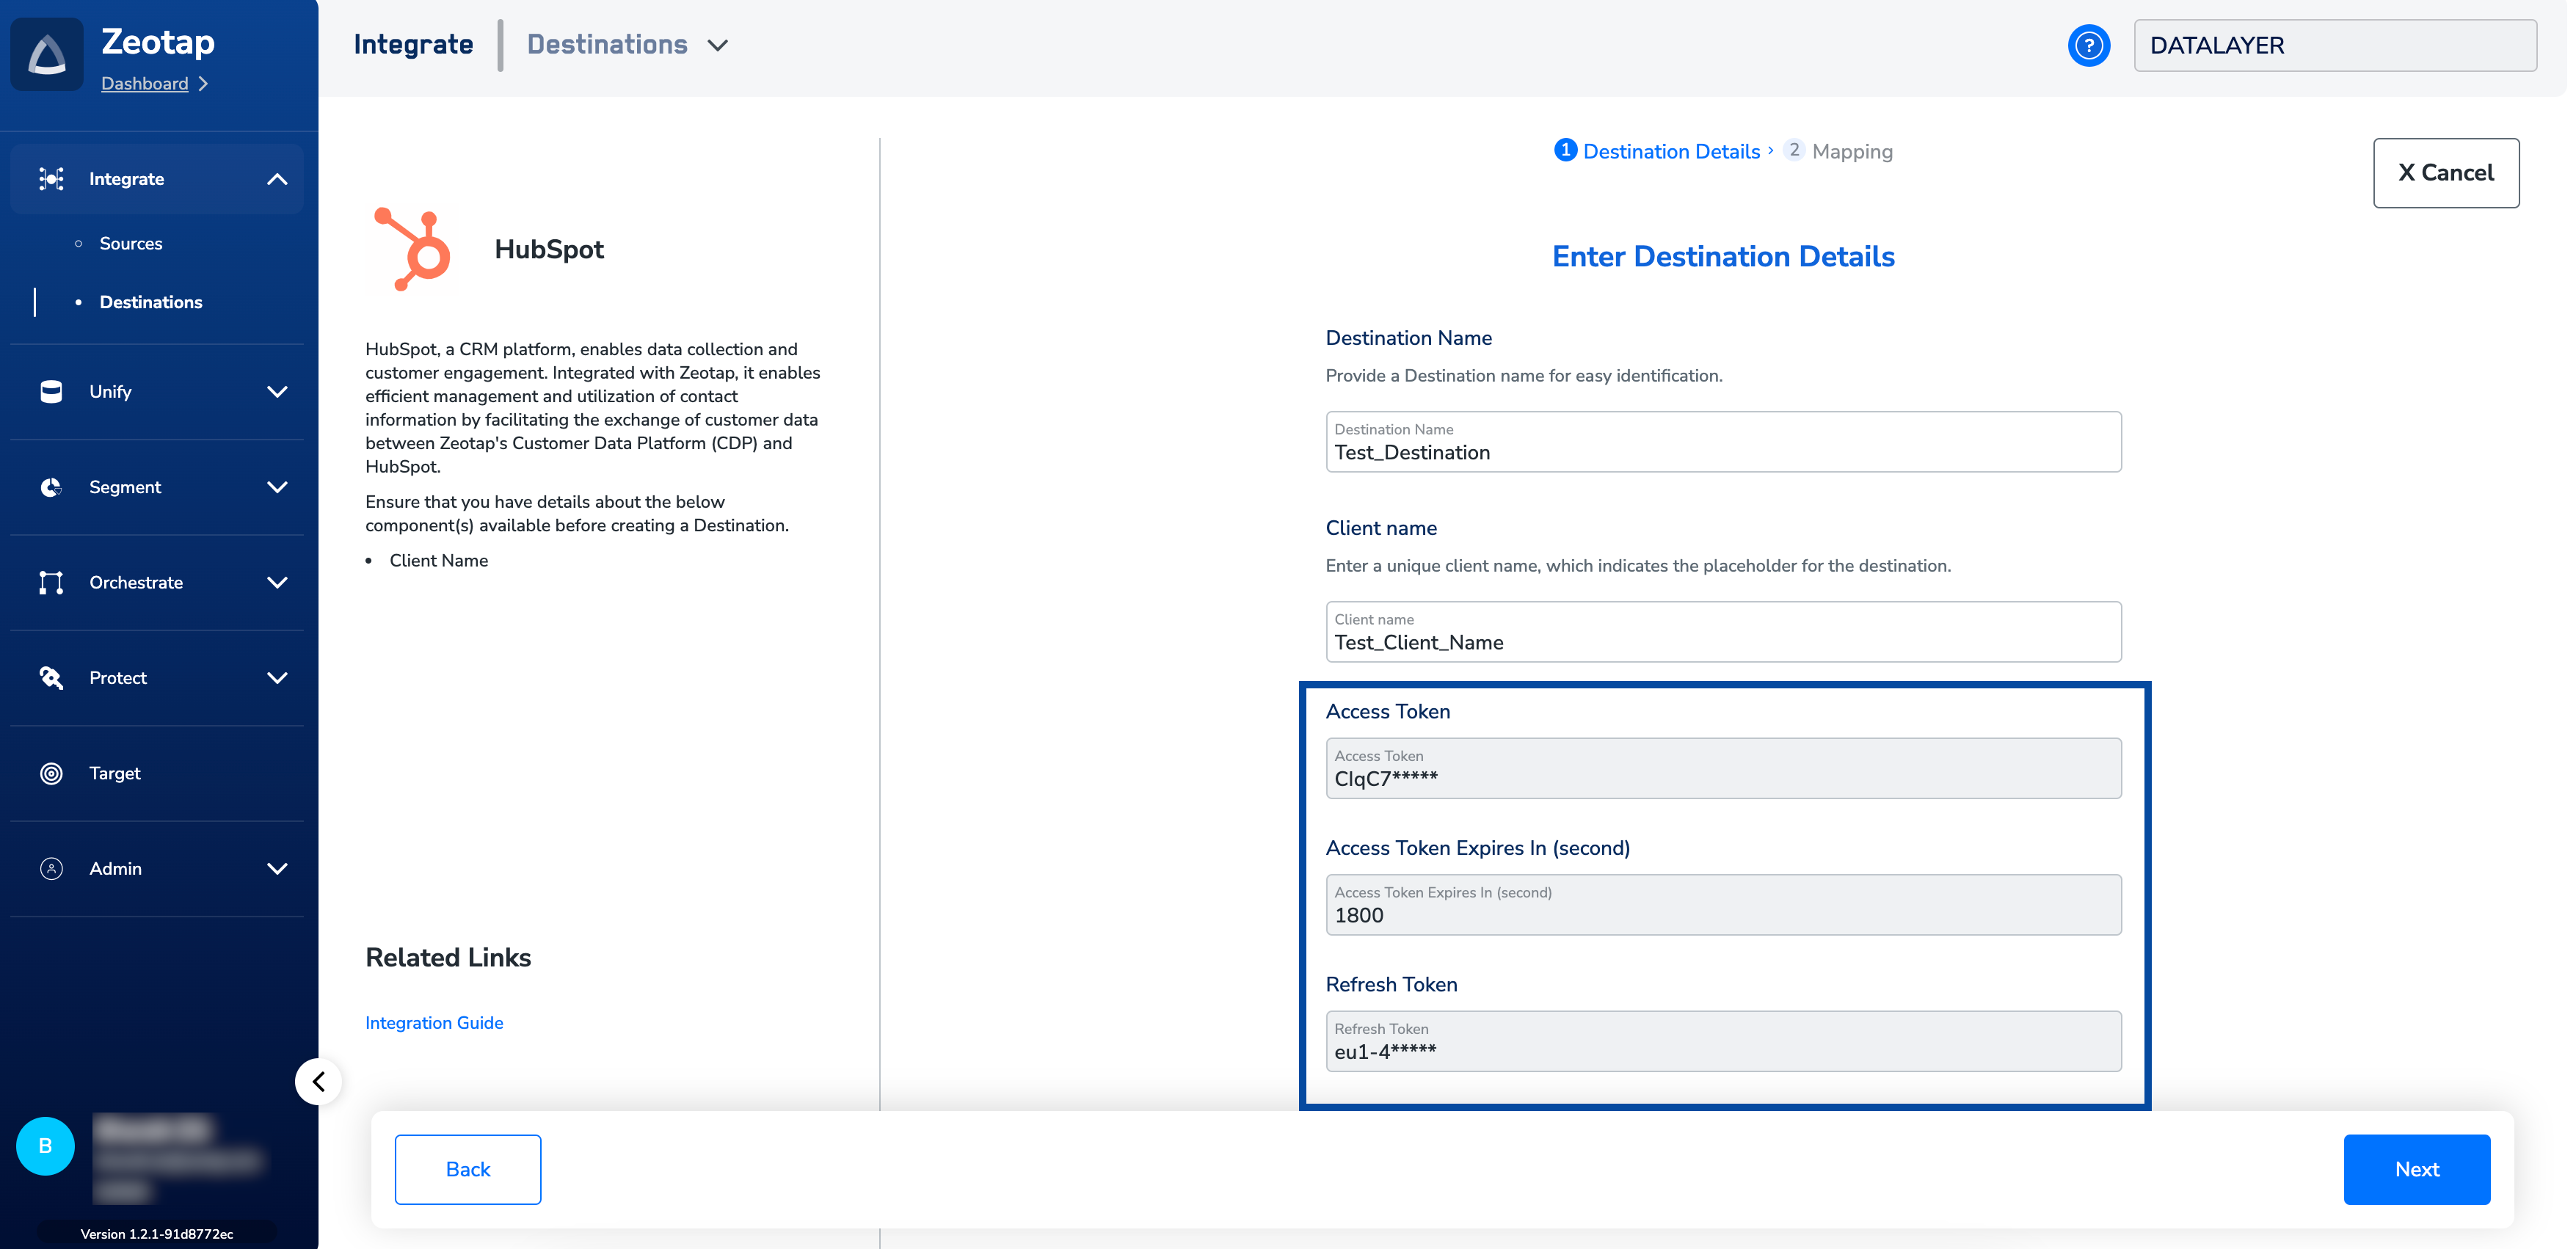
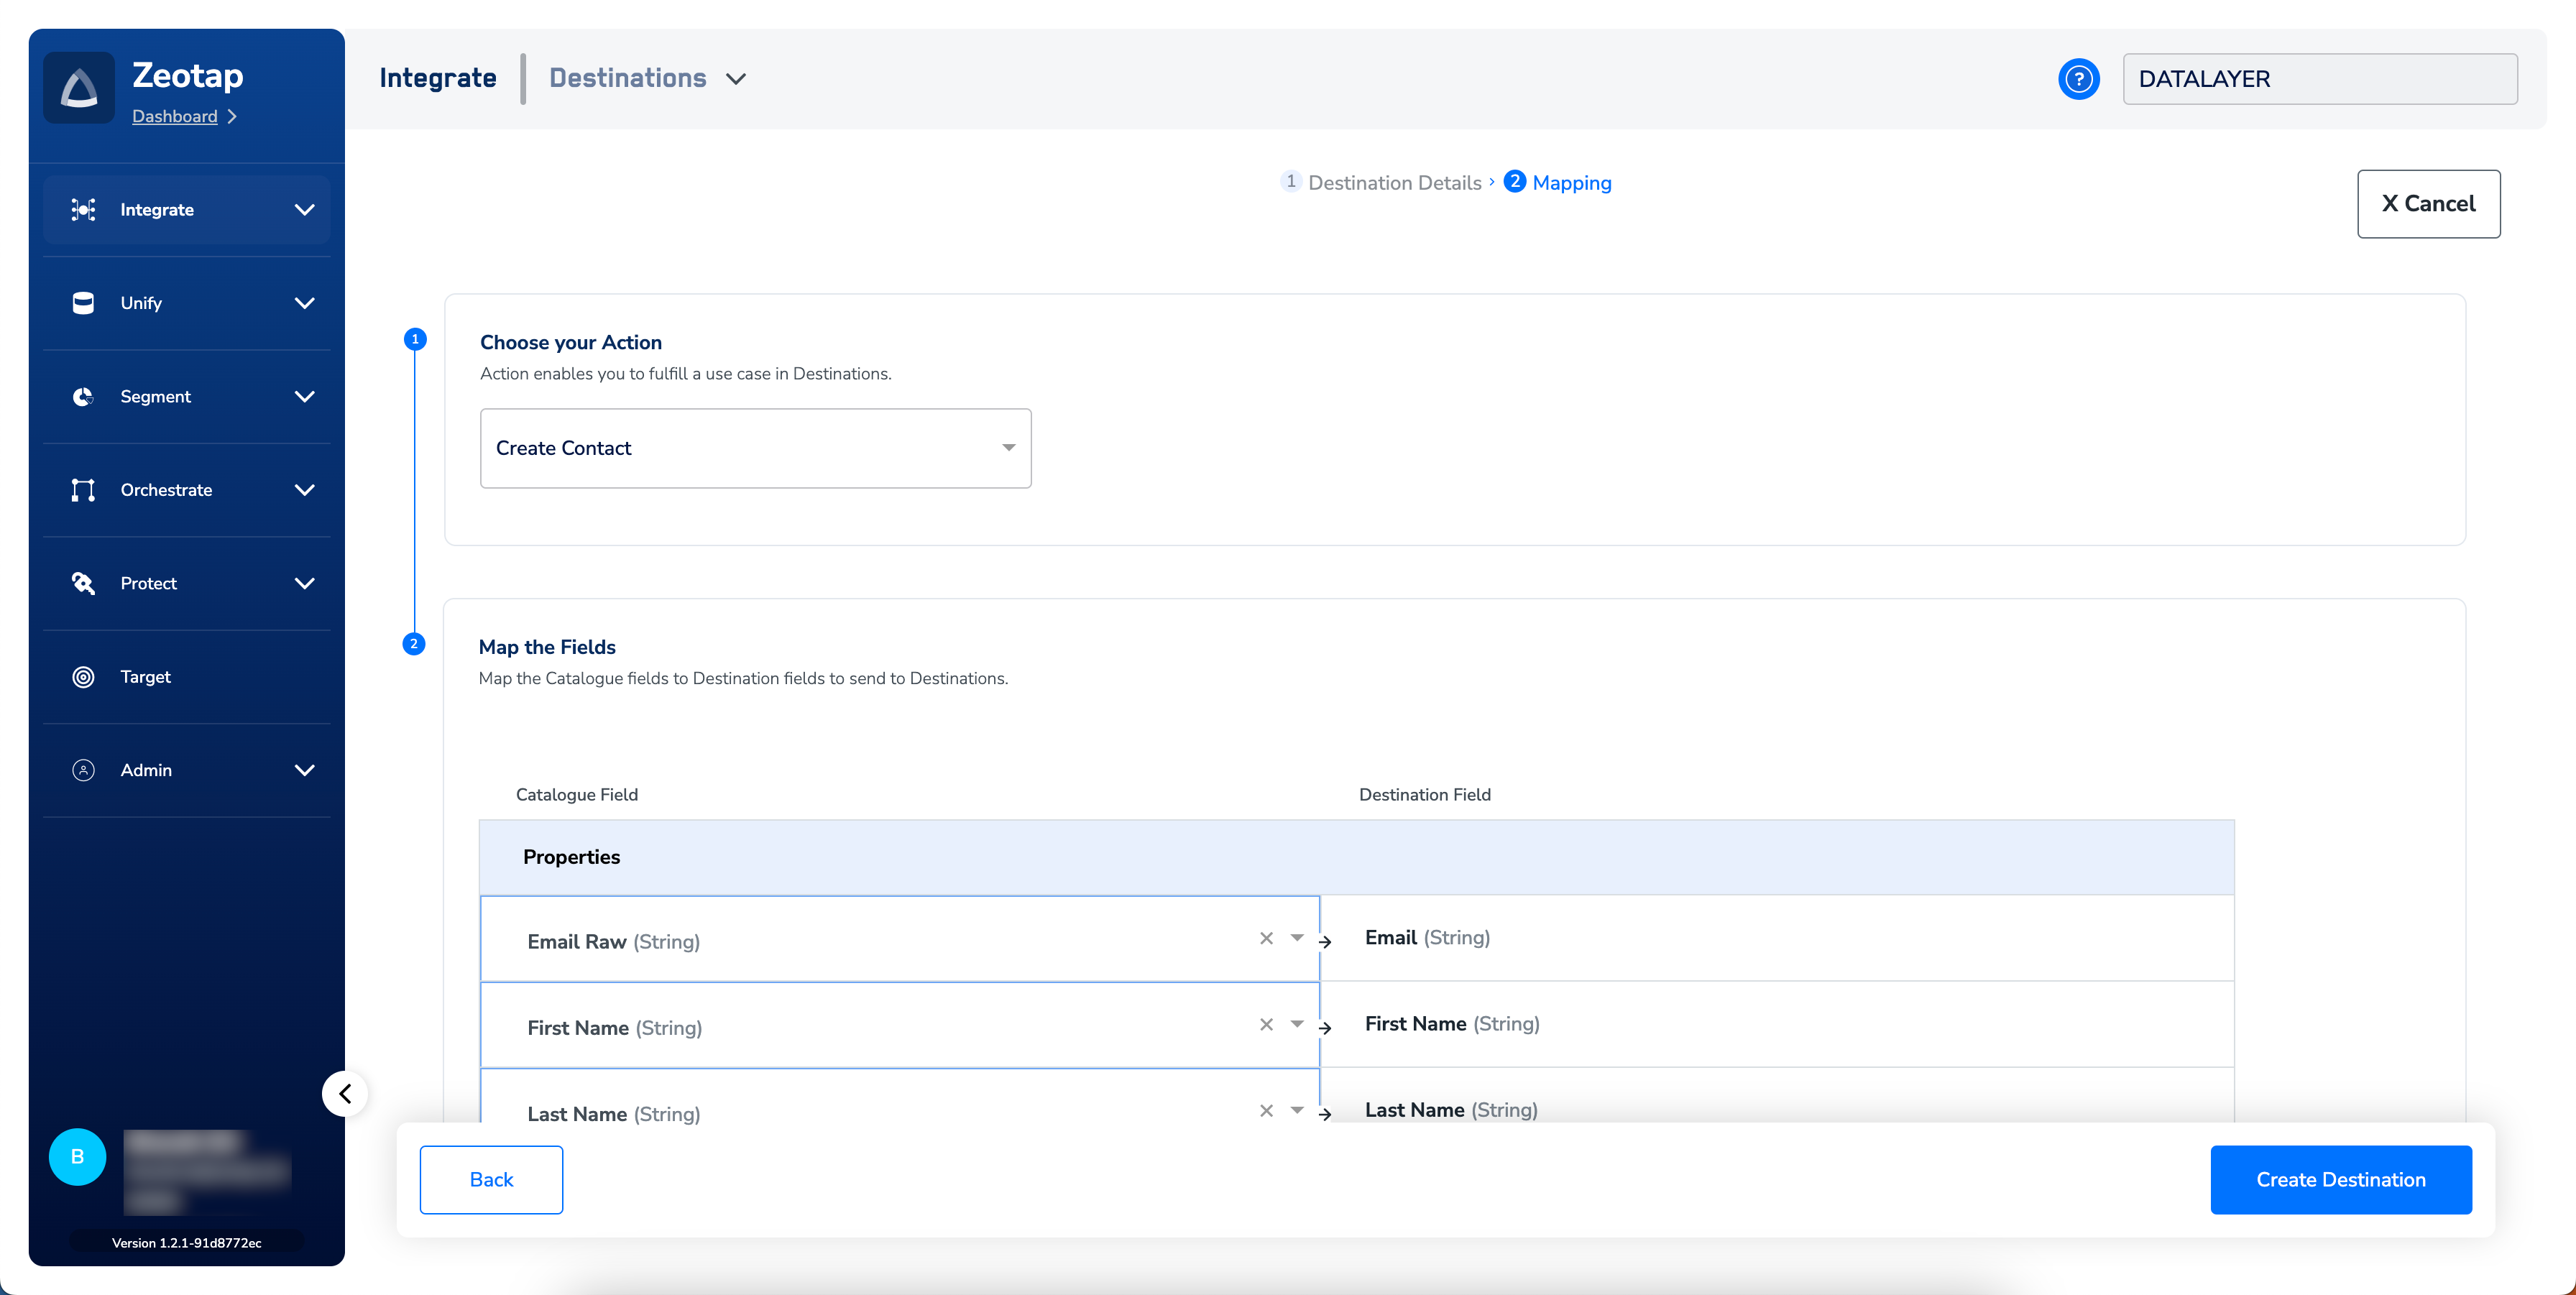
contacts and contact lists within the HubSpot account.In the new screen that appears, you can either choose Create Contact or Send Contact to Contact List as your Action.a. To create contact in HubSpot, perform the following steps:i. Under Choose your Action, choose Create Contact from the drop-down menu.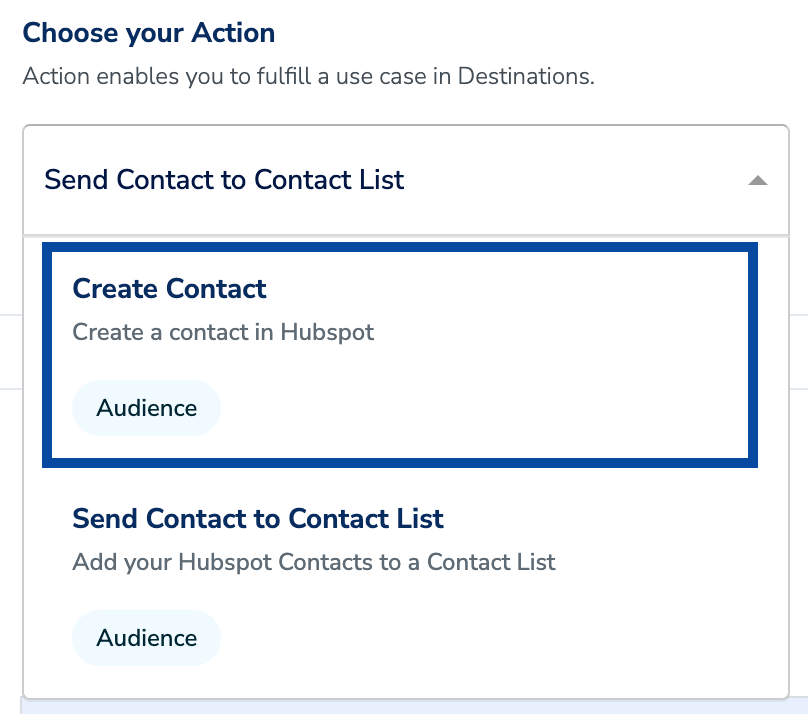


Link an Audience to the HubSpot Destination
For information about how to link an Audience or segment to the created Destination in Audiences application, refer here. Note that it can take up to three business days for segments to be available at the HubSpot seat.Note:The terms Audiences and Segments are used interchangeably to refer to customer cohorts belonging to a specific category.For example, an Audience or a segment could be a specific group of customers who are over 18 years of age and who haveperformed an
addToCart event within the last 30 days.View Audiences on HubSpot
To view the Contact Lists (segments) pushed by Zeotap on HubSpot, log into the HubSpot CRM Platform and perform the following steps:Go to Contacts > Lists. This screen provides details of the segments such as List Name, List Size, Last Updated Date and more.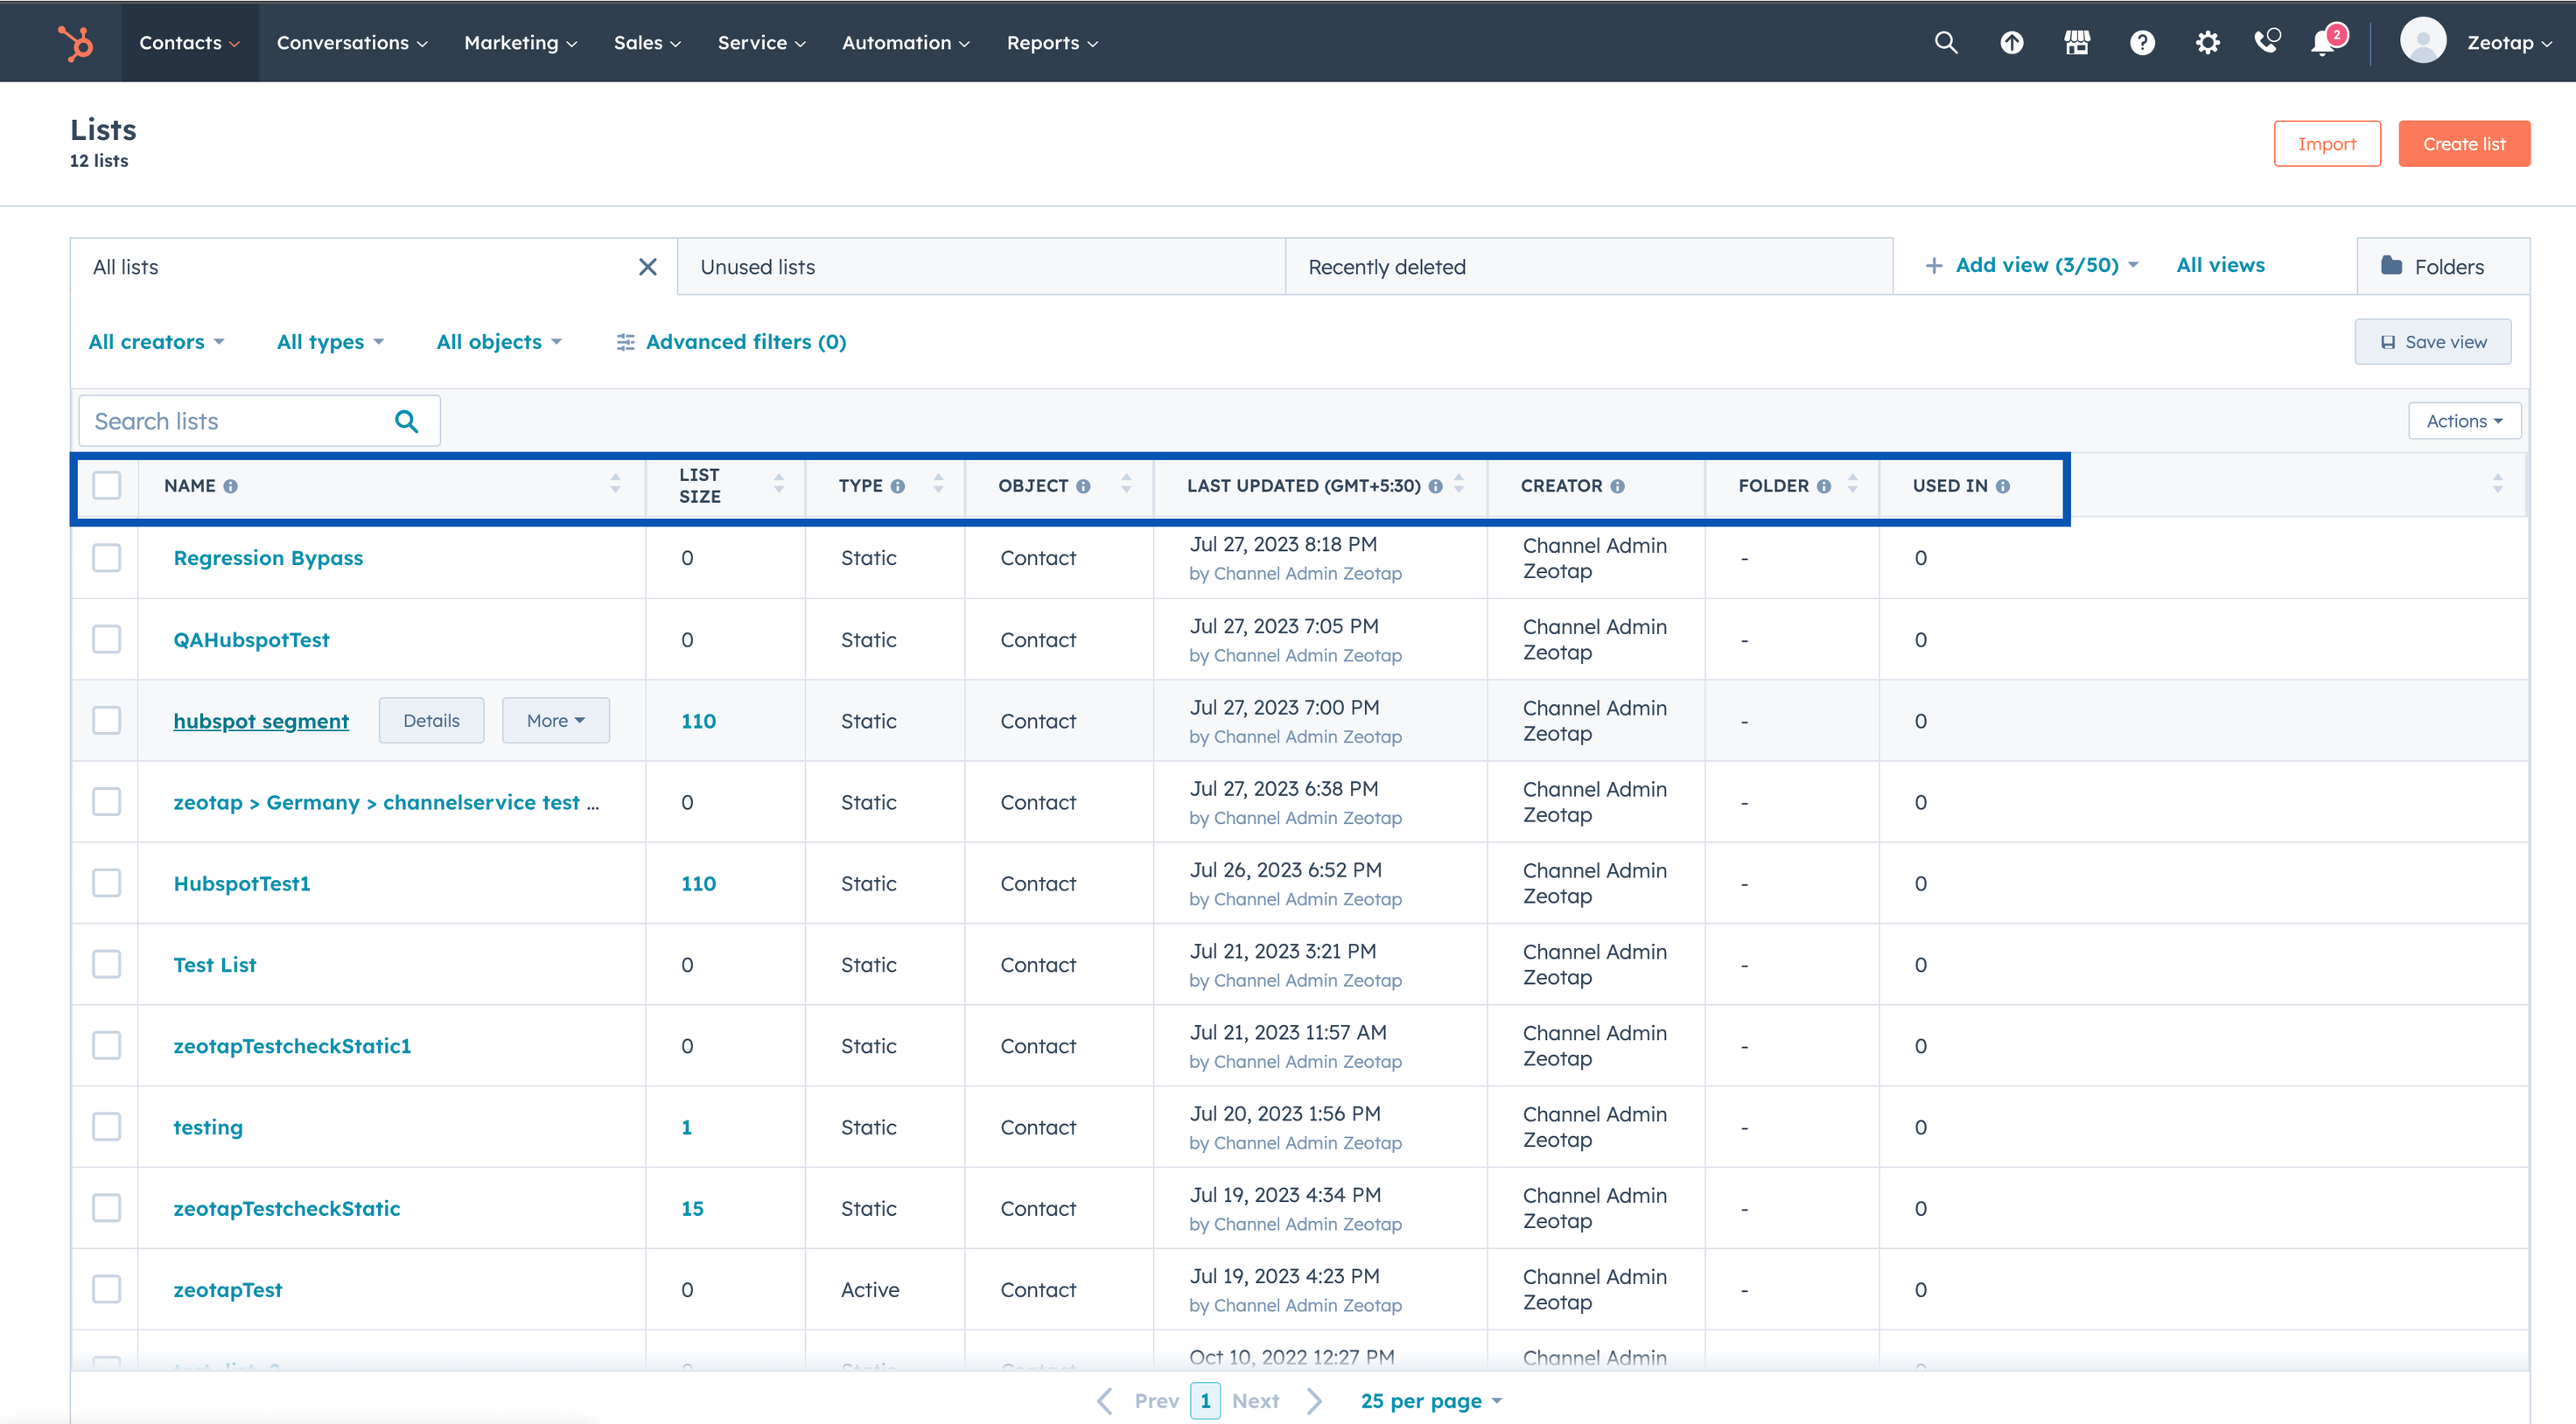

User Disqualification from Audiences
This integration supports user disqualification from audiences. That is, a user can be disqualified from an audience (segment) for various reasons, such as not meeting audience criteria, consent requirements or other conditions set for a particular audience.- When a user disqualifies from an audience, Zeotap CDP initiates a user deletion request in the next refresh cycle. These requests are sent to the audiences linked to the specific destination.
- The disqualified users are excluded from the audiences based on the configured refresh frequency for a particular audience.
- User disqualification is a programmatic process that works automatically. You do not need to specify anything to trigger the disqualification and exclusion of users from audiences.