

What this is
A Destination in Zeotap CDP is a connection to an external platform — an advertising channel, engagement platform, DMP, or data warehouse — that receives activated audience data from Zeotap. Creating a destination is a one-time setup: you register the target platform with the credentials it needs, choose the action Zeotap should call, and map Zeotap identifiers to the fields the platform expects. Once saved, the destination becomes available in the Audiences application, and any audience or journey can activate to it without re-entering credentials. The credential and mapping fields differ per platform, but the outer flow described on this page is the same for every integration.Prerequisites
Before you begin, make sure you have:
- Access to the Destinations module under Integrate in the Zeotap CDP App.
- Credentials for the target platform (for example, an API key or REST key from the platform’s console). Credential requirements are platform-specific — see the destination-specific integration page for details.
- A decision on the action and field mapping you want to configure: which platform action Zeotap should call, and which Zeotap identifiers map to which destination fields.
Register the destination
1
Open the Destinations module
Log into the Zeotap CDP App and go to Destinations under Integrate.
2
Start a new destination
Click + Create Destination.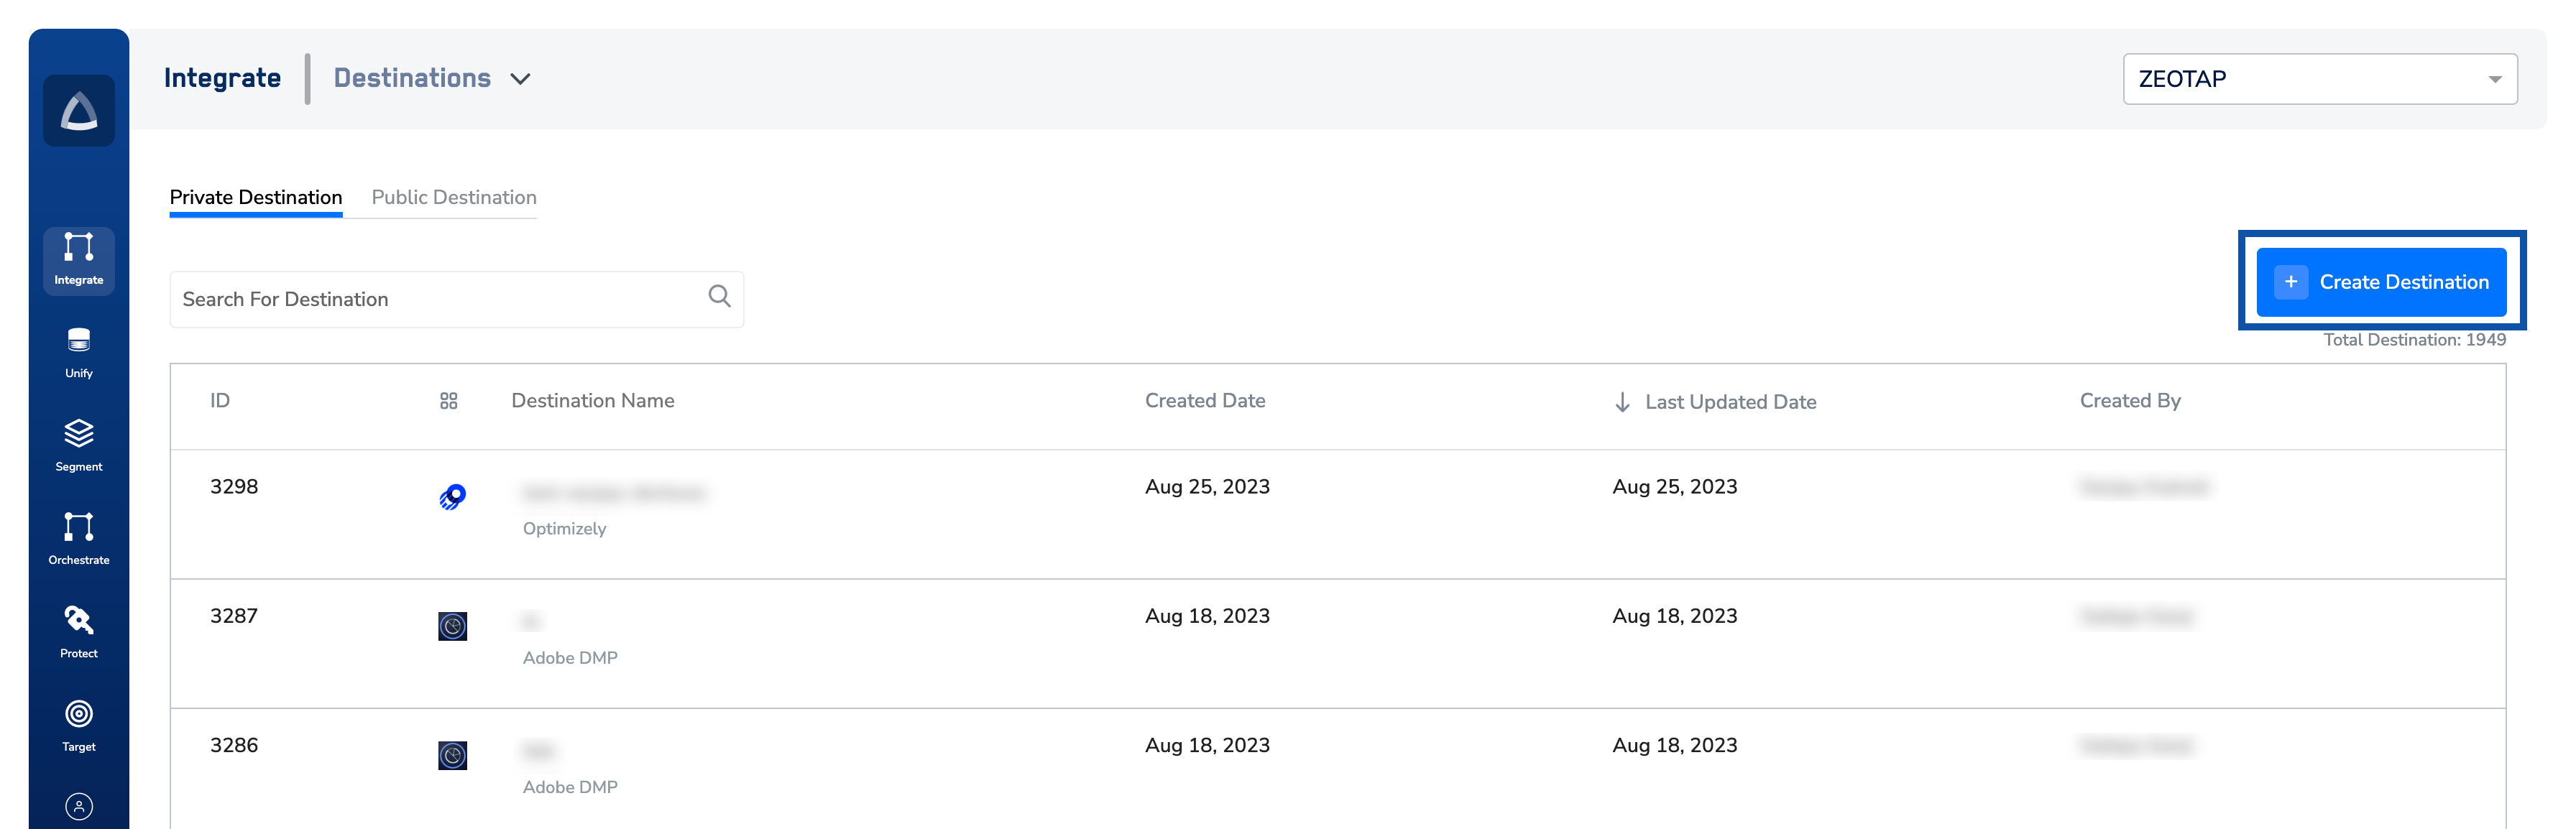
3
Choose the target platform
Under All Destinations, search for the platform you want to send data to and select it.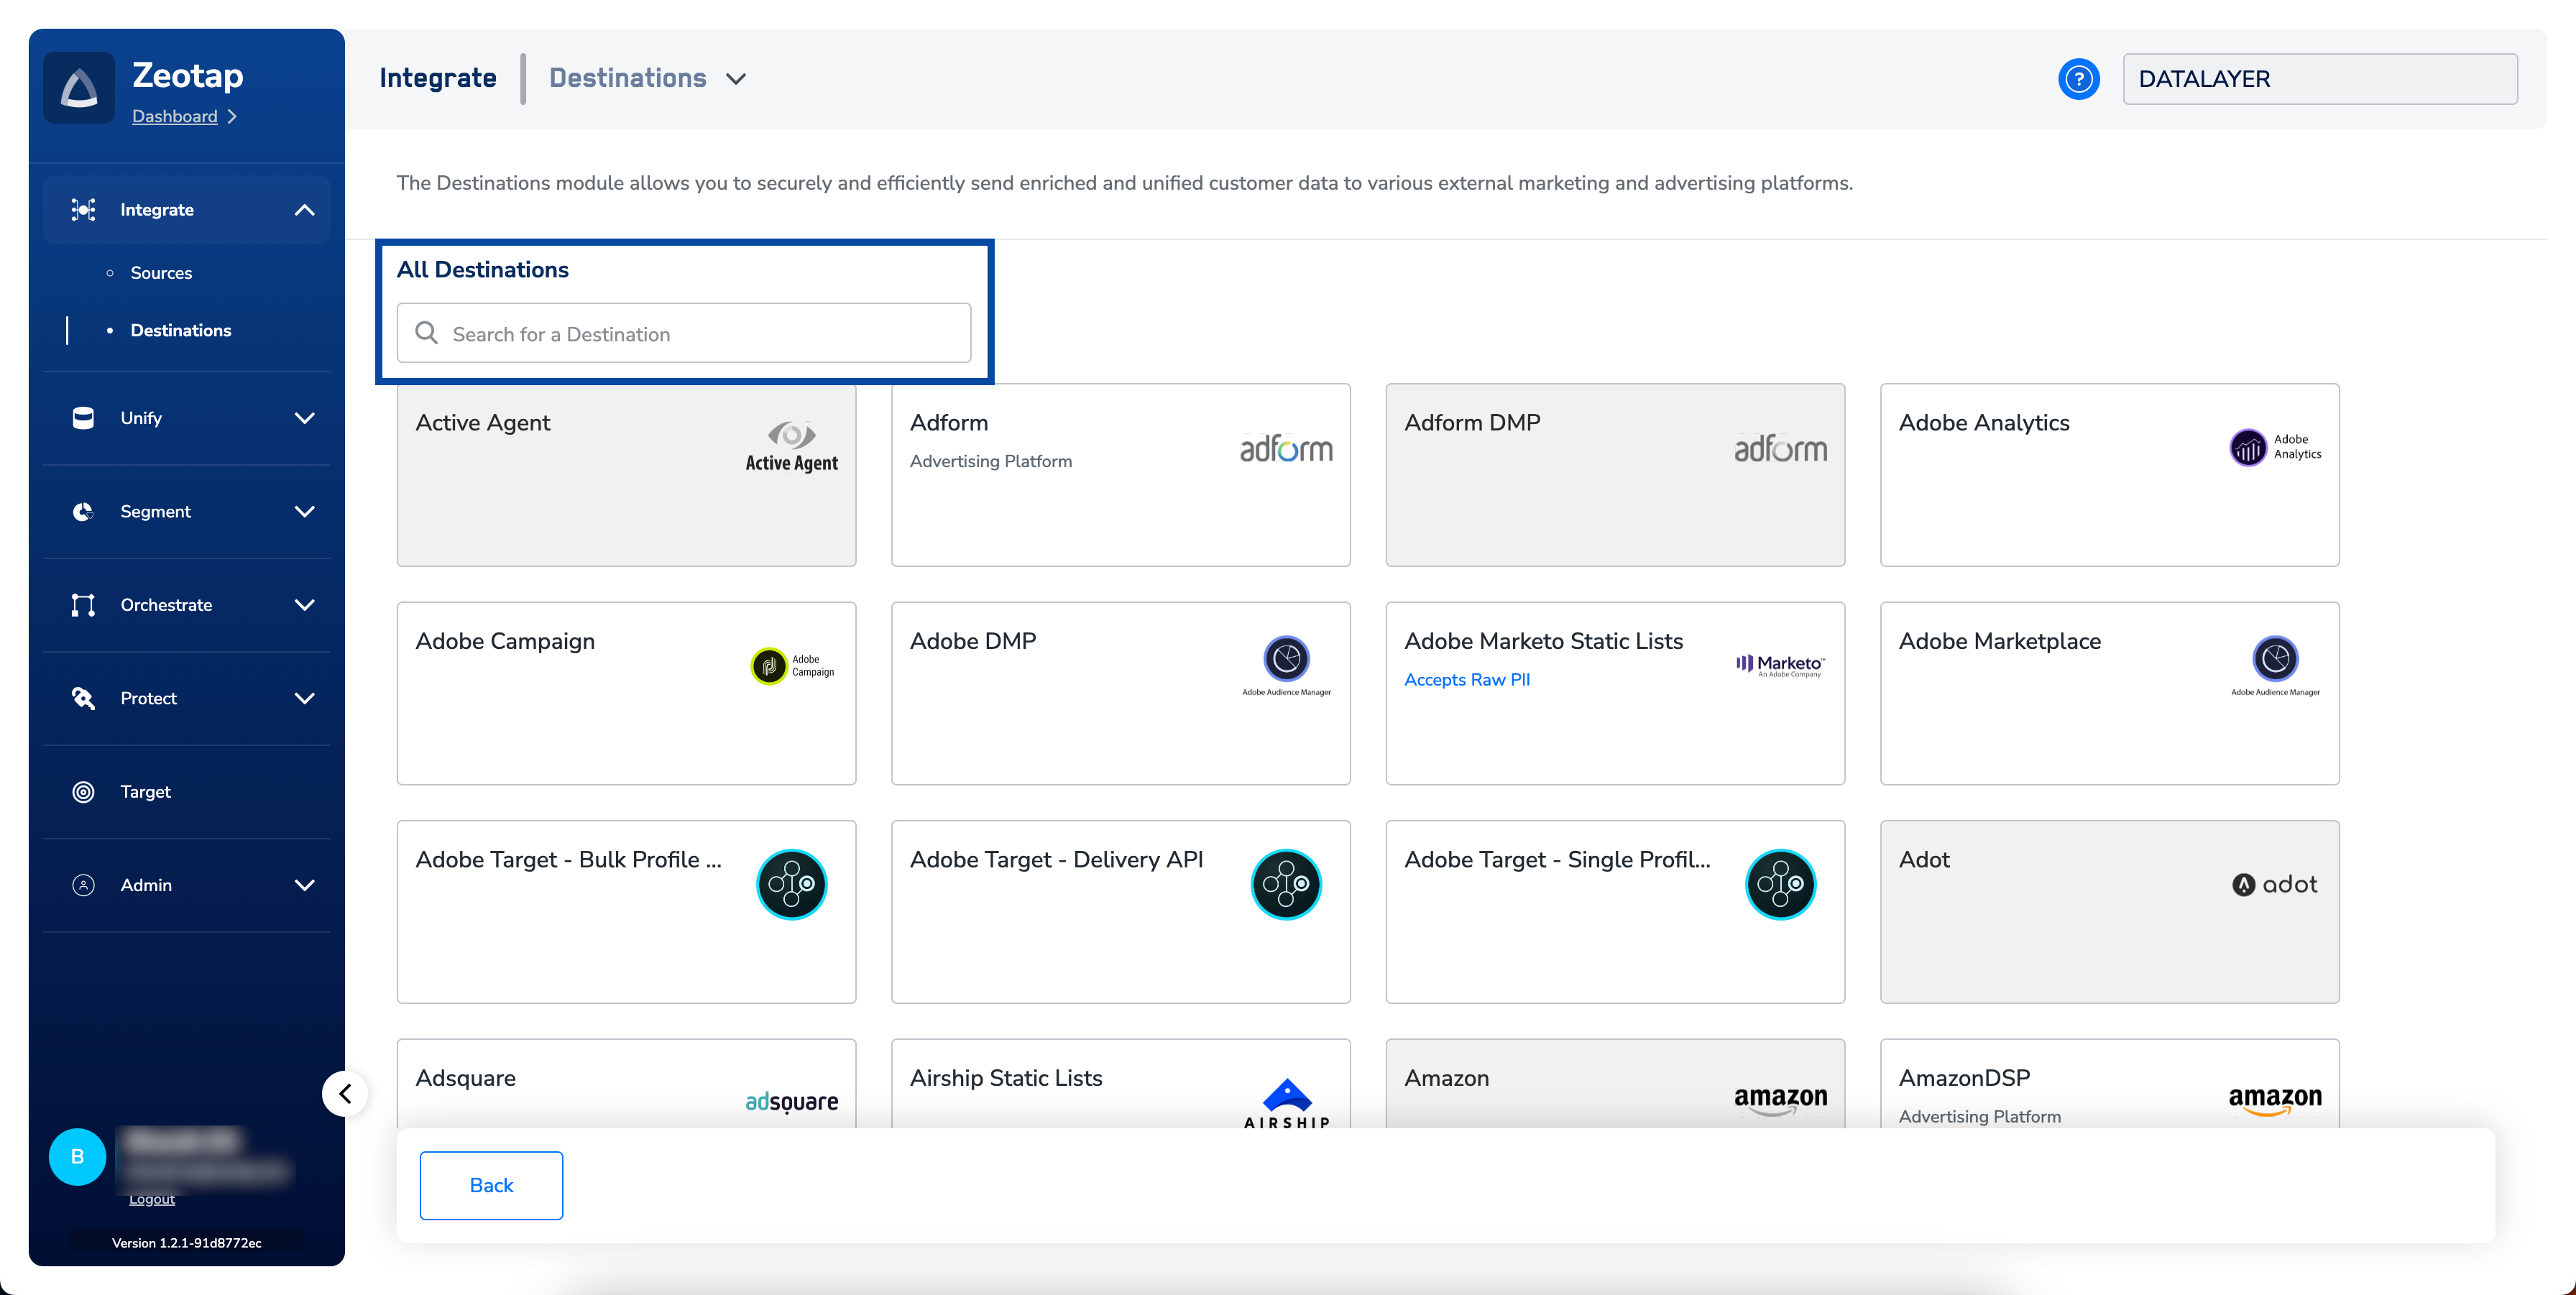
4
Enter the destination credentials
Fill in the credential and configuration fields the platform requires and click Next. The fields differ per destination — the screen below shows Adform as one example.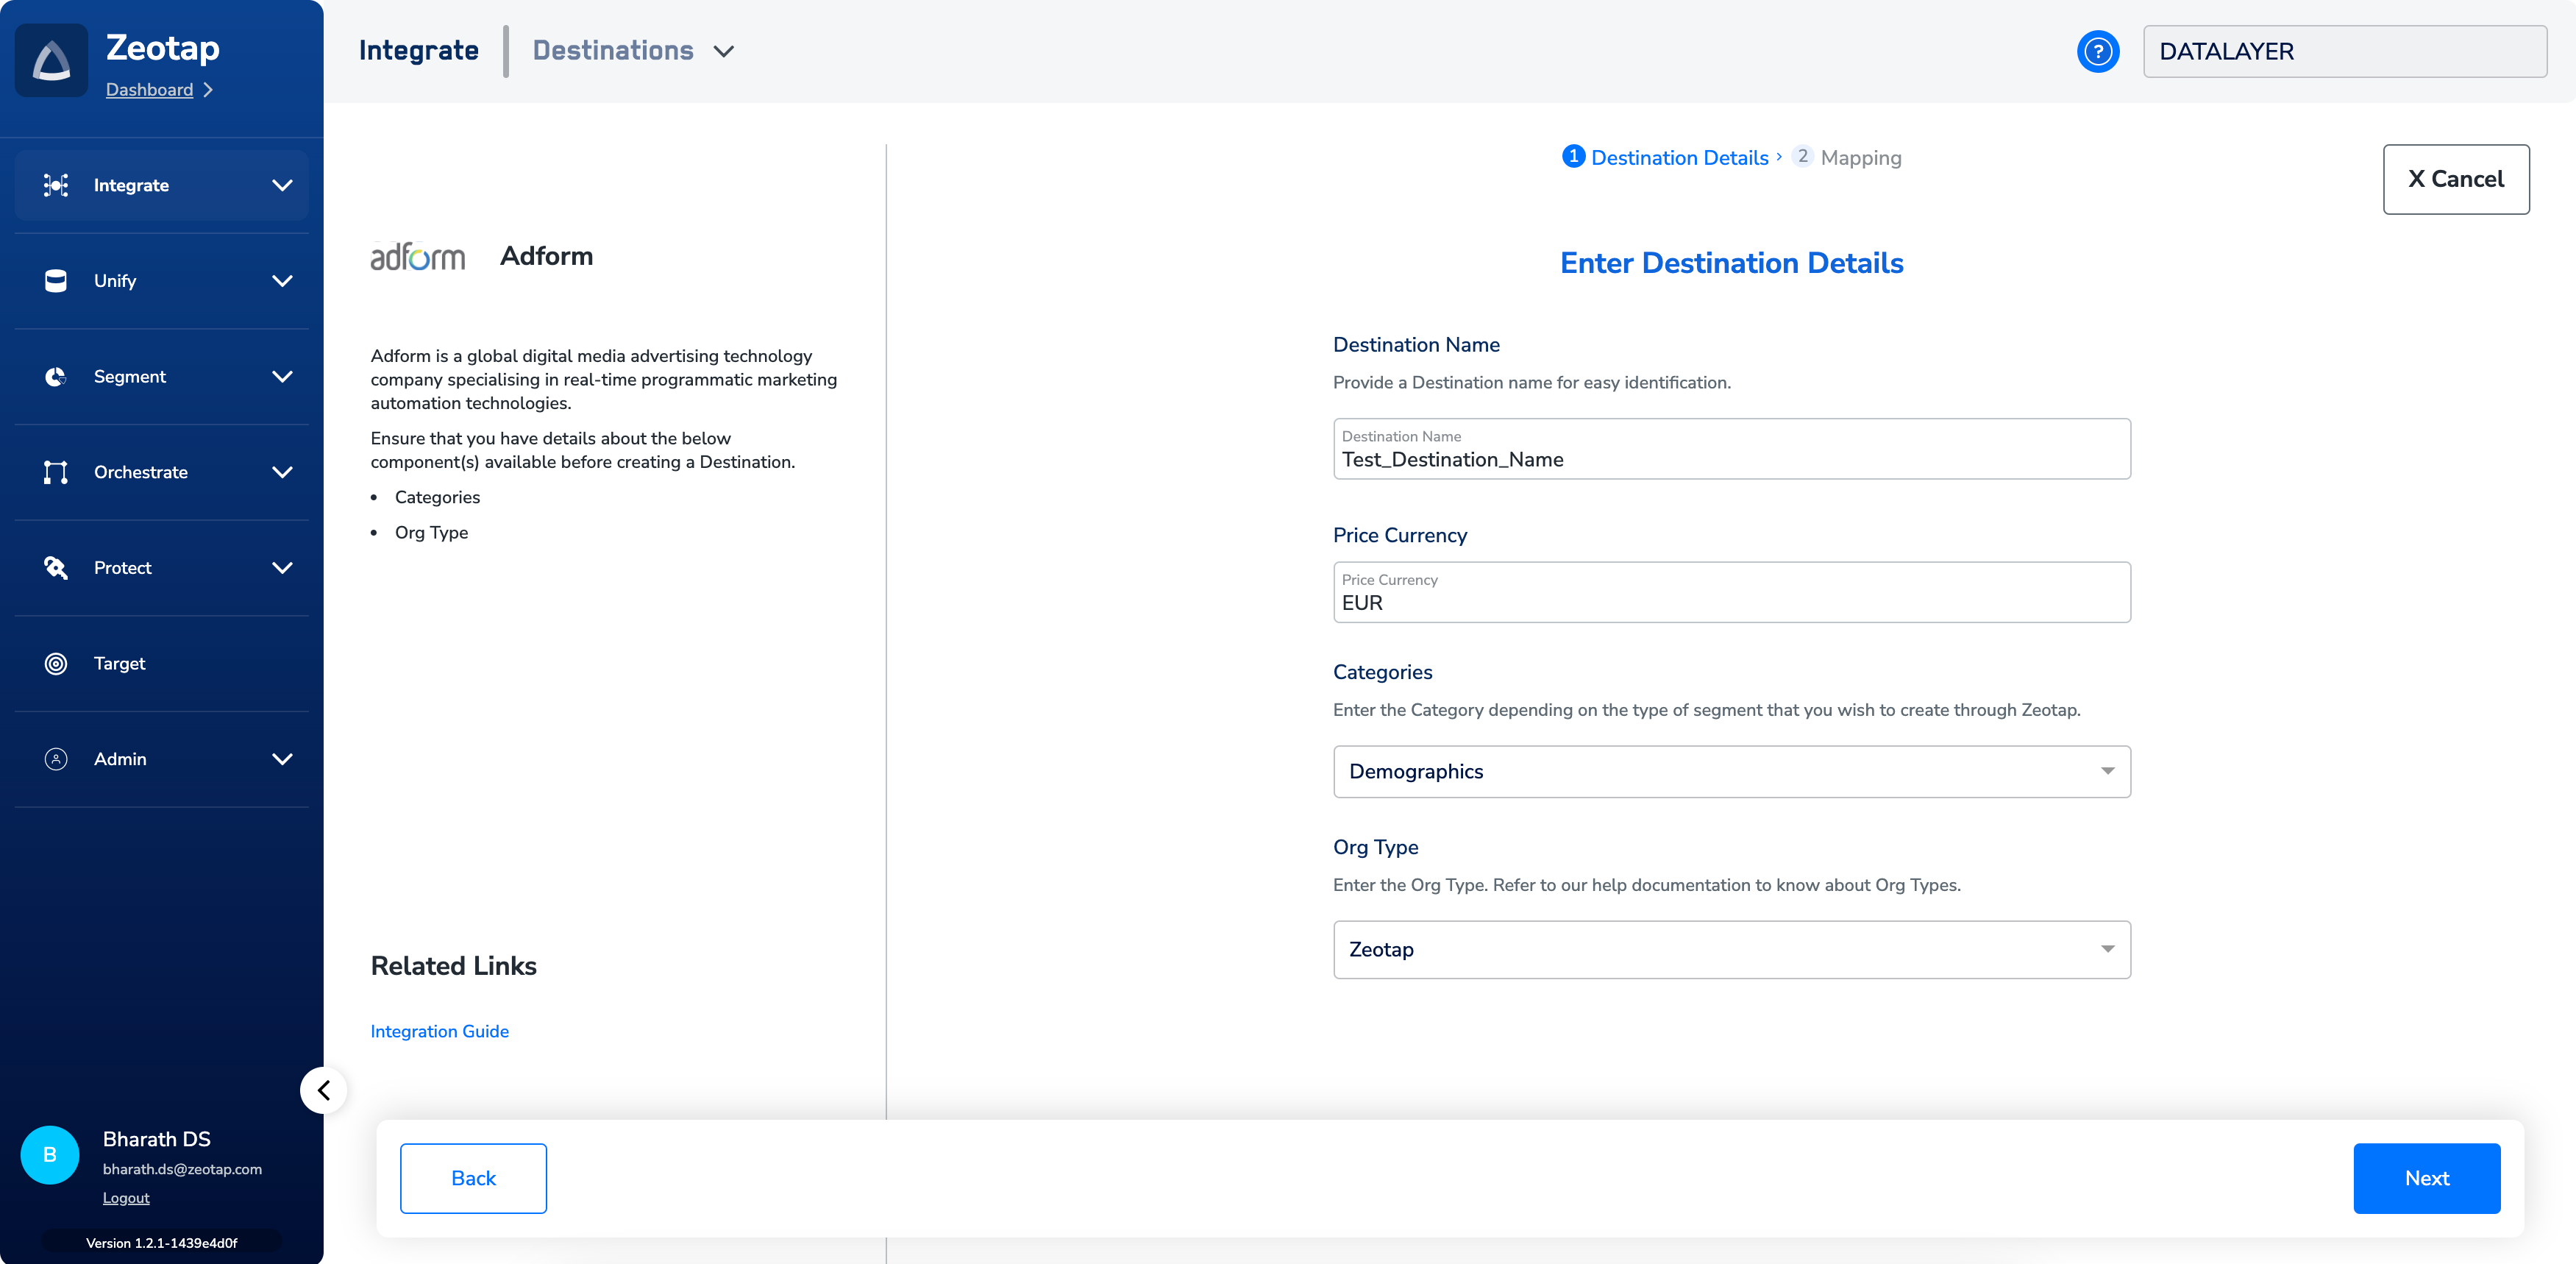
Configure the action and field mapping
1
Choose your Action
Under Choose your Action, pick the platform action Zeotap should call when it delivers audience data. See Actions for the full list and what each does.
2
Map the fields
Under Map the Fields, map Zeotap identifiers to the corresponding destination fields. By default, Zeotap displays the Output Identifiers that the platform accepts — MAIDs, cookies, email IDs, and others. You can edit, add, or remove identifiers from this list — see Mappings for the exact controls.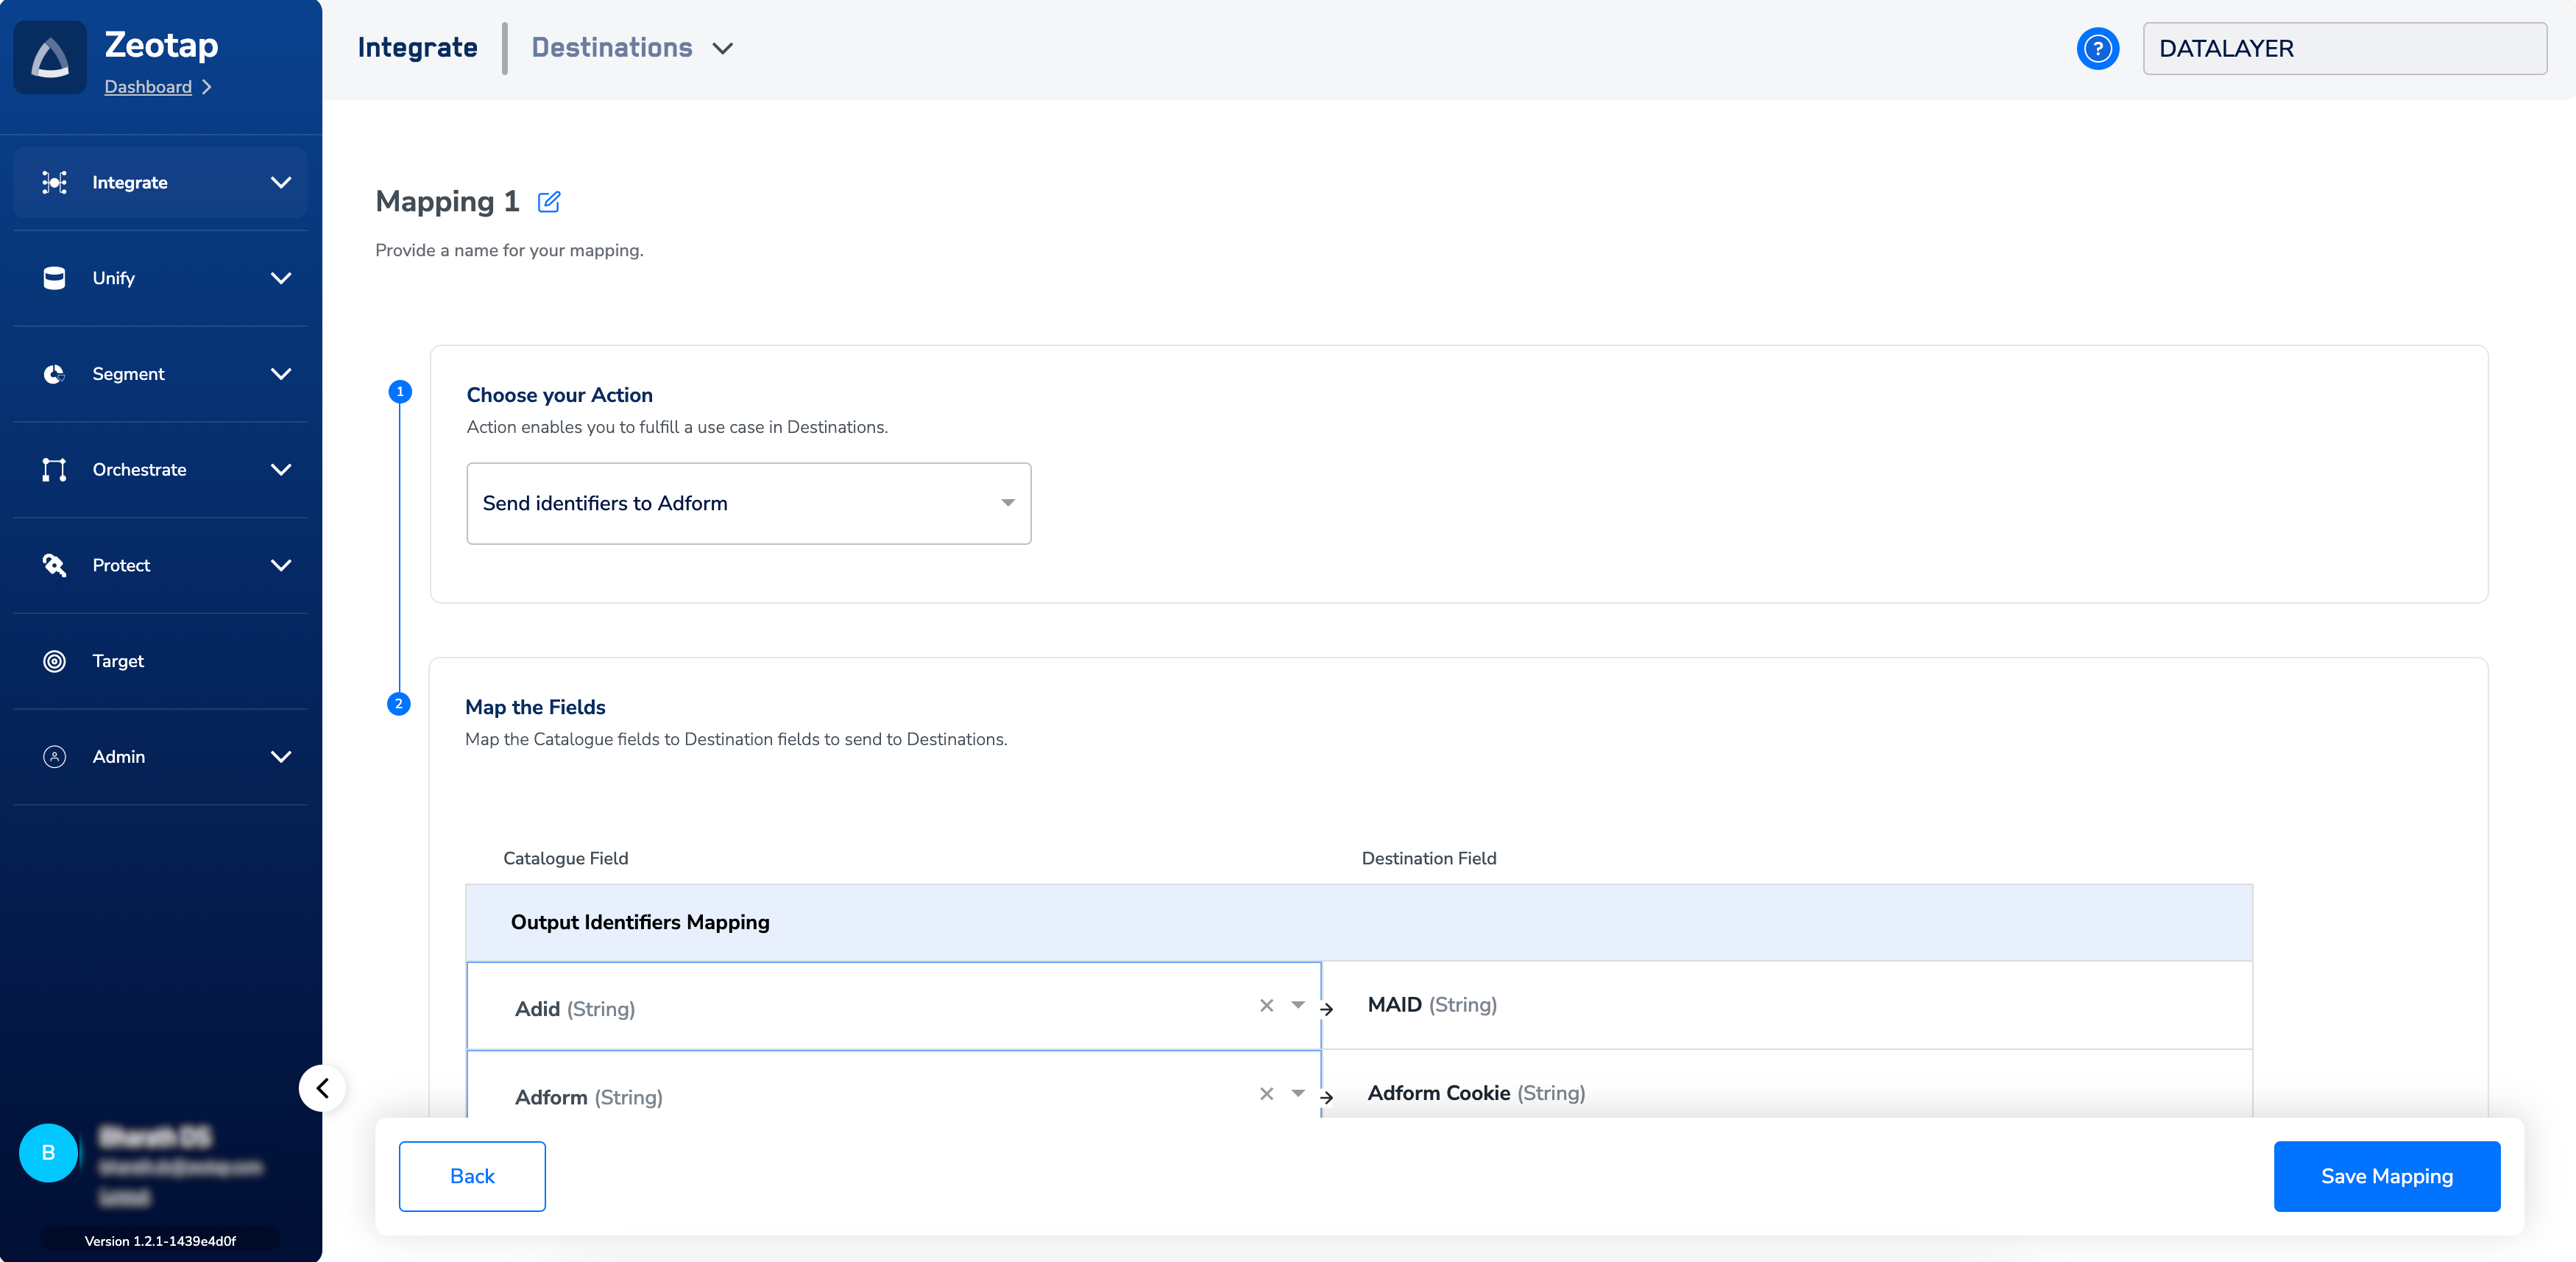
3
Save the mapping
Click Save Mapping. The destination is registered and becomes available in the Audiences application.
Verify the destination is available
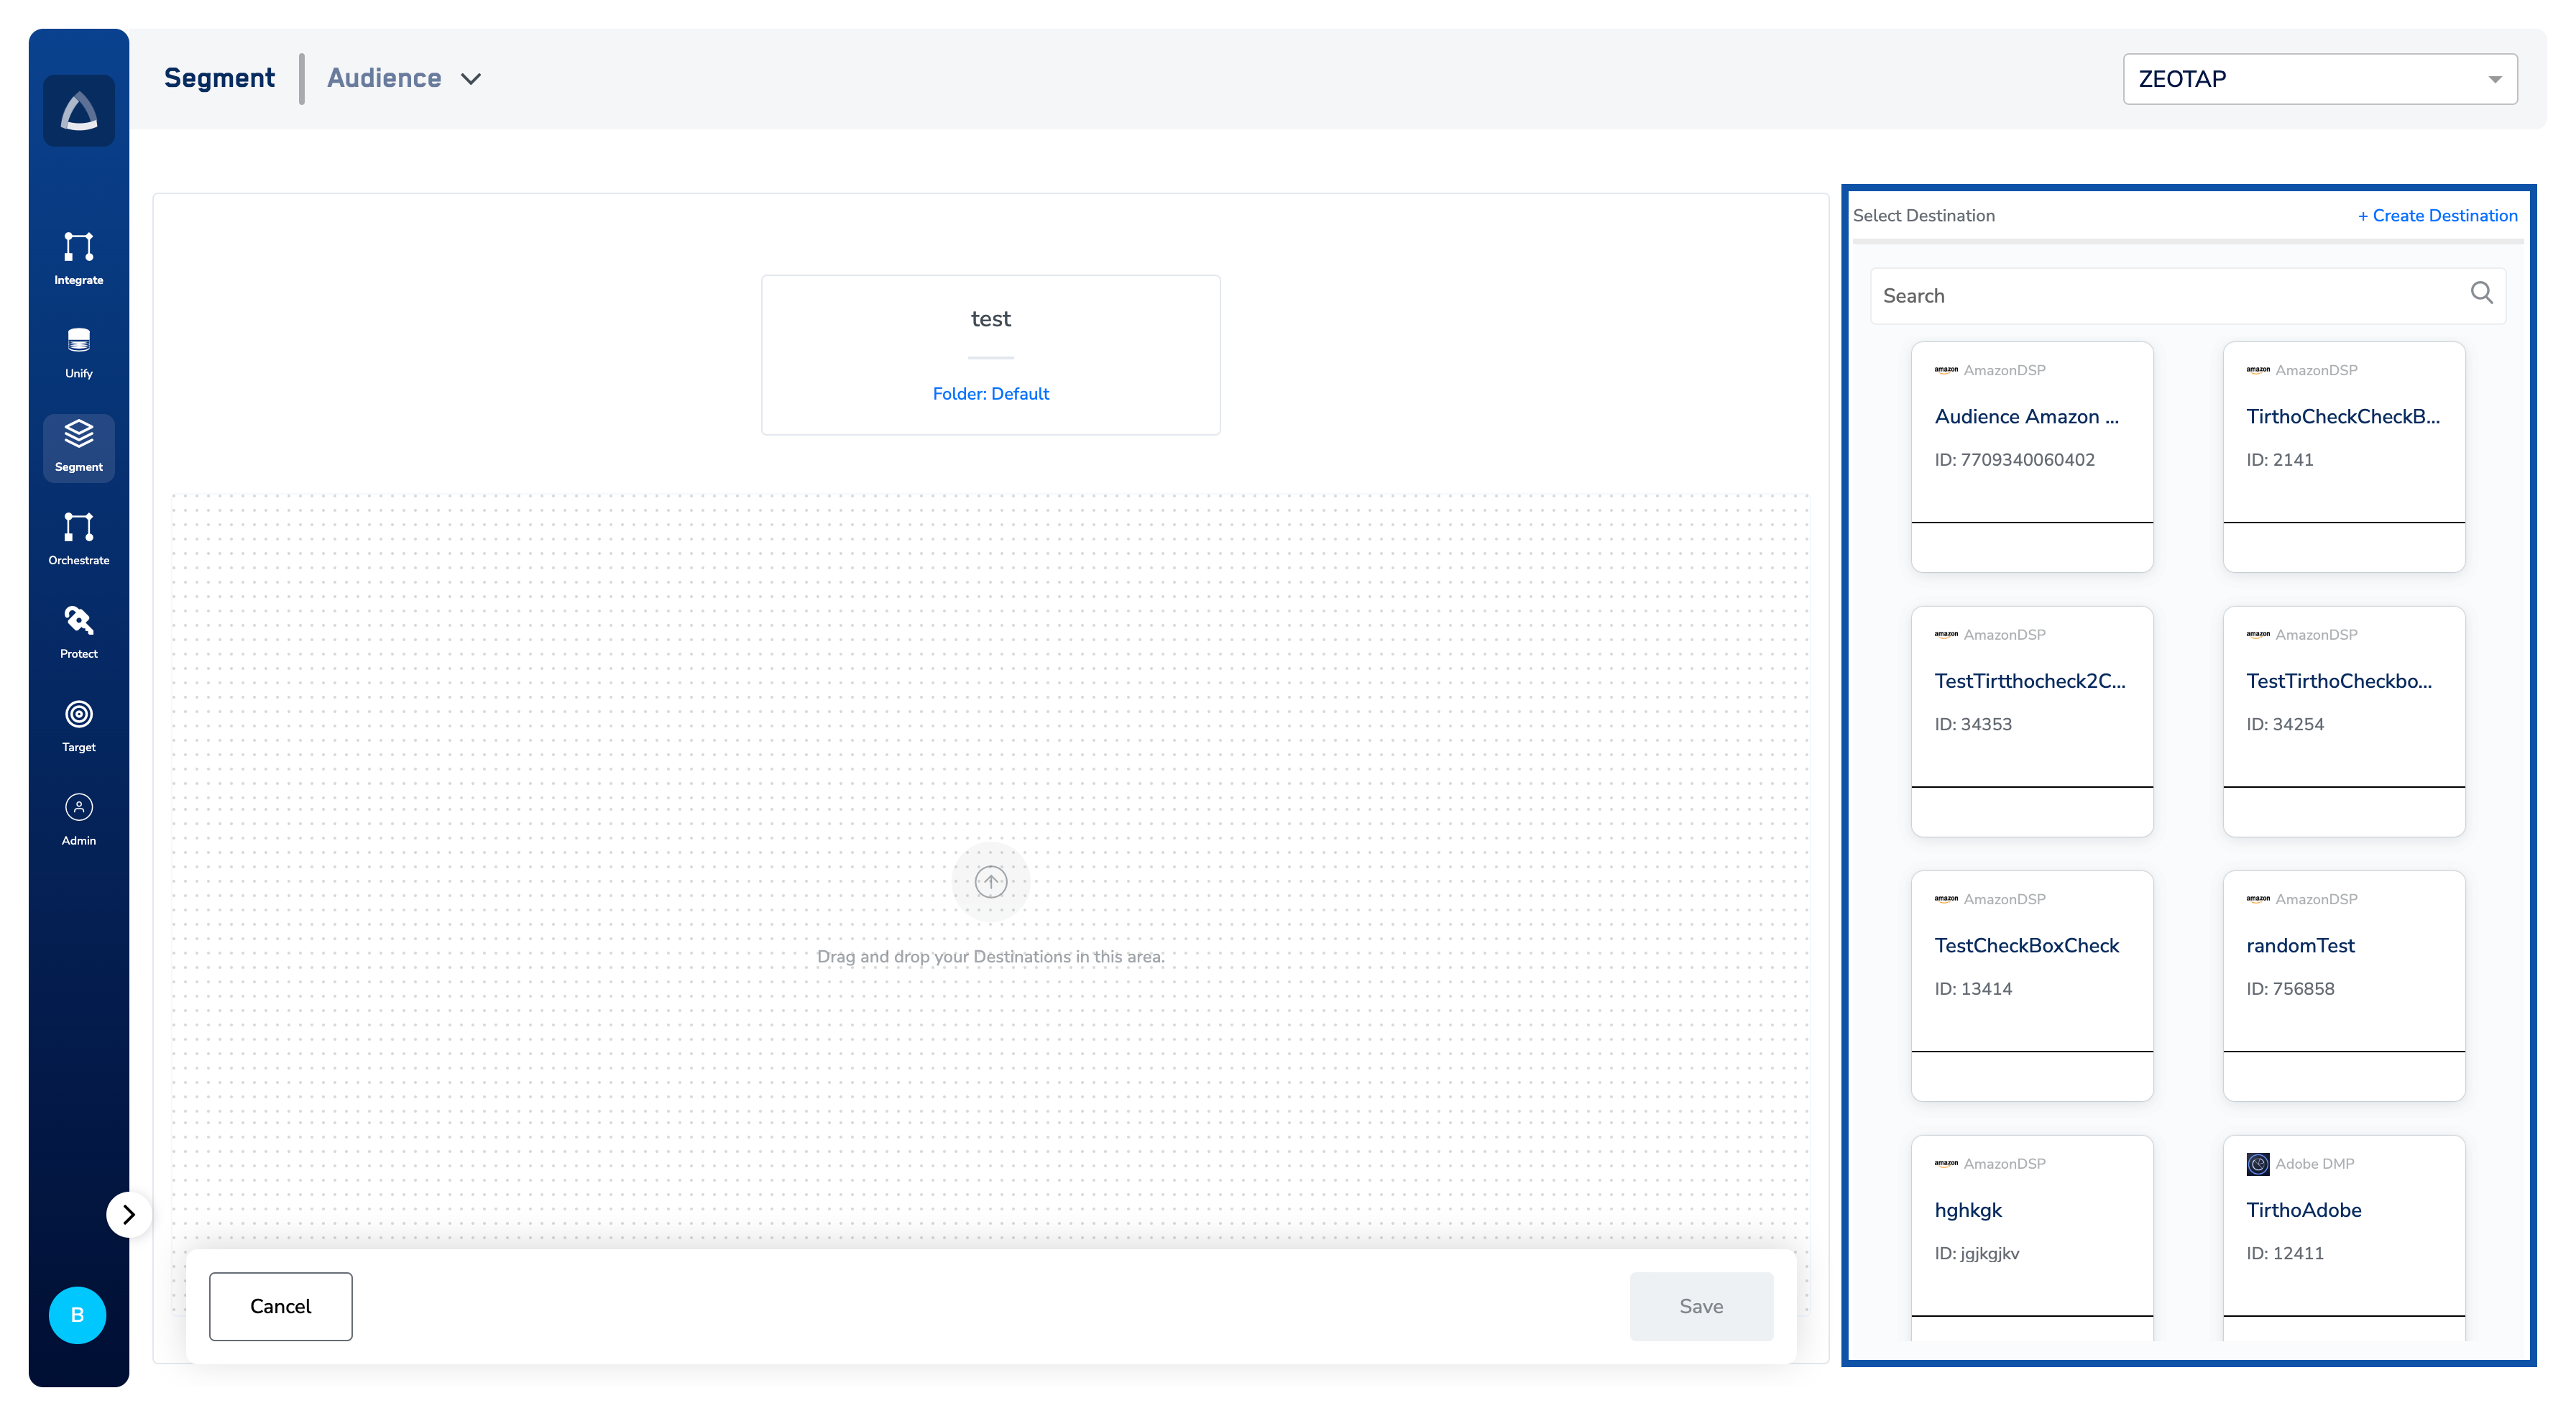
To confirm the destination is ready to use:- Go to Destinations under Integrate. The new destination appears in the destinations list.
- Open any audience — the destination appears in the list of available destinations for activation, ready to activate your cohort of customers.
Troubleshoot
If the destination did not register as expected, work through the conditions below.
If the destination still does not appear or behave as expected after these checks, contact your Zeotap customer success representative. Include:
- The destination name and target platform.
- The action selected under Choose your Action.
- The field mapping you configured under Map the Fields.
- The exact wording of any message shown on the credential or mapping screen.
FAQ
Do I need to create a separate destination for each audience?
Do I need to create a separate destination for each audience?
No. A destination is registered once and then linked to any number of audiences or journeys from the Audiences application.
Can I change the action or field mapping after saving?
Can I change the action or field mapping after saving?
Yes. Open the destination from the Destinations list under Integrate and edit the action or mapping. See Mappings for how to add, edit, or remove identifiers.
Which identifiers can I map to a destination?
Which identifiers can I map to a destination?
Each destination exposes the identifiers its platform accepts — MAIDs, cookies, email IDs, and others. Zeotap displays the default accepted set on the mapping screen, and you can adjust that set within the identifiers the destination supports.
Next steps
- Explore Destination Access Rules → — control which audience and journey folders can activate to a given destination.
- Explore the Batch real-time destination integration → — see a worked example of destination setup for a mobile engagement platform.
- Explore Snowflake source creation → — set up the source side of an end-to-end data flow that feeds the destinations you create here.