Overview
Salesforce Marketing Cloud (SFMC) Personalization, formerly Interaction Studio, allows you to visualise, track and manage customer experiences through real-time interaction management. Using this, you can drive engagement at the right moment, tailored to your audience’s preferences, using customer experiences. Currently, by Integrating with Zeotap CDP, you can send User Profile objects to your SFMC Personalization instance using the Audiences module.Supported Identifiers/Attributes
This integration allows you to send any identifiers and attributes of your choice. However, User ID and Object ID are mandatory.Note:For more information about the limits and capabilities in Marketing Cloud Personalization, including user attribute limits per dataset, user profile object limits, and account profile attribute limits, refer here.
Available Actions and Supported Features
The following table lists the available action types for the integration and the supported features for each action type:| Action Name | ID EXTENSION | DELETE | DELTA UPLOAD |
|---|---|---|---|
| Send attributes to SFMC Personalization | - | ✅ | - |
Prerequisites
Ensure that you have addressed the following prerequisites before starting the integration:-
Create SFTP Account within SFMC
- Create an SFTP account within SFMC. For information about how to create an SFTP account, refer here.
- Obtain the Username, Password, and SFTP Login URL. You need to provide these details when creating a destination in Zeotap CDP.
-
User Profile Objects Configuration
- Configure and enable the user profile object on the Catalog and Profile Objects page in your SFMC instance.
- In your SFMC Personalization instance, create a dataset with related catalog objects and attributes before mapping them in Zeotap CDP. This enables easy transfer of corresponding data from Zeotap CDP.
-
File Requirements
- Format: CSV file.
-
Naming Conventions: Use the following format for the file name:
user-profile-objects-<objectTypeId<->delta/replace>-<file number>.csv- ObjectTypeId: Represents the User Profile Object type in SFMC. For example, Lease, Mortgage and so on.
- File Mode: replace. This replaces the existing data file with a new one each time you upload.
- Sorting: Sort files by identity (For example, userId). For multiple identities, ensure consistent identity values across rows for each user.
-
Data Handling
- Include all necessary information; empty fields may clear existing data.
- Ensure that the upload file references only one object type per file.
Sample File with Multiple Identifiers
Filename: user-profile-objects-Mortgage-delta-1.csv In this example, create attributes such as start date, end date and active status in your SFMC instance before mapping those fields in Zeotap CDP. Note that if you send data from Zeotap CDP to SFMC without first creating these attributes, then the corresponding data will not populate.| identityAttribute | objectId | attribute:startDate | attribute:endDate | attribute:APR | attribute:active | relatedCatalogObject:Mortgage | relatedCatalogObject:Product | remove |
|---|---|---|---|---|---|---|---|---|
| [email protected] | mortgage1 | 2022-01-01T00:00:00.000Z | 2024-01-01T00:00:00.000Z | 0.4 | TRUE | fixedRateMortgage | debitCard | |
| [email protected] | mortgage2 | 2022-01-01T00:00:00.000Z | 2024-01-01T00:00:00.000Z | 0.25 | TRUE | adjustableRateMortgage | creditCard | |
| user103925 | mortgage3 | 2022-01-01T00:00:00.000Z | 2026-01-01T00:00:00.000Z | 0.3 | TRUE | conventionalLoan | creditCard | |
| personalizationuser | mortgage5 | TRUE |
Create a Destination for SFMC Personalization
Perform the following steps to create a Destination for SFMC Personalization: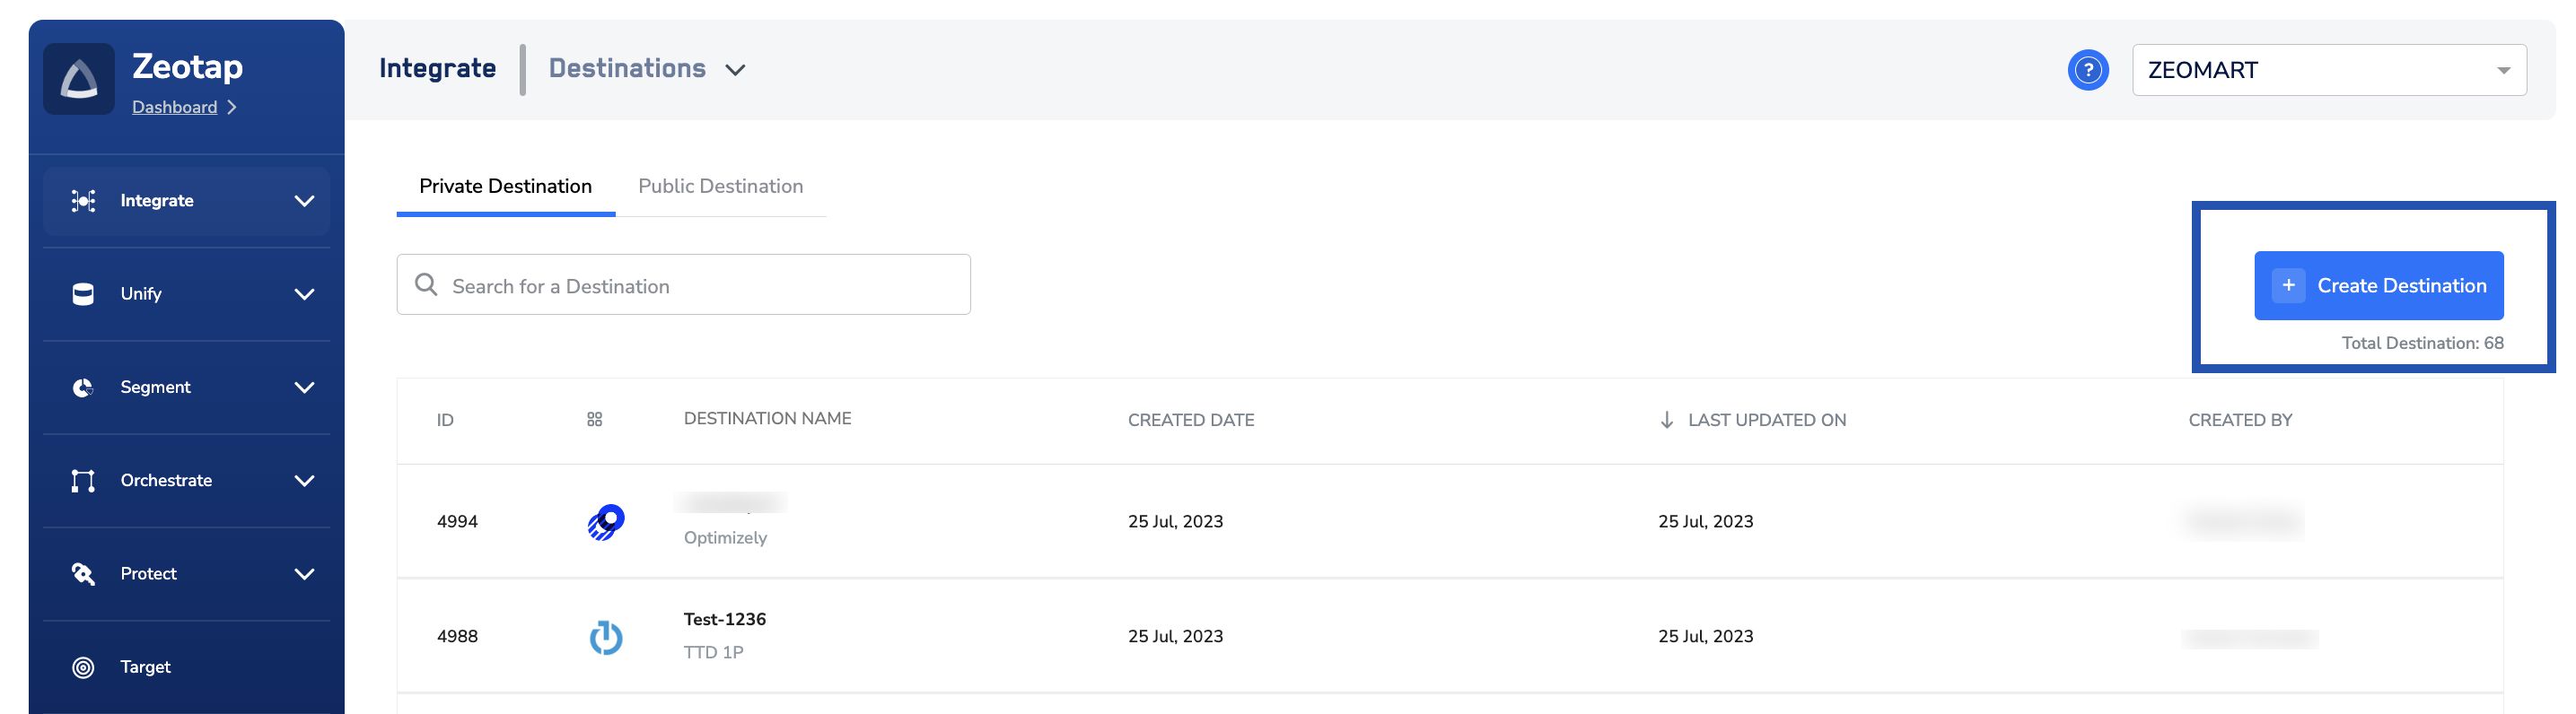
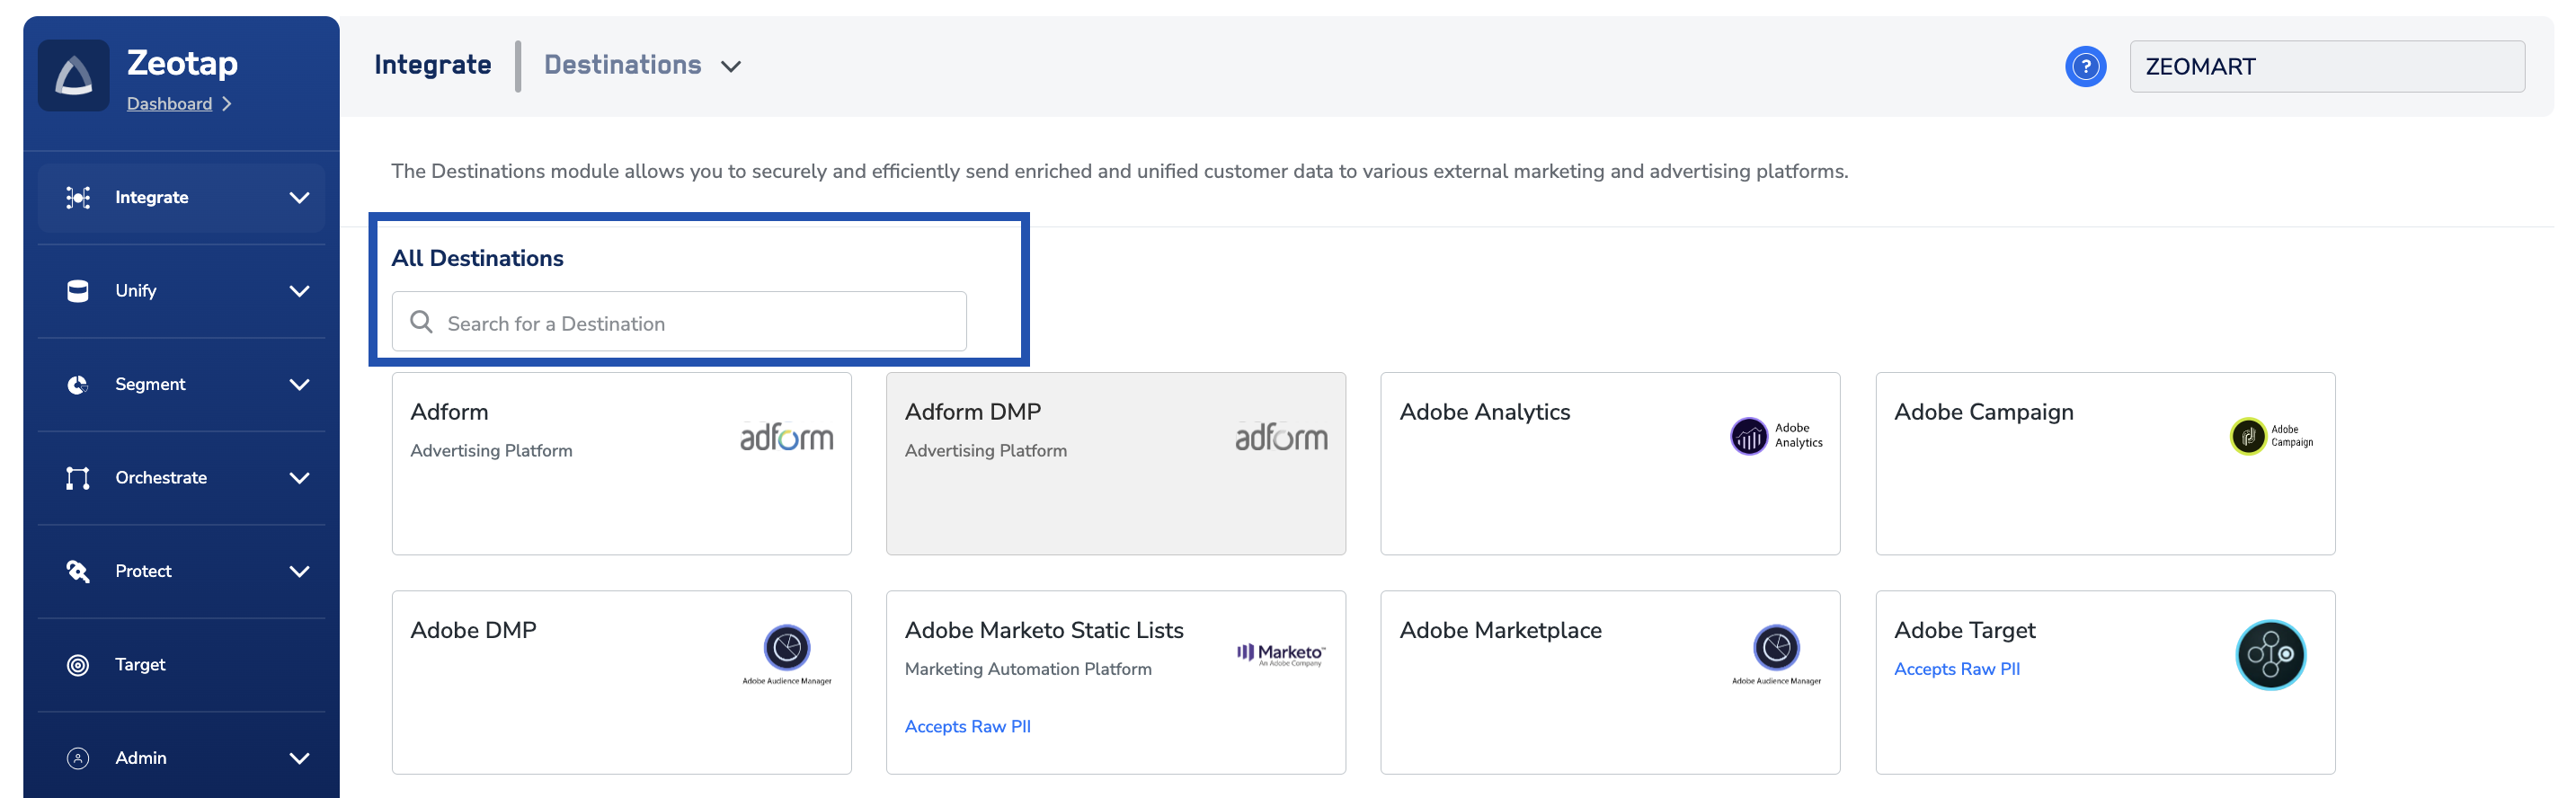
Click SFMC Personalization. A screen appears displaying details about the particular destination towards the left. On the right-hand side of the screen find a list of fields that are required for the integration to be established. Enter the required details as mentioned in the following steps:a. Enter a descriptive name for the Destination.
b. Provide the Object Type ID. This represents your User profile object type in SFMC. For example, Lease, Mortgage and so on.
c. Under SFTP Host, provide the SFTP Login URL. You can obtain this after creating an SFTP account within your SFMC instance. Learn more
d. Provide the SFTP Username and Password in the respective fields. Learn more
e. Click Next to proceed to Actions and Mapping.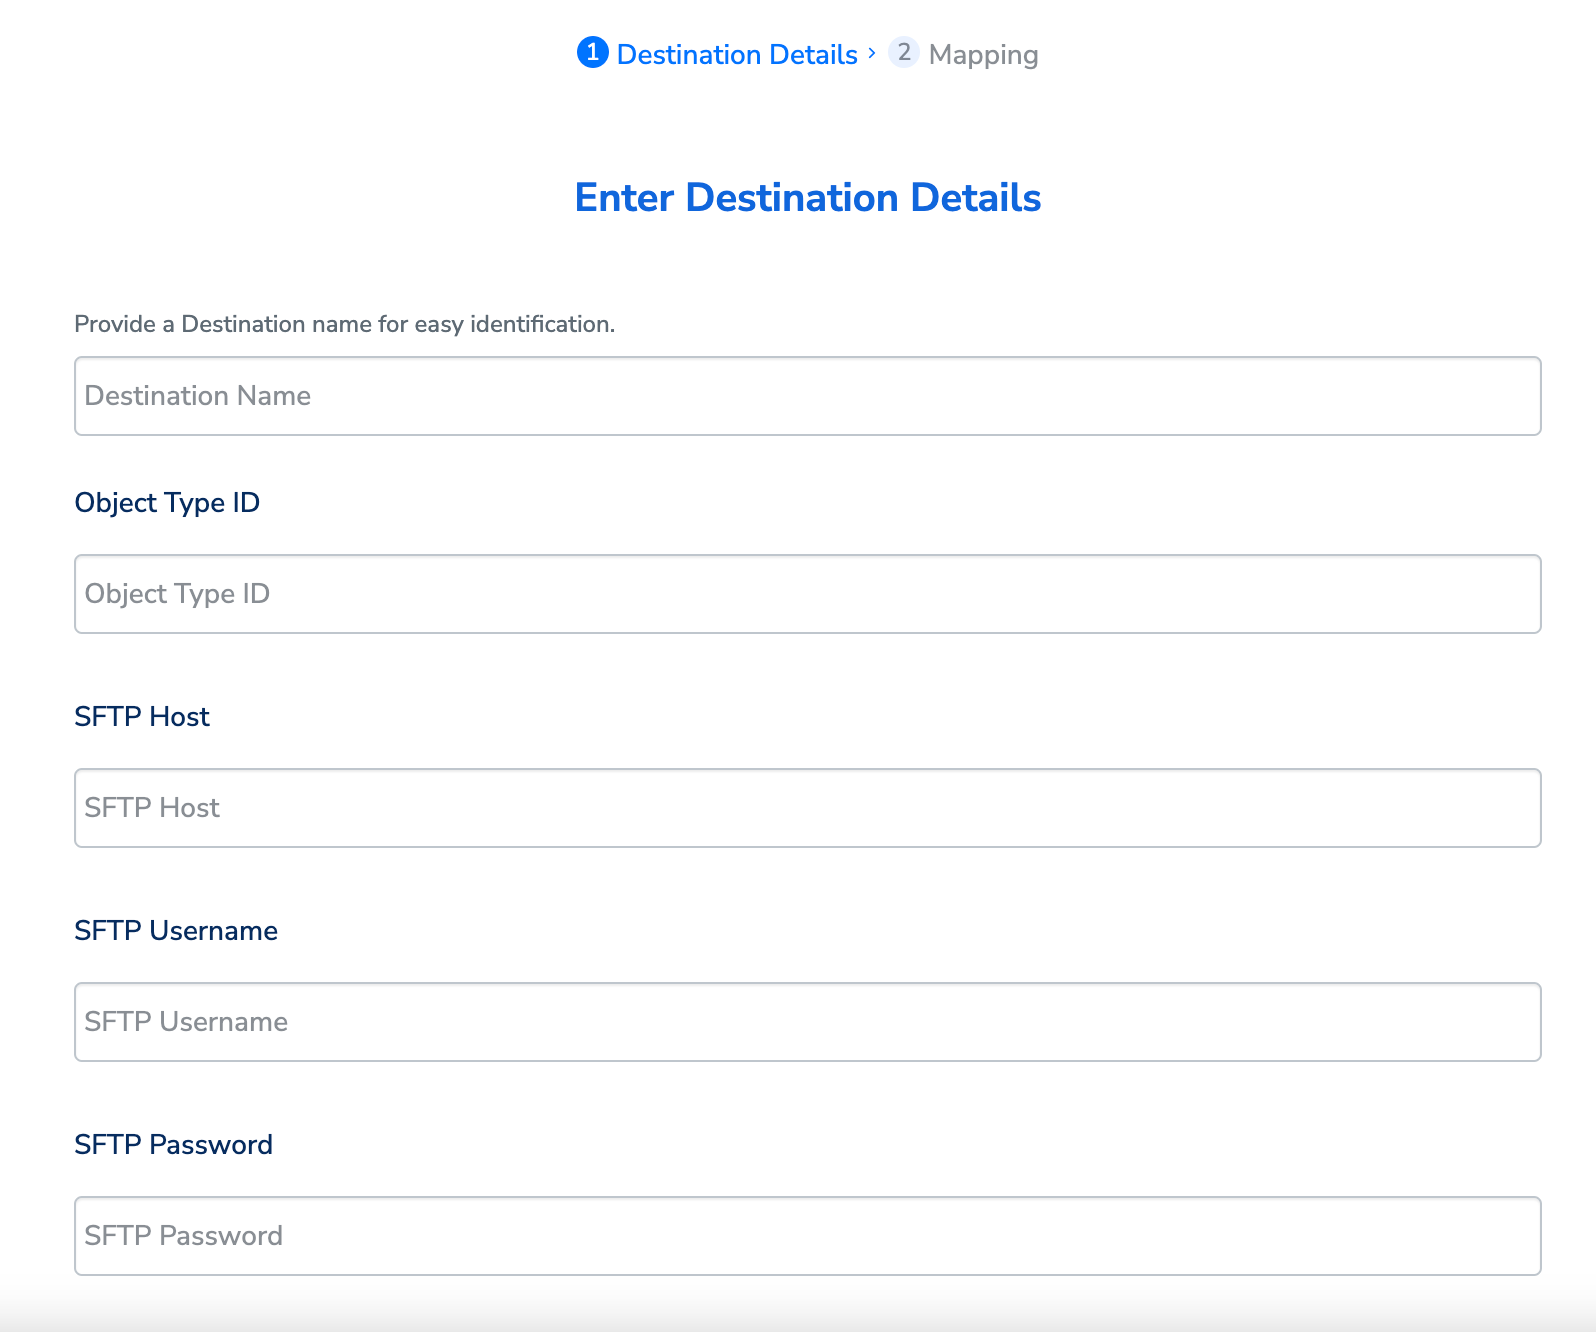
In the new screen that appears, under Choose your Action, choose Send attributes to SFMC Personalization as your action. Under Map the Fields, you can map the desired identifiers and attributes to send to your SFMC instance. Note that you must map the User ID and Object ID. Otherwise, you cannot proceed.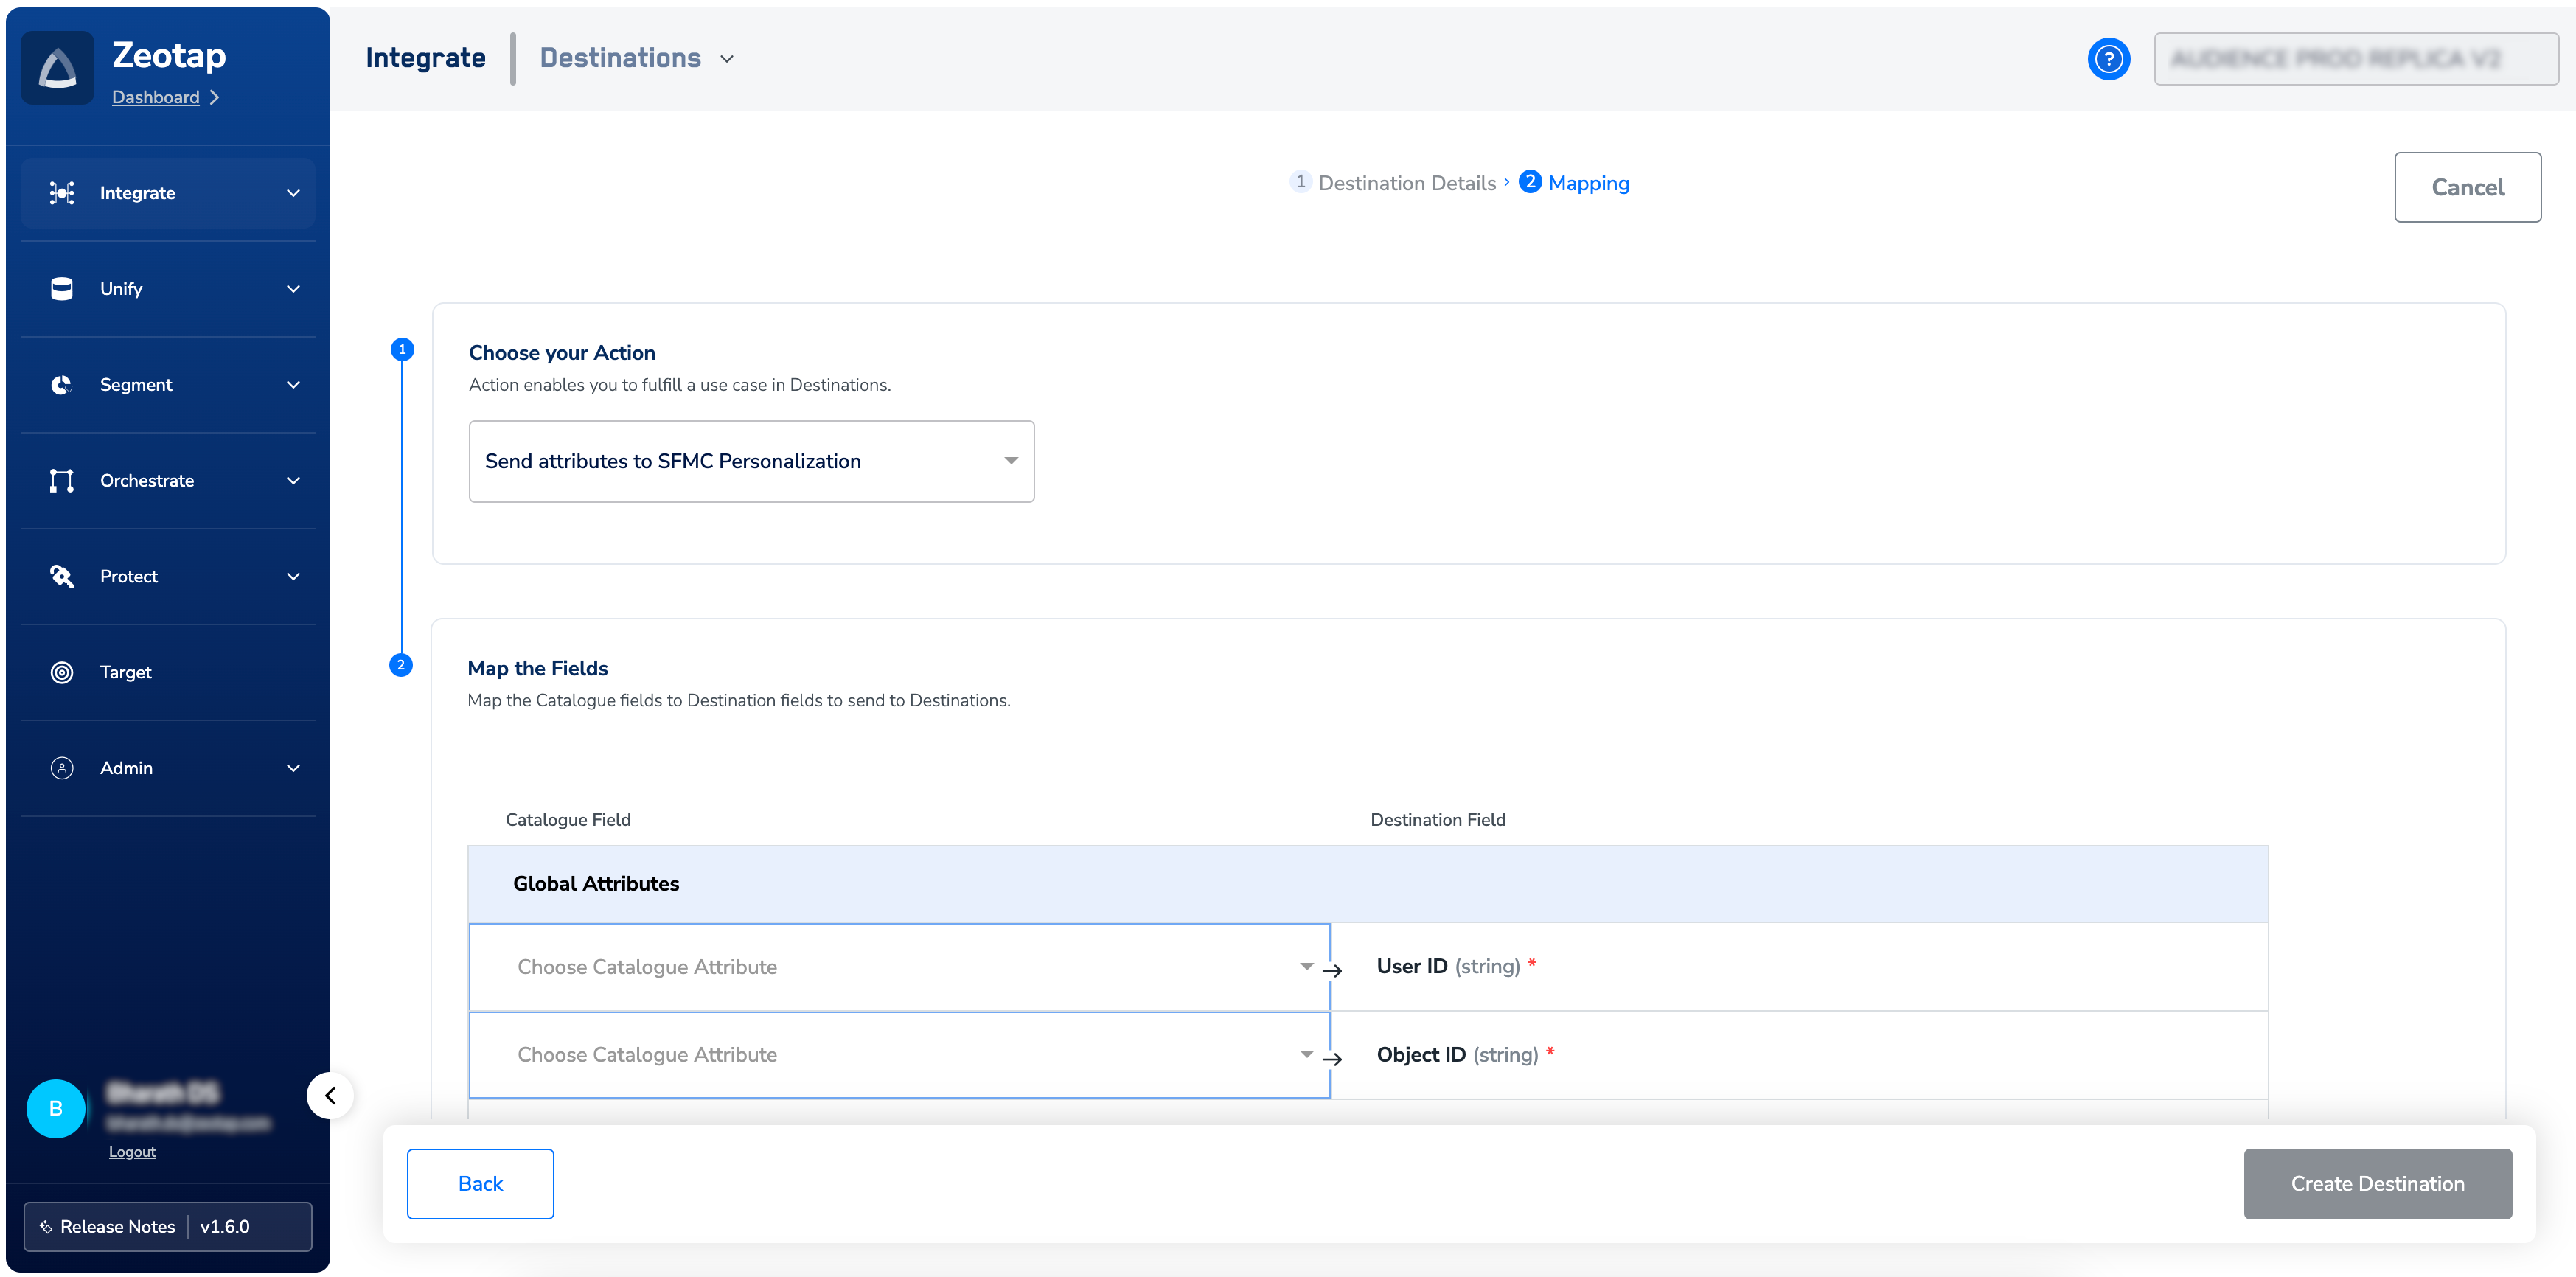
Link an Audience to the SFMC Personalization Destination
For information about how to link an Audience or segment to the created Destination in Audiences application, refer here.Note:The terms Audiences and Segments are used interchangeably to refer to customer cohorts belonging to a specific category. For example, an Audience or a segment could be a specific group of customers who are over 18 years of age and who have performed an
addToCart event within the last 30 days.