Overview
SFTP (Secure File Transfer Protocol) is a protocol for securely transferring files between a client and a server over a network. By integrating SFTP with Zeotap CDP, you can securely transfer audience data to an SFTP server, enabling you to retrieve it for targeting and other use cases.Supported File Format
This integration supports transfer of data in either CSV or JSON format.Prerequisites
Ensure that you obtain the following details related to your SFTP account from your IT team before creating a Destination:- SFTP Port - This is a specific communication endpoint on the host that the SFTP service uses.
- Destination Instance Name - This can be an internal name for the Destination.
- SFTP Host - This represents the server or the computer where the SFTP service is running. It is typically an IP address or a domain name.
- SFTP Username and SSK Key/Password - These are credentials like Email Address and Password for accessing your SFTP account.
- Folder - This is the file path of your SFTP storage location to which Zeotap CDP can push your data. Ensure that the folder path is an absolute path like
/home/user/data/, not a relative path like../data/.
Create a Destination for SFTP
Perform the following steps to create a Destination for SFTP:
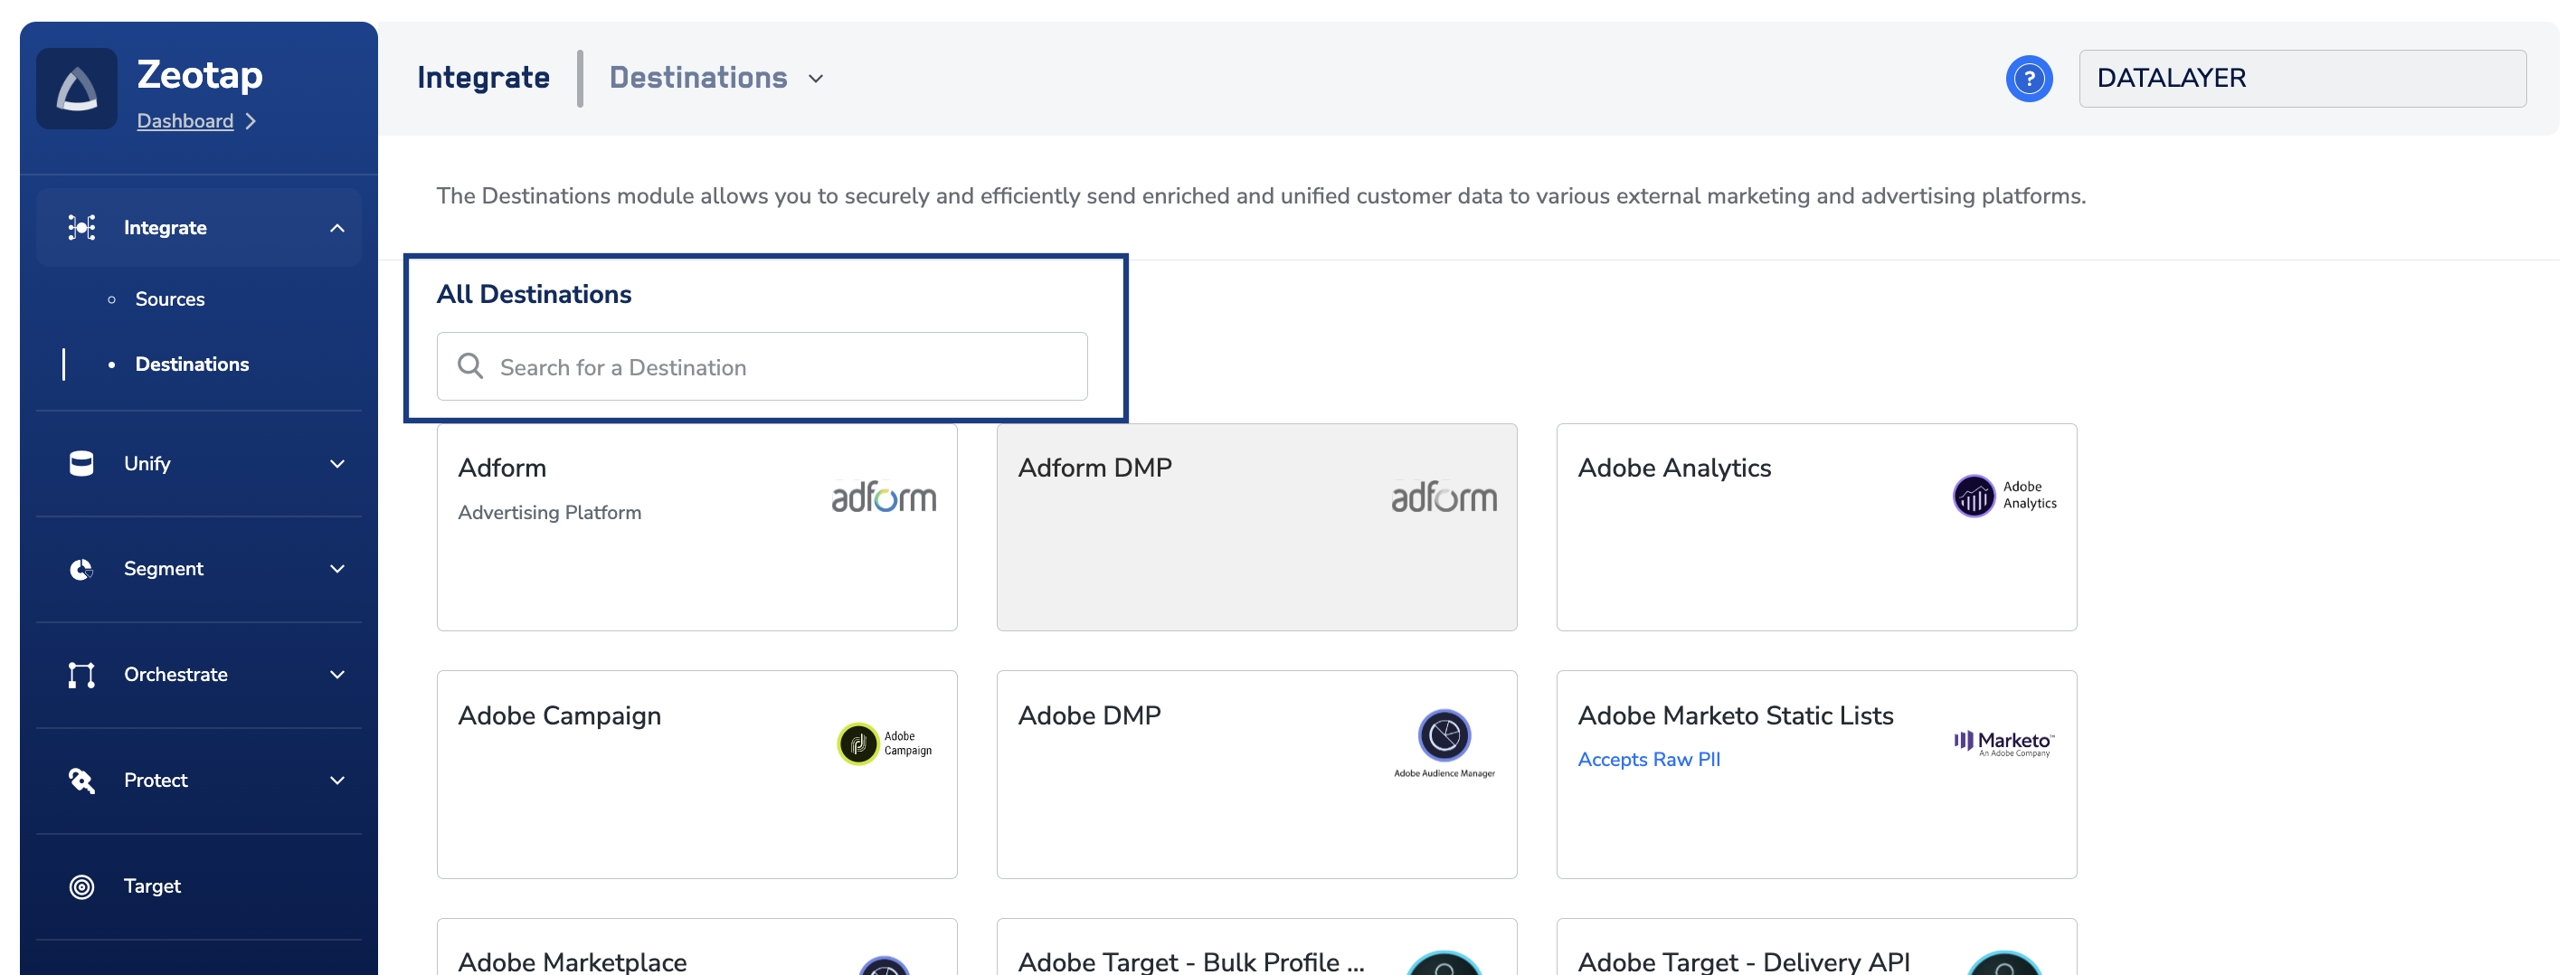
Click SFTP. A screen appears displaying details about the particular destination towards the left. On the right-hand side of the screen find a list of fields that are required for the integration to be established. Enter the required details as mentioned in the following steps:a. Enter a name for the Destination.b. Enter the SFTP Port, Destination Instance Name, SFTP Host details, SFTP Username in the respective fields. Ensure that your obtain these from your IT team.c. Under Folder, Enter the file path of your SFTP storage location to which Zeotap CDP can push your data. Ensure that the folder path is an absolute path like 
Example File Name:
/home/user/data/, not a relative path like ../data/.d. Under Filename Prefix, enter a text value without special characters, such as underscores (_), spaces, or symbols (#, @, $, %, &, *). Note that the file name follows the format: ${filenamePrefix}part-${sequence}_${destinationAudienceId}_${timestamp}.csv, where the timestamp is in yyyyMMdd-hhmmssSSS format and destinationAudienceId is the ID associated with your audience (segment) in Zeotap CDP, which is generated by the Zeotap CDP after the audience (segment) is linked to a Destination.| Variable | Description |
|---|---|
filenamePrefix | The prefix for the file name, typically indicating the context or purpose of the file (e.g., the segment or export type). |
_json_ | For a JSON file, “_json_” will be added after the filename prefix and before the part sequence. |
part-${sequence} | A sequential number or identifier indicating the part or chunk number if the data is split across multiple files. |
${destinationAudienceId} | The unique ID assigned by Zeotap CDP to the audience (segment) after it is linked to a Destination. |
${timestamp} | The date when the file is generated, formatted as yyyyMMdd-hhmmssSSS . |
.csv/.json | The file extension, indicating that the file is in CSV (Comma-Separated Values)/JSON format. |
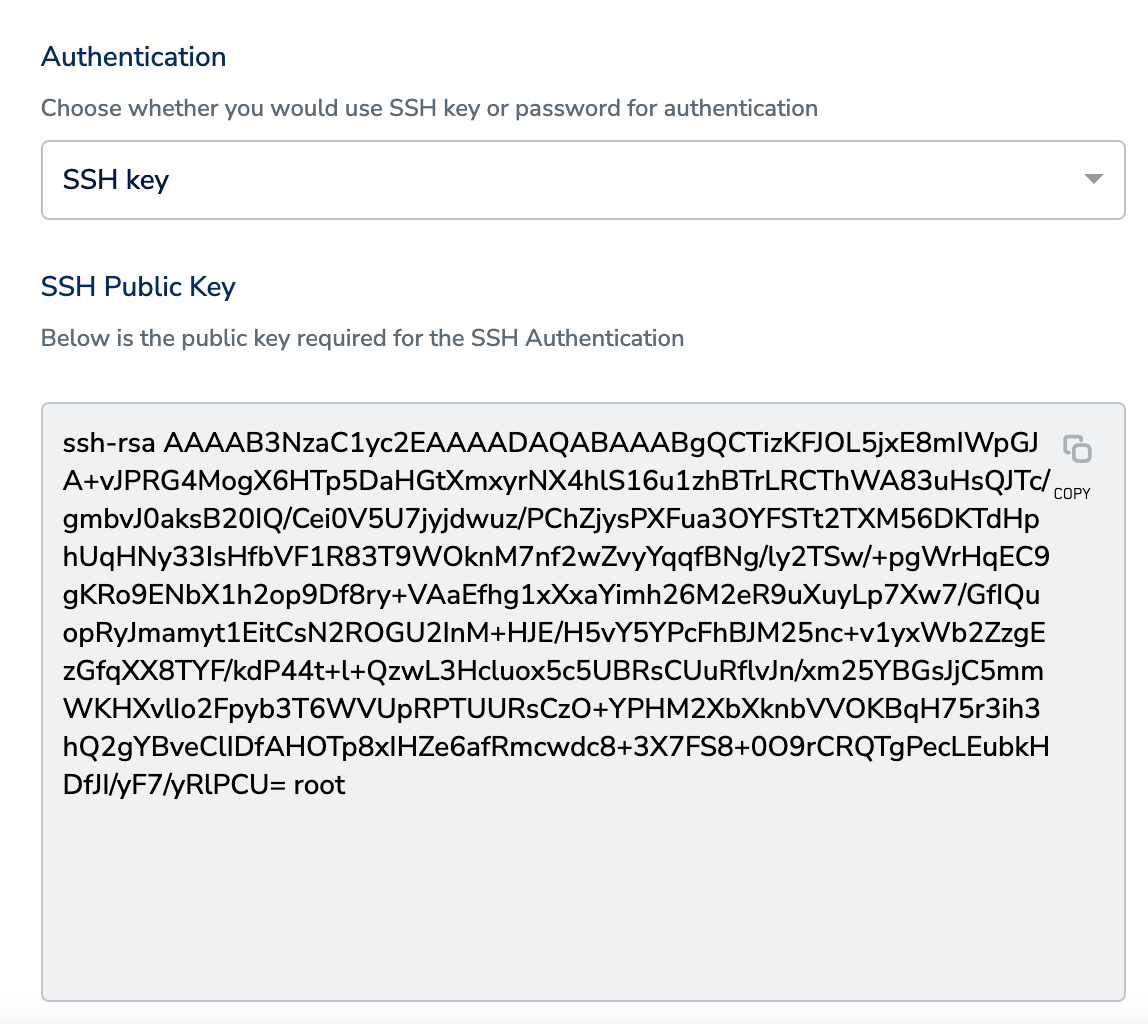
exportpart-01_894548842_20250113-113649855.csv/ export_JSON_part-0_14534354564740_20250113-113649855.jsone. Under Authentication, choose whether you want to use a SSH Key or Password for authenticating your requests on SFTP.i. If you choose SSH Key as your authentication method, then copy the SSH Public Key displayed and use it for authentication on your SFTP server.- Note - SSH-2 version is used for authentication in Zeotap.
In the Actions and Mapping screen that appears, choose either Send JSON file to SFTP or Send CSV file to SFTP as the action for activating your audience (segment) on the Audiences module. Under Map the Fields, ensure that you map the relevant Catalogue fields to the Destination fields. Note that you can send any data except event data through this integration.a. Note on “Send CSV file to SFTP”:i. When using the Send CSV file to SFTP option, lists of objects will not be flattened.For example, if the following field is received:Then the column name in the CSV will be: order_shipped And the value in that column will be:
Link an Audience to the SFTP Destination
For information about how to link an audience or segment to the created Destination in Audiences application, refer here.Note:The terms Audiences and Segments are used interchangeably to refer to customer cohorts belonging to a specific category. For example, an Audience or a segment could be a specific group of customers who are over 18 years of age and who have performed an
addToCart event within the last 30 days.