What this is
The Sendinblue (Brevo) destination sends data out of Zeotap CDP to Brevo: an audience built in Zeotap CDP is delivered to Brevo as a List of contacts inside a Folder that you nominate. Nothing flows back from Brevo into Zeotap CDP. Brevo — formerly Sendinblue — is a marketing automation platform that offers email marketing, SMS marketing, chat, CRM and automation features to help businesses engage with their audience effectively. Integrated with Zeotap CDP, it enables you to create Lists (segments) and activate them on Sendinblue (Brevo). For example, as a marketer you can use this integration to push a list of customers who signed up for an early-bird programme into Brevo, so you can tell them about the upcoming offering in the months that follow and keep them engaged and up to date.This page covers the batch destination, where a Zeotap audience is delivered to a Brevo List. Brevo also has a real-time destination that adds a user to a Brevo contact list from a journey as events occur — see Brevo. Both are outbound; there is no Sendinblue (Brevo) source page to pair with this one. The two names refer to the same vendor, which is why the product appears in the docs under both Sendinblue (Brevo) and Brevo.
Key concepts

- Folders in Sendinblue (Brevo) are the containers that store the Lists (segments). A Zeotap destination writes into one Folder, which you name when you create the destination.
- Lists are the segments or cohorts of customers created in the Zeotap CDP Audiences module and then pushed into a Folder on the Sendinblue (Brevo) platform.
- Contacts are the individual people in Brevo. For this integration, these are email addresses.
Supported identifiers and actions
This integration supports email addresses and custom attributes. The following table lists the available action types for the integration and the supported features for each action type:- Send identifiers to Sendinblue (Brevo) sends raw email addresses.
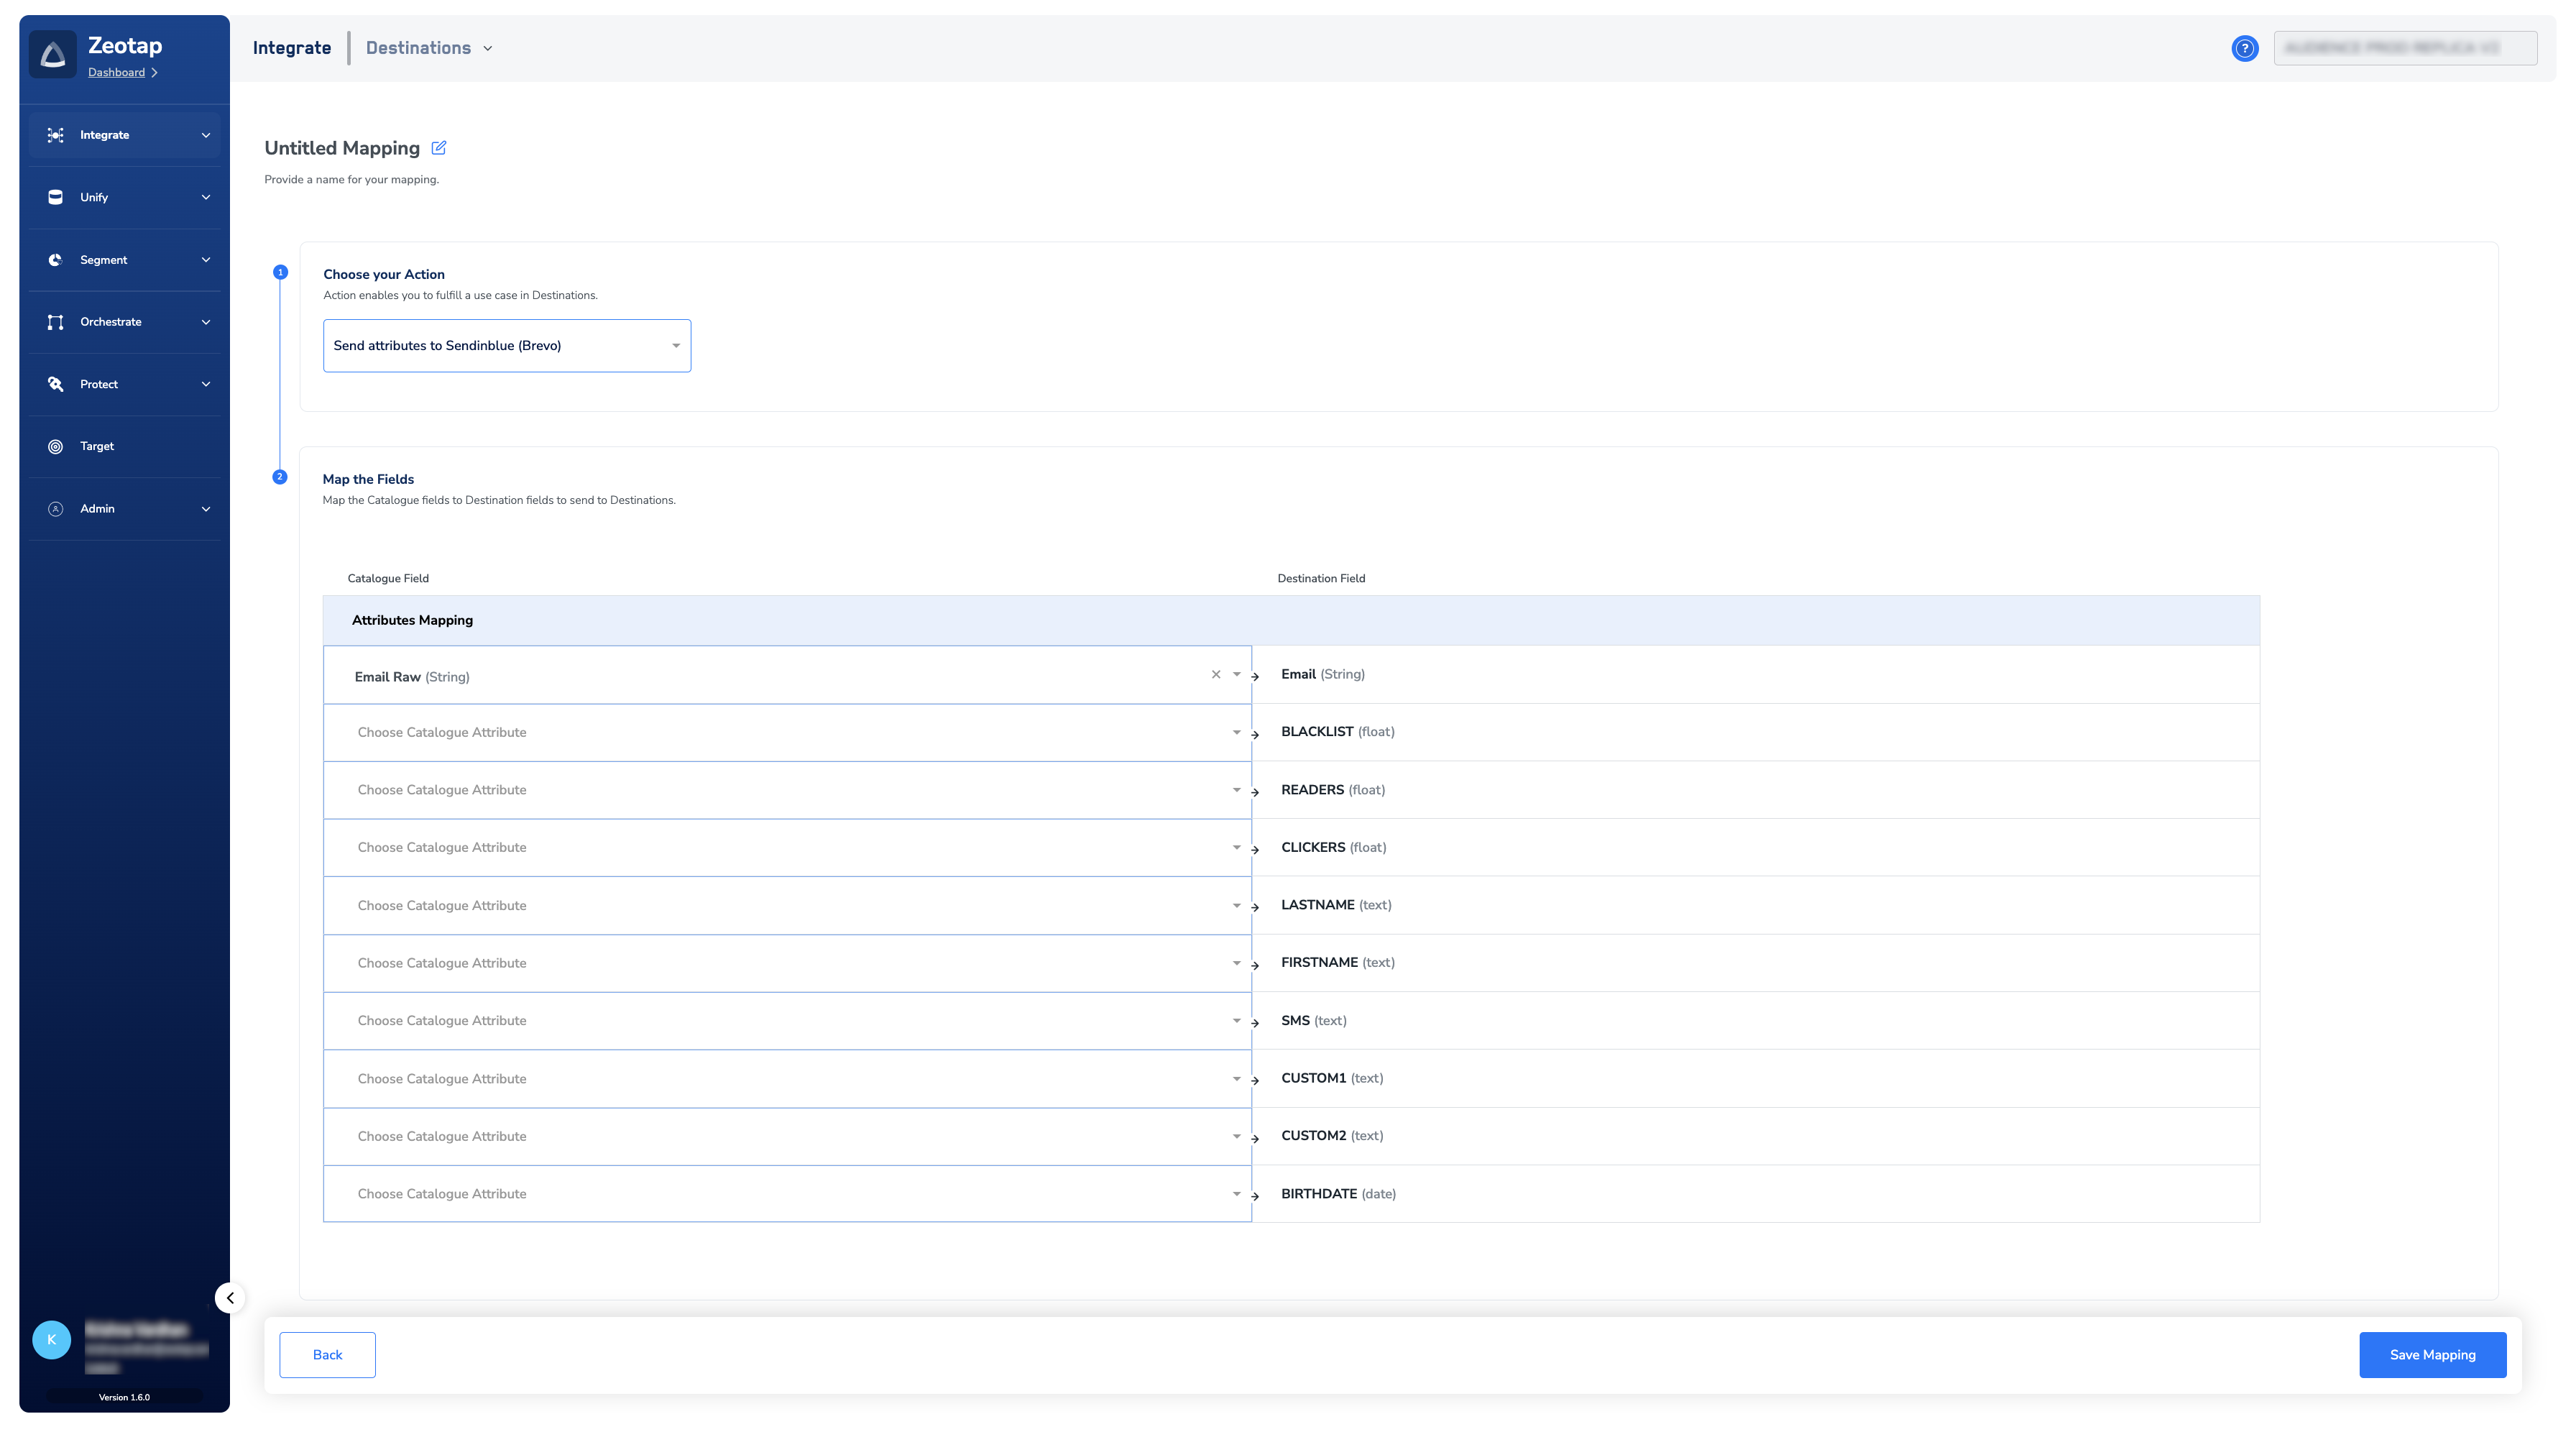
- Send attributes to Sendinblue (Brevo) sends raw email addresses together with any custom attributes you map.
Prerequisites
- An active account on Sendinblue (Brevo).
- A Brevo API key with user data permissions enabled — see Get a Brevo API key.
- The name of the Brevo Folder that you want Zeotap to write into. Segments and cohorts of customers are stored in a folder structure in Brevo.
- For the Send attributes to Sendinblue (Brevo) action, the custom attributes you intend to map must already exist on the Brevo platform. See Add custom attributes.
- An audience defined in Zeotap CDP, plus the upstream setup every destination needs — see Destinations prerequisites.
Get a Brevo API key
The API key is the key associated with the Sendinblue (Brevo) account to which Zeotap sends data. You can find it in the Sendinblue (Brevo) console under your account menu (top right) → SMTP & API → API Keys. The user data permissions need to be enabled for the API key to work. If your existing API key does not have these permissions, create a new key:1
Log into the Sendinblue (Brevo) console.
2
Under your profile details, click SMTP & API.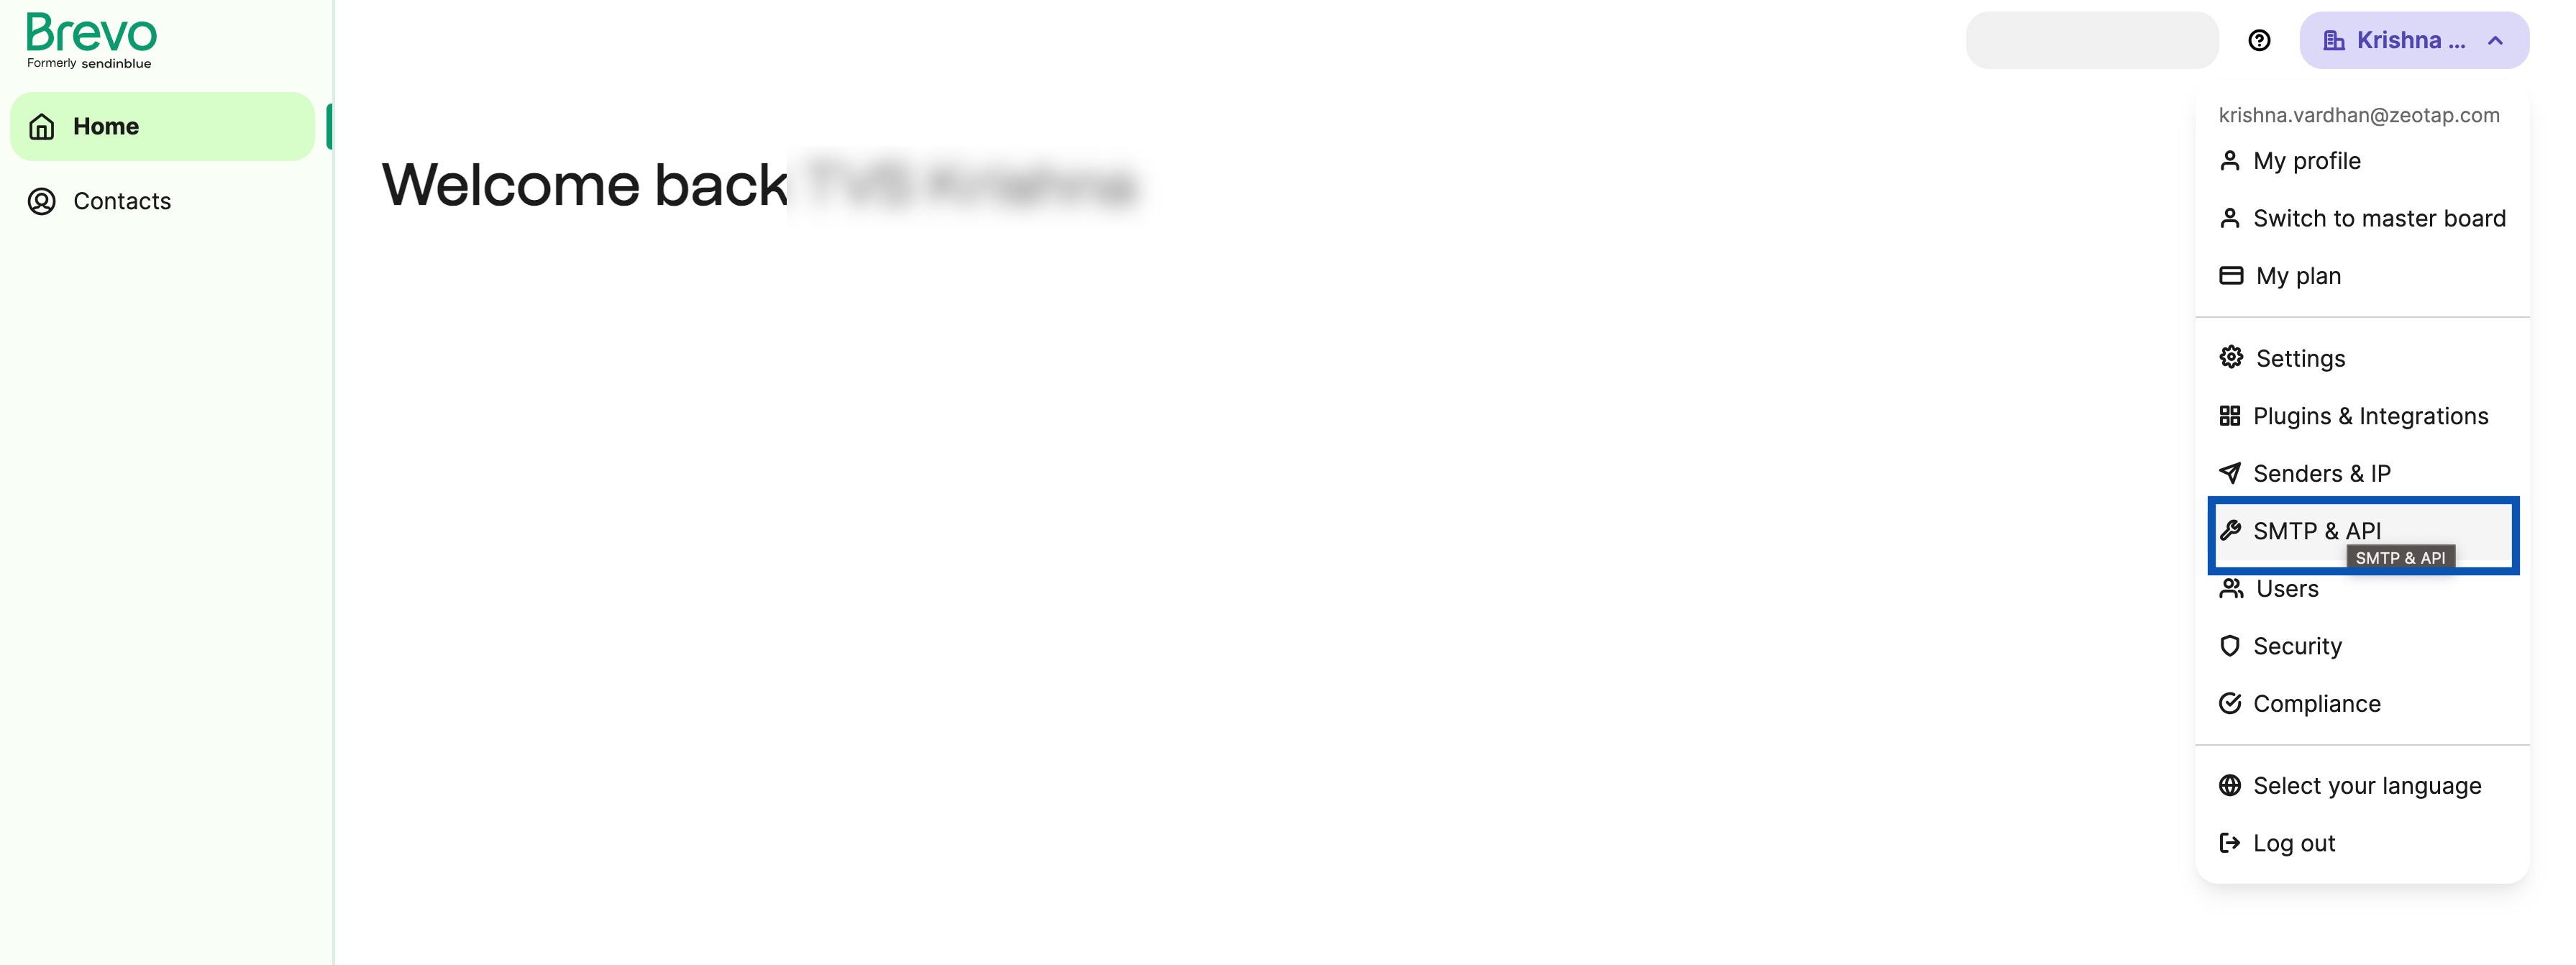
3
In the new screen, go to the API Keys tab and then click Generate a new API key.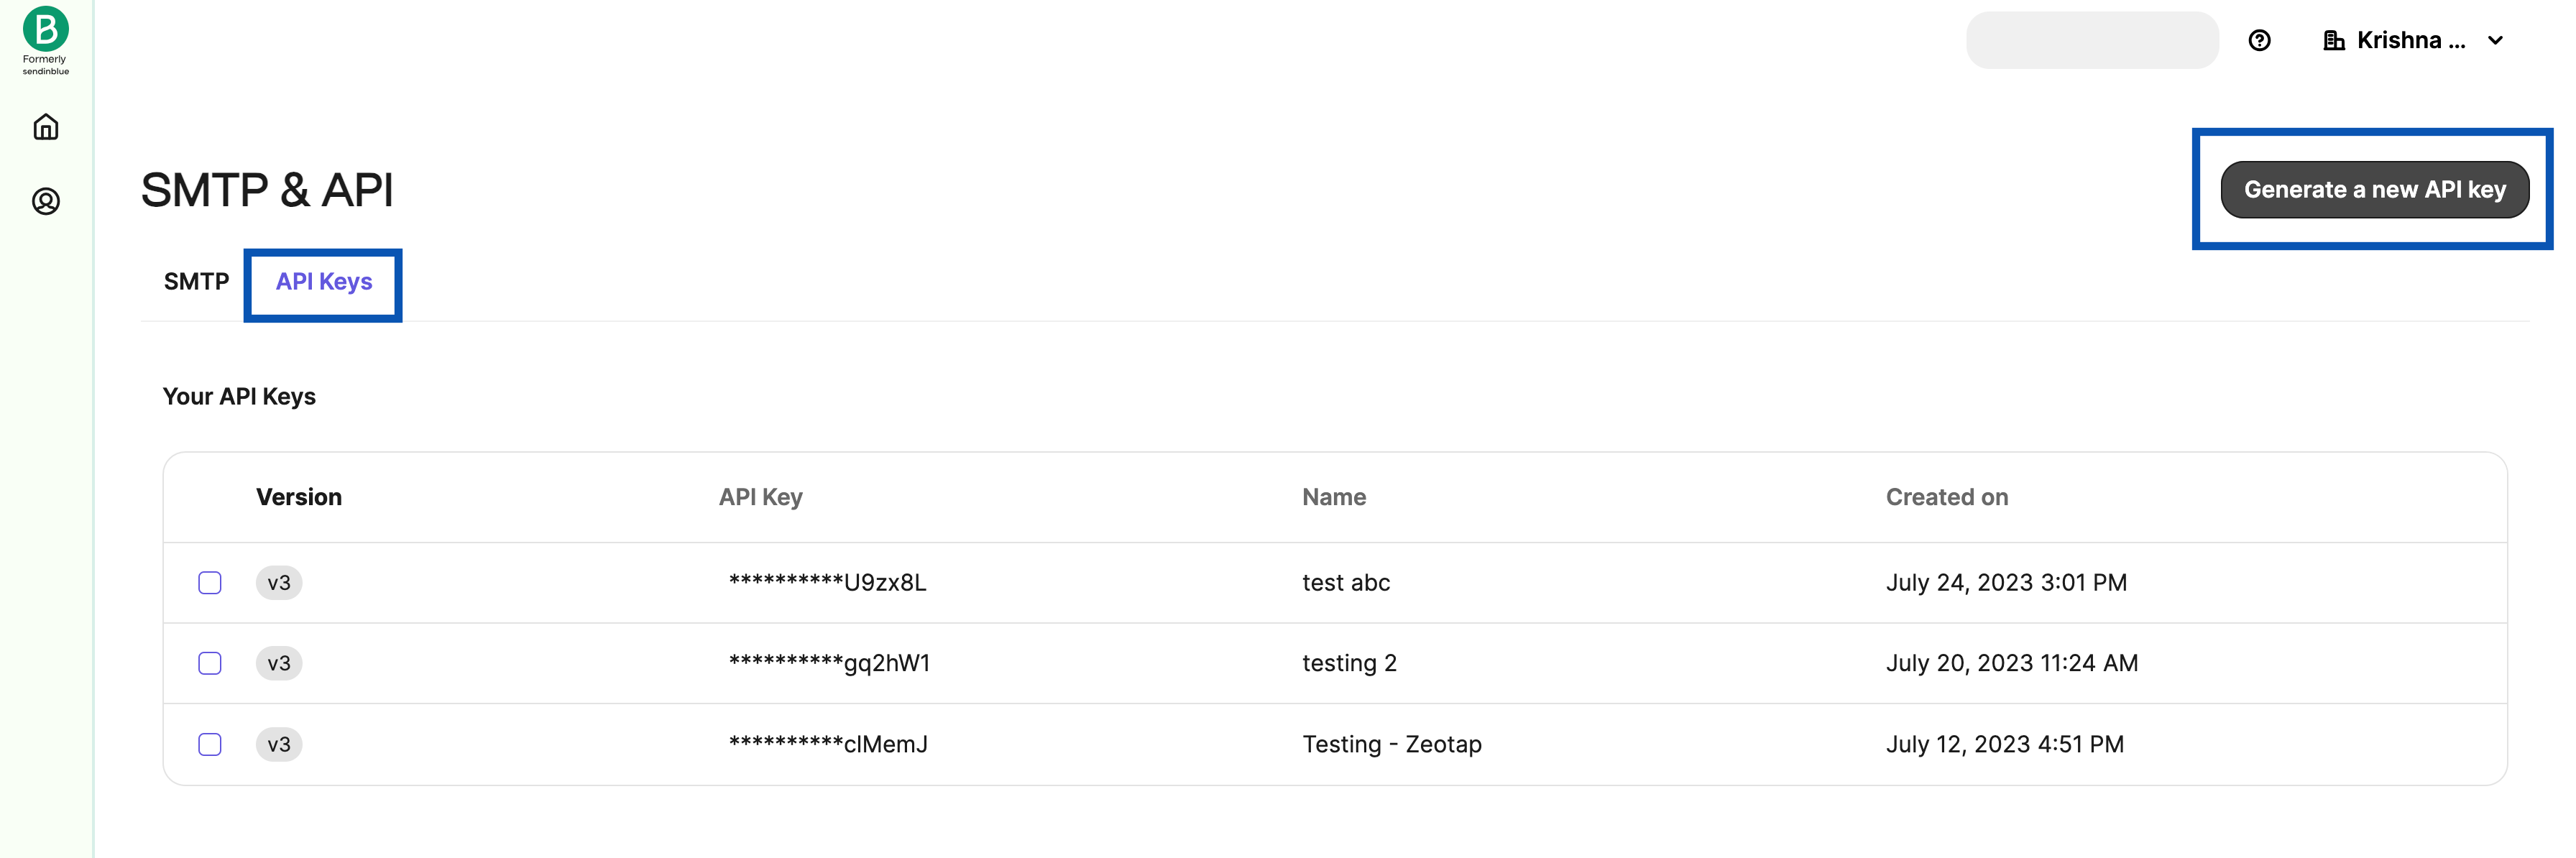
4
A window appears where you enter a name for the API key you want to generate. Once entered, click Generate.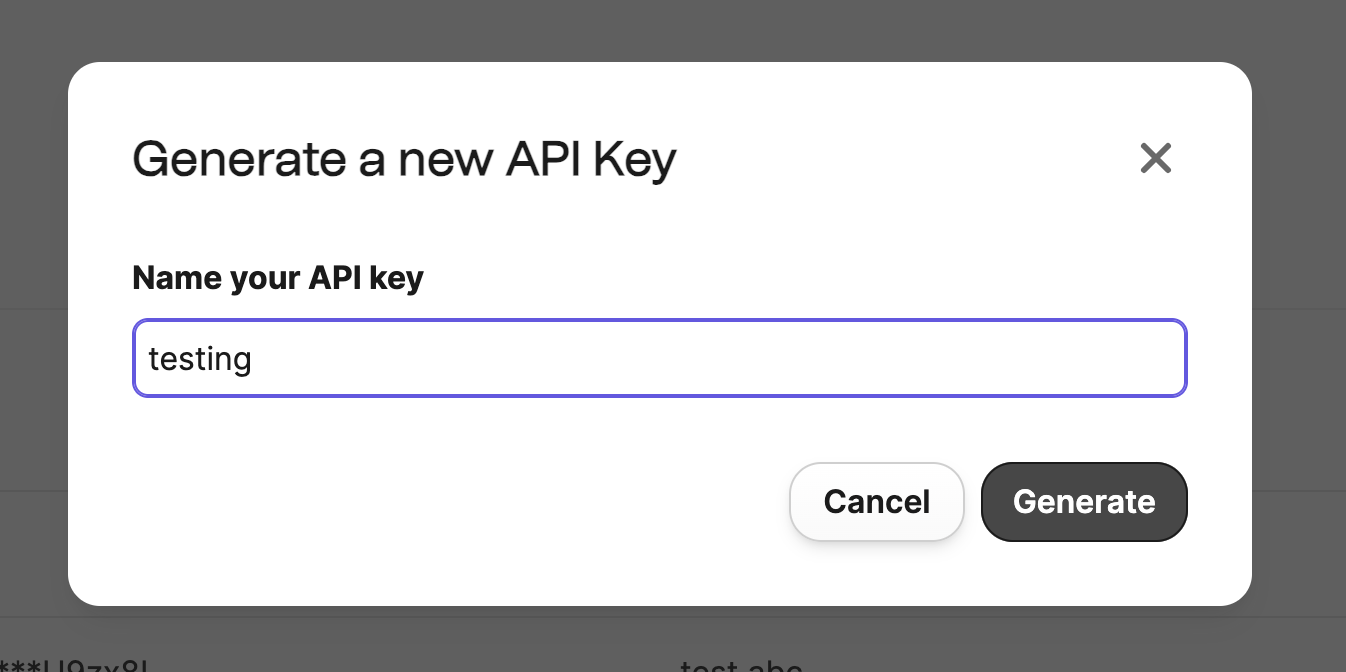
5
Copy the API key that is displayed on the screen and store it somewhere safe. Once you exit this window, Brevo does not show the key again.
Create the Sendinblue (Brevo) destination
1
Log into the Zeotap CDP app and go to Integrate → Destinations.
2
Click + Create Destination.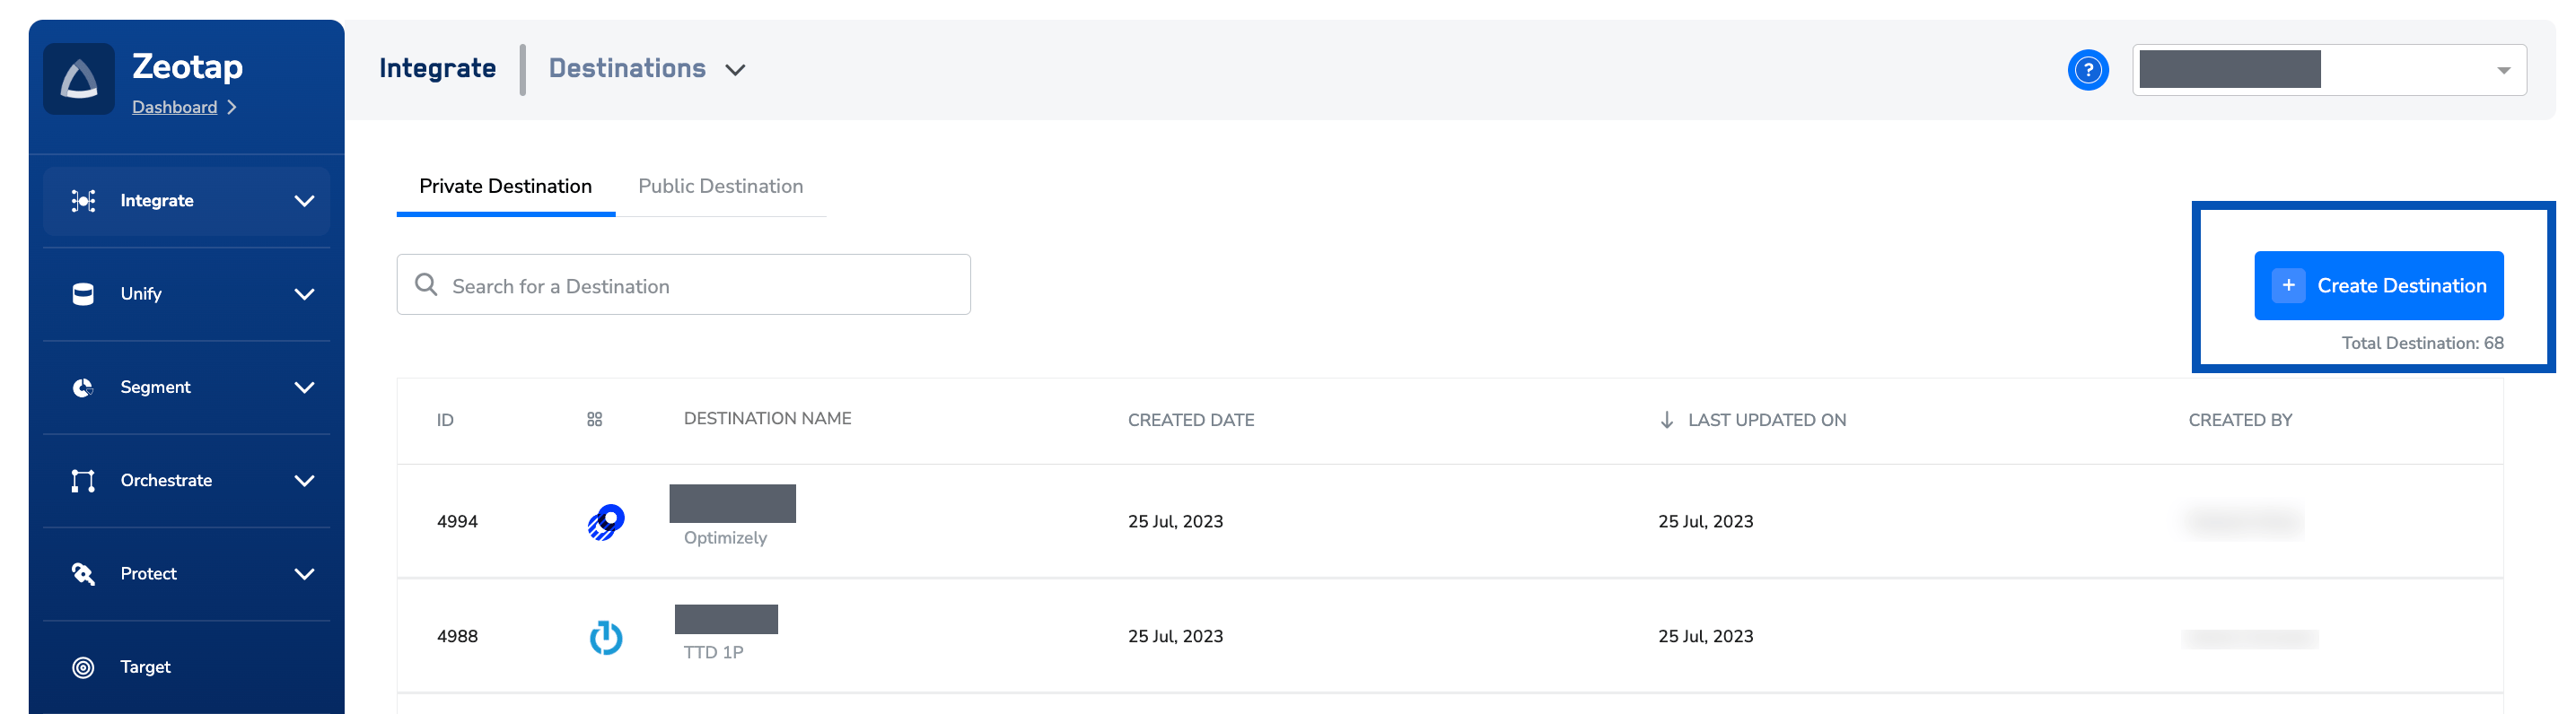
3
Under All Destinations, search for Sendinblue (Brevo).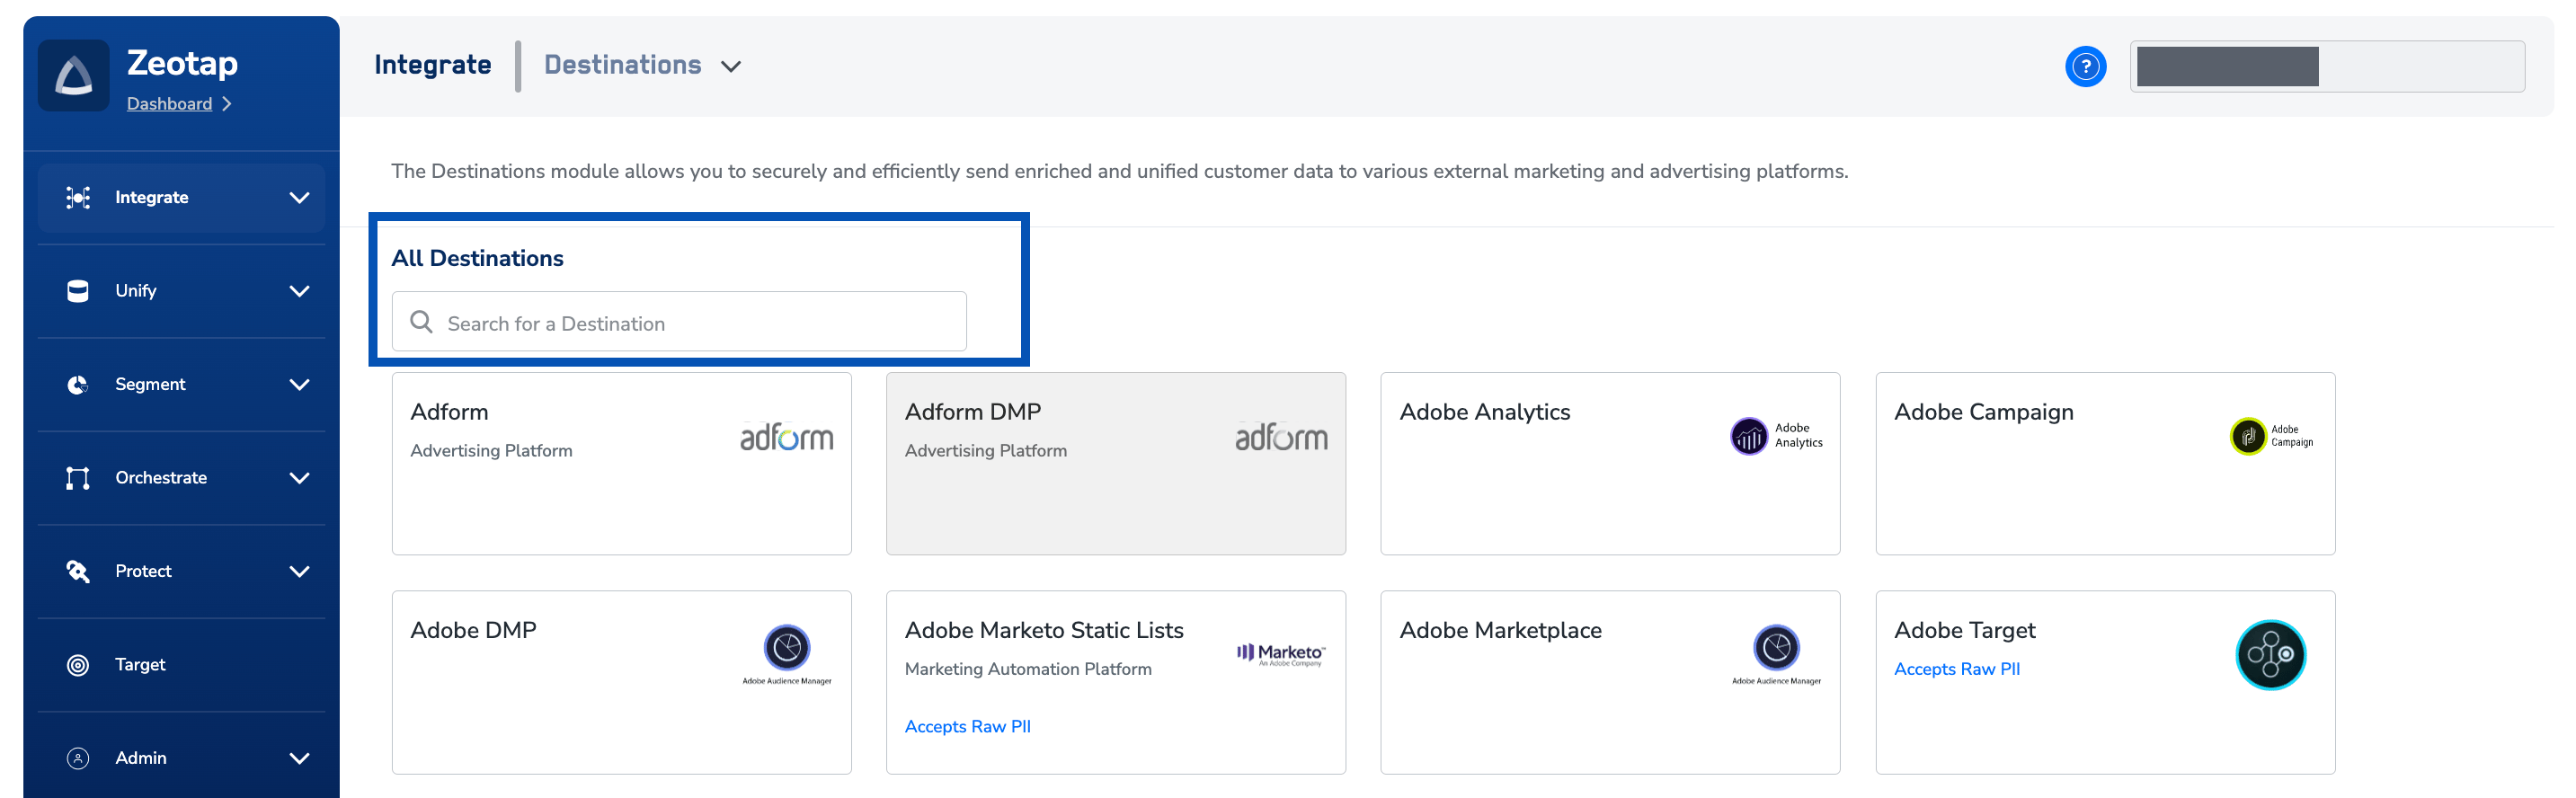
4
Click Sendinblue (Brevo). A screen appears with details about the destination on the left and the fields required for the integration on the right. Enter the details:a. Enter a name for the destination.b. Enter the API KEY. For how to obtain it, see Get a Brevo API key.c. Enter the Folder Name that you want Zeotap to access for sending data. Segments and cohorts of customers are stored in a folder structure in Brevo.d. Review the values you entered and click Next.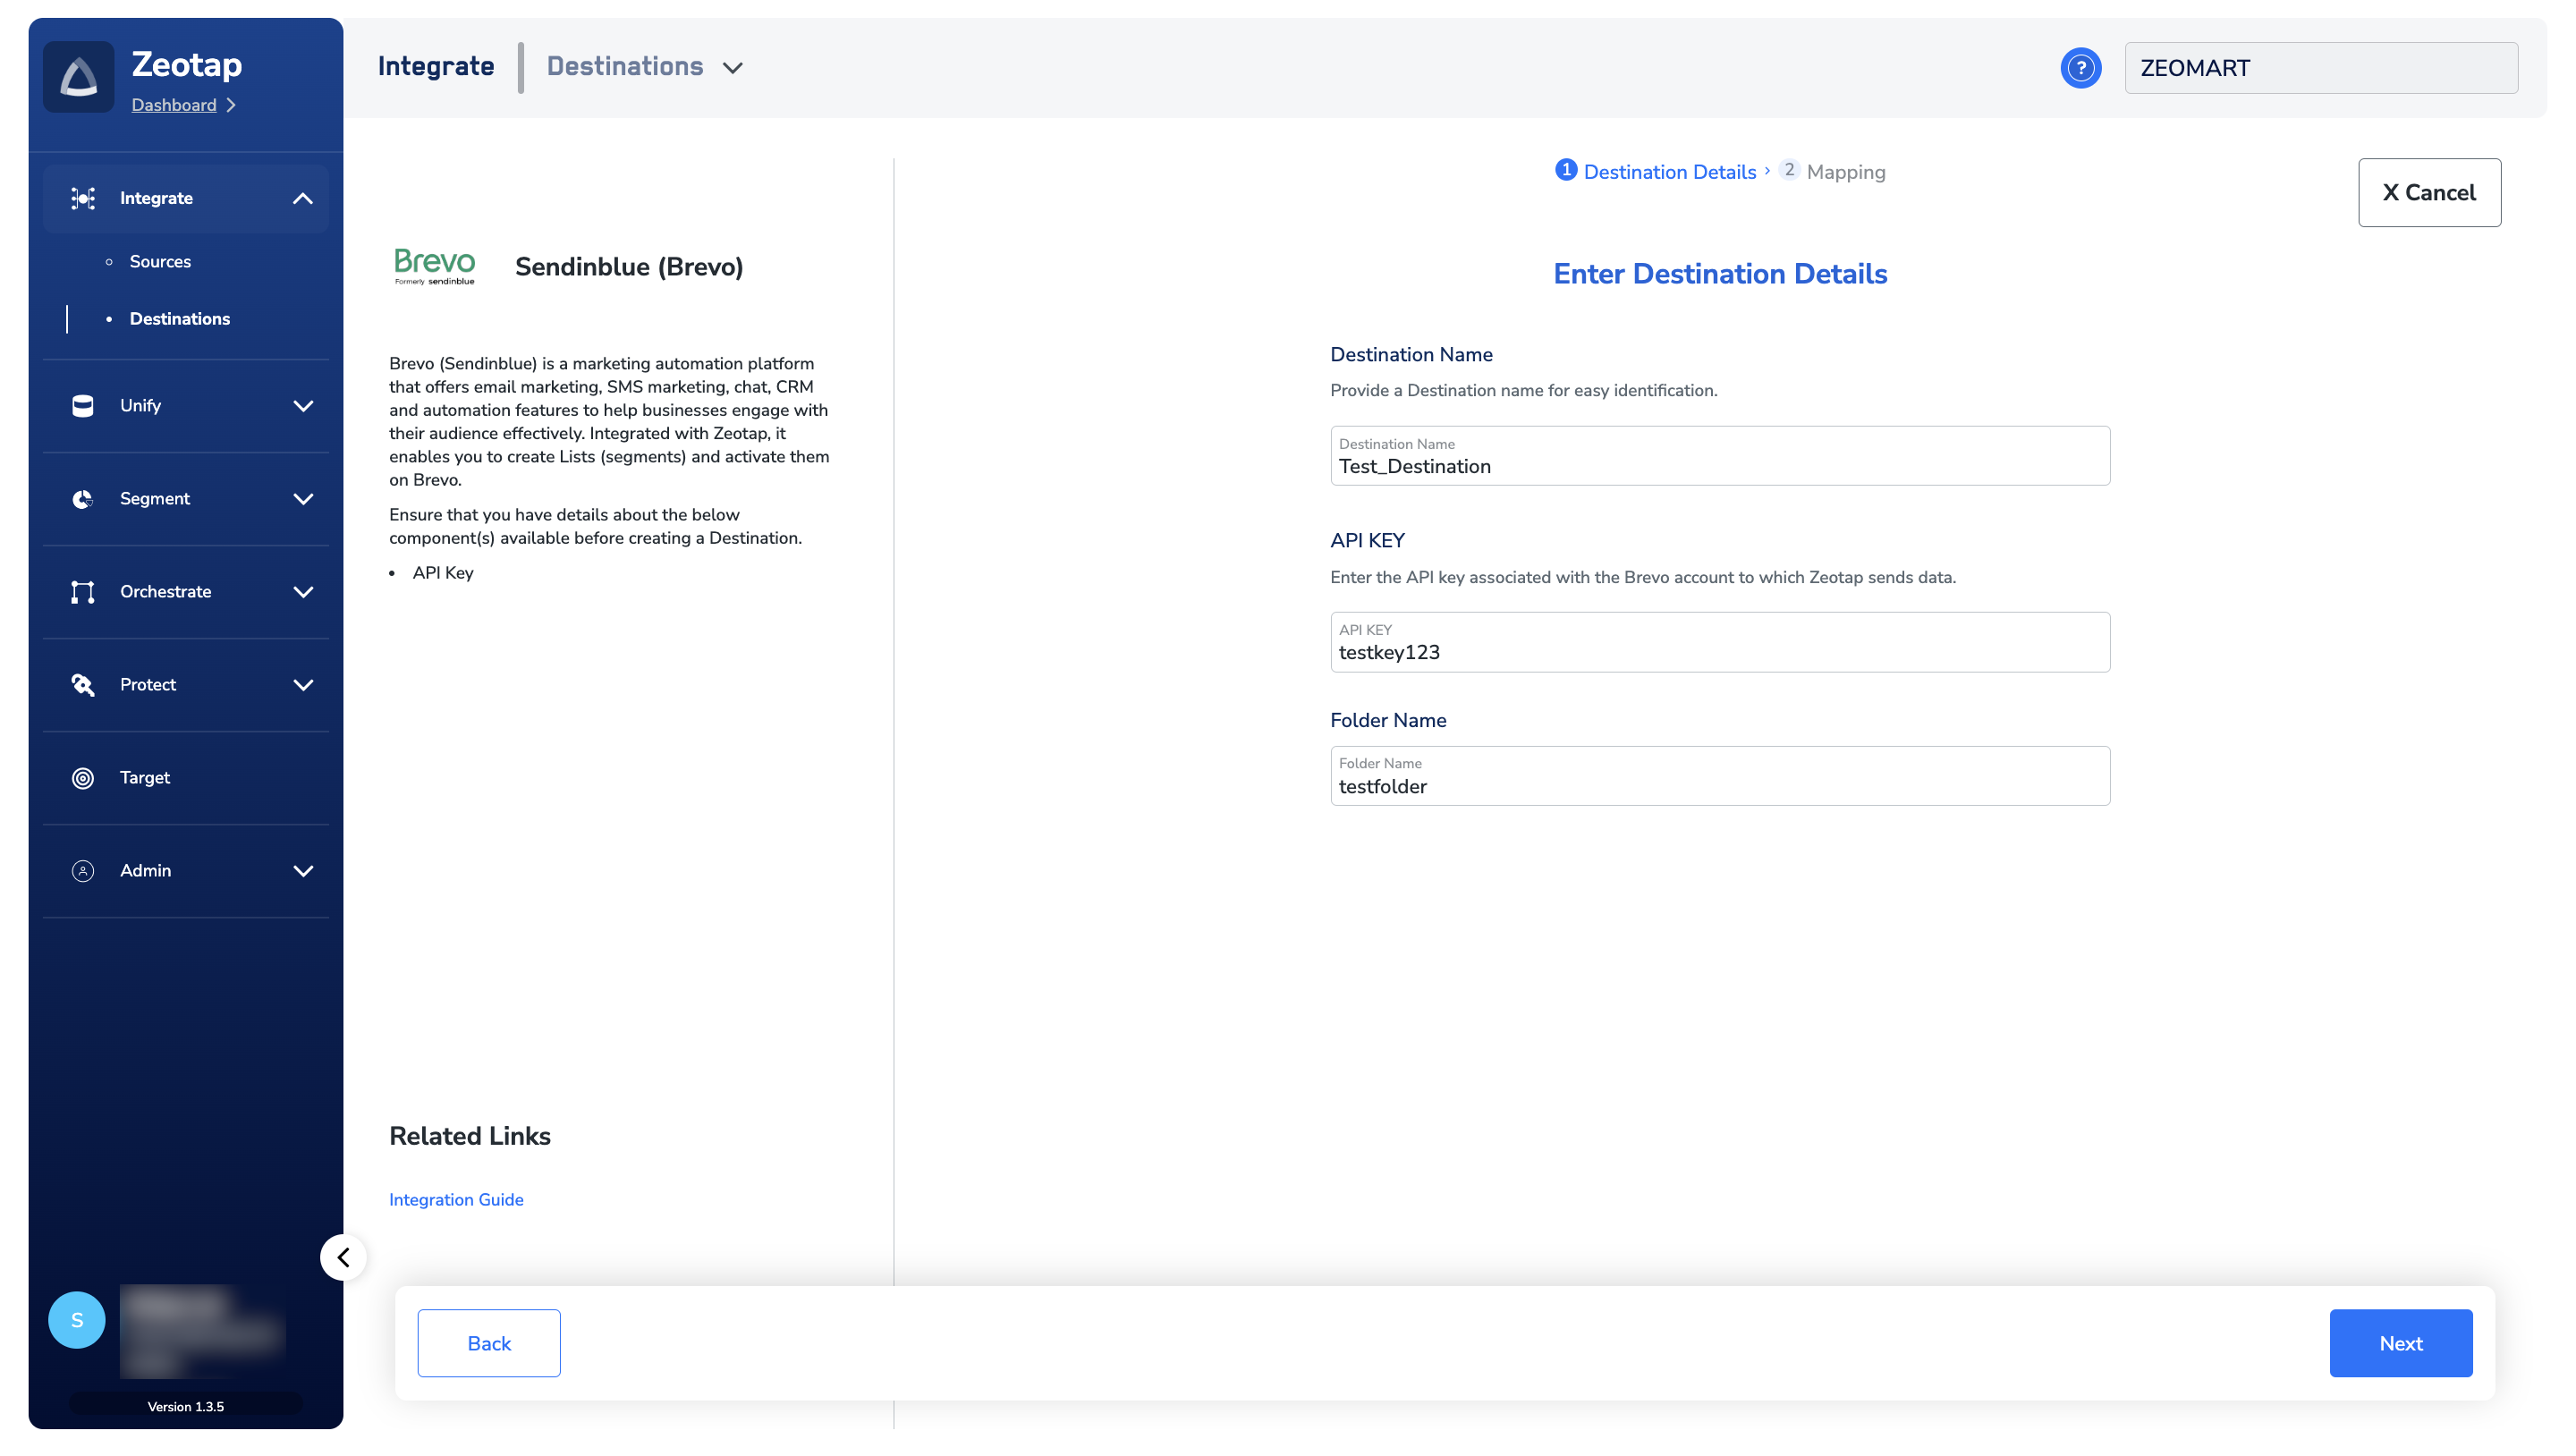
5
On the Mapping step, choose the action and the mapping. Under Choose your Action, select either Send identifiers to Sendinblue (Brevo) or Send attributes to Sendinblue (Brevo) as the action for activating your audiences or segments.a. Send identifiers to Sendinblue (Brevo) lets you send raw email addresses to Sendinblue (Brevo).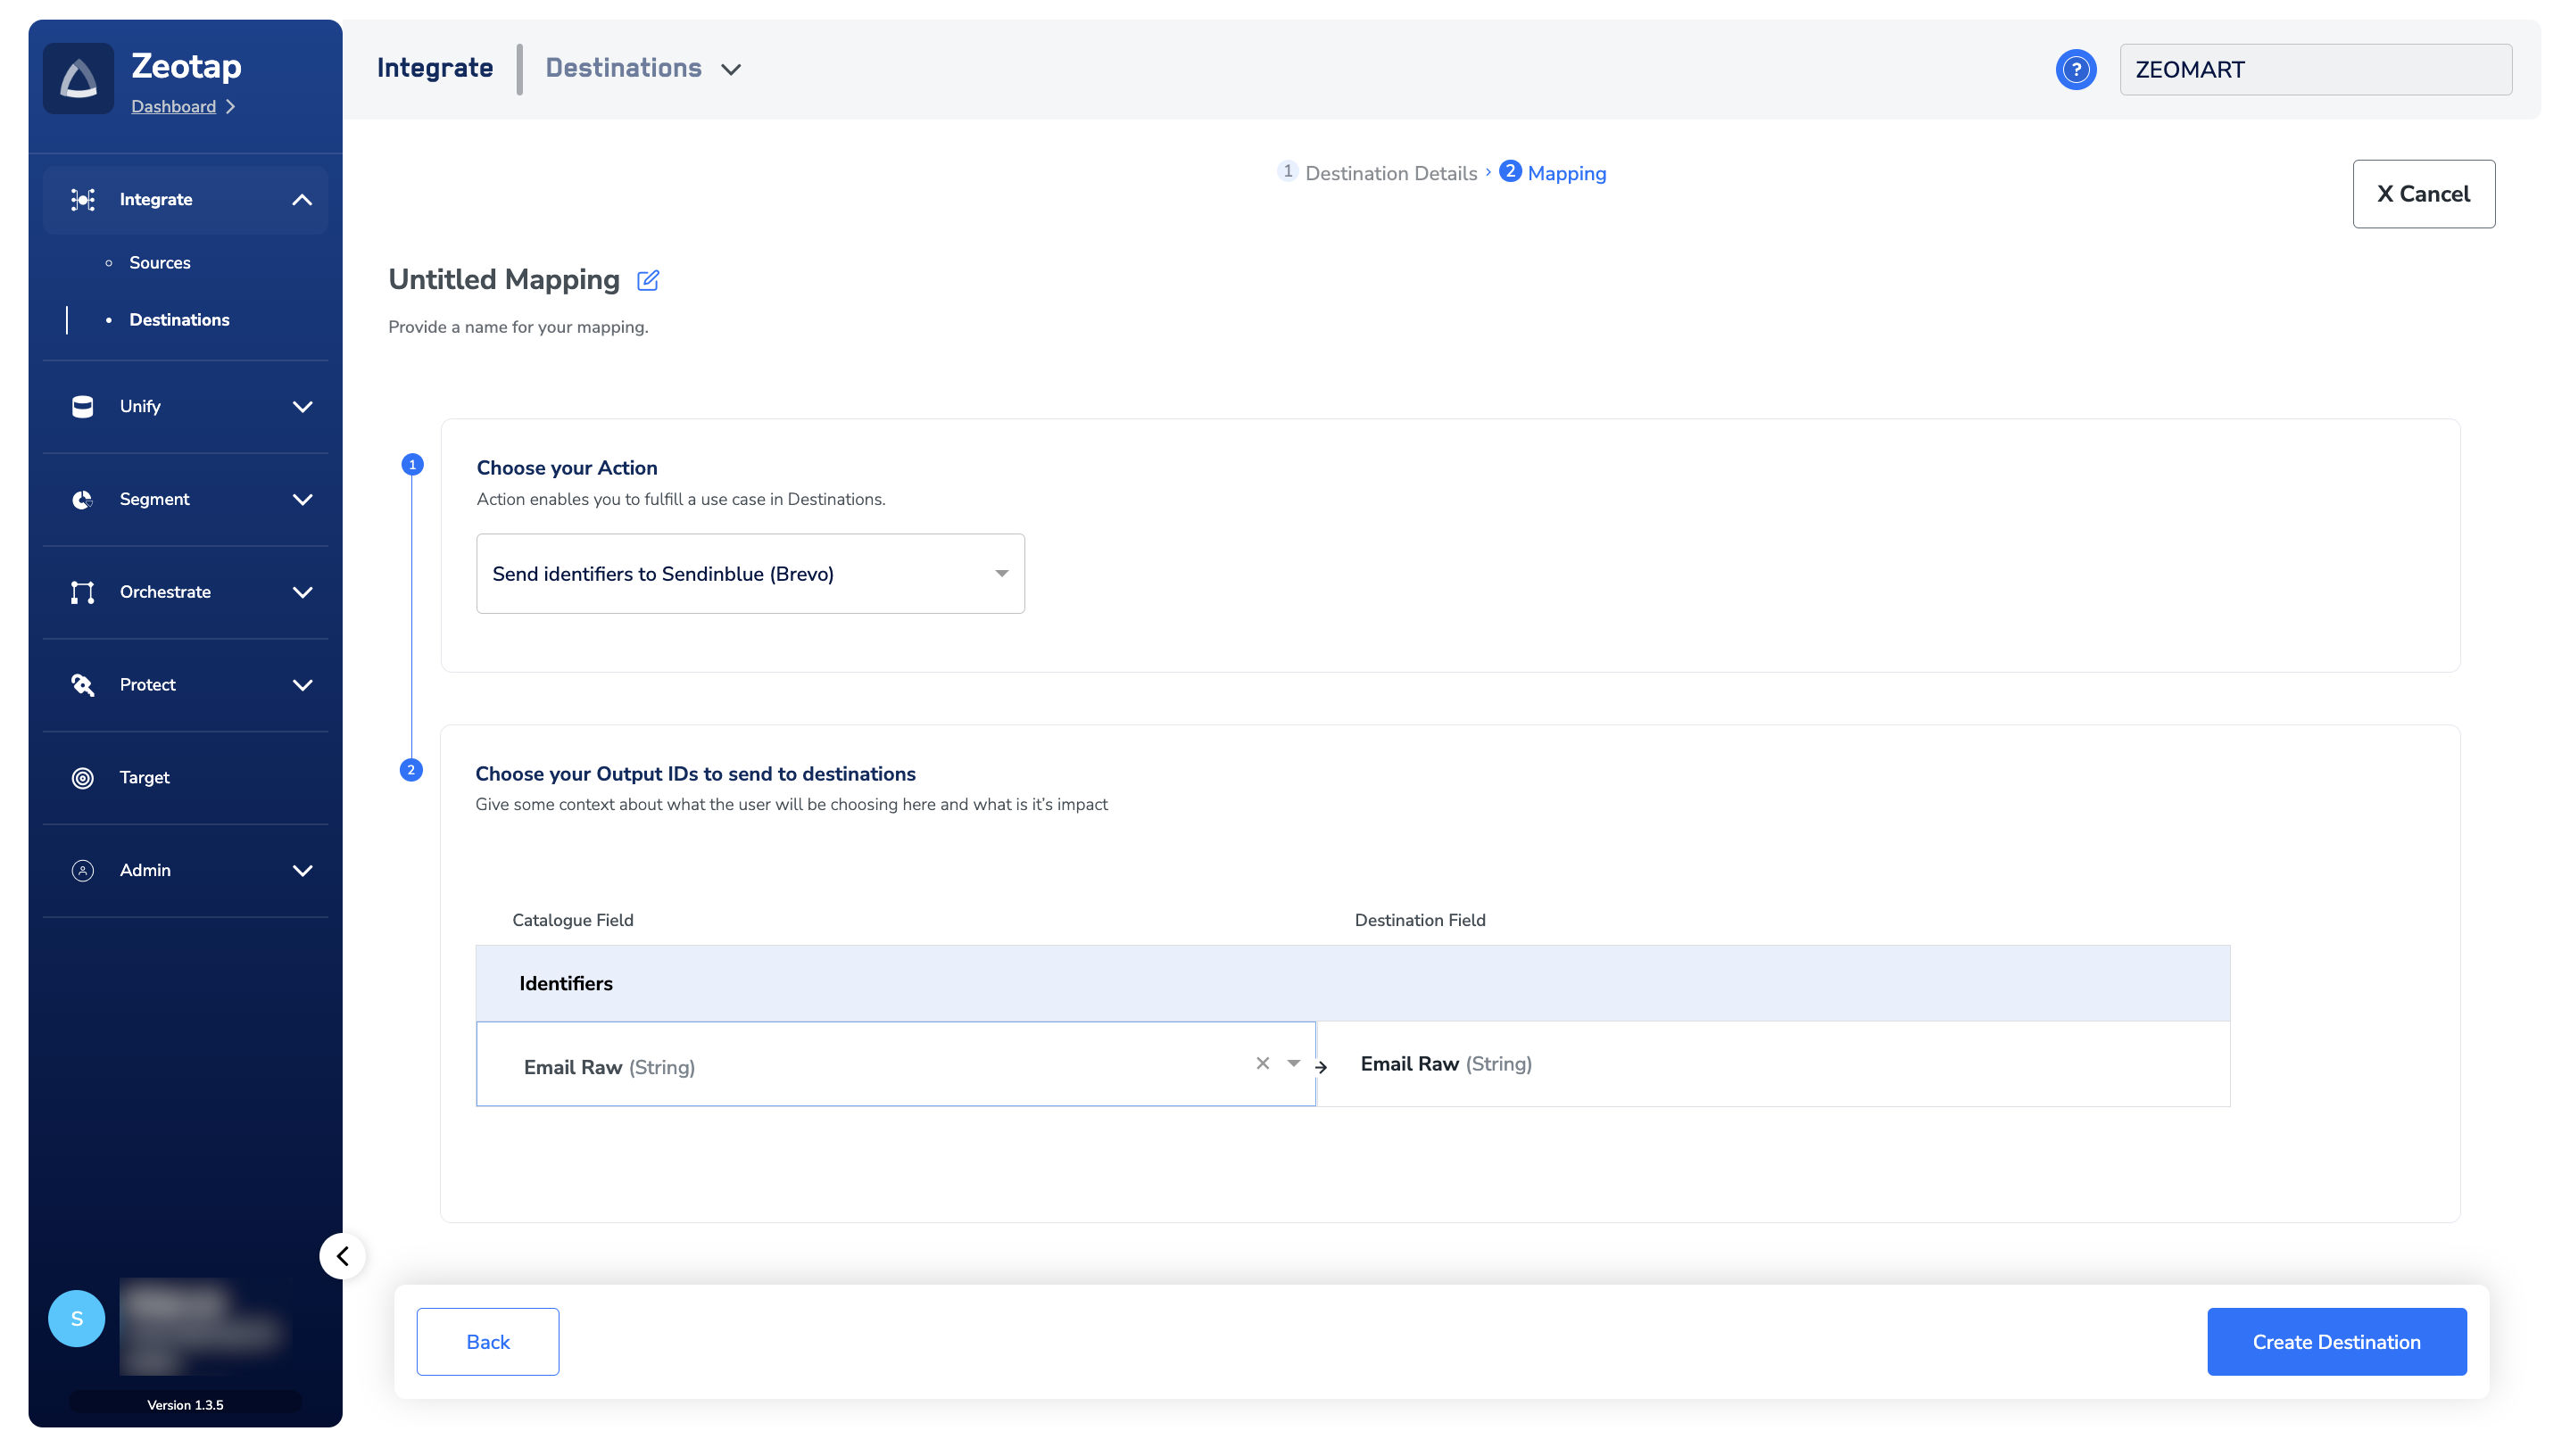
6
Click Create Destination. The created destination is listed in the Audiences application, where it can be linked to an audience or segment.
Working with the Actions and Mapping screen for Sendinblue (Brevo):
- In Sendinblue, Text-type attributes are used to store simple textual values. Ensure that a Text-type attribute under the Destination Field is mapped only against text under the Catalogue Field. For example, you can map gender under Catalogue Field against a text-type attribute under Destination Field.
- Zeotap CDP currently does not support Date-type attributes under Destination Field.
- In Sendinblue, Number-type attributes are used to store number values written in decimals. Ensure that a Number-type attribute under the Destination Field is mapped only against number under the Catalogue Field.
- In Sendinblue, you can add categories under Category Configuration. Ensure that the categories added under the Category-type attribute are exactly replicated under Destination Field for successful mapping.
- In Sendinblue, a Boolean-type attribute stores one of two possible values: Yes or No. Ensure that the Catalogue attribute corresponds to a yes or no value when it is mapped against a Boolean-type attribute under Destination Field.
- A Zeotap Catalogue attribute can be mapped only once. Once a Catalogue attribute is mapped, it cannot be mapped again against another attribute under Destination Field.
Link an audience to the destination
For how to link an audience or segment to the created destination in the Audiences application, see Activate your batch audiences.The terms Audiences and Segments are used interchangeably to refer to customer cohorts belonging to a specific category. For example, an audience or a segment can be a specific group of customers who are over 18 years of age and have performed an
addToCart event within the last 30 days.Verify the list in Sendinblue (Brevo)
To view the Lists that Zeotap pushed to the Sendinblue (Brevo) platform, log into the Sendinblue (Brevo) console and follow these steps:1
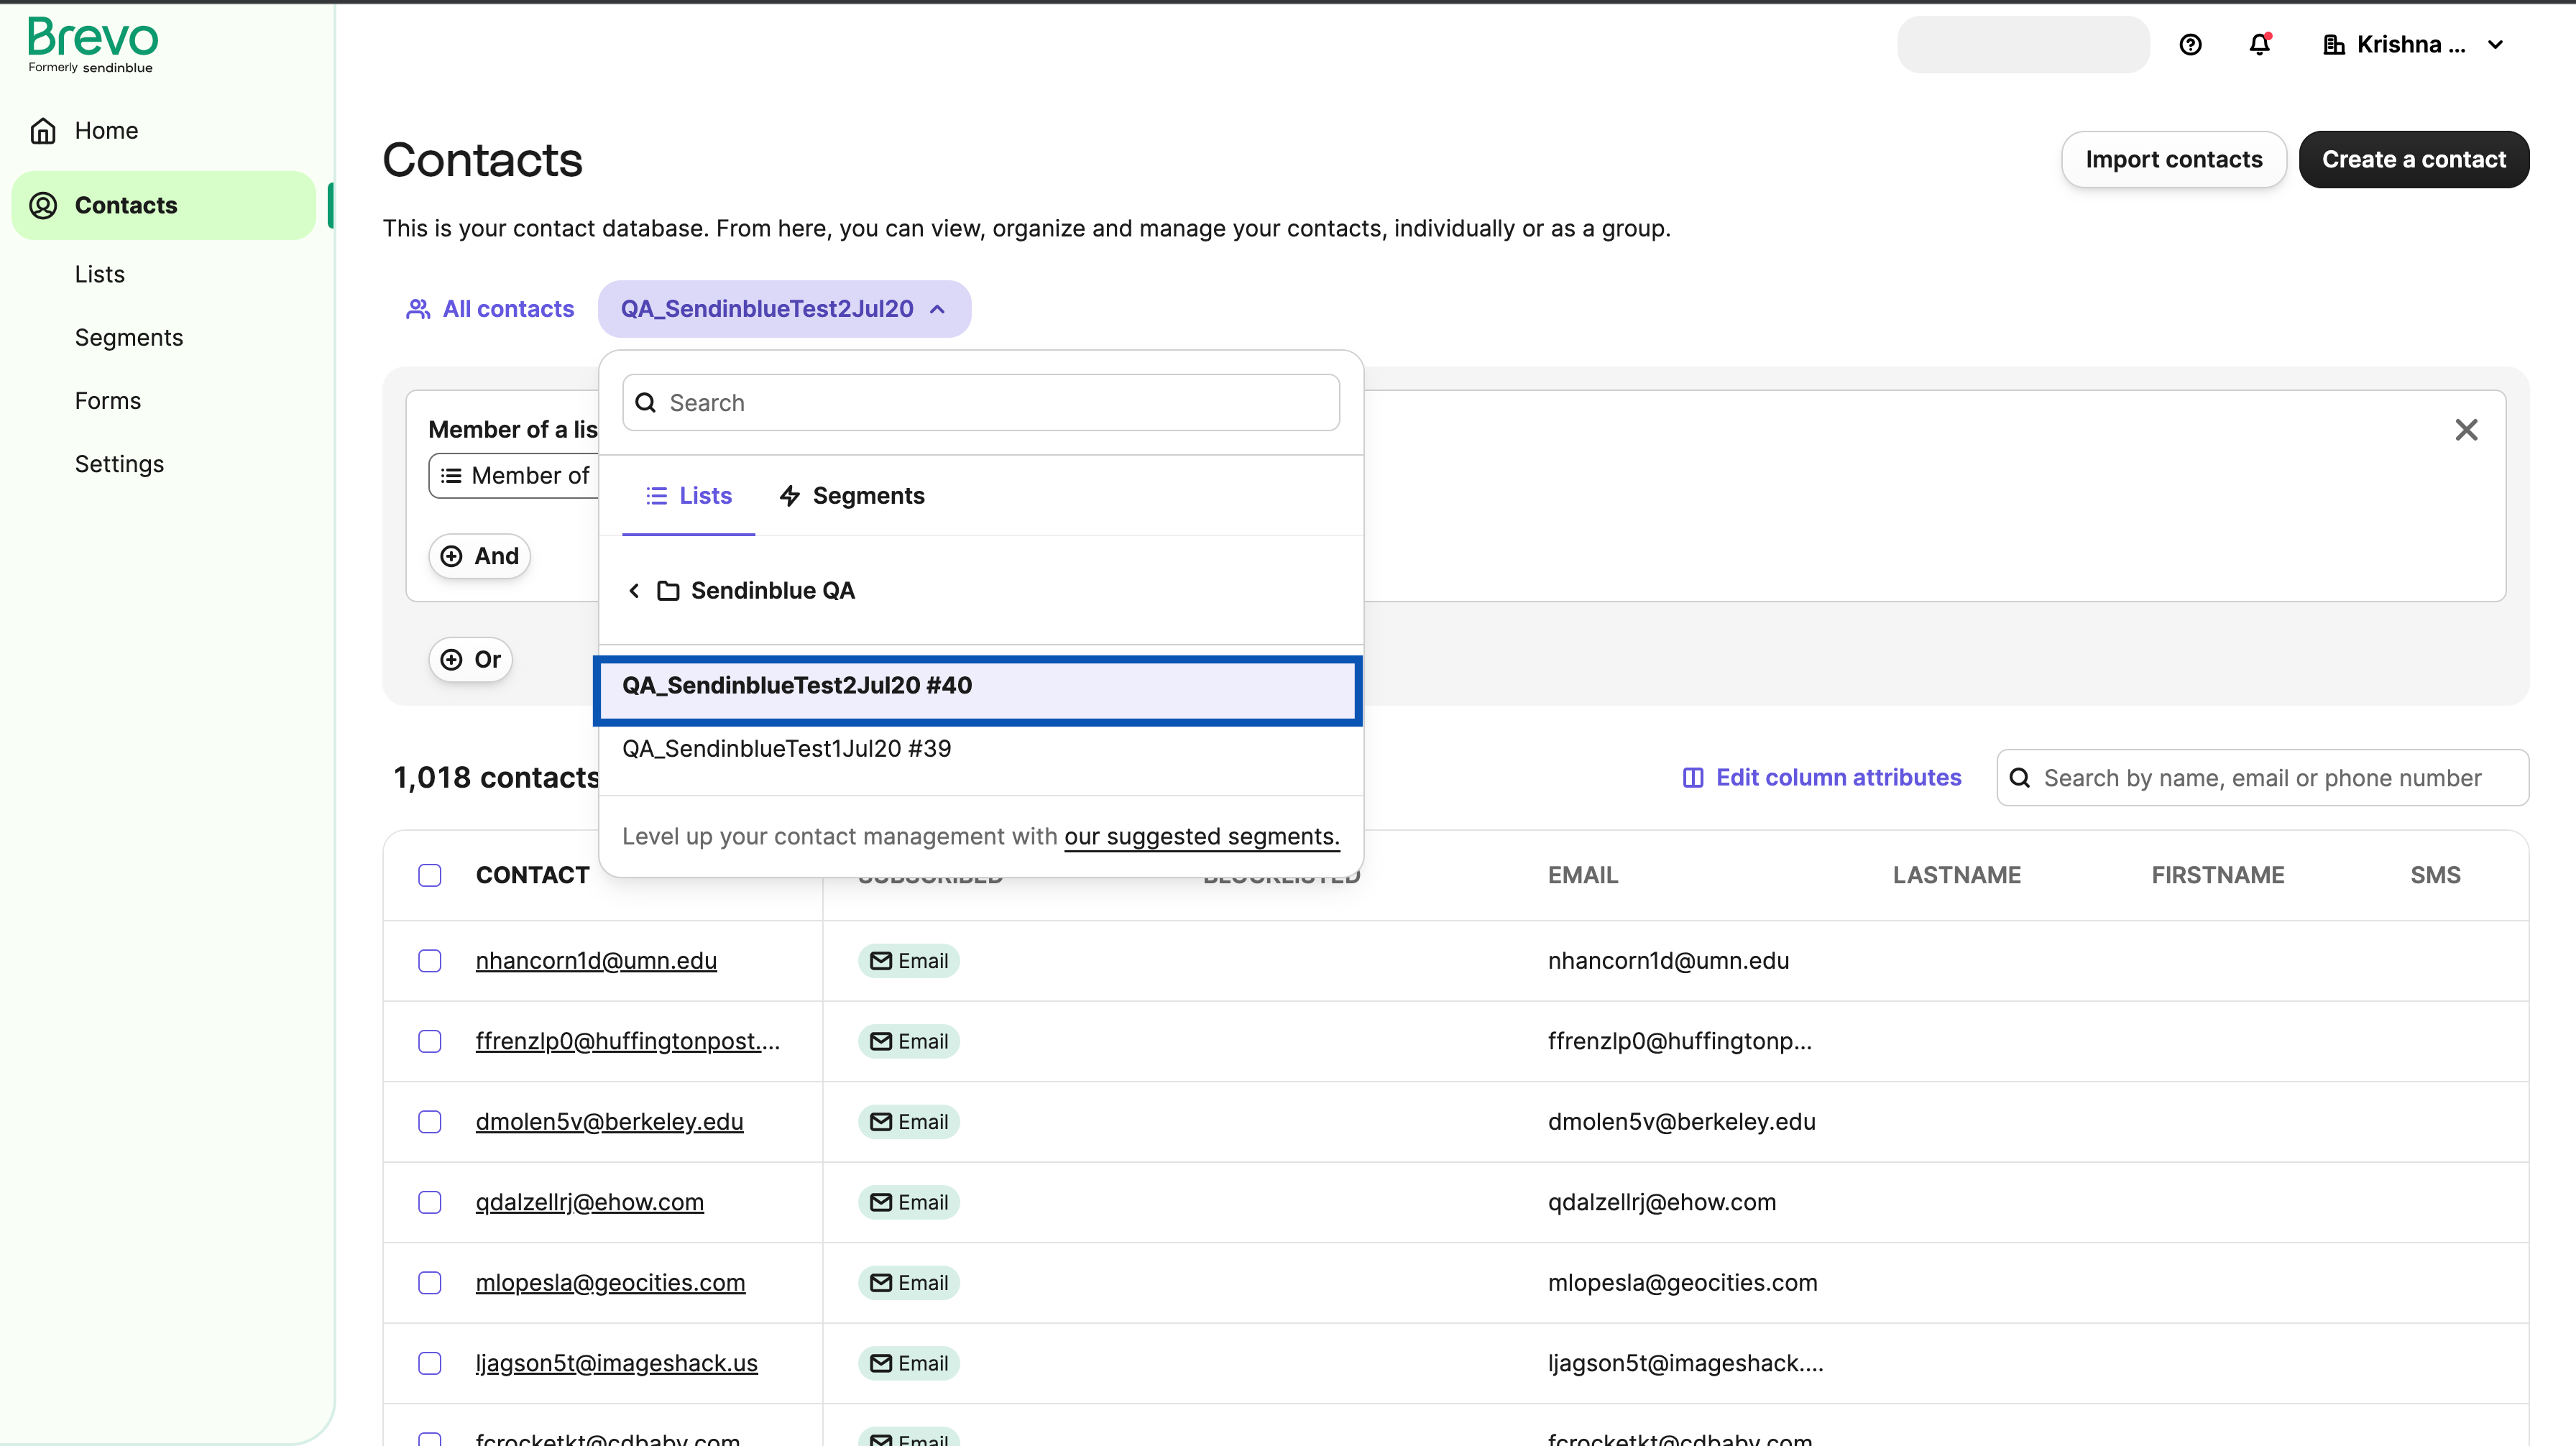
Navigate to Contacts → Load a list or a segment → Lists. This shows the folders that contain the contacts.
2
Under Lists, either search for the List you want in the search bar, or navigate through the folder structure to it if you know where it sits.
3
Select the List. A screen appears with the details of its contacts (email addresses).