Overview
Looker Studio (formerly Google Data Studio) is Google’s free business intelligence tool that creates interactive dashboards and reports from various data sources like Google Analytics, spreadsheets, and databases. It features a drag-and-drop interface for building customizable charts and visualizations that can be shared and collaborated on in real-time. The platform is popular among marketers and analysts for transforming raw data into clear, visual reports that support data-driven decision making.Prerequisites
Before you create a Looker Studio Destination in Zeotap CDP, note that you must have an account with Looker Studio and Google Cloud Storage.Components of Google Cloud Storage
Ensure that you have the details about the below components of the Google Cloud Storage account before creating a Destination.- Bucket
- Folder
- Account
Bucket
This is the name of your Google Cloud Storage Bucket. You can obtain this information from your Google Cloud Storage account as shown in the image below.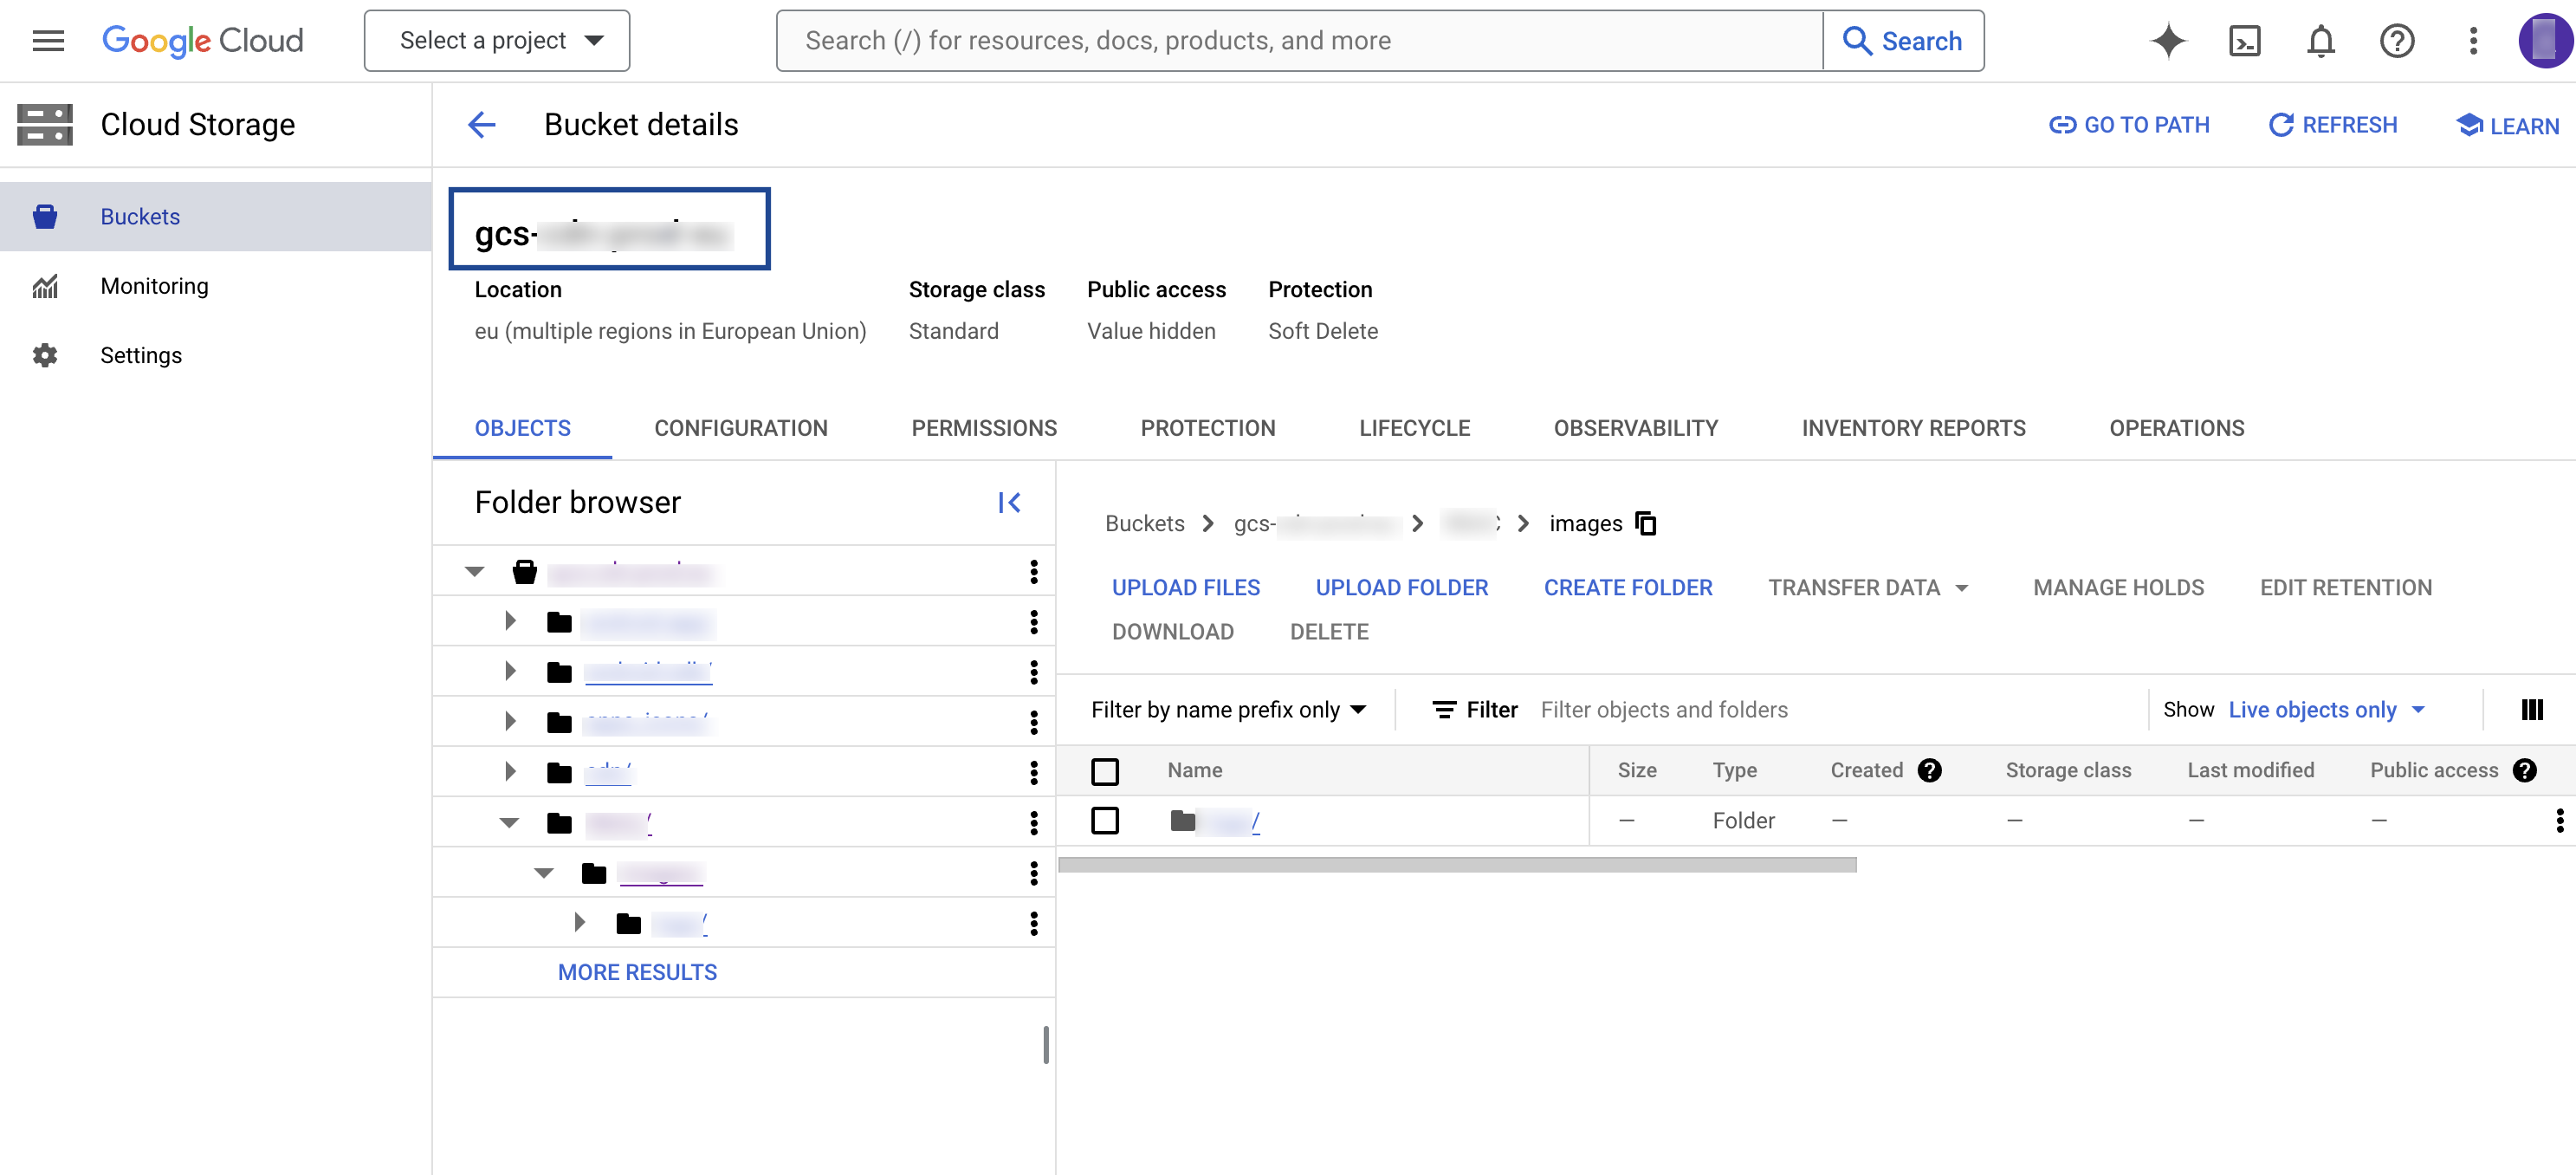
Folder
In Google Cloud Storage, a folder serves as a logical container for organising stored objects within a bucket. In reality, there are no actual folders in Google Cloud Storage. Instead, the folder concept is emulated by employing object key names containing slashes (”/”) to replicate a hierarchical arrangement. You can obtain this information from your Google Cloud Storage account as shown in the image below.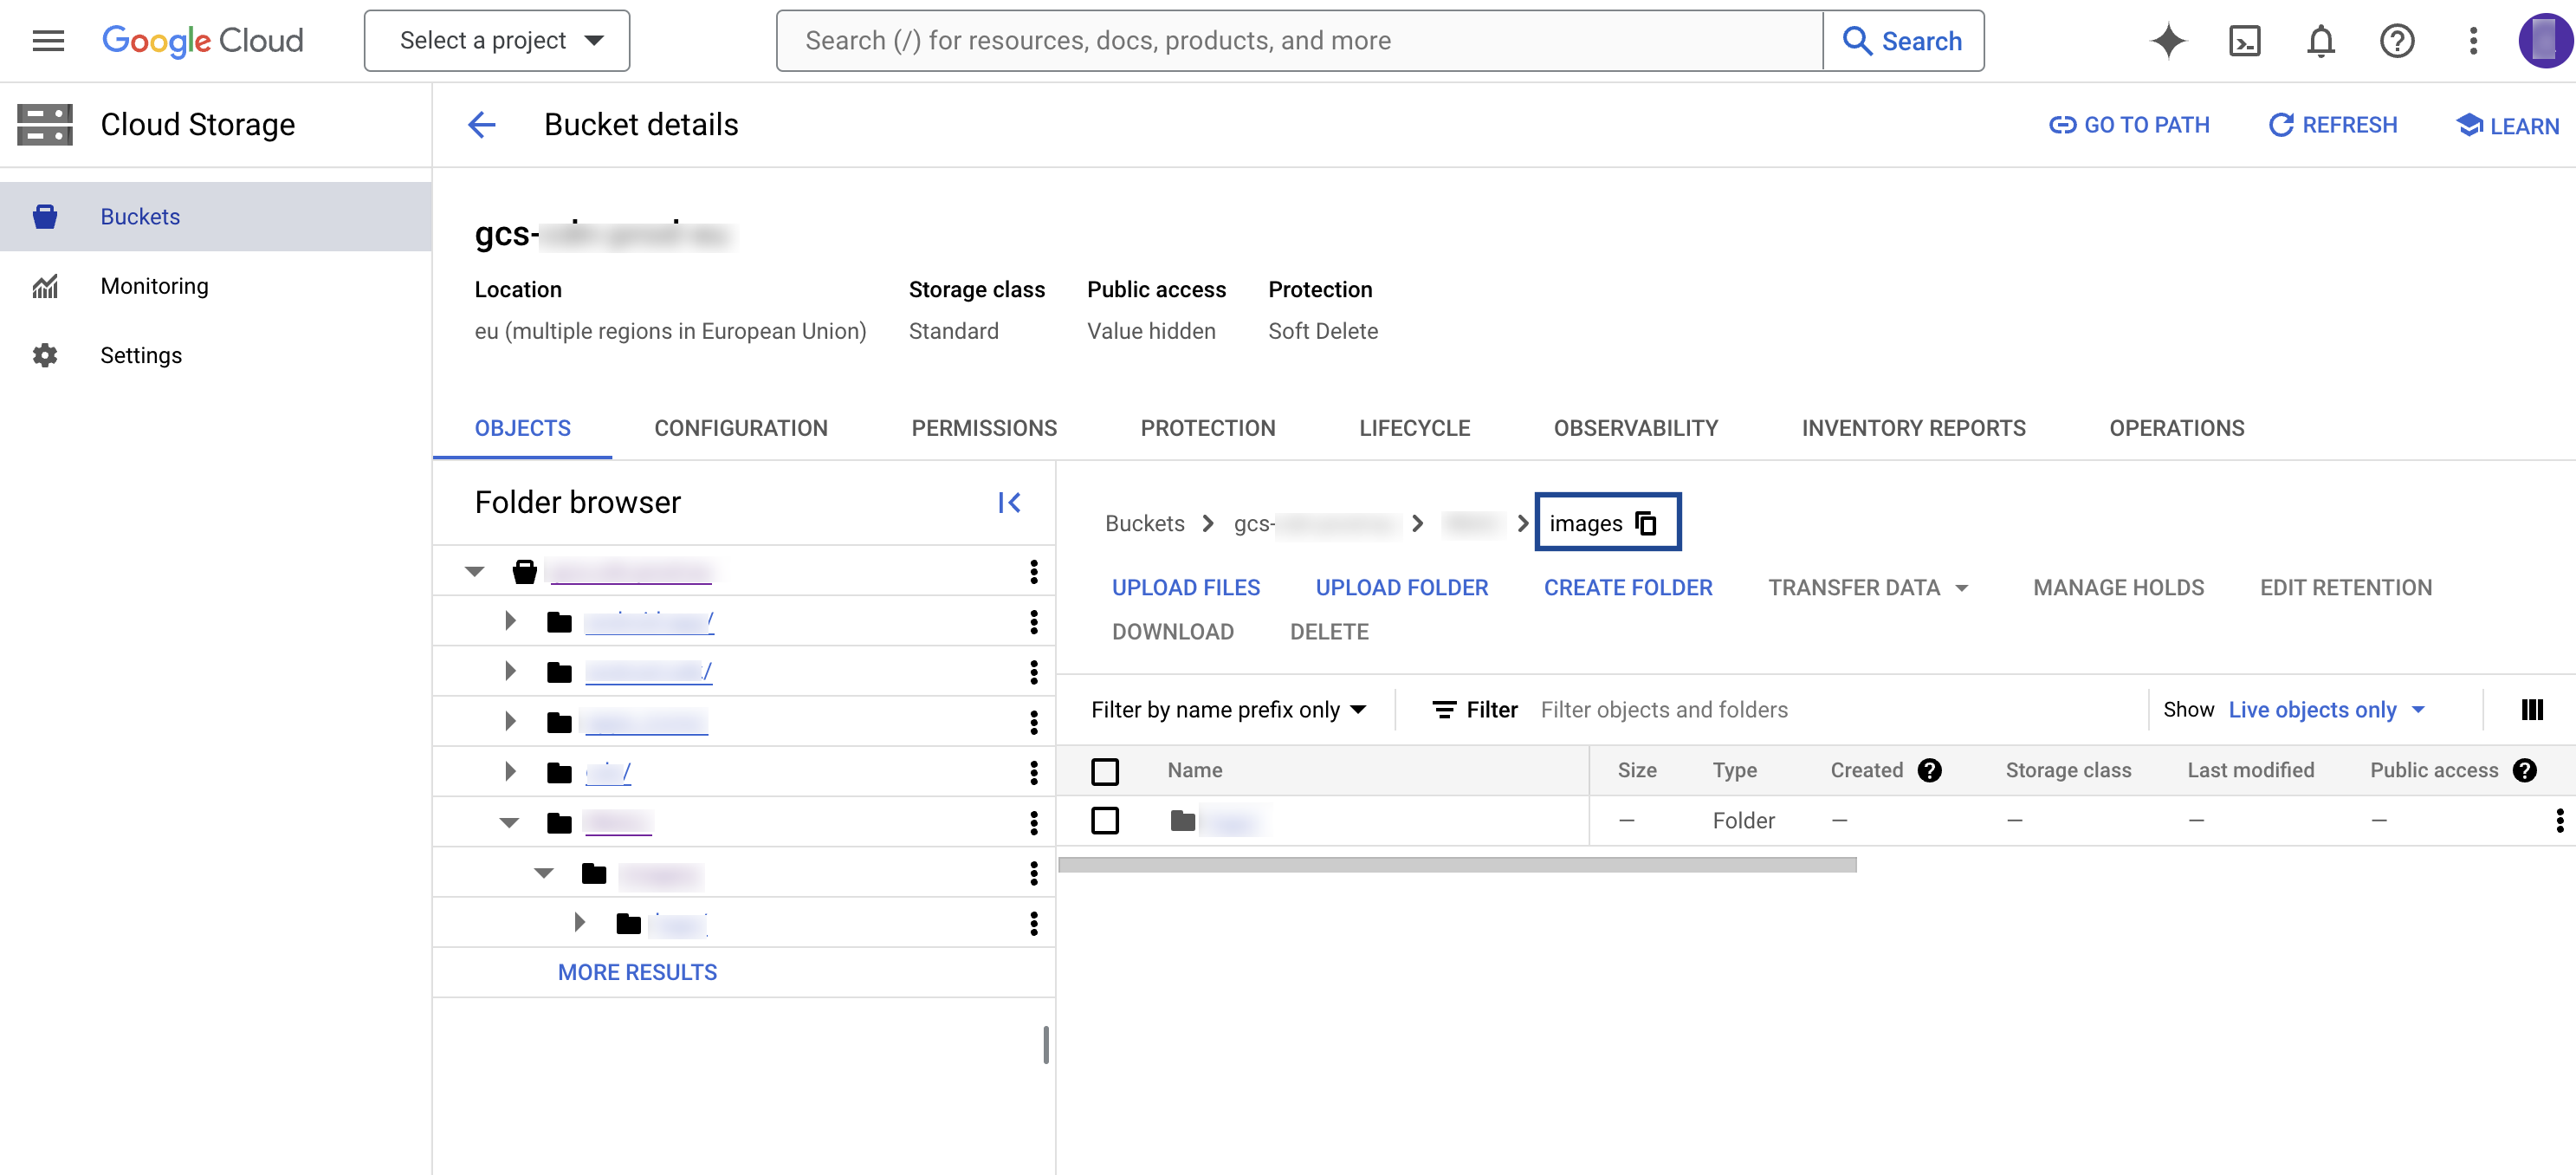
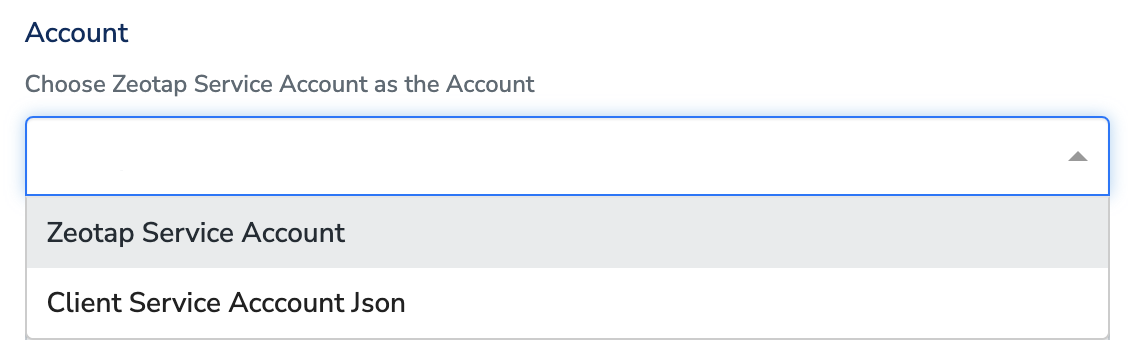
Account
This is the Zeotap Service Account that is used to access the Google Cloud Storage account. Ensure that you whitelist the Zeotap Service Account to successfully push audiences (segments) from Zeotap CDP to Google Cloud Storage.Create a Destination for Looker Studio
.png?fit=max&auto=format&n=UNwlFBI6l-jpipWP&q=85&s=562fa59a1a1e2b76442fa98f6e6f991e)
.png?fit=max&auto=format&n=UNwlFBI6l-jpipWP&q=85&s=653728565c7ed5863548171765d4086f)
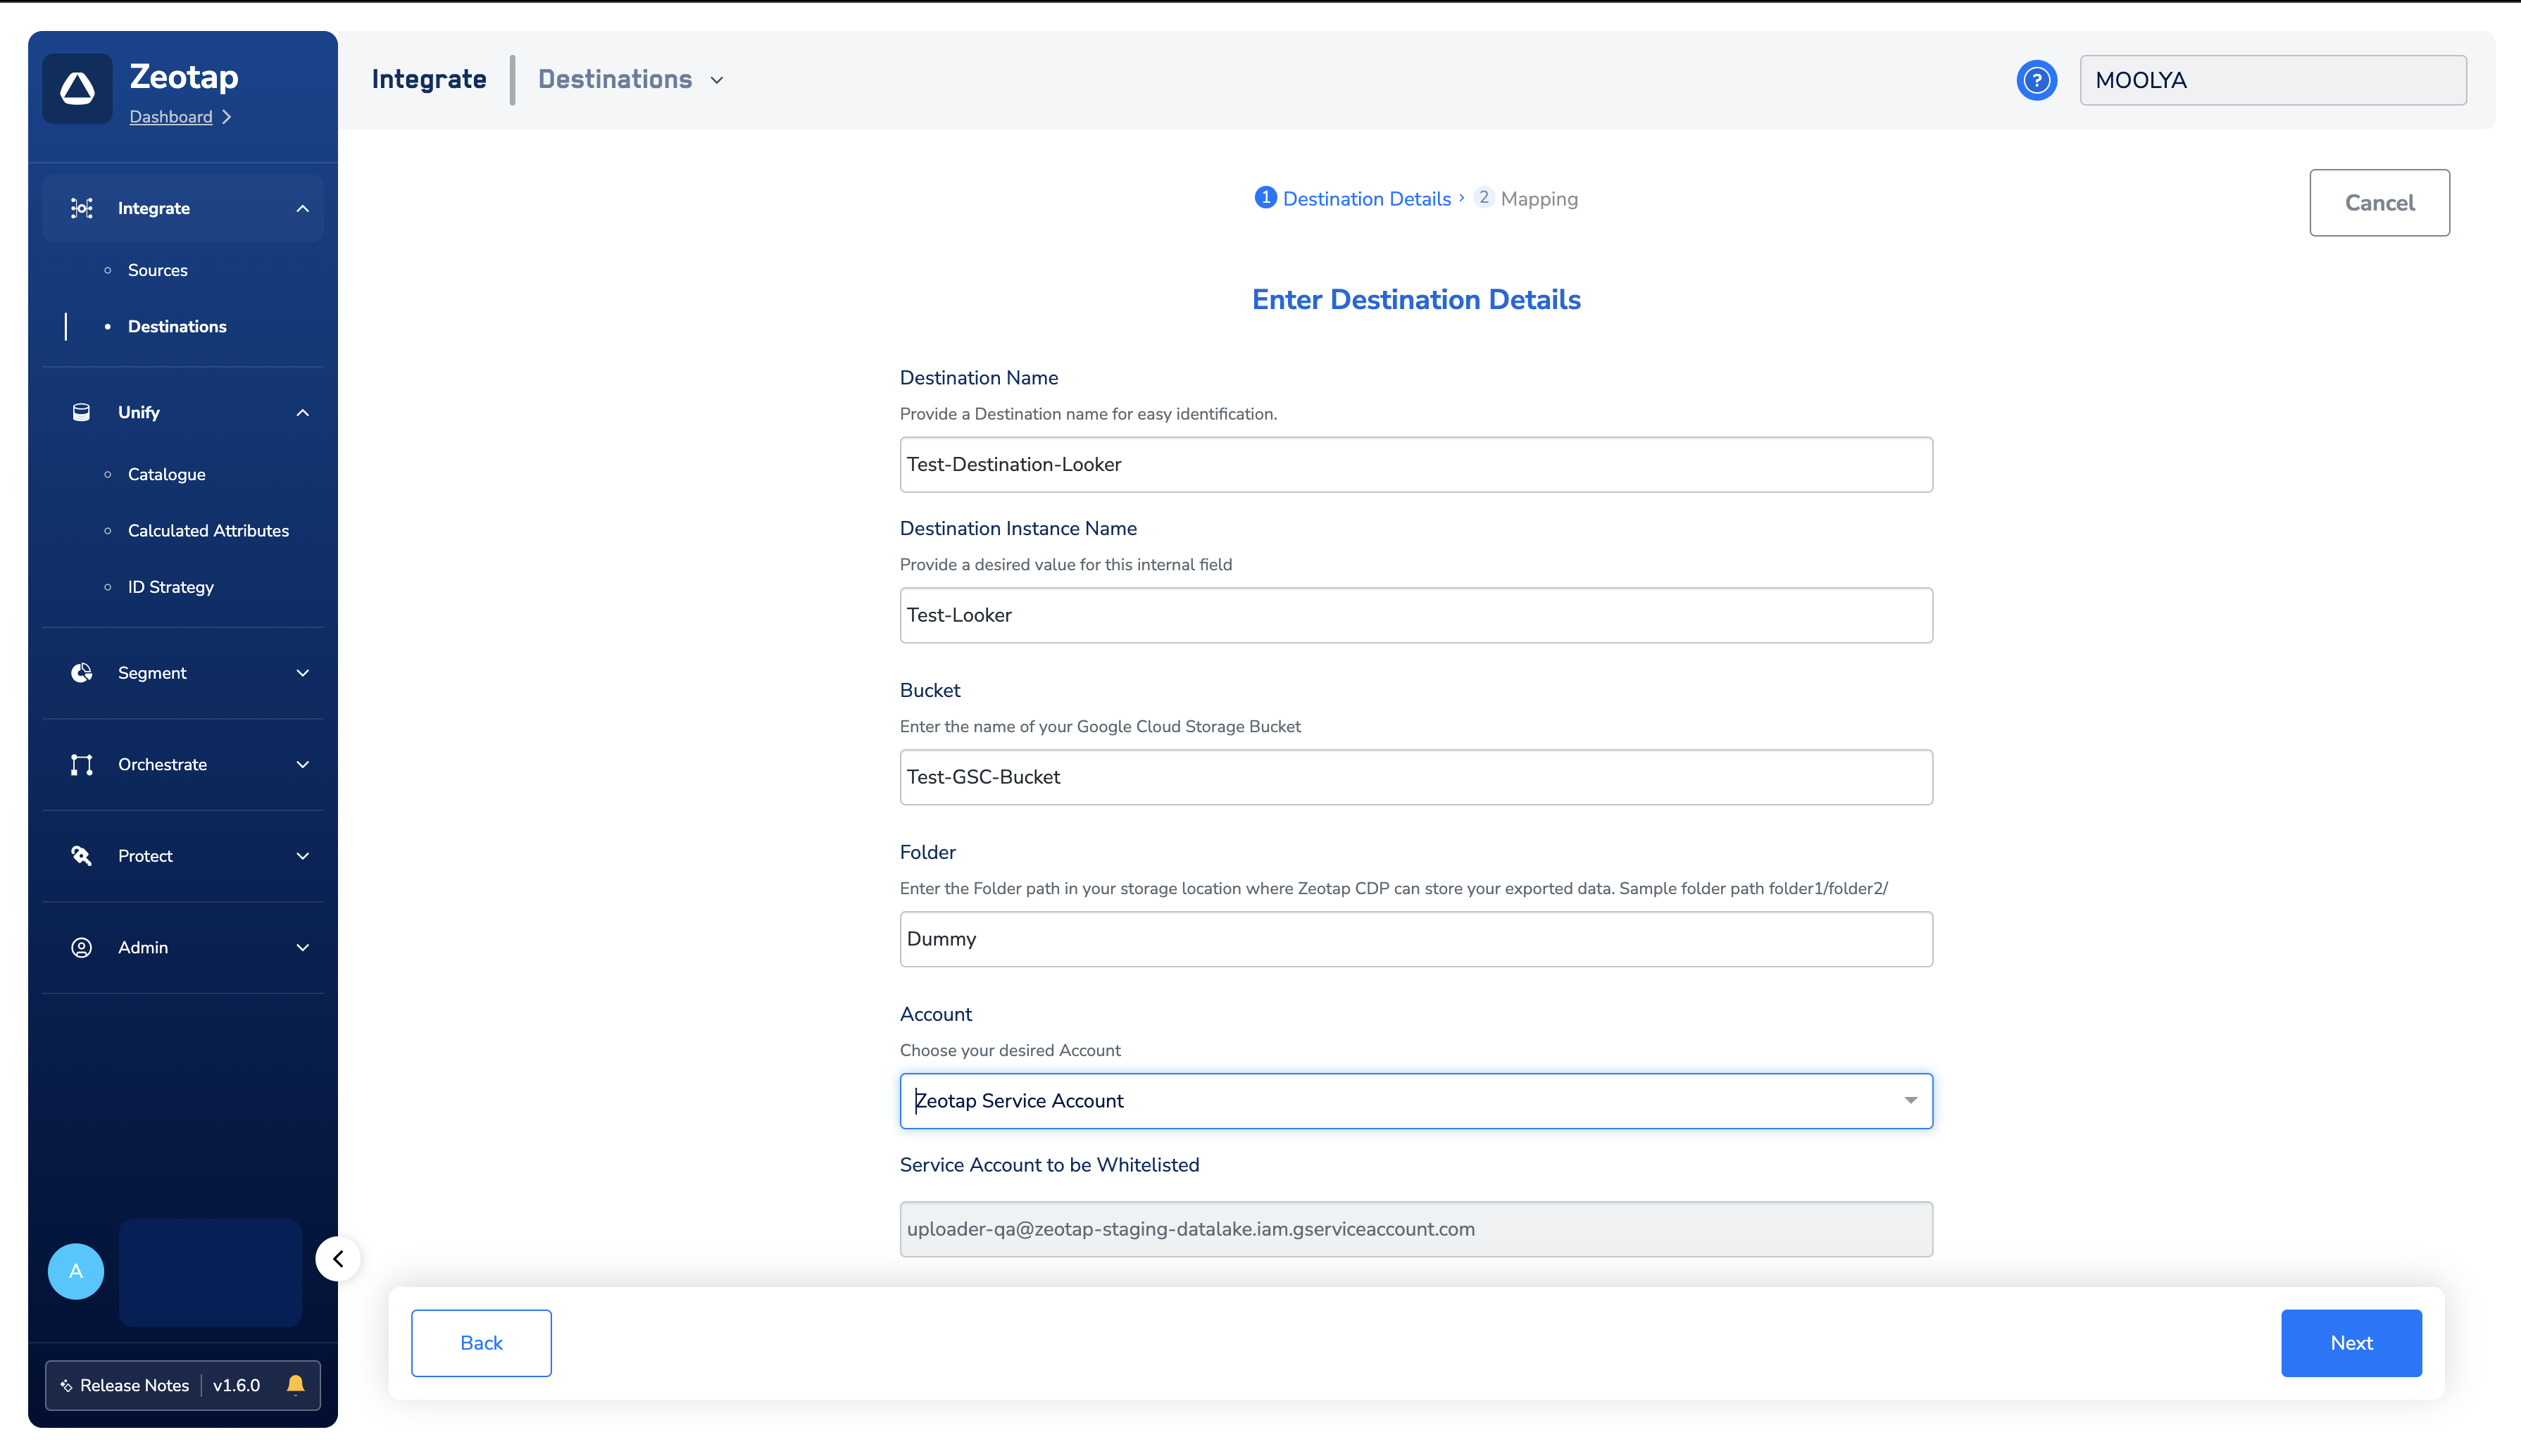
Click Google Cloud Storage. A screen appears displaying details about the particular destination towards the left. On the right-hand side of the screen find a list of fields that are required for the integration to be established. Provide the required details as mentioned in the following steps:a. Enter a name for the Destination.b. In the Destination Instance Name field, provide a desired value for this internal field.c. In the Bucket field, provide the name of the Google Cloud Storage Bucket.d. In the Folder field, provide the folder path in your storage location where Zeotap CDP can store your exported data.e. Under Filename Prefix, enter a text value without special characters, such as underscores (_), spaces, or symbols (
Example File Name:
Note:Ensure to follow the below points while providing the folder path:
- The folder path should follow the below structure:
- folder_name/sub_folder_name/
- The folder name should not start with a /
- The folder name and sub-folder name should end with a
#, @, $, %, &, \*). Note that the file name follows the format: ${filenamePrefix}part-${sequence}_${destinationAudienceId}_${timestamp}.csv, where the timestamp is in yyyy-MM-dd format and destinationAudienceId is the ID associated with your audience (segment) in Zeotap CDP, which is generated by the Zeotap CDP after the audience (segment) is linked to a Destination.| Variable | Description |
|---|---|
filenamePrefix | The prefix for the file name, typically indicating the context or purpose of the file (e.g., the segment or export type). |
part-${sequence} | A sequential number or identifier indicating the part or chunk number if the data is split across multiple files. |
${destinationAudienceId} | The unique ID assigned by Zeotap CDP to the audience (segment) after it is linked to a Destination. |
${timestamp} | The date when the file is generated, formatted as yyyy-MM-dd (e.g., 2024-08-06). |
.csv | The file extension, indicating that the file is in CSV (Comma-Separated Values) format. |
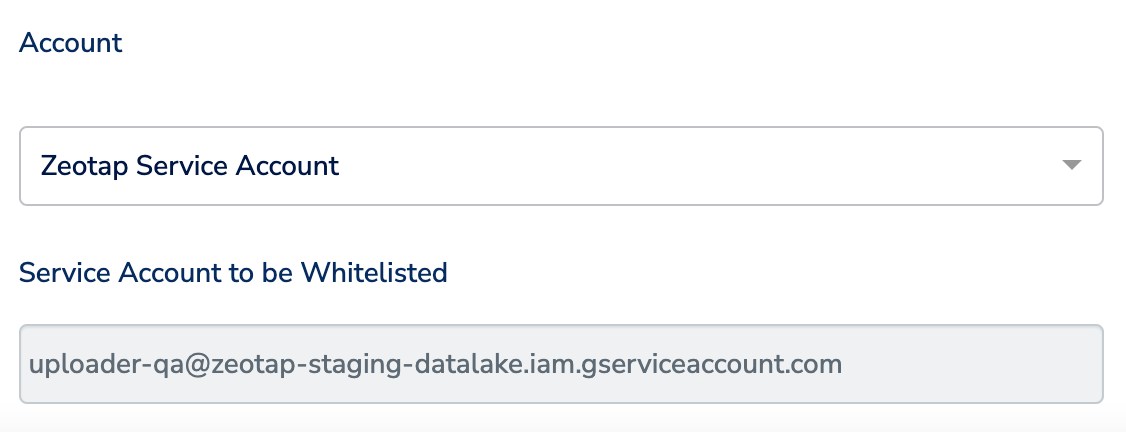
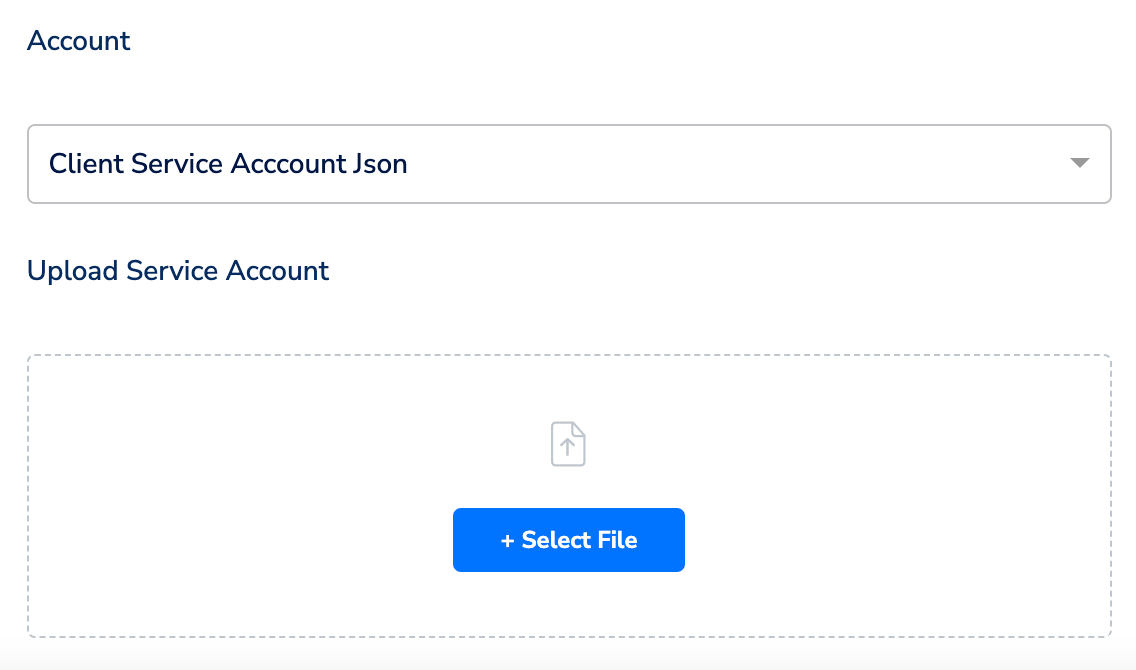
exportpart-01_894548842_2024-08-06.csvf. Under Account, choose either Zeotap Service Account or Client Service Account Json using the drop-down menu based on the type of authentication you need. If you wish to use Zeotap Service Account, then ensure that you whitelist this it to push audiences (segments) from Zeotap CDP to Google Cloud Storage Platform.In the new screen that appears, choose the appropriate action and mapping as explained below. Under Choose your Action, Send CSV to Looker, as the action for activating your audience in Audiences.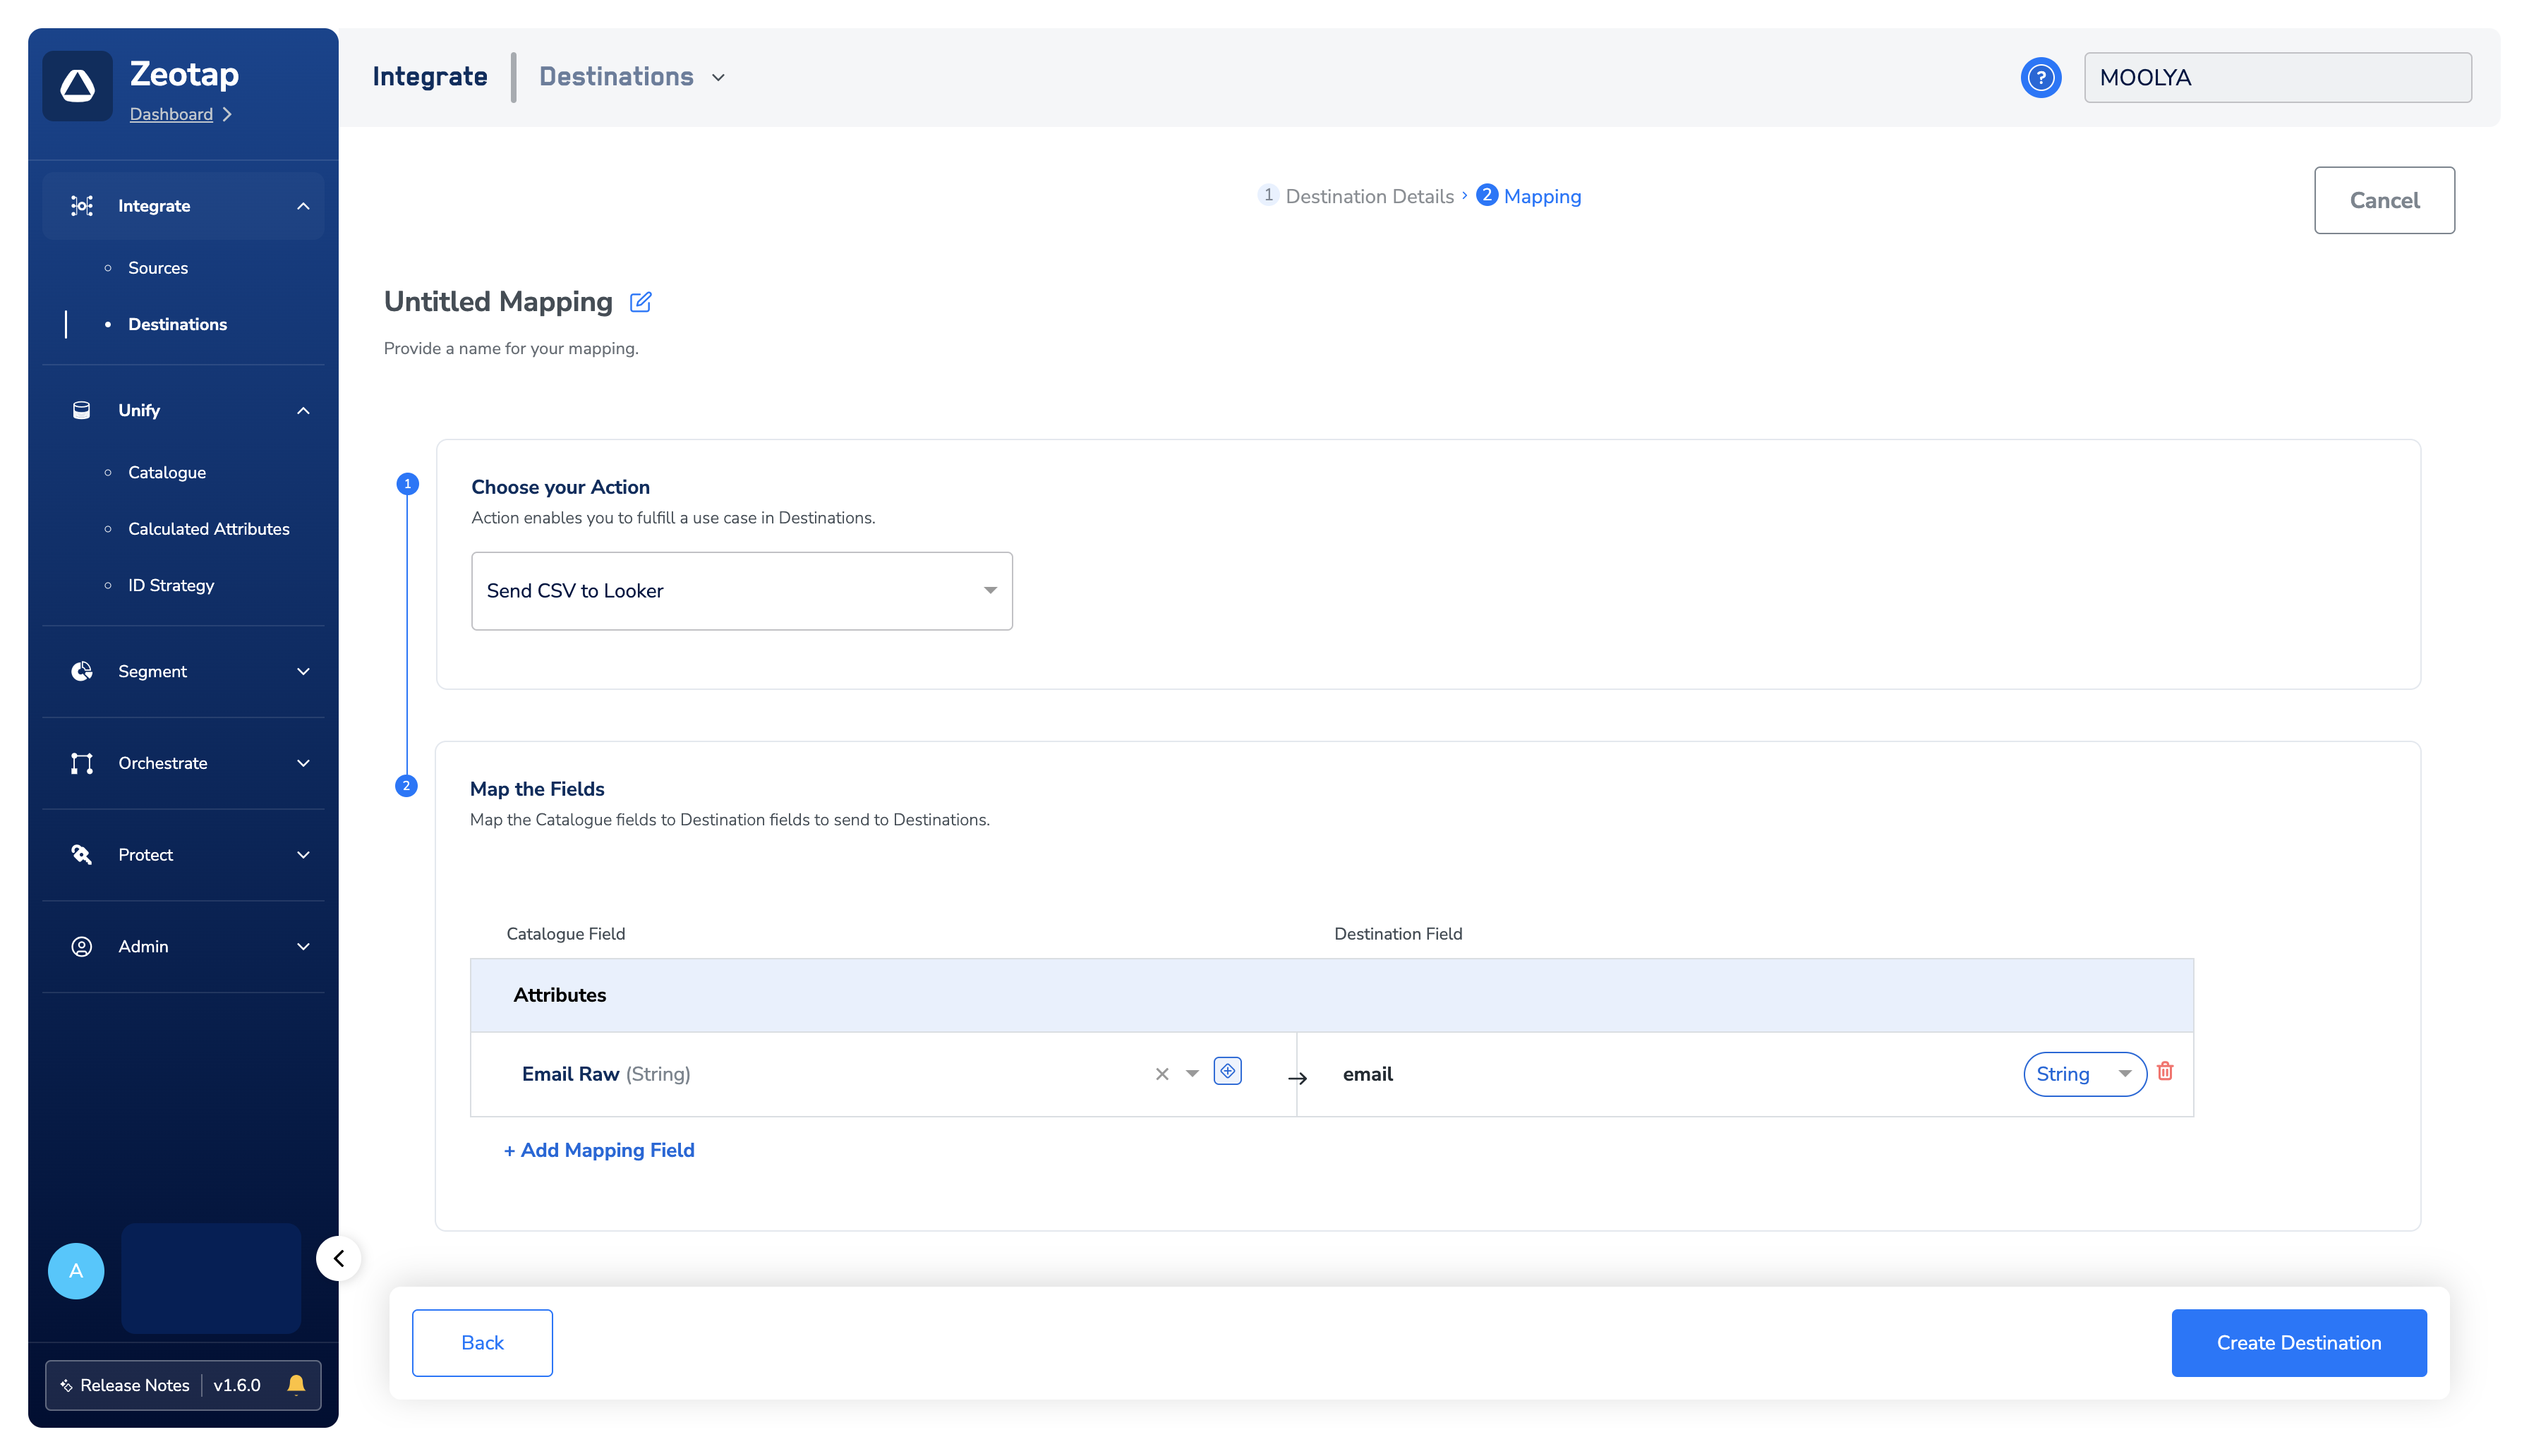
Identify Segment Files in the Google Cloud Storage Bucket
After an Audience is linked to a Destination, Zeotap CDP generates segment files in CSV format with the following naming convention:{filenamePrefix}{fileNumber}_${channelId}_${timestamp}.csv, where the timestamp is in epoch format.
In case of multipart upload, the format is {partNumber}_{filenamePrefix}{fileNumber}_${channelId}_${timestamp}.csv
where,
- partNumber refers to the parts or segments of a multipart upload in Google Cloud Storage. Multipart uploads allows you to upload large files in multiple parts or chunks rather than uploading the entire file in one go. In the above naming convention, Part 0 refers to the first part of the multipart upload.
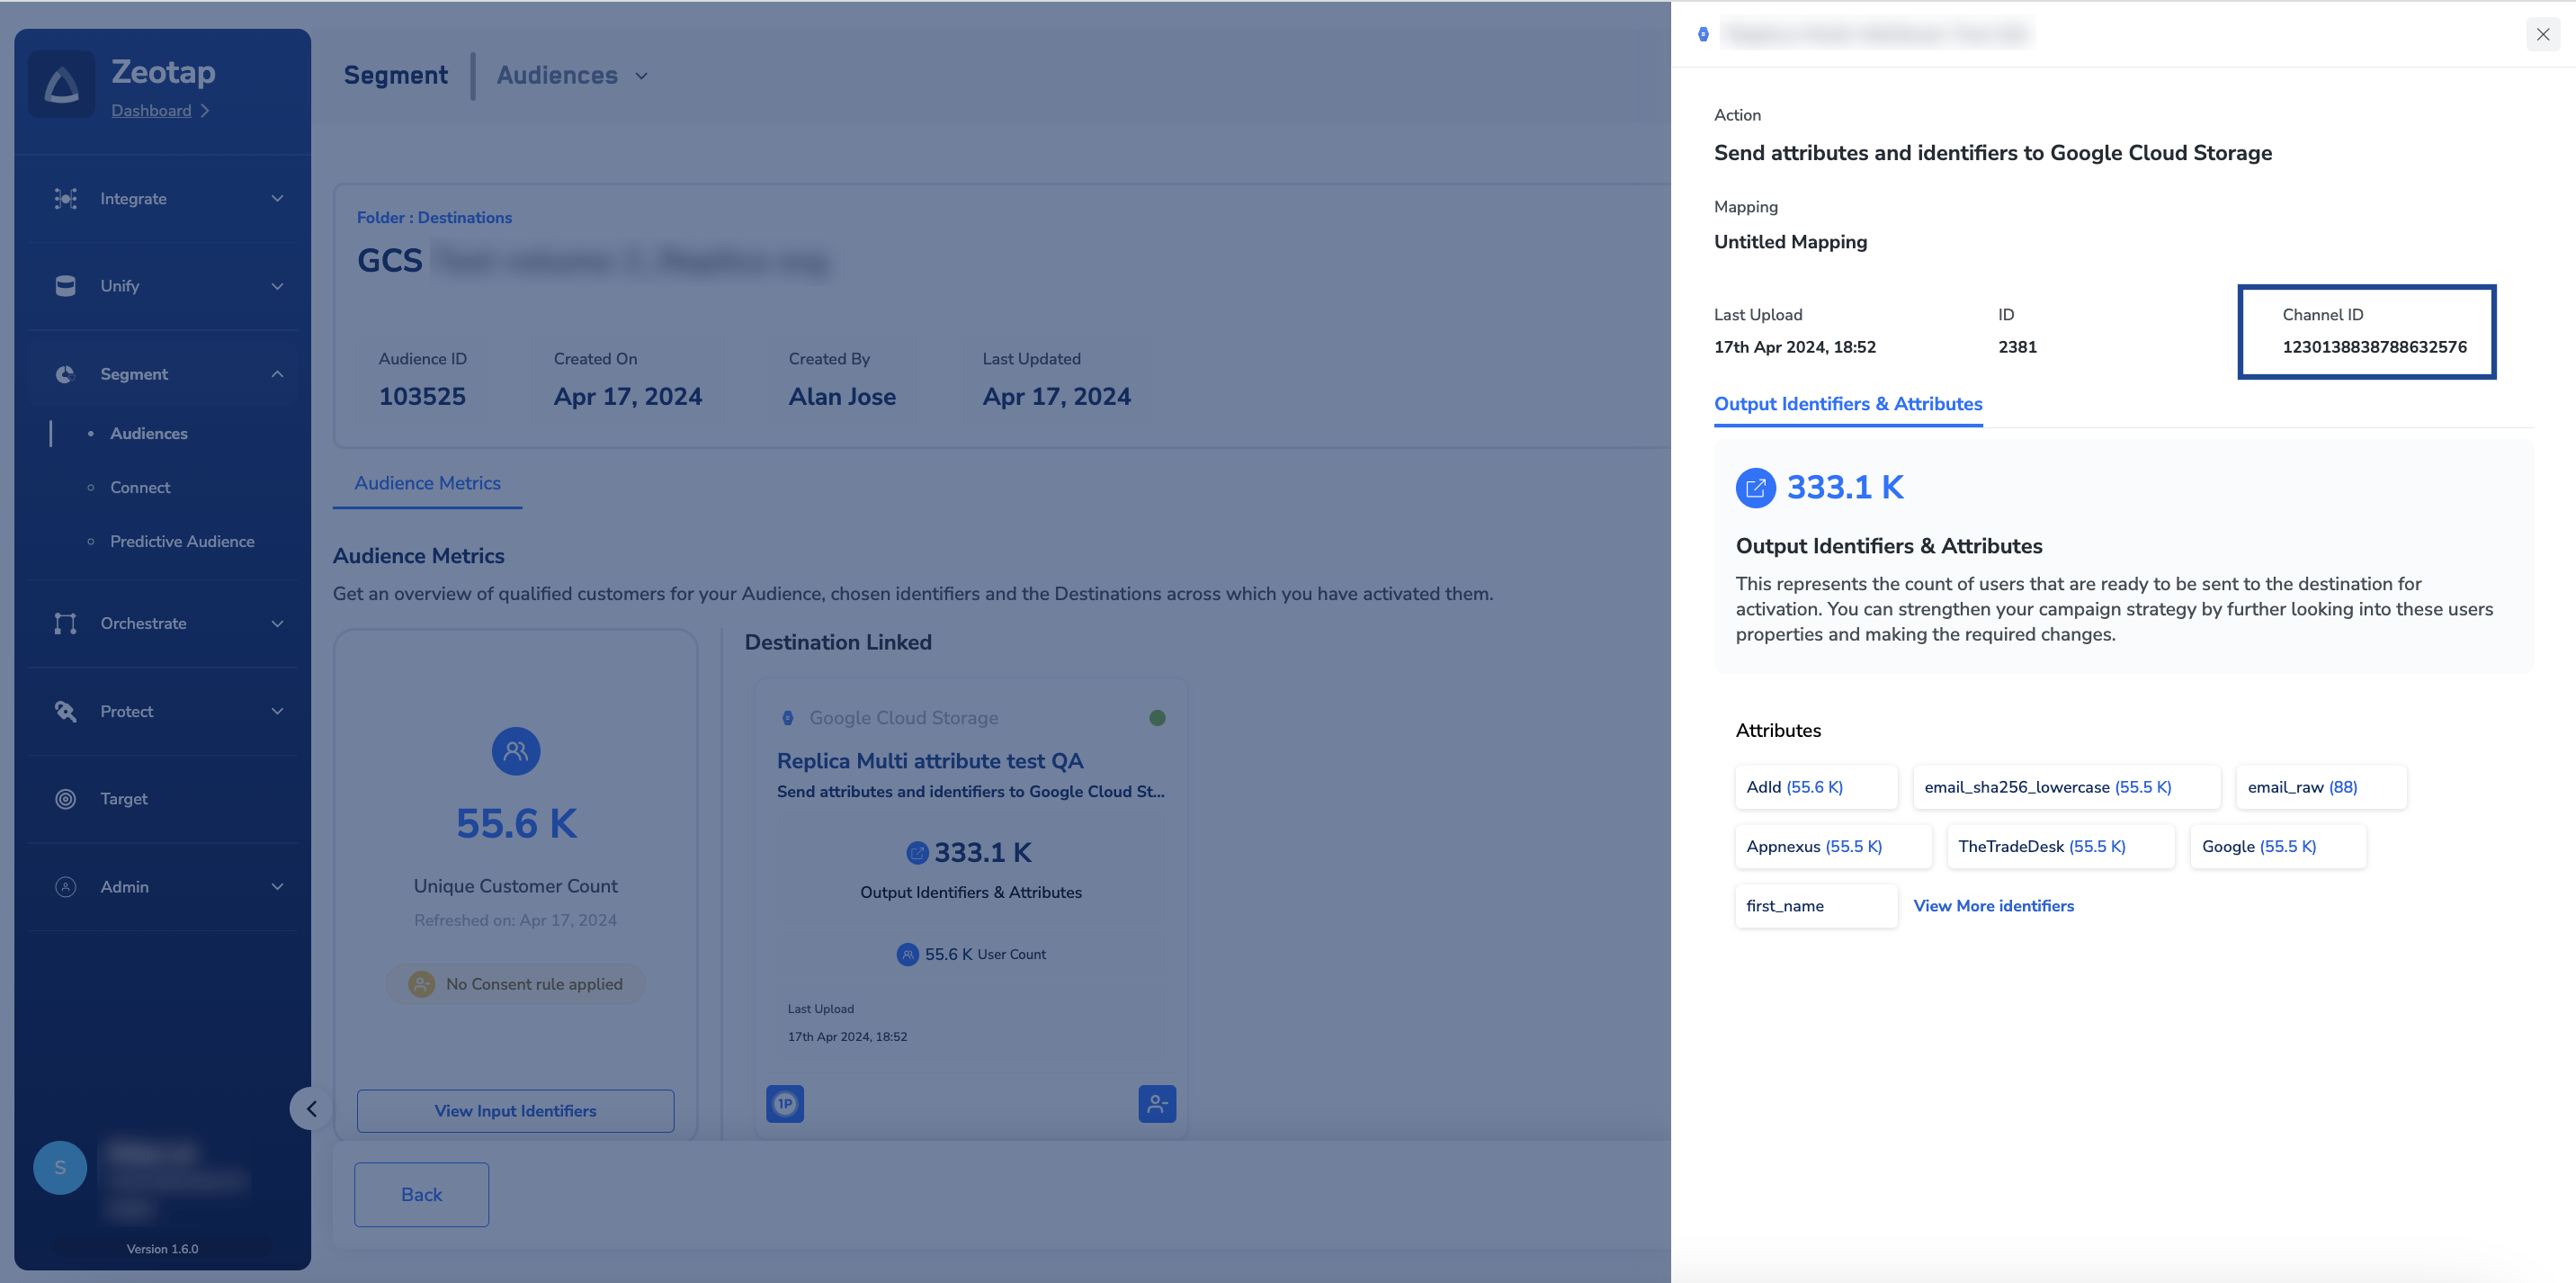
- channelId is the ID associated with your audience (segment) in Zeotap CDP. This is generated by the Zeotap CDP after the audience (segment) is linked to a Destination. You can obtain this information as shown in the image below.
- epochmilliTimestamp is the timestamp in epoch format.
12345678, a filename prefix testprefix, and a file number 98765. The timestamp information in epoch milliseconds is 1625138600. When this file is uploaded to GCS as the first part of the multipart upload, the file is named as follows:
Part0_testprefix98765_12345678_1625138600.csv
Link an Audience to the Google Cloud Storage Destination
For information about how to link an audience or segment to the created Destination in Audiences application, refer here.Note:The terms Audiences and Segments are used interchangeably to refer to customer cohorts belonging to a specific category. For example, an Audience or a segment could be a specific group of customers who are over 18 years of age and who have performed an
addToCart event within the last 30 days.Connecting Your CSV File to Looker Studio
To add a CSV file from a GCS bucket as a data source in Looker Studio, follow these steps:Create a New Data Source: In the top-left corner, click on the + Create button and then select Data Source.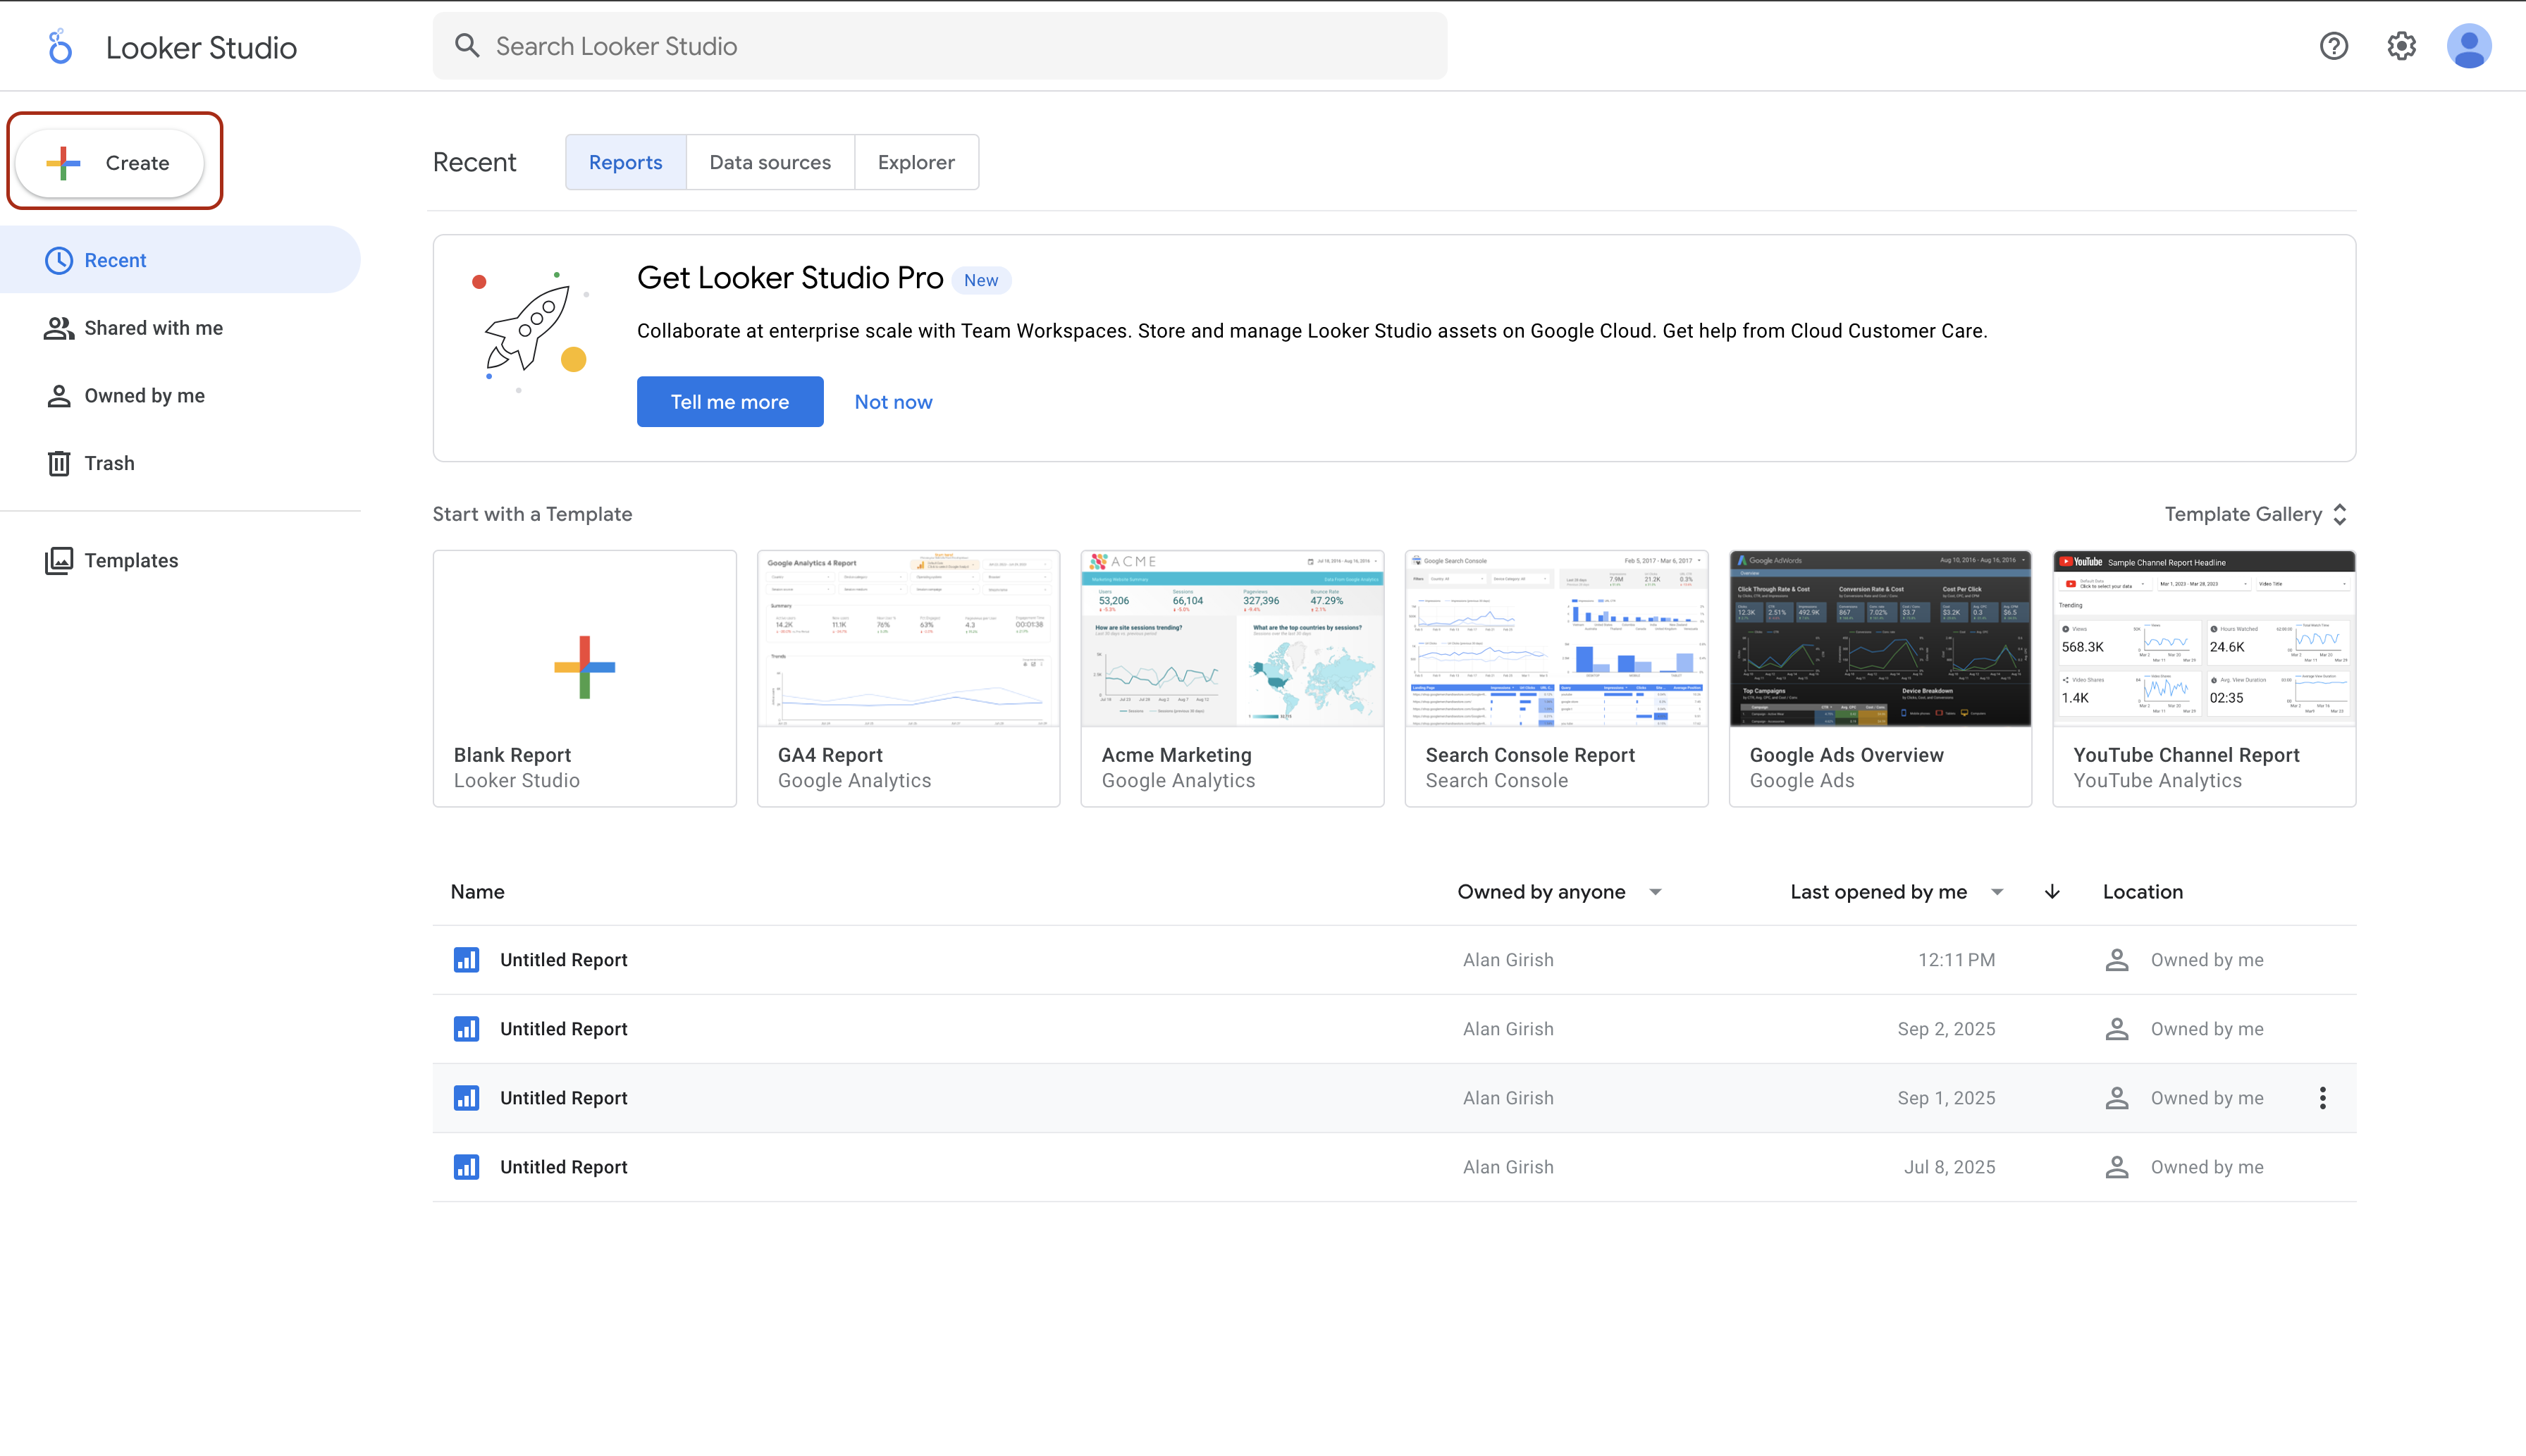
Select the Google Cloud Storage Connector: From the list of Google Connectors, choose Google Cloud Storage.
Authorize Access: If you are connecting to Google Cloud Storage for the first time, you will be prompted to authorize Looker Studio to access your GCS data. Click AUTHORIZE.
Specify the File Path: In the Select a data source panel, provide the full path to your CSV file in the GCS bucket. The path should be in the format
gs://your-bucket-name/your-file-name.csv. You can also navigate to the file by selecting your project and then browsing through your buckets and folders.Configure Data Source Options (Optional): You can configure additional options such as the character encoding of your CSV file.
Configure Fields: Looker Studio will then display the fields from your CSV file. You can adjust the data type, aggregation, and other properties for each field.