Overview
Personyze, a personalisation solution, harnesses machine learning and behavioural targeting to craft engaging, conversion-driven experiences across multiple channels. When integrated with Zeotap, it facilitates the seamless transfer of segments from Zeotap CDP to Personyze. This integration empowers users to leverage these segments for targeted and personalized campaigns within the Personyze platform.Supported Identifiers
This integration supports raw email addresses, Custom IDs, First Name, Last Name Phone and Industry.Available Actions and Supported Features
The following table lists the available action types for the integration and the supported features for each action type:| Action Name | ID EXTENSION | DELETE | DELTA UPLOAD |
|---|---|---|---|
| Send identifiers to Personyze | - | - | - |
Components of Personyze
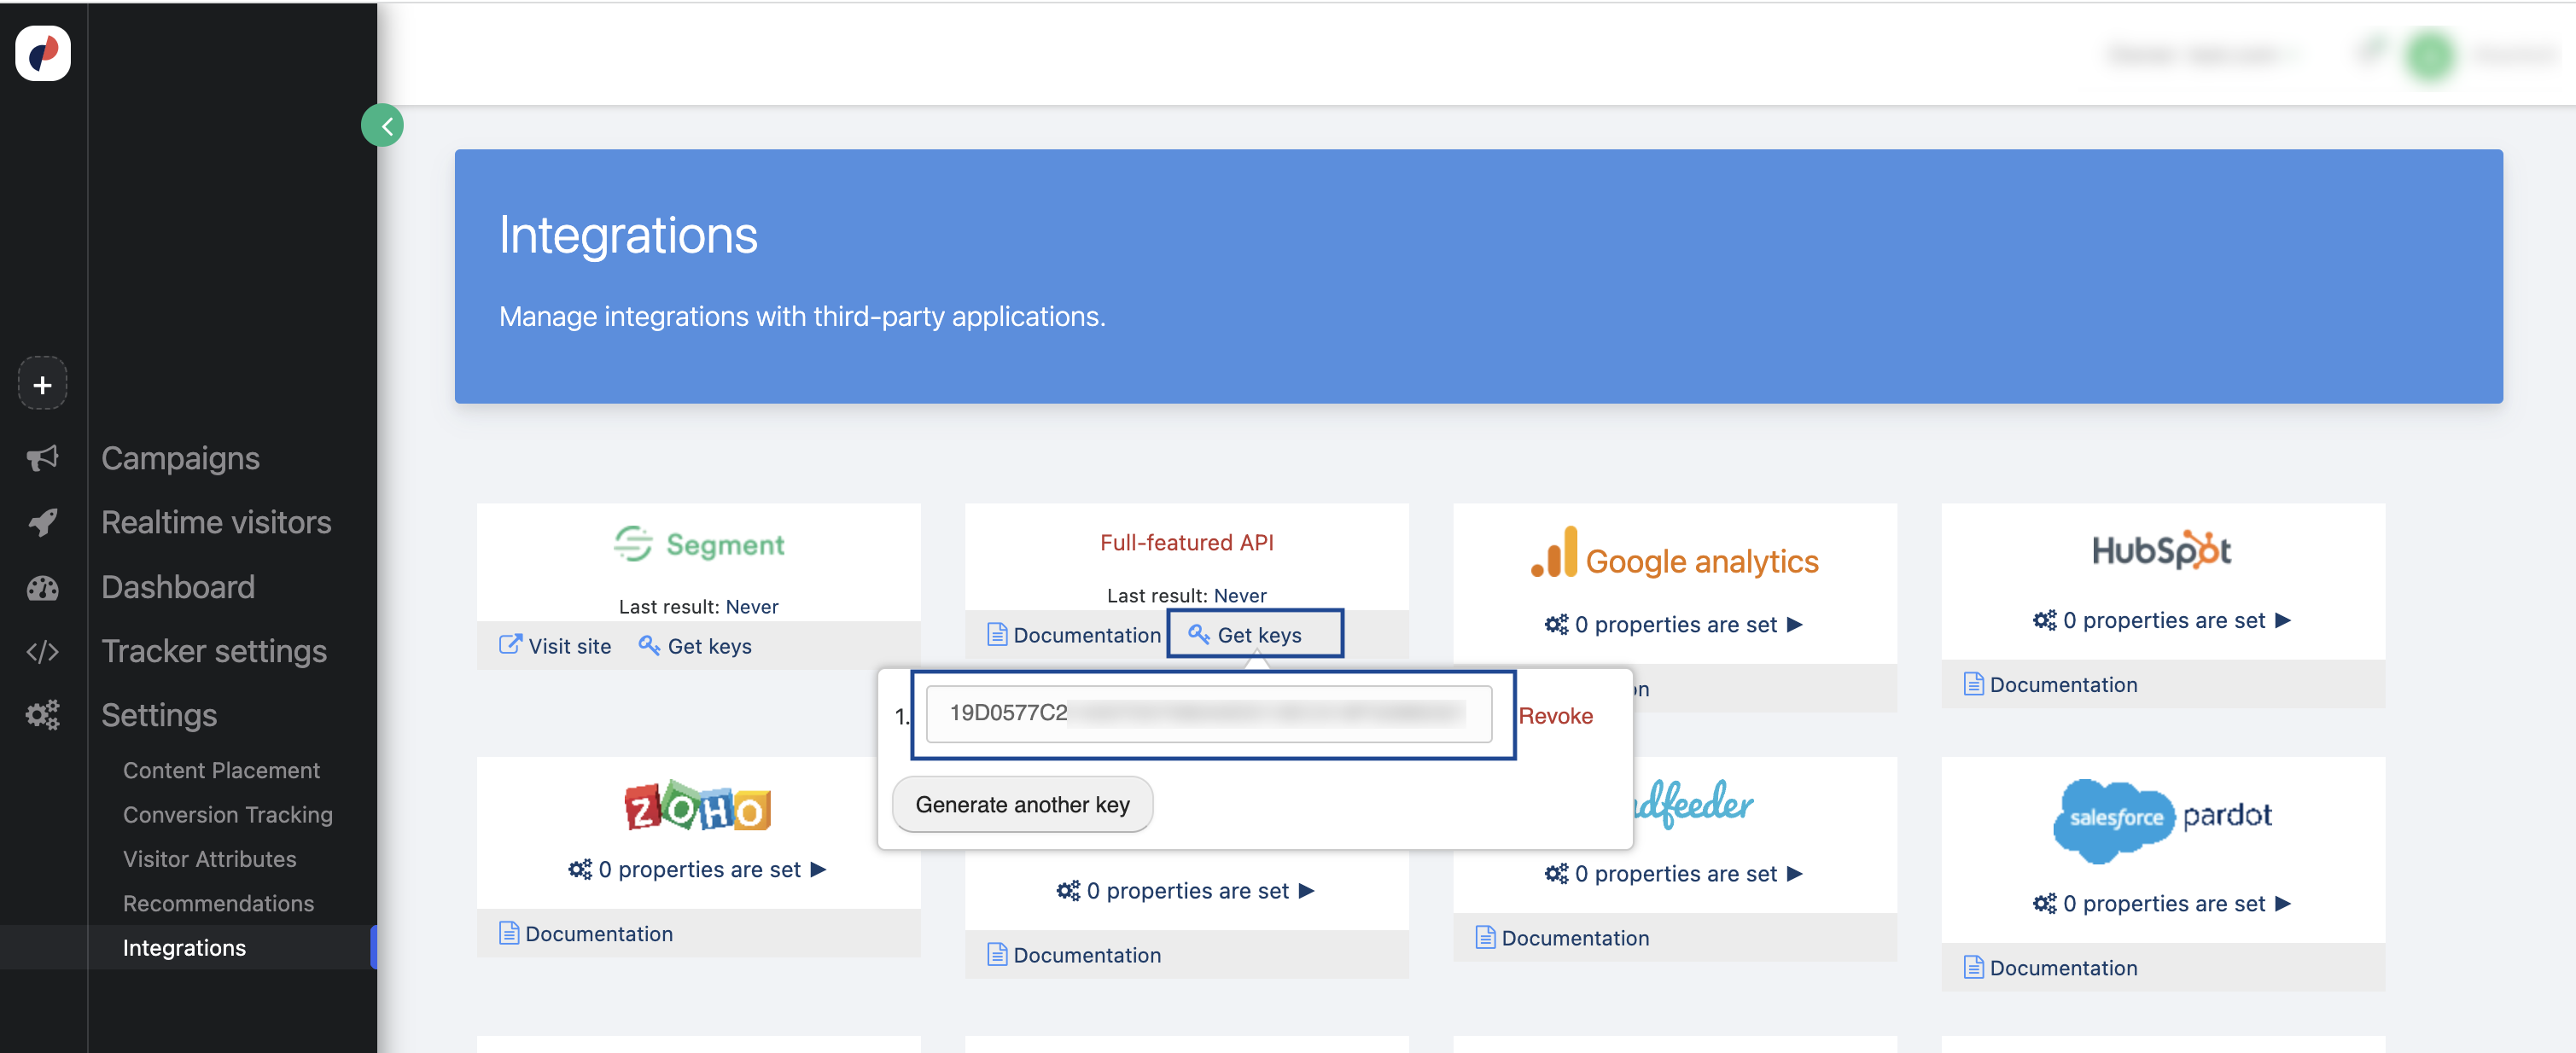
Ensure that you have the details about the below component of the Personyze account before creating a Destination.Private Key
A Private Key is an encryption key that is used to authenticate API calls in Personyze. To obtain the Private Key from the Personyze console, perform the following steps: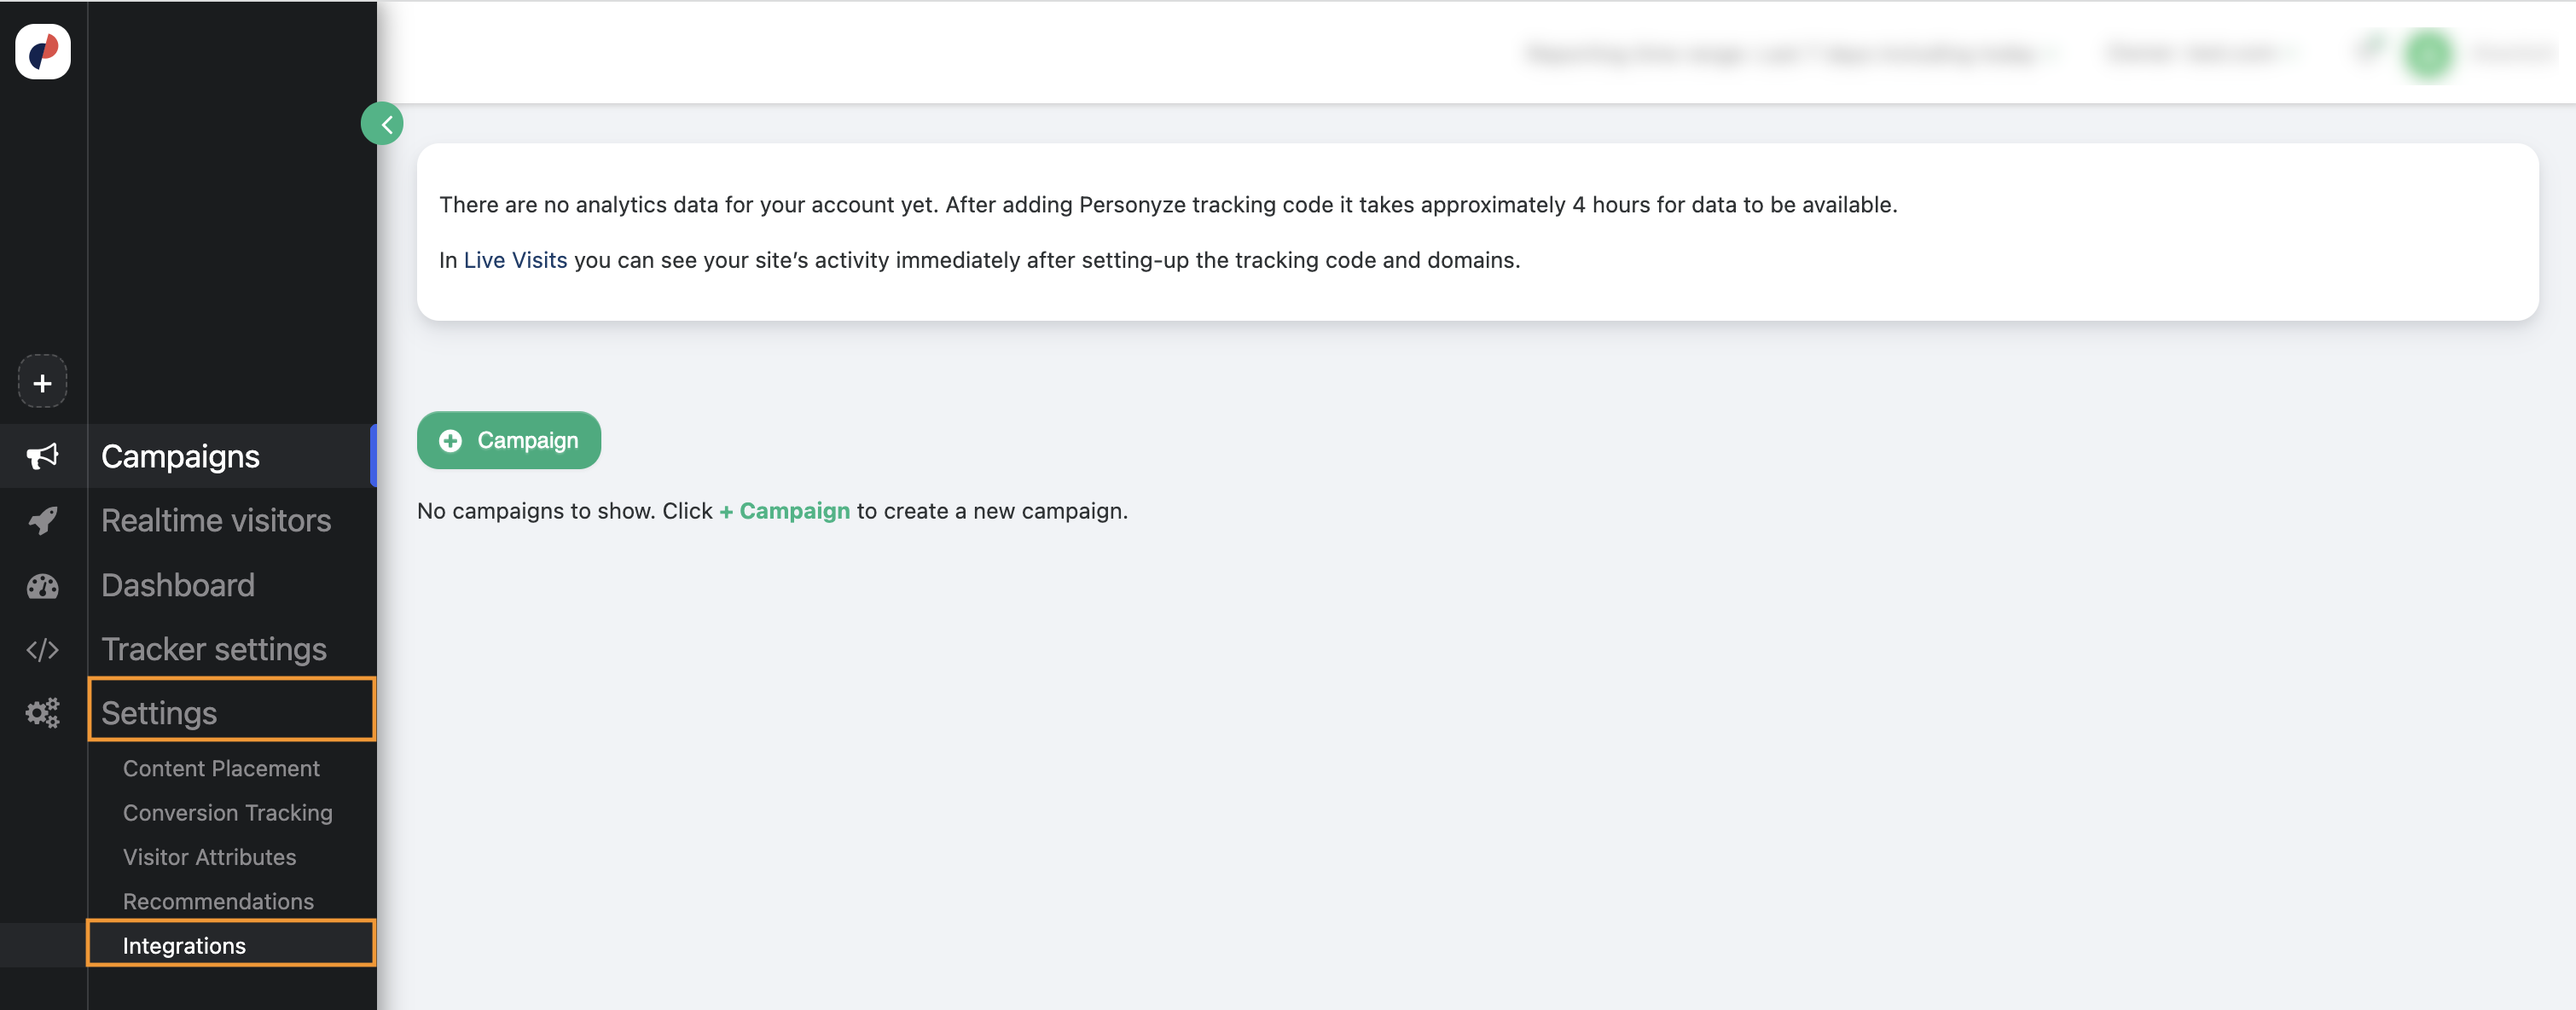
Create a Destination for Personyze
Perform the following steps to create a Destination for Personyze:.png?fit=max&auto=format&n=OFEzw22E9lo2DHYT&q=85&s=816d7f247d590bc7bb09fff1e0b92a3d)
.png?fit=max&auto=format&n=OFEzw22E9lo2DHYT&q=85&s=9cca1024dea8e775f5b0ad6aa1d68a75)
Click Personyze. A screen appears displaying details about the particular destination towards the left. On the right-hand side of the screen find a list of fields that are required for the integration to be established. Enter the required details as mentioned in the following steps:a. Enter a name for the Destination.b. Enter the Private API Key that you have obtained from your Personyze account. For more information about how to obtain it from Personyze, refer to Components of Personyze section.c. Review all the values entered above and then click Nex t to proceed.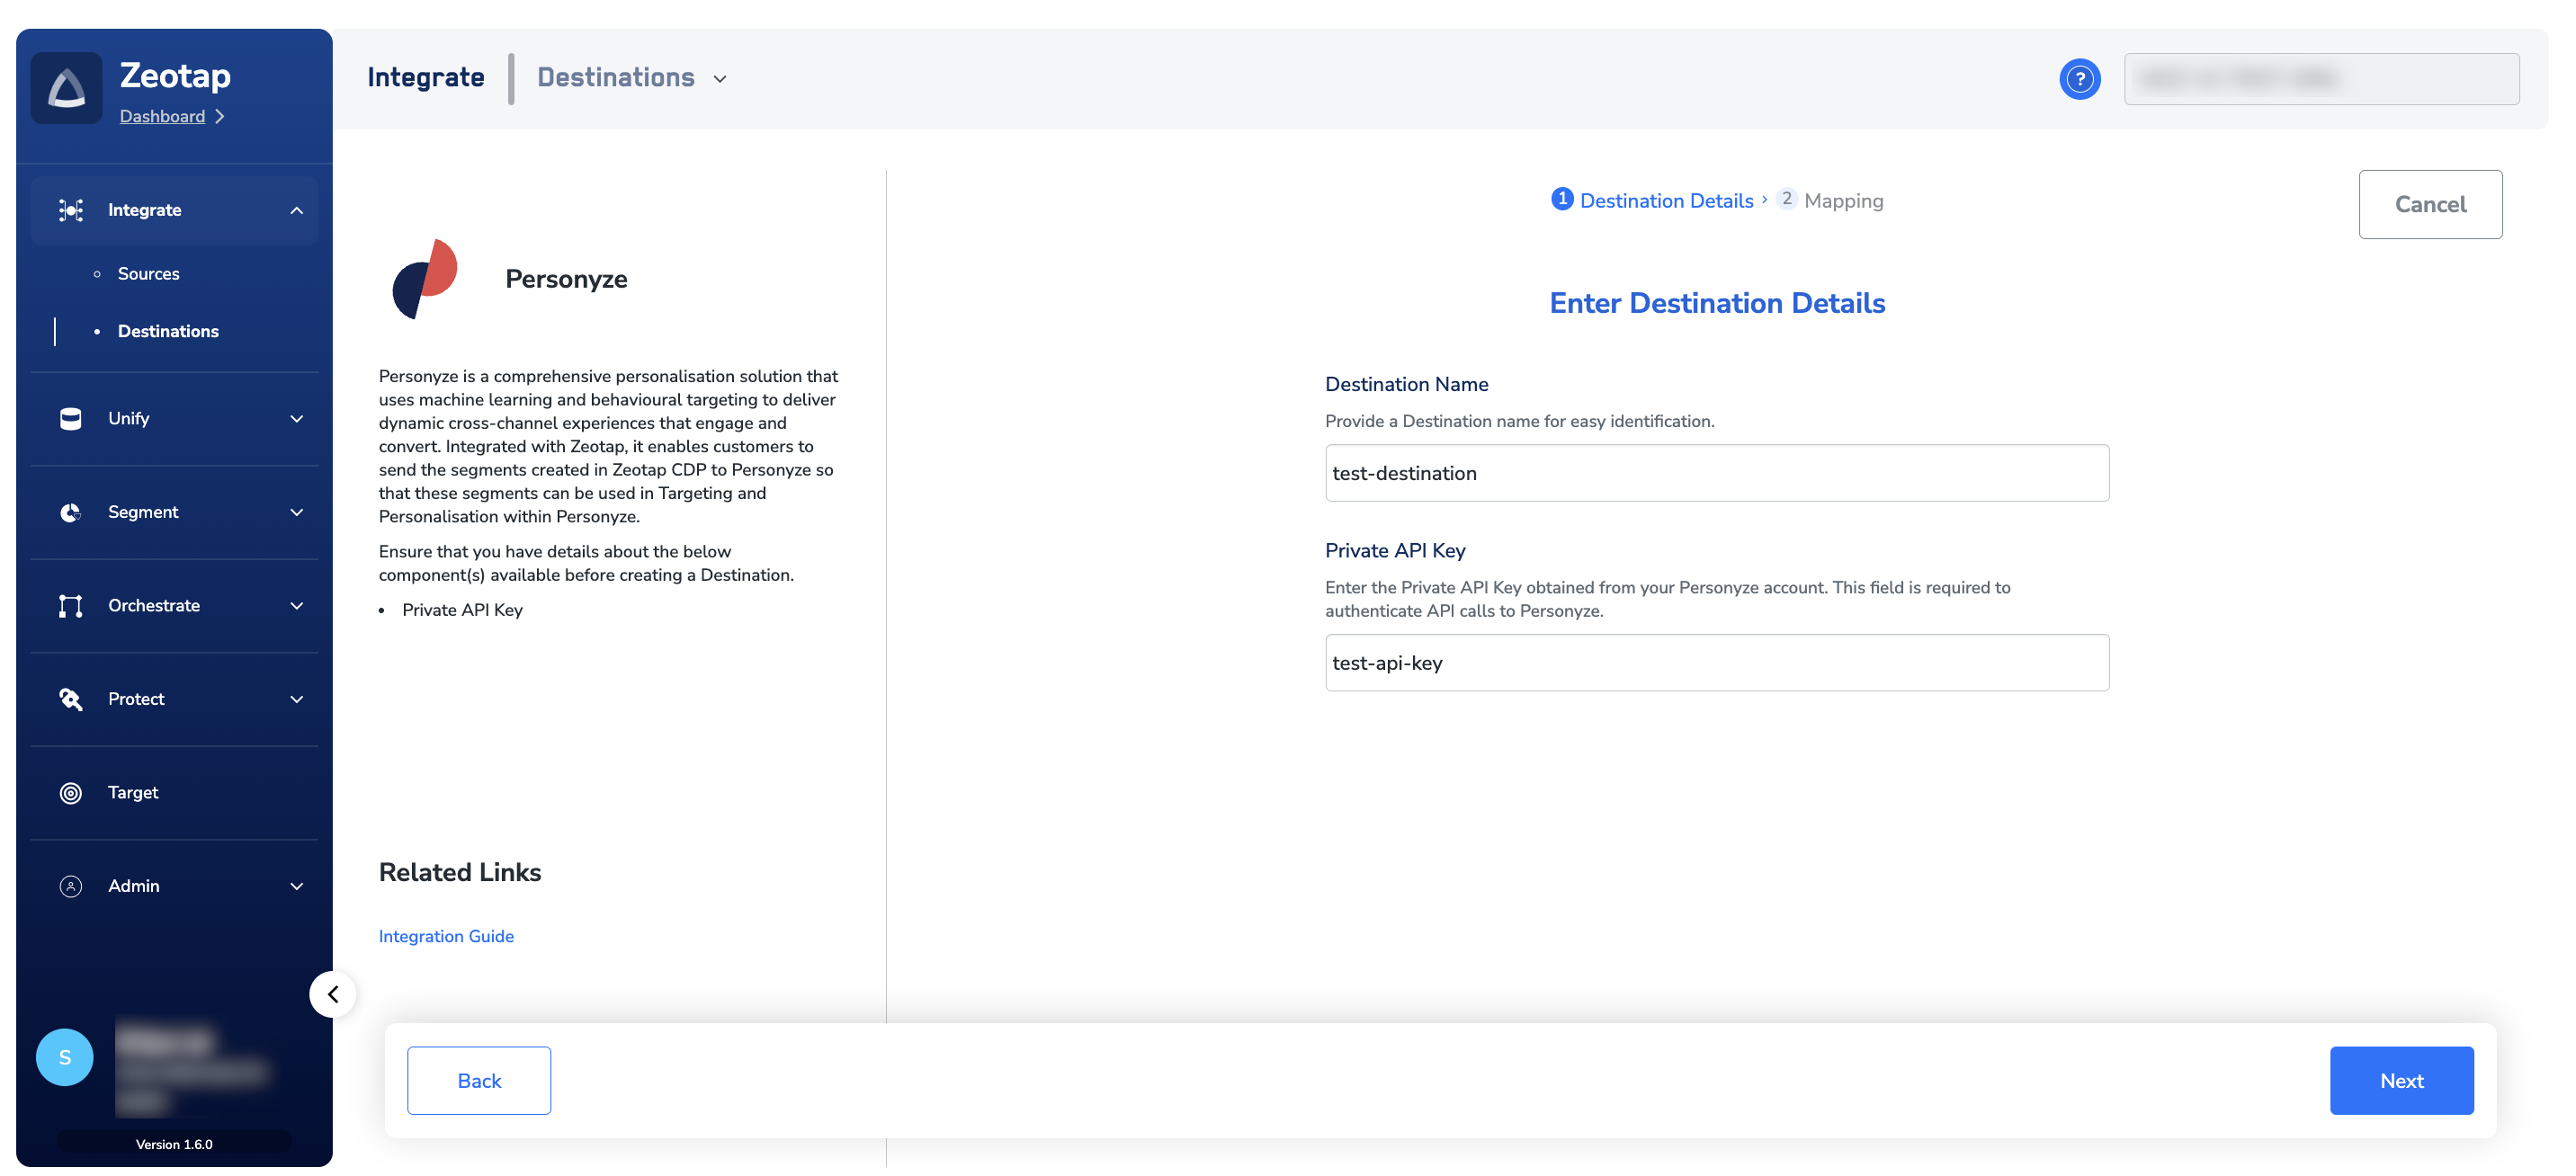
In the new screen that appears, under Choose your Action, choose Send Attributes to Personyze as the action for activating your audience (segment) on the Audiences module. This auto-populates Internal ID, Email, First Name, Last Name, Phone and Industry under Map the Fields. Note that you can edit or remove any field from the mapping except for the mandatory fields.
Preparing to Link an Audience to the Personyze Destination
Before you link an audience to the Personyze Destination, ensure that you create an attribute on the Personze platform with the attribute name as the audience name. To do so, perform the following steps: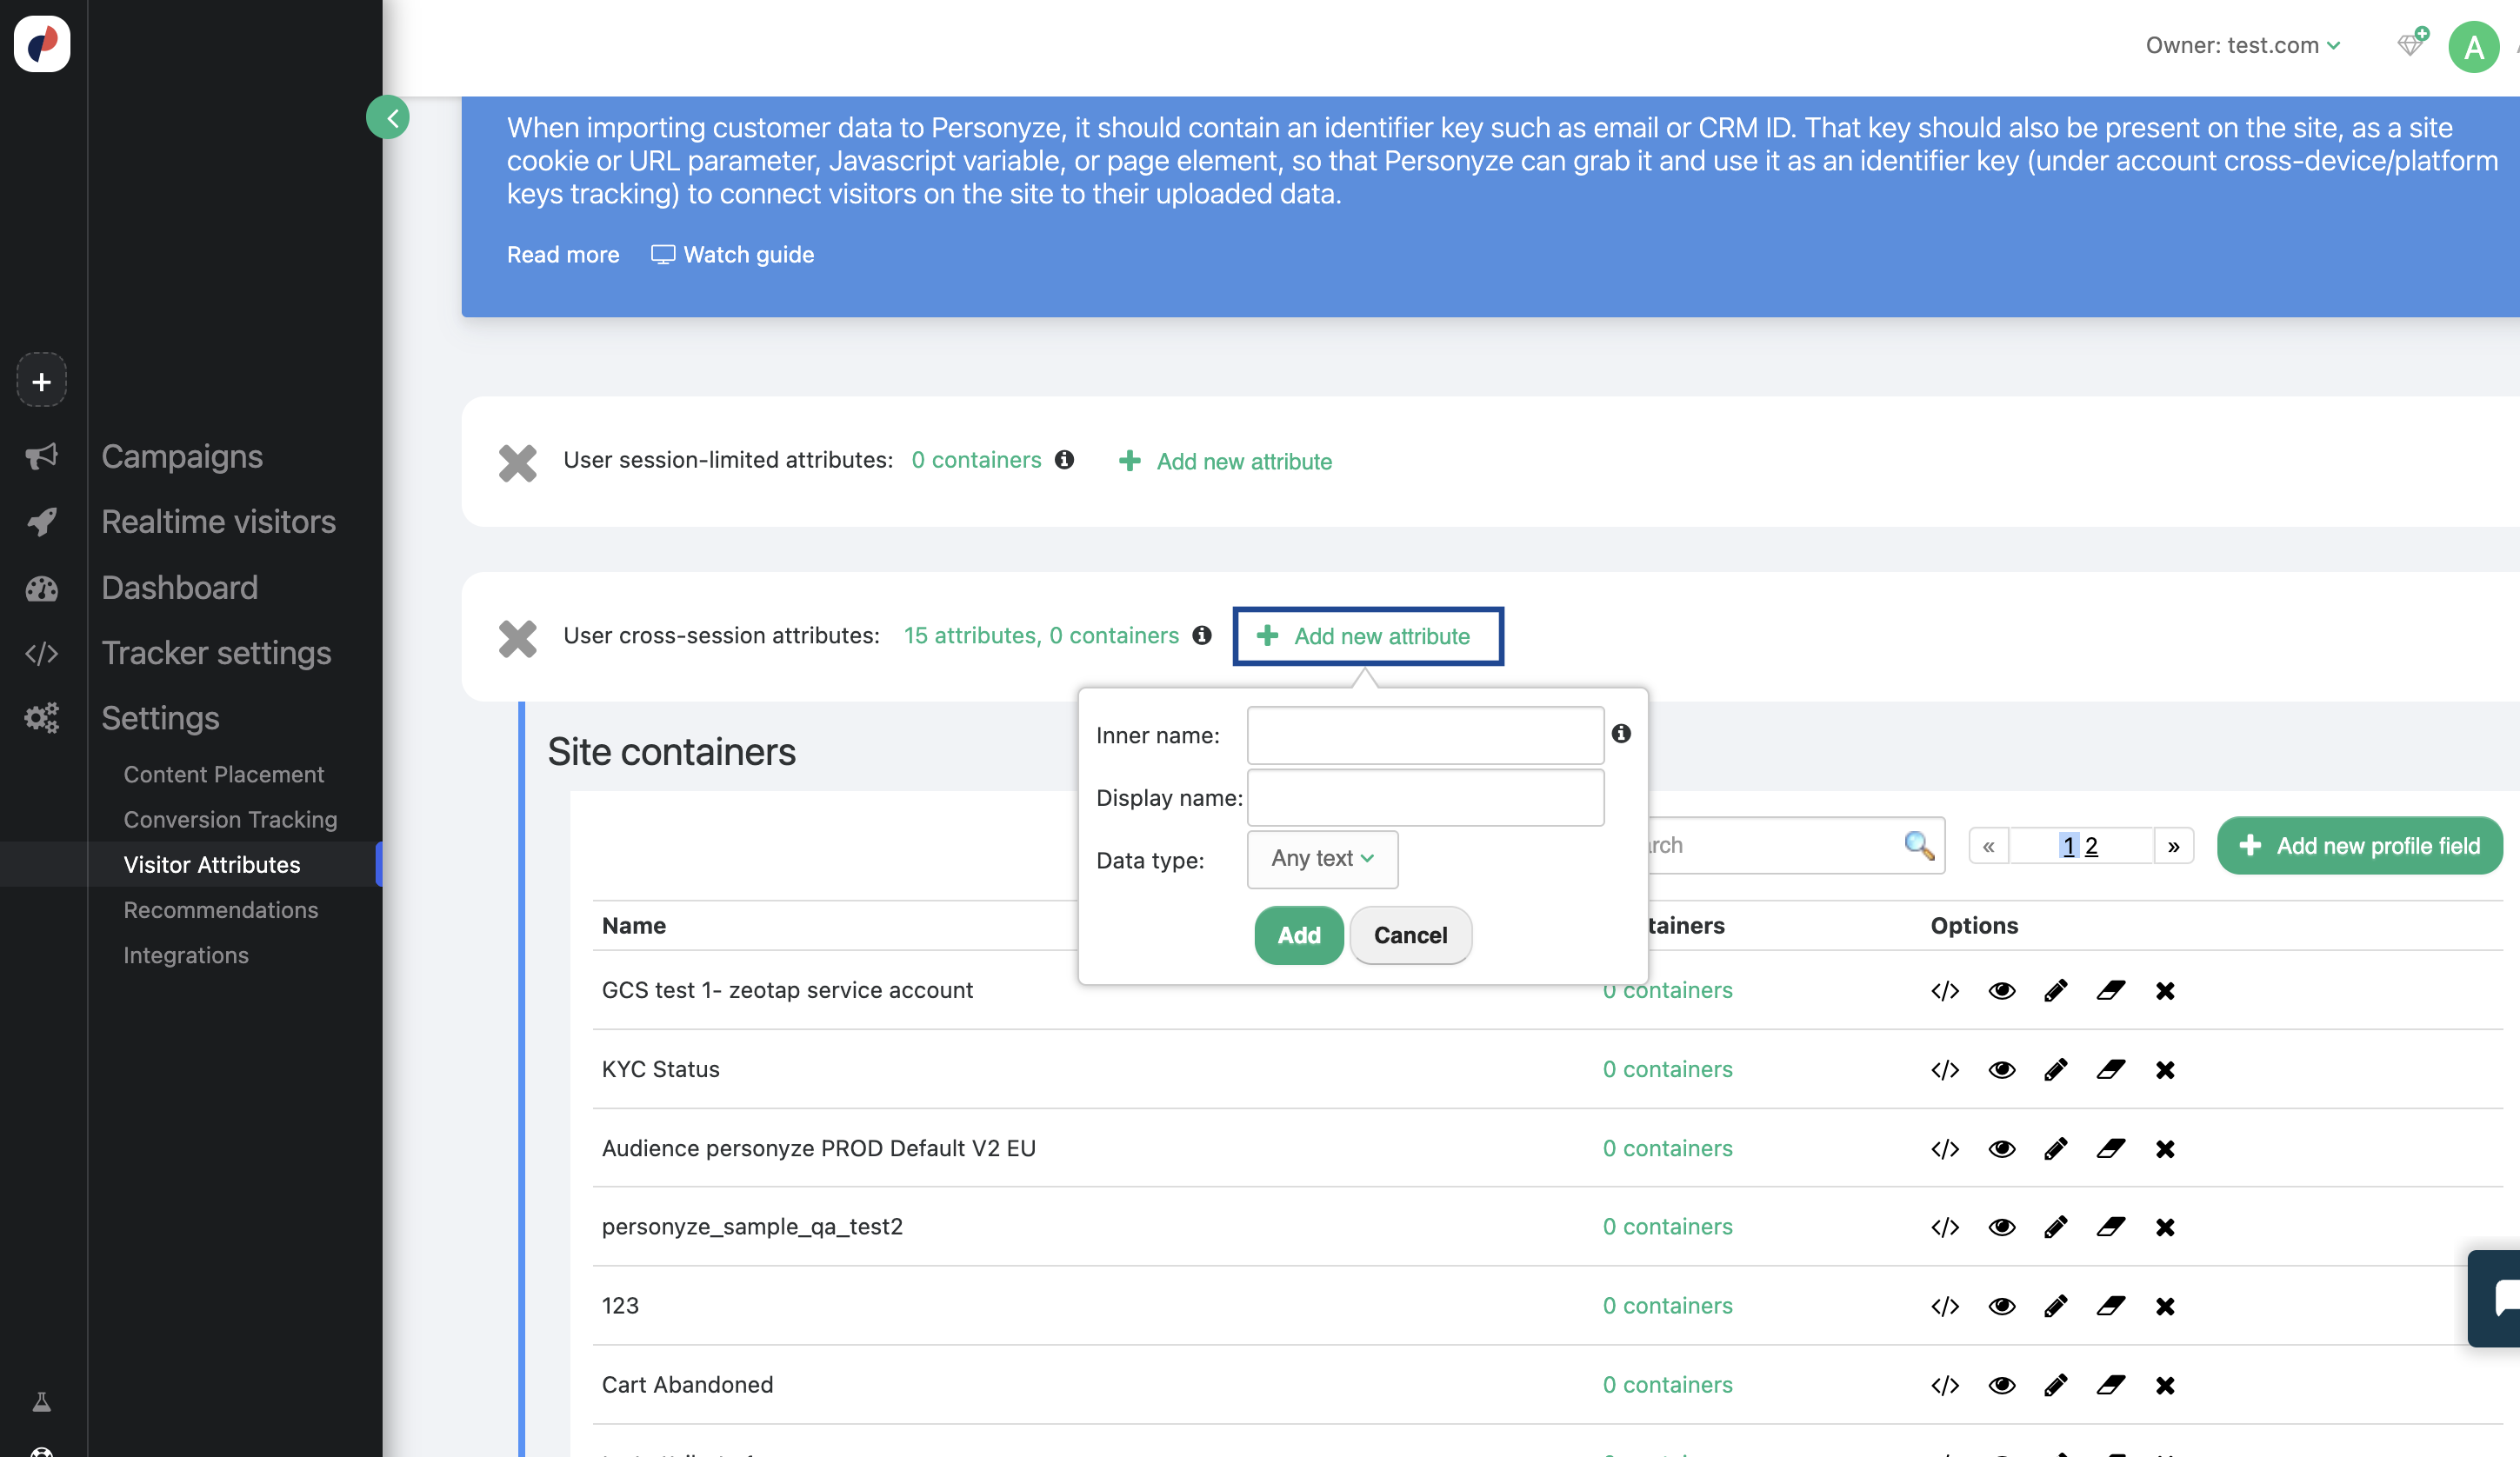
In the pop-up window that appears, enter the Display name of the attribute. Ensure that the Display name matches exactly with the name of the audience created on Zeotap CDP. For example, if the name of the audience created on Zeotap CDP is “GCS Test Audience”, then the Display name must also be “GCS Test Audience”.
For the Inner name field, ensure that you provide the same name as the Display name. However, note that all the characters in the name must be converted to lower case and the spaces must be replaced with underscores. For example, gcs_test_audience.
Link an Audience to the Personyze Destination
For information about how to link an audience or segment to the created Destination in Audiences application, refer here.Note:The terms Audiences and Segments are used interchangeably to refer to customer cohorts belonging to a specific category. For example, an Audience or a segment could be a specific group of customers who are over 18 years of age and who have performed an
addToCart event within the last 30 days.Post Linking an Audience to the Personyze Destination
After you link an audience/segment to the Personyze Destination, you need to add a new targeting rule for the user profiles qualified for the audience to be able to be pushed to Personyze. To do so, perform the following steps: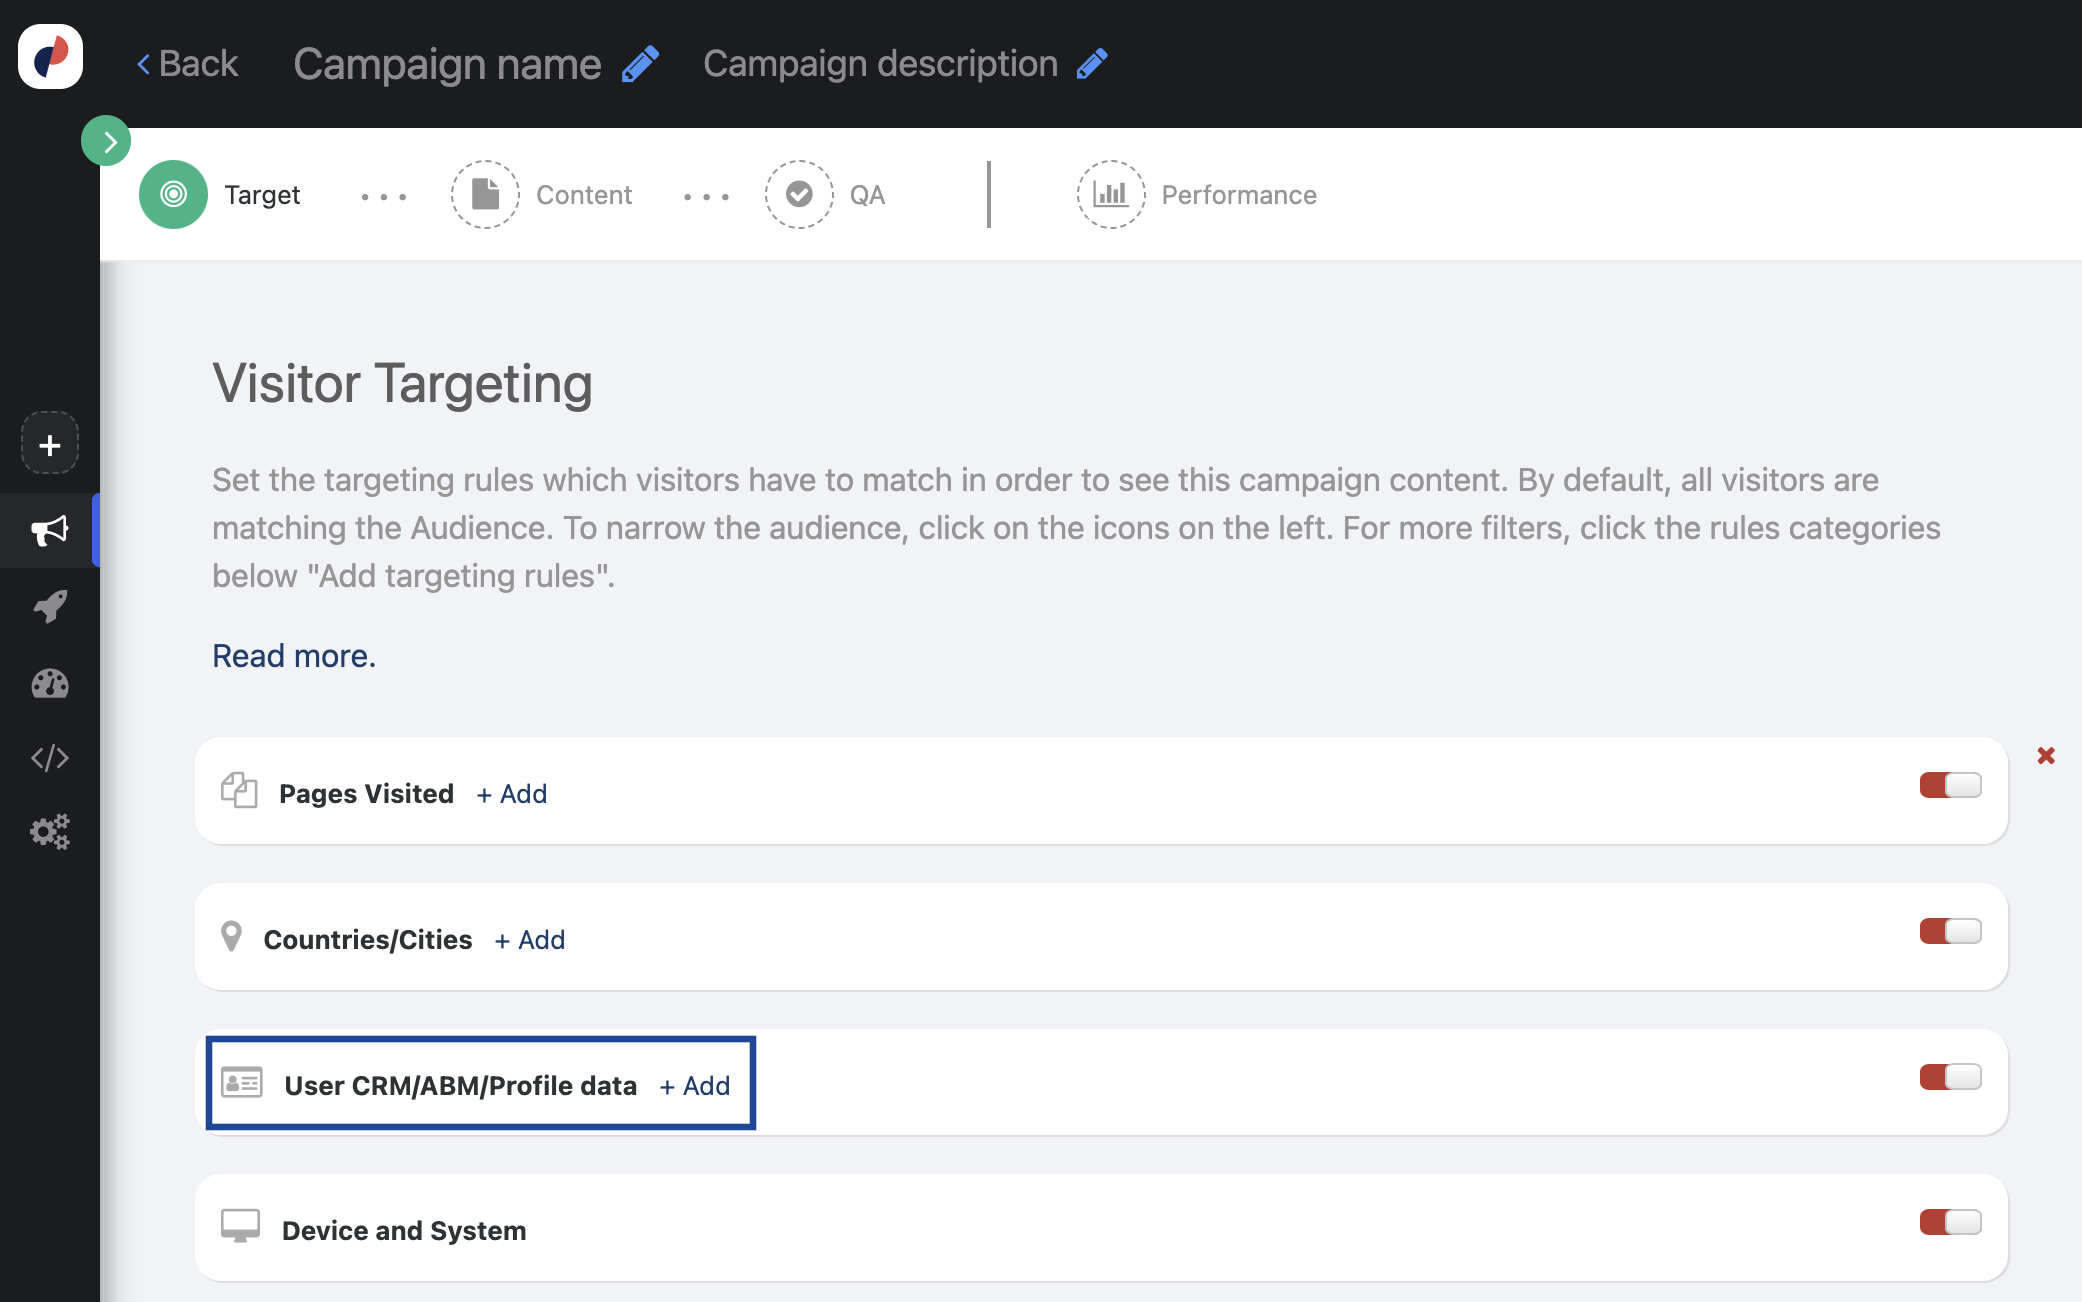
In the pop-up window that appears, set the condition as below.
Visitor matches if <Include> <Any of> <Display name of the attribute> <=equal> <true>.