Overview
The Cohort Sync API allows direct server-to-server sync of cohort/audience data from your ecosystem to MoEngage, letting you:- Create custom segments (audiences) for campaigns.
- Add users in real time from those segments.(Note: User dissociation is not supported as of now)
- Dynamically keep segments updated for fresh campaign targeting.
- Note: This API does not create new users—only matches existing users using their uid.
Pre-requisites
Before using this API endpoint, you must have the following:- MoEngage Account: An active MoEngage account.
- API Keys: You need your Workspace ID (formerly DATA API ID) and a Data API Key. These can be generated from your MoEngage Dashboard by navigating to Settings -> Account -> APIs -> Data API Settings.
- Data Center URL: You must use the correct API endpoint URL corresponding to your account’s data center. The “0X” in the URL (https://api-0X.moengage.com) should be replaced with your specific data center number (e.g., 01, 02, 03).
Authentication
The API uses HTTP Basic Authentication.- Username: Your Workspace ID.
- Password: Your Data API Key.
Create a Destination for MoEngage
Perform the following steps to create a Destination for Moengage: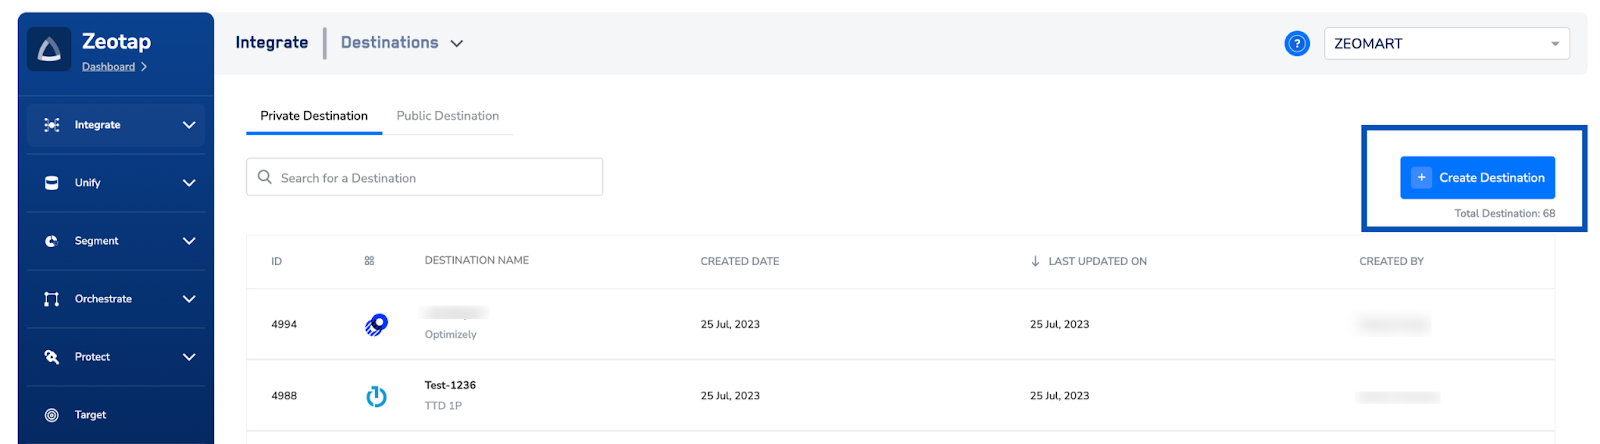
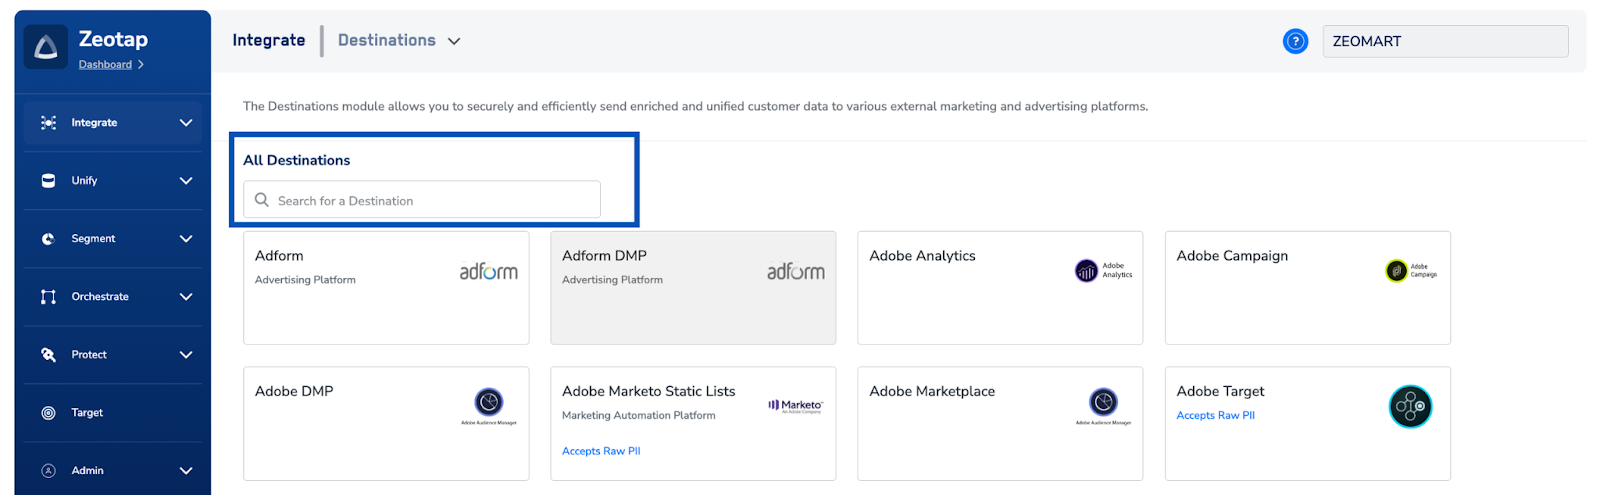
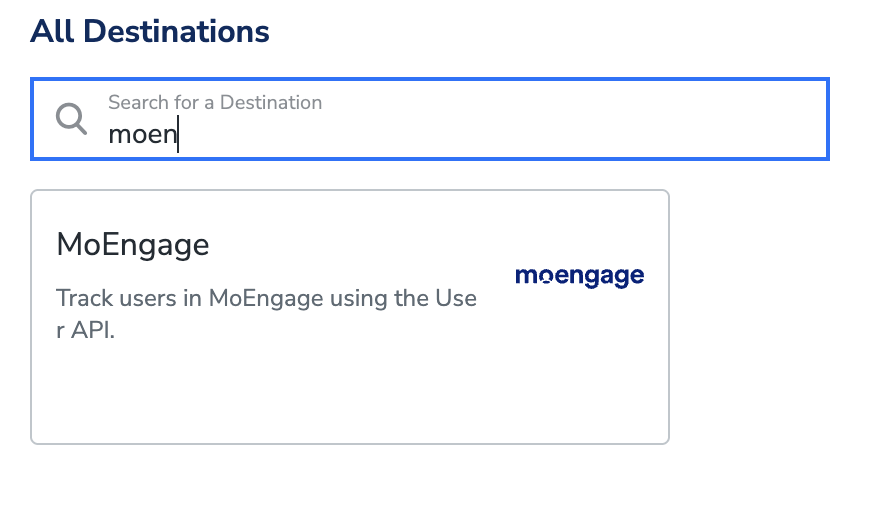
Click Moengage. A screen appears displaying details about the particular destination towards the left. On the right-hand side of the screen find a list of fields that are required for the integration to be established. Enter the required details as mentioned in the following steps:a. Enter a name for the Destination.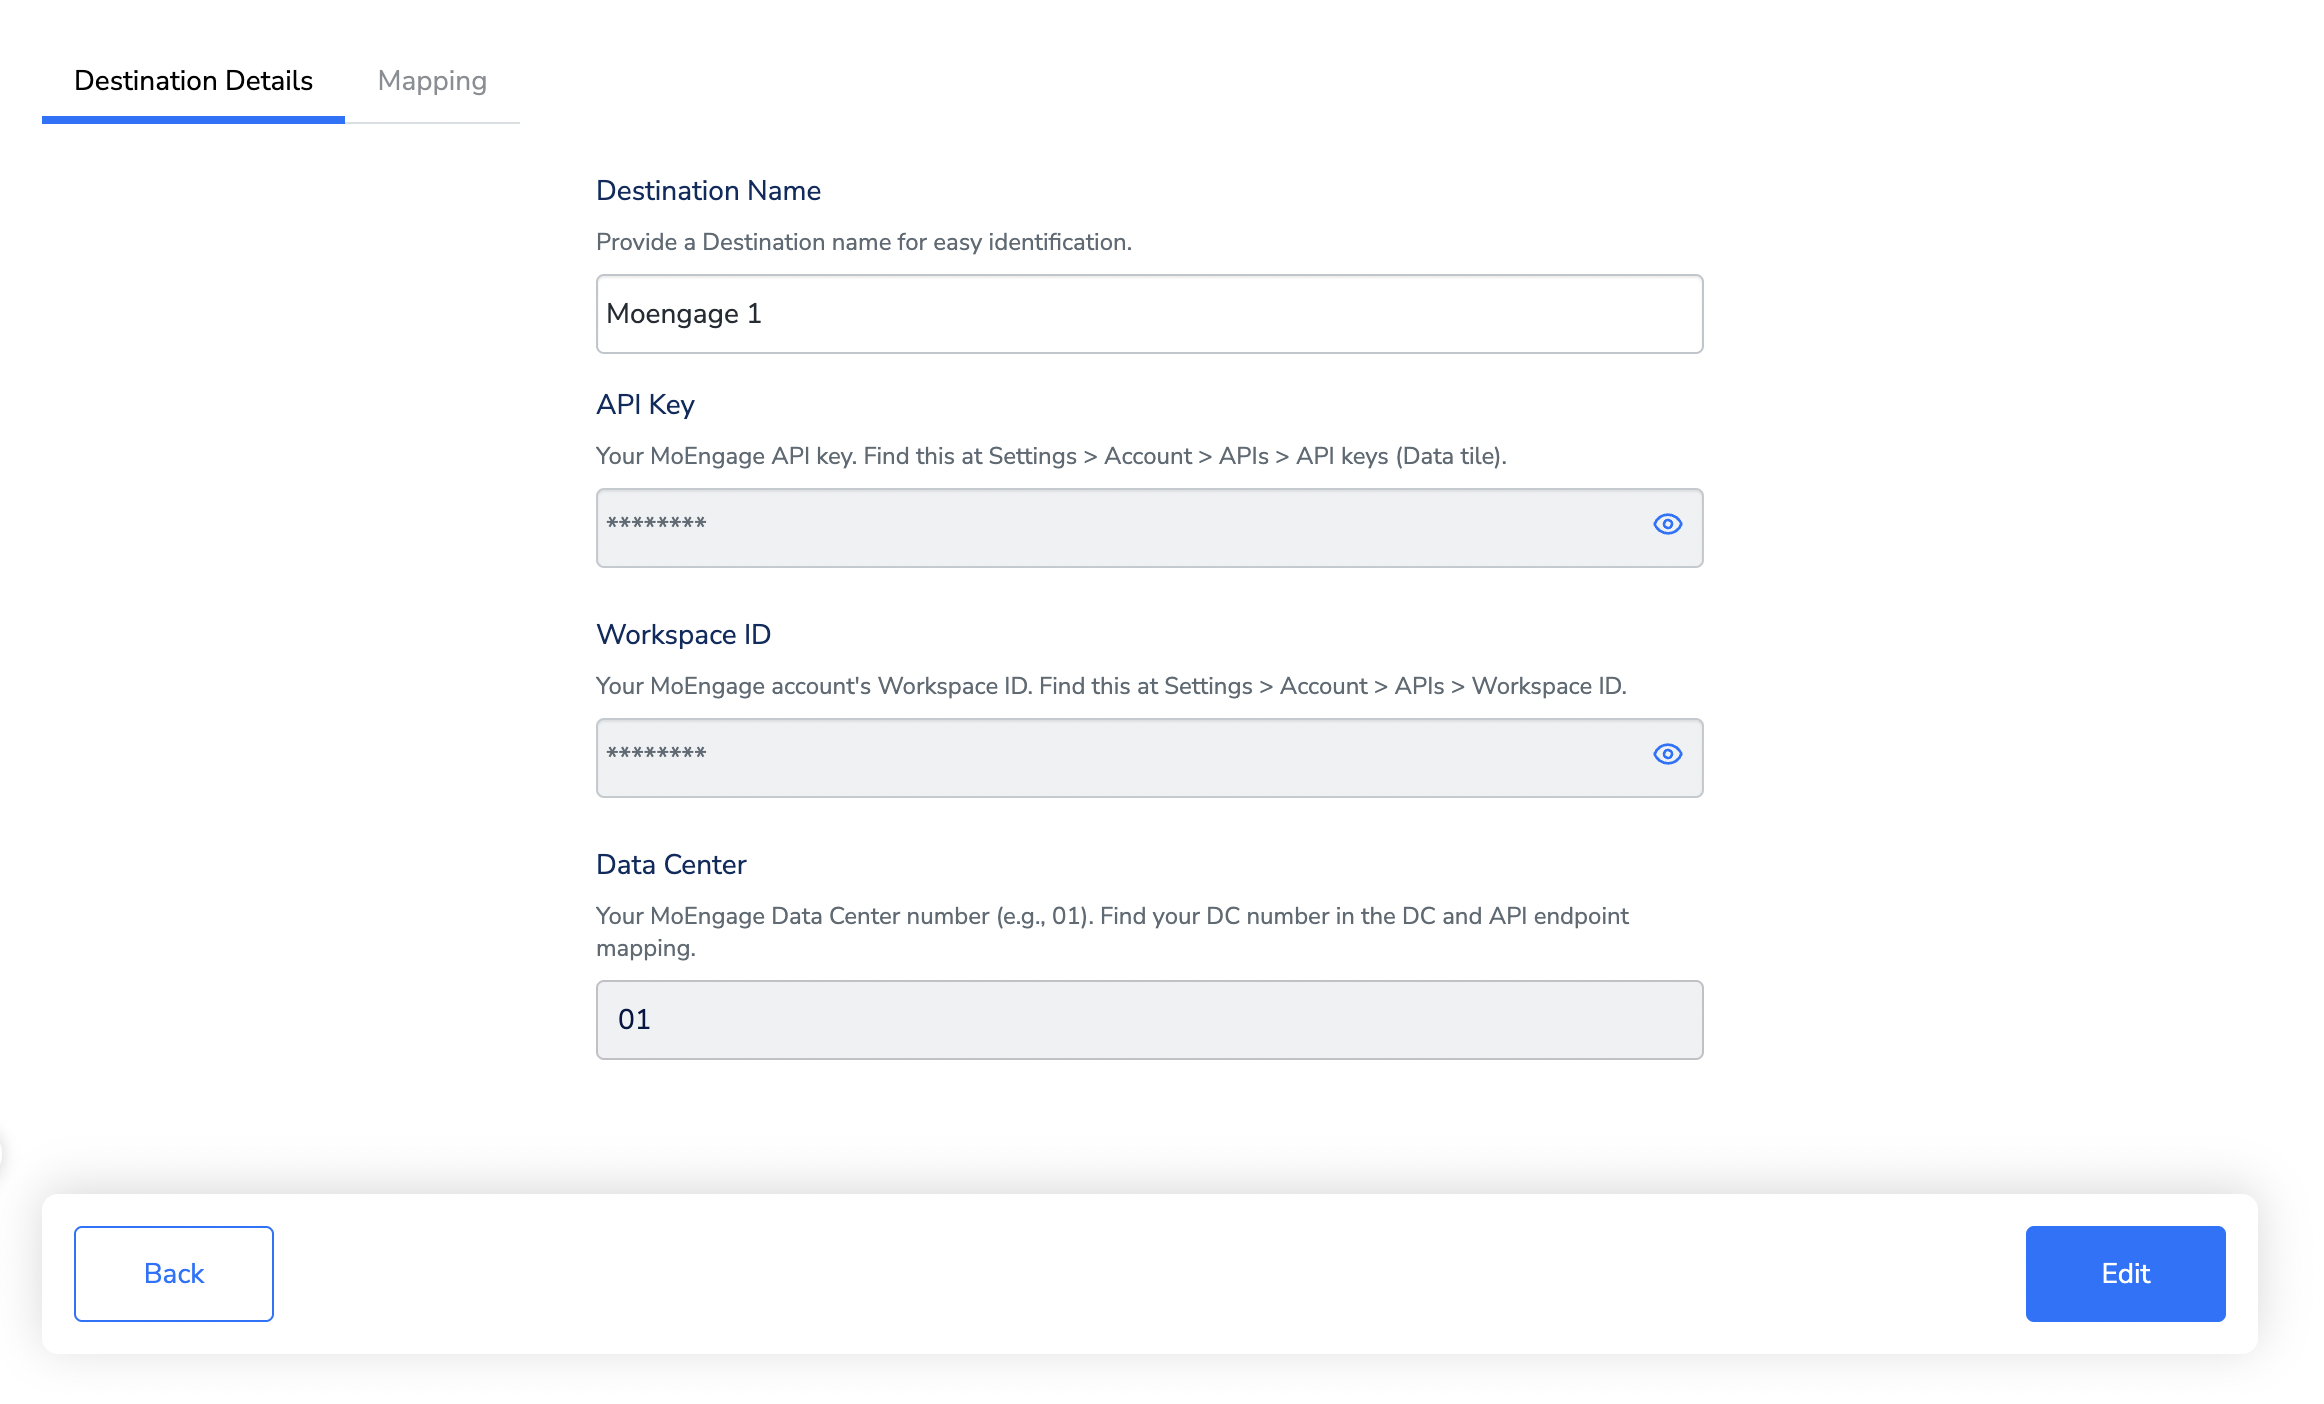
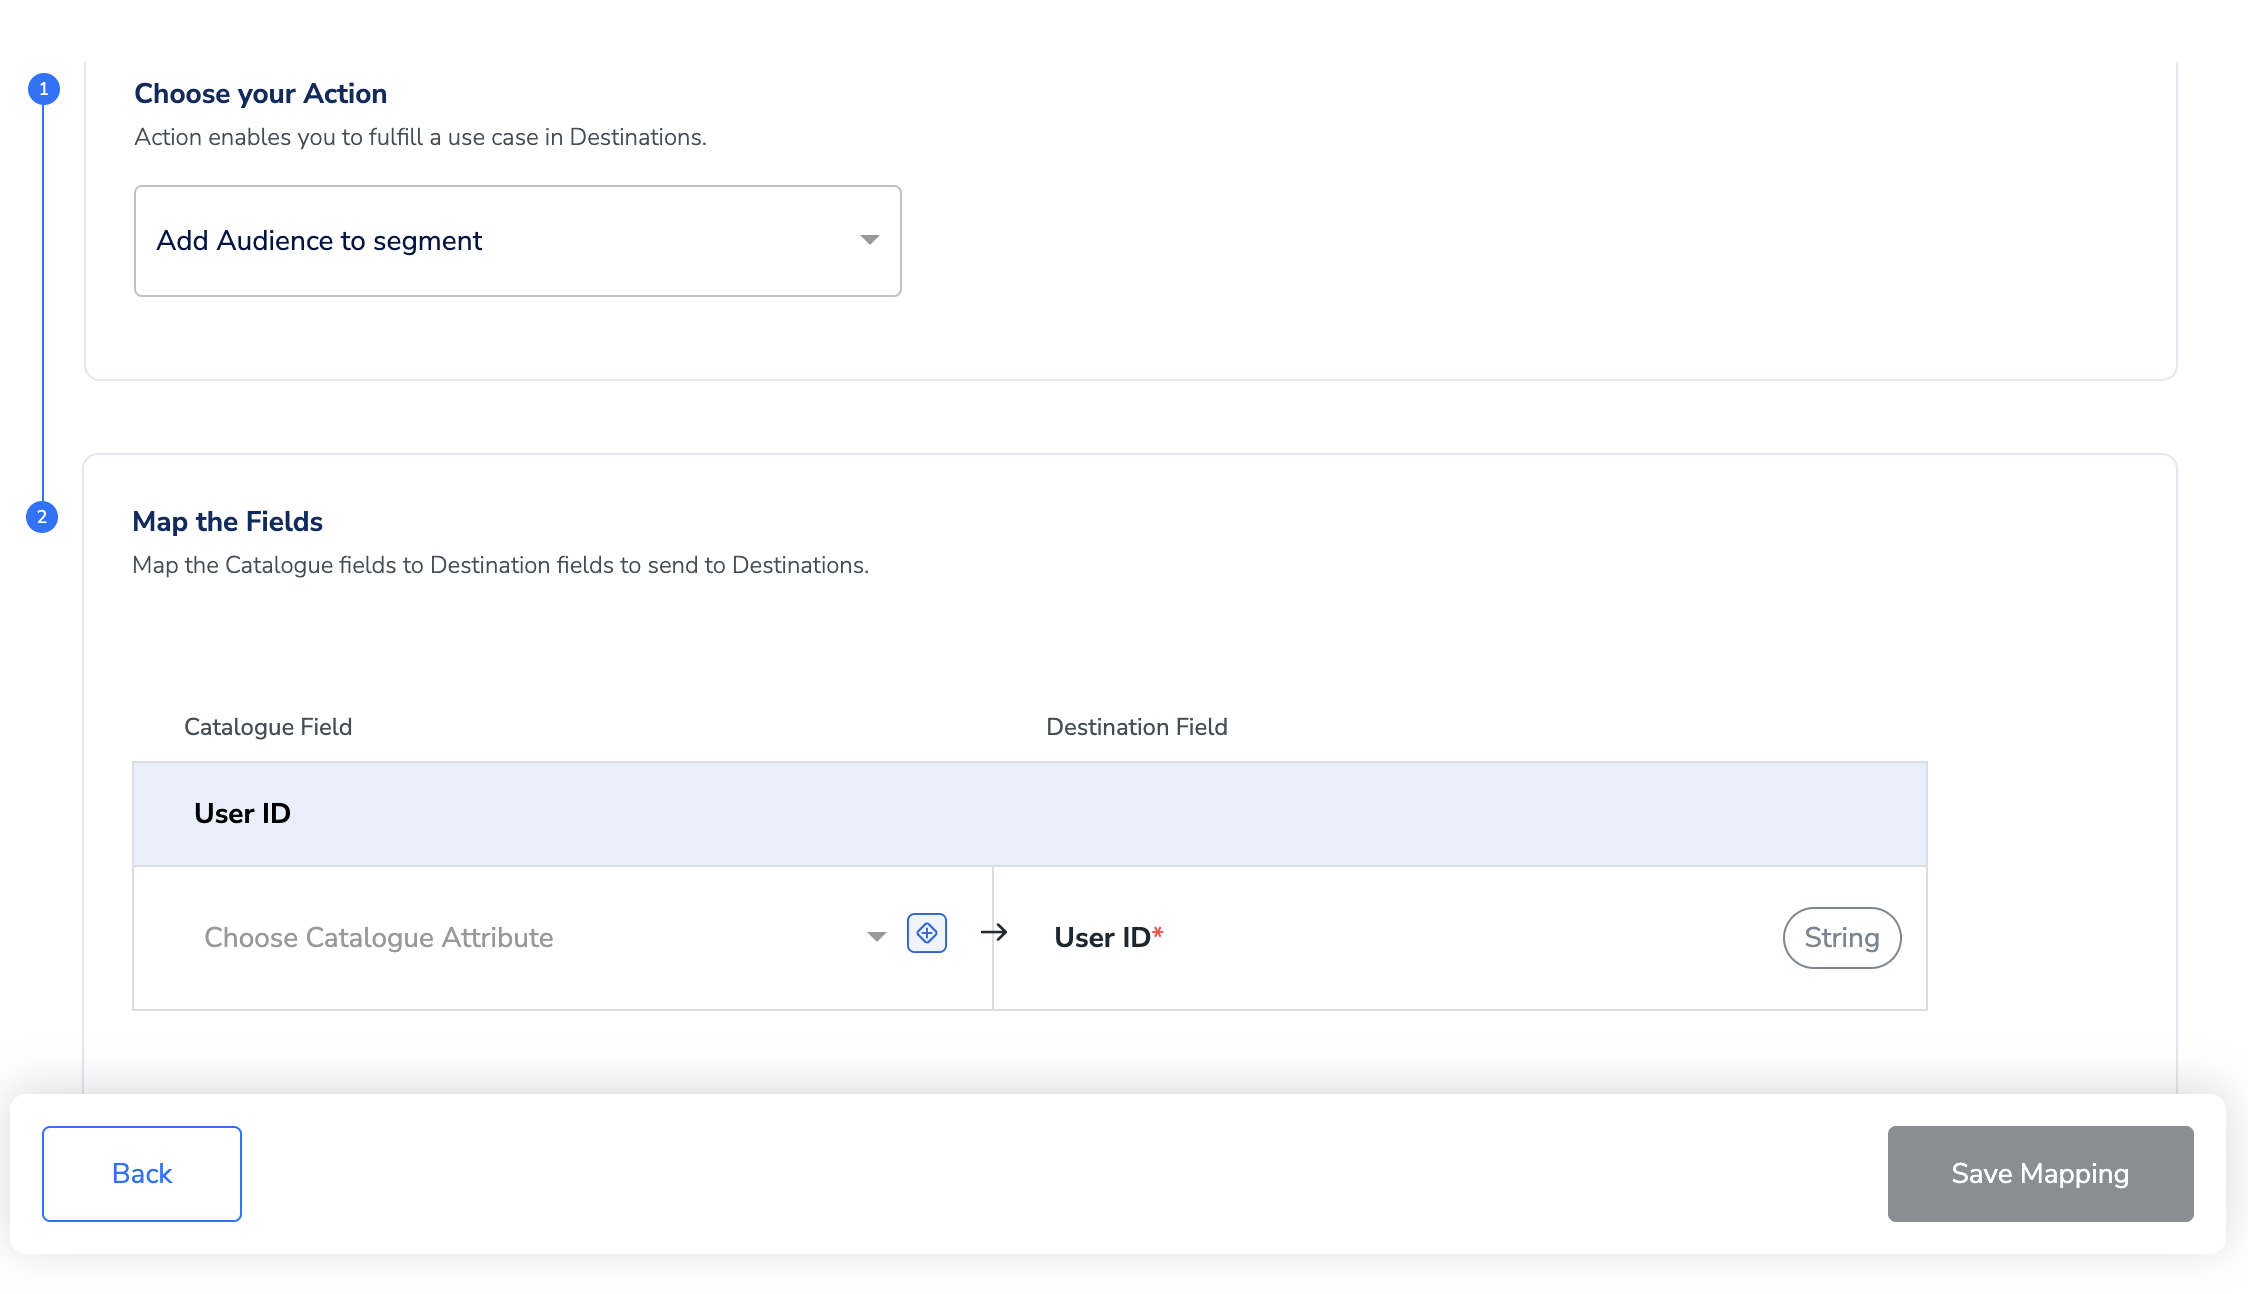
In the new screen that appears, choose the appropriateaction and mapping as explained below. Under Choose your Action, choose Sync User/Send Events as the action.You can map the following fieldsi. User ID(Identifier)
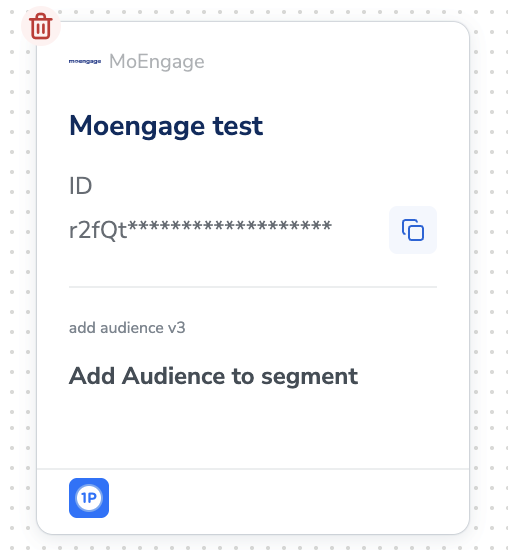
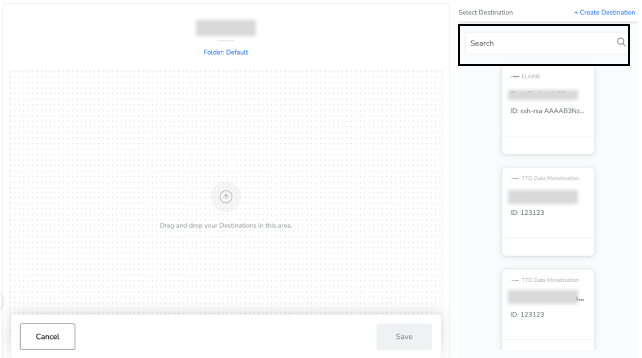
Activate the Destination on Audience
After creating a destination, next, you need to link it in the Send to Destination node within the workflow, as explained below.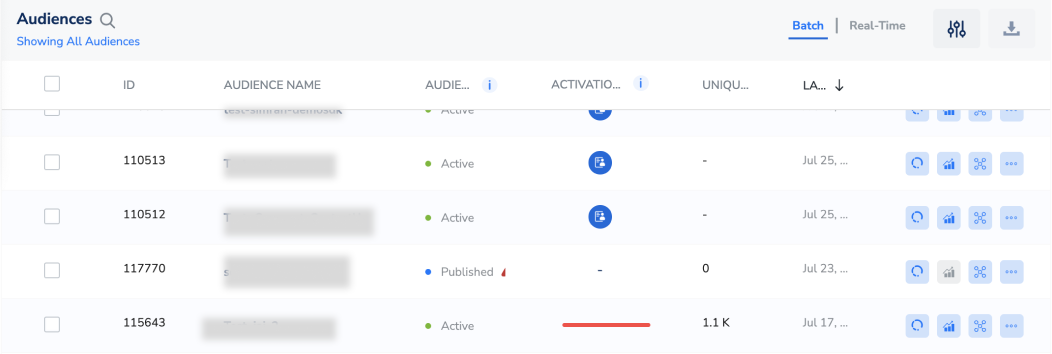
Under the Destination Details tab, the workspace ID, API key and data center fields are automatically populated based on the value that you have entered while creating the destination.