Overview
Braze is a customer engagement platform that helps marketers deliver personalised messaging and experiences across multiple channels, including email, mobile push notifications, in-app messaging and more. Integrated with Zeotap it provides a suite of tools and features to help marketers manage customer data, segment audiences and automate campaigns. This integration leverages Zeotap’s extensive capability in customer data and audience-building to identify the audiences to engage with and then push those audiences to Braze for engagement and activation.Understanding Zeotap’s Integration with Braze through Use Cases
This integration leverages Zeotap’s extensive capability in customer data and audience-building to identify the audiences to engage with and then push those audiences to Braze for engagement and activation. The following are some sample use cases:- The client has an app that their customers use. The Braze SDK can be integrated into the app to gather customer details. Zeotap CDP holds data about these same customers from the client’s CRM. Message those users with mobile push messages to update them on customer service requests and other key messaging.
- The client has first-party data from their online shopping portal stored in Zeotap. Link the online activity to a Mobile Ad ID through Zeotap’s identity graph. Find those IDs in Braze to drive mobile SMS and push message marketing to increase conversion following basket abandons or other e-commerce activities.
How does the Braze API Work?
The integration with Braze is an API-based integration wherein Zeotap sends user data to their system by accessing Braze’s API. The Braze API does not allow direct creation and maintenance of membership of segments in Braze. Therefore, the integration works by setting the attributes of a user with segment membership details within Braze, which can then be used by the client to define a corresponding segment in Braze.Available Actions and Supported Features
The following table lists the available action types for the integration and the supported features for each action type:| Action Name | ID EXTENSION | DELETE | DELTA UPLOAD |
|---|---|---|---|
| Send identifiers to Braze | ✅ | ✅ | ✅ |
| Send attributes and identifiers to Braze | - | - | - |
| Send attributes, identifiers and user alias to Braze | - | - | - |
Supported Identifiers
This integration accepts raw email addresses, First Name, Last Name and Gender.Note:There are three possible outcomes when using the email address as the identifier within a request:
- If a user’s email address does not exist within Braze, then an email-only user profile is created, to which any data in the request is added.
- If a user’s email address already exists within Braze, then it starts to include any data that is sent within the request.
- If more than one user have the same email address, then the most recently updated profile is prioritised.
Components of Braze
Ensure that you have details about the below components of Braze available before creating a Destination.Client Name
This is your client name for your Braze account. You can find it by navigating to the Braze Console as shown in the screenshot below.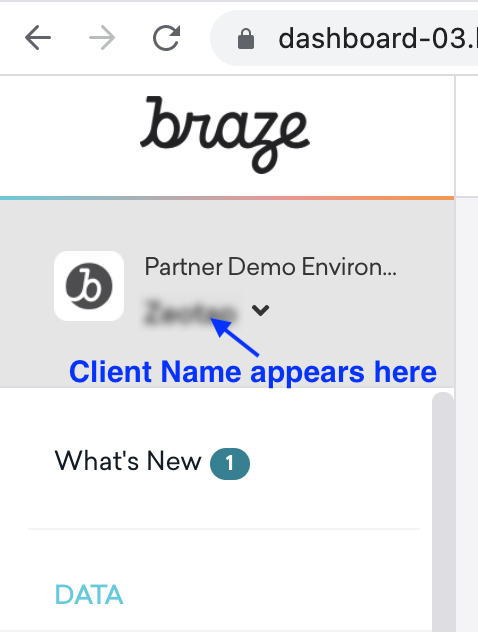
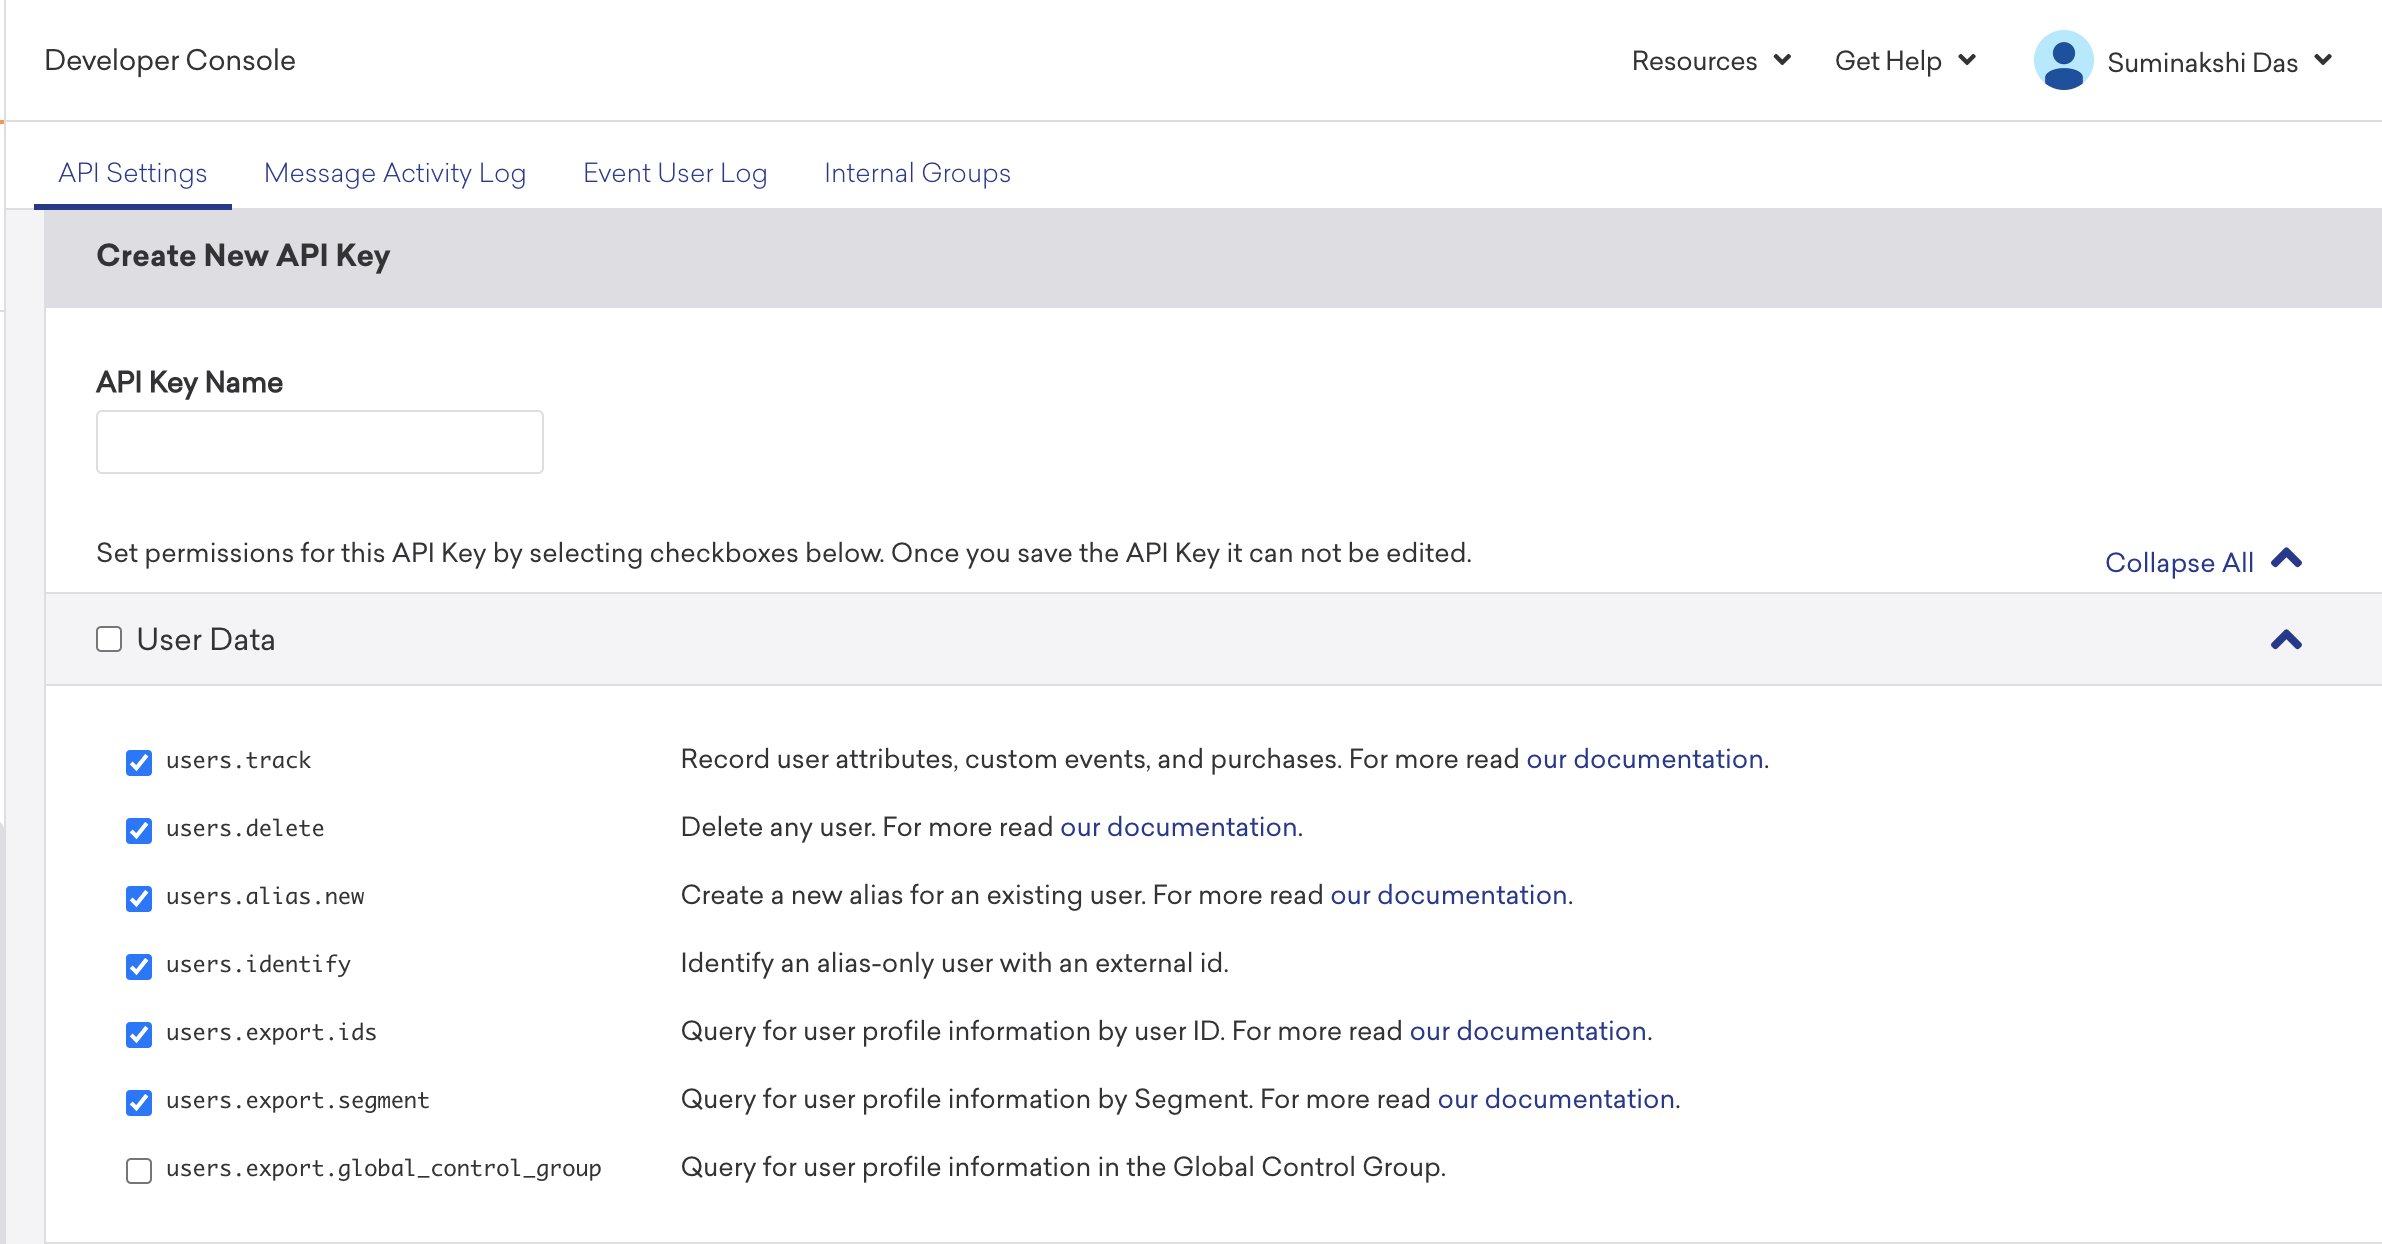
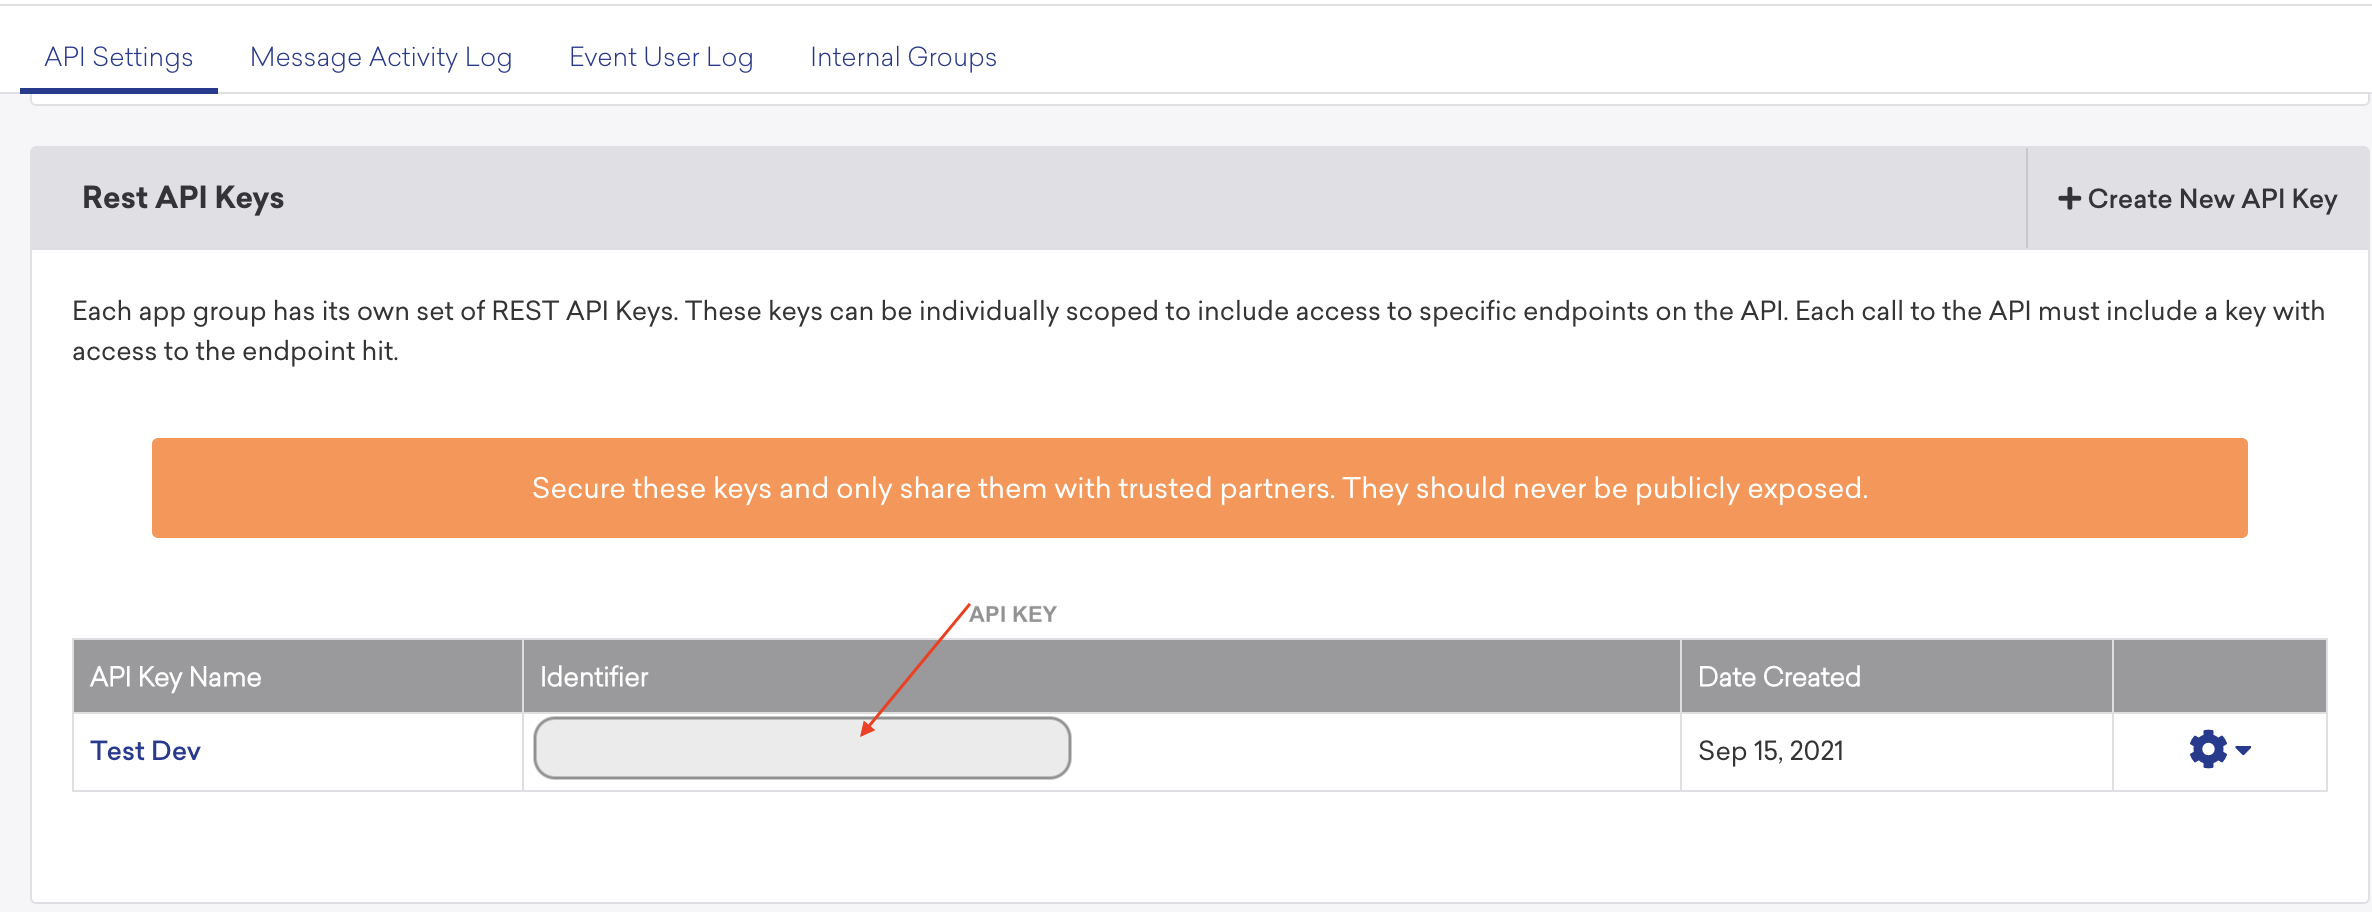
API Key
This is the API Key associated with the Braze account. You can find it in the Braze Console under Settings → Developer Console → Rest API Keys. Your account might already have an existing API key available in this section. However, the User Data Permissions are required for the API key to work. If the existing key does not have the required permissions, create a new key as mentioned below.
Instance
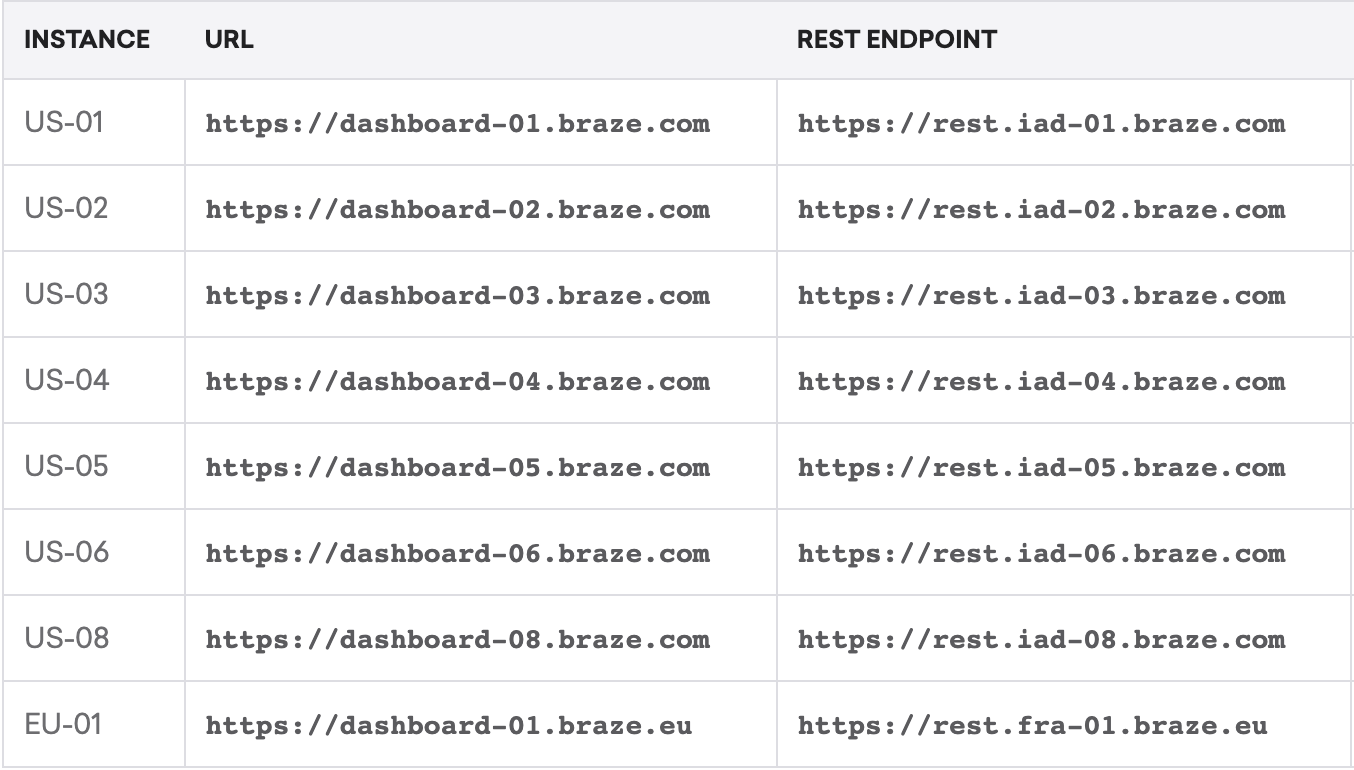
This is the URL that the Braze users need to log into Braze, access the API and integrate your SDK. In other words, this is the URL that a Braze user needs to log into Braze, access the API and integrate your SDK. Braze manages a number of different instances for the dashboard andREST endpoints. Once your account is provisioned, you can log into one of the corresponding URLs as mentioned in the table below.
Use the correct REST endpoint based on the instance that you are provisioned to. If you are unsure of the instance, you can take one of the following actions:
- Open a Braze support ticket
- Use the table below to match the URL of your dashboard to the correct
RESTendpoint
Create a Destination for Braze
Perform the following steps to create a Destination for Braze: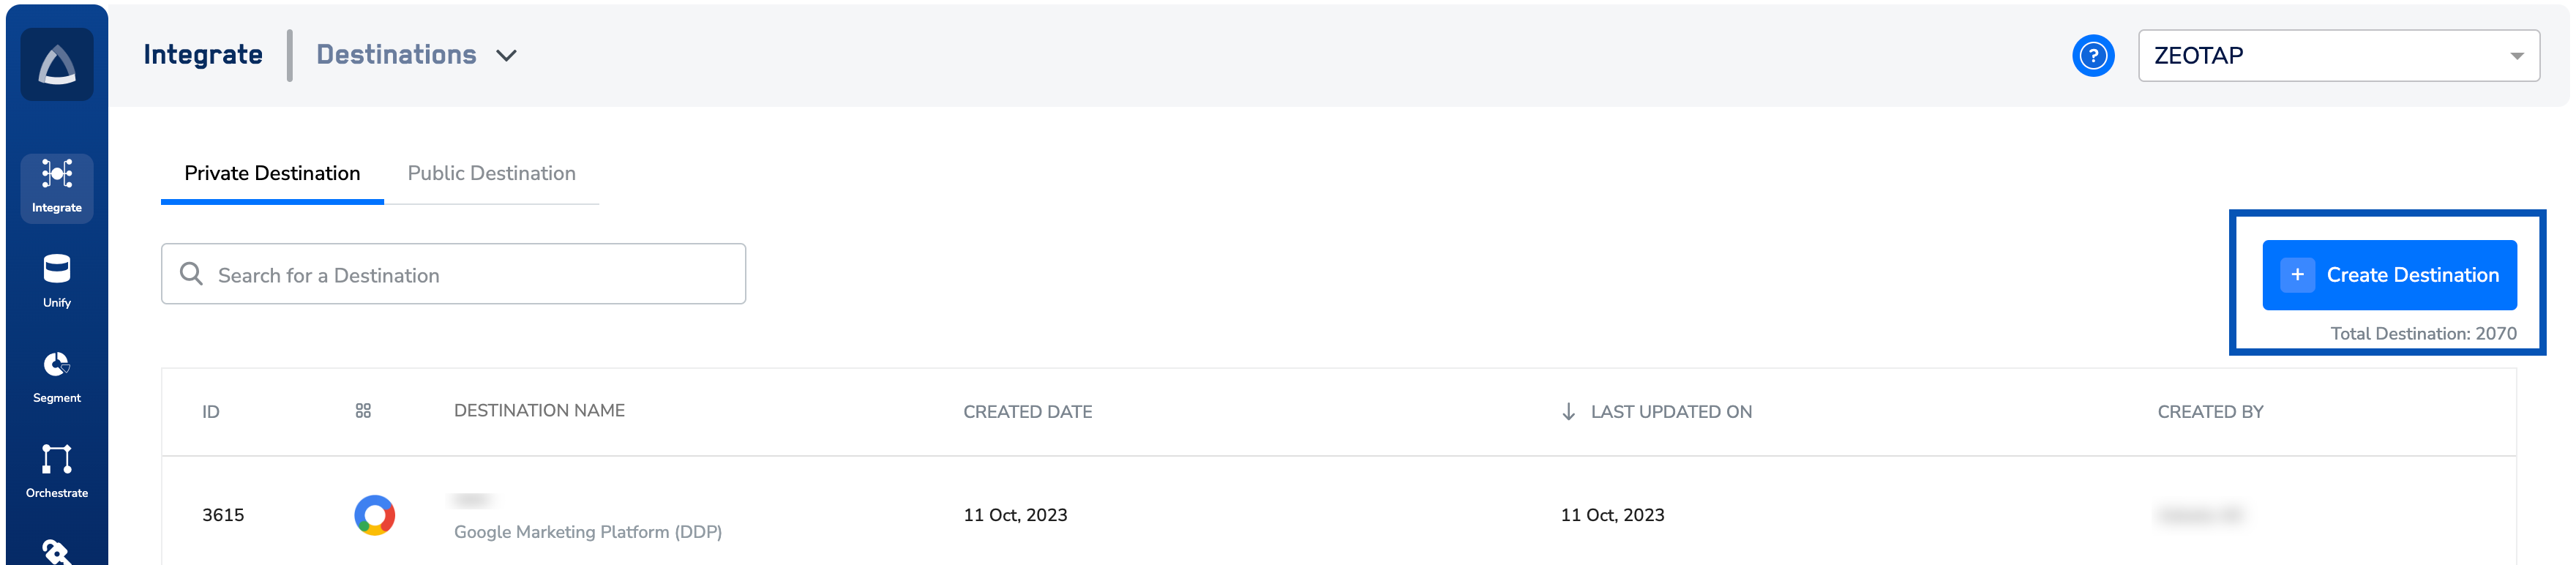
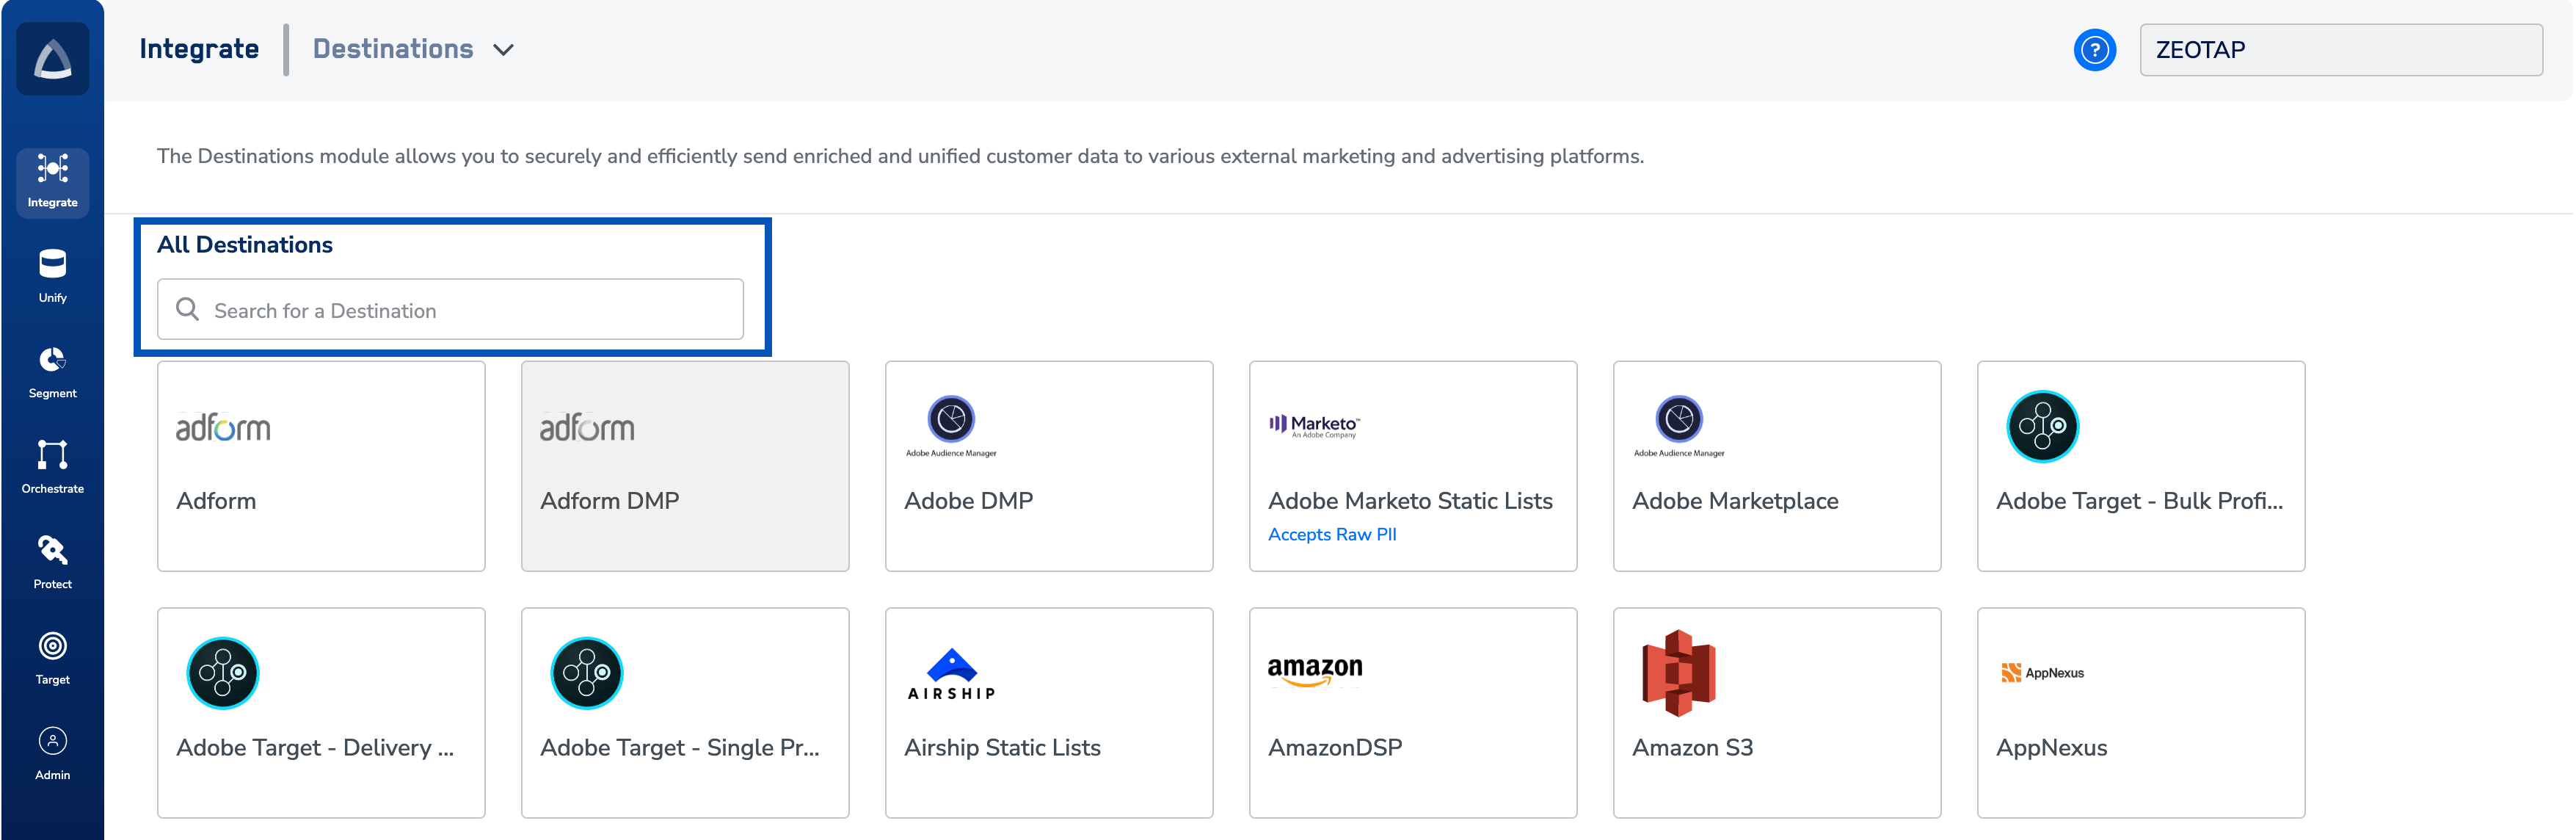
Click Braze.
A screen appears displaying details about the particular destination towards the left. On the right-hand side of the screen find a list of fields that are required for the integration to be established. Enter the required details as mentioned in the following steps:a. Enter a name for the Destination.b. Enter the Client Name.c. Enter the API Key associated with the Braze account.d. Choose the appropriate Instance that the account is associated with.e. Review all the values entered above and then click Next to proceed.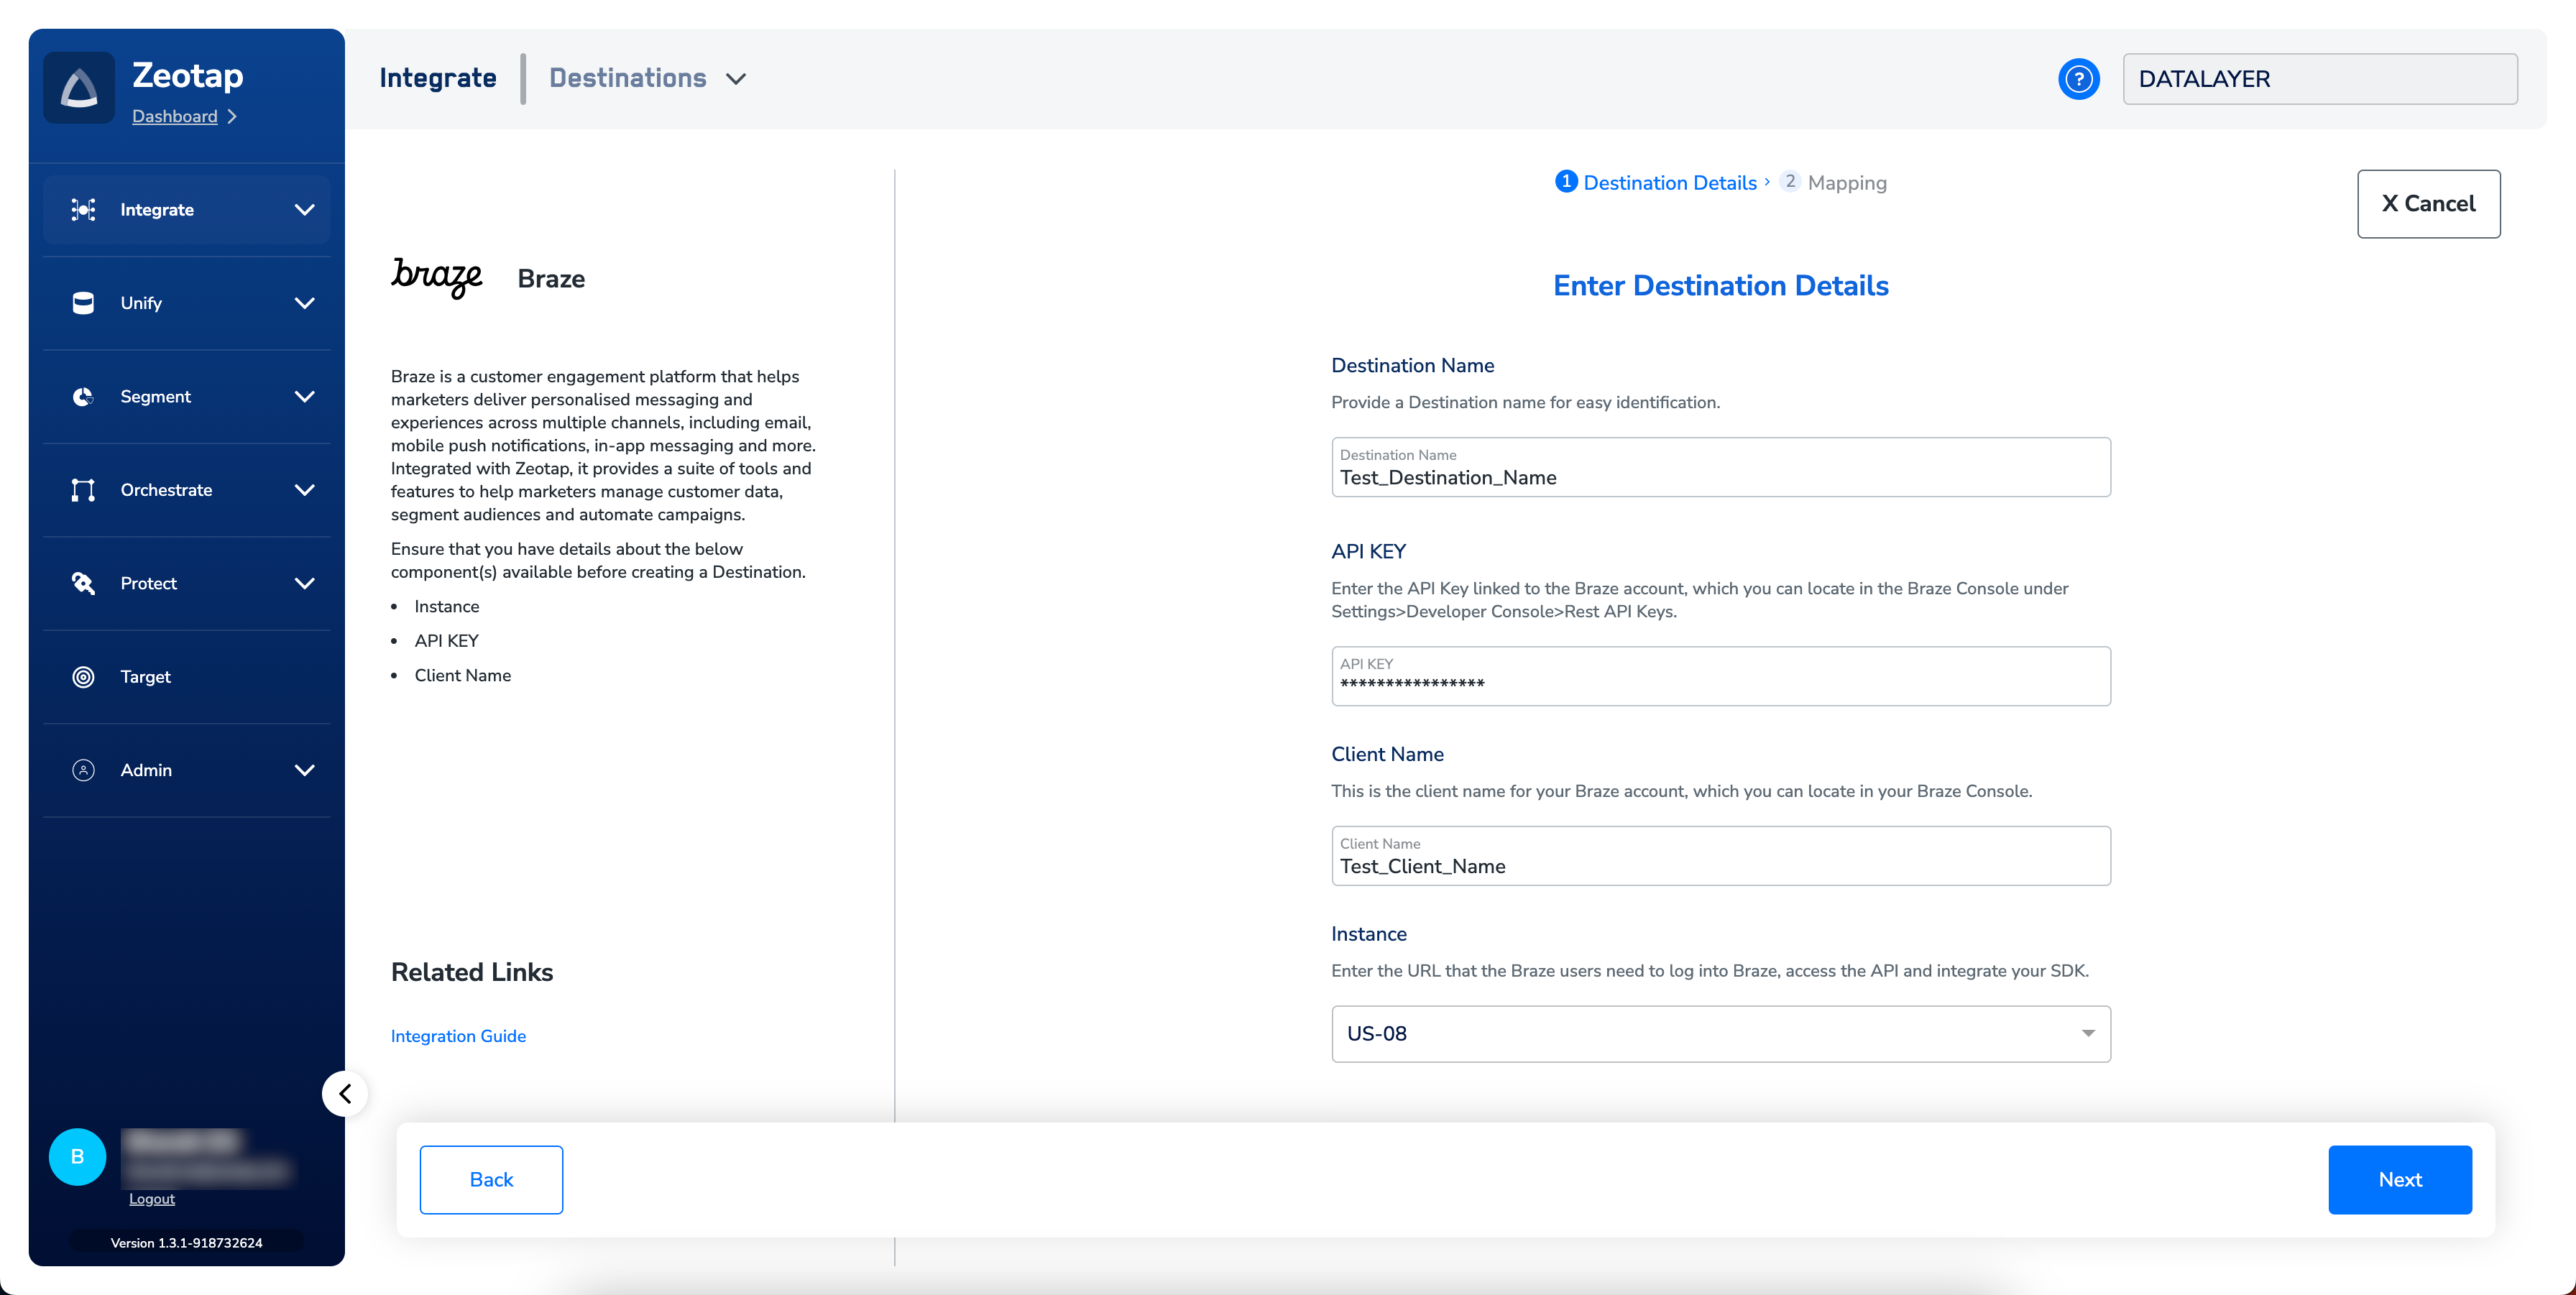
In the new screen that appears, choose the appropriate Action and mapping as explained below. Under Choose your Action, you can choose Send attributes and identifiers to Braze, Send identifiers to Braze, or Send Attributes, Identifiers and User Alias to Braze as the action.a. Choose Send attributes and Identifiers to Braze as the action to send the output identifiers such as, Email addresses, First Name, Last Name and Gender. Here, you are allowed to map attributes and identifiers from the Catalogue fields to the corresponding Destination fields.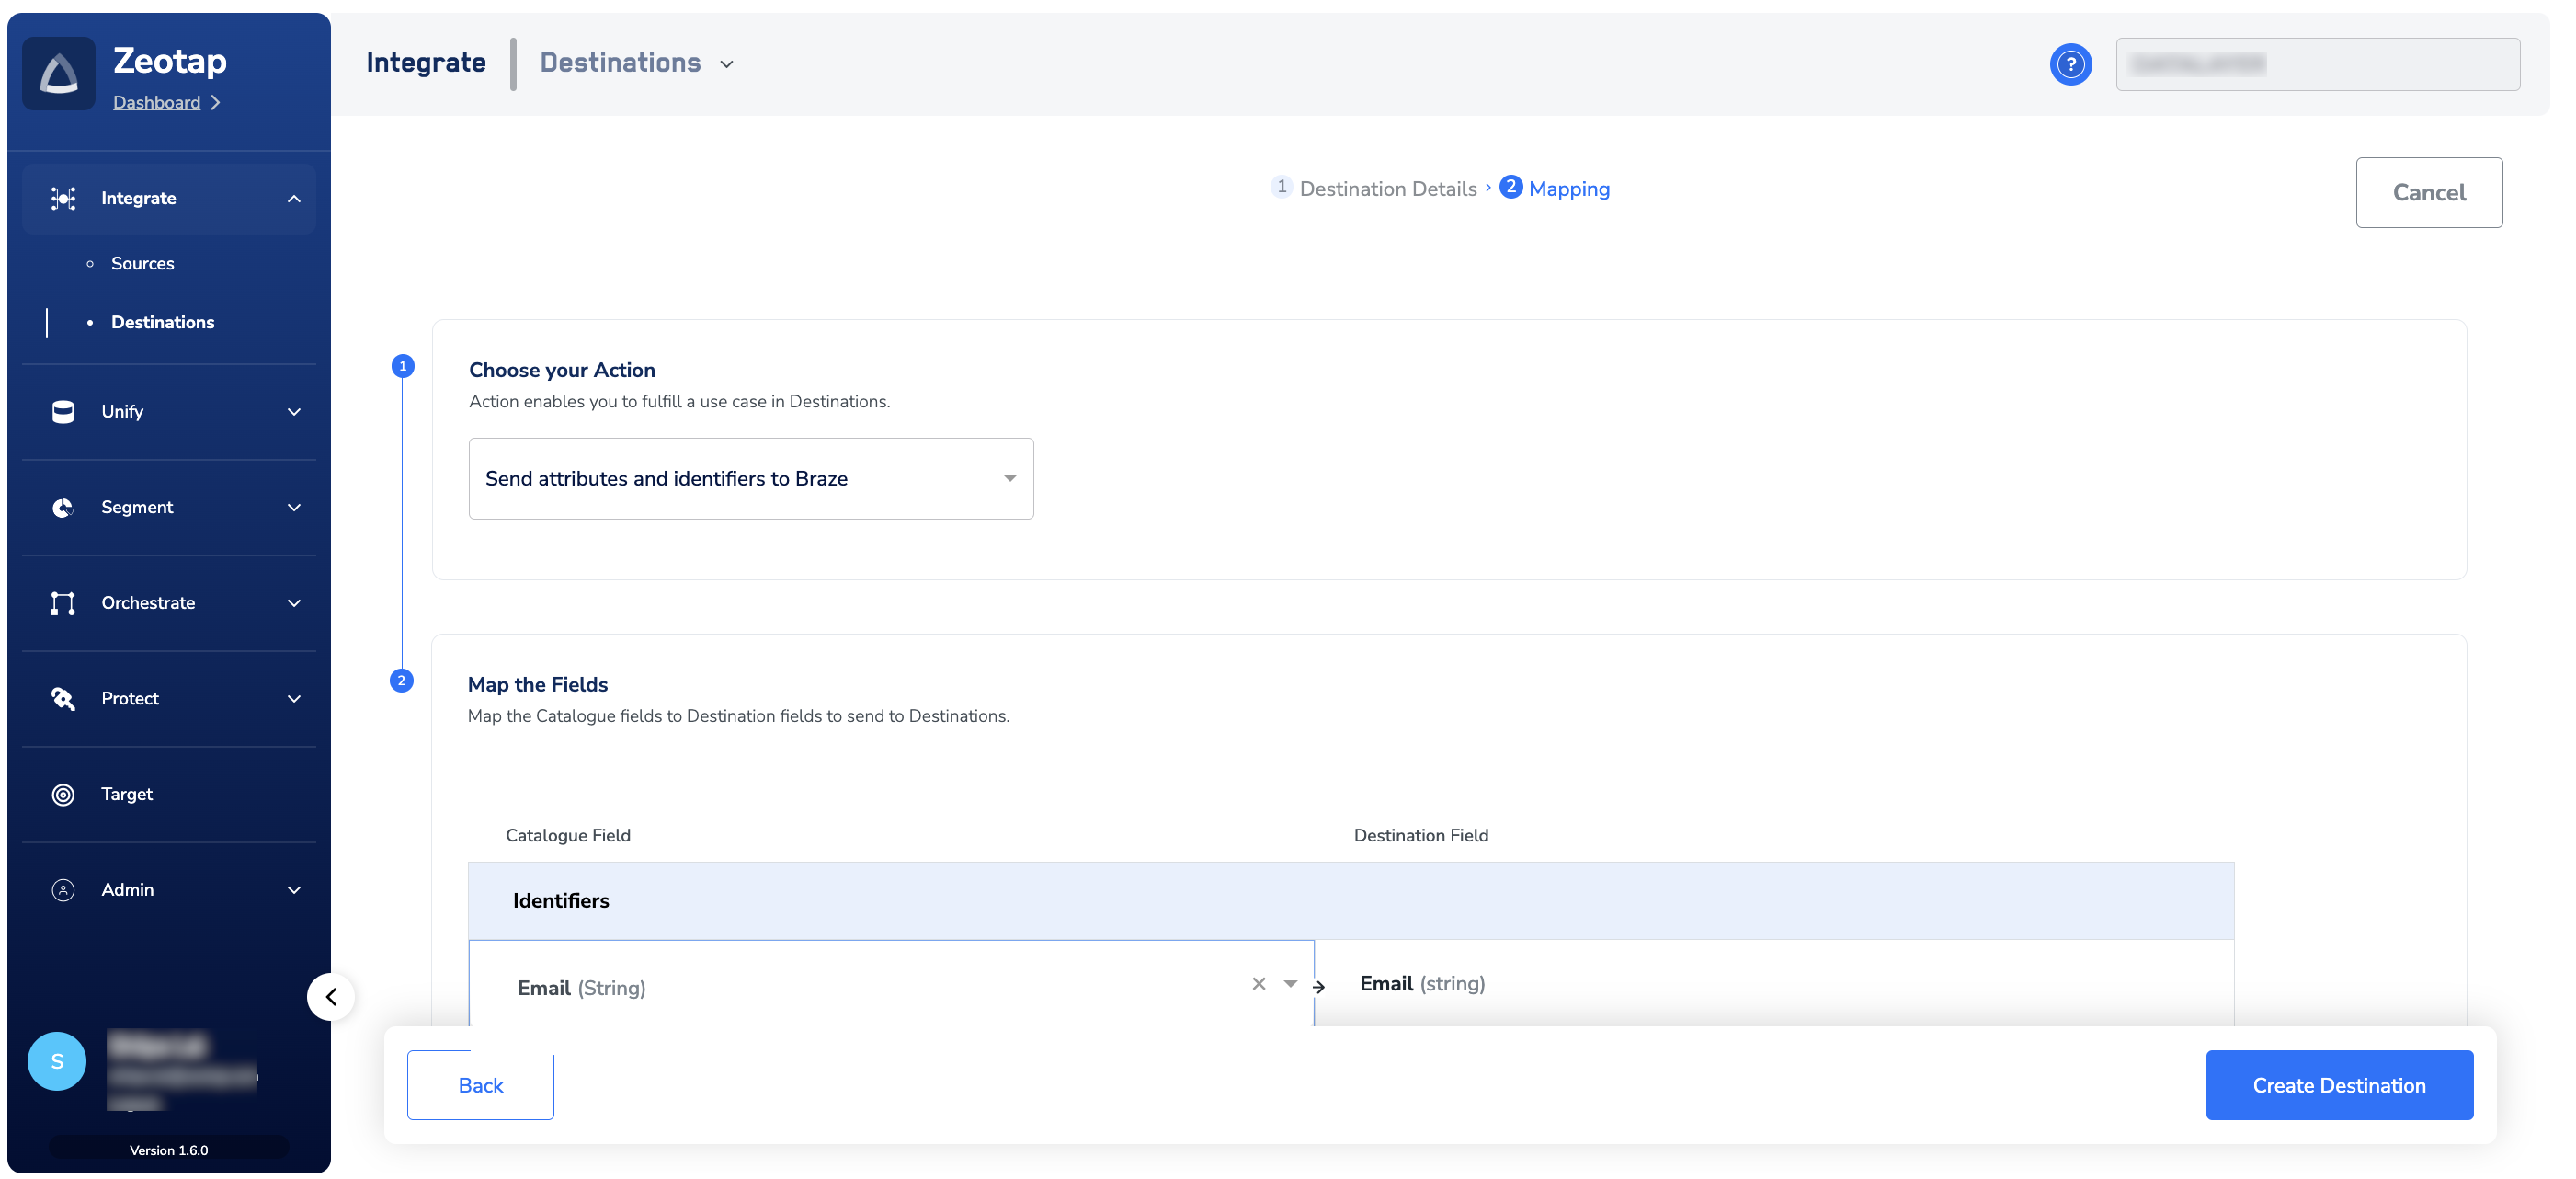
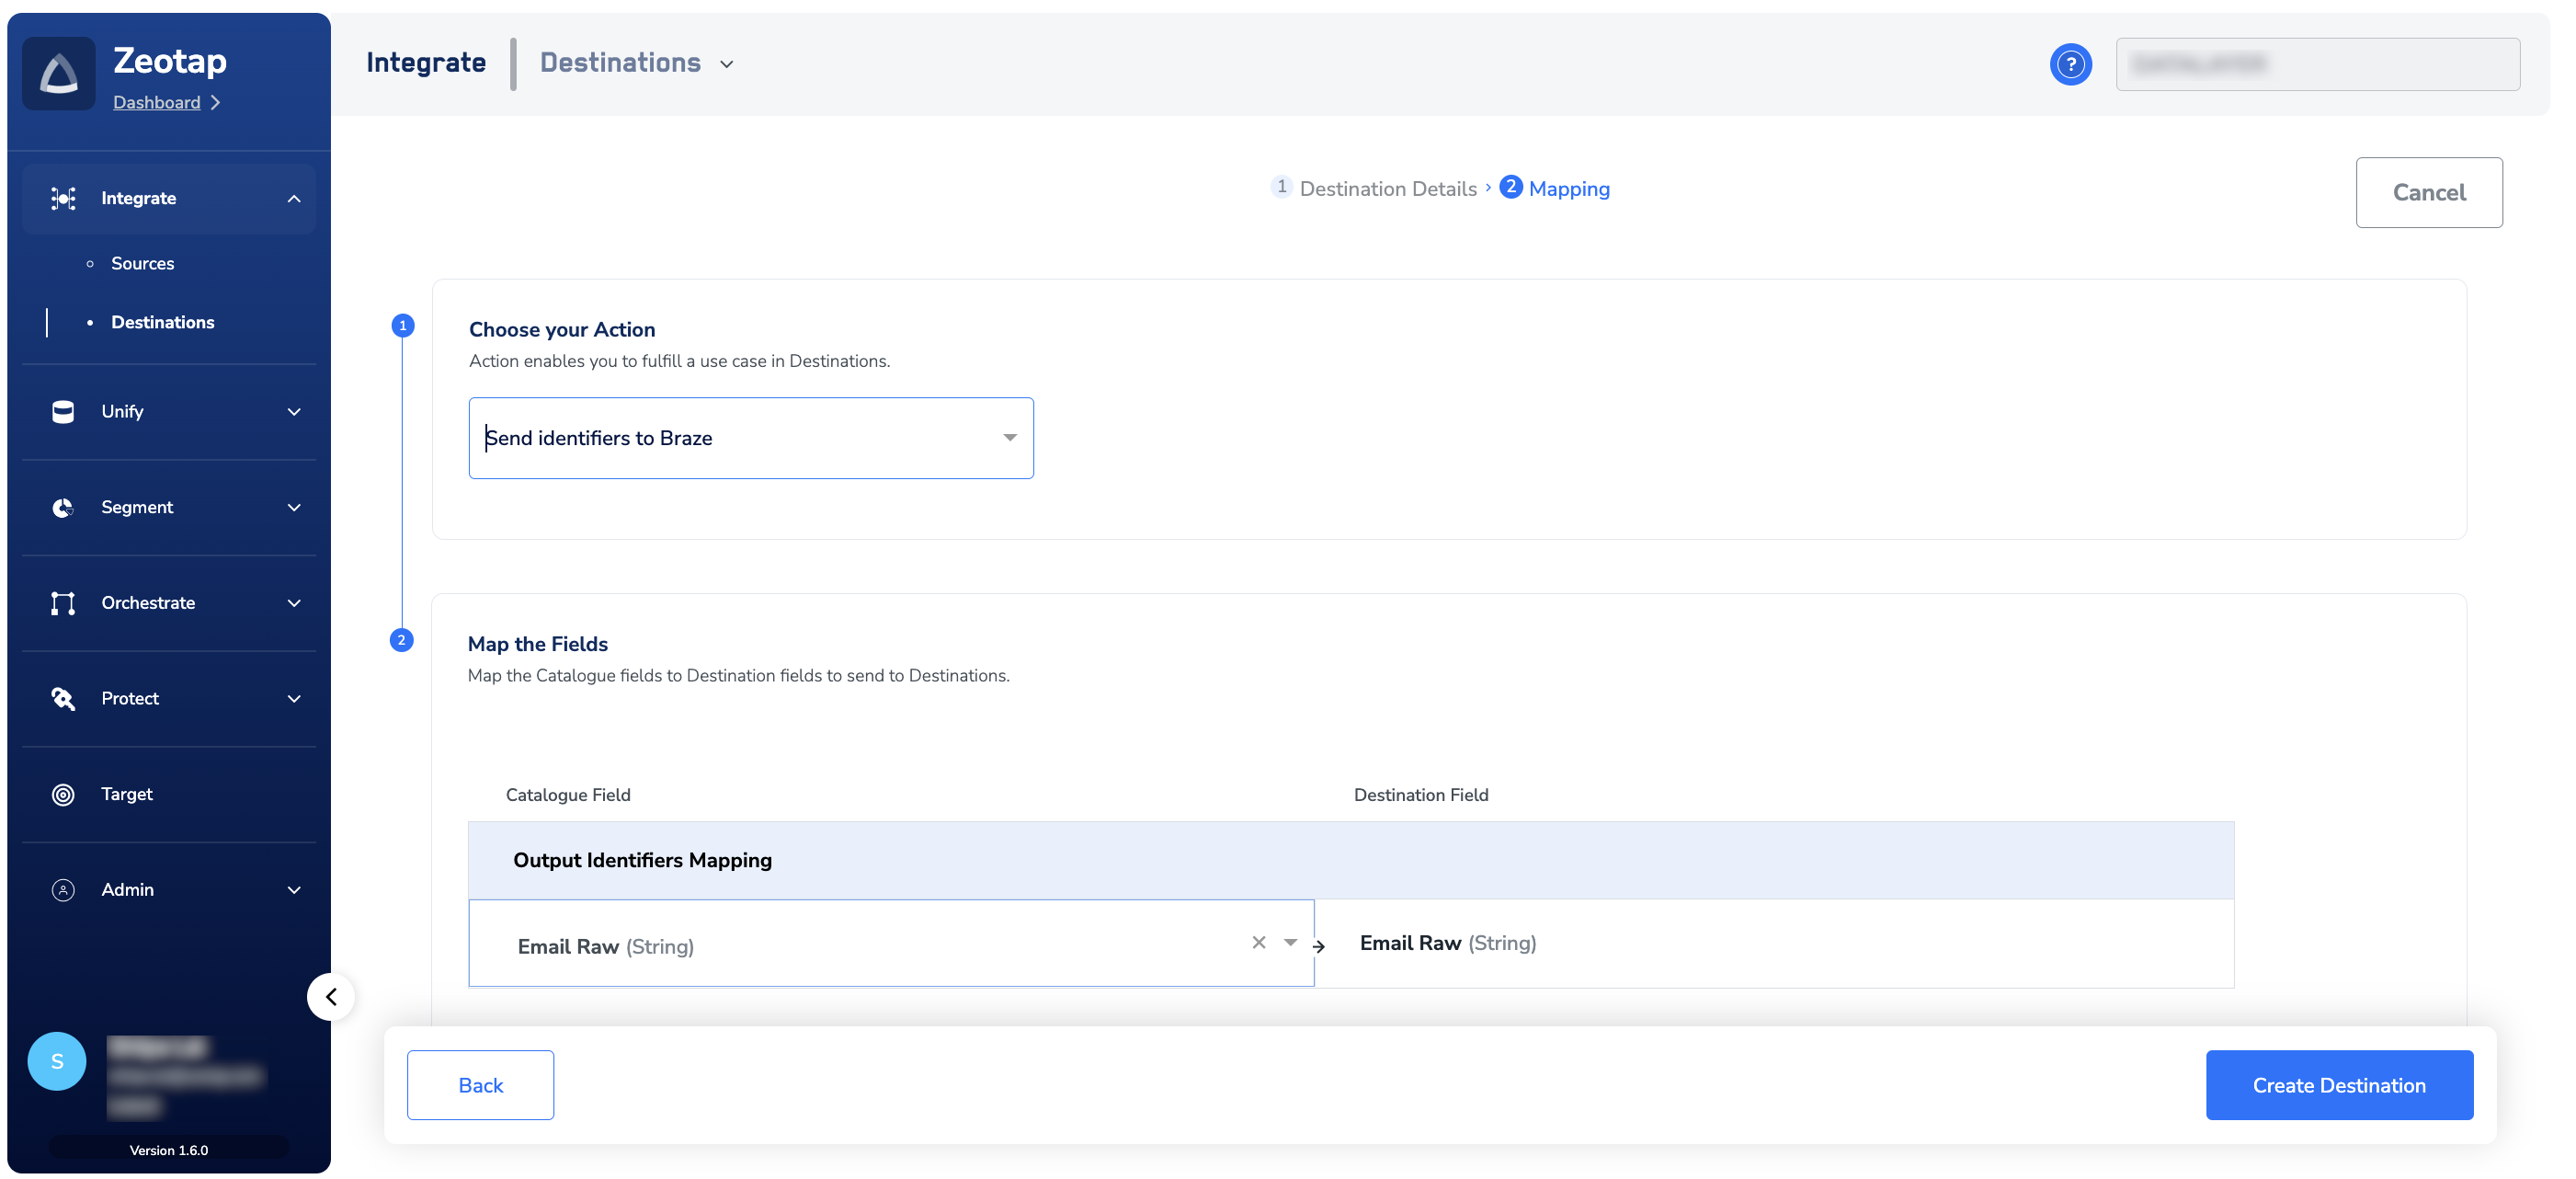
- External ID
Link an Audience to the Braze Destination
For information about how to link an Audience or segment to the created Destination in the Audiences application, refer here.Note:The terms Audiences and Segments are used interchangeably to refer to customer cohorts belonging to a specific category. For example, an Audience or a segment can be a specific group of customers who are over 18 years of age and have performed an
addToCart event within the last 30 days.View the Audience on Braze
After you have successfully created a segment and the data is pushed and processed, the data appears on Braze console. You can search by Email ID on the Braze console. You can view the Custom Attributes associated with the User Profile. The Custom Attributes section provides a list of segment names created in Audiences, and the relevant Boolean value true indicating that the user is a part of the particular segment.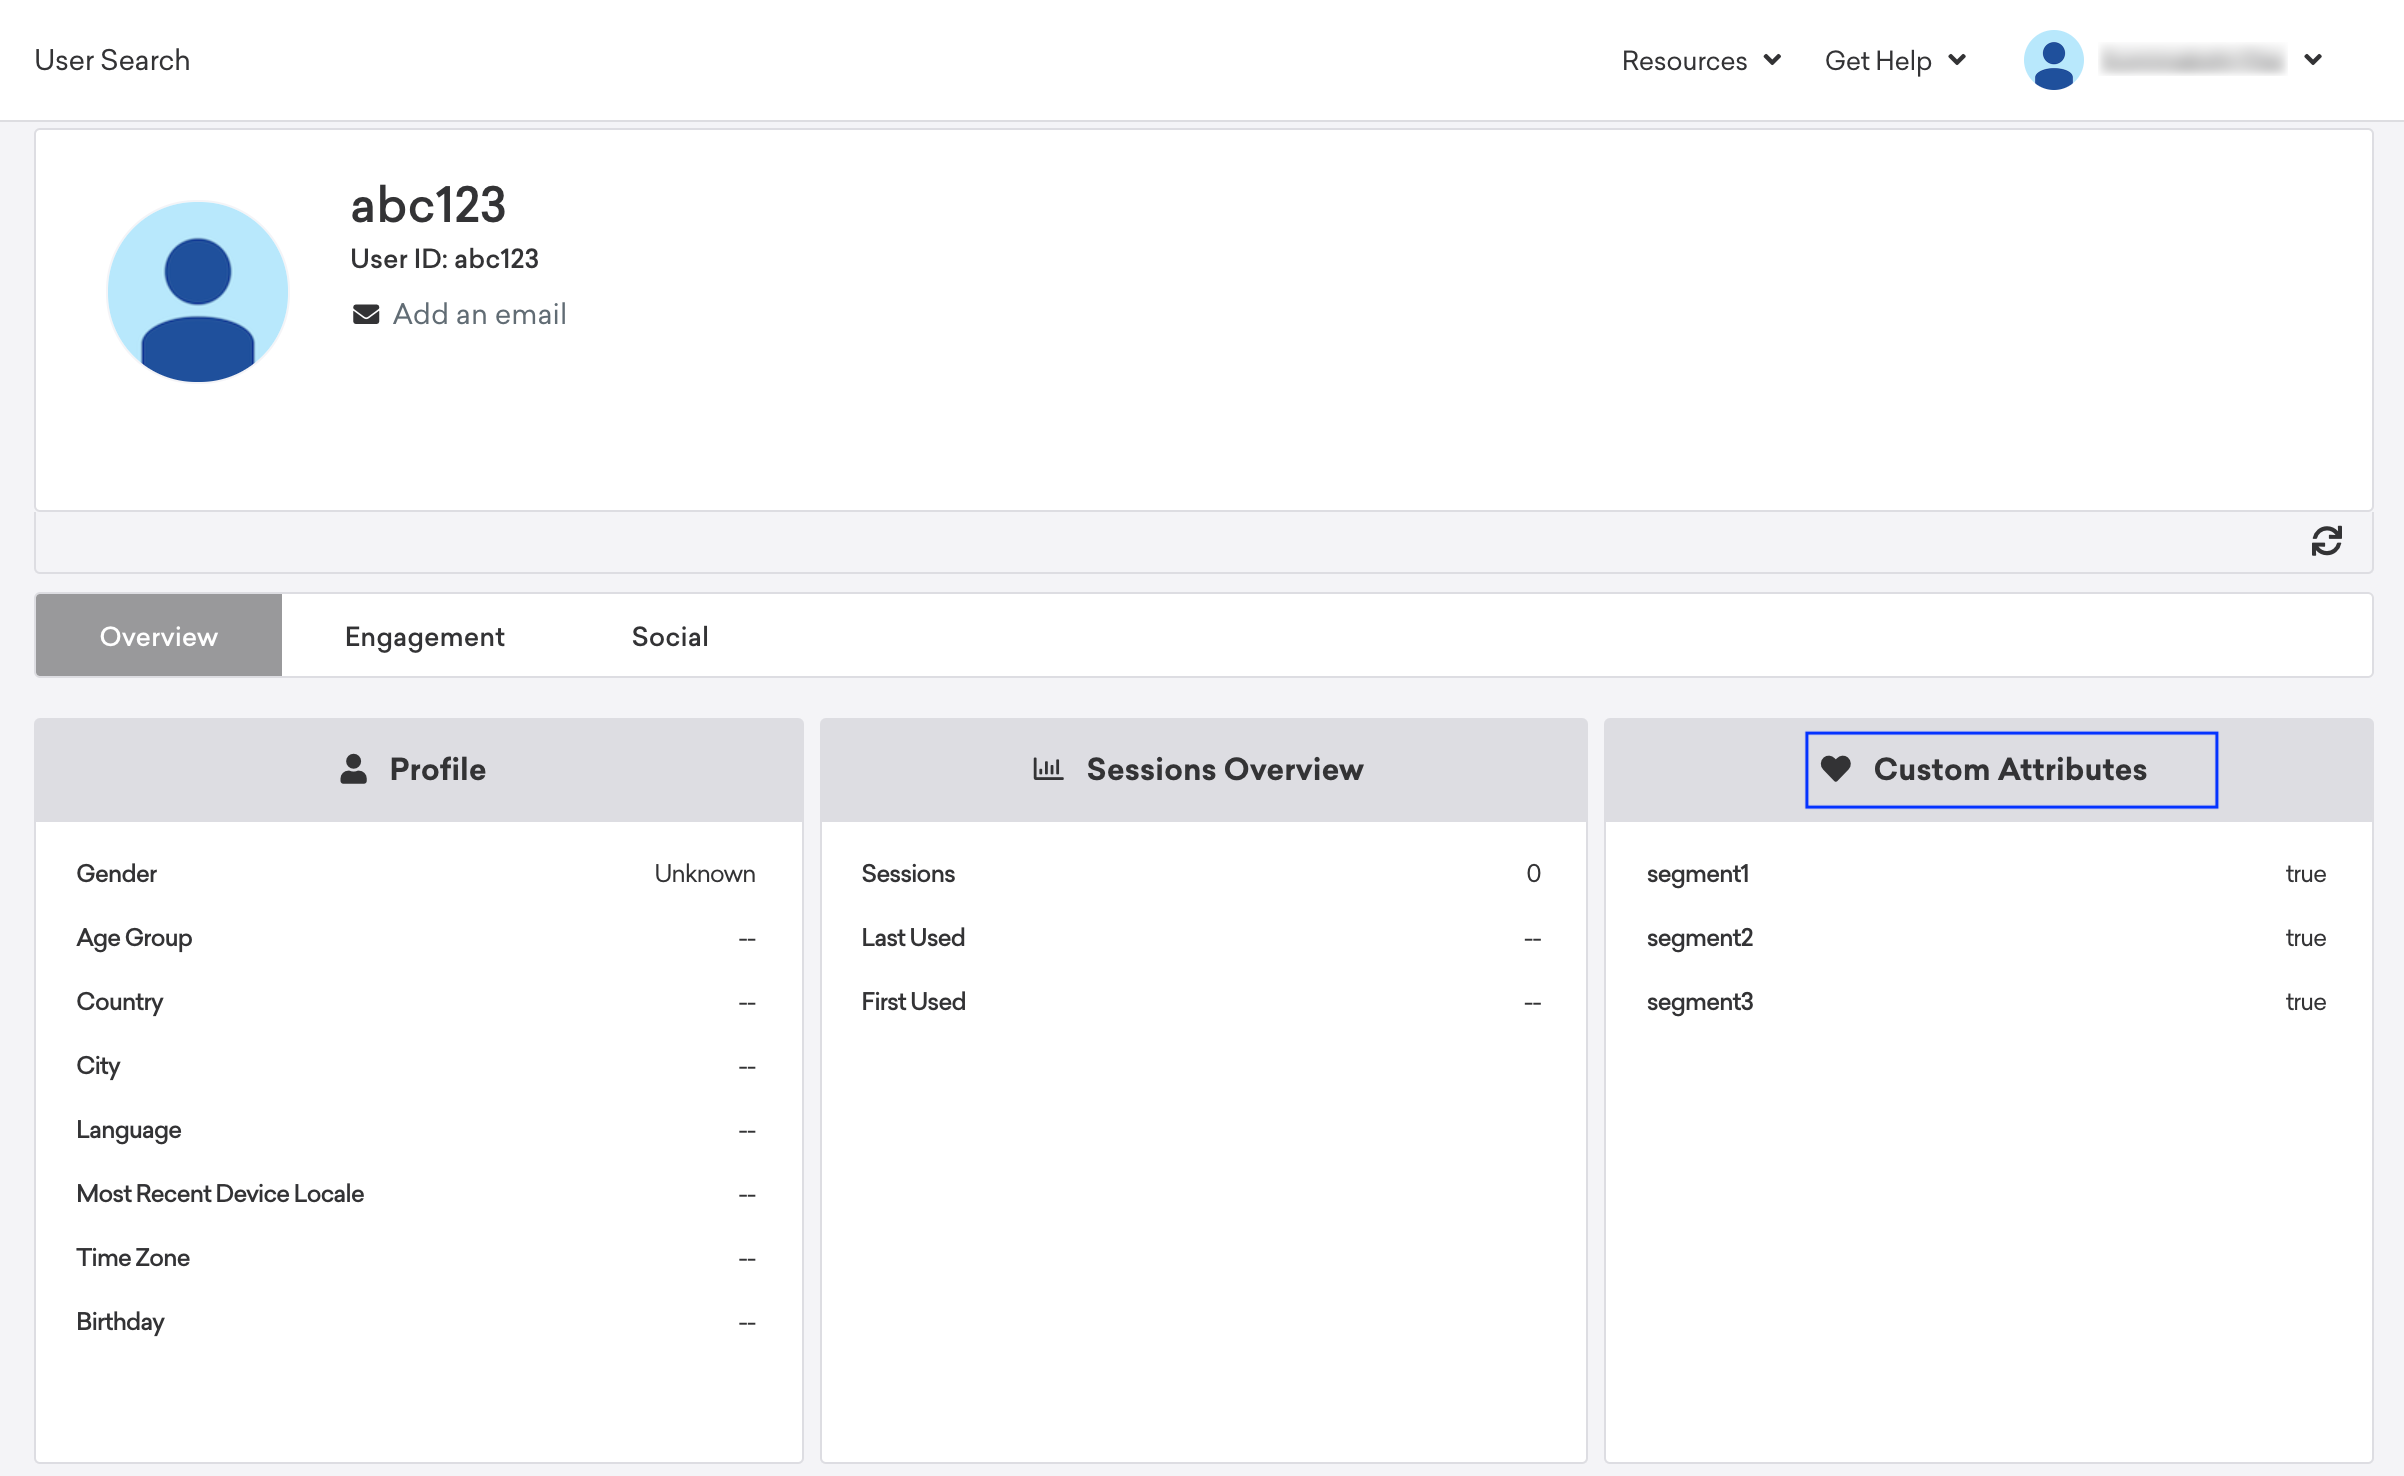
Link the Segment within Braze
To link the segment created in Zeotap within Braze and use the same in the campaigns, perform the following steps:
User Disqualification from Audiences
This integration supports user disqualification from audiences. That is, a user can be disqualified from an audience (segment) for various reasons, such as not meeting audience criteria, consent requirements or other conditions set for a particular audience.- When a user disqualifies from an audience, Zeotap CDP initiates a user deletion request in the next refresh cycle. These requests are sent to the audiences linked to the specific destination.
- The disqualified users are excluded from the audiences based on the configured refresh frequency for a particular audience.
- User disqualification is a programmatic process that works automatically. You do not need to specify anything to trigger the disqualification and exclusion of users from audiences.