

What this is
Google Cloud Storage (GCS) is Google Cloud’s object storage service. Connecting it as a Zeotap CDP destination lets you deliver an audience — its identifiers and any attributes you map — as CSV files into a folder inside a GCS bucket you own. Downstream, those files can drive campaign automation, personalisation, and optimisation in whatever system reads your bucket. This page walks through configuring the destination, choosing between the two send actions, understanding the file names Zeotap writes, verifying delivery, and resolving the configuration errors that block it.Audiences and Segments refer to the same thing throughout the Zeotap CDP UI — a group of customer profiles that match a set of criteria you define.
Prerequisites
Before you begin, gather the following:- A Google Cloud Storage account and a bucket you can write to.
- The bucket name and the folder path inside that bucket where files should land.
- Authentication: either the Zeotap Service Account (which you whitelist on your bucket) or a client service account JSON file you upload during configuration.
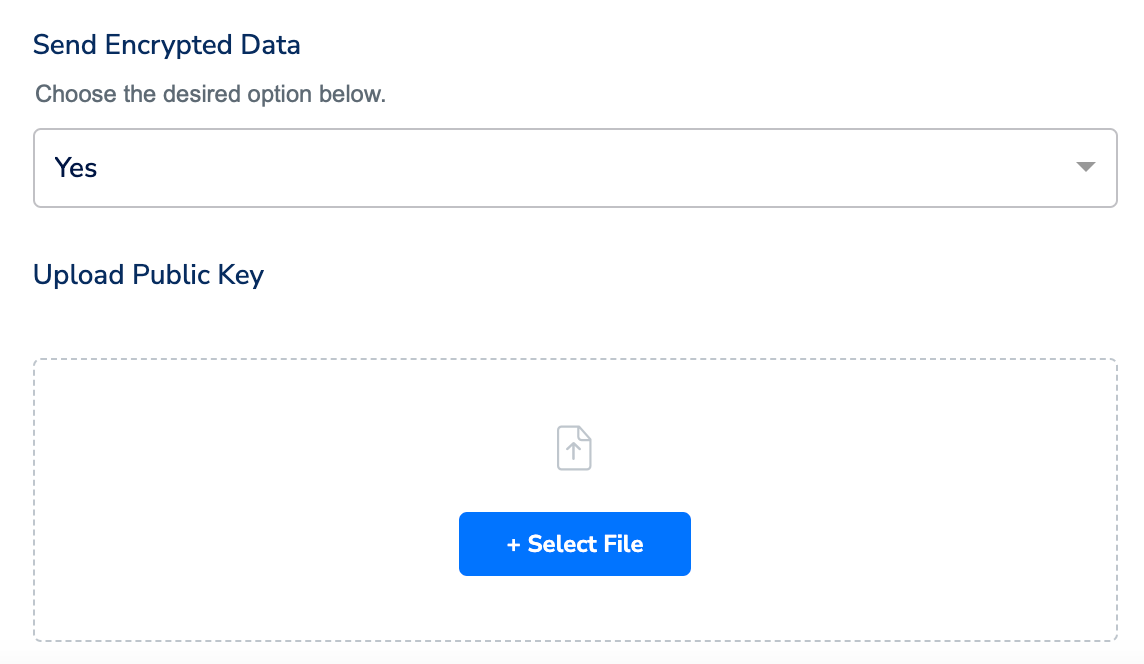
- If you plan to encrypt files in transit, a PGP public key file. See PGP encryption in destinations.
Supported identifiers
This integration accepts MAIDs, hashed email addresses, hashed mobile numbers, and CRM IDs. You can send any number of identifiers and attributes per audience.Available actions and supported features
Understand the destination components
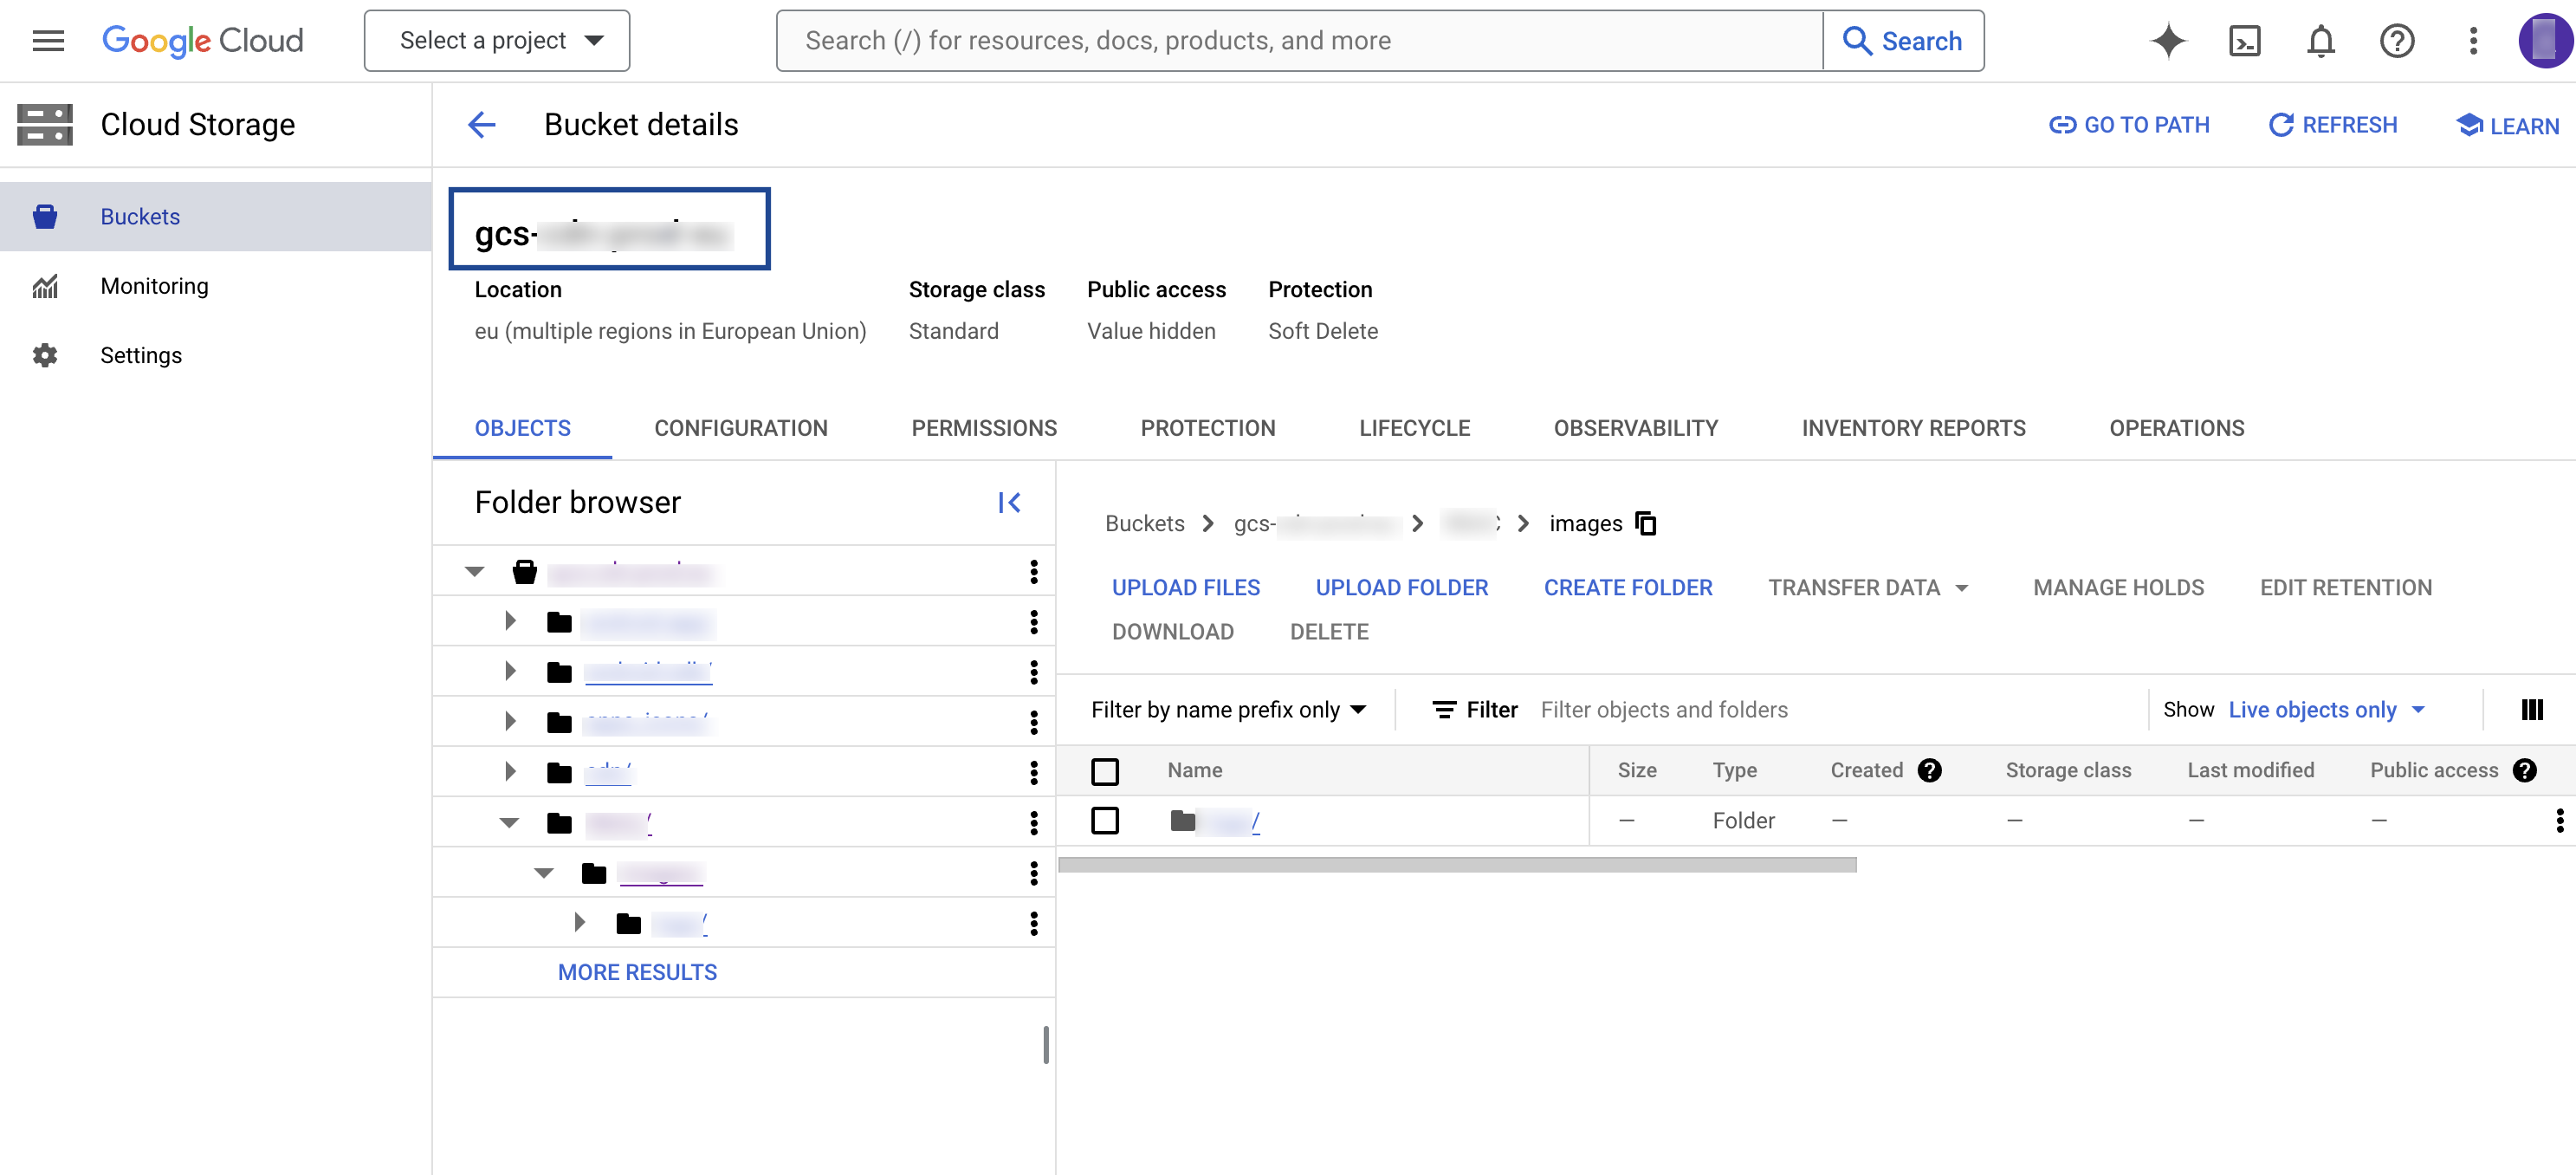
You configure three GCS-side details in Zeotap CDP:-
Bucket — the name of your Google Cloud Storage bucket. You obtain it from your GCS console.
-
Folder — a folder path inside the bucket. GCS does not have real folders; the folder concept is emulated by object key names containing
/separators, which replicate a hierarchical arrangement.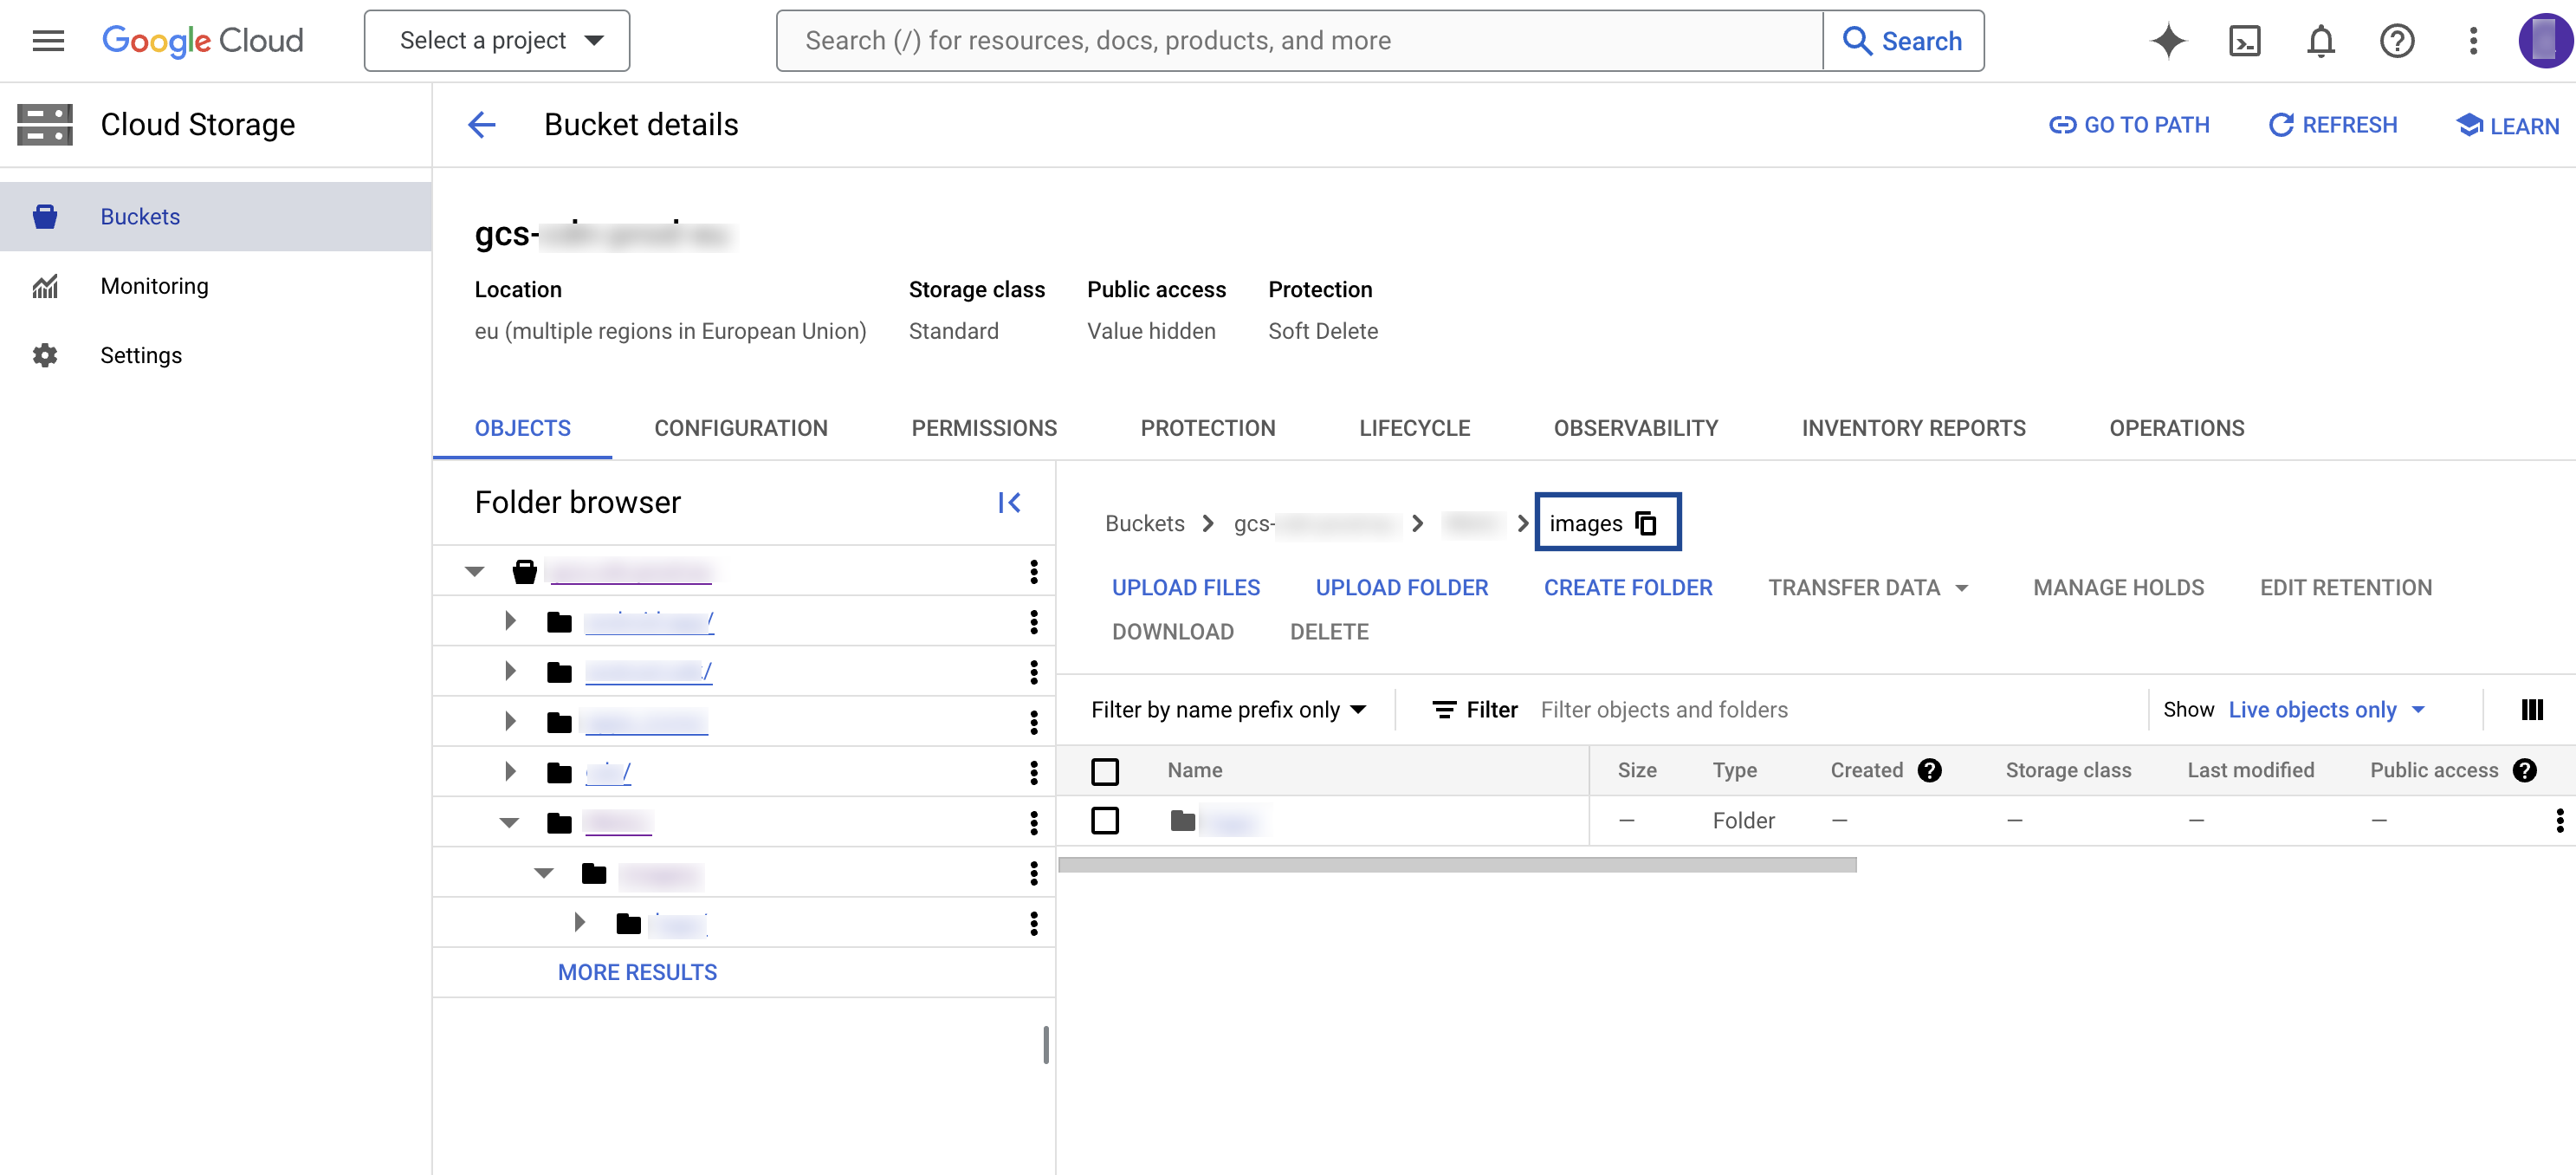
- Account — the identity Zeotap uses to write into your bucket. Choose either the Zeotap Service Account (which you then whitelist on your bucket) or upload a client service account JSON you manage.
Configure the destination
1
Open the Destinations application
Log in to the Zeotap CDP App and open the Destinations application.
2
Start a new destination
Click + Create Destination..png?fit=max&auto=format&n=UNwlFBI6l-jpipWP&q=85&s=562fa59a1a1e2b76442fa98f6e6f991e)
3
Select Google Cloud Storage
Under All Destinations, search for Google Cloud Storage and select it..png?fit=max&auto=format&n=UNwlFBI6l-jpipWP&q=85&s=653728565c7ed5863548171765d4086f)
4
Fill in the destination fields
On the right-hand side of the destination screen, provide the following values:a. A name for the destination.b. A value for Destination Instance Name — an internal field.c. The Bucket name of your Google Cloud Storage bucket.d. The Folder path inside that bucket where Zeotap CDP should write exported data.e. A Filename Prefix. Enter a text value without spaces, underscores (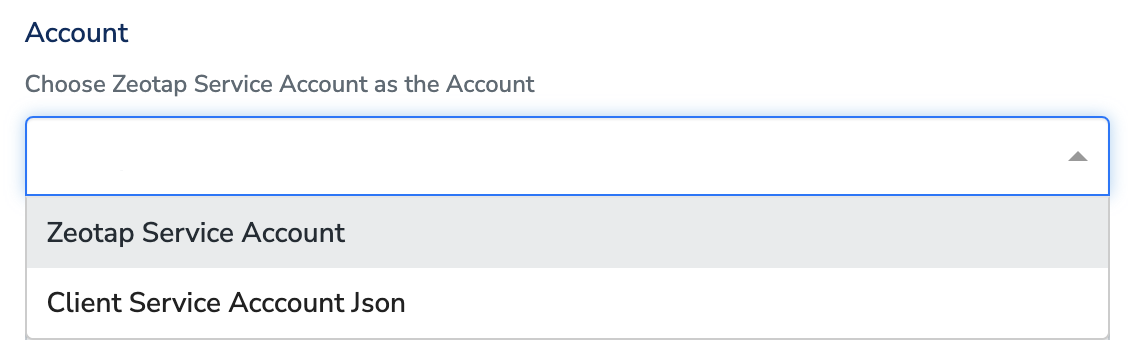
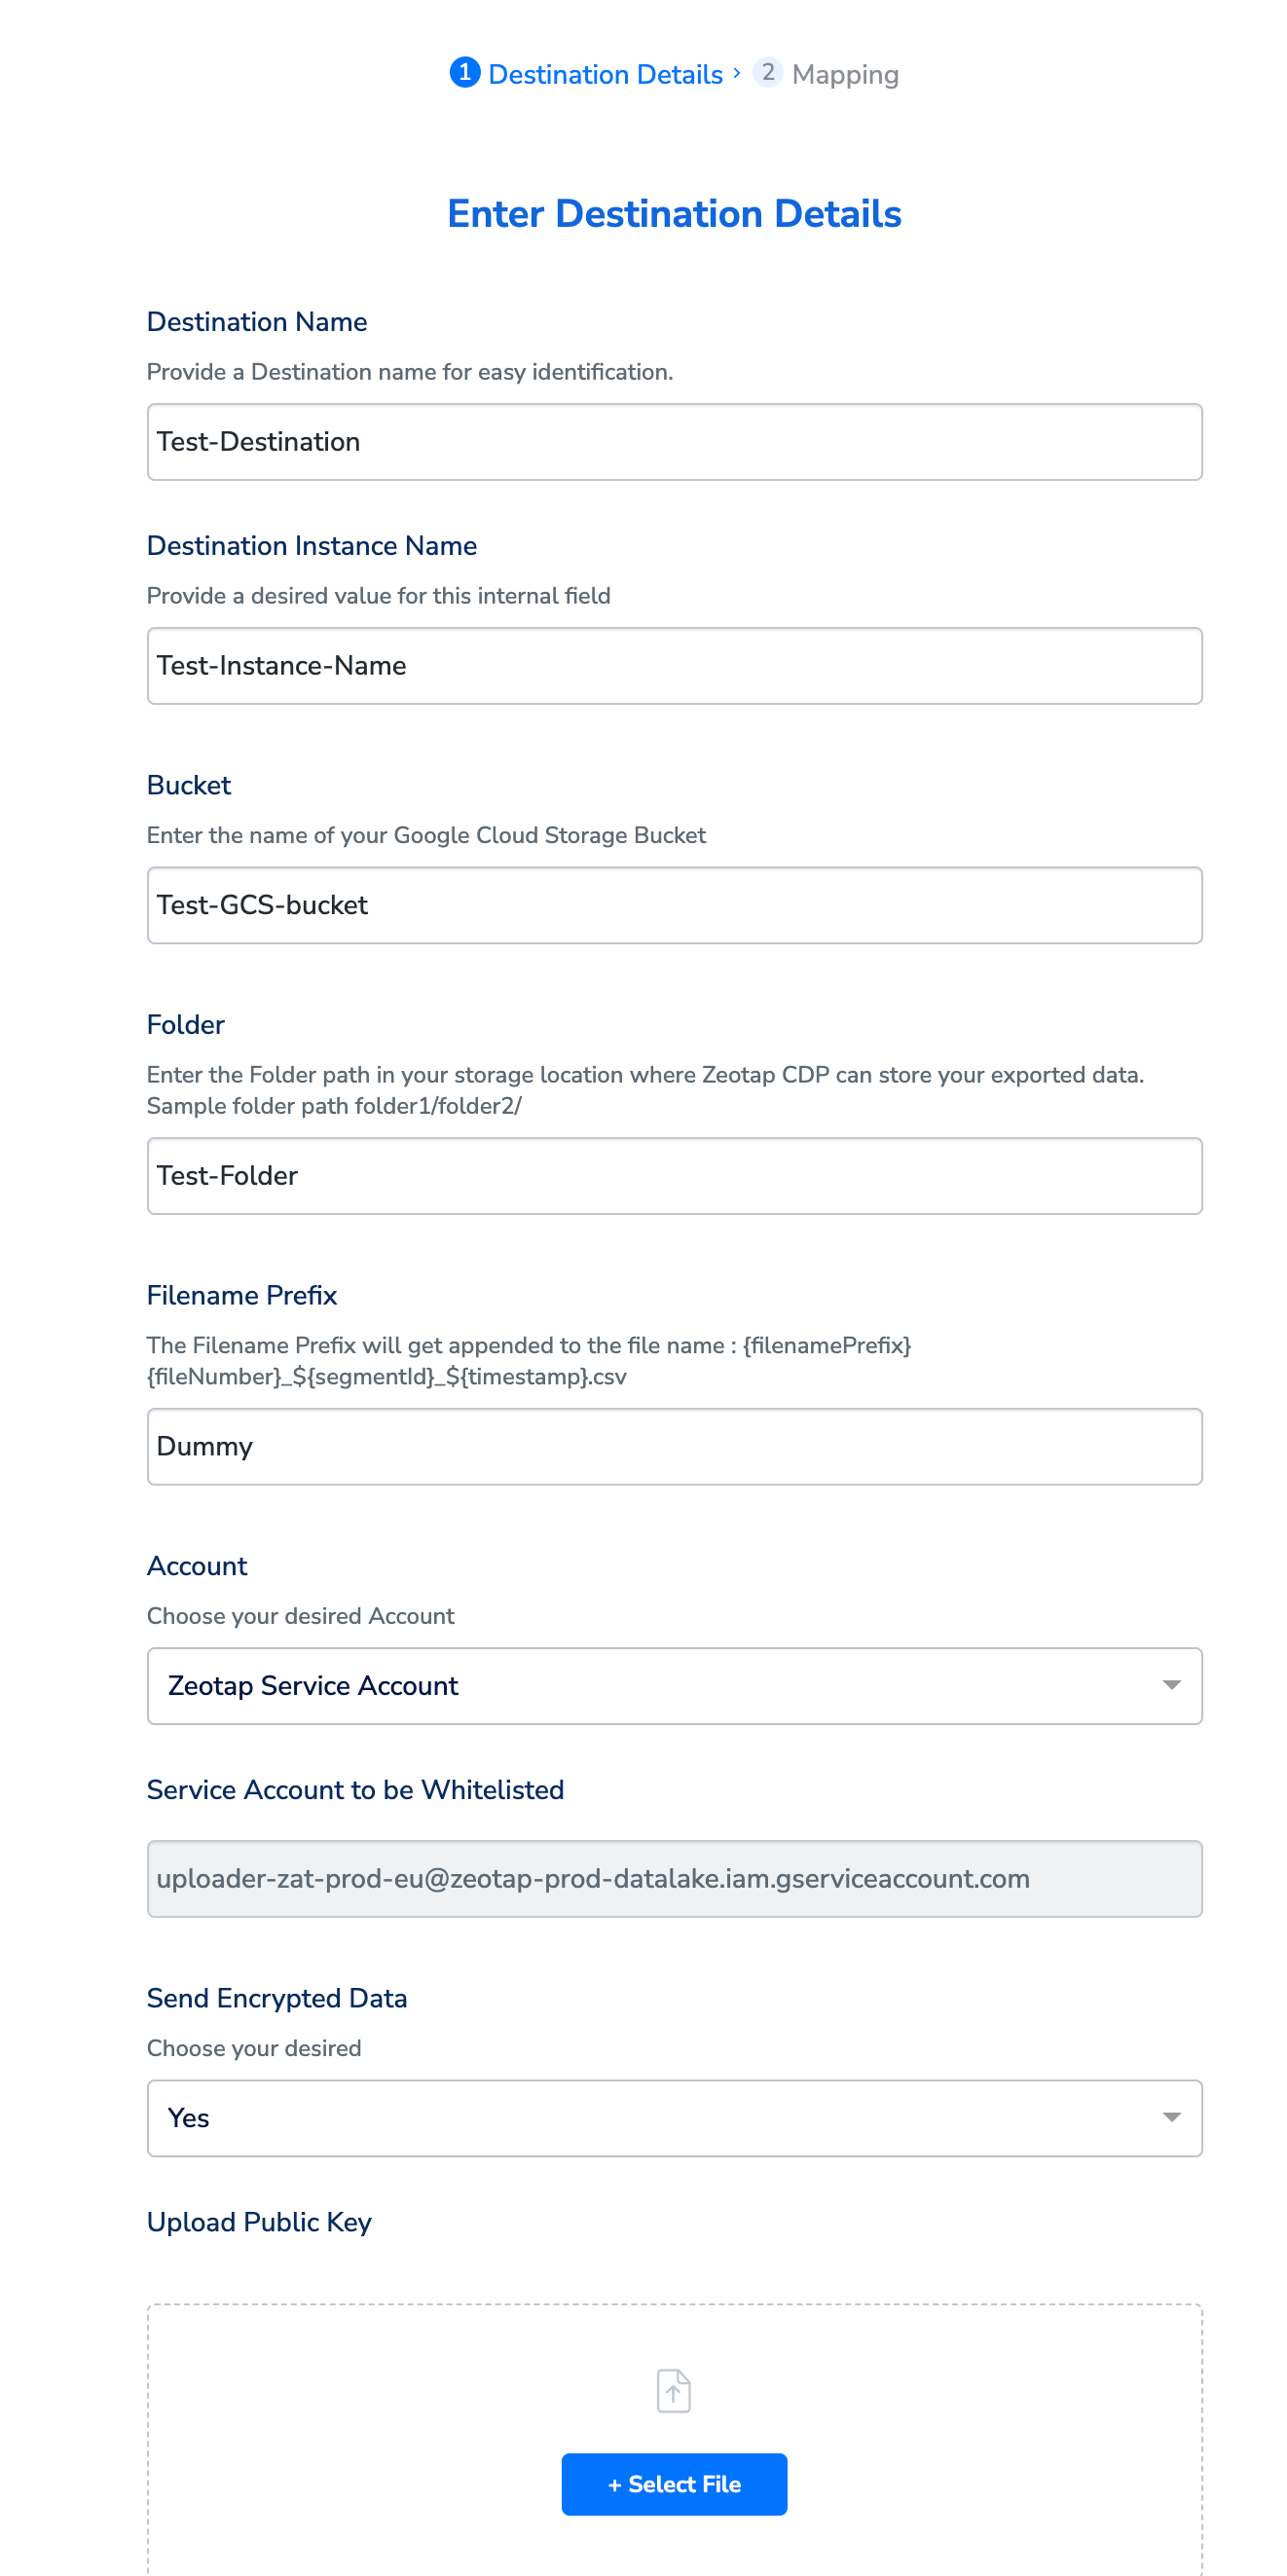
The folder path must:
- Follow the structure
folder_name/sub_folder_name/. - Not start with a
/. - End with a
/(both the folder name and any sub-folder name).
_), or the symbols # @ $ % & *. The full file name follows the pattern shown in Understand exported file names below.f. Under Account, choose either Zeotap Service Account or Client Service Account Json from the drop-down:-
Zeotap Service Account — the service account Zeotap will use auto-populates under Service Account to be Whitelisted. Whitelist it on your bucket in Google Cloud before saving so Zeotap CDP can push audiences to your bucket.
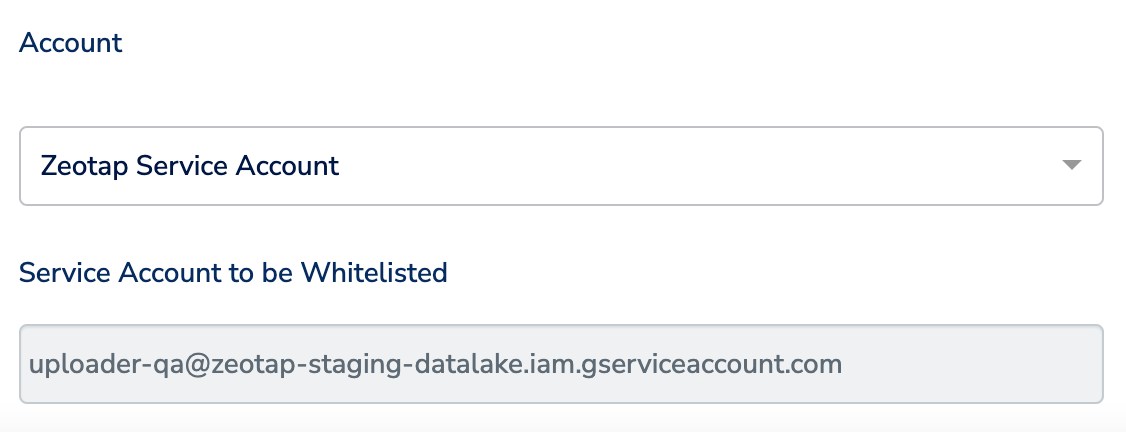
-
Client Service Account Json — use + Select File to upload the JSON key for a service account you manage so that Zeotap CDP can push audiences to your bucket.
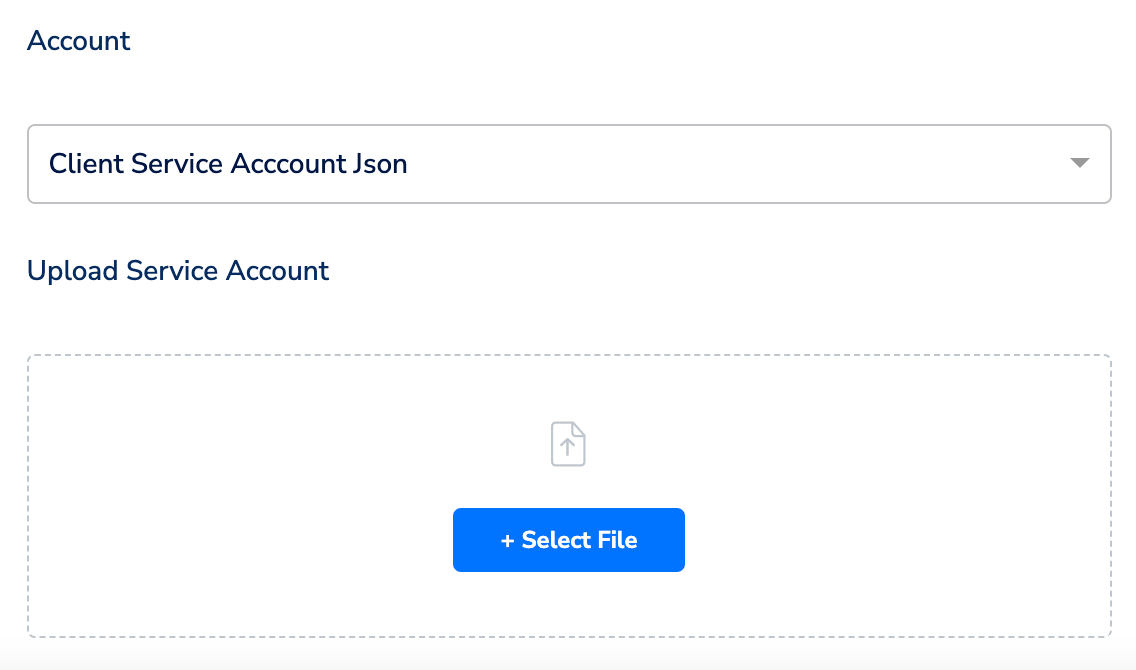
5
Choose the action and map fields
Under Choose your Action, pick one:
-
Send Identifiers to Google Cloud Storage — sends MAIDs and raw email addresses.
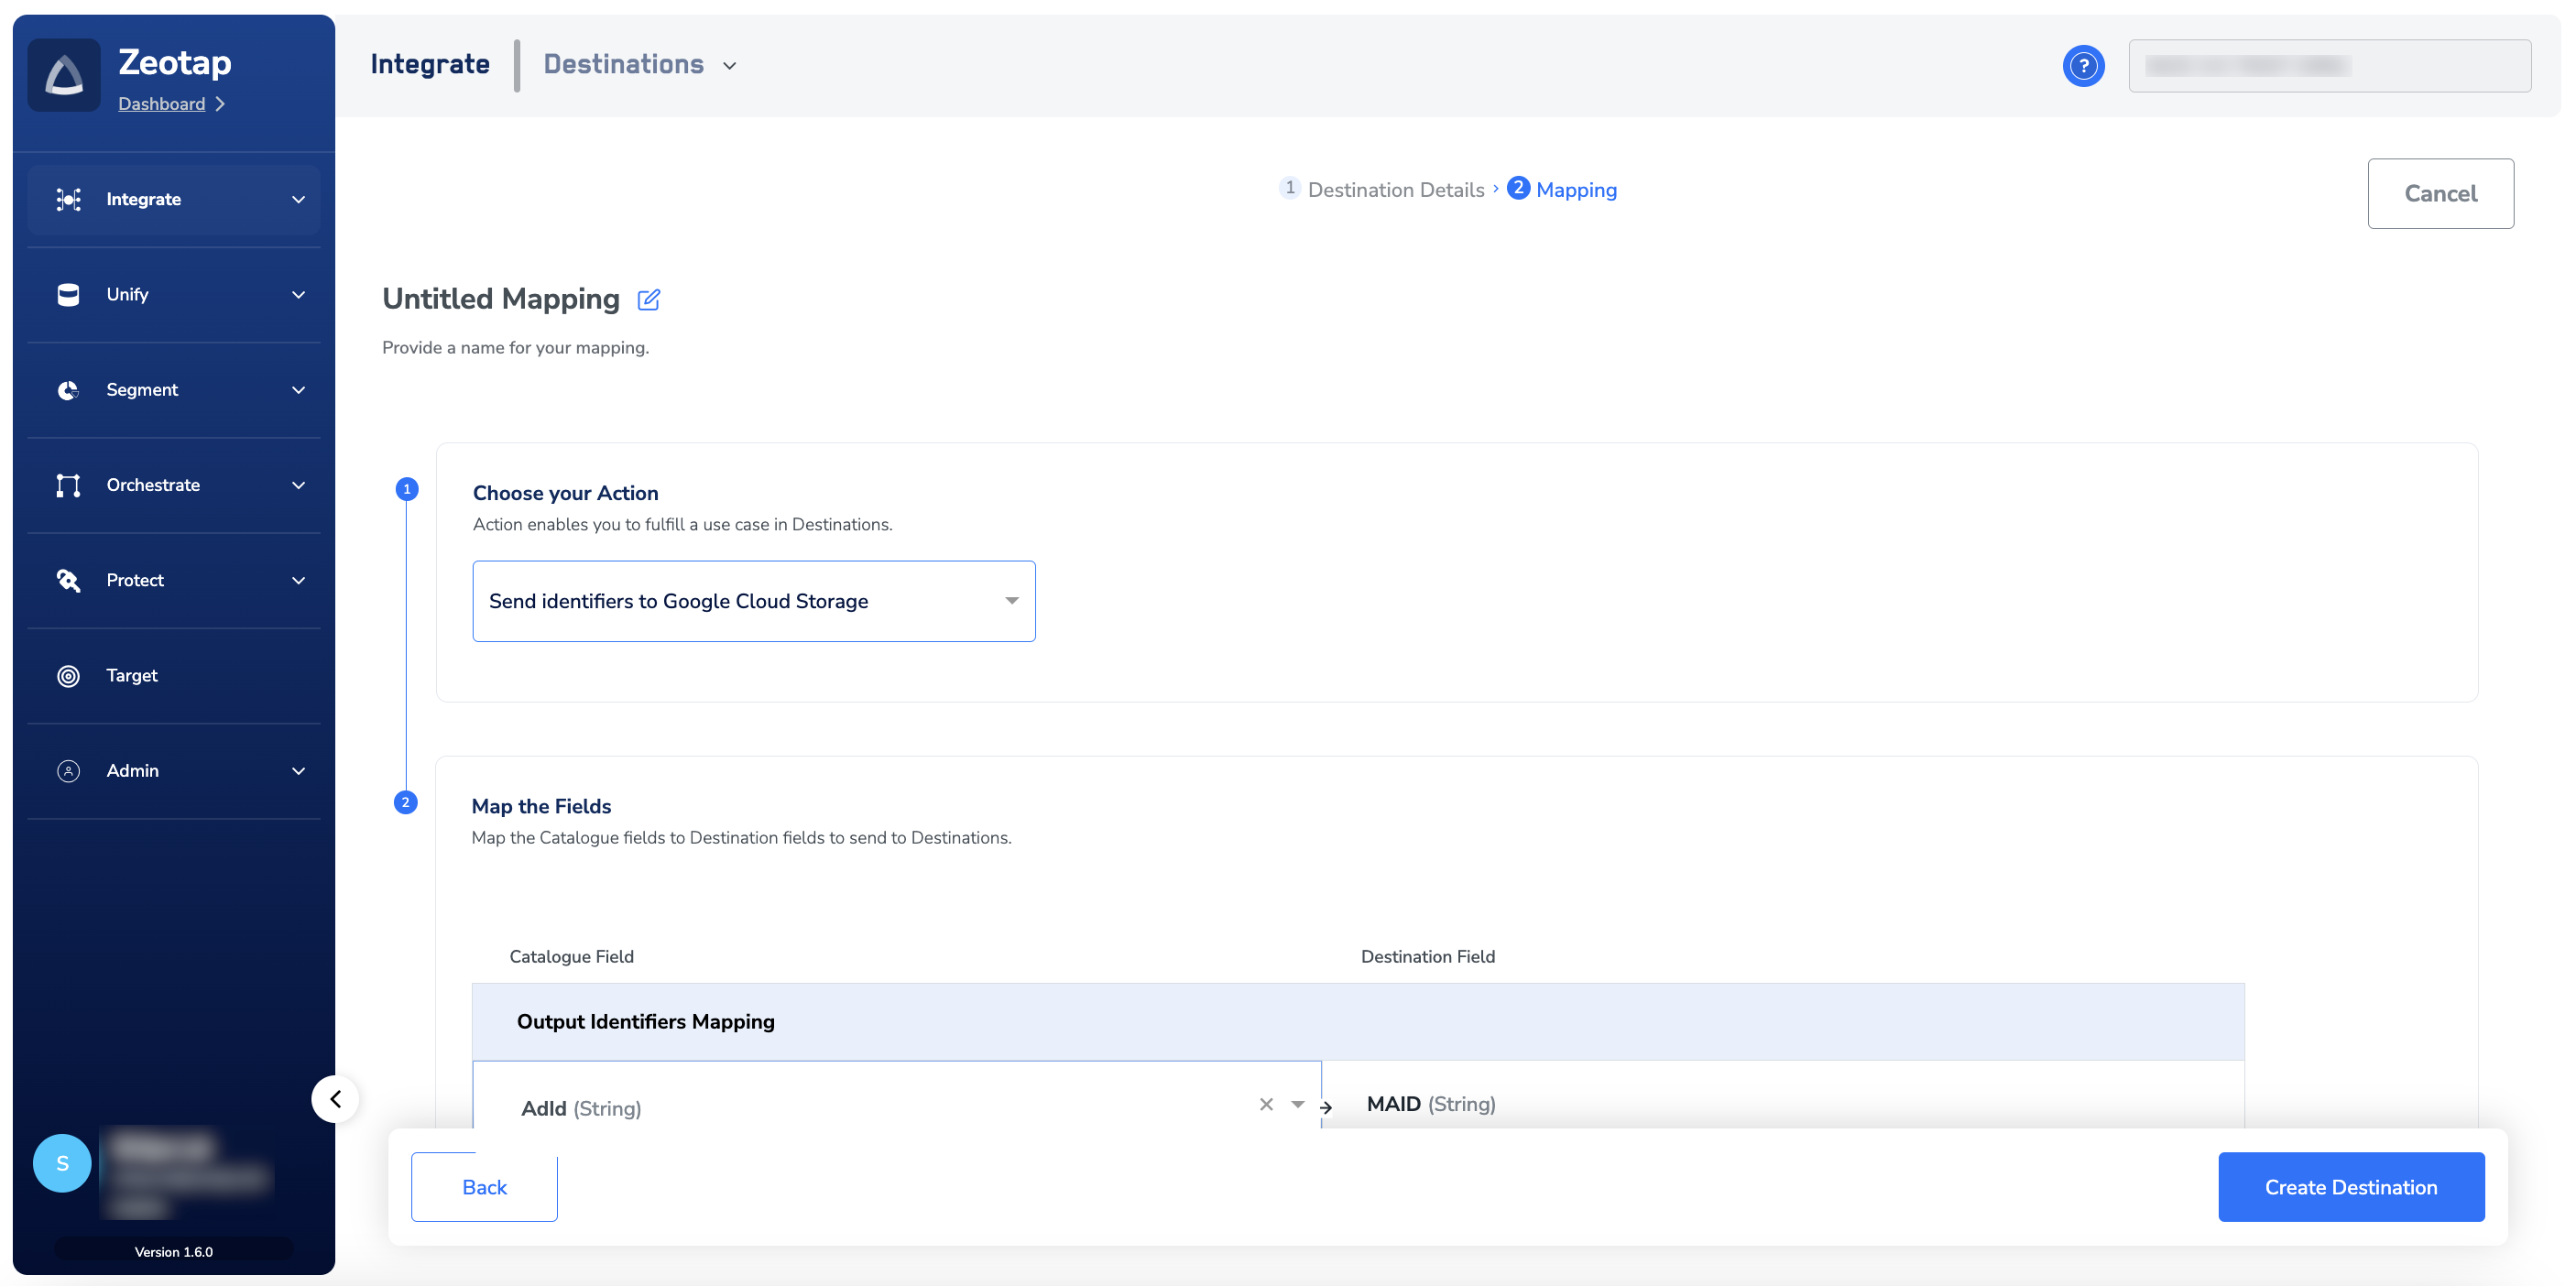
-
Send attributes and identifiers to Google Cloud Storage — sends any identifiers and attributes you map.
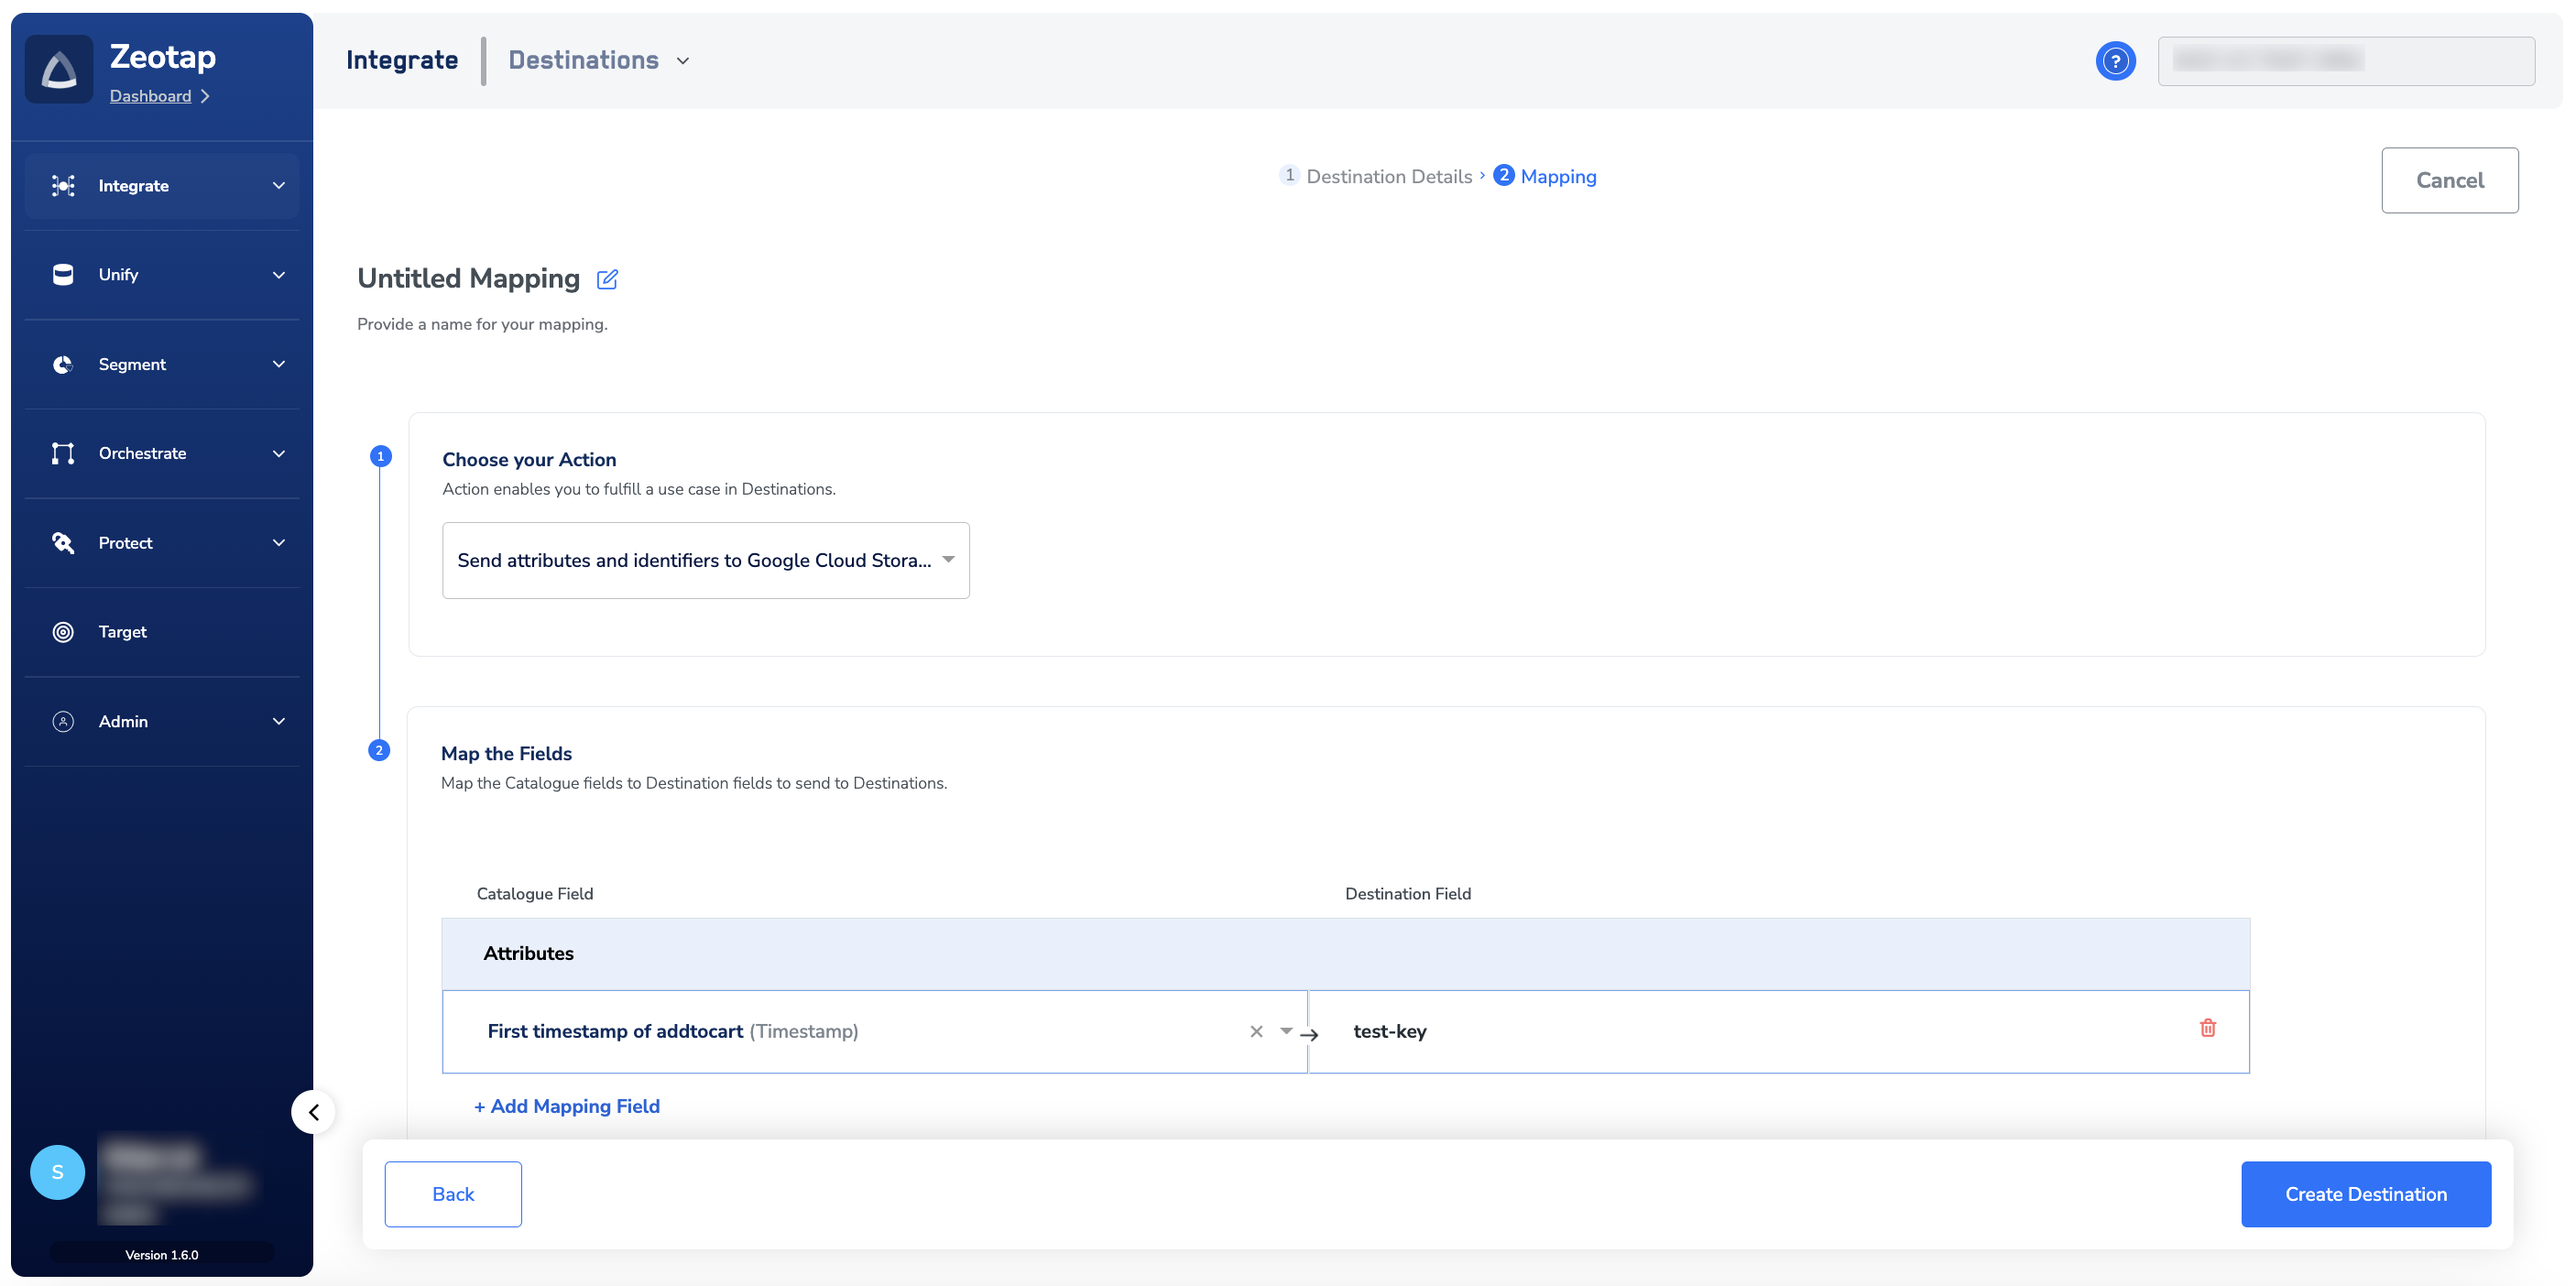
6
Create the destination
Click Create Destination. The destination now appears in the Audiences application and can be linked to an audience.
Verify the destination is working
You know the destination is configured correctly when:- After you click Create Destination, it appears in the destination list inside the Audiences application.
- After you link an audience to it (see Link an audience to the destination) and the next audience refresh runs, CSV files land in your bucket under the folder path you configured.
- The file names follow the naming pattern described below.
Understand exported file names
Zeotap CDP writes each activation as one or more CSV files. The name pattern is:yyyy-MM-dd, and destinationAudienceId is the ID Zeotap CDP assigns to the audience after it is linked to this destination.
Example file name:

Multipart uploads
When a file is uploaded in multiple parts, the name pattern is:partNumber— the index of the part in the multipart upload.Part0is the first part.channelId— the ID Zeotap CDP assigns to the audience after it is linked to this destination.${timestamp}— the timestamp in epoch milliseconds.
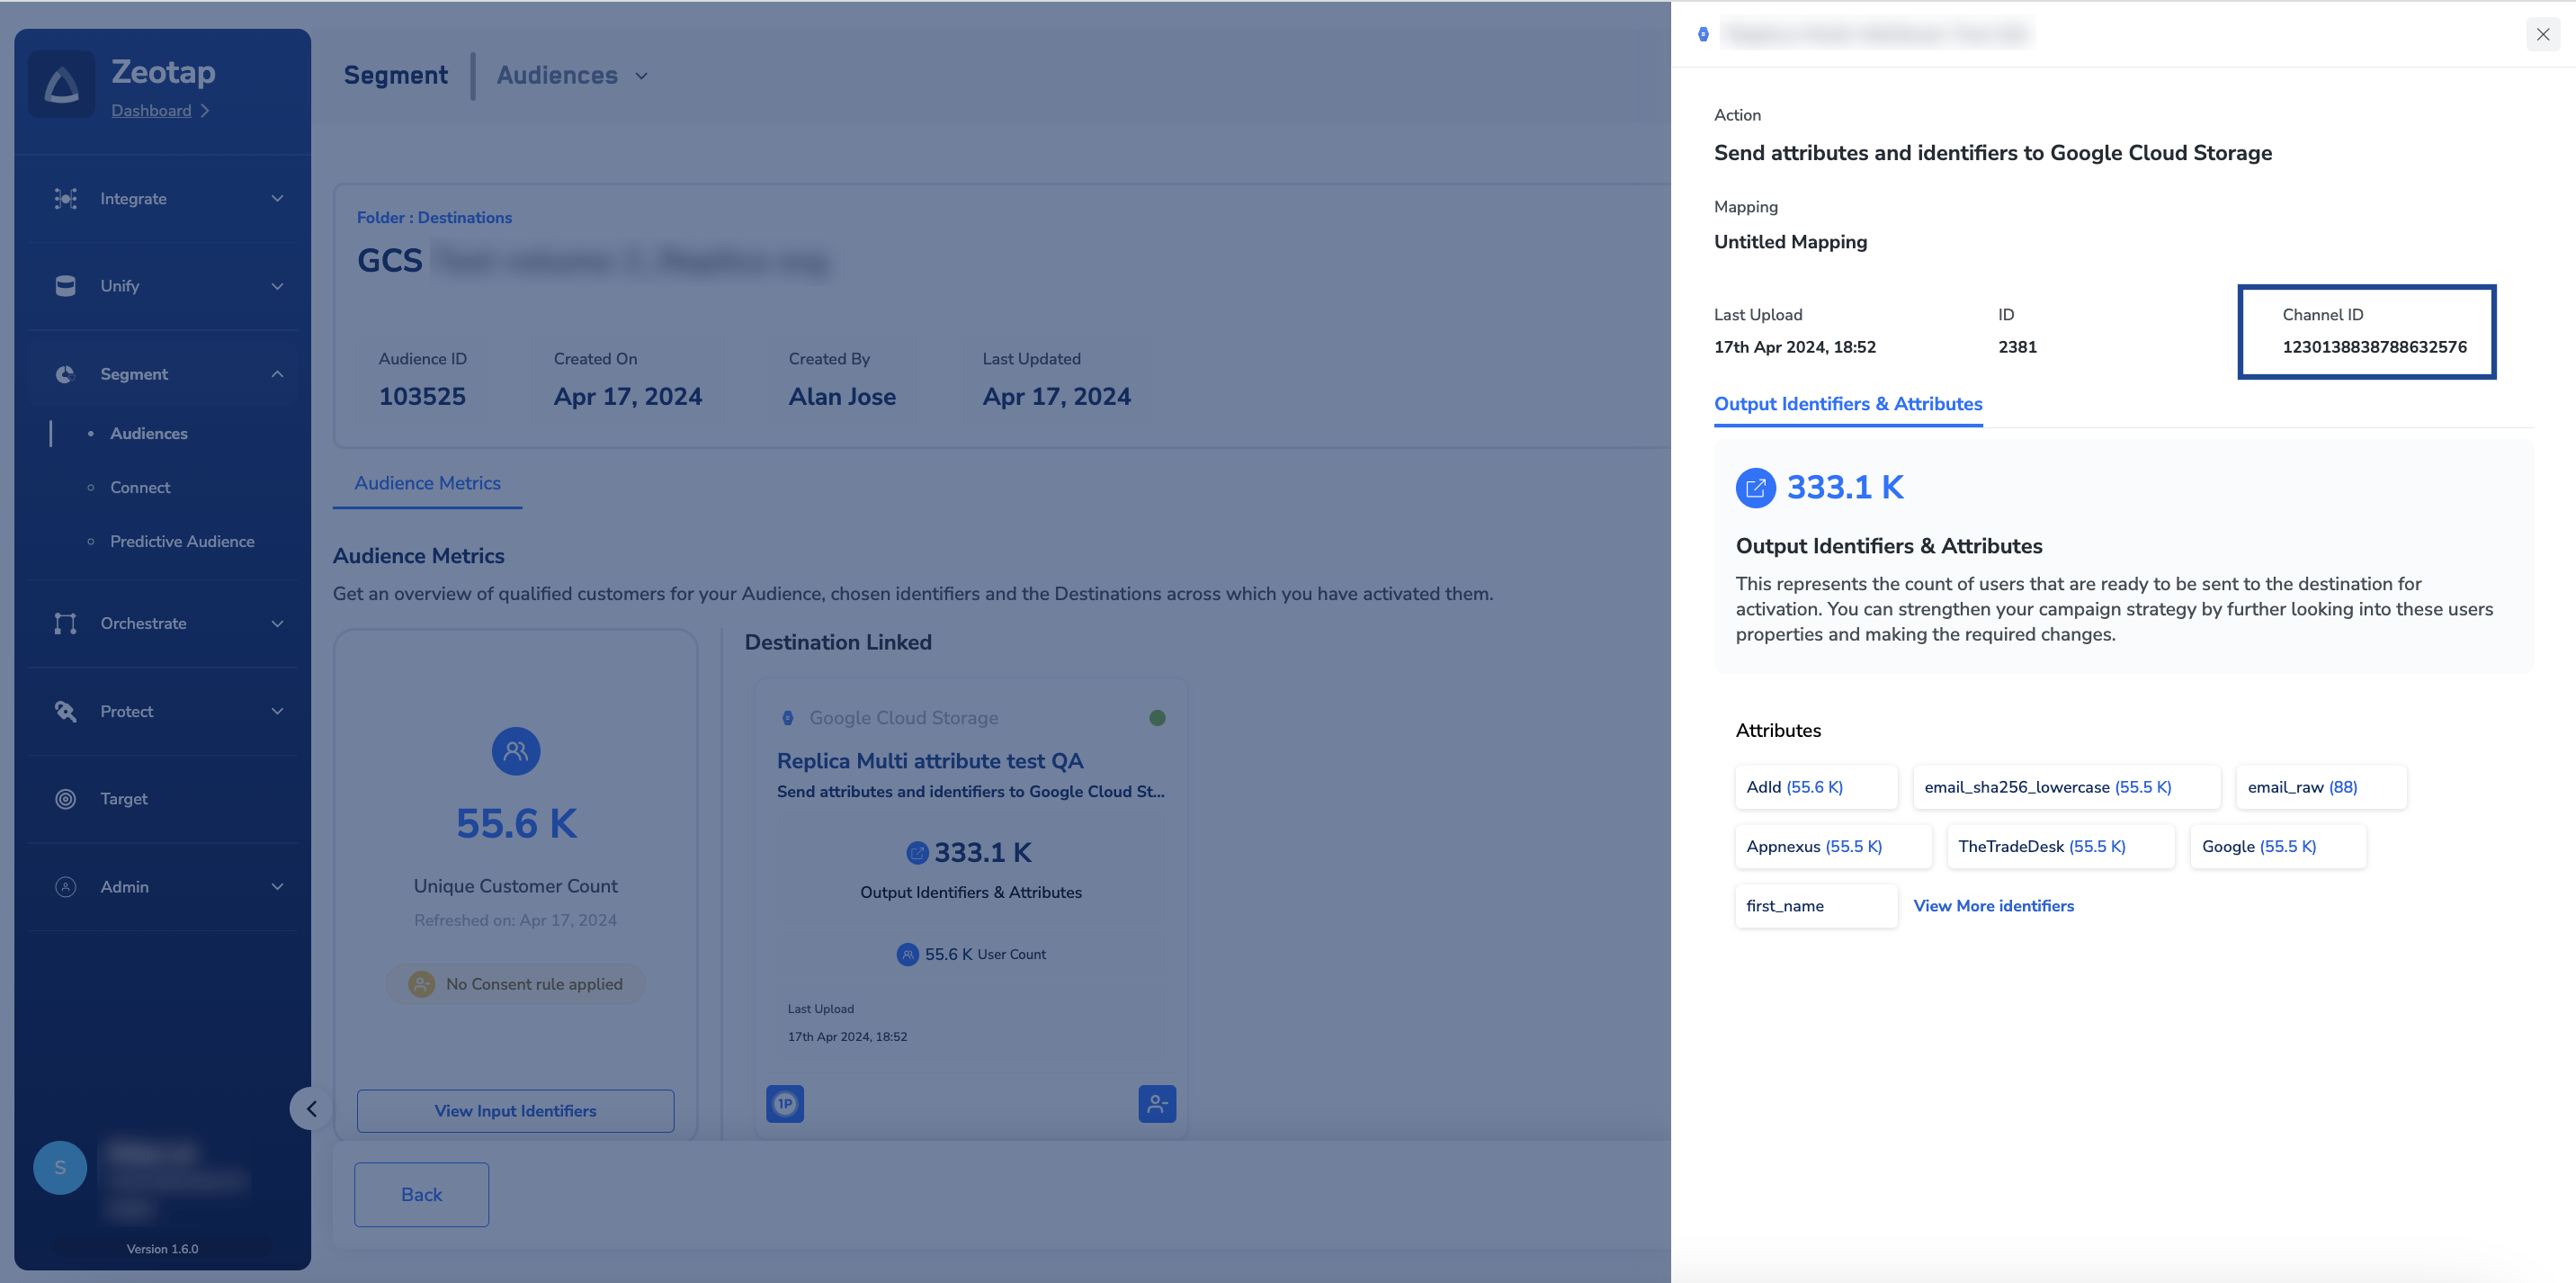
PublicAbove18 with Channel ID 12345678, Filename Prefix testprefix, and file number 98765, uploaded as the first part of a multipart upload at epoch milliseconds 1625138600:
Why this happens
When a Google Cloud Storage destination misbehaves, check the destination configuration and the bucket-side permissions. Match your symptom to a row below and inspect the location listed:When to contact support
Contact Zeotap Support if:- You corrected the configuration above, whitelisted the Zeotap Service Account on the bucket, and files still do not arrive after the next audience refresh.
- Files land in the bucket but their contents do not match the identifiers and attributes you mapped.
- You see an error on the destination or on the linked audience that does not match any row in the table above.
- The destination name and the
destinationAudienceIdvisible on the audience in the Audiences application. - The bucket name and folder path you configured.
- Whether you chose Zeotap Service Account or Client Service Account Json under Account.
- The timestamp of the last audience refresh you expected files from.
- A sample file name (if any files arrived) or a screenshot of the destination configuration.
FAQ
Which identifier types can I send to Google Cloud Storage?
Which identifier types can I send to Google Cloud Storage?
MAIDs, hashed email addresses, hashed mobile numbers, and CRM IDs. There is no cap on the number of identifiers or attributes you send per audience.
Do I have to whitelist the Zeotap Service Account?
Do I have to whitelist the Zeotap Service Account?
Only if you pick Zeotap Service Account under Account. If you choose Client Service Account Json and upload your own service account key, that account’s own bucket permissions apply instead.
Can I encrypt the files Zeotap writes to my bucket?
Can I encrypt the files Zeotap writes to my bucket?
Yes. Set Send Encrypted Data to Yes during configuration and upload a PGP public key. See PGP encryption in destinations for the full setup.
What is the difference between destinationAudienceId and channelId in the file name?
What is the difference between destinationAudienceId and channelId in the file name?
They refer to the same ID — the identifier Zeotap CDP assigns to the audience after you link it to this destination.
destinationAudienceId appears in the single-file naming pattern, and channelId appears in the multipart naming pattern.