Overview
This integration allows you to seamlessly connect Zeotap Customer Data Platform (CDP) with Bloomreach Engagement (formerly Exponea). By linking these two systems, you can automatically send your actionable customer segments from Zeotap directly to Bloomreach. This ensures that your campaigns in Bloomreach are always powered by the most up-to-date, unified customer data, helping you reduce ad waste, improve targeting relevance, and trigger real-time messages without manual file uploads.How It Works
- Listen: Zeotap CDP continuously updates your customer profiles based on data from your various sources.
- Segment: You create specific audiences (segments) of users in Zeotap that you want to target.
- Sync: Zeotap automatically pushes these user lists to Bloomreach Engagement securely.
- Act: Bloomreach receives the data, allowing you to trigger personalized email, SMS, or push campaigns immediately.
Pre-requisites
Please ensure you have the following ready before starting the setup. In Zeotap CDP:- Access to your Zeotap CDP account with Admin or Editor permissions.
- Access to the Integrate (Destinations) module.
- An active Bloomreach Engagement project.
- Admin access to the project to view API settings.
- You will need to locate or generate four specific credentials:
- API Base URL
- Project Token
- Public API Key ID
- API Secret (Private Key)
Authentication
Step-by-Step Configuration Guide
Part 1: Get Your Credentials from Bloomreach Engagement
To allow Zeotap to talk to Bloomreach, you need to retrieve specific API details from your project settings.
Copy the General Settings:
- Locate the API Base URL (e.g.,
https://api.exponea.comor your custom domain) and copy it.
Note:Currently we do not allow the support of custom URL. Please contact your CSM to have this changed for your org.
- Locate the Project Token (a unique alphanumeric string) and copy it.
Generate Your Keys:
- Scroll down to the API Groups section.
- You must use a group with Private Access. If you don’t have one, click + New Group, select “Private Access,” and give it a name (e.g., “Zeotap Integration”).
- Ensure this group has permissions for
ImportandCustomers(Write access). - Click the three dots next to the group and select Get Private Key.
- Copy the Public ID (this is your API Key ID).
- Copy the Secret (this is your API Secret).
- Important: Save the Secret immediately. Bloomreach will not show it to you again once you close the window.
Create a Destination for Bloomreach
Perform the following steps to create a Destination for Bloomreach: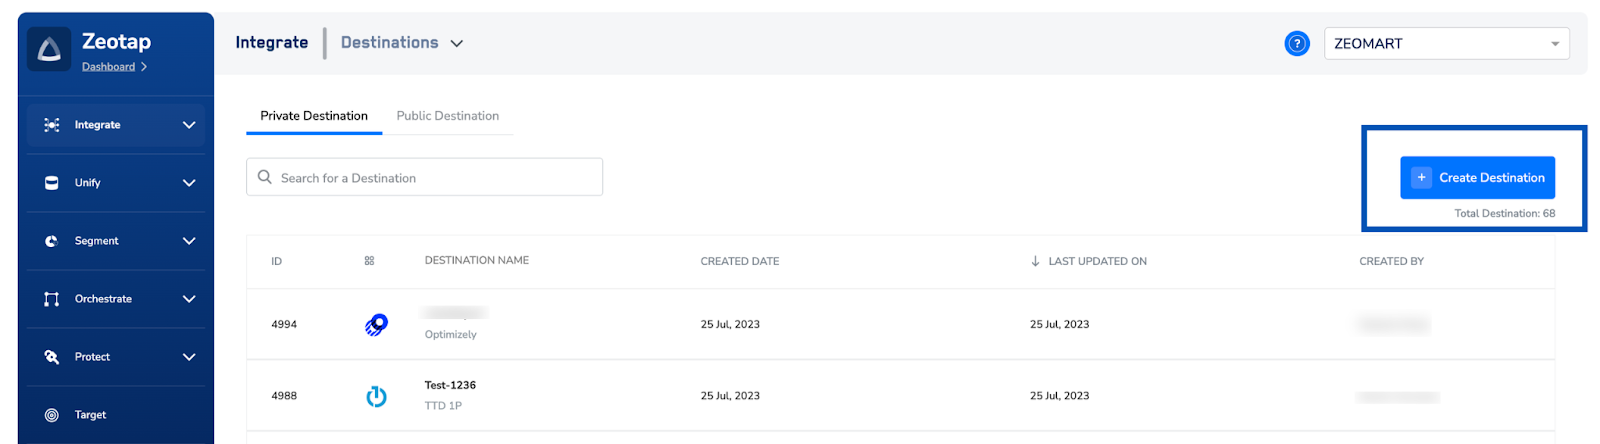
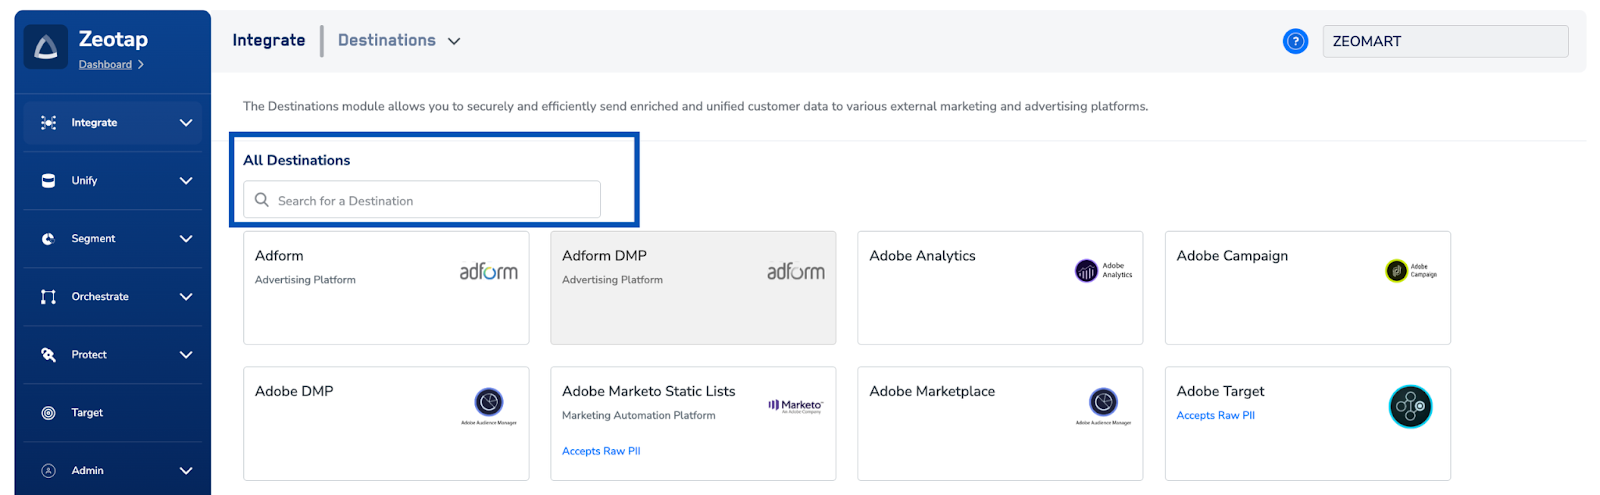
Click Bloomreach. A screen appears displaying details about the particular destination towards the left. On the right-hand side of the screen find a list of fields that are required for the integration to be established. Enter the required details as mentioned in the following steps:a. Enter a name for the Destination.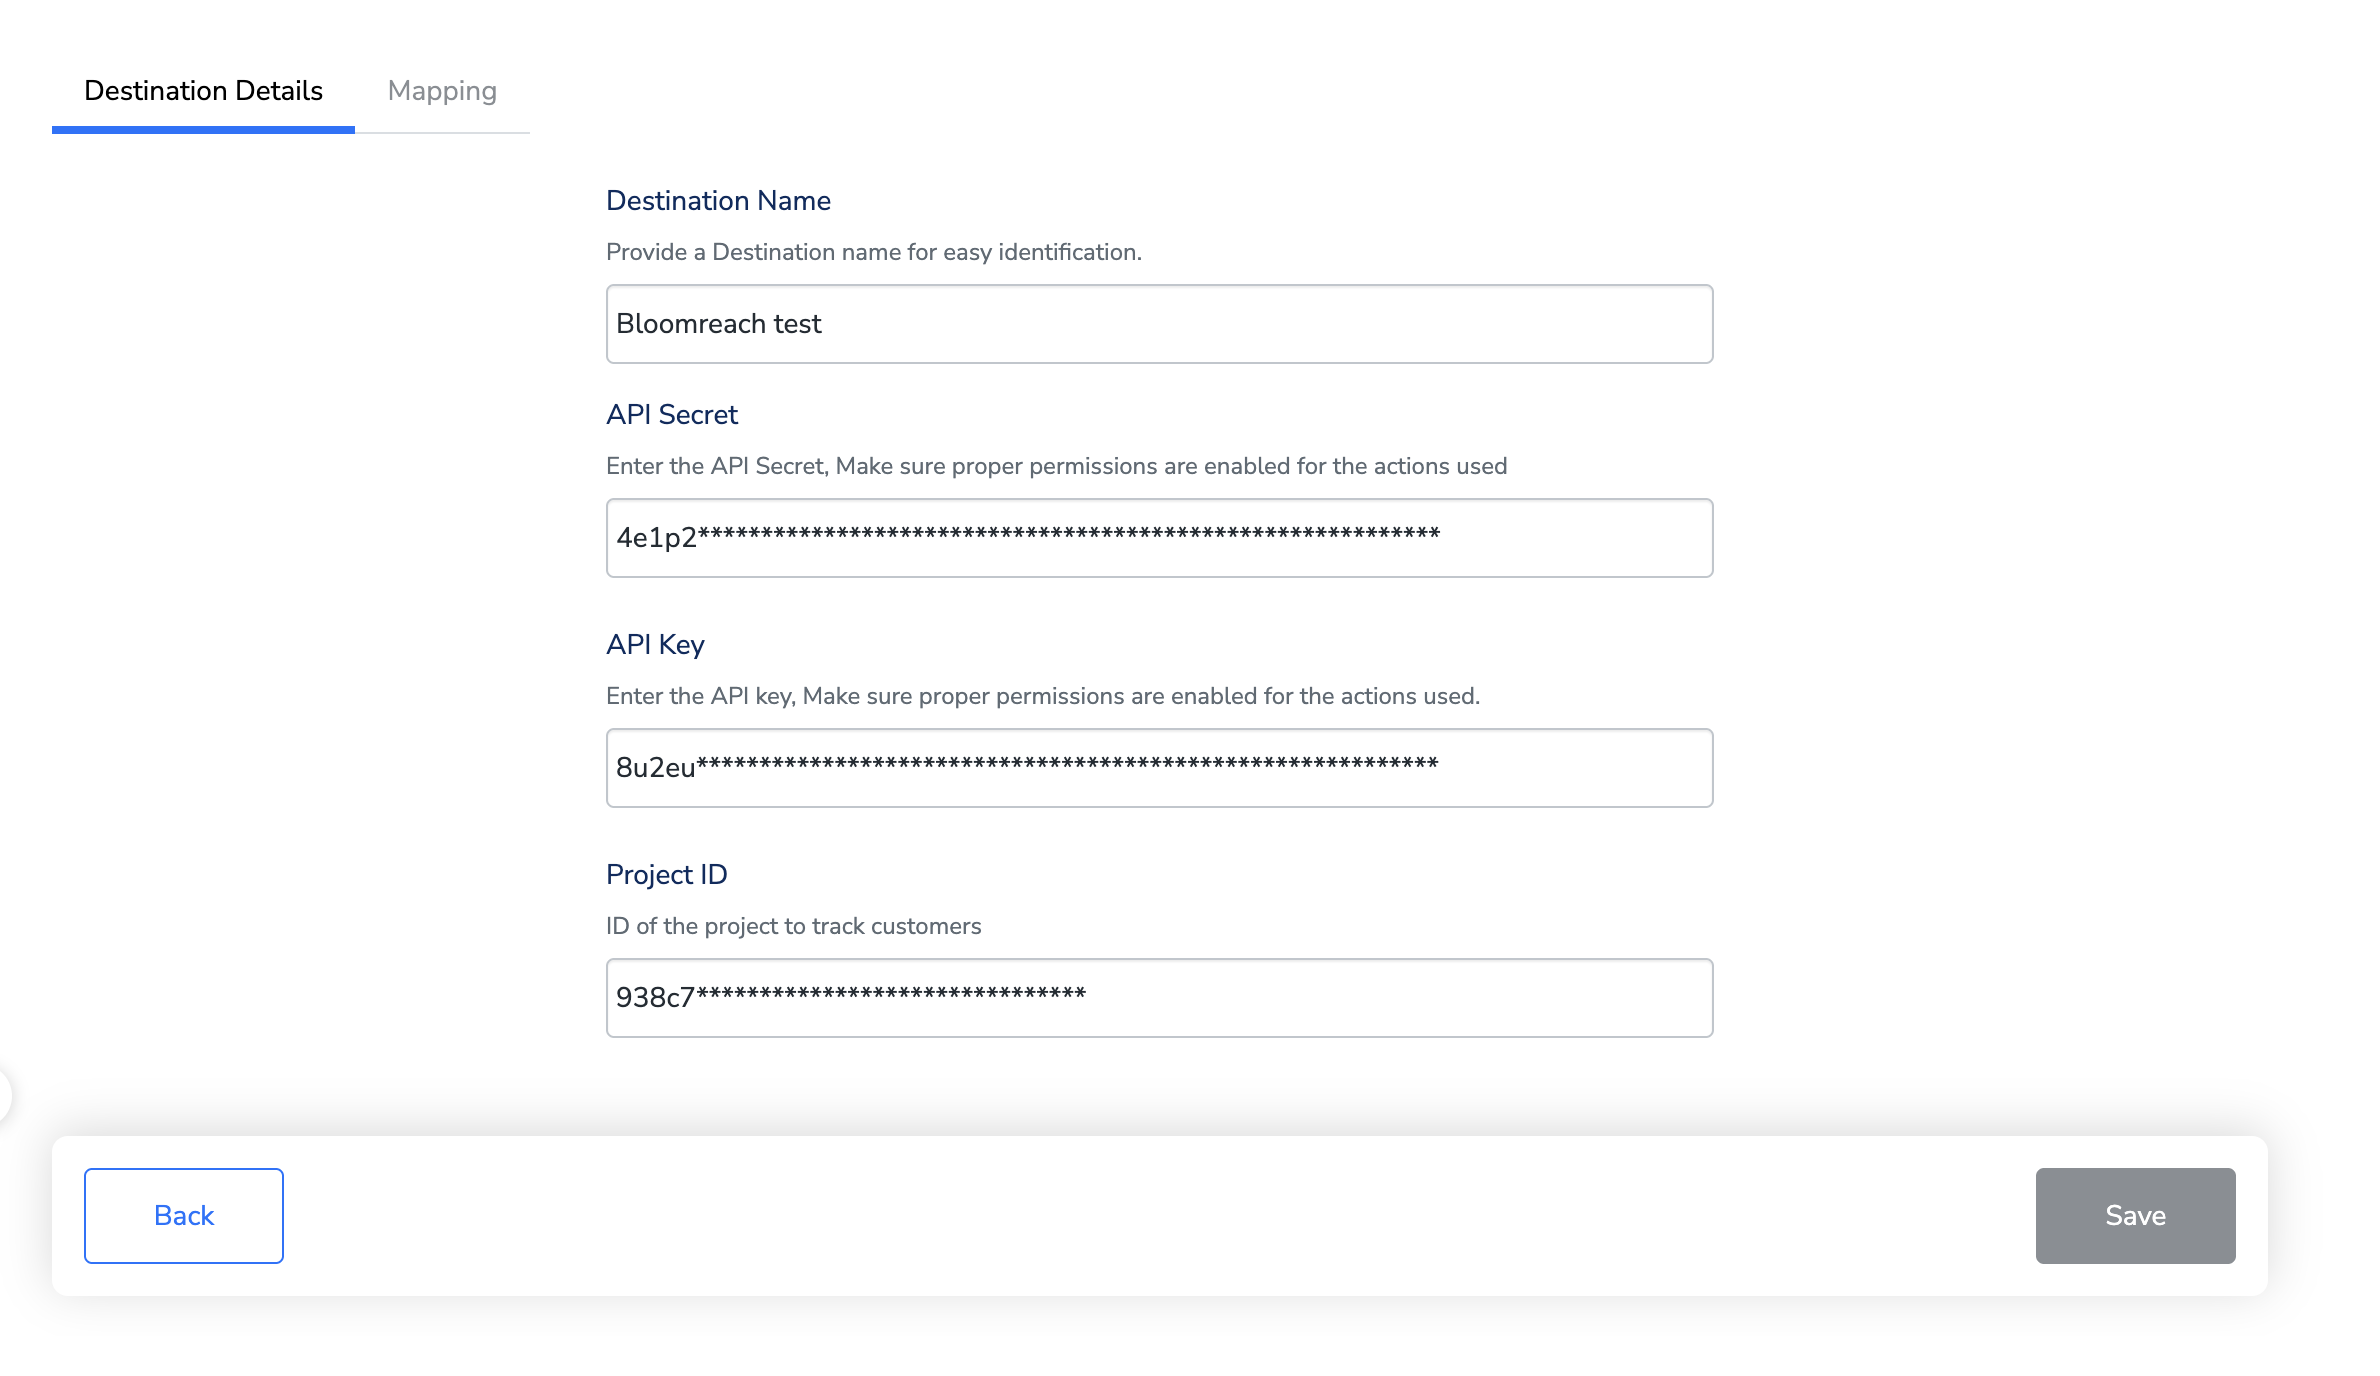
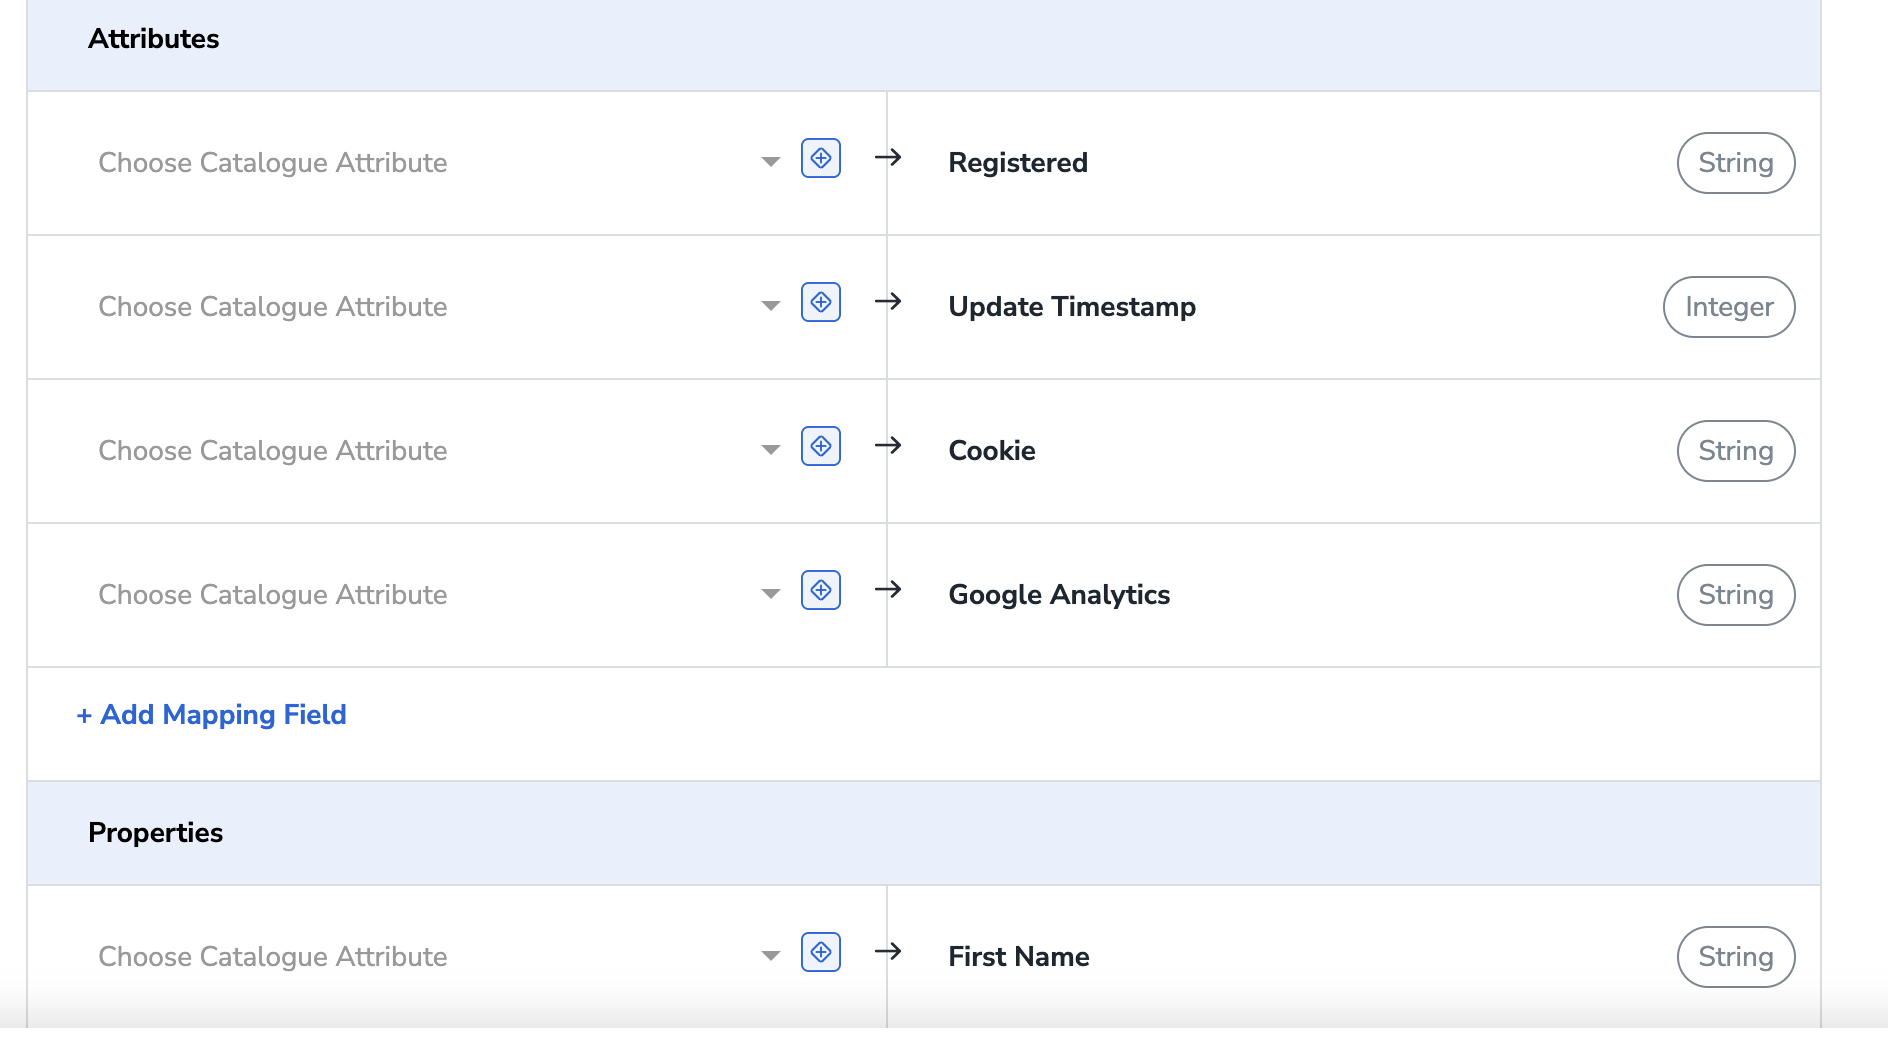
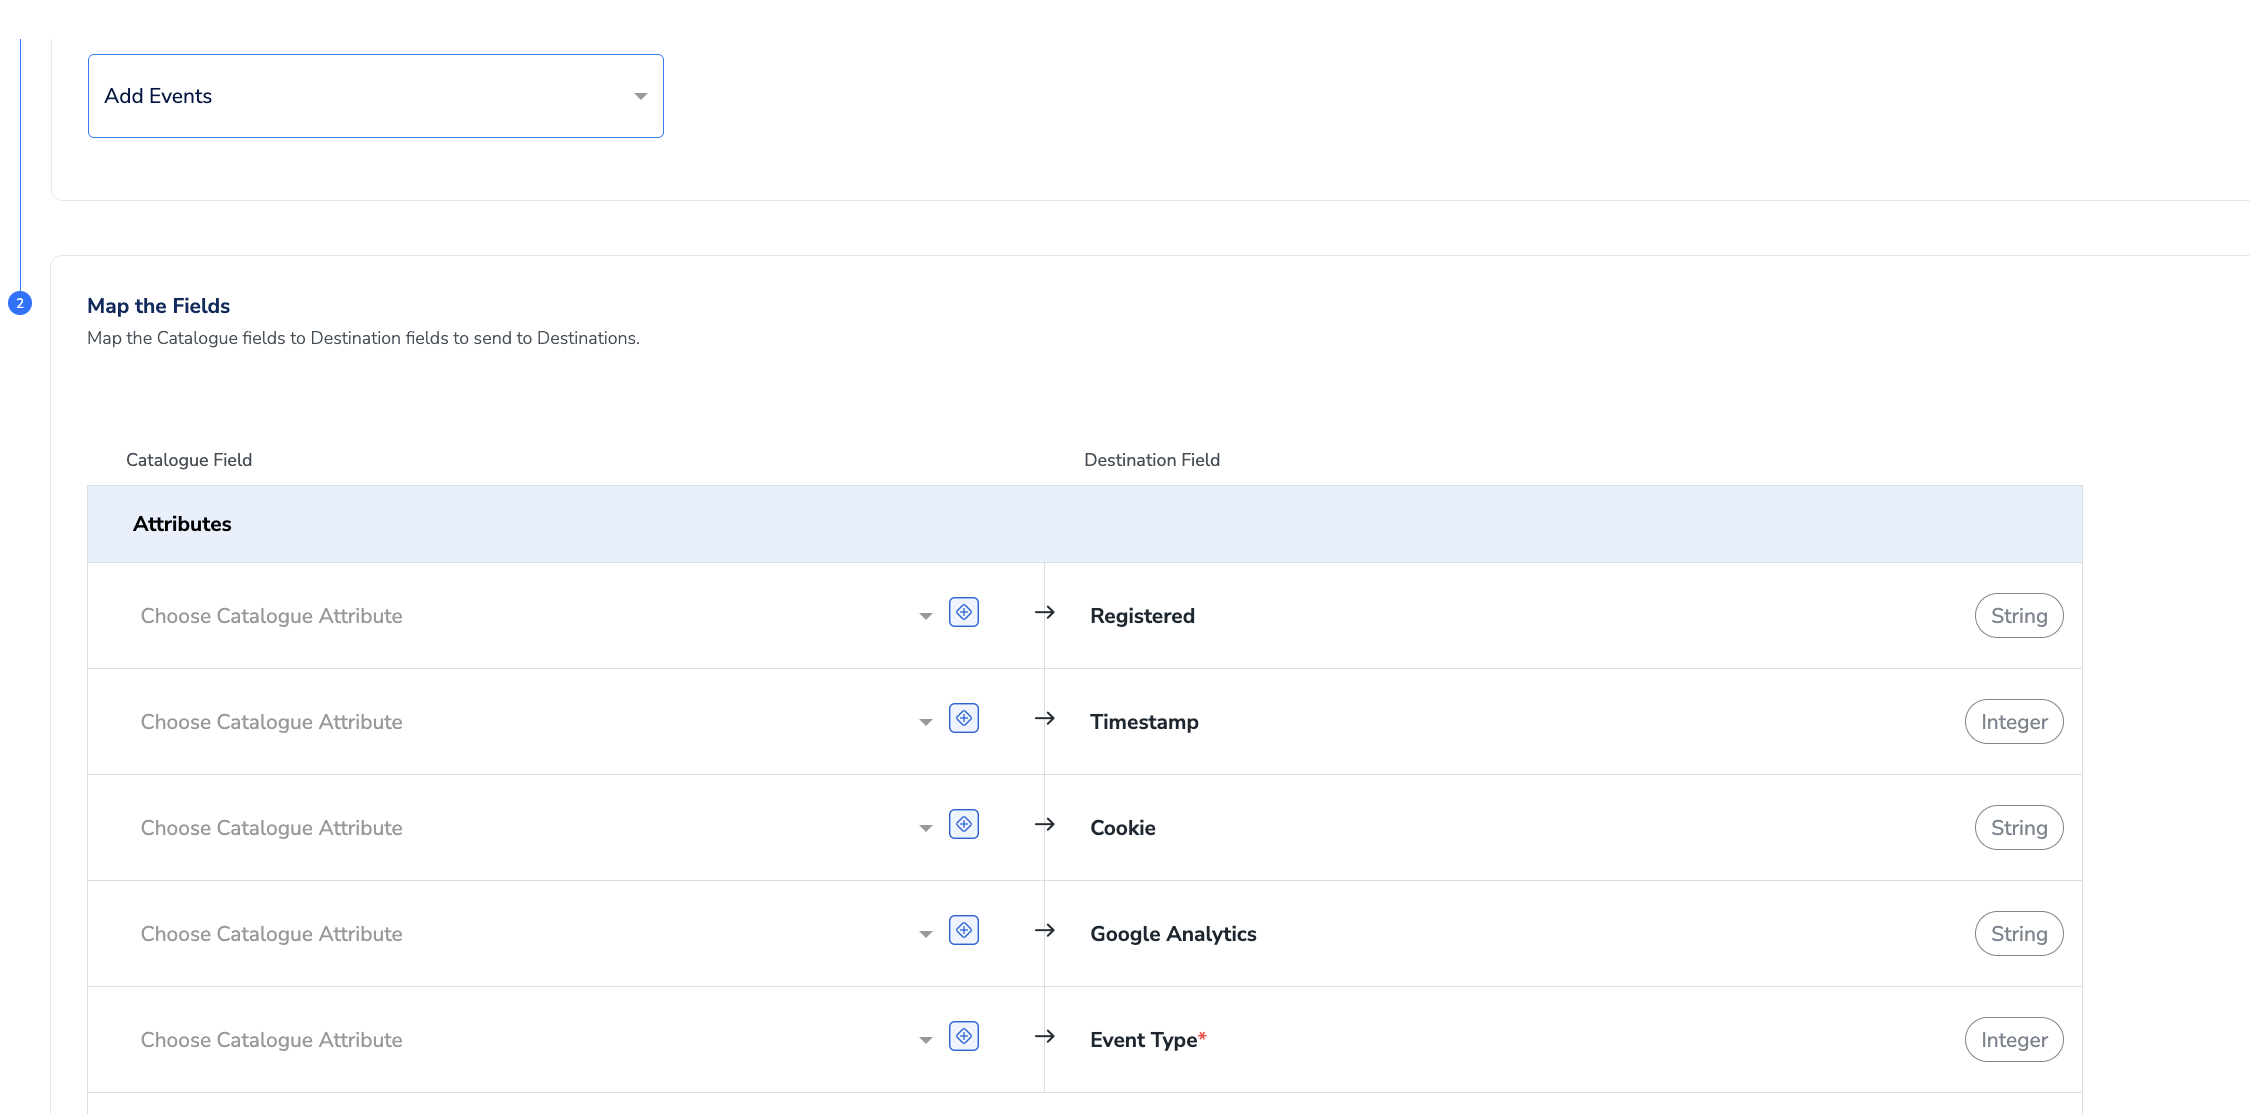
In the new screen that appears, choose the appropriateaction and mapping as explained below. Under Choose your Action, choose add or update users or Add events as the action.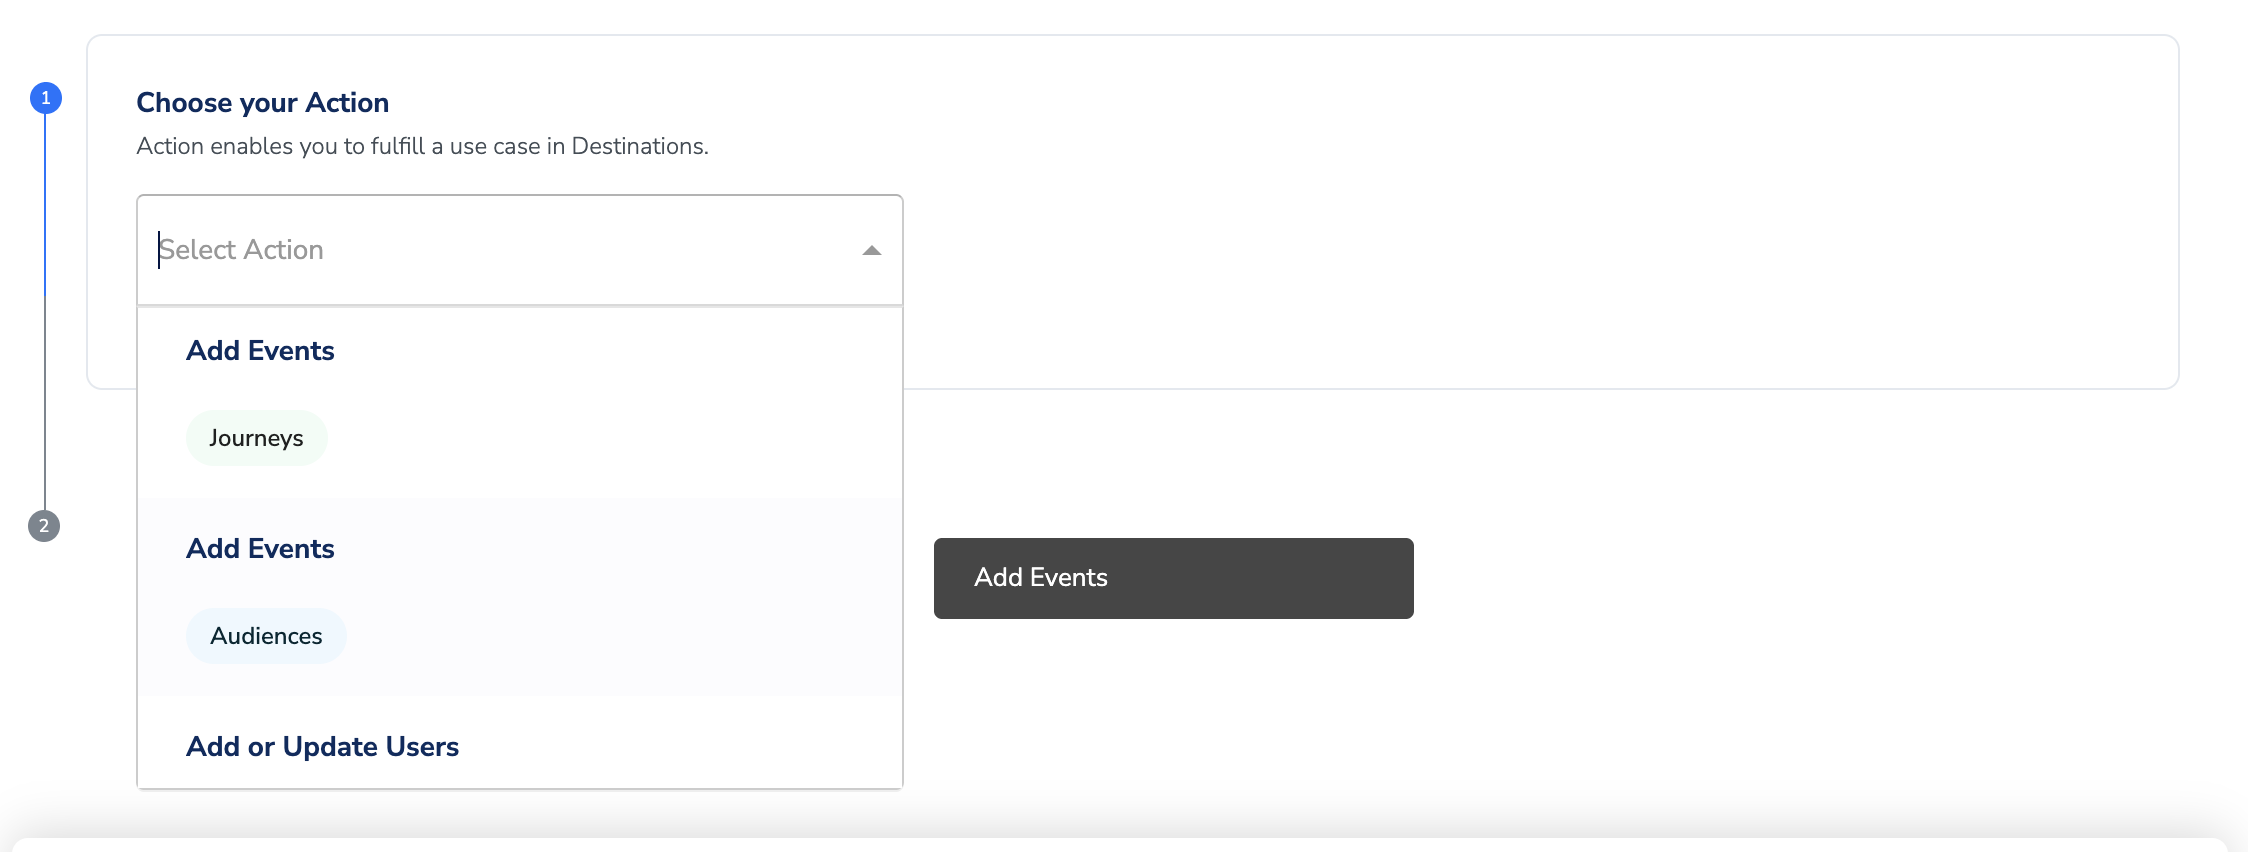
You need to map the following fieldsi. Identifier Hard ID (registered)ii. Event Type for Adding events to a useriii. Any other custom field in the Properties using the +Add Mapping button(optional along with other fields)