Overview
Airship is a customer engagement platform that helps marketers deliver personalised and relevant experiences to their customers across multiple channels and touch points. Integrated with Zeotap it enables marketers to engage with their customers in real-time and at scale.Pre-requisites
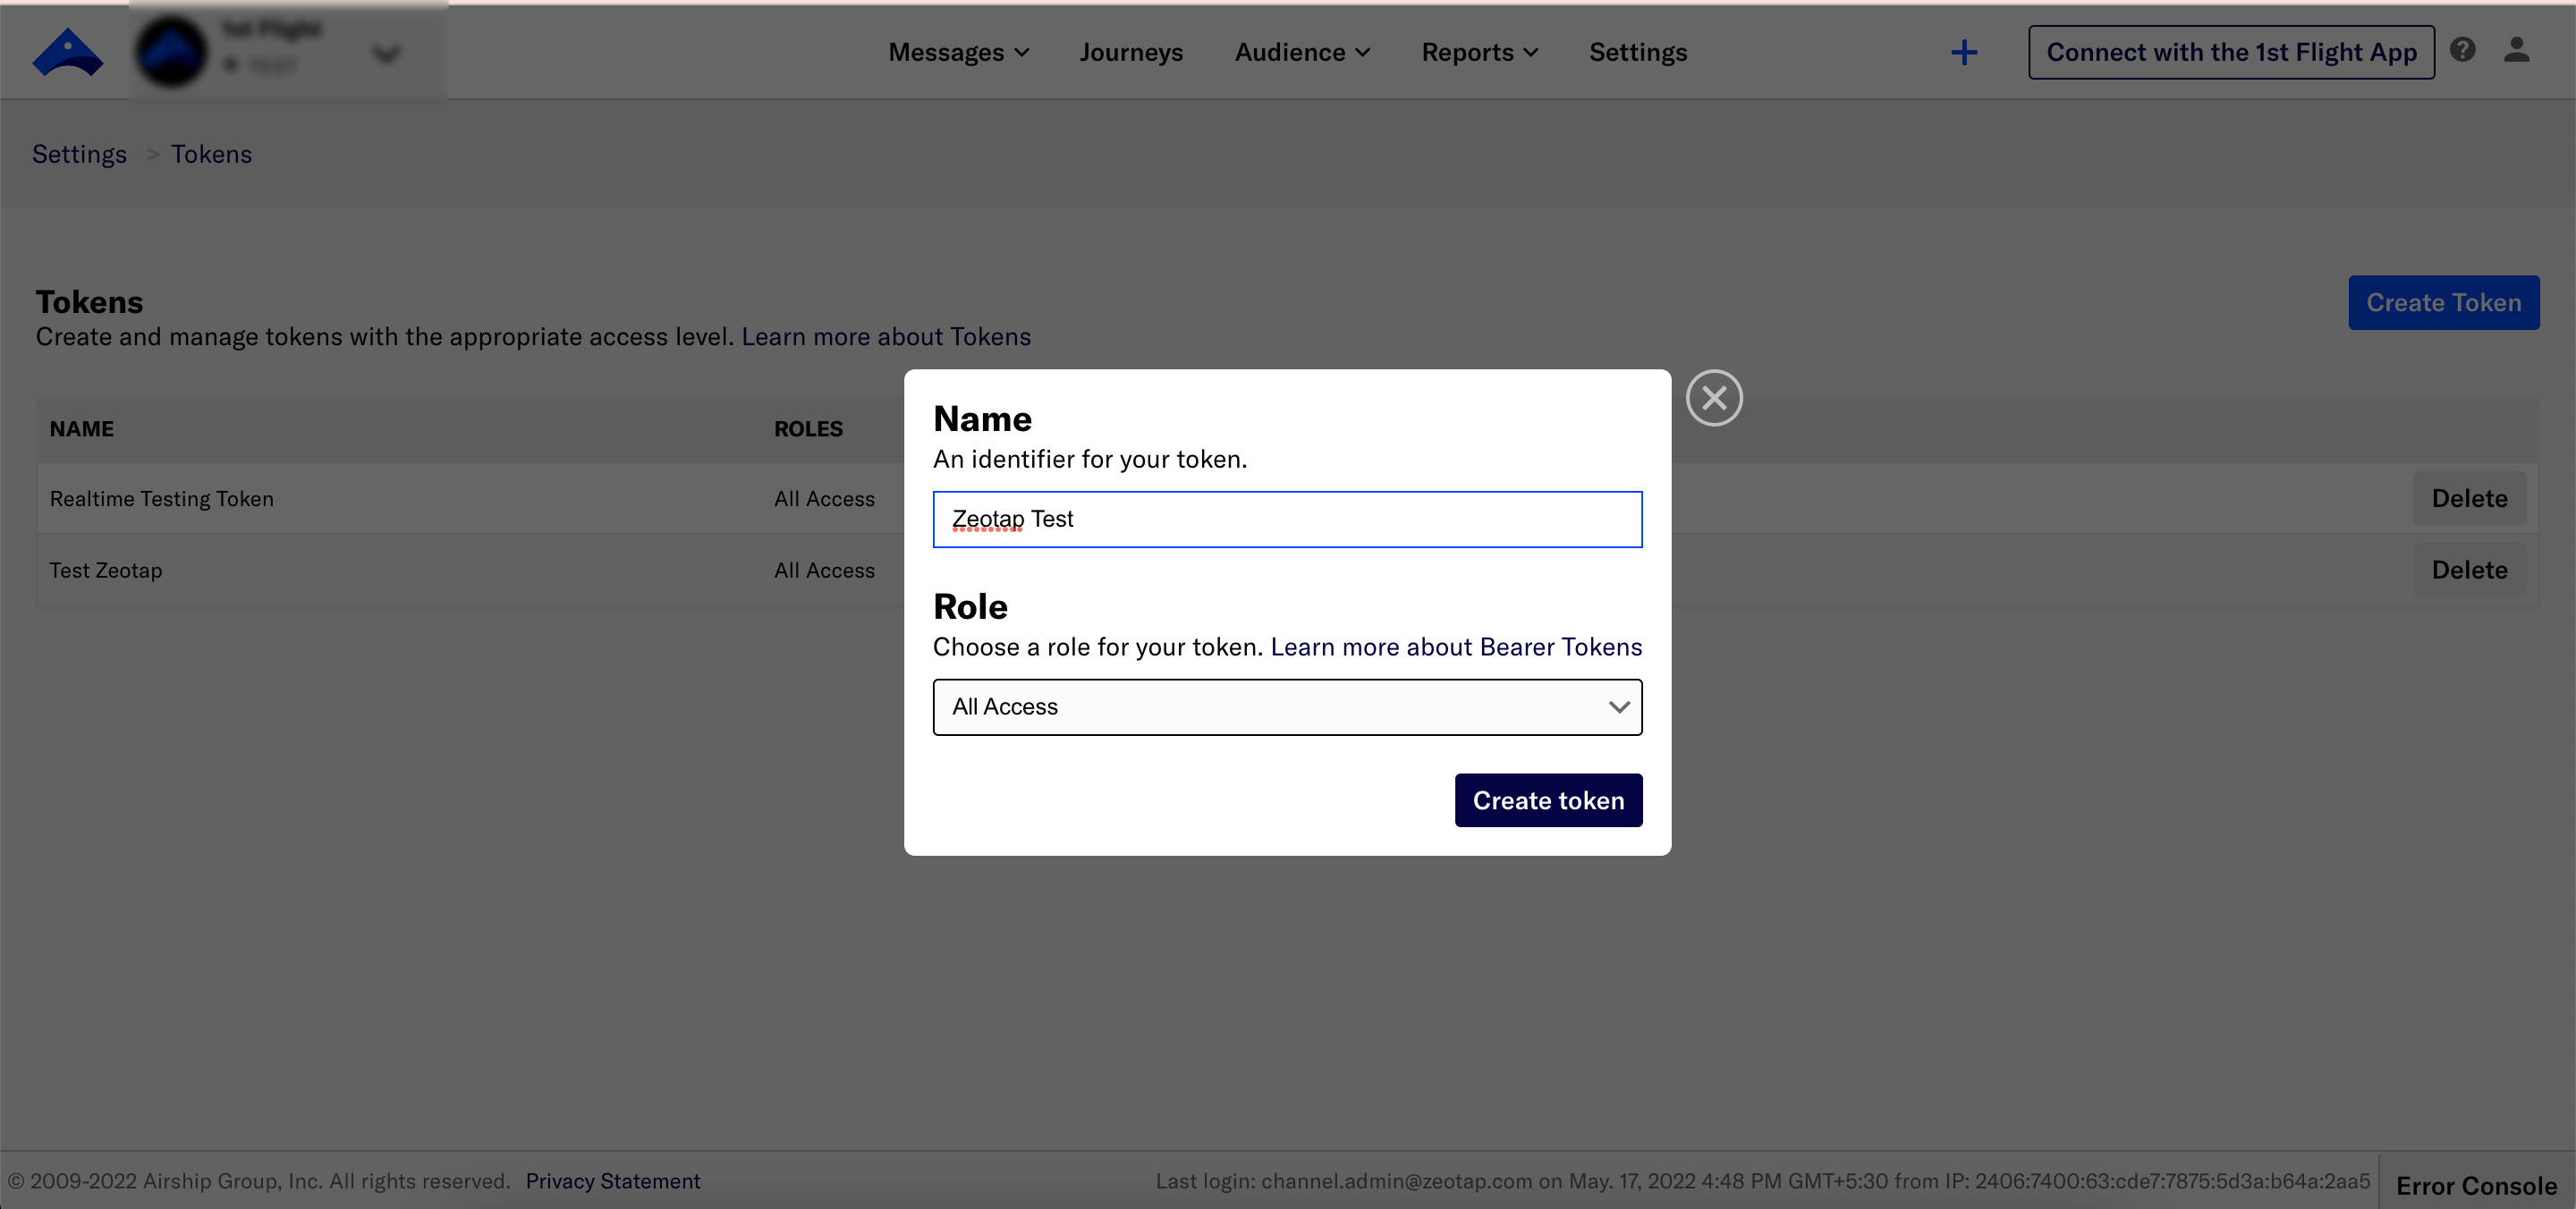
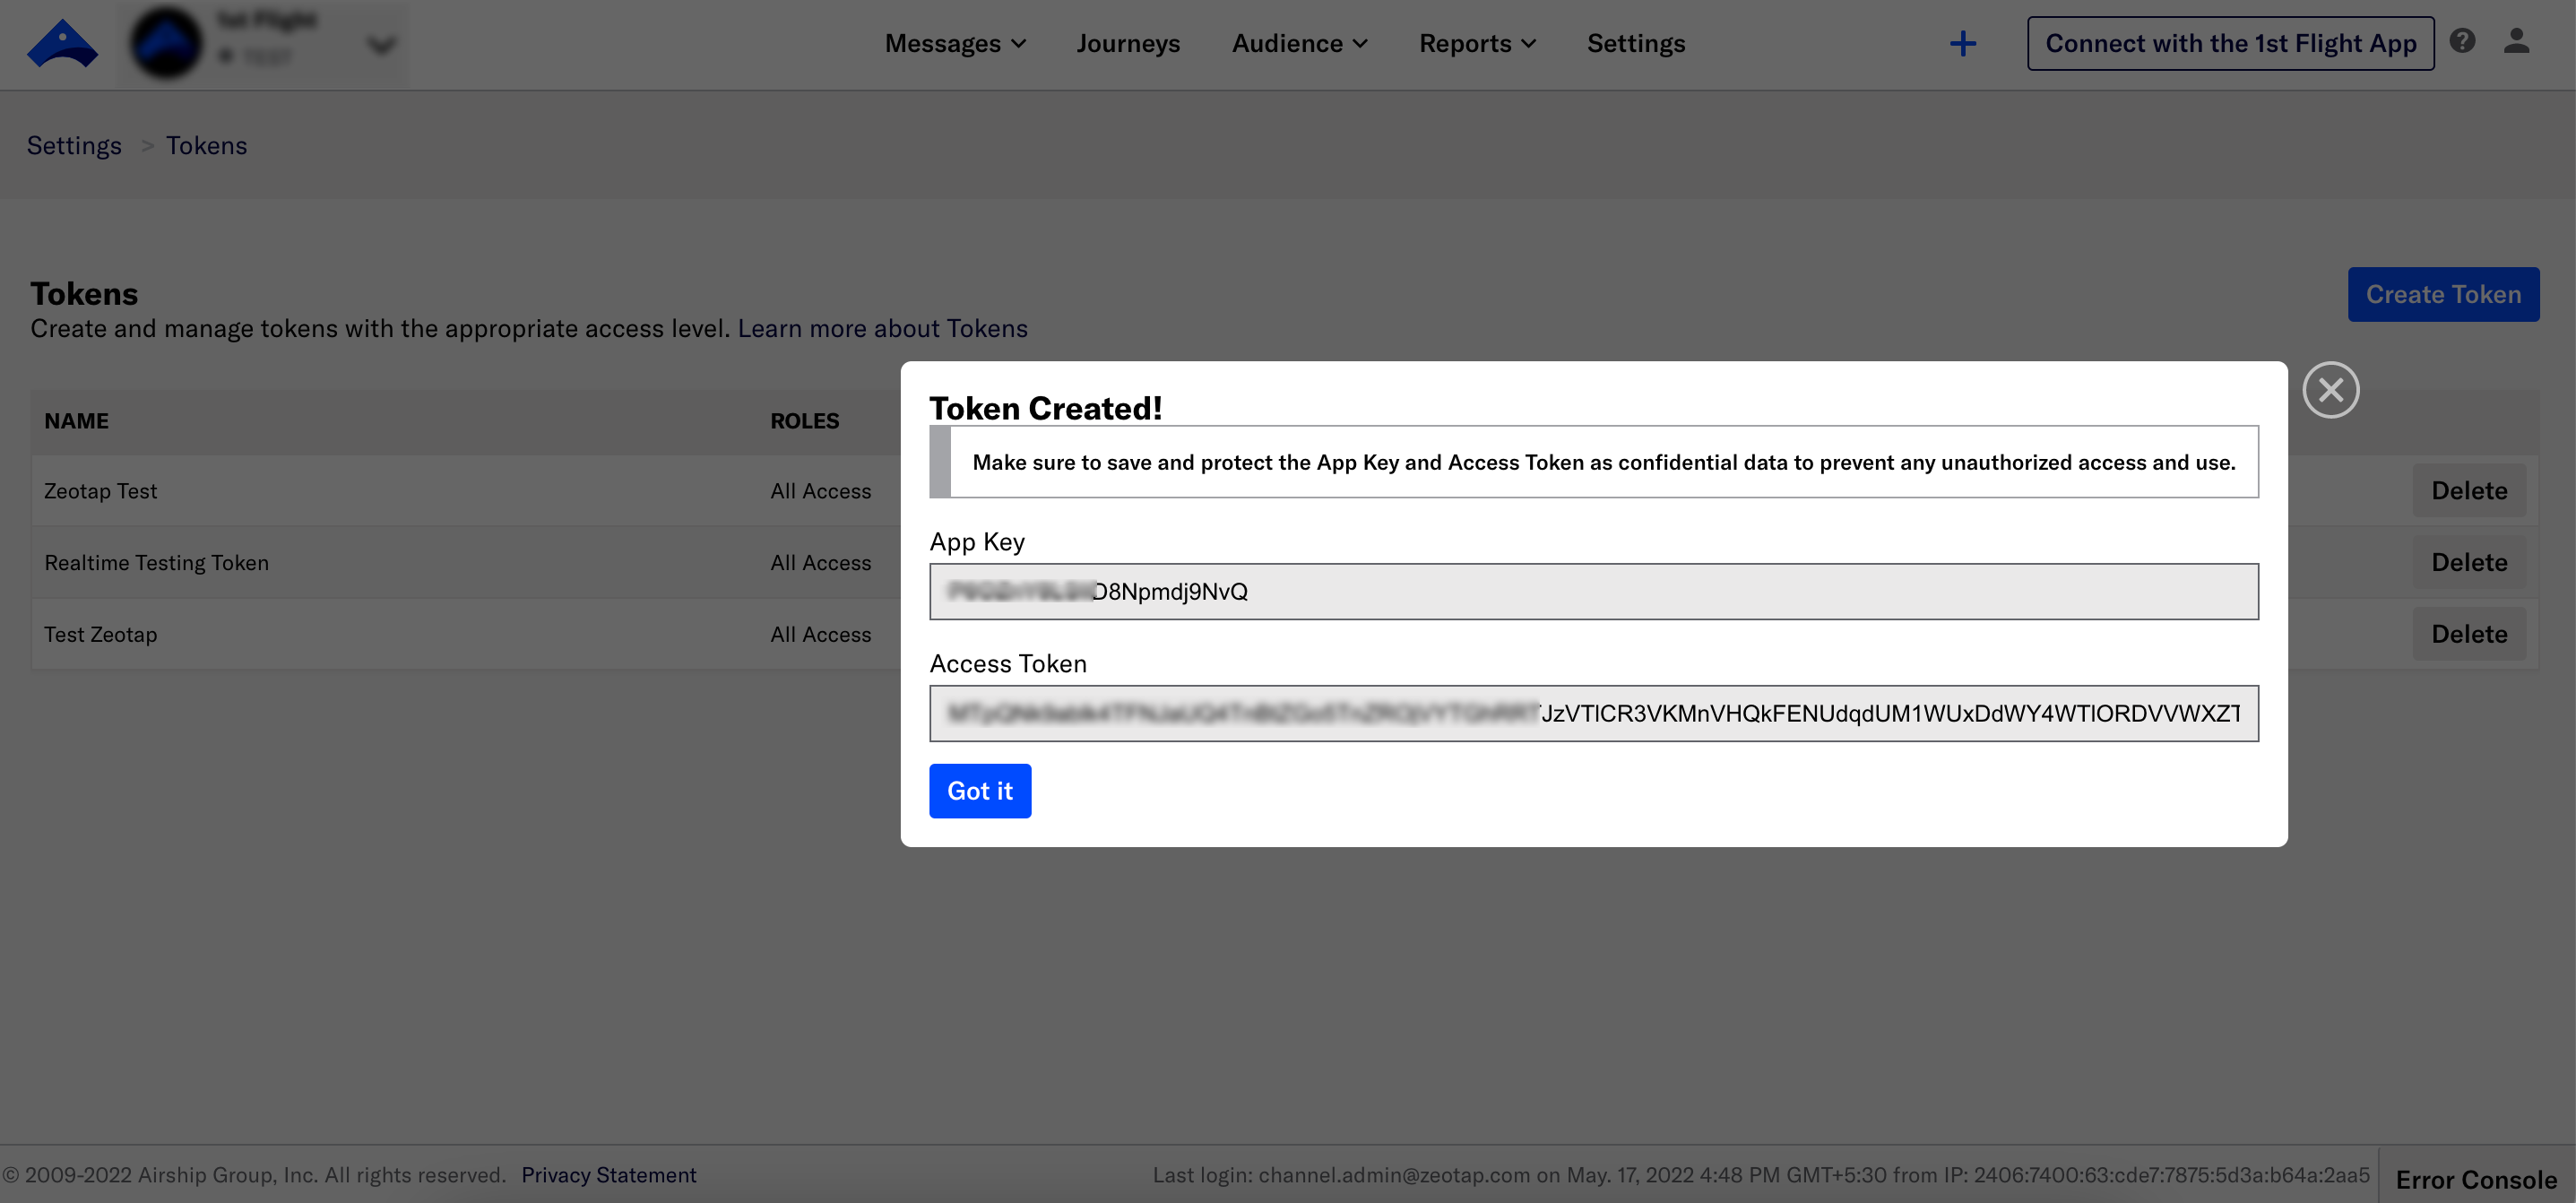
Ensure that you obtain the following prerequisites from Airship before proceeding with this integration:- Access Token - This is a type of authentication mechanism that allows authorised users to access different resources within an Airship integration. This token ensures that the user is authorised to access the resources they are requesting and helps to secure the Airship integration against unauthorised access. You need to obtain this information from Airship before proceeding with the integration.

Select the Role you want to grant for this token. For additional information, see Airship API Security.
- Audience Modification: Grants read and write permission to audience APIs, including channels, named users, segments, lists and so on. Use this permission for users sending custom events into Airship.
- All Access: Grants full access to your Airship project, except Acoustic integrations. You must use this permission when creating a token for an inbound message handling web-hook.
- X-UA-Appkey - In Airship, X-UA-Appkey is a header that identifies the unique app key associated with each mobile device. The app key is a unique identifier assigned to each mobile device by Airship and is used to manage device information, send notifications and track app usage.
Destination Setup
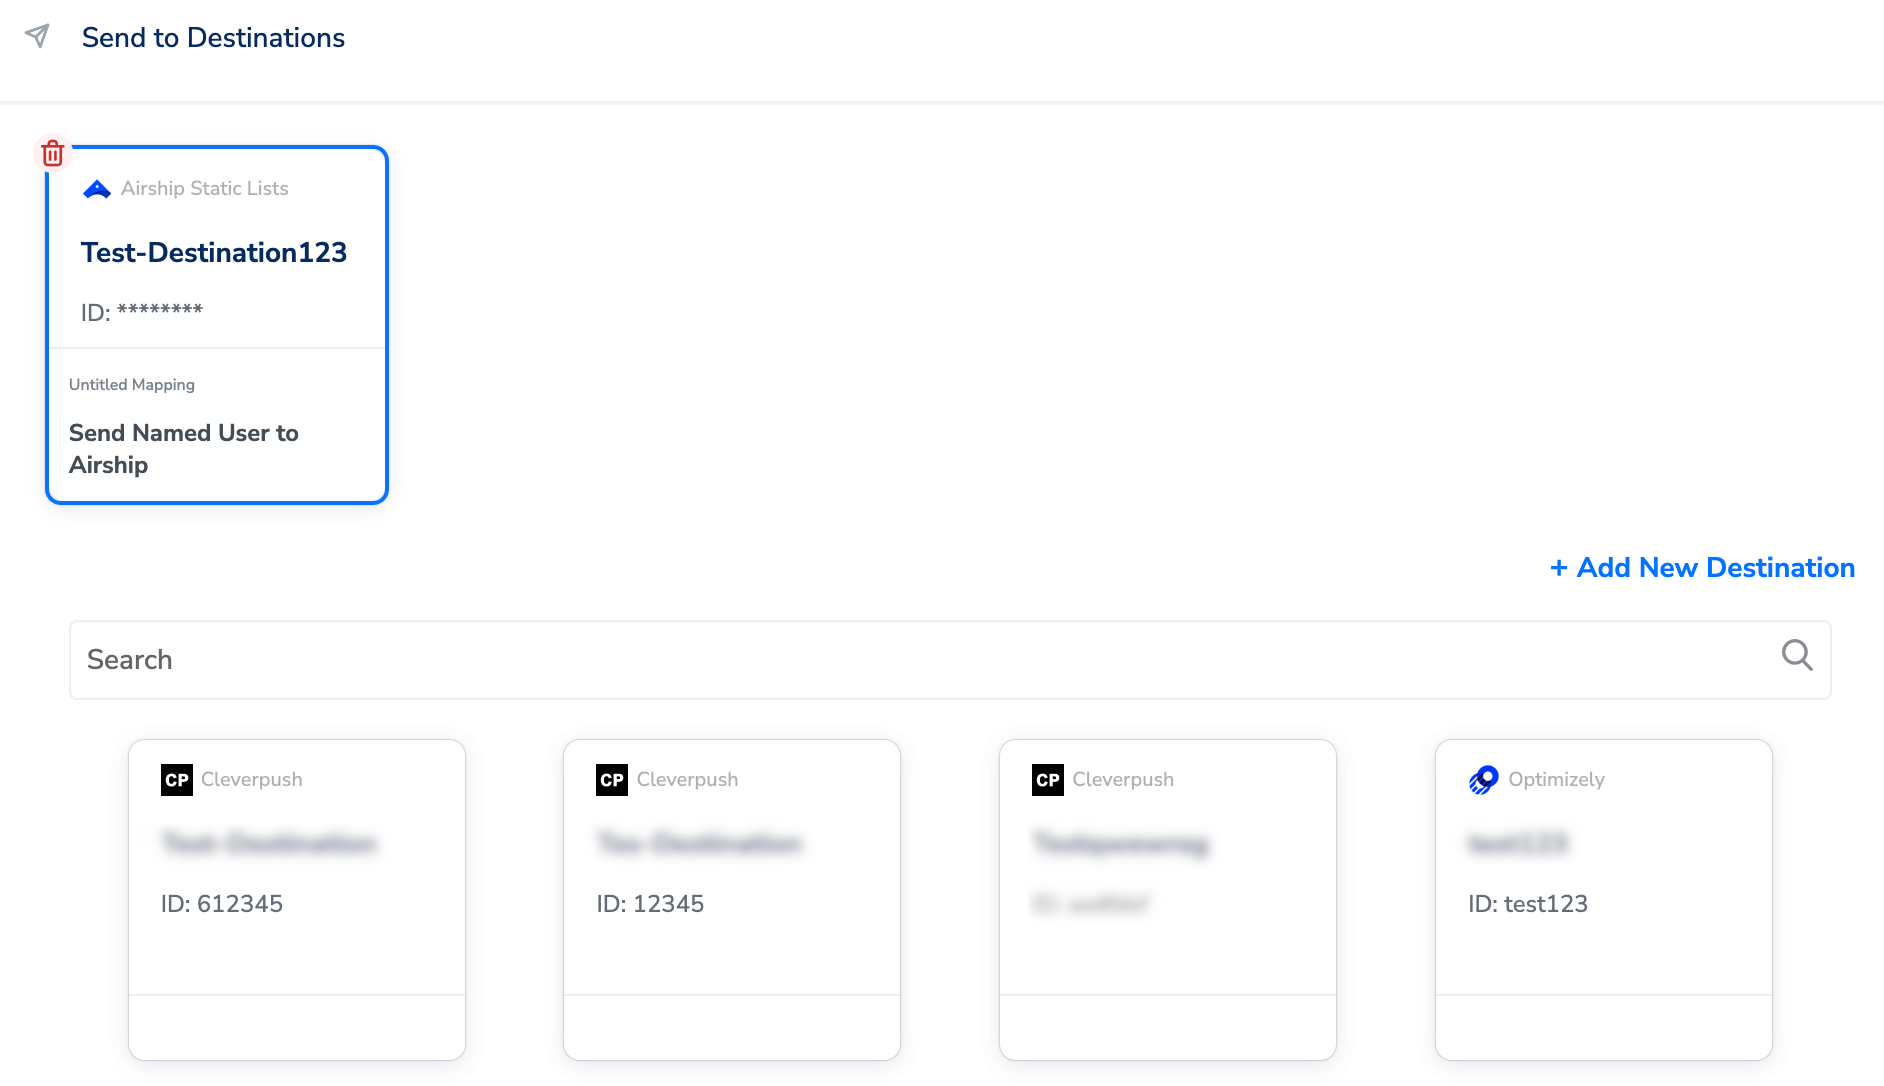
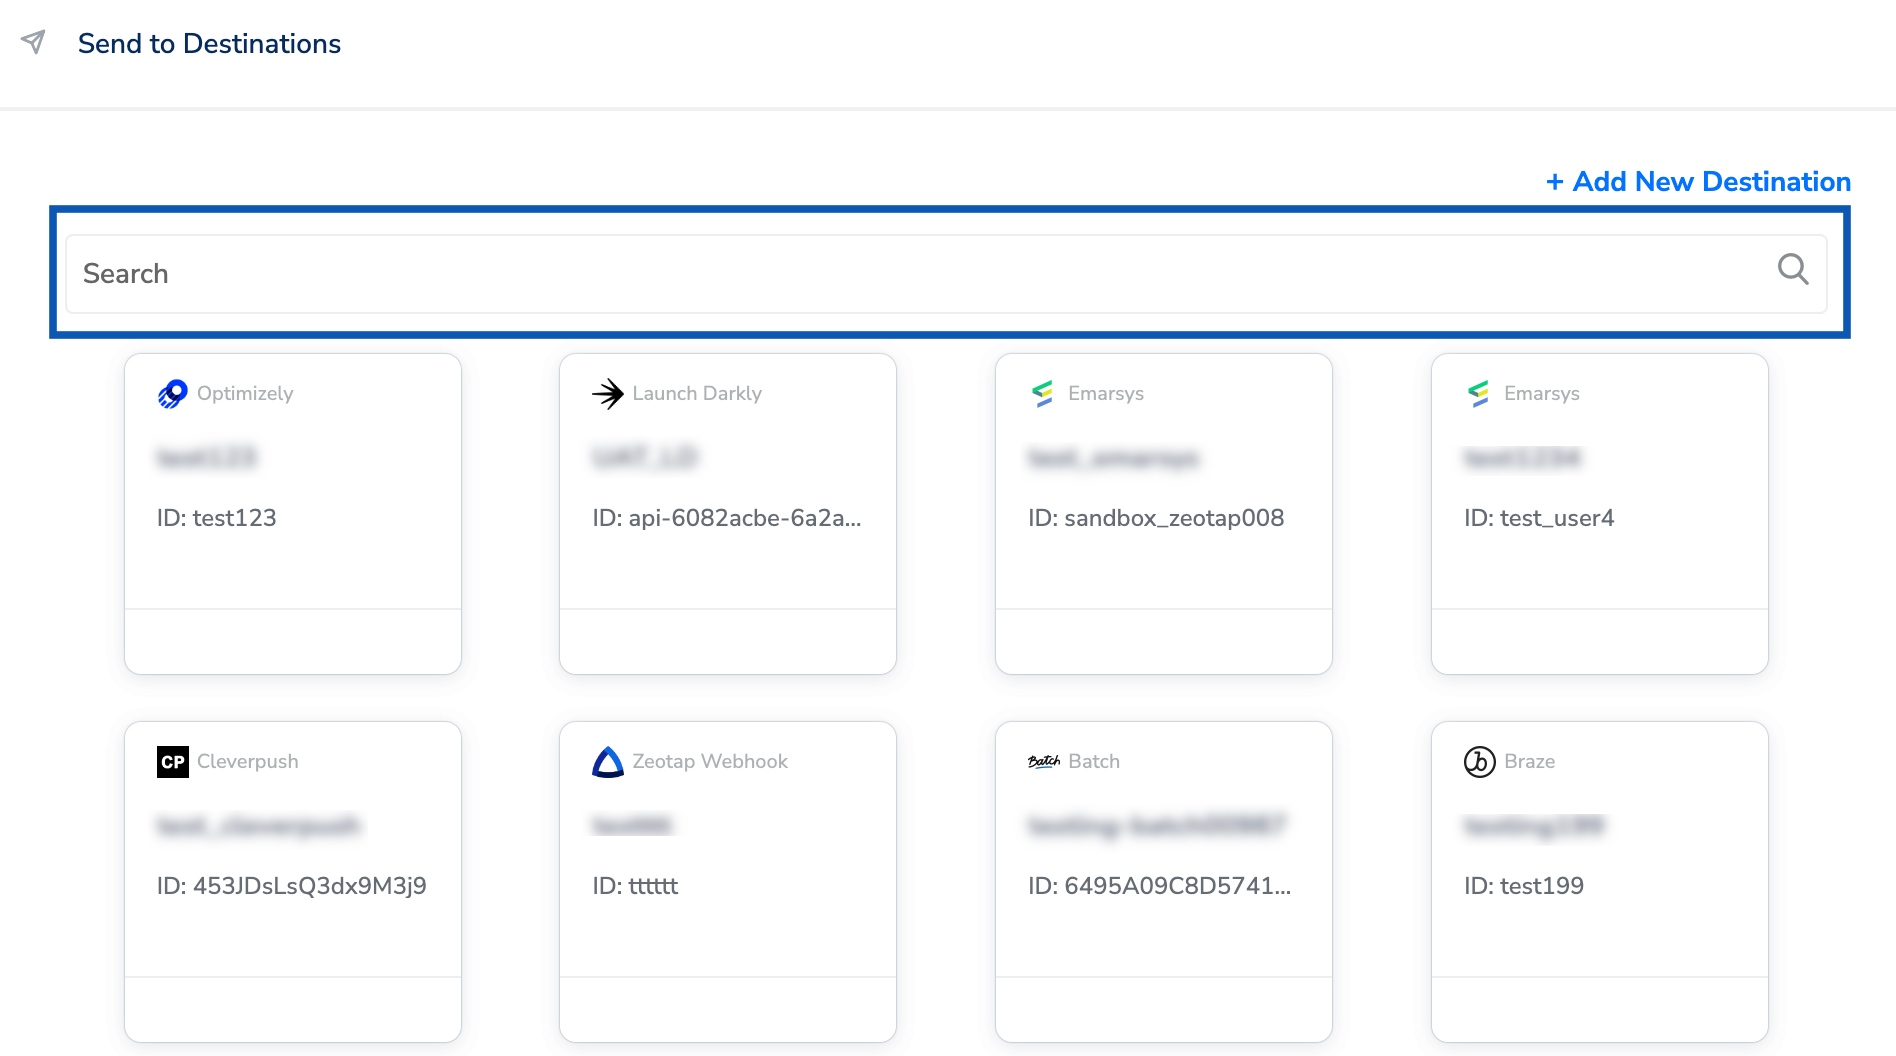
After you have applied filters or added conditions for your users in Journeys, you can activate them in Airship under Send to Destinations. A new window appears, where you can set up your destination. You can use an already existing destination from the list of available Destinations **** or create a new one by clicking + Add New Destination.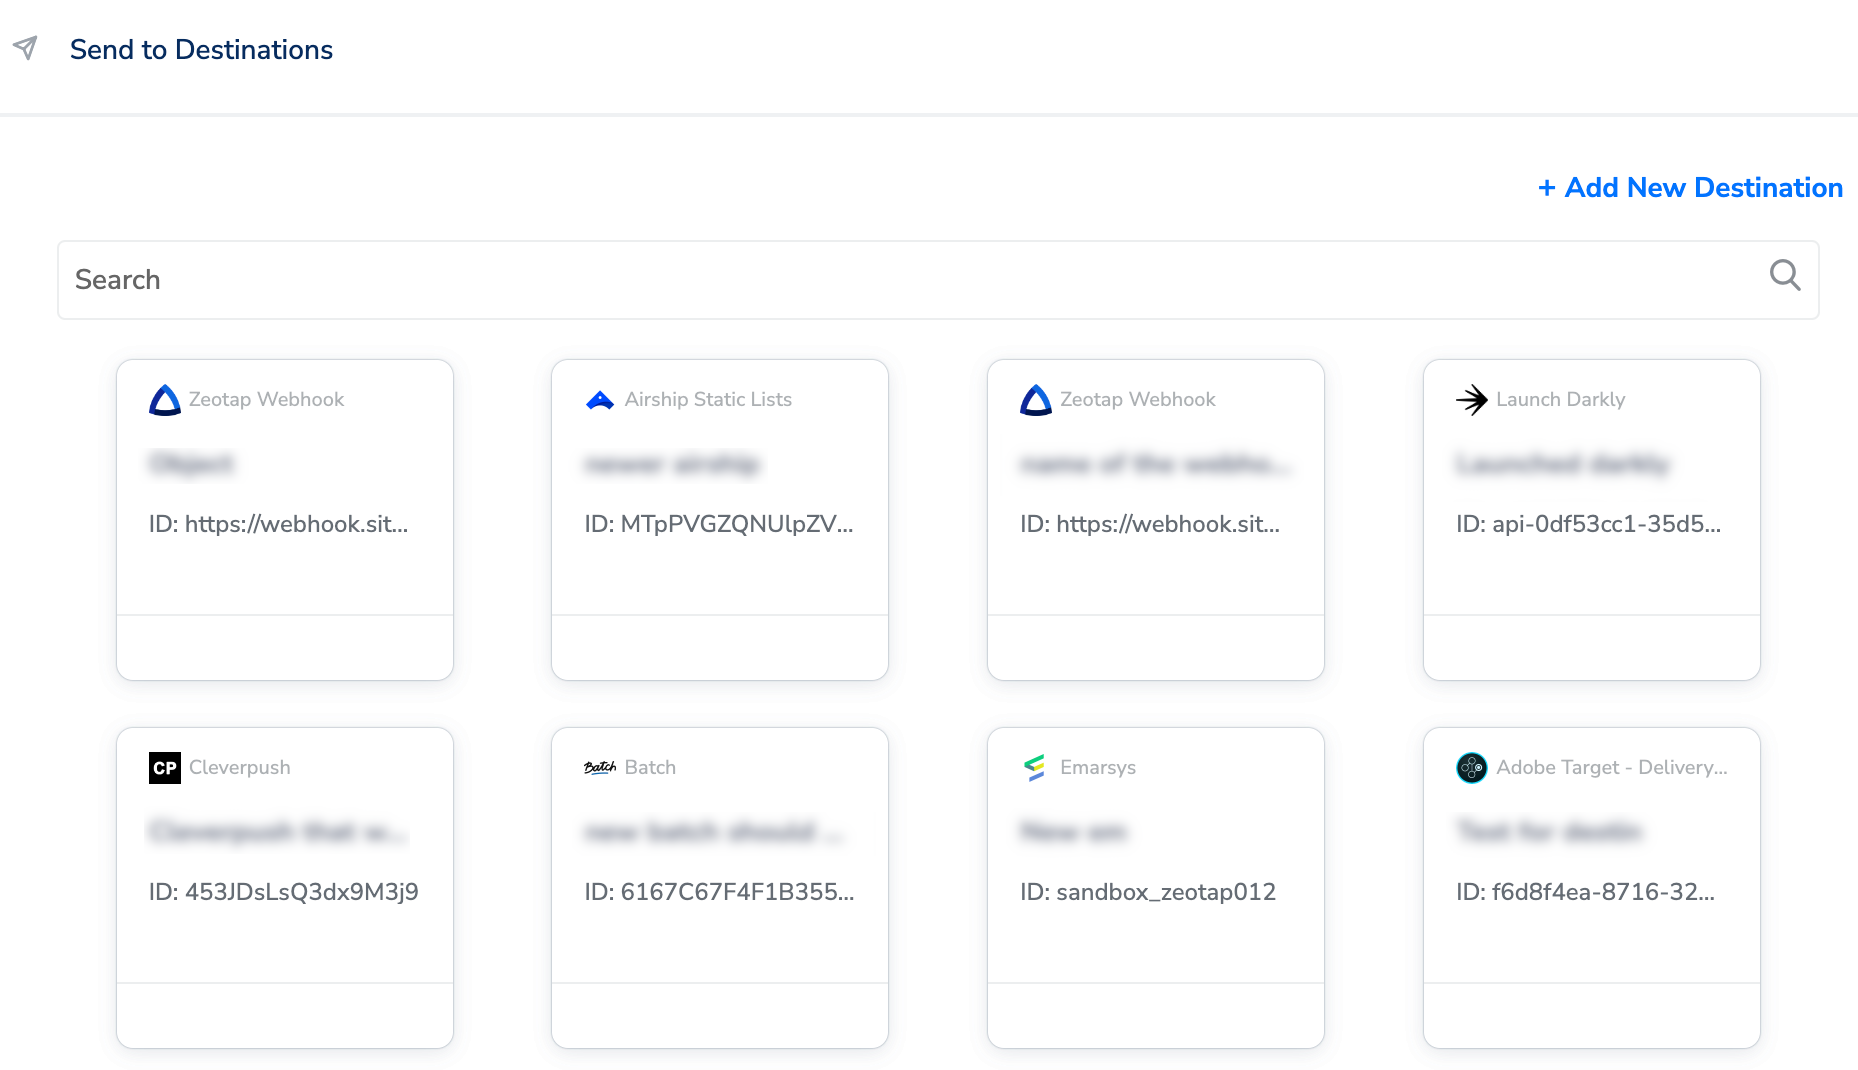
Add New Destination
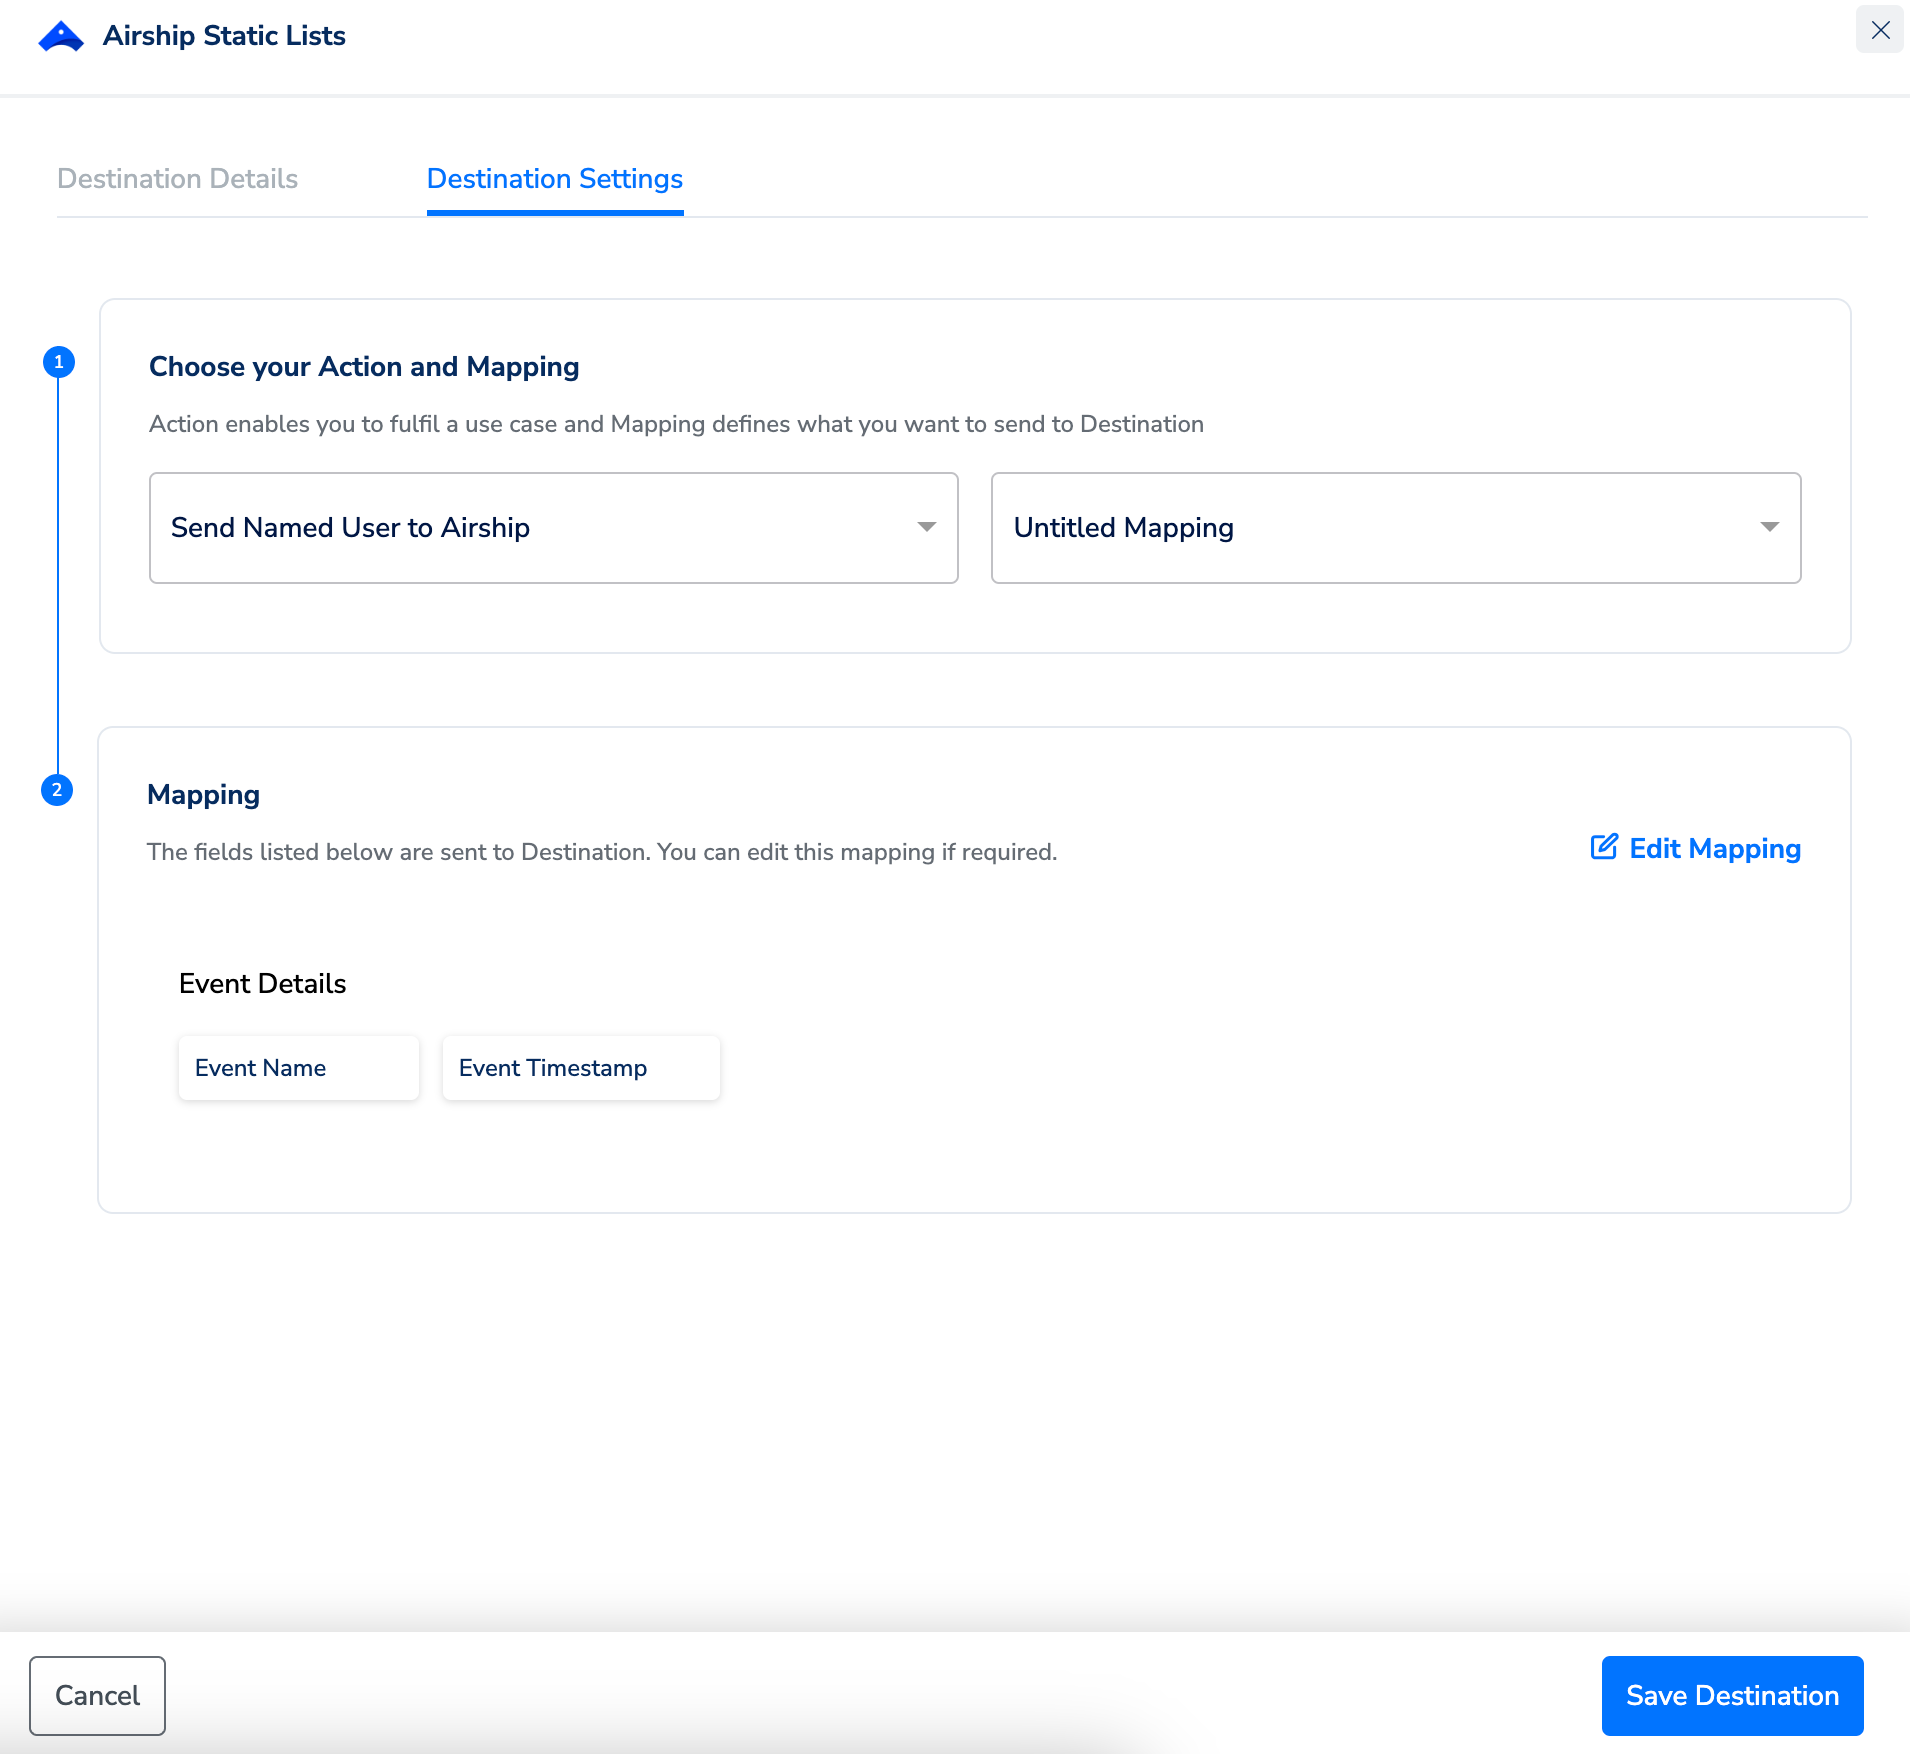
Perform the following steps to add a new destination:In the mapping screen that appears, under Choose your Action, select Send Named User to Airship as the action for sending data from the workflow created in Journeys. Under Map the Fields, map the relevant output identifiers and attributes as explained below. Note that by default, the mandatory fields Event Name and Event Timestamp are mapped to the Destination Fields.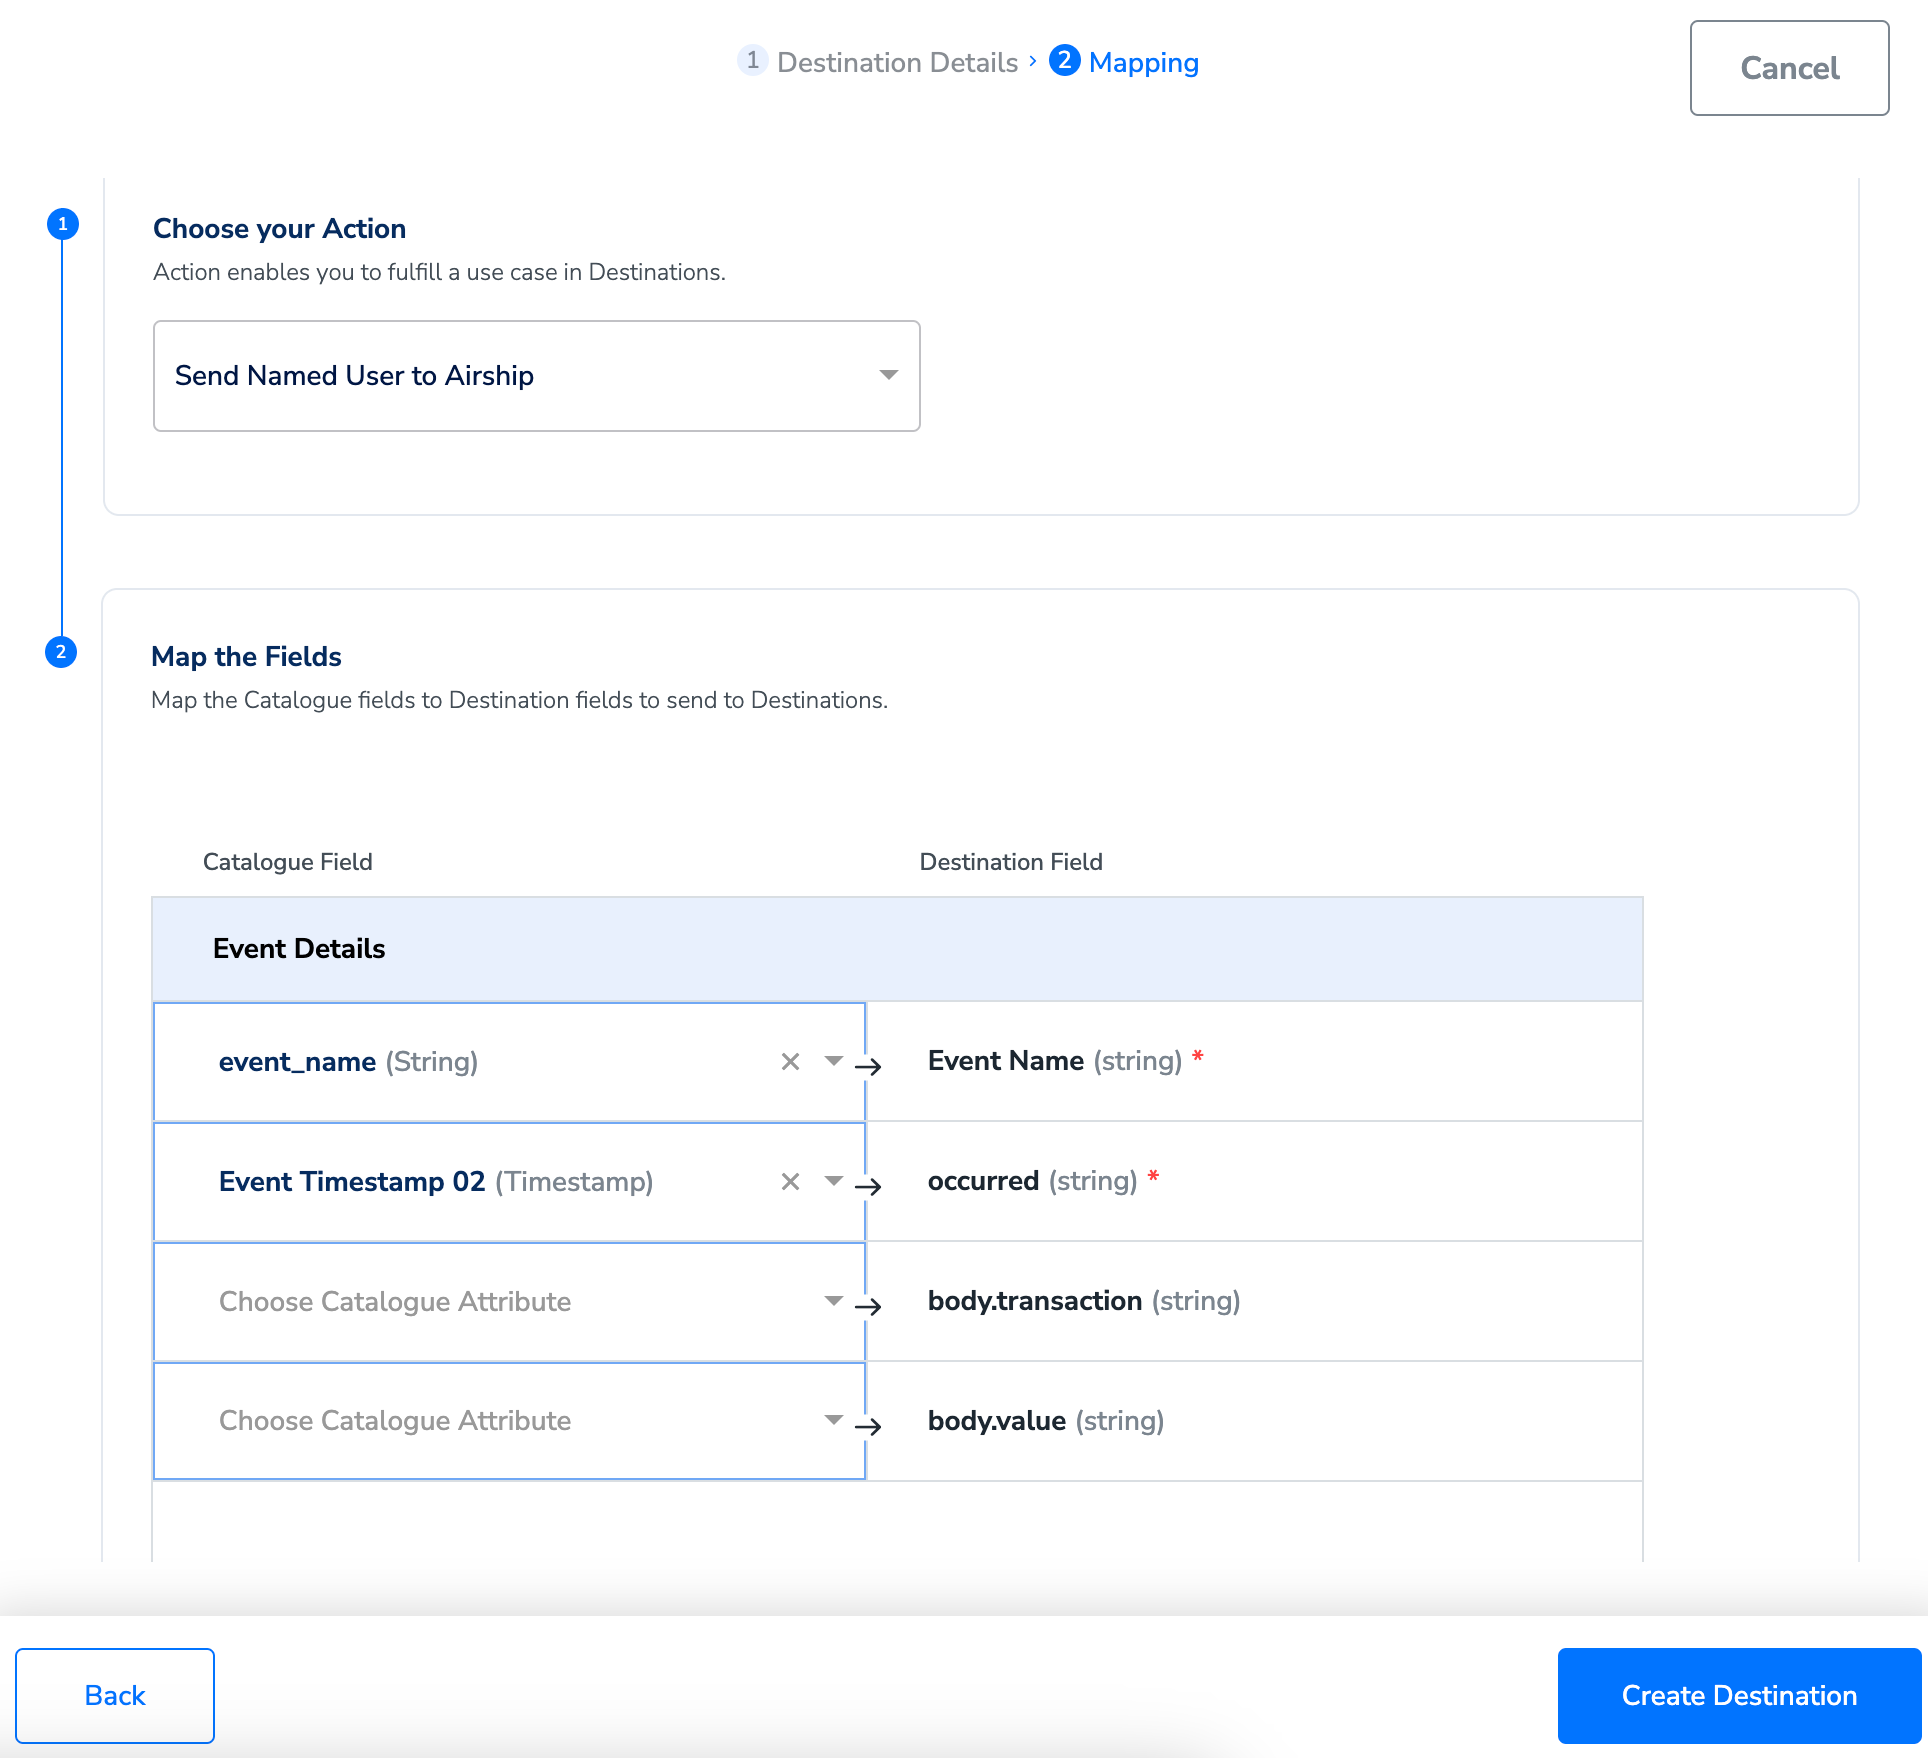
| DB Name | Display Name | Mandatory | Priority |
|---|---|---|---|
| named_user | Named User | No | 1 |
| ios_channel | iOS channel | No | 2 |
| android_channel | Android channel | No | 3 |
| web_channel | Web channel | No | 4 |
| occurred | Event Timestamp | Yes | |
| name | Event Name | Yes | |
| transaction | Transaction | No | |
| value | Value | No |
Activate the Destination on Journeys
After creating a destination, next, you need to link it in the Send to Destination node within the workflow, as explained below.
Under the Destination Details tab, the Access Token, X-UA-Appkey and region fields are automatically populated based on the value that you had entered while creating the destination.