Overview
Channable is a powerful e-commerce automation platform that acts as a central hub for your product data. It allows you to import your entire product catalog from any source and then use powerful rules to optimize it for different channels. You can then automate sending your listings to over 2,500 marketplaces, ad platforms, and comparison sites. For marketplaces, it also handles real-time order and stock synchronization to prevent overselling and streamline your workflow. This integration of Channable with Zeotap enables you to send Stock Updates to Channable.Pre requisites
- You must have an Active Channable Account with the Right Subscription.
-
The following Details:
- Company ID: The unique ID for their entire Channable account.
- Log in to Channable and find the number after /companies/ in your browser’s URL.
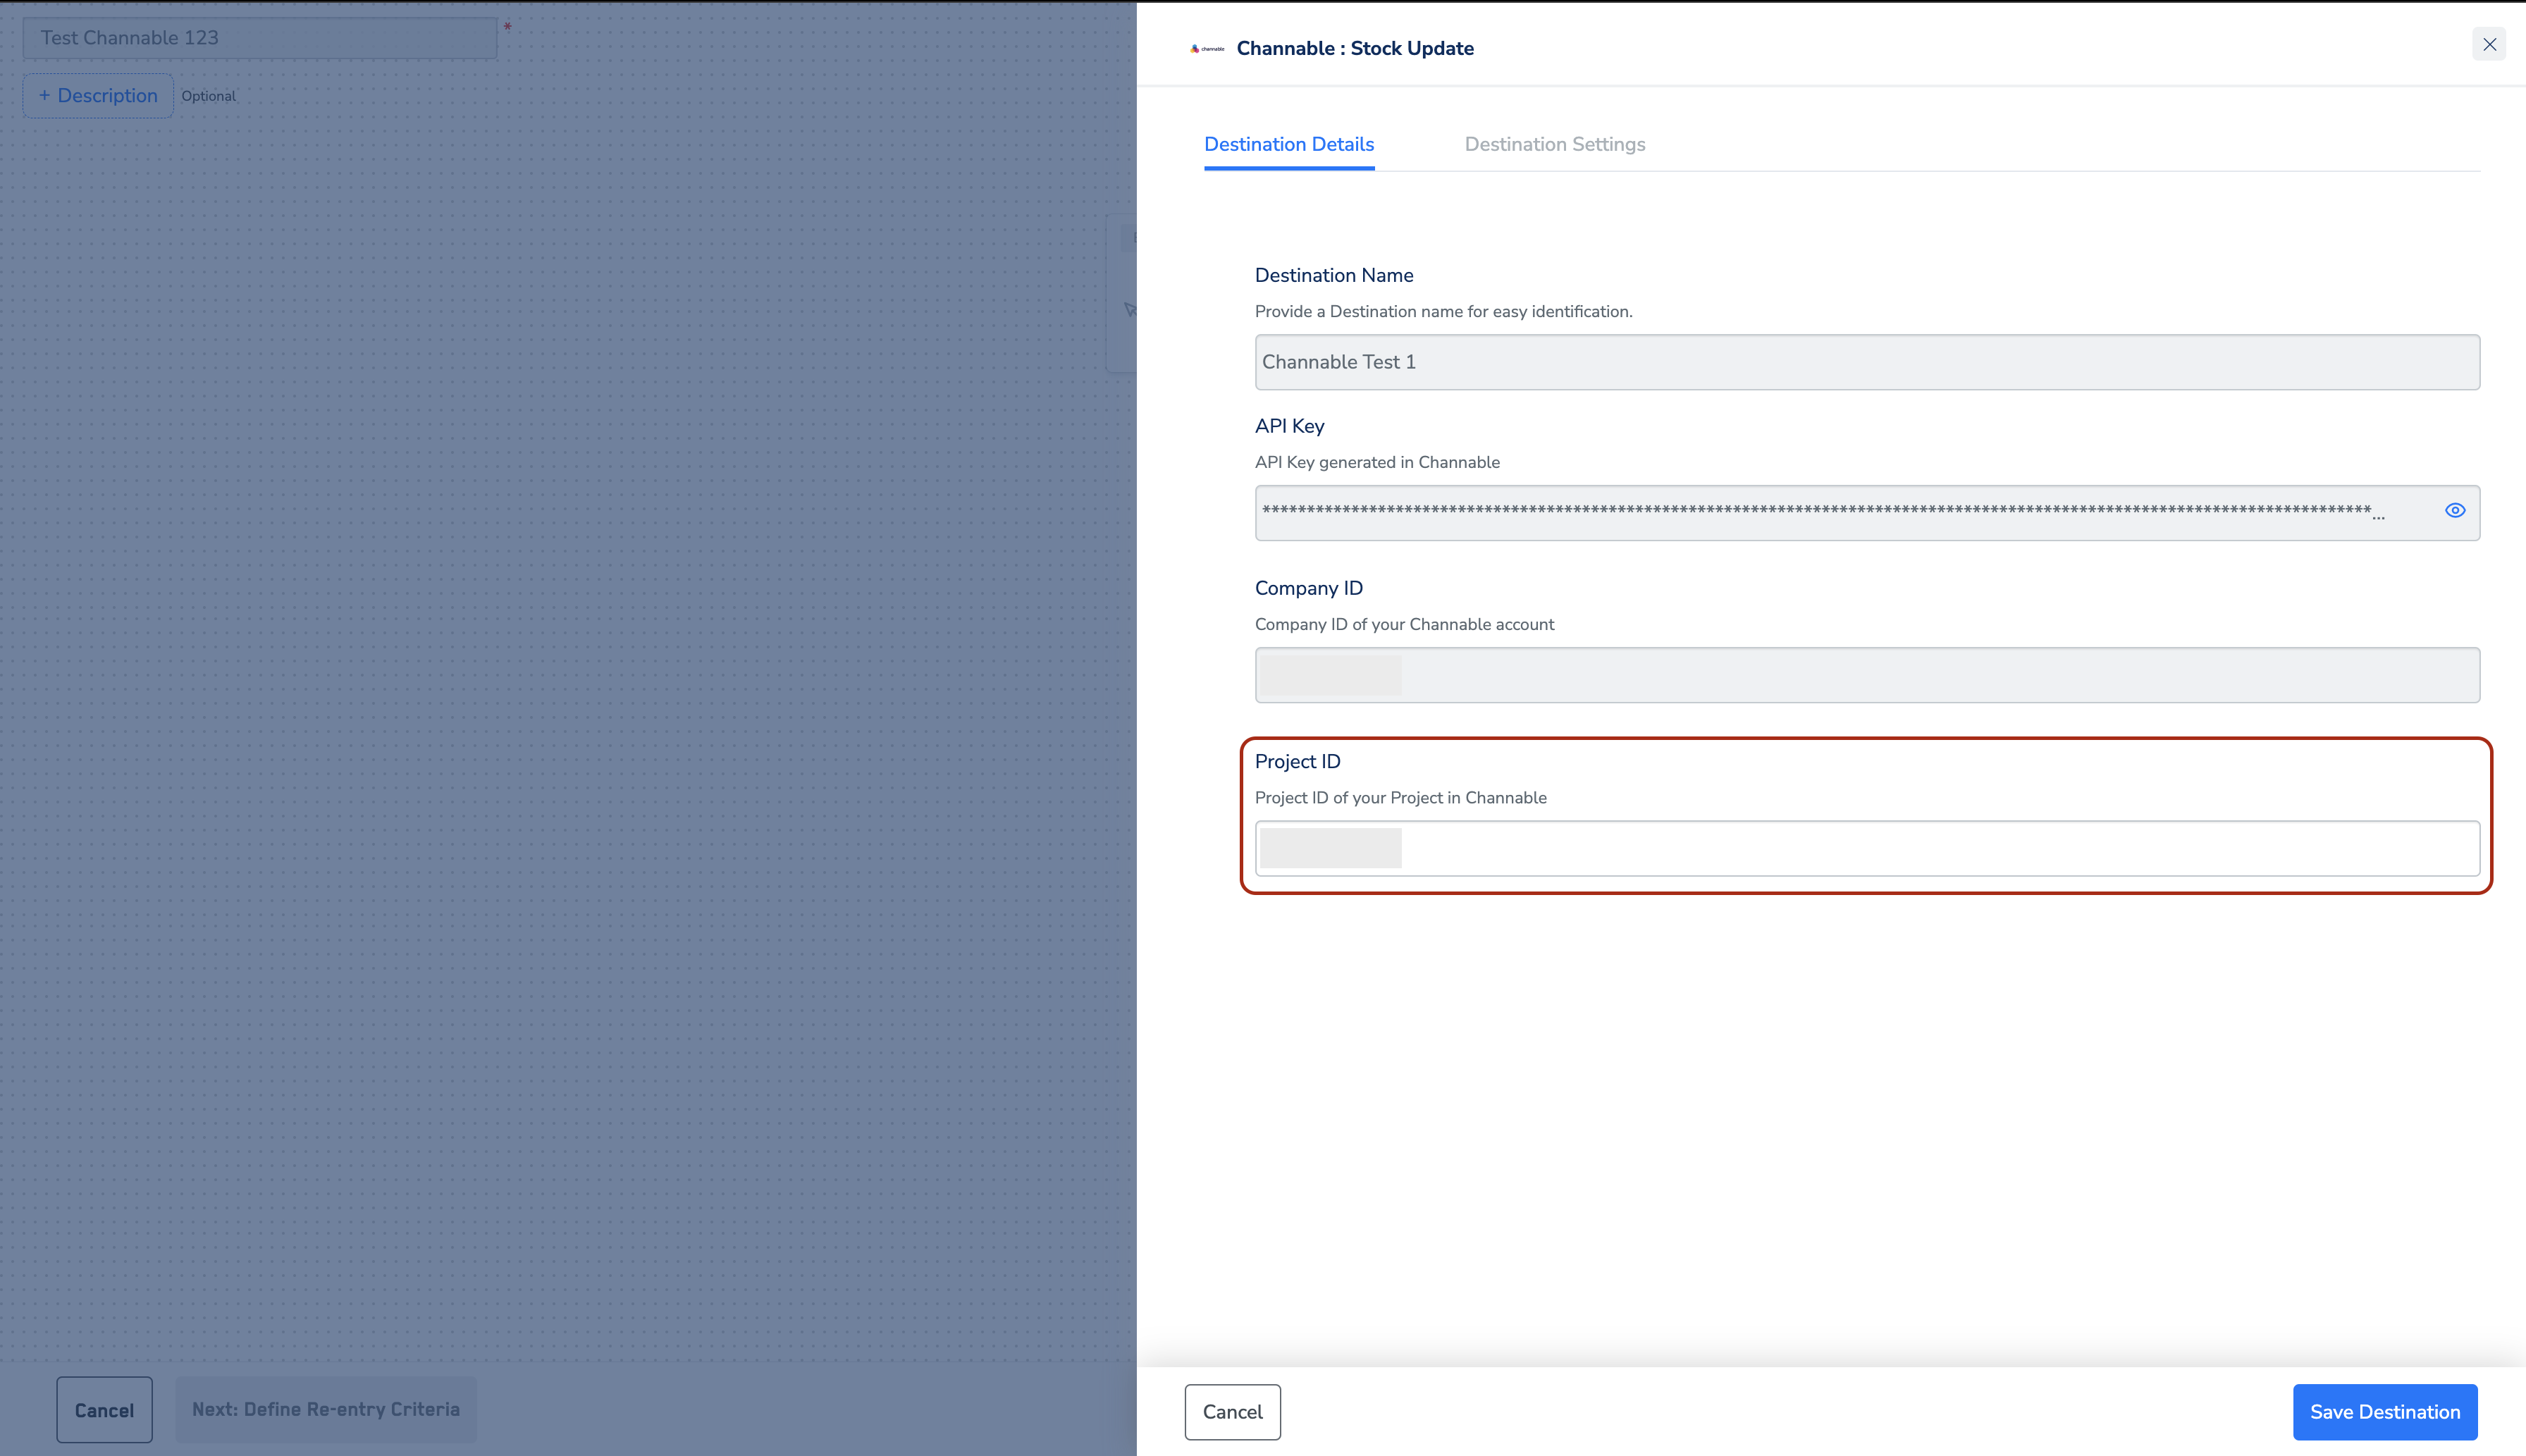
- Project ID: The specific ID for the project they want to integrate with. They may have multiple projects for different stores or regions.
- Open your project in Channable and find the number after /projects/ in your browser’s URL.
- Personal API Token: A secret token generated from their Channable account.
- You can generate this token in your Channable dashboard, under My Account > Personal tokens.
- Company ID: The unique ID for their entire Channable account.
- A Configured Channable Project.
- Matching Product Identifiers.
Creating a Destination
Click on Channable. A screen appears displaying details about the particular destination towards the left. On the right-hand side of the screen find a list of fields that are required for the integration to be established. Enter the required details as mentioned in the following steps:a. Enter a name for the Destination.
b. Enter the API Key.
c. Enter the Company ID

b. Enter the API Key.
c. Enter the Company ID
In the new screen that appears, choose the appropriate Action and mapping as explained below.a. Choose the desired action under Choose your Action and then choose the corresponding identifiers under Map the Fields. By default, the Output Identifiers that are accepted by the platform, such as Product ID displayed. However, you can edit, add, or remove an identifier from the list.
b. Mandatory Fields
i. Product ID
ii. Stock
c. Click Save Mapping
b. Mandatory Fields
i. Product ID
ii. Stock
c. Click Save Mapping

Activate the Destination on Journeys
After creating a destination, next, you need to link it in the Send to Destination node within the workflow, as explained below.

Under the Destination Details tab, the Company ID and API Key fields are automatically populated based on the value that you have entered while creating the destination.a. In the Project ID textbox enter your Project ID.