Overview
Personyze is an AI-powered personalization platform designed to create tailored experiences for each user on a website or app. It works by tracking real-time user behavior, such as clicks, page views, and purchases, to understand individual interests and intent. This live data is then combined with other information, like CRM profiles, to build a comprehensive view of the customer. Ultimately, Personyze uses these insights to automatically deliver the most relevant content, product recommendations, and targeted offers to boost engagement and conversions. This integration with Zeotap enables the user to send event data to Personyze.Pre requisites
- You must have an Active Personyze Account.
- Personyze API Credentials: The API key is a secret password that authorizes our platform to send data to your account. a. Where to find it: You can generate this key in your Personyze dashboard, typically under Settings > Integrations > Full-featured API.
- Populated Personyze Product Catalog
Creating a Destination
Click on Personyze . A screen appears displaying details about the particular destination towards the left. On the right-hand side of the screen find a list of fields that are required for the integration to be established. Enter the required details as mentioned in the following steps:a. Enter a name for the Destination.b. Enter the Private API Key.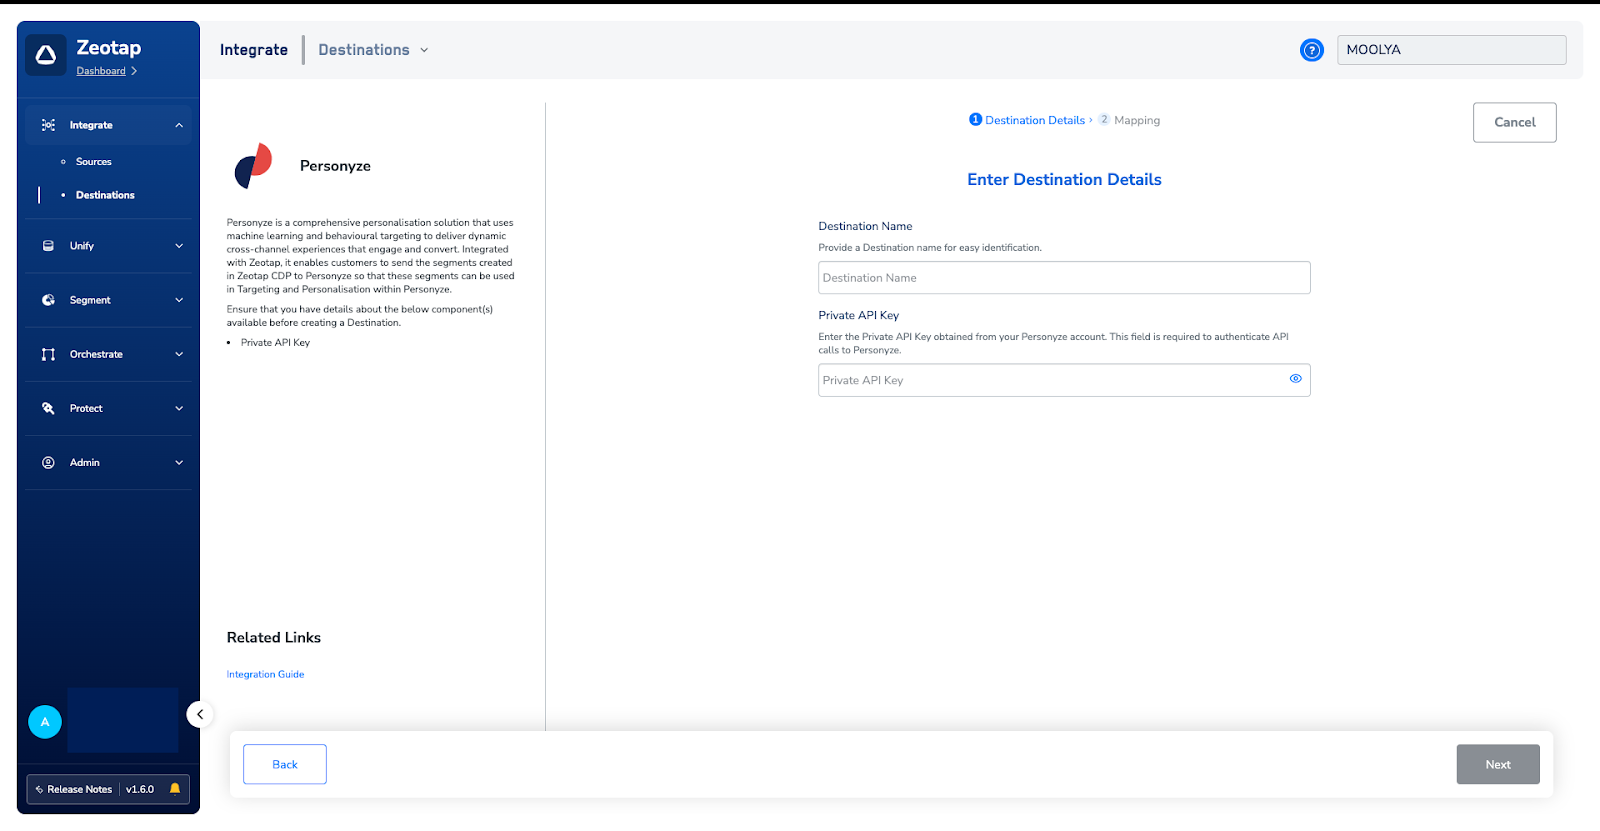
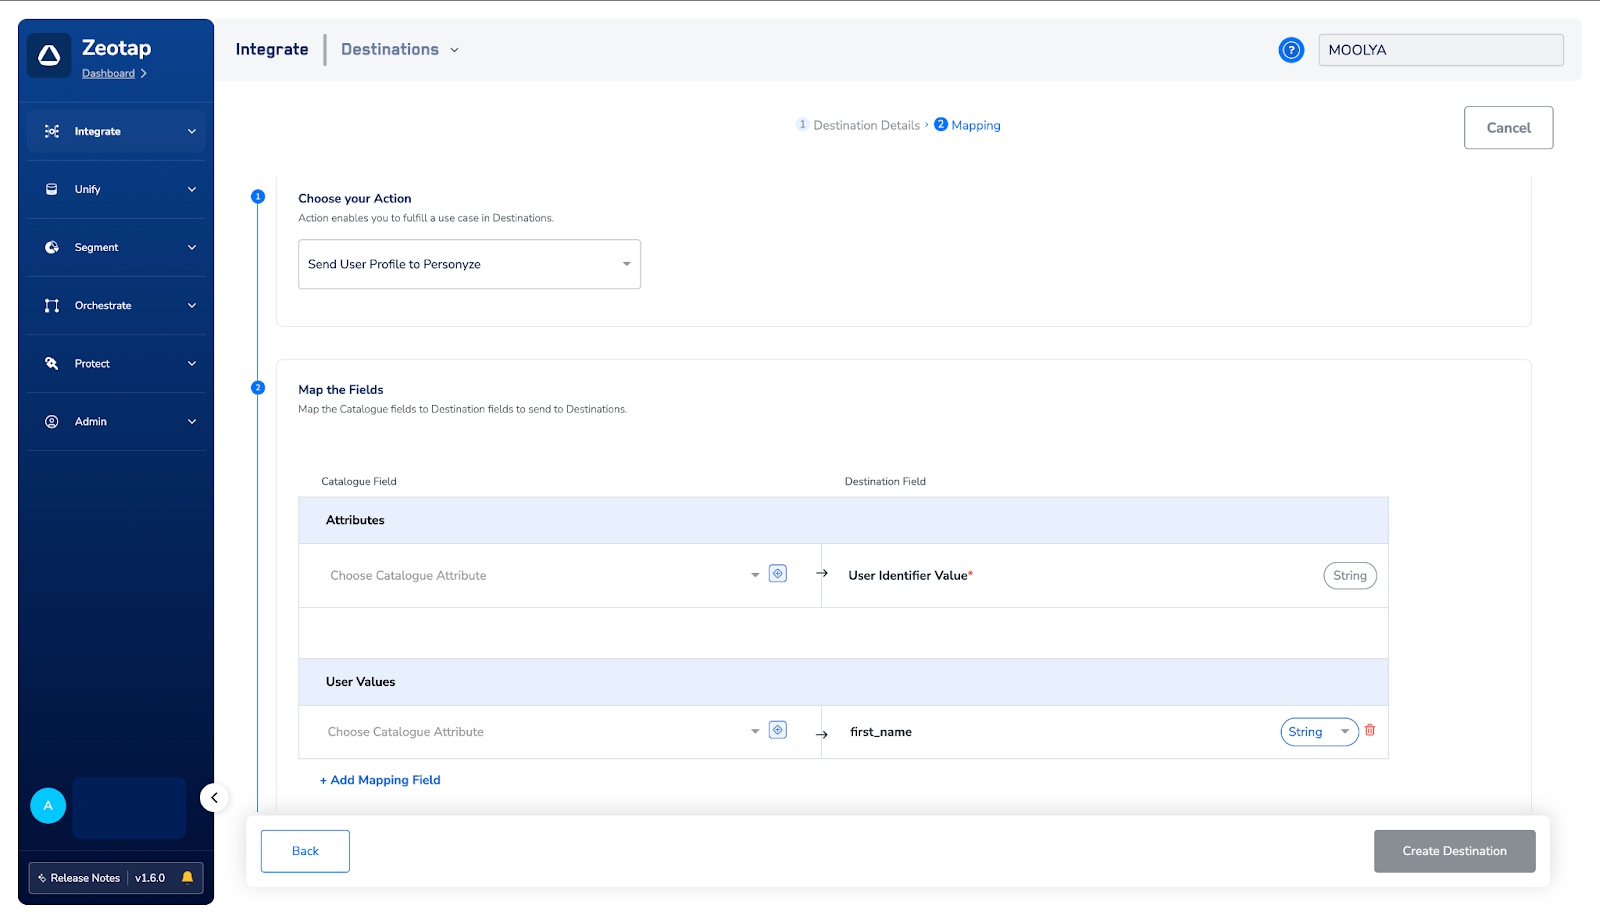
In the new screen that appears, choose the appropriate Action and mapping as explained below.a. Action : Send Events to Personyzei. Choose the corresponding identifiers under Map the Fields. By default, the Output Identifiers that are accepted by the platform, such as user ID (CUID), email, and internal ID displayed. However, you can edit, add, or remove an identifier from the list.ii. Mandatory Fields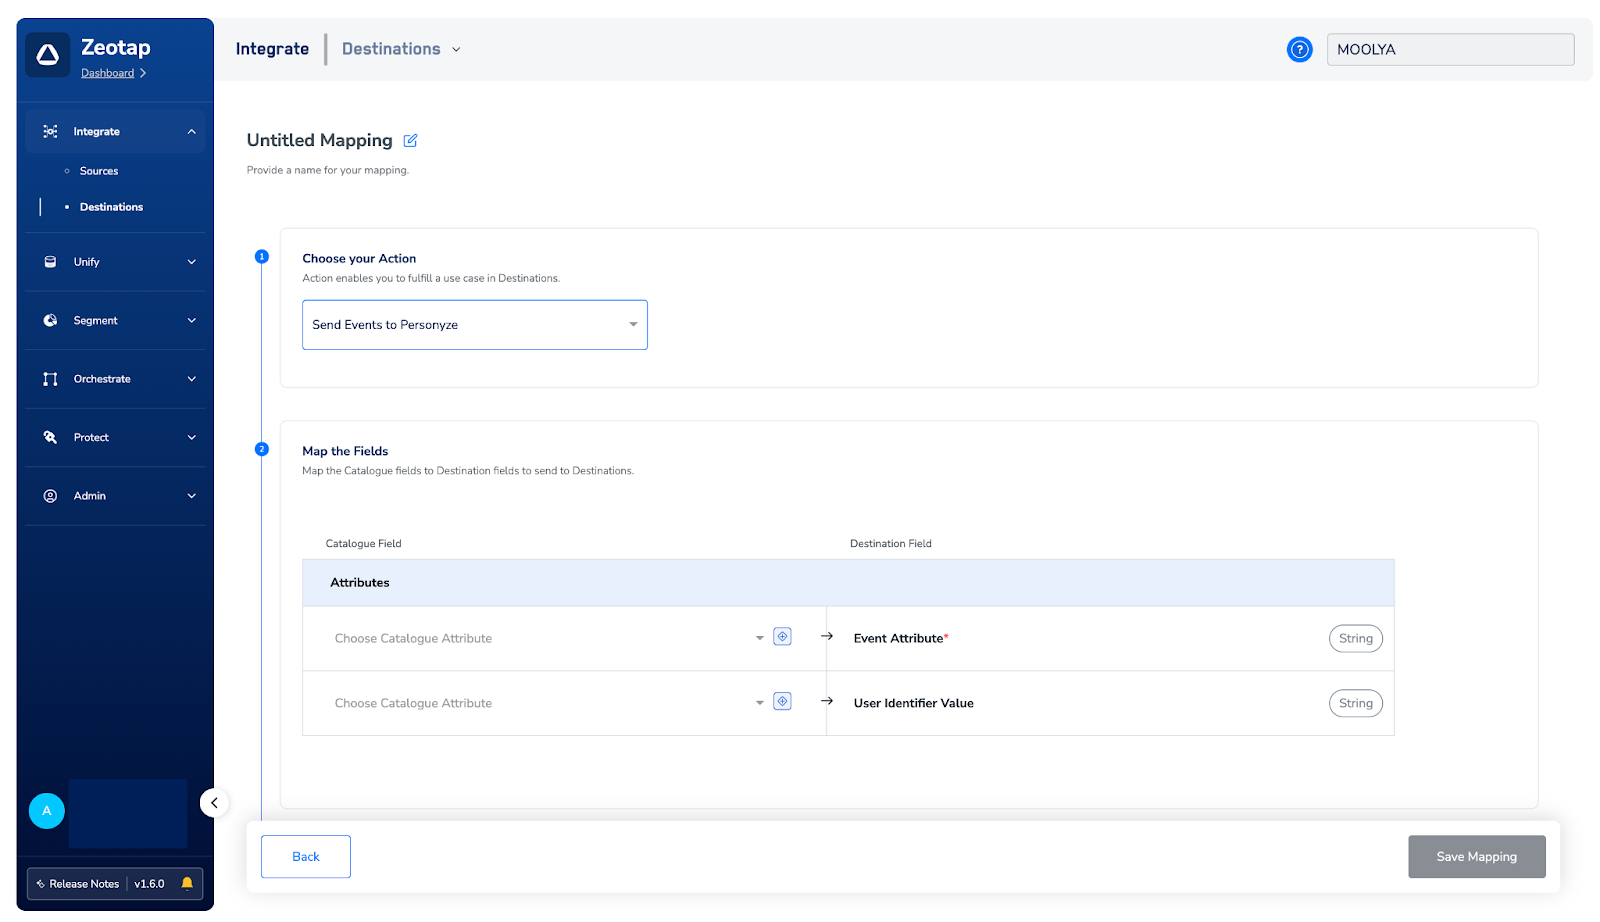
- Event Attribute
- User Identifier Value
Action : Send User User Profile to Personyzea. Choose the corresponding identifiers under Map the Fields. By default, the User Identifier Value field is displayed in the mapping table.b. To add User Profile fields:i. Click the + Add Mapping Field button in the User Values sectionii. This will create a new mapping row where you can:
- Left-hand side: Displays the user profile field name
- Right-hand side: Map to your source data field
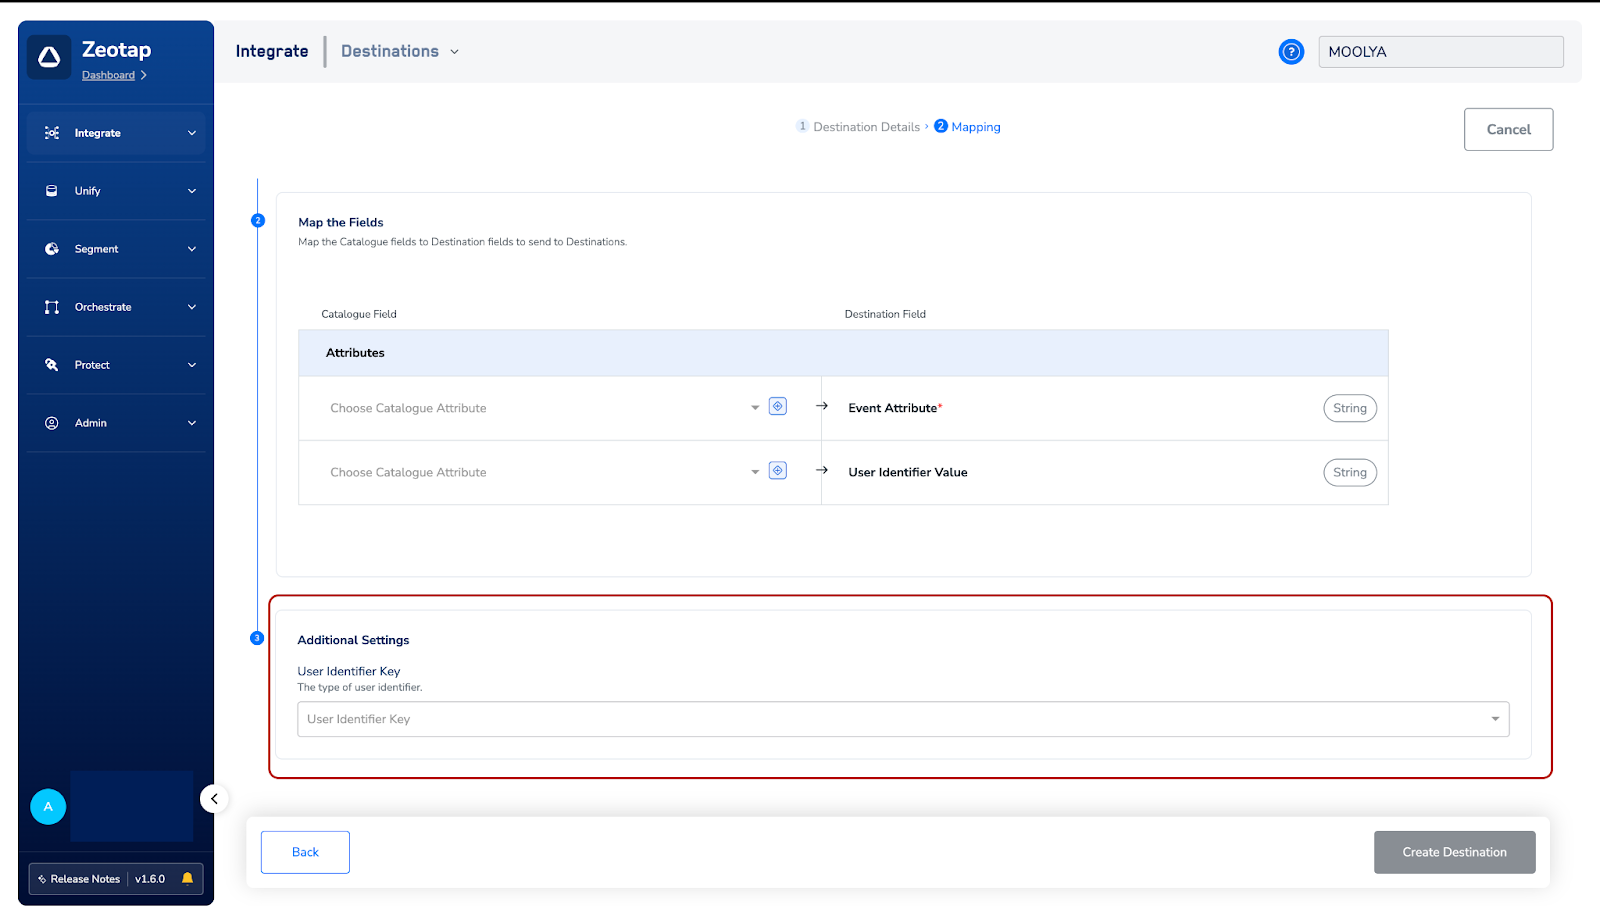
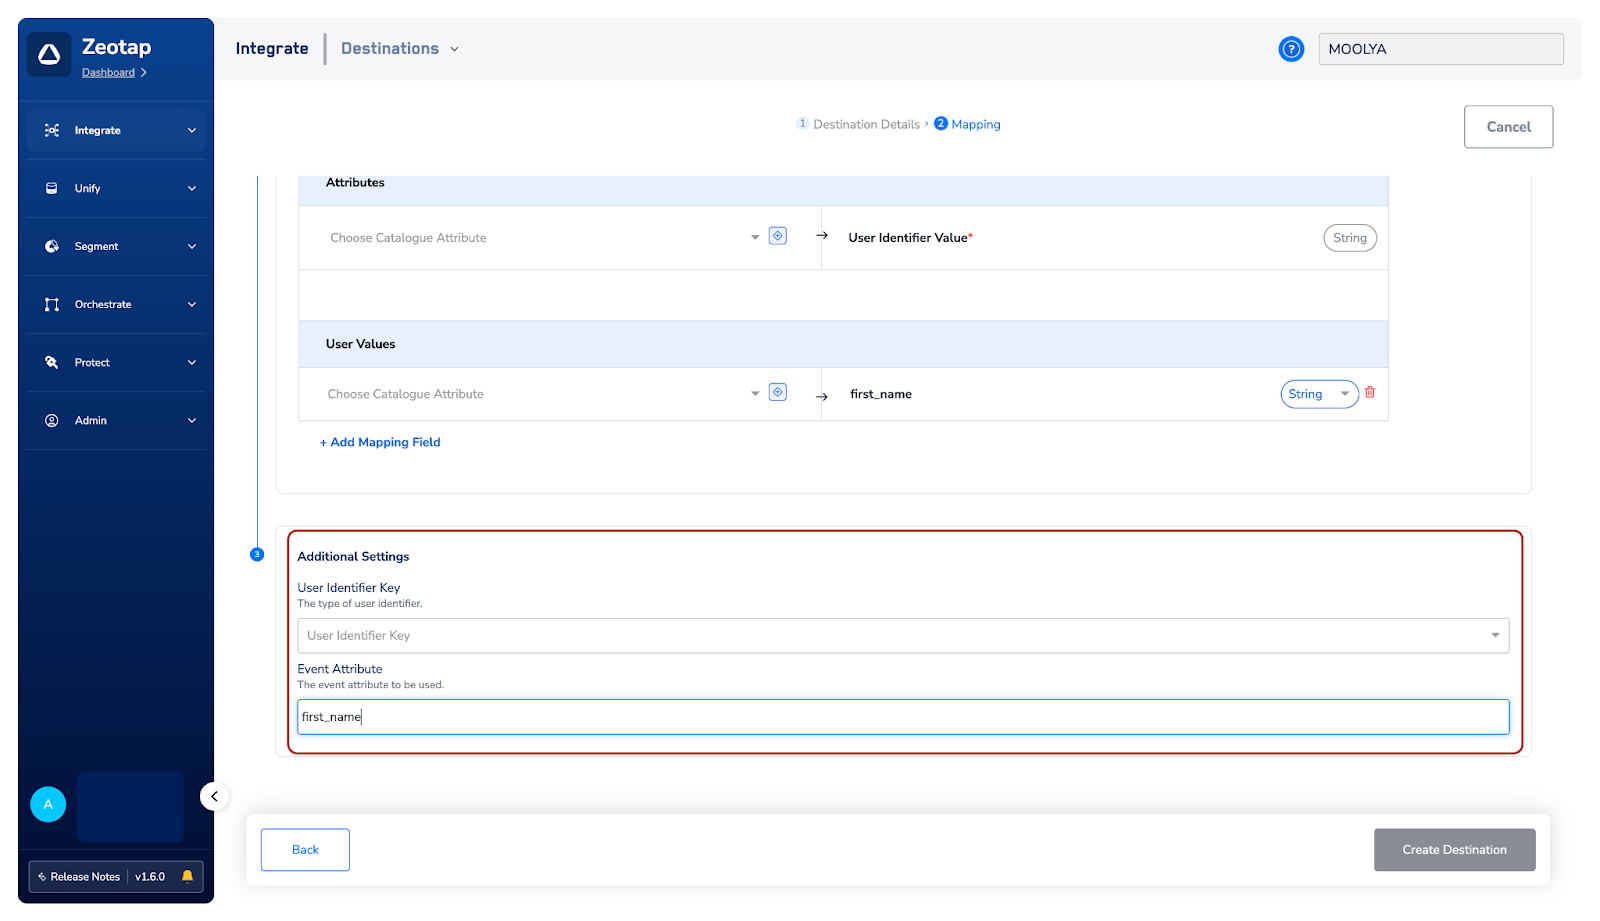
- User Identifier Key: Select the identifier type from the dropdown (User ID, Email, or Internal ID)
- Event Attribute: Enter the user profile value you want to send in snake_case format
- Supported user profile values are: a. first_name b. last_name c. email
Once you enter a value in the Event Attribute field (e.g., first_name), you need to add it as the field name on the left-hand side of your mapping in the User Values section
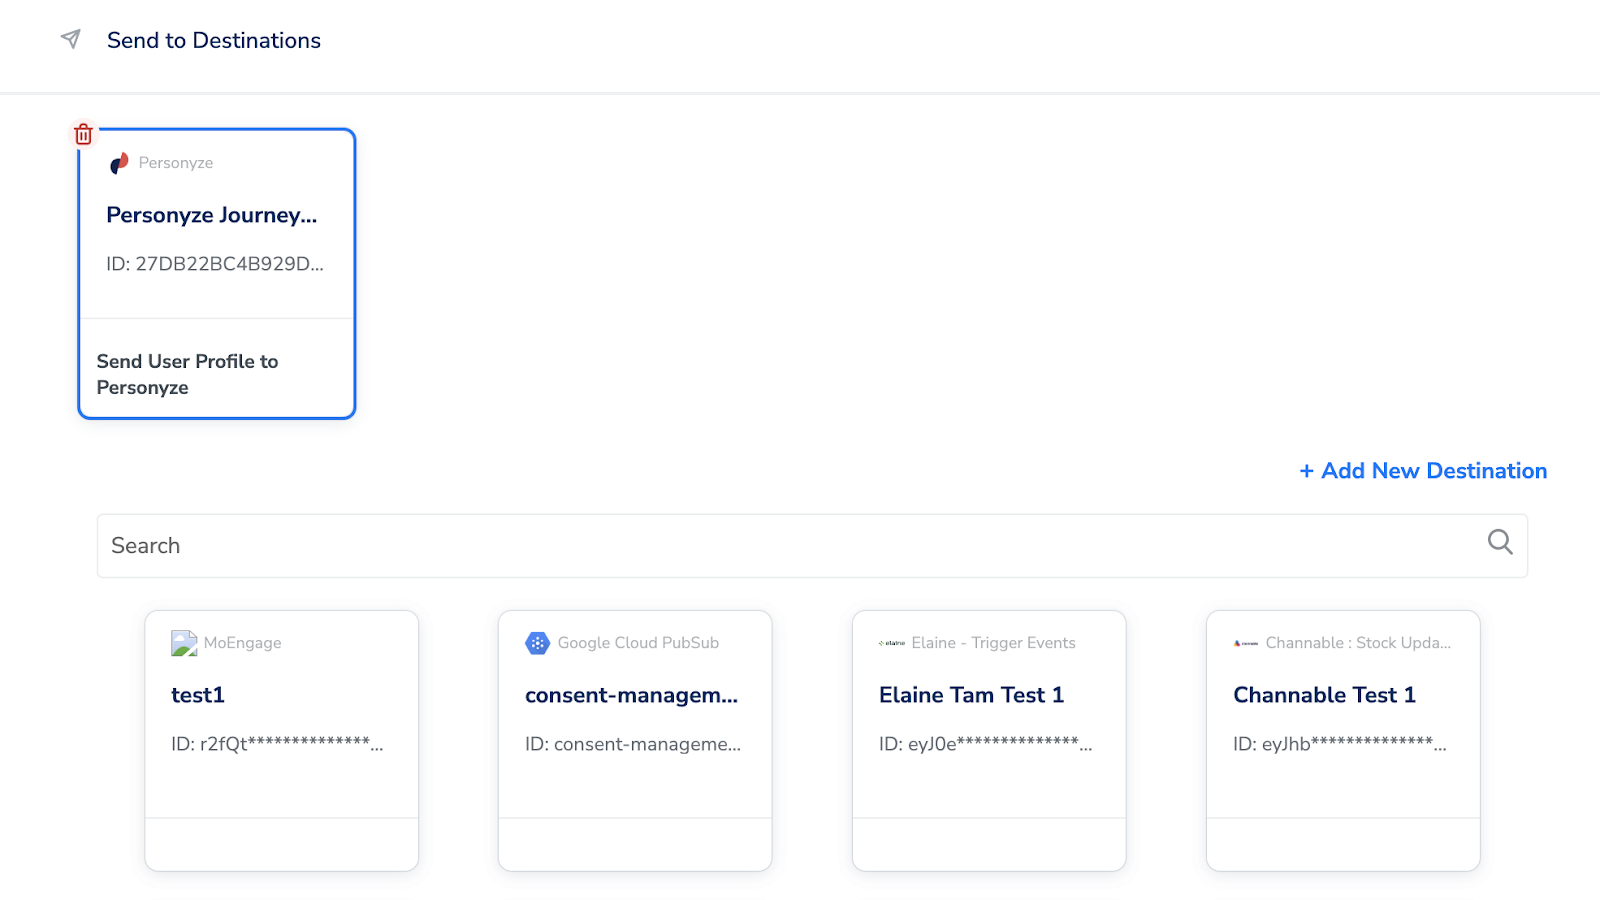
Activate the Destination on Journeys
After creating a destination, next, you need to link it in the Send to Destination node within the workflow, as explained below.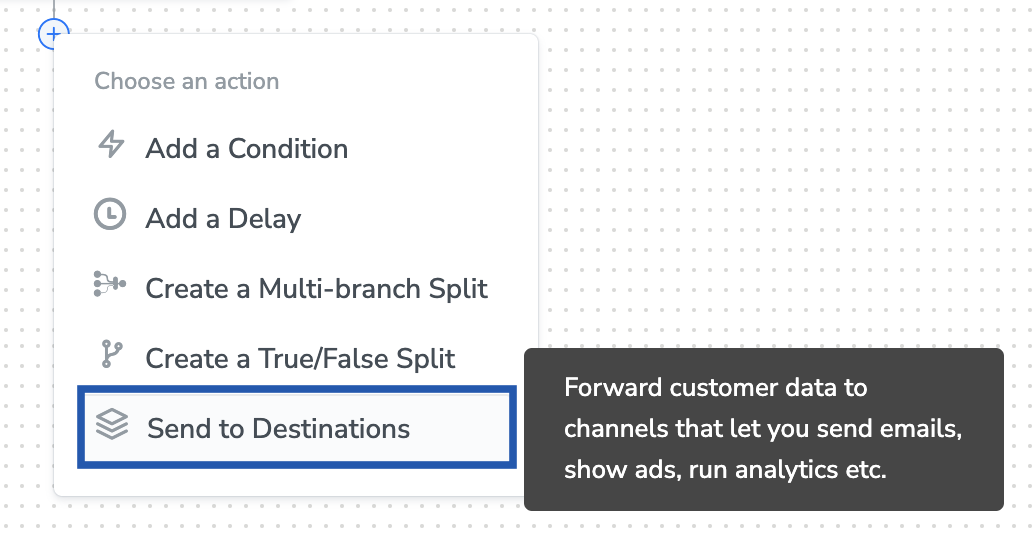
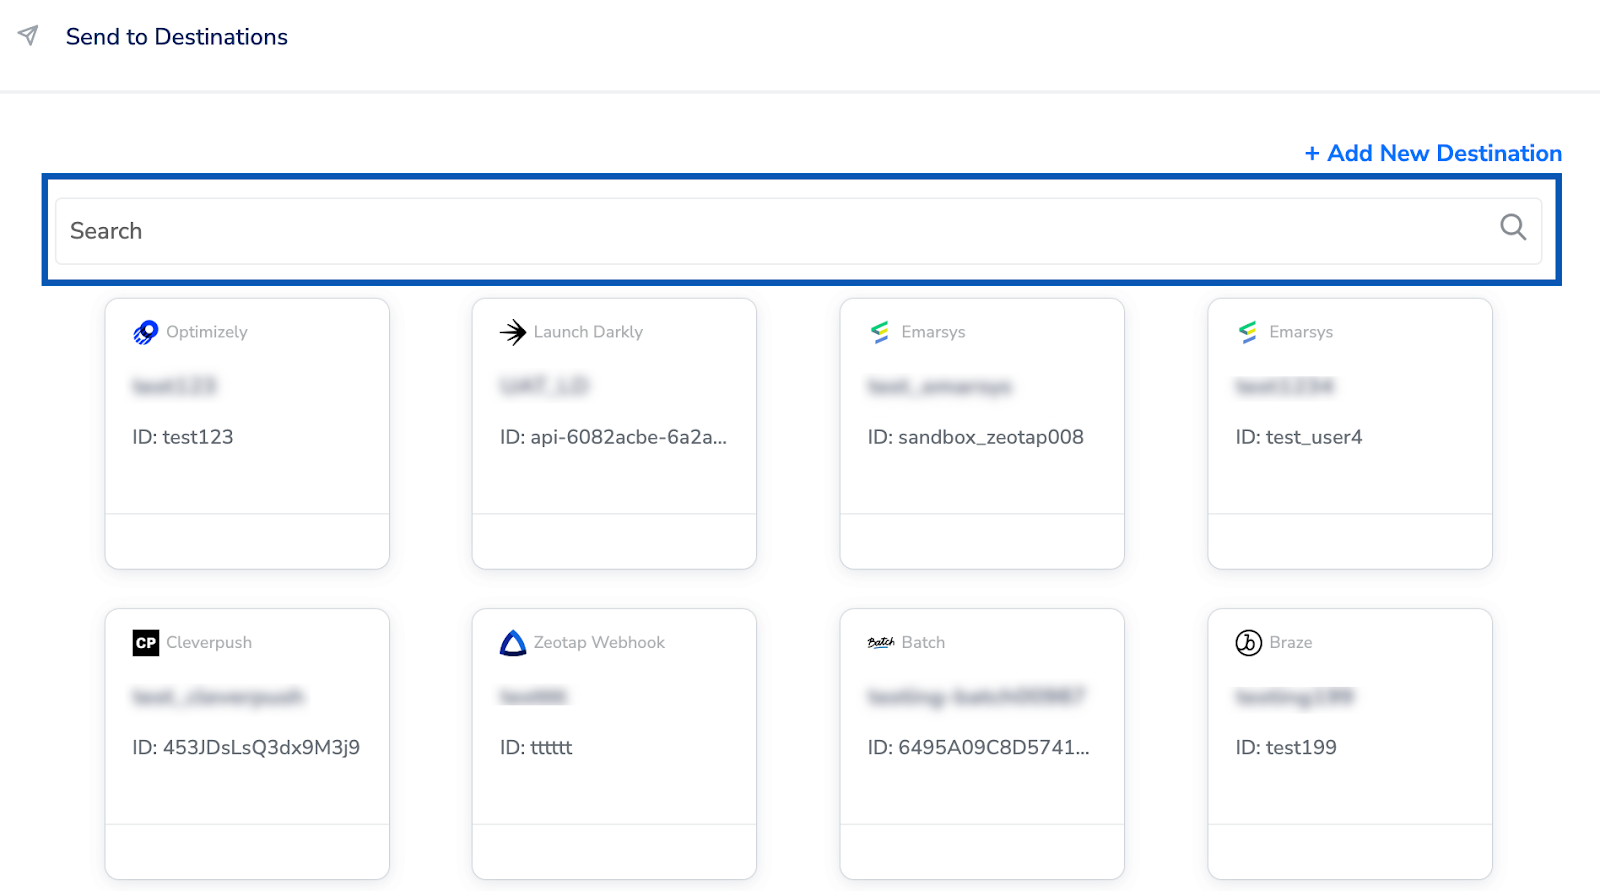
Under the Destination Details tab, the Private API Key fields are automatically populated based on the value that you have entered while creating the destination.