Overview
Google Enhanced Conversions API (CAPI) improves conversion tracking accuracy in Google Ads. It allows you to securely send hashed first-party customer data to Google, enhancing attribution while maintaining user privacy. By integrating Google Enhanced CAPI with Zeotap CDP, you can streamline data activation for Google Ads. Zeotap CDP ensures that conversion data is securely collected, transformed, and sent to Google in a privacy-compliant manner. This integration helps you:- Improve campaign performance with more accurate conversion tracking.
- Optimize bidding strategies using better attribution data.
- Maintain compliance with data privacy regulations while sharing first-party data with Google.
Sample Use Cases
E-Commerce Conversion Optimization
If you run Google Ads campaigns for an e-commerce business, you may want to measure how many online purchases originate from your ads. By using Google Enhanced CAPI, you can send hashed email addresses and transaction IDs to Google through Zeotap, improving conversion tracking accuracy and optimizing your bidding strategy.Lead Generation for Financial Services
If you run lead generation campaigns for a financial services company, you can ensure accurate attribution even when cookies are restricted. When a user submits a contact form, their hashed identifiers are securely sent to Google via Enhanced CAPI.Supported Identifiers
To match conversion data to Google users, at least one of the following must be provided:- Hashed Email Address (SHA256)
- Hashed Phone Number (SHA256)
- Hashed First Name & Last Name (SHA256) along with Country Code and Postal Code
Available Actions
- Upload Conversion Adjustments
Prerequisites
Ensure that the following prerequisites are met before setting up Google Enhanced CAPI:- A Google Ads account with conversion tracking enabled.
- Enhanced Conversions for Web enabled in Google Ads.
- Customer Data Terms accepted in your Google Ads account.
Components of Google Enhanced CAPI
Ensure that you have details about the below components of Google Enhanced CAPI available before creating a Destination in Zeotap CDP.- Customer ID – This is your Google Ads account ID, used for sending conversion data. It is a 10-digit code (remove hyphens when sharing it with Zeotap CDP) available when you click your profile icon in your Google Ads account. Learn more
- Conversion Action – This represents the specific user action that is considered a conversion, such as completing a purchase, signing up for a newsletter, or submitting a form.
- Transaction ID – This is a unique identifier assigned to each conversion event, helping to deduplicate and match enhanced conversions.
-
API Credentials –
Set up OAuth 2.0 authorisation for API access by creating an app in your Google Cloud Platform (GCP) project. Follow the steps in the Google Ads API documentation to complete the setup.
Retrieve the following credentials for authentication:
- Developer token – Available in your Google Ads account. Learn more
- Client ID – Available in the app you created. Learn more
- Client secret – Available in the app you created. Learn more
- Refresh token – Generated while setting up your app. Learn more
Destination Setup
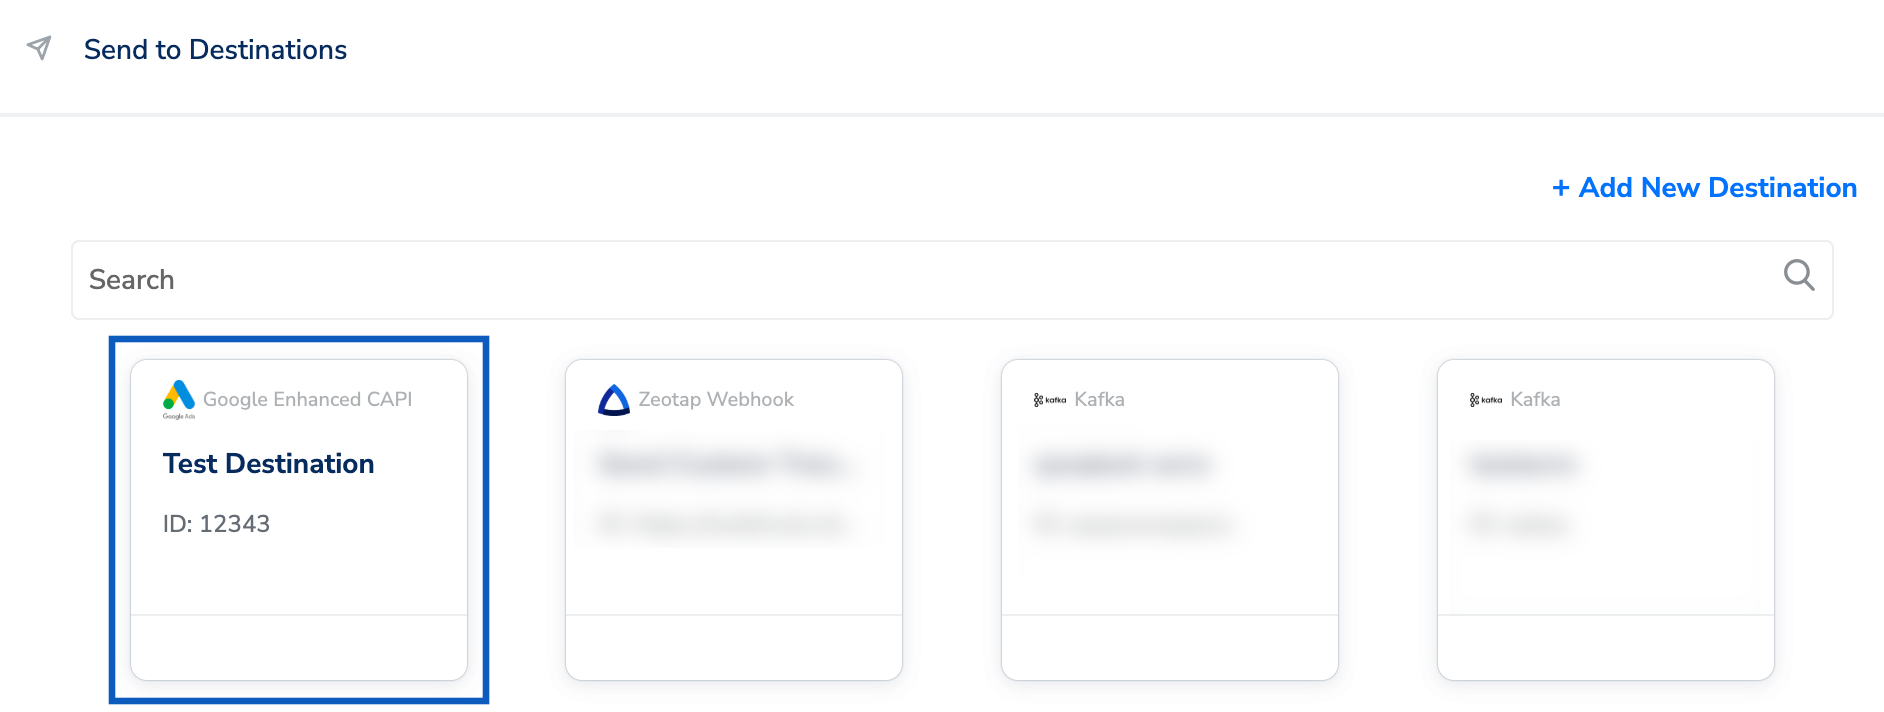
Once you have taken care of the prerequisites mentioned above, you can proceed to creating workflow in Journeys (Zeotap CDP). After you have applied filters or added conditions for your users in Journeys as mentioned in Create a Workflow, you can activate them in Google Enhanced CAPI (Journeys) in the Send to Destinations node as shown below.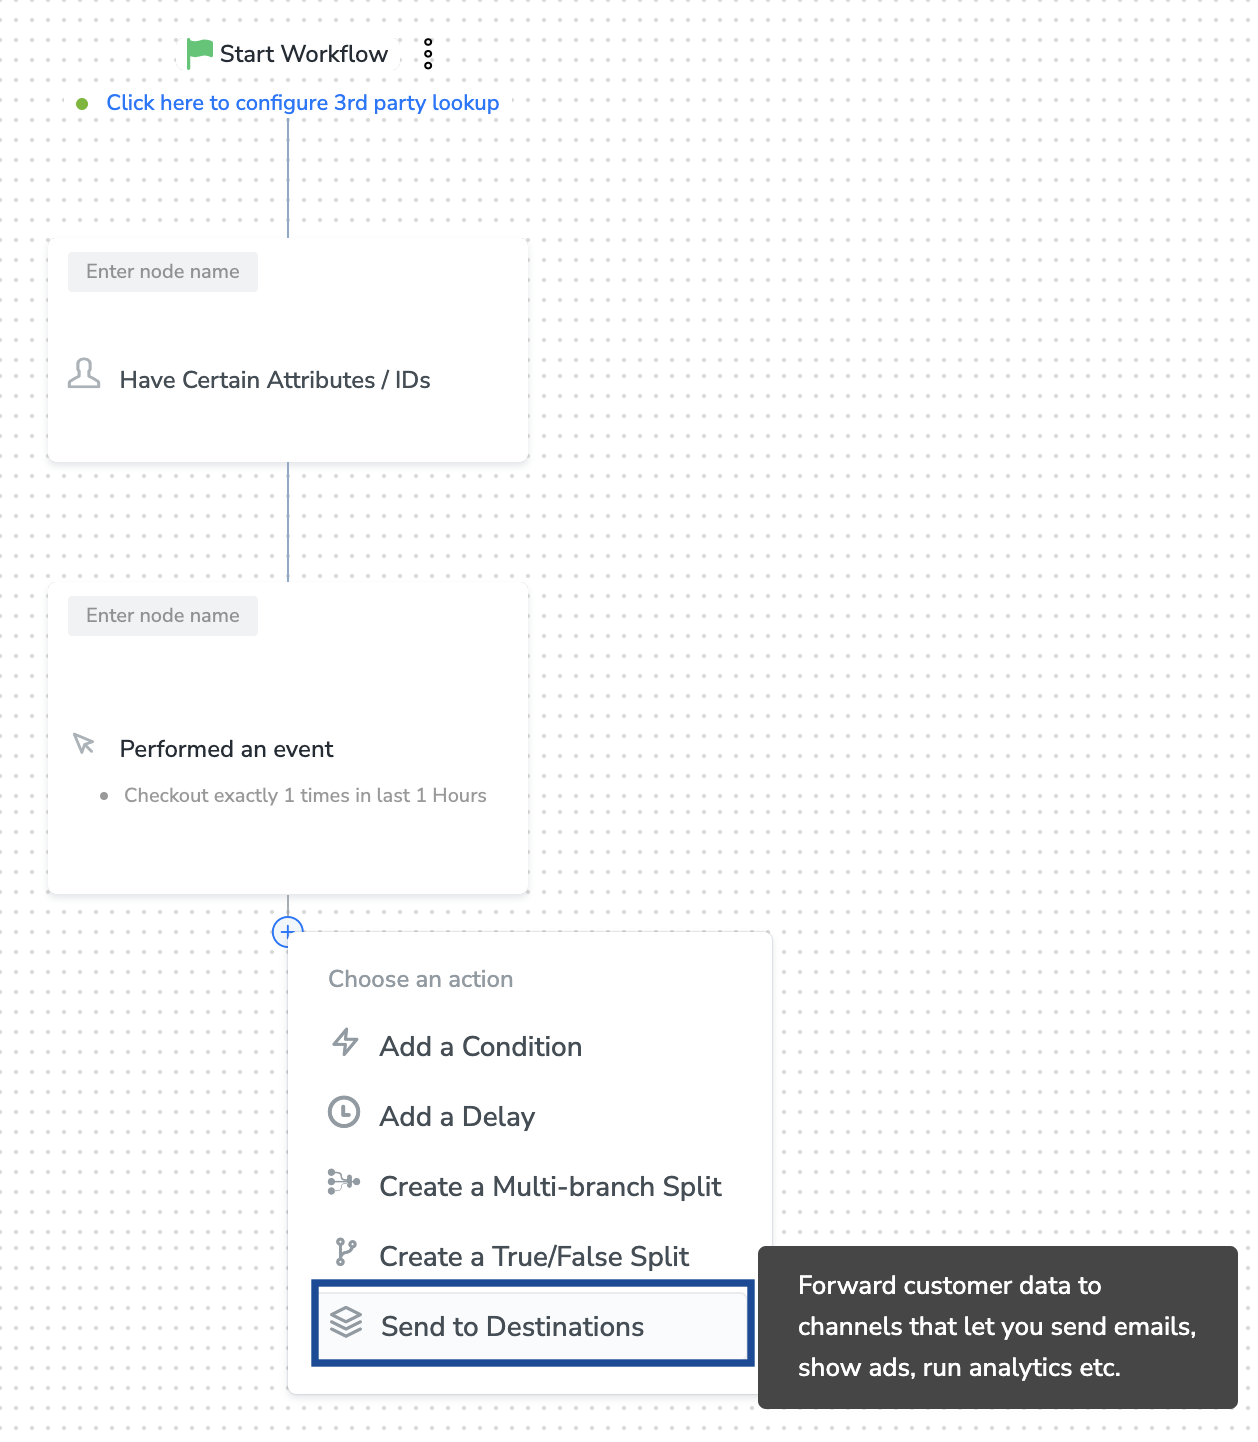
Note:To use an existing destination for activation in Journeys, click here.
Add New Destination
Perform the following steps to add a new destination: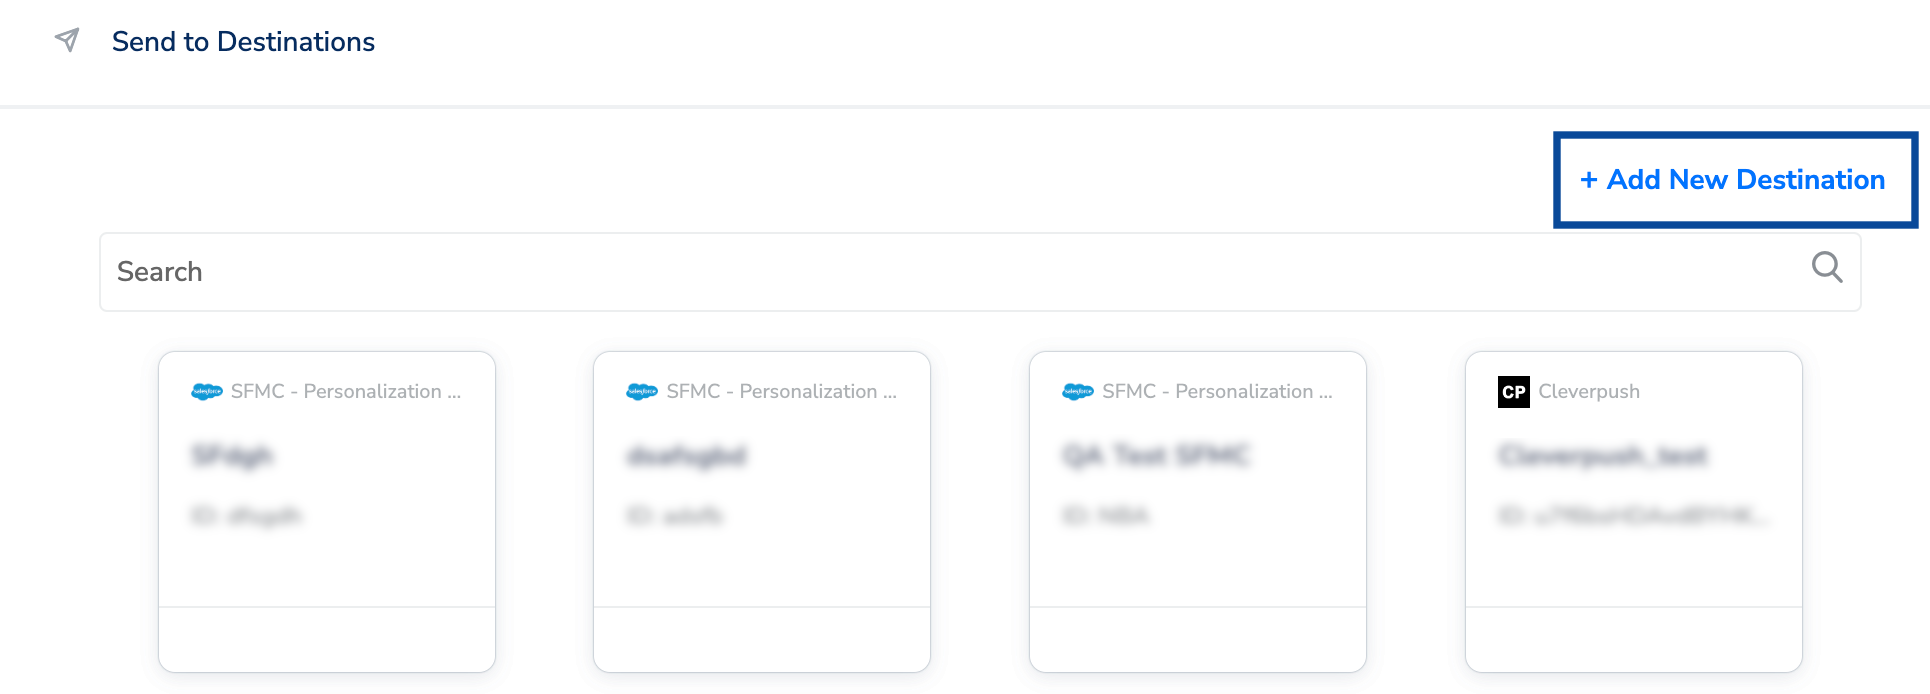
Enter the following credentials obtained from your Google Cloud Platform (GCP) project after creating the app:
- Customer ID
- Client ID
- Client secret
- Refresh token
- Developer token
On the Mapping screen, under Choose your Action, select Upload Conversion Adjustments to send data from the workflow created in Journeys. Map the required identifiers and attributes based on your use case. Note that sending Order ID and Conversion Action is mandatory. Otherwise, you cannot proceed.Under Custom Identifier, select + Add Mapping Field to add any custom identifier you want to send to Google Ads.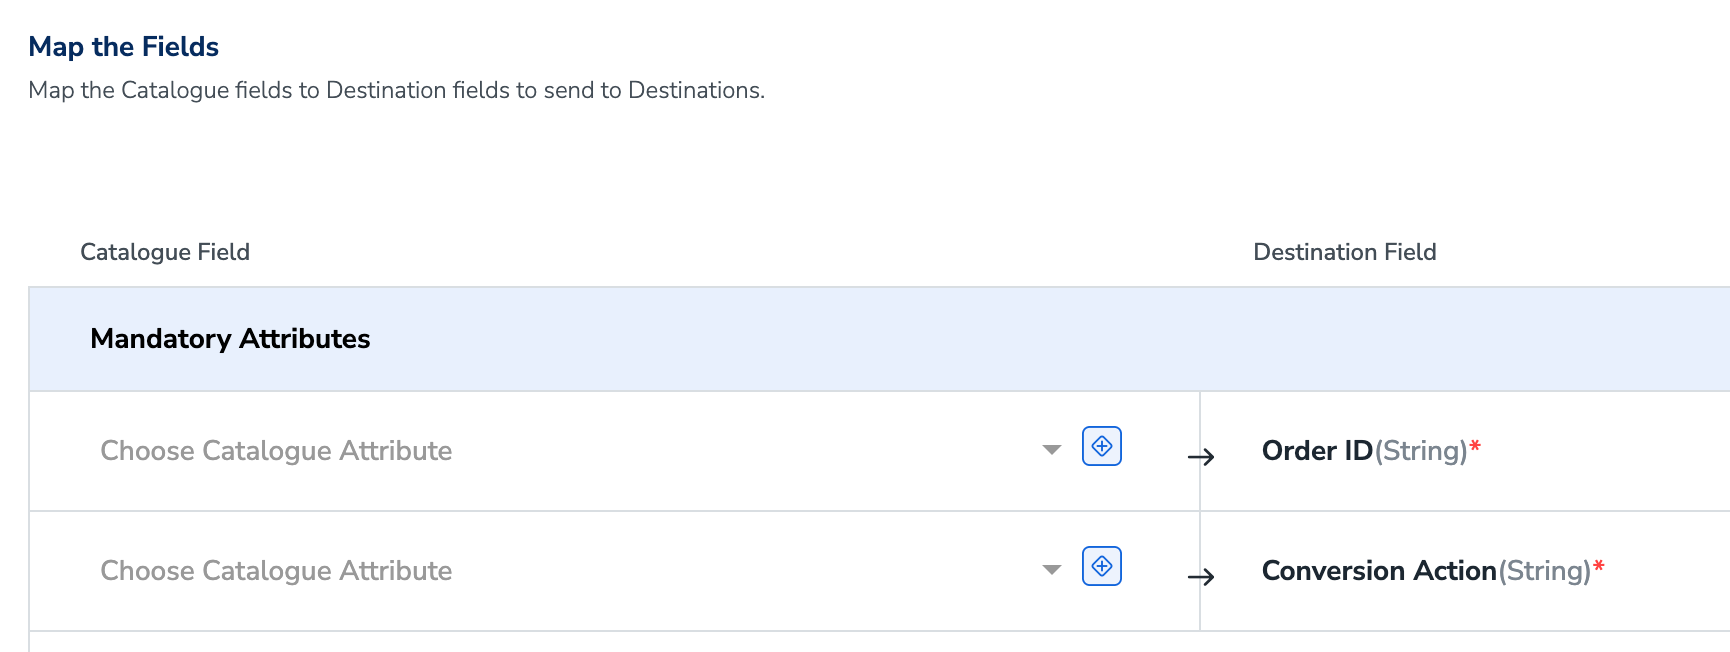
Activate the Destination on Journeys
After creating a destination, you can link it in the Send to Destination node within the workflow, as explained below.Under the Destination Details tab, the Customer ID, Client ID, Client secret, Refresh token and Developer token fields are automatically populated based on the value that you had entered while creating the destination.
Click Save Destination and then click Add Destination.
You can also add multiple destinations at this step if needed.
The linked Destinations appear in the Send to Destinations node within the workflow as shown below. Further, you can then build and customise your workflow as needed by clicking ’+’ . Note that you must enter a name for your workflow in the provided text box to save it.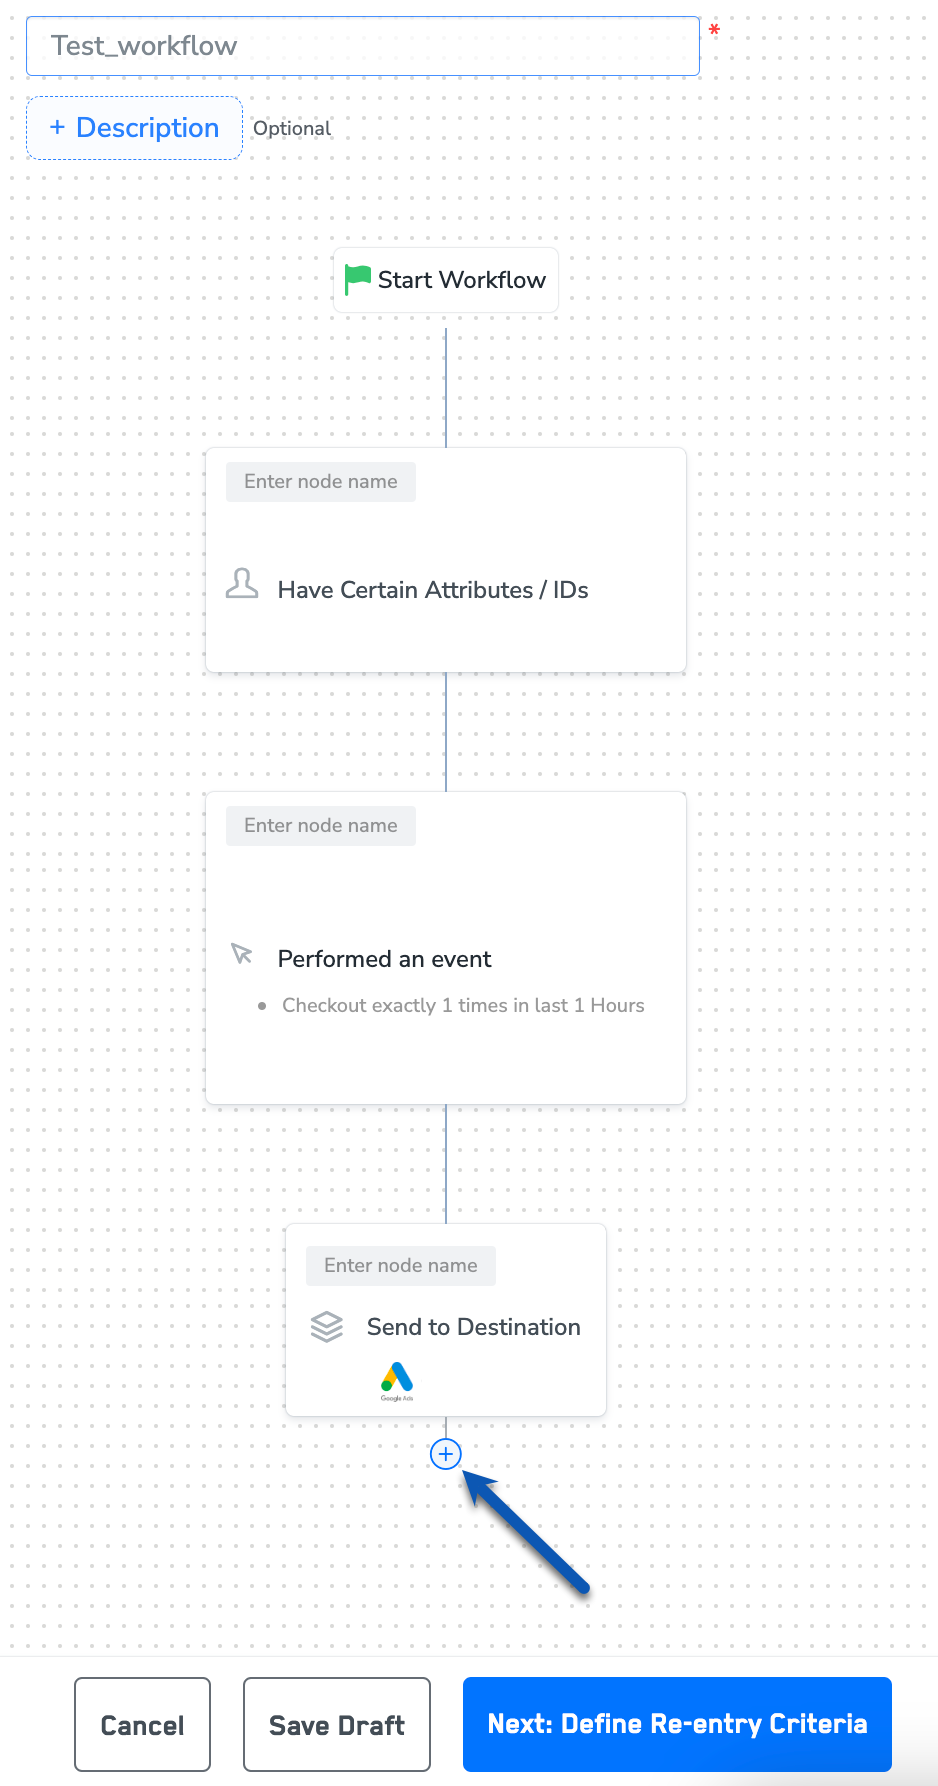
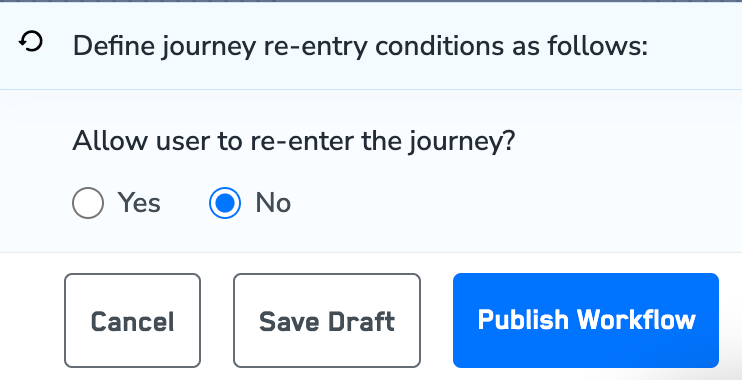
After adding conditions and filters for users, choose one of the following options:a. Save Draft: Enables you to revisit and edit the workflow before publishing.b. Next: Re-entry Condition: Determines whether a user can re-enter the same workflow.