Overview
The Single Profile Update API allows sending a profile update for a single user and is generally used when an update must occur in relation to a transaction occurring in a channel that has not implemented Target. Integrated with Zeotap, Adobe Target leverages a precise mechanism to manage profile updates, ensuring that audience segmentation is accurately reflected in the data, empowering efficient personalisation and optimisation efforts. To know more about updating the user profile using single or bulk updates, refer here.Supported Identifiers
This integration supports Mbox 3rd party Ids.Available Actions and Supported Features
| Action Name | ID EXTENSION | DELETE | DELTA UPLOAD |
|---|---|---|---|
| Send identifiers to Adobe Target - Single Profile Update | ✅ | - | - |
| Stream Profile Properties to Adobe Target - Single Profile Update | - | - | - |
Prerequisites
Ensure that you have details about the below prerequisites of Adobe Target before creating a Destination.- Client ID
- Client Secret
- Client Code
- Tenant ID
Client ID and Client Secret
The client ID is a unique identifier for the application or service making the request, while the client secret is a confidential password that verifies the authenticity of the request. These credentials are used to access and manipulate data in the Adobe Target platform. To obtain the Client ID and Client Secret, log into the Adobe Developer Console and perform the following steps:
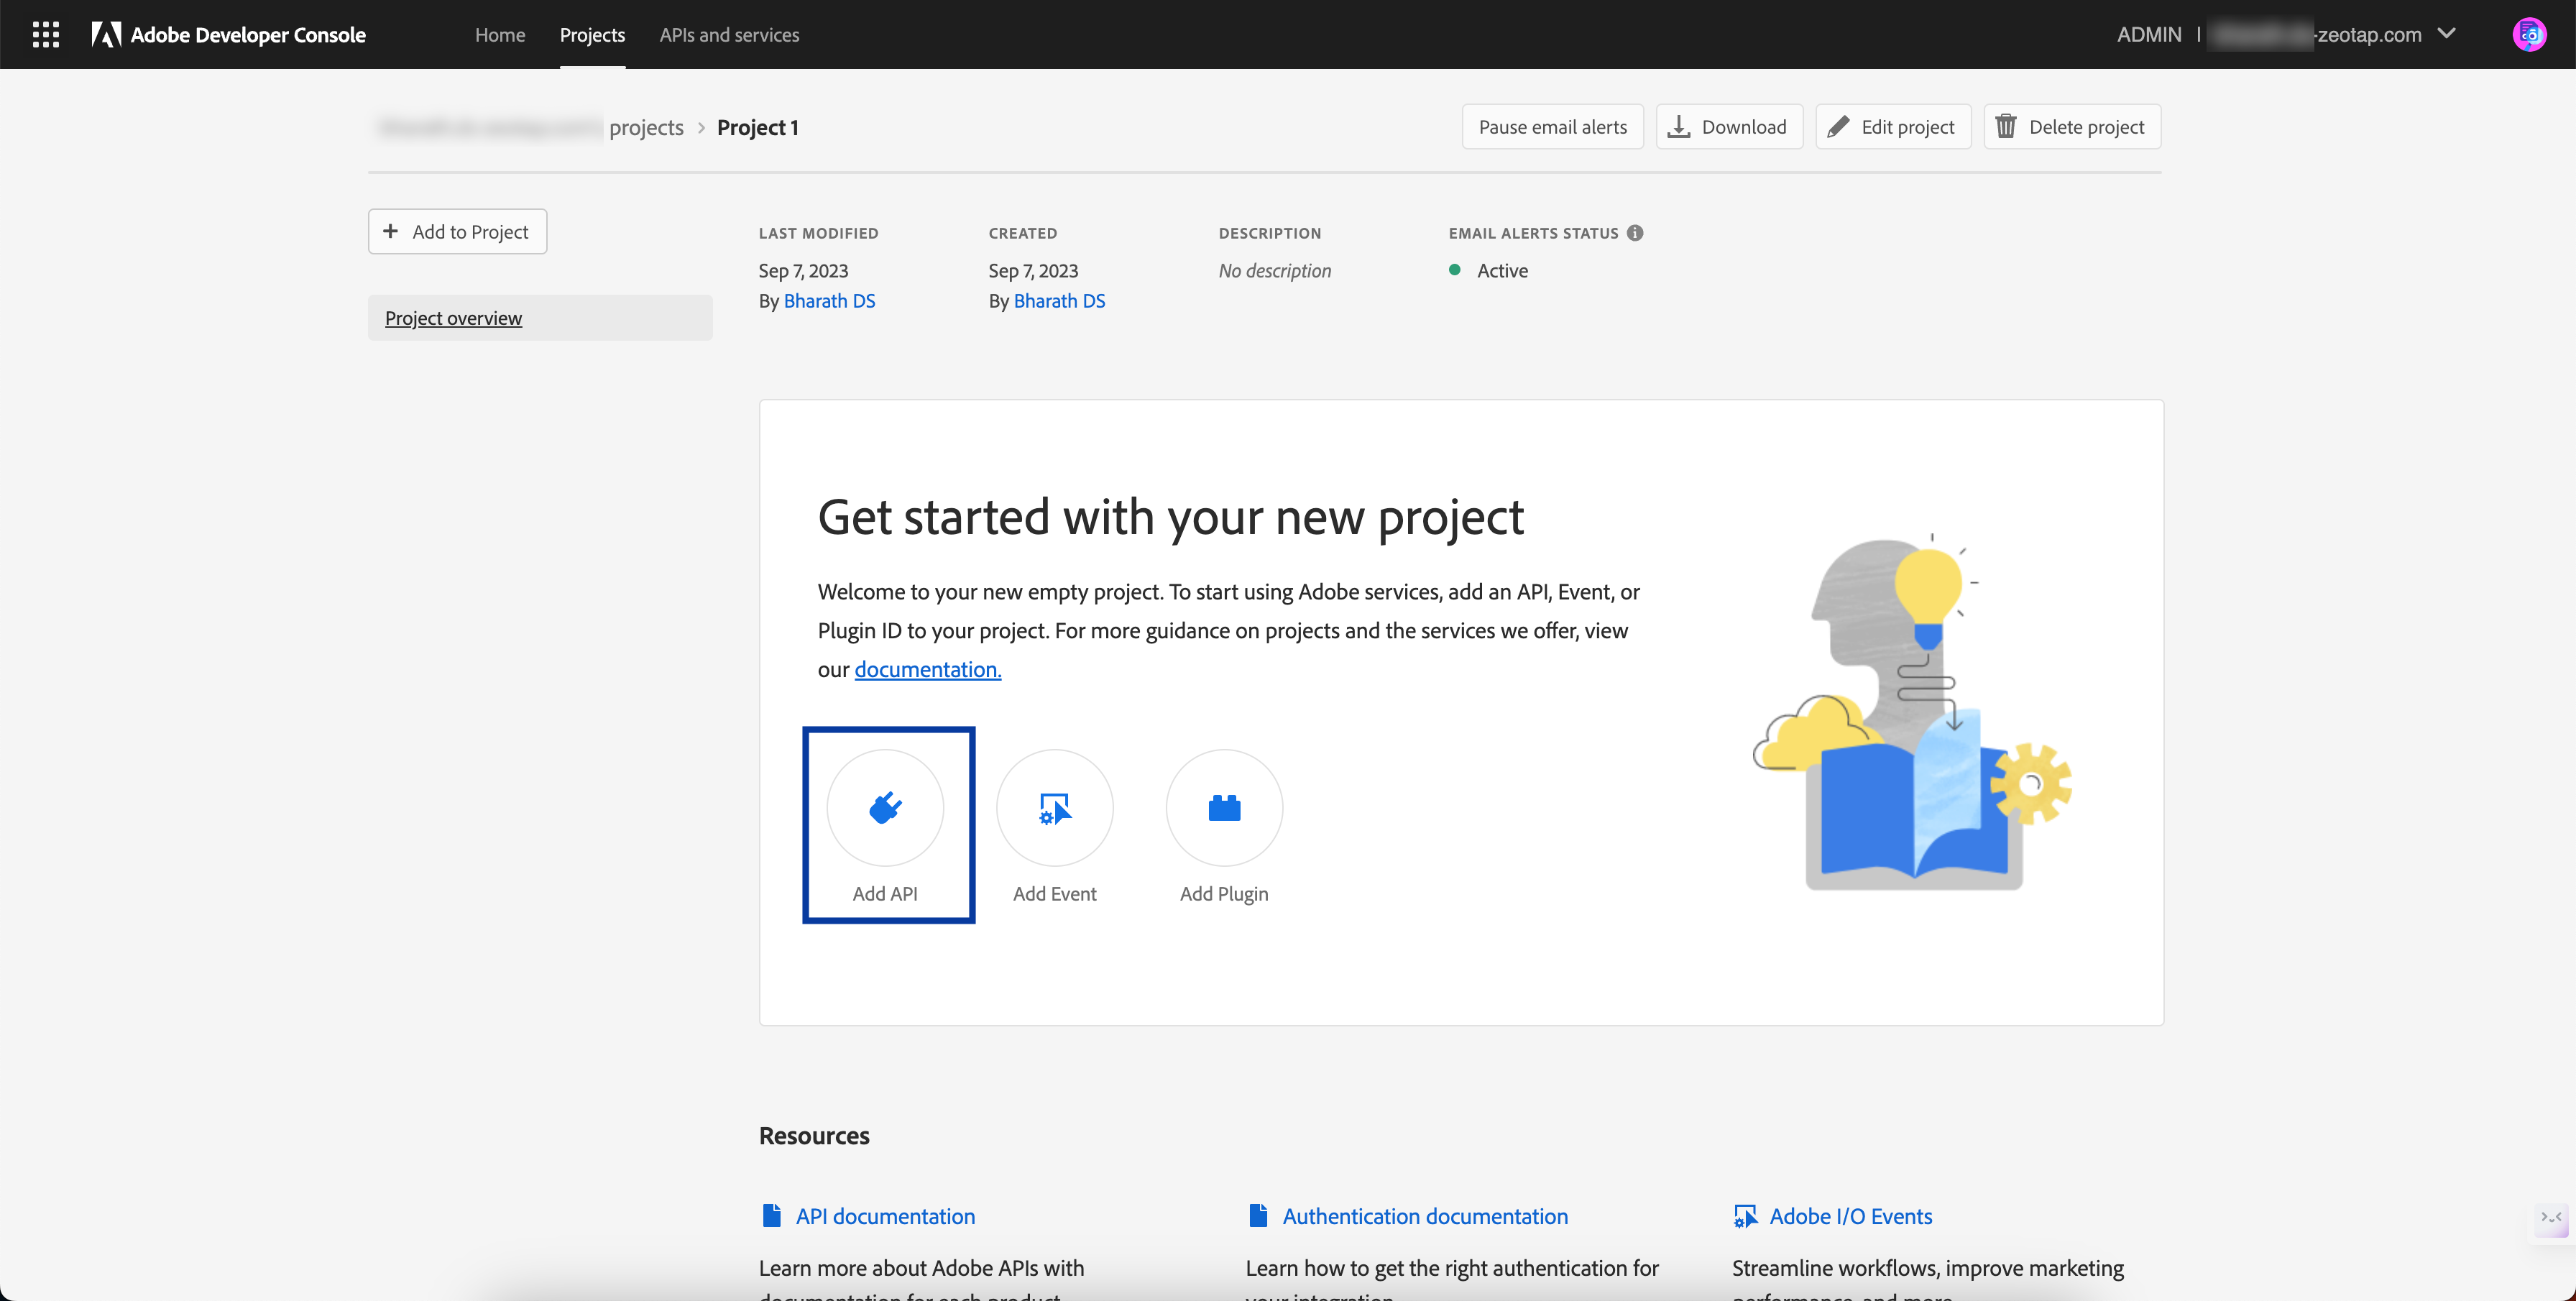
In the new screen that appears, all the APIs supported by Adobe are listed. Here, click Adobe Target and click Next.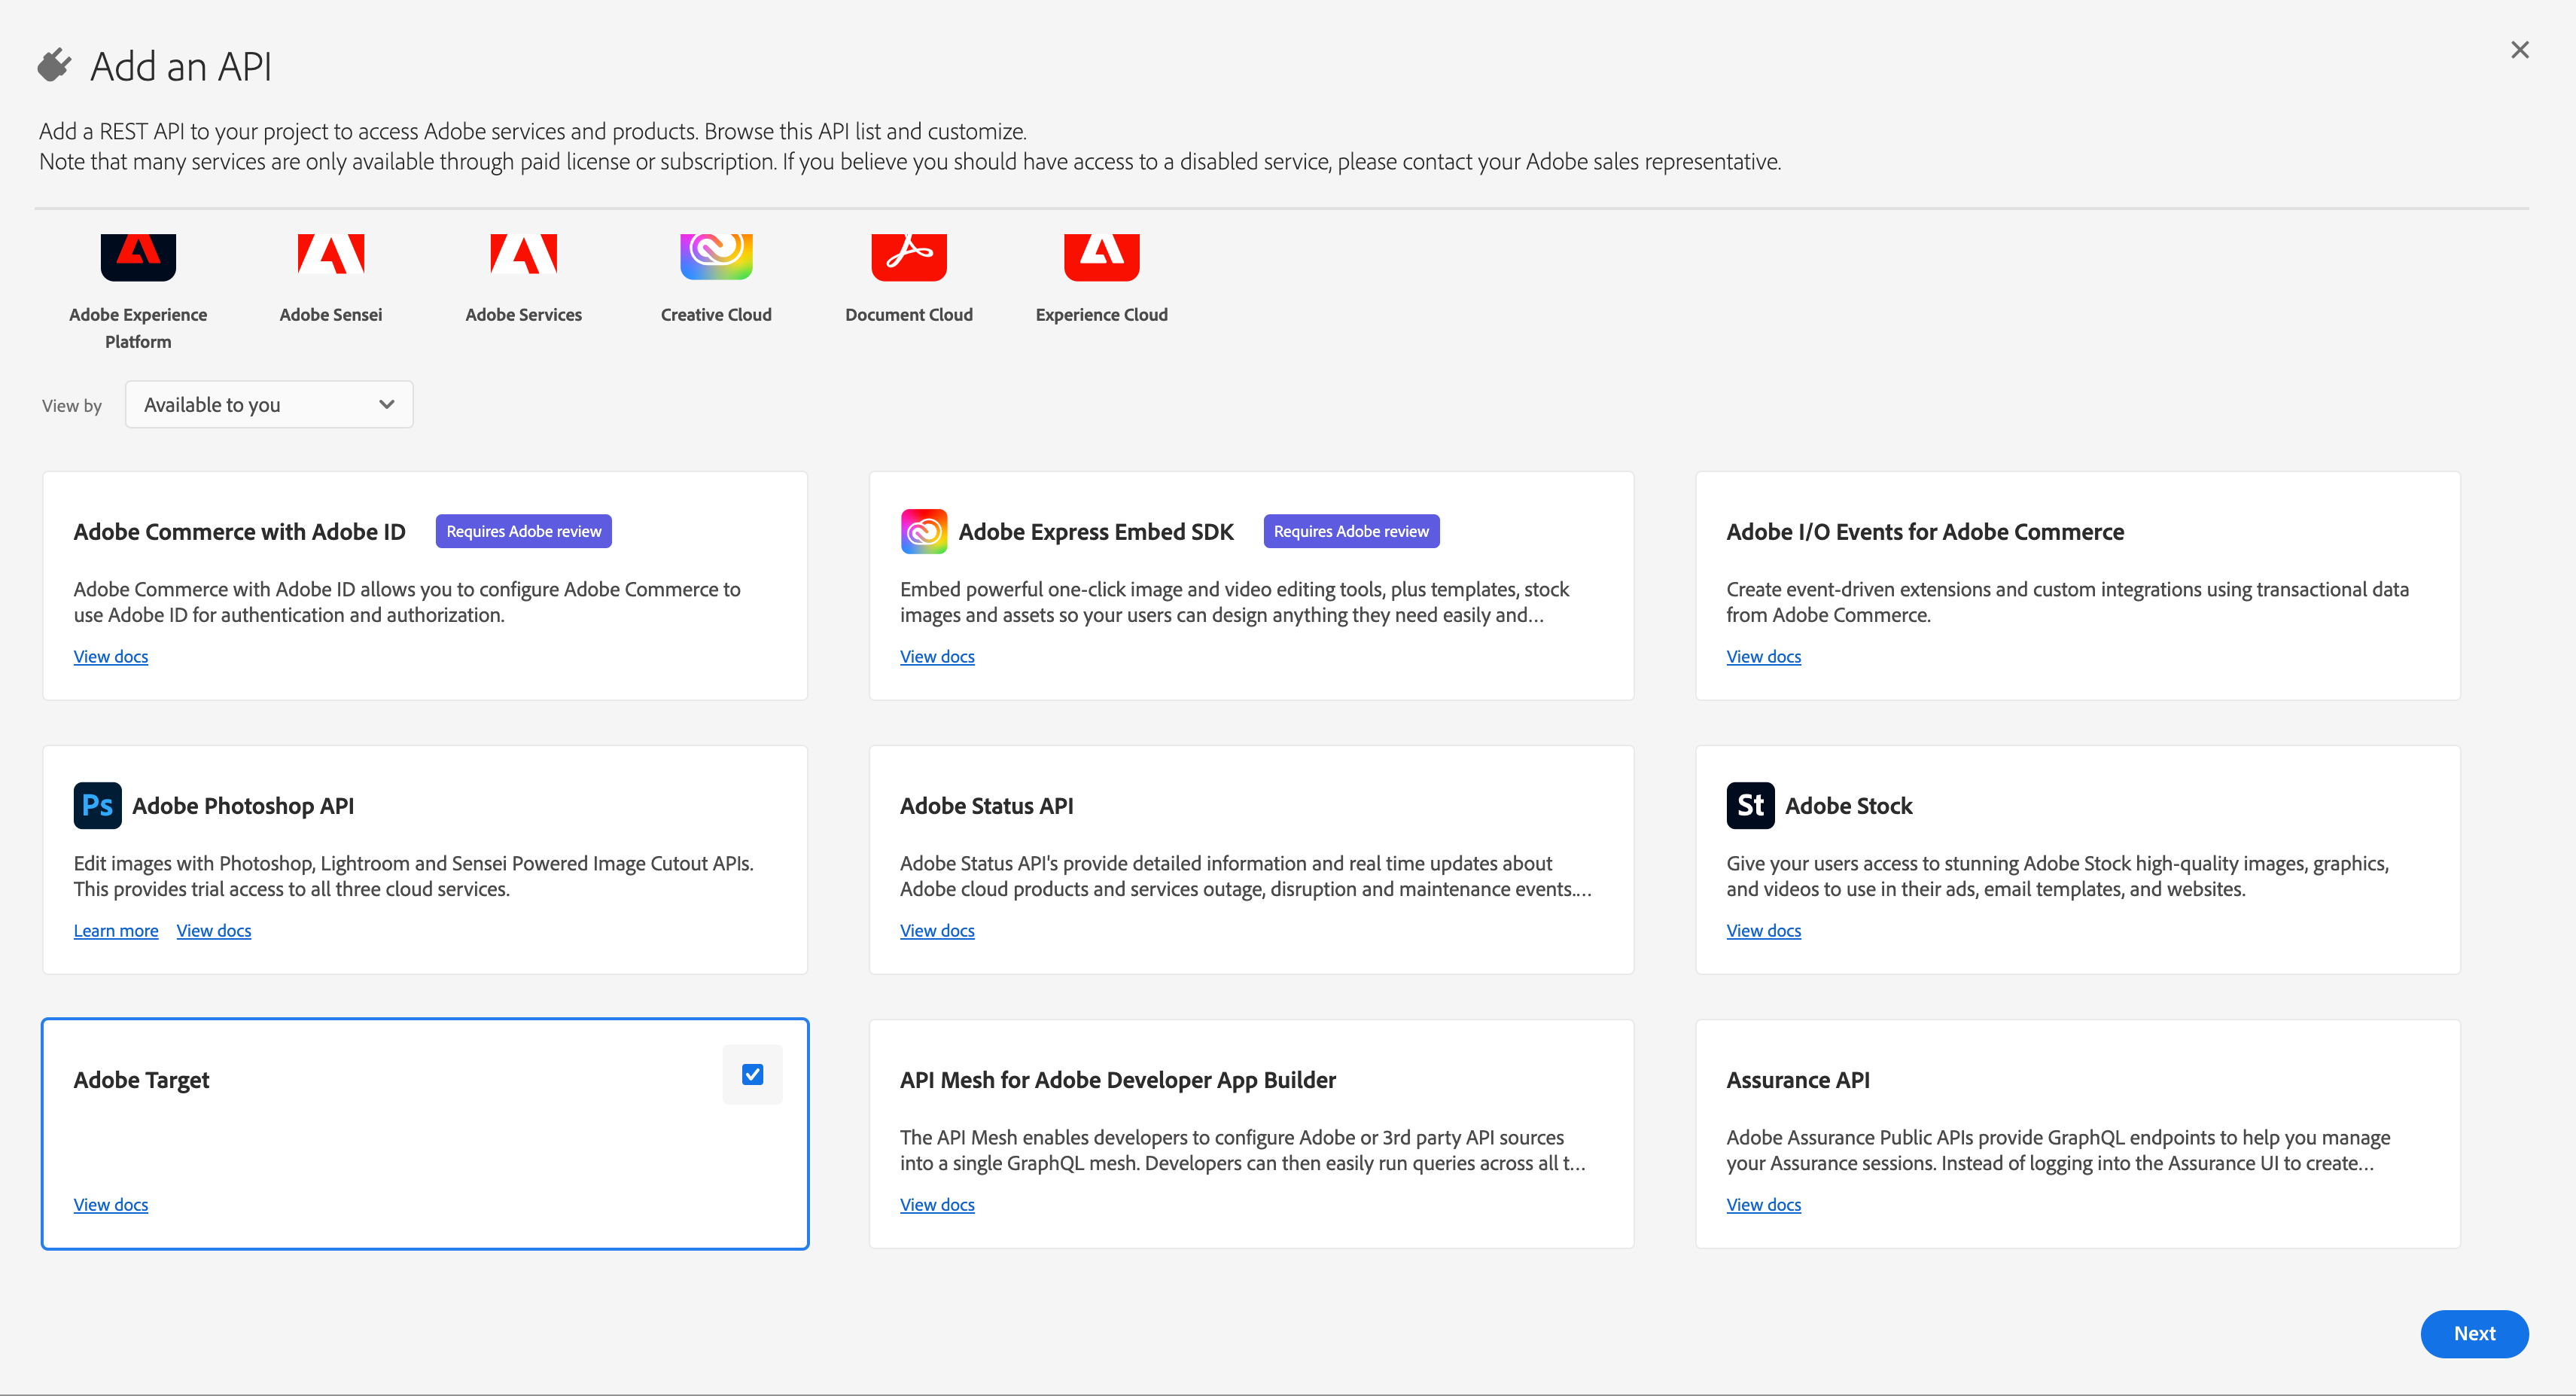
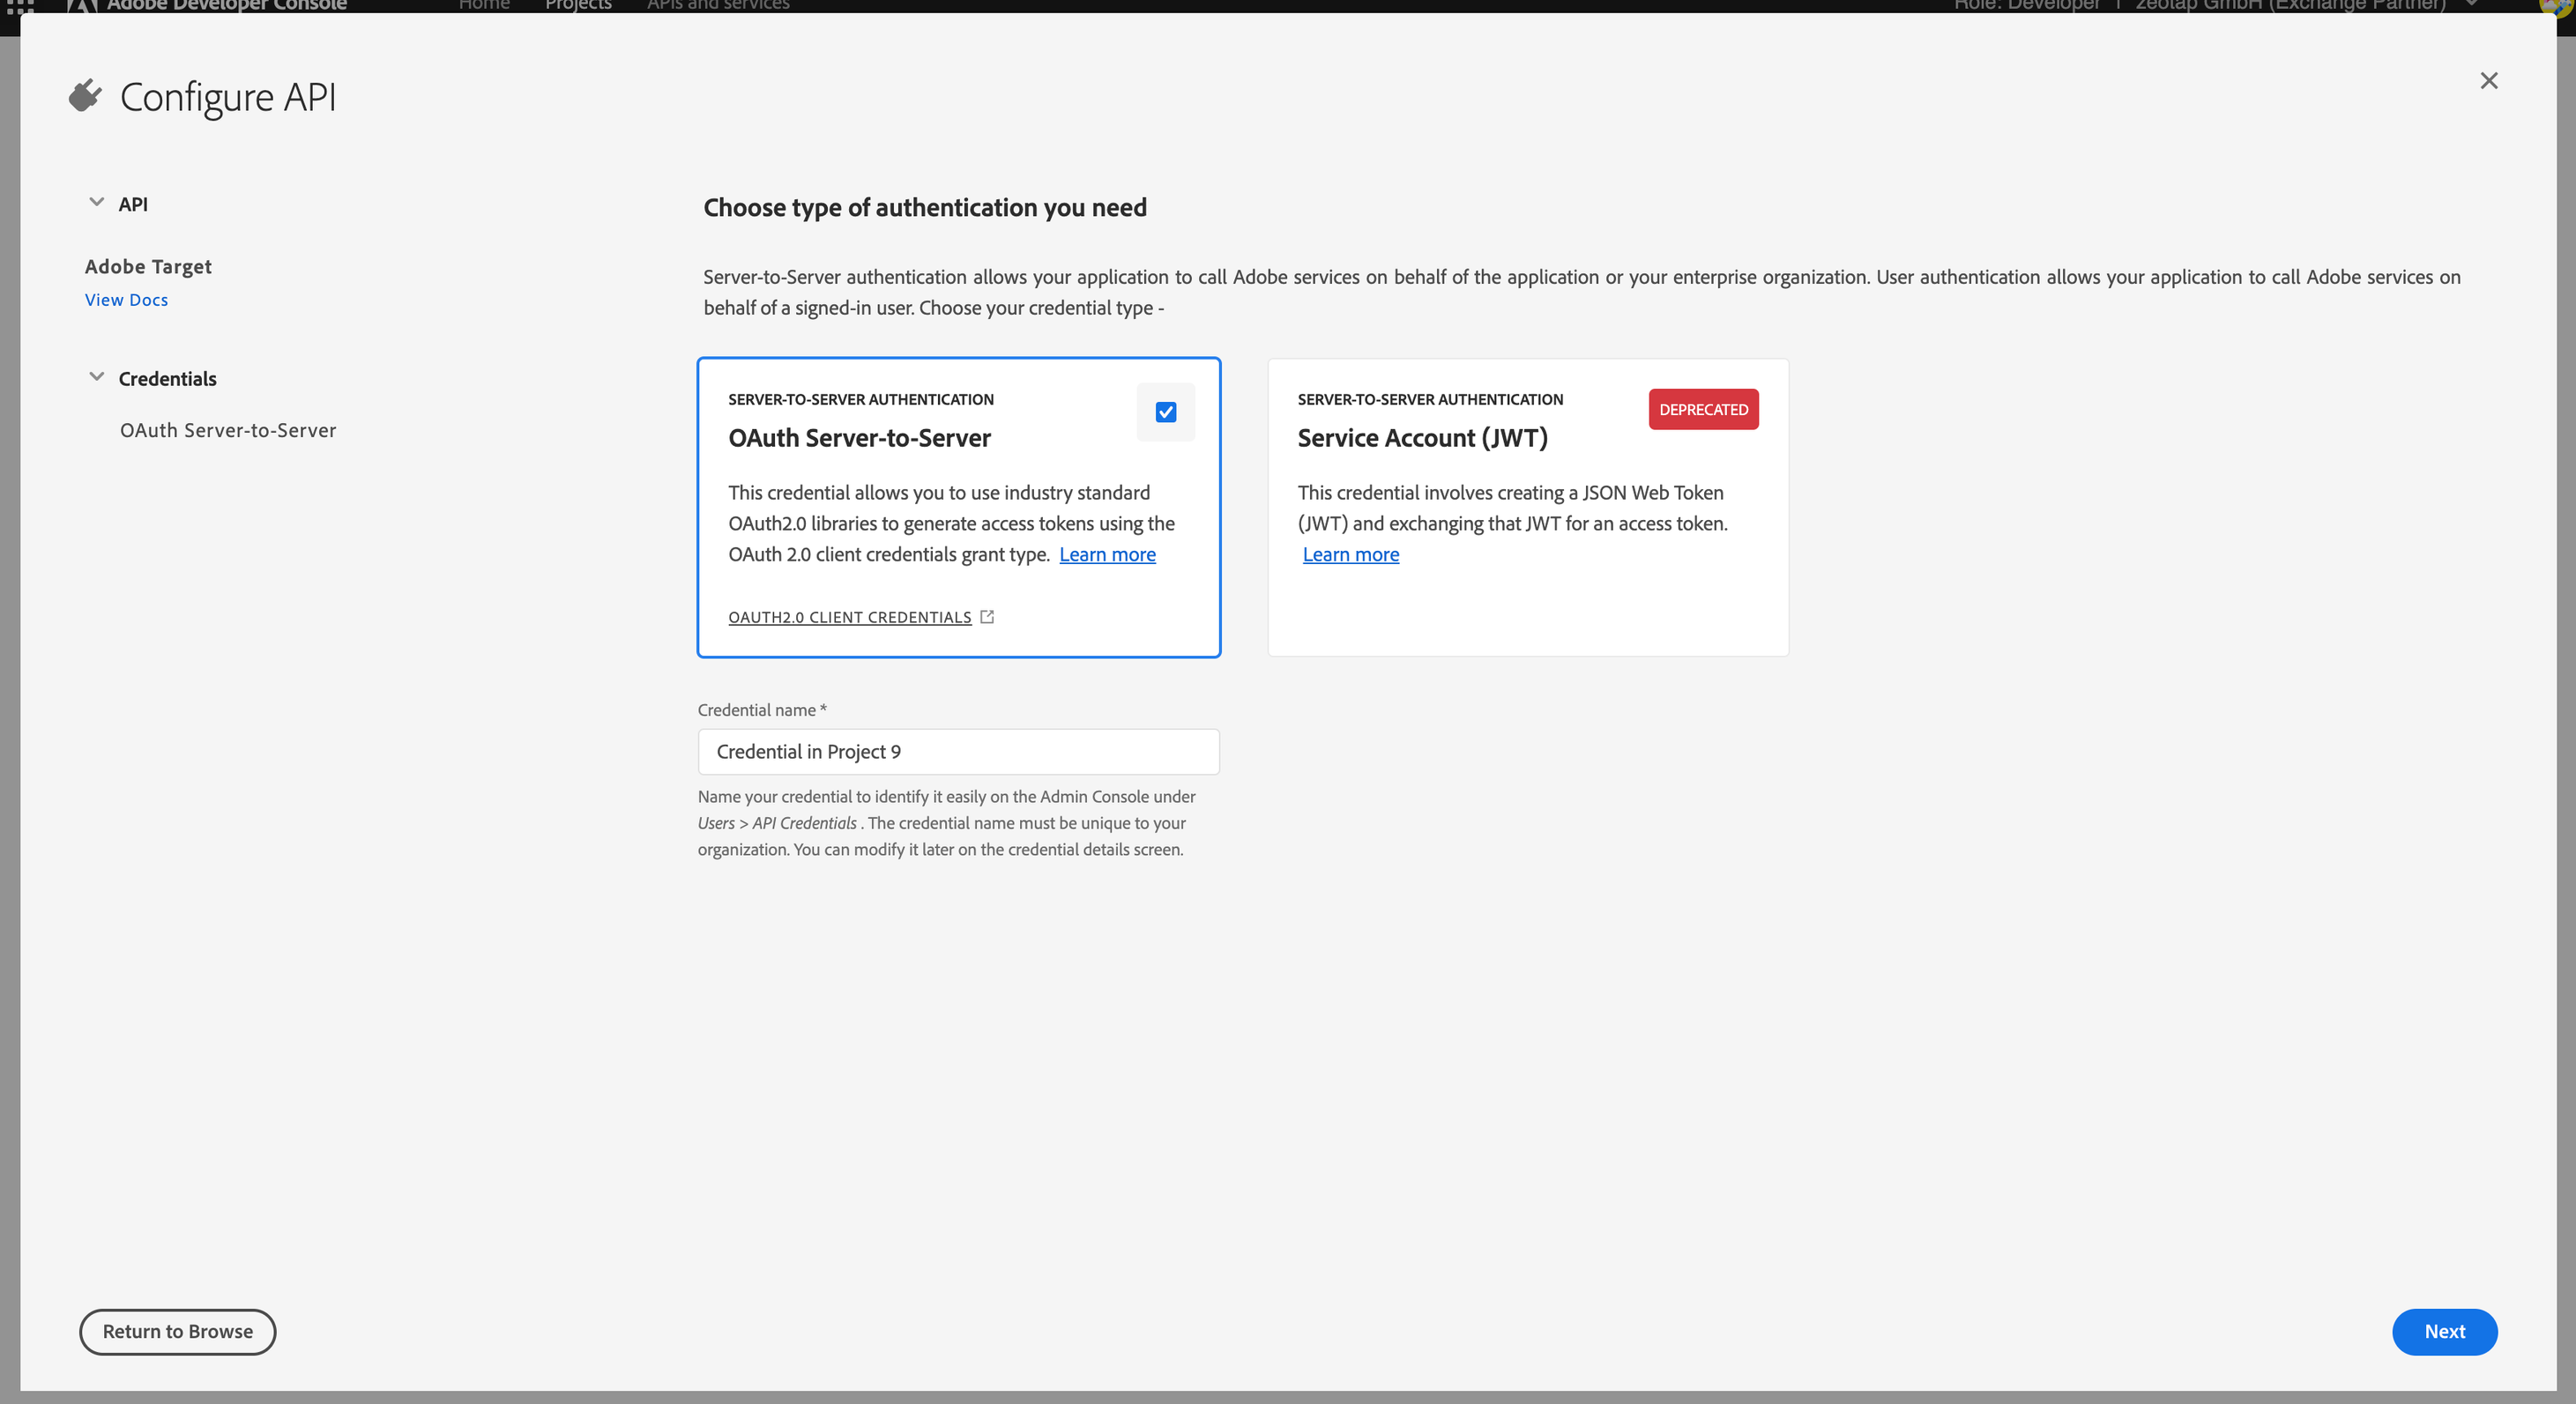
To view the details of the project that you have created, click OAuth Server-to-Server as shown below.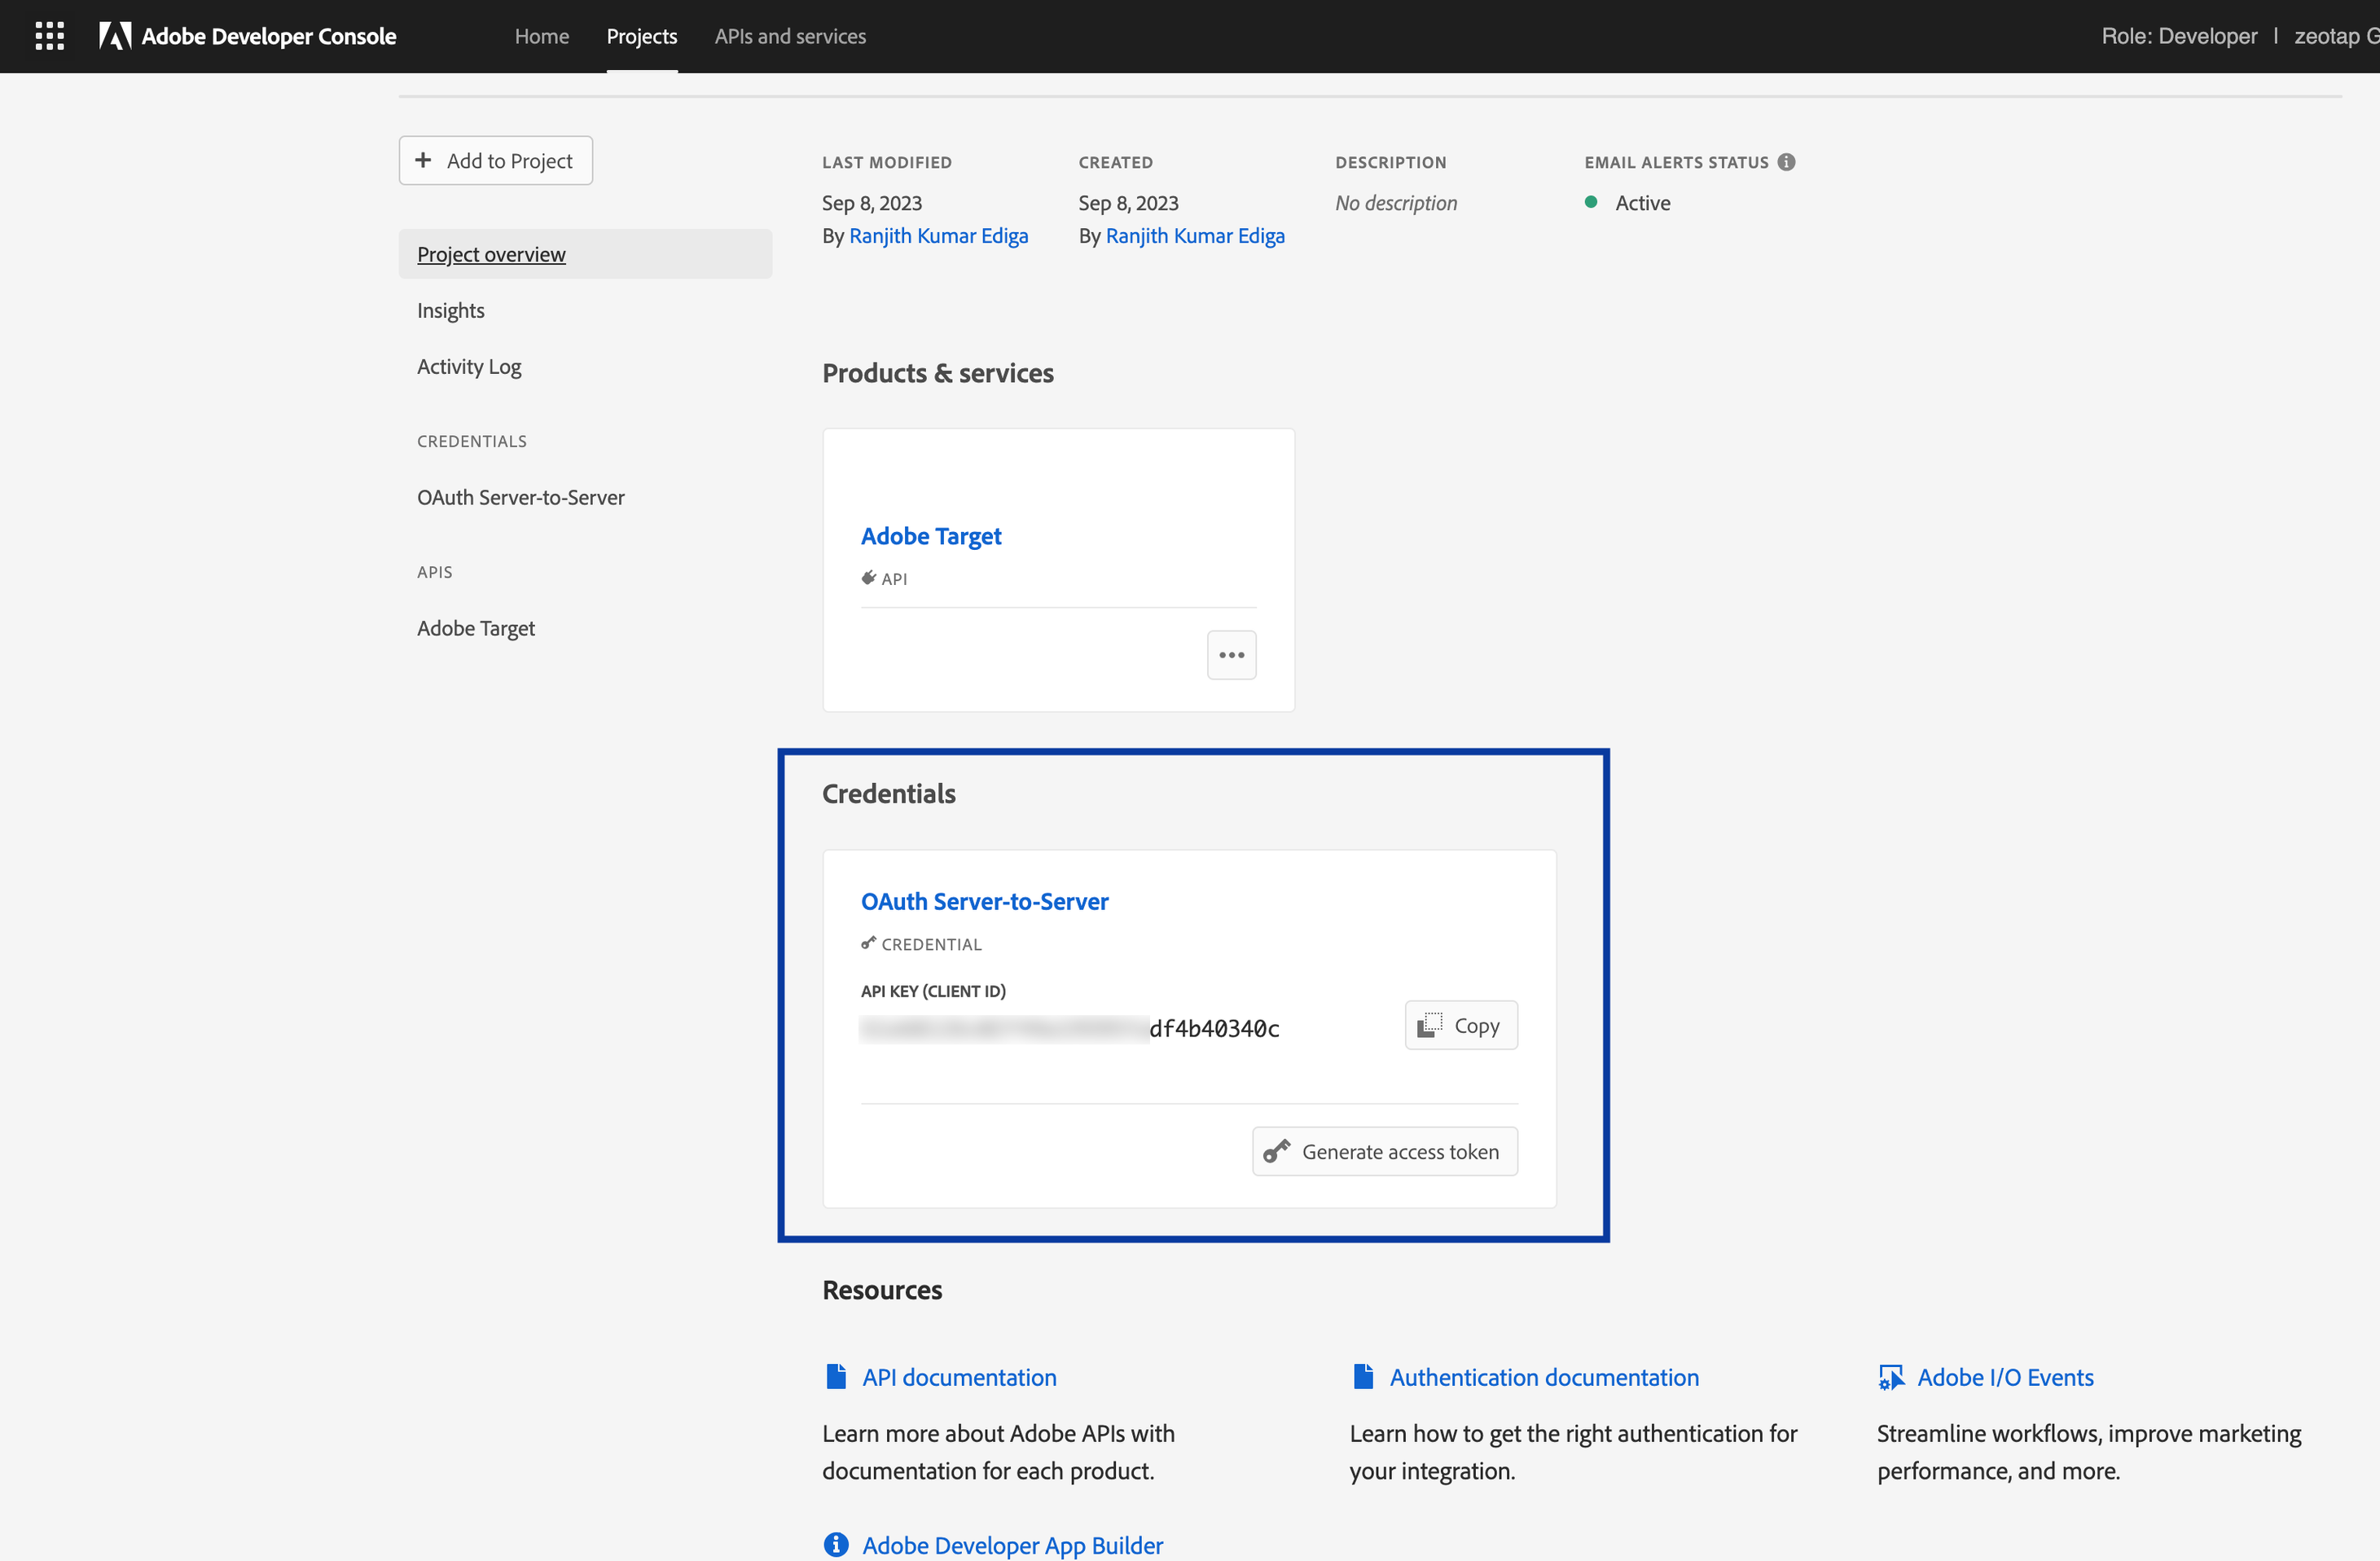
In the next screen, you can find the Client ID. However, to view the Client Secret, click Retrieve Client Secret.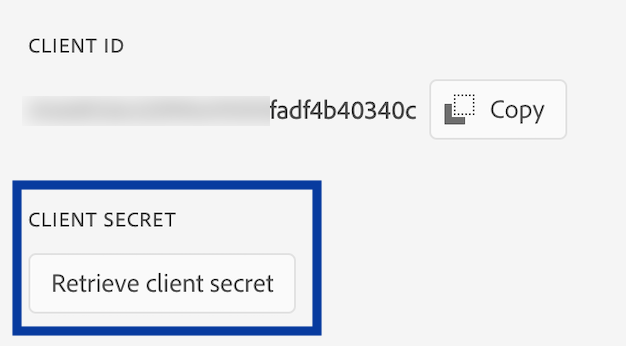

Client Code
A Client Code is a unique identifier assigned to a specific client or user to track and personalise their experiences across different channels and devices. You can obtain the Client Code from the Adobe Experience Platform by navigating to Administration > Implementation > Account details.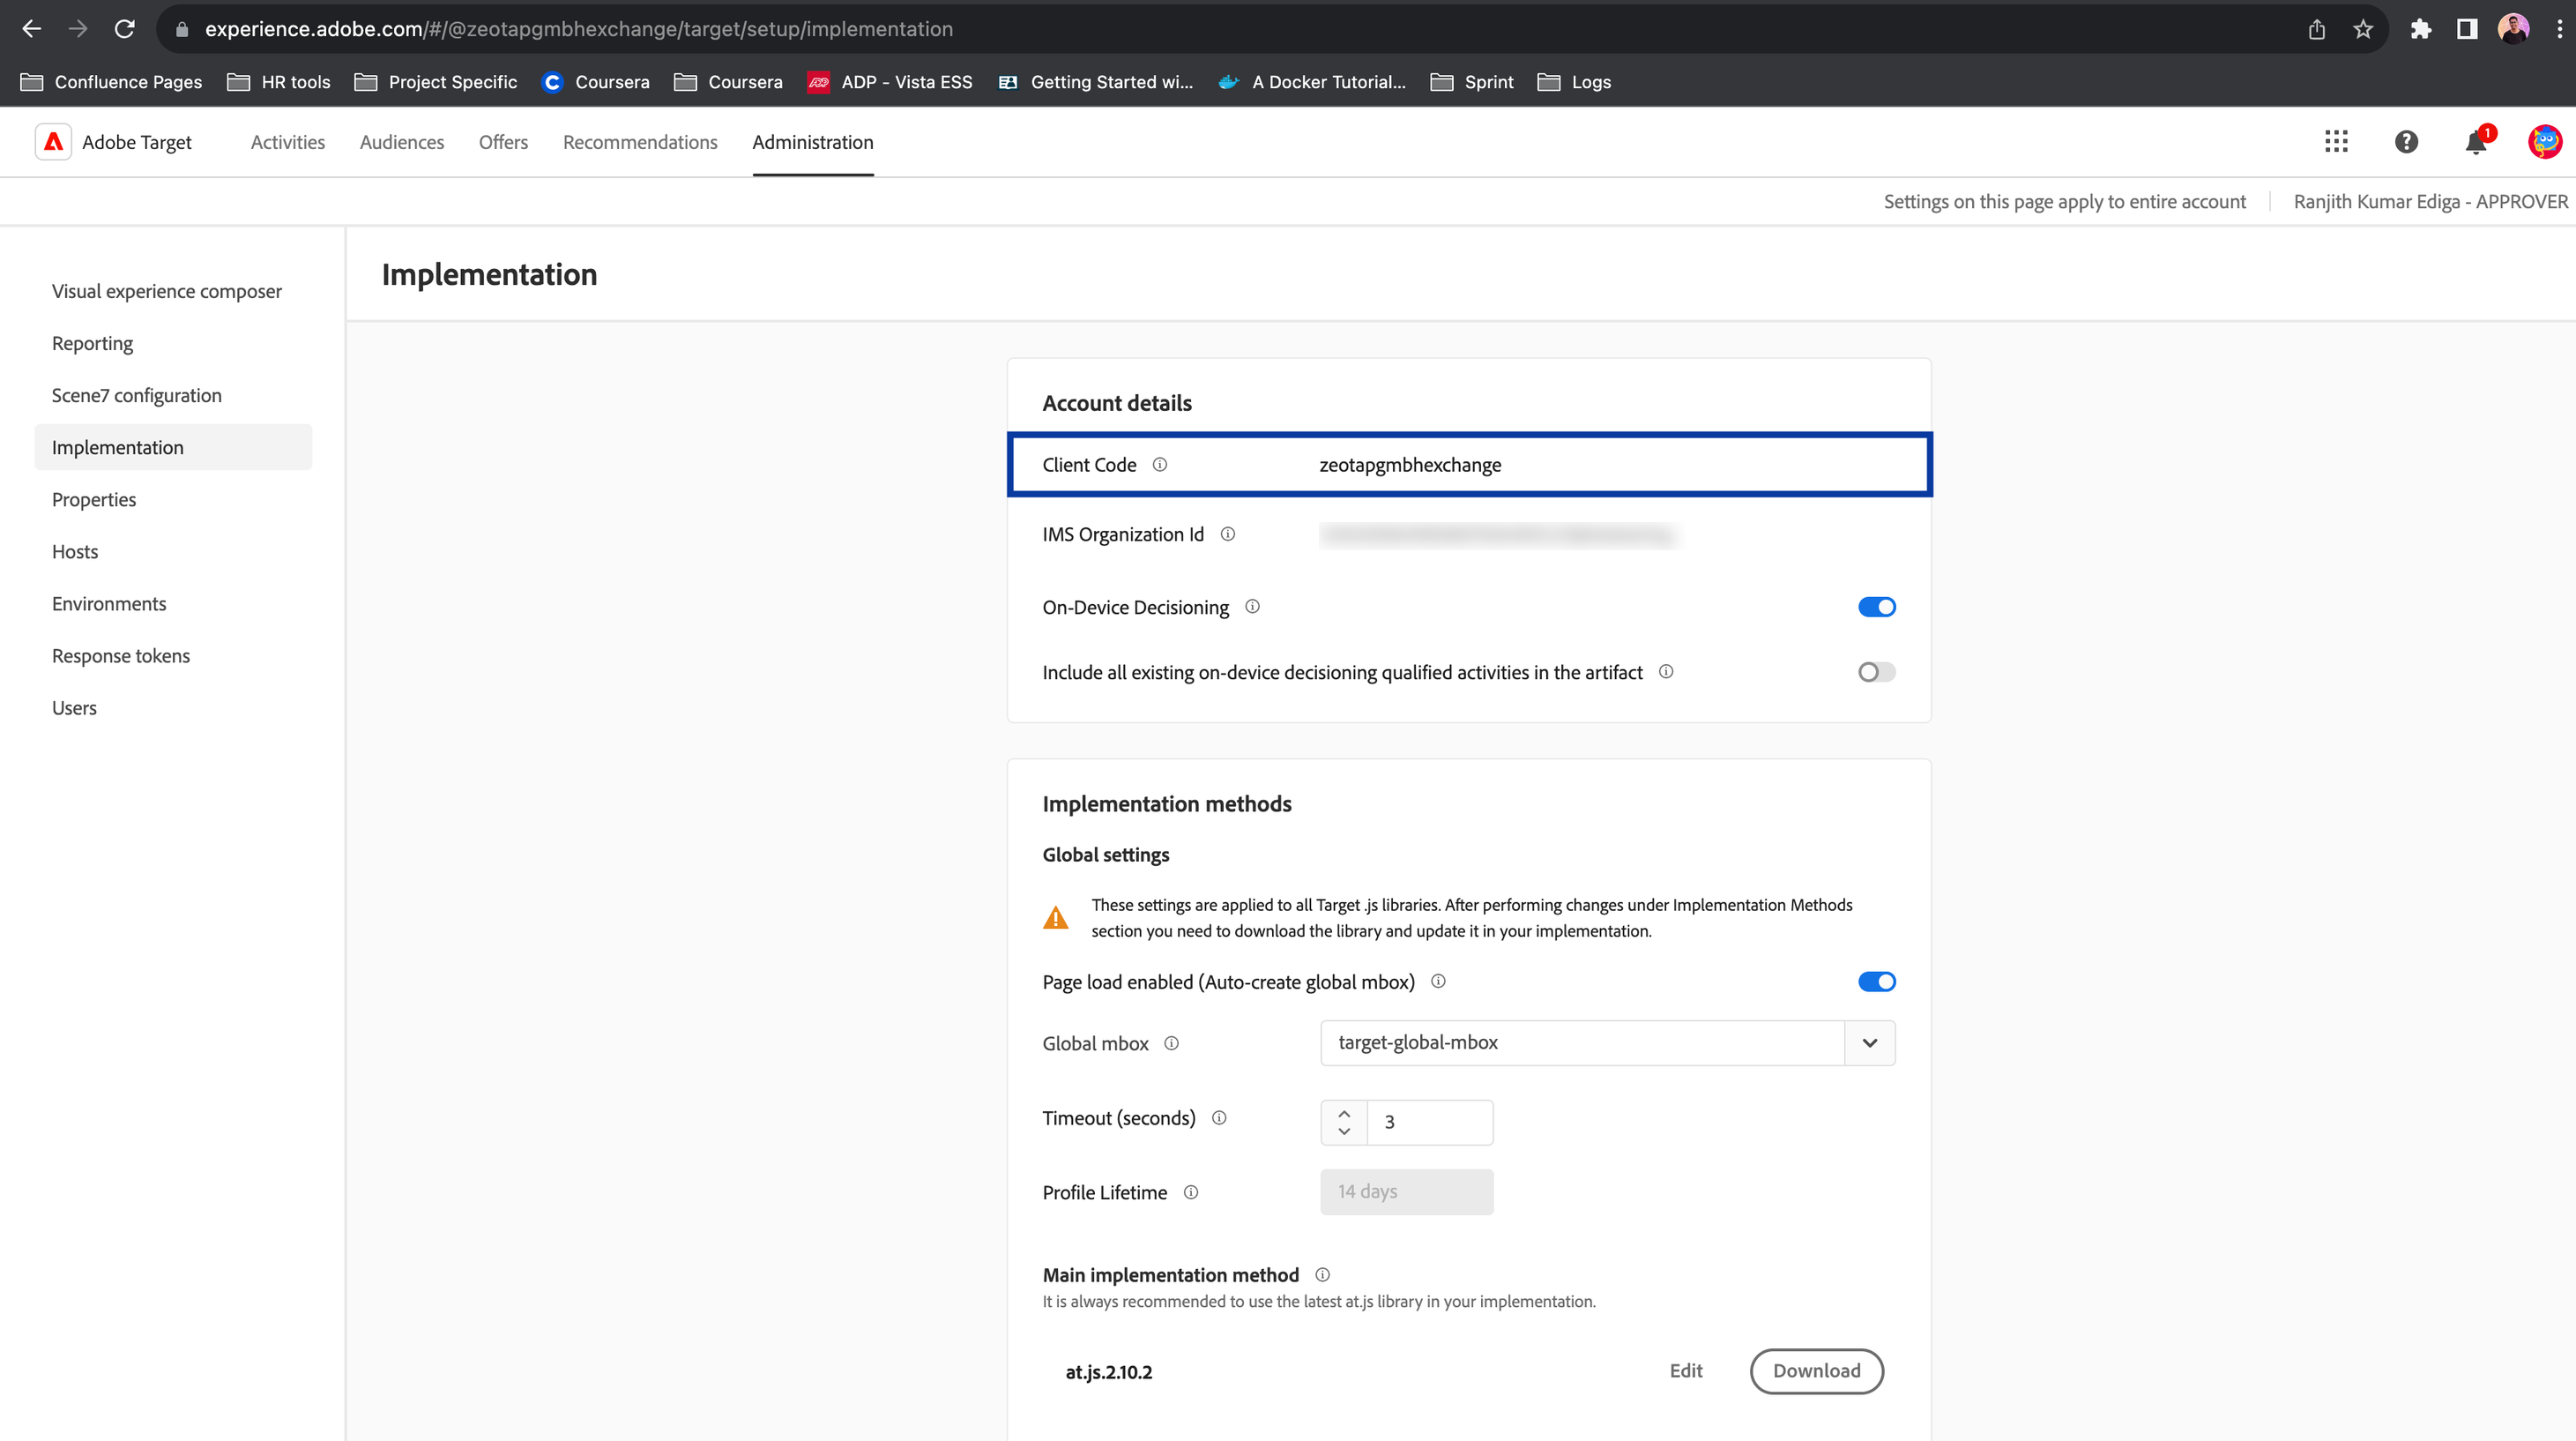
Tenant ID
A Tenant ID is a unique identifier assigned to an organisation or individual to uniquely identify them within the Adobe Experience Platform (AEP) ecosystem. This identifier is used to authorise user access to specific capabilities within AEP. To obtain your Tenant ID, log in to the Adobe Experience Cloud, open Adobe Target and click the Target card. Use the Tenant ID value as noted in the URL subdomain. For example, if your URL when logged in to Adobe Target is <https://mycompany.experiencecloud.adobe.com/…>, then your Tenant ID is mycompany.Note:The Tenant ID is different from your Client Code. The Tenant ID exists in the URL when you are logged in to Adobe Target.
Destination Setup
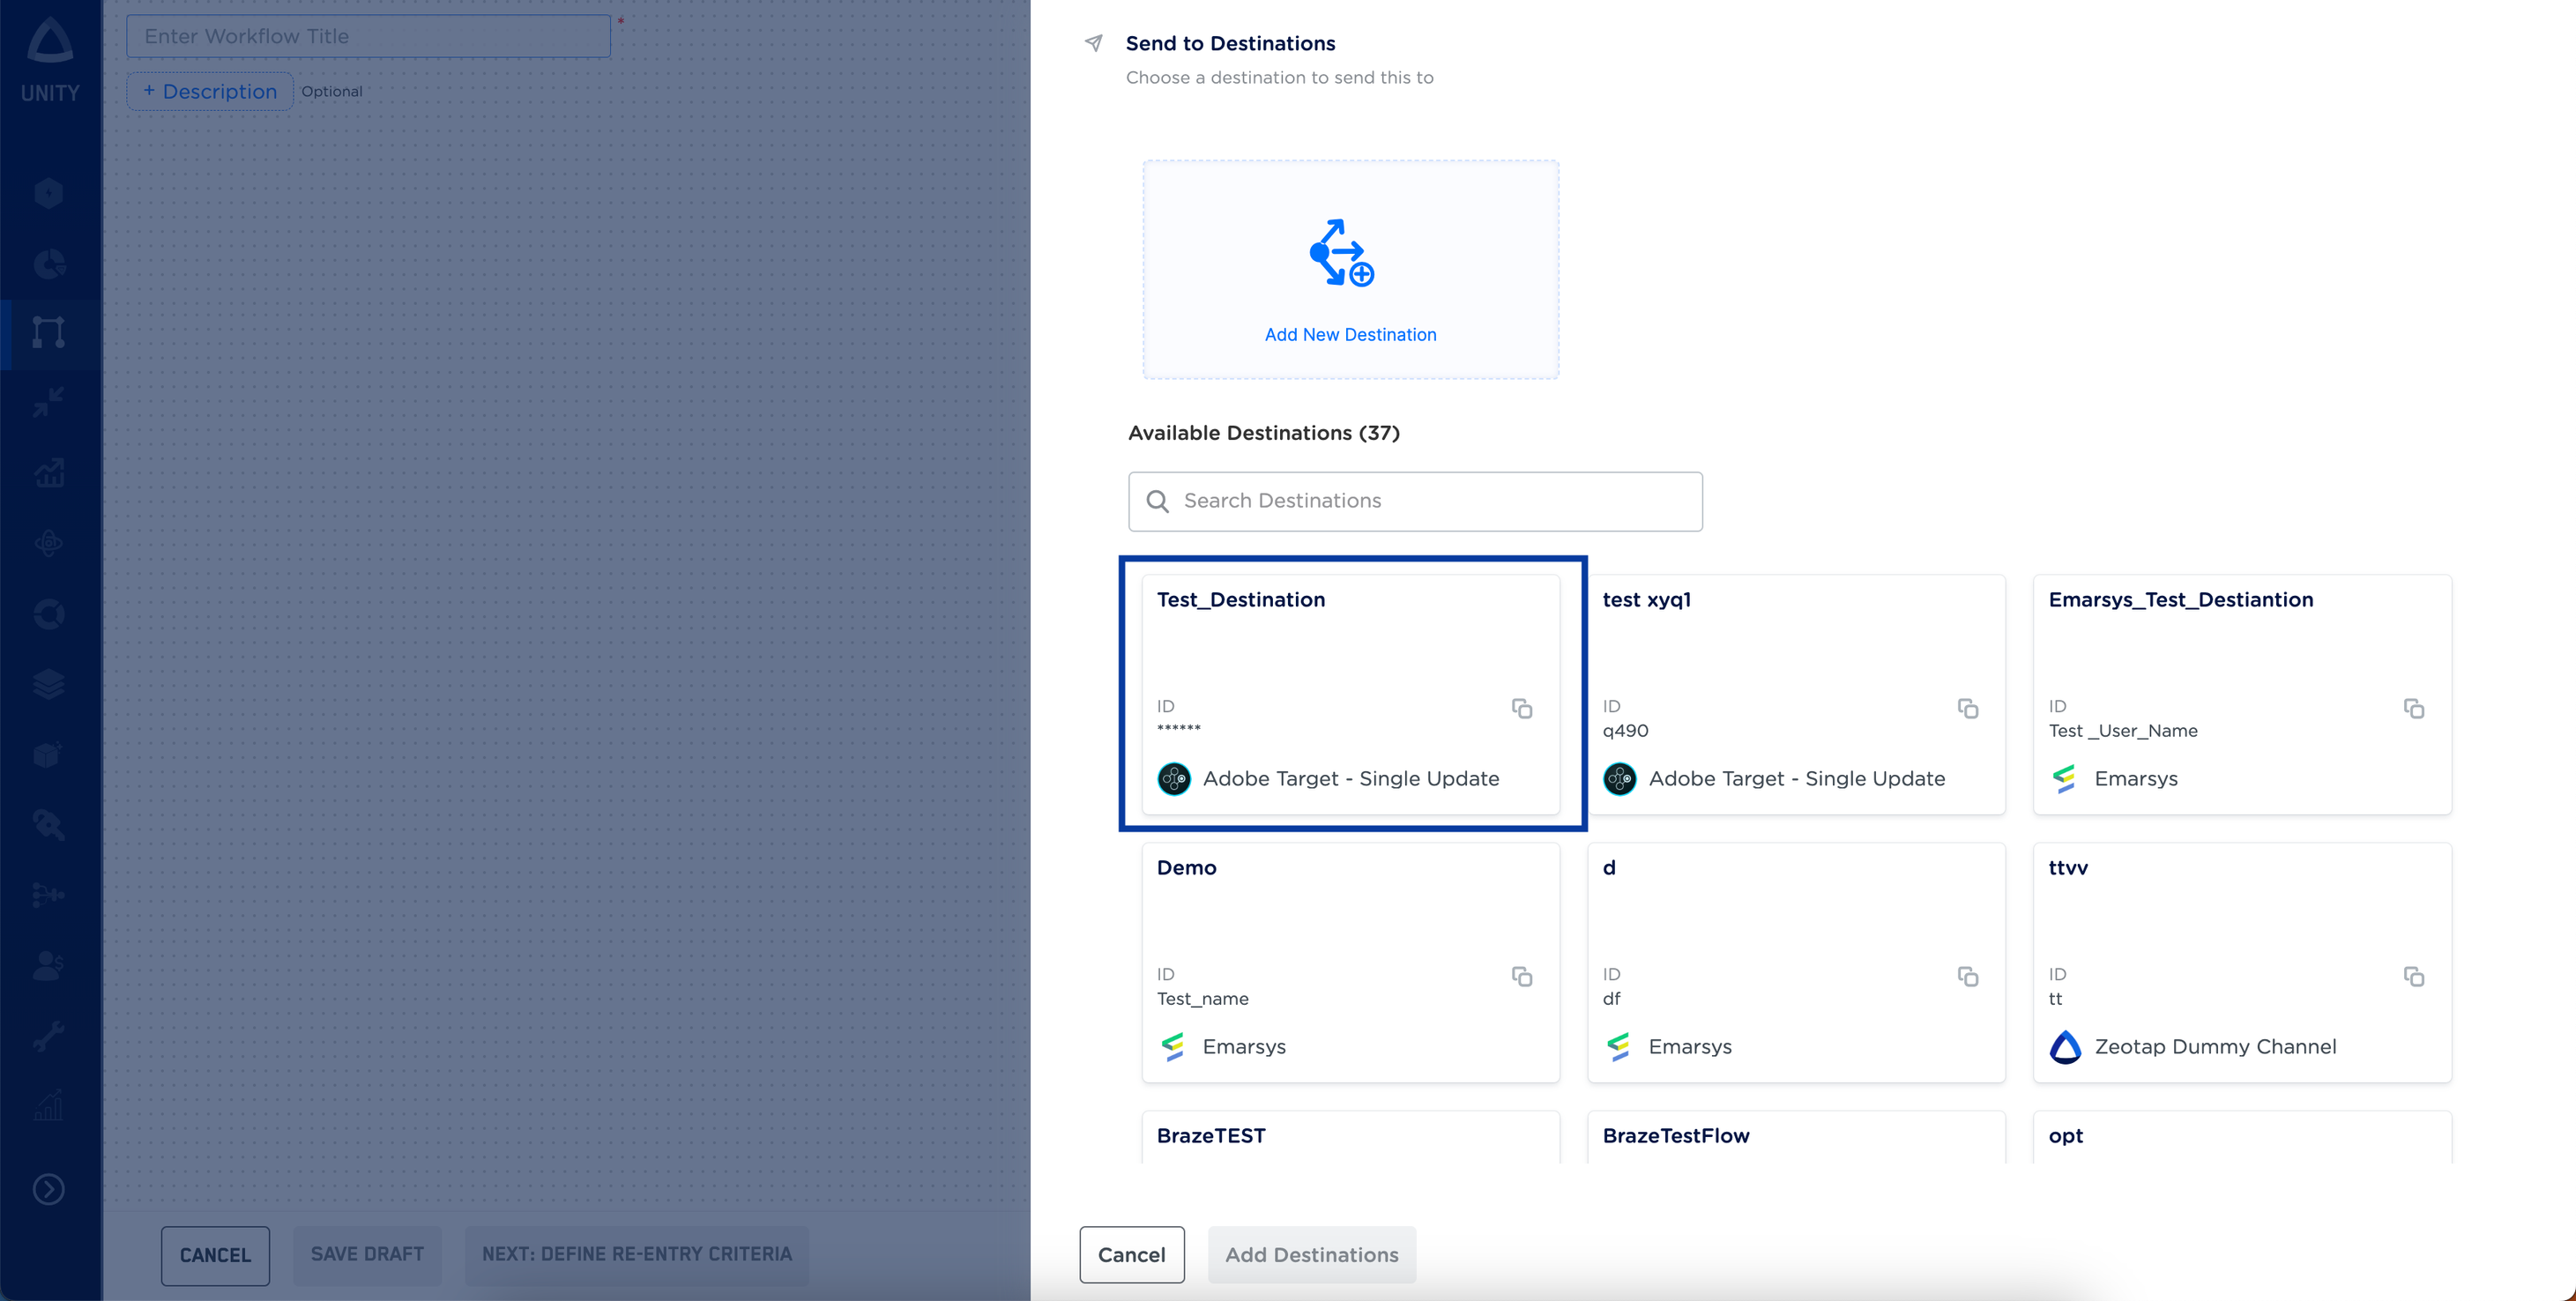
After you have applied filters or added conditions for your users in Journeys, you can activate them in Adobe Target under Send to Destinations. A new window opens, where you can set up your destination. You can use an already existing destination from the list of Available Destinations or create a new one.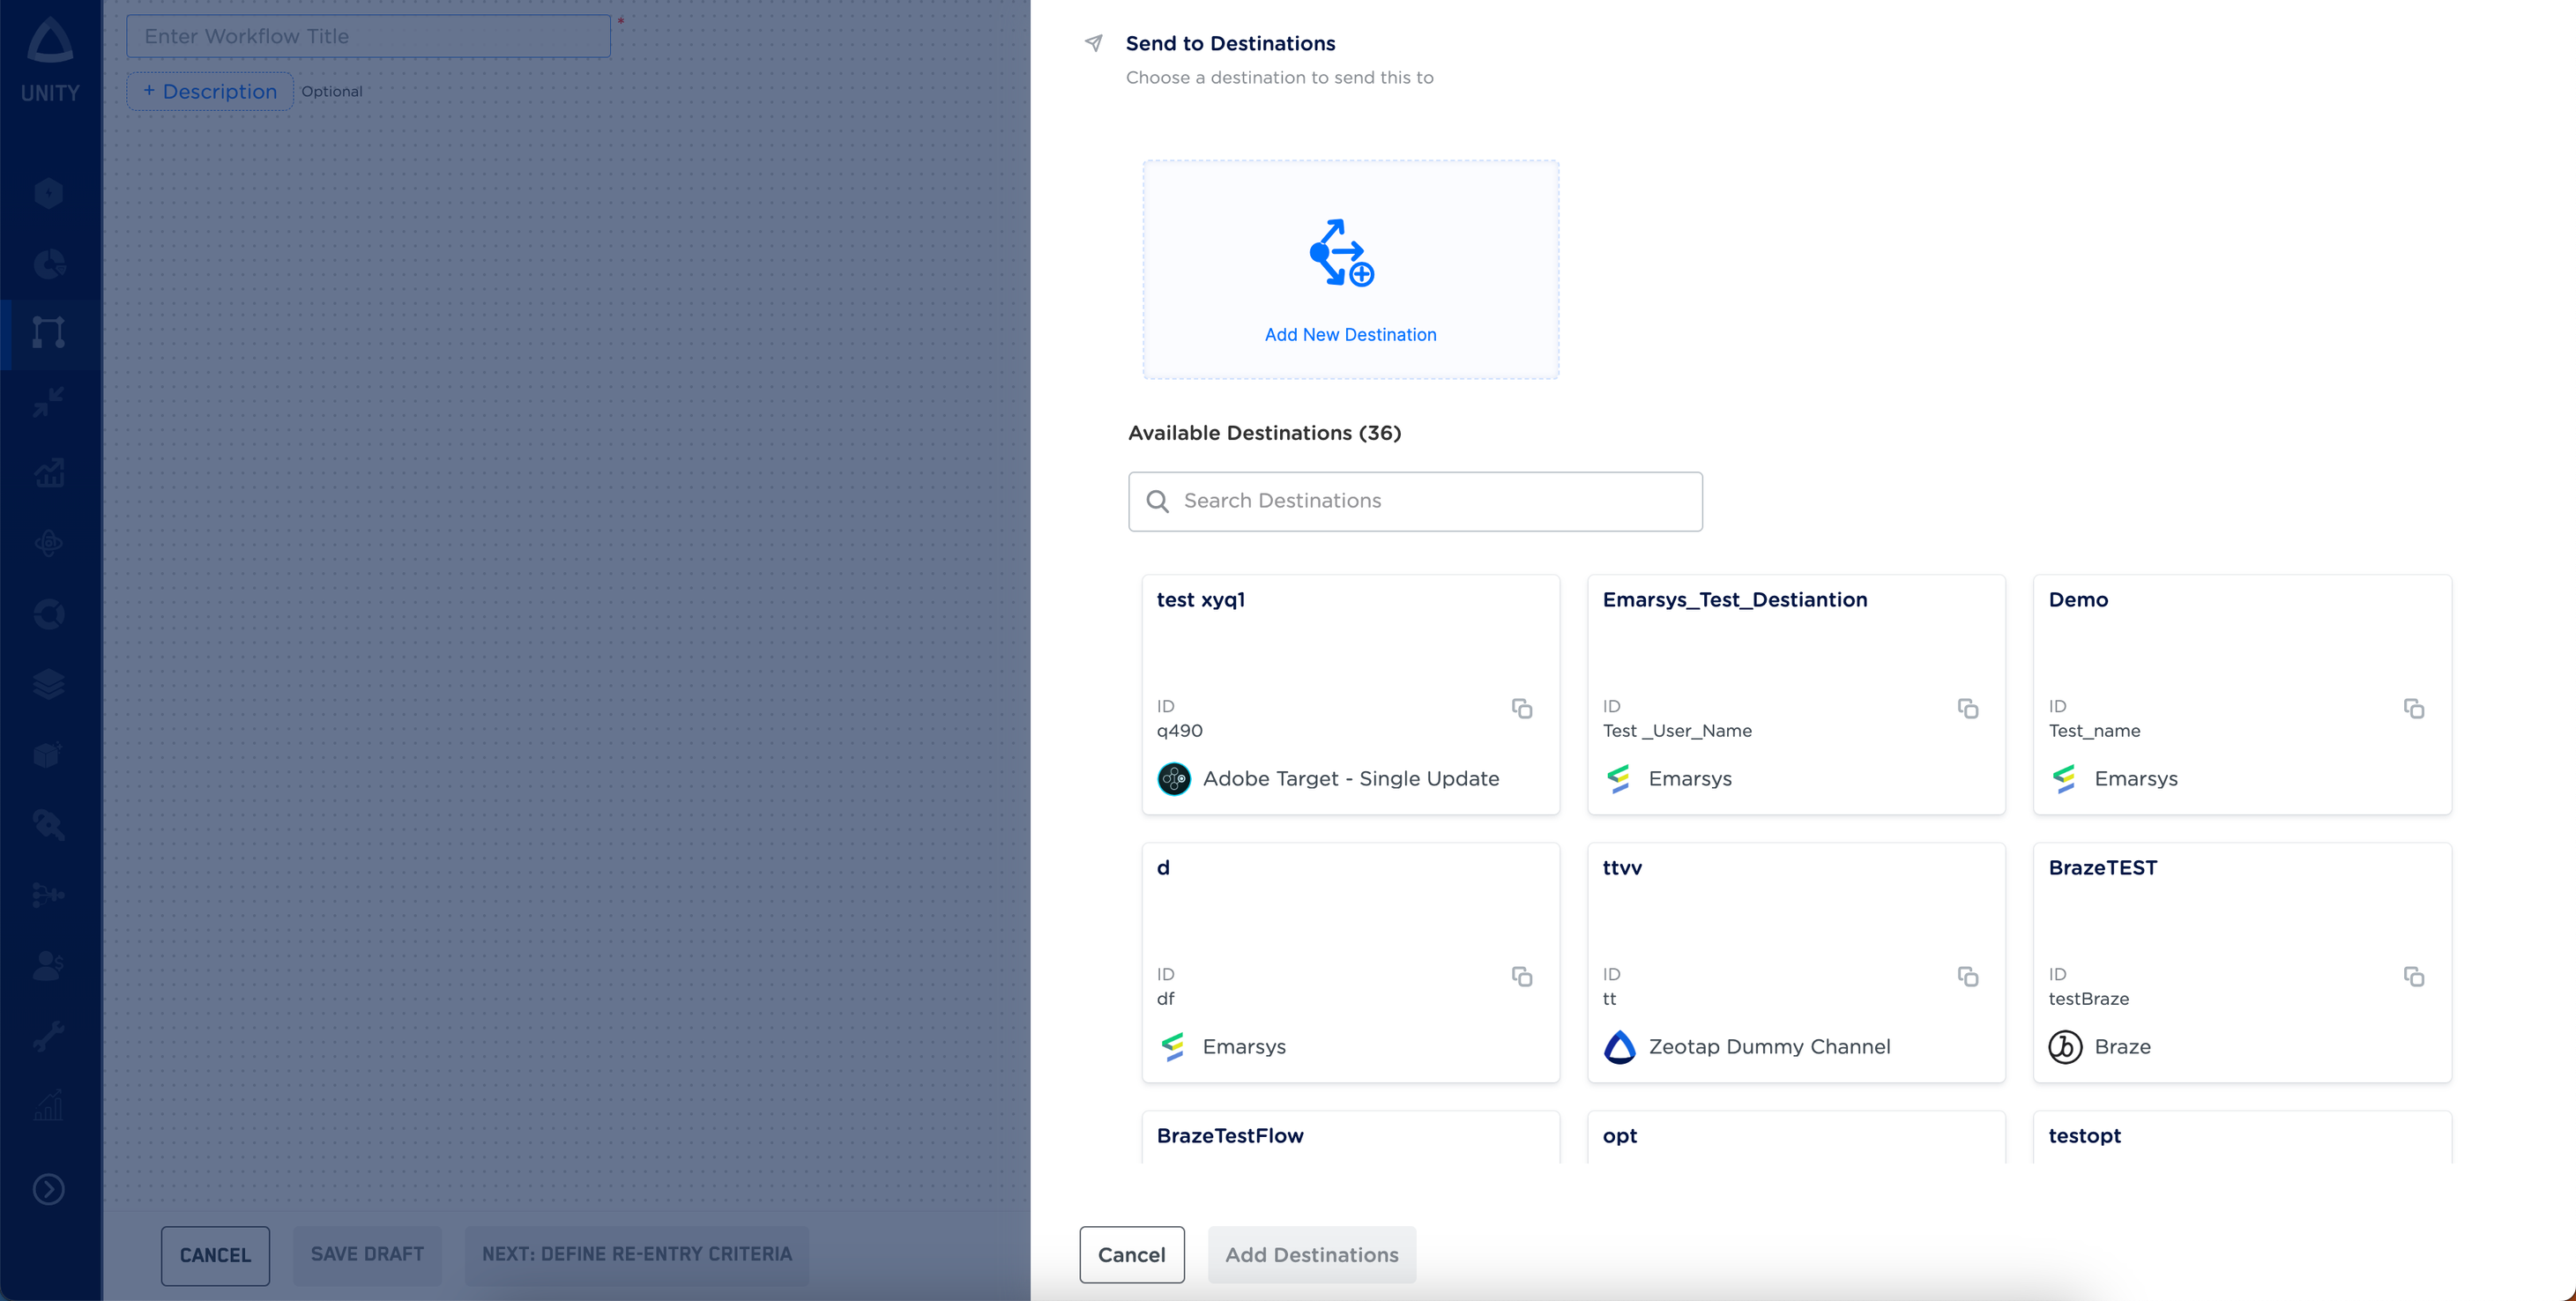
Add New Destination
Perform the following steps to add a new destination:Click Adobe Target- Single Update .a. Enter a name for the Destination.
b. Enter the Client ID, Client Secret, Client Code and Tenant IDthat you have obtained in the above steps and save the Destination.
In the mapping screen that appears, under Choose your Action, select Stream attributes to Adobe Target - Single Updateas the action for sending data from the workflow created in Journeys. Under Map the Fields, note that you must mandatorily map the ECID, Adobe Target Session ID and Mbox Edge Number. Use + Add Mapping Field to add custom identifiers and attributes you wish to send to Adobe Target (Single Update).
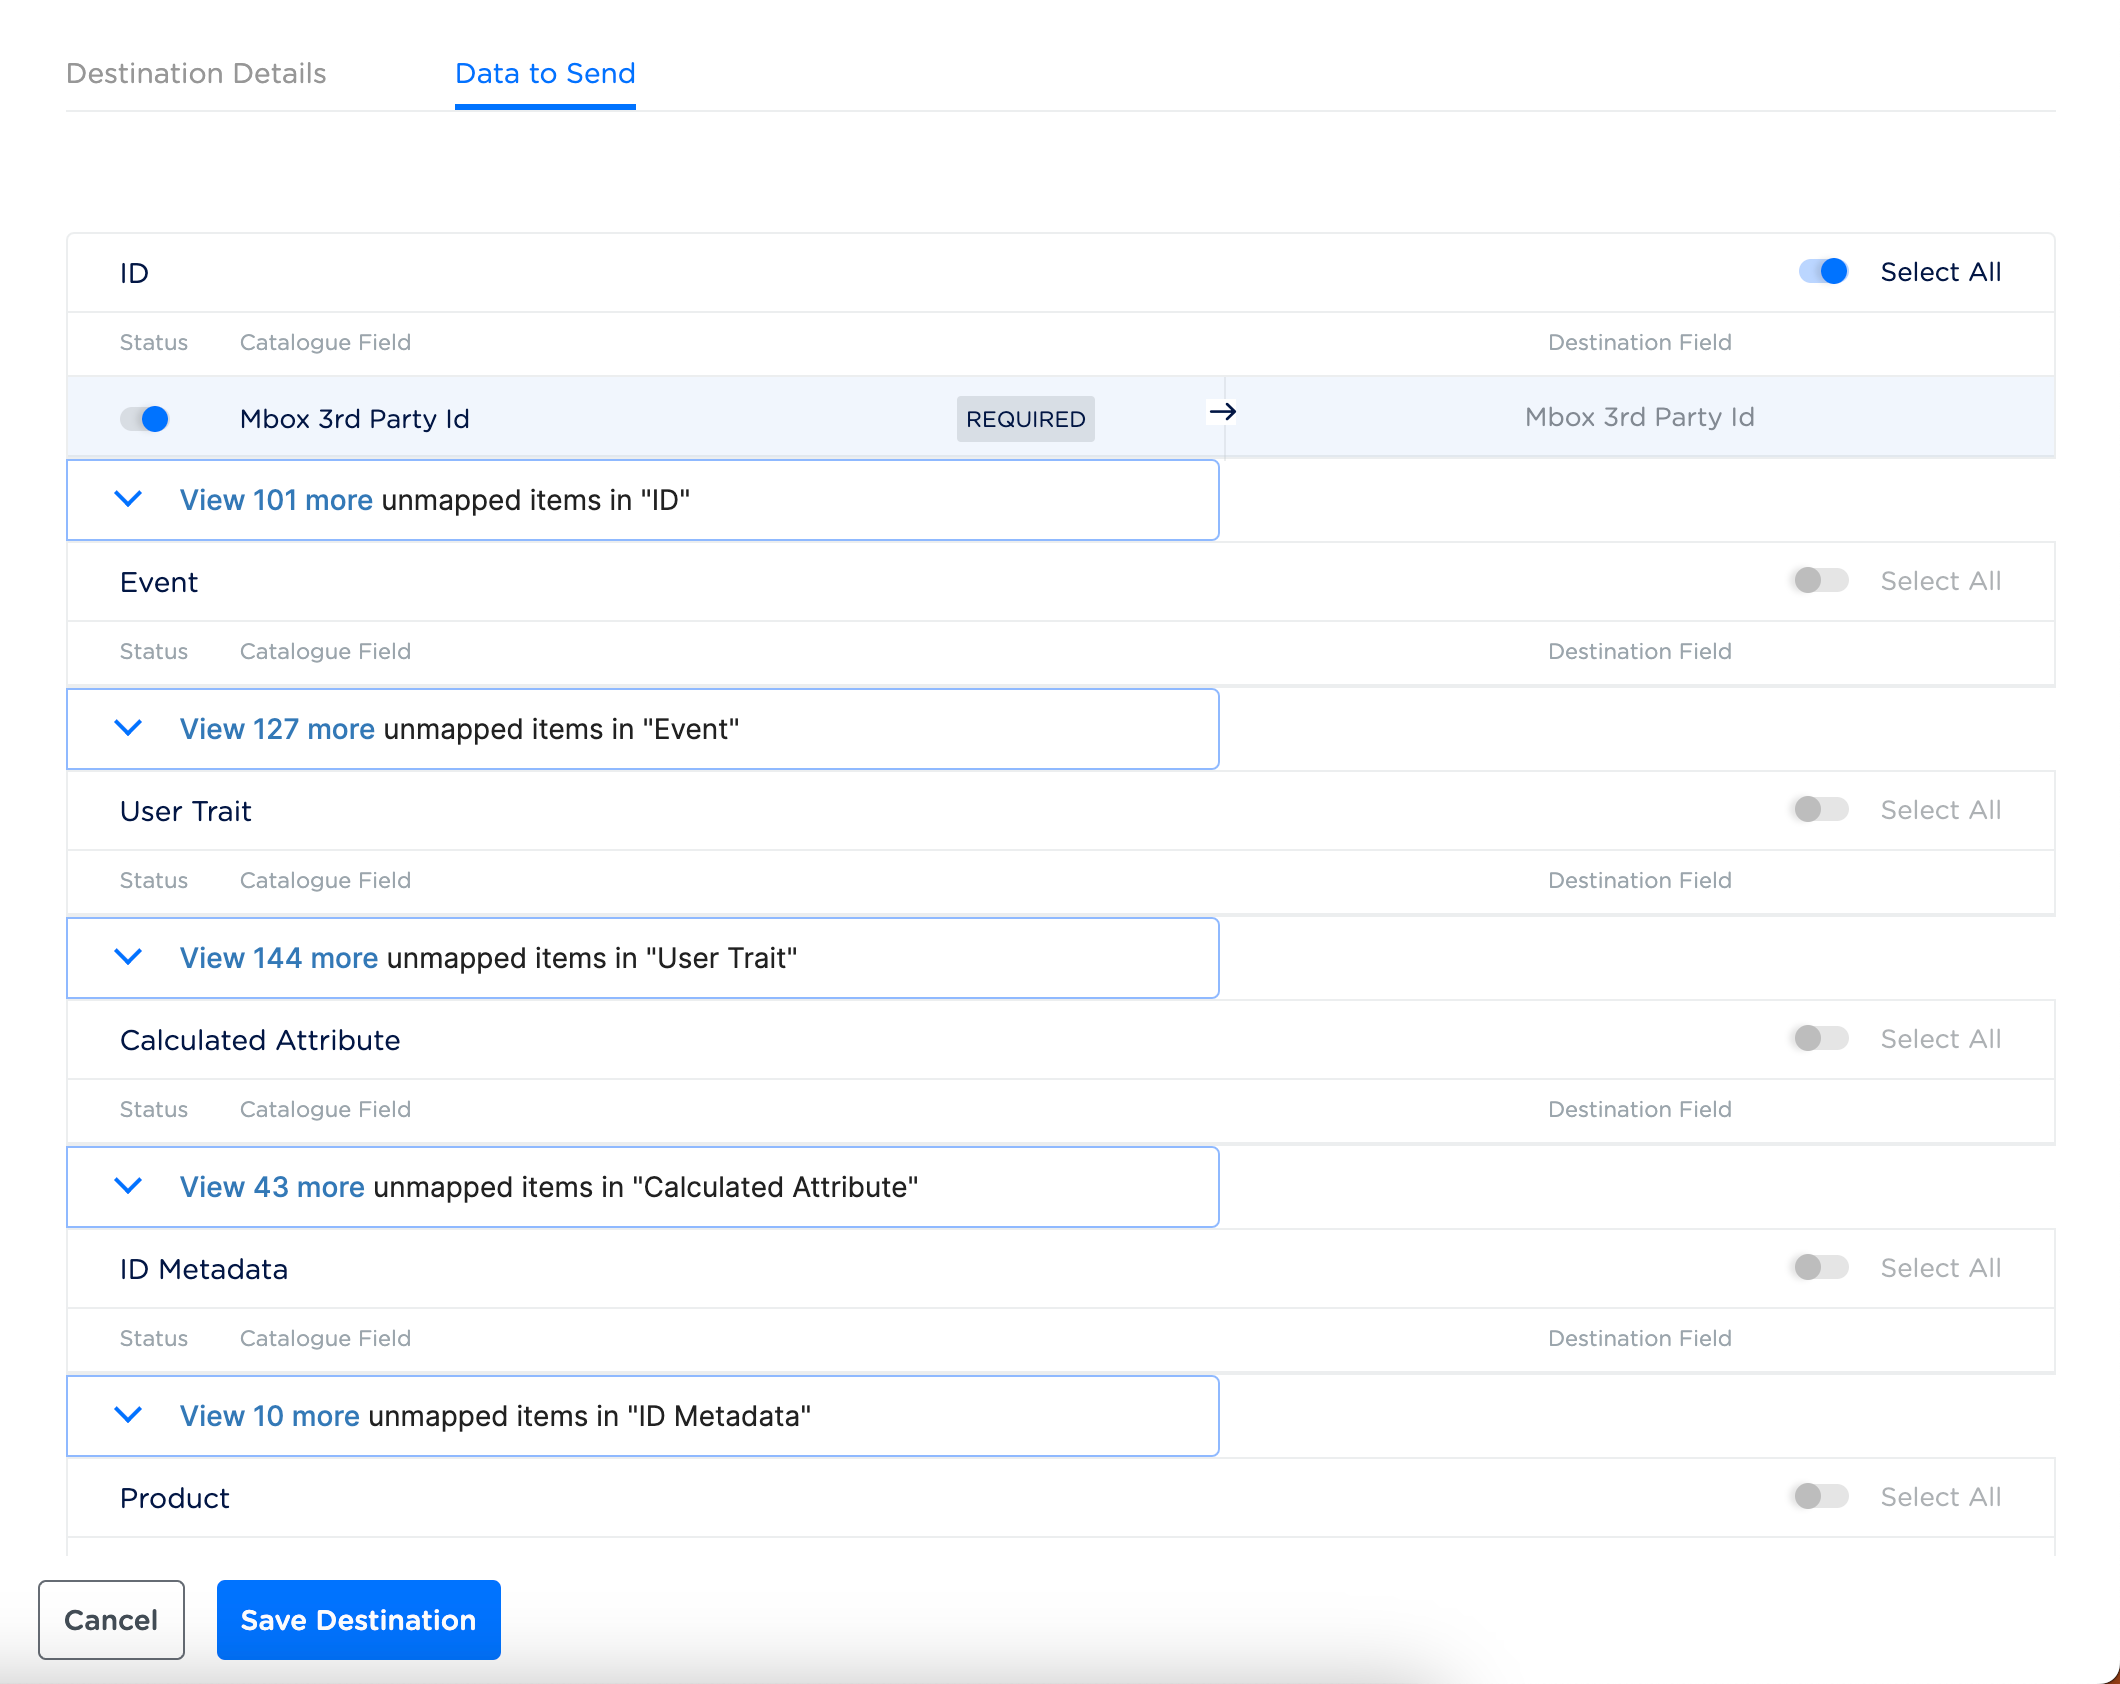
Link the Destination
After creating a Destination, next, you have to link the Destination that you created to the Journeys workflow and map the relevant source fields to the Destination fields in the Data To Send tab.