Overview
Batch is a mobile marketing automation platform that enables marketers to engage with their mobile app users through push notifications, in-app messaging and email. Integrated with Zeotap it provides a range of features and capabilities that enable marketers to create personalised and relevant experiences for their users and drive engagement, retention and revenue. Use this real-time integration to send custom audiences to Batch. A custom audience can contain a list of custom user IDs, advertising IDs (GAID or IDFA) or install IDs.Prerequisites
Ensure that the following prerequisites are taken care of before proceeding with this integration:- Ensure that you have a Batch account. After logging into the Batch account you are redirected to the Batch dashboard.
- Ensure that you have integrated or set up your mobile applications with Batch. The already integrated mobile applications appear on the Batch dashboard.
Components of Batch
To understand the components of Batch, navigate to the Batch Dashboard and click SETTINGS from the top panel as shown below.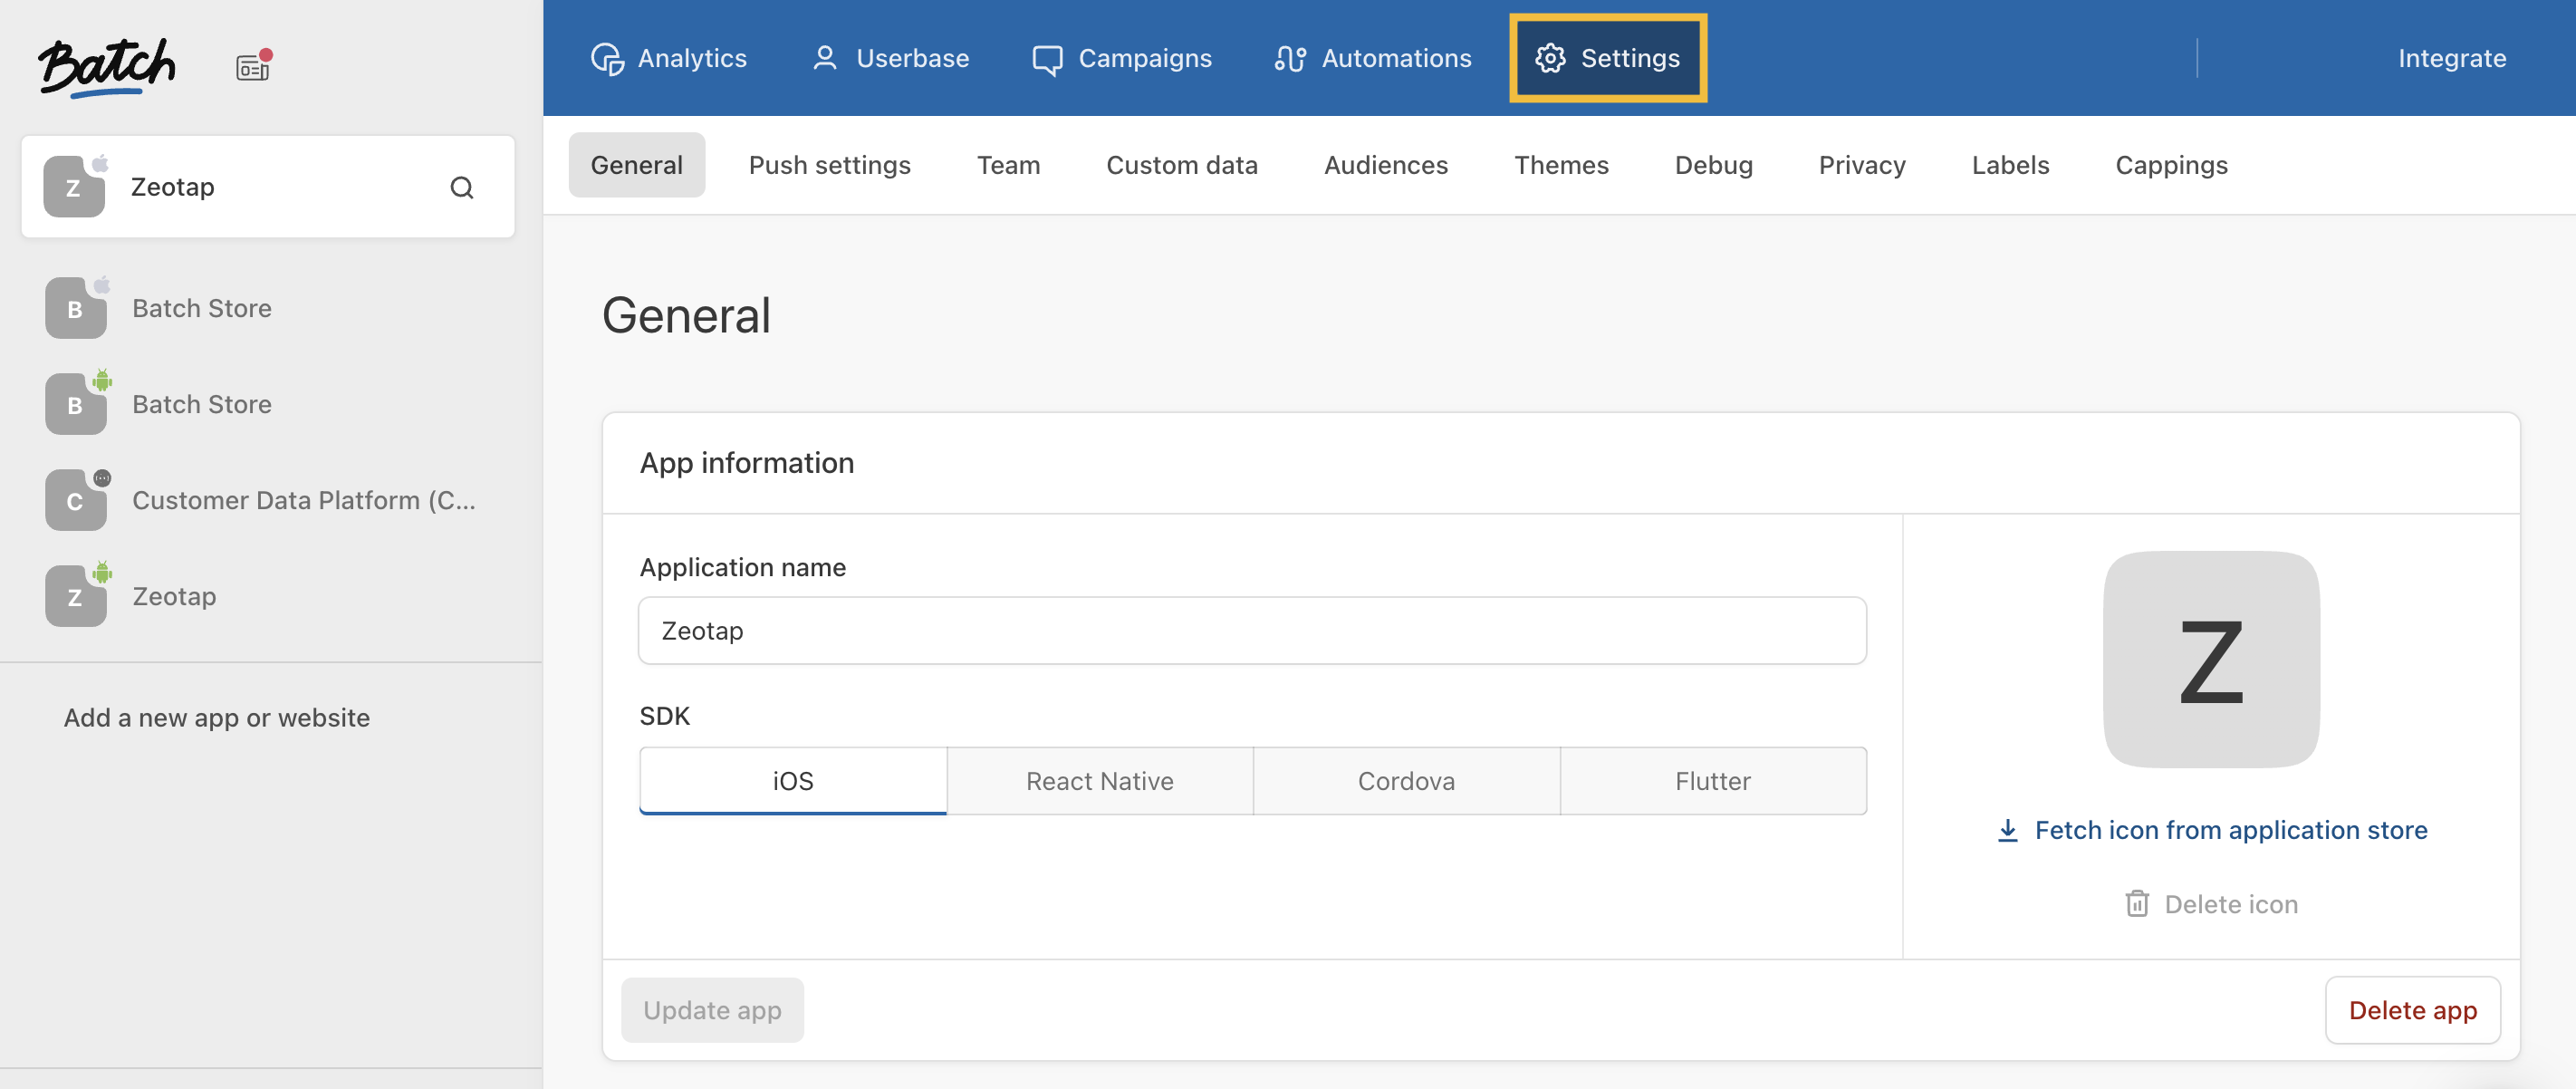
Destination Setup
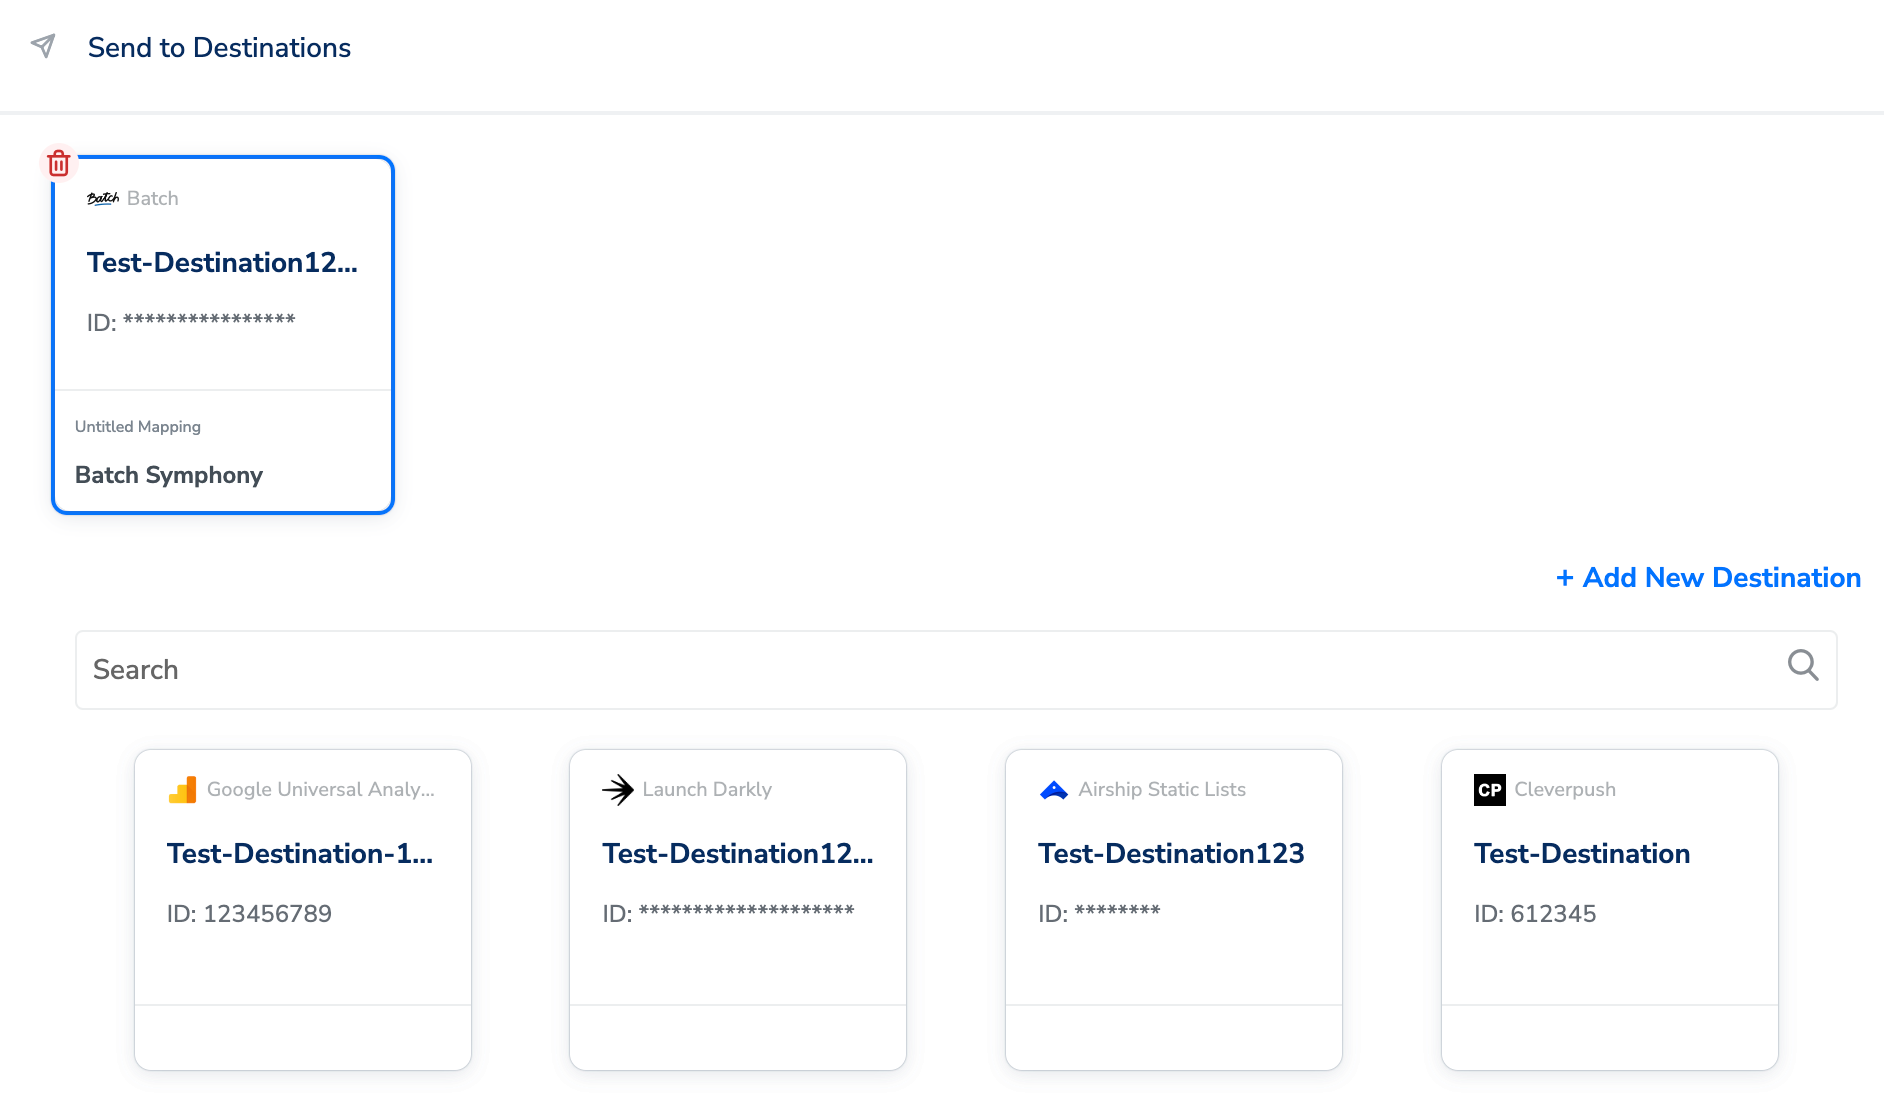
After you have applied filters or added conditions for your users in Journeys, you can activate them in Batch under Send to Destinations. A new window appears, where you can set up your destination. You can use an already existing destination from the list of available Destinations or create a new one by clicking + Add New Destination.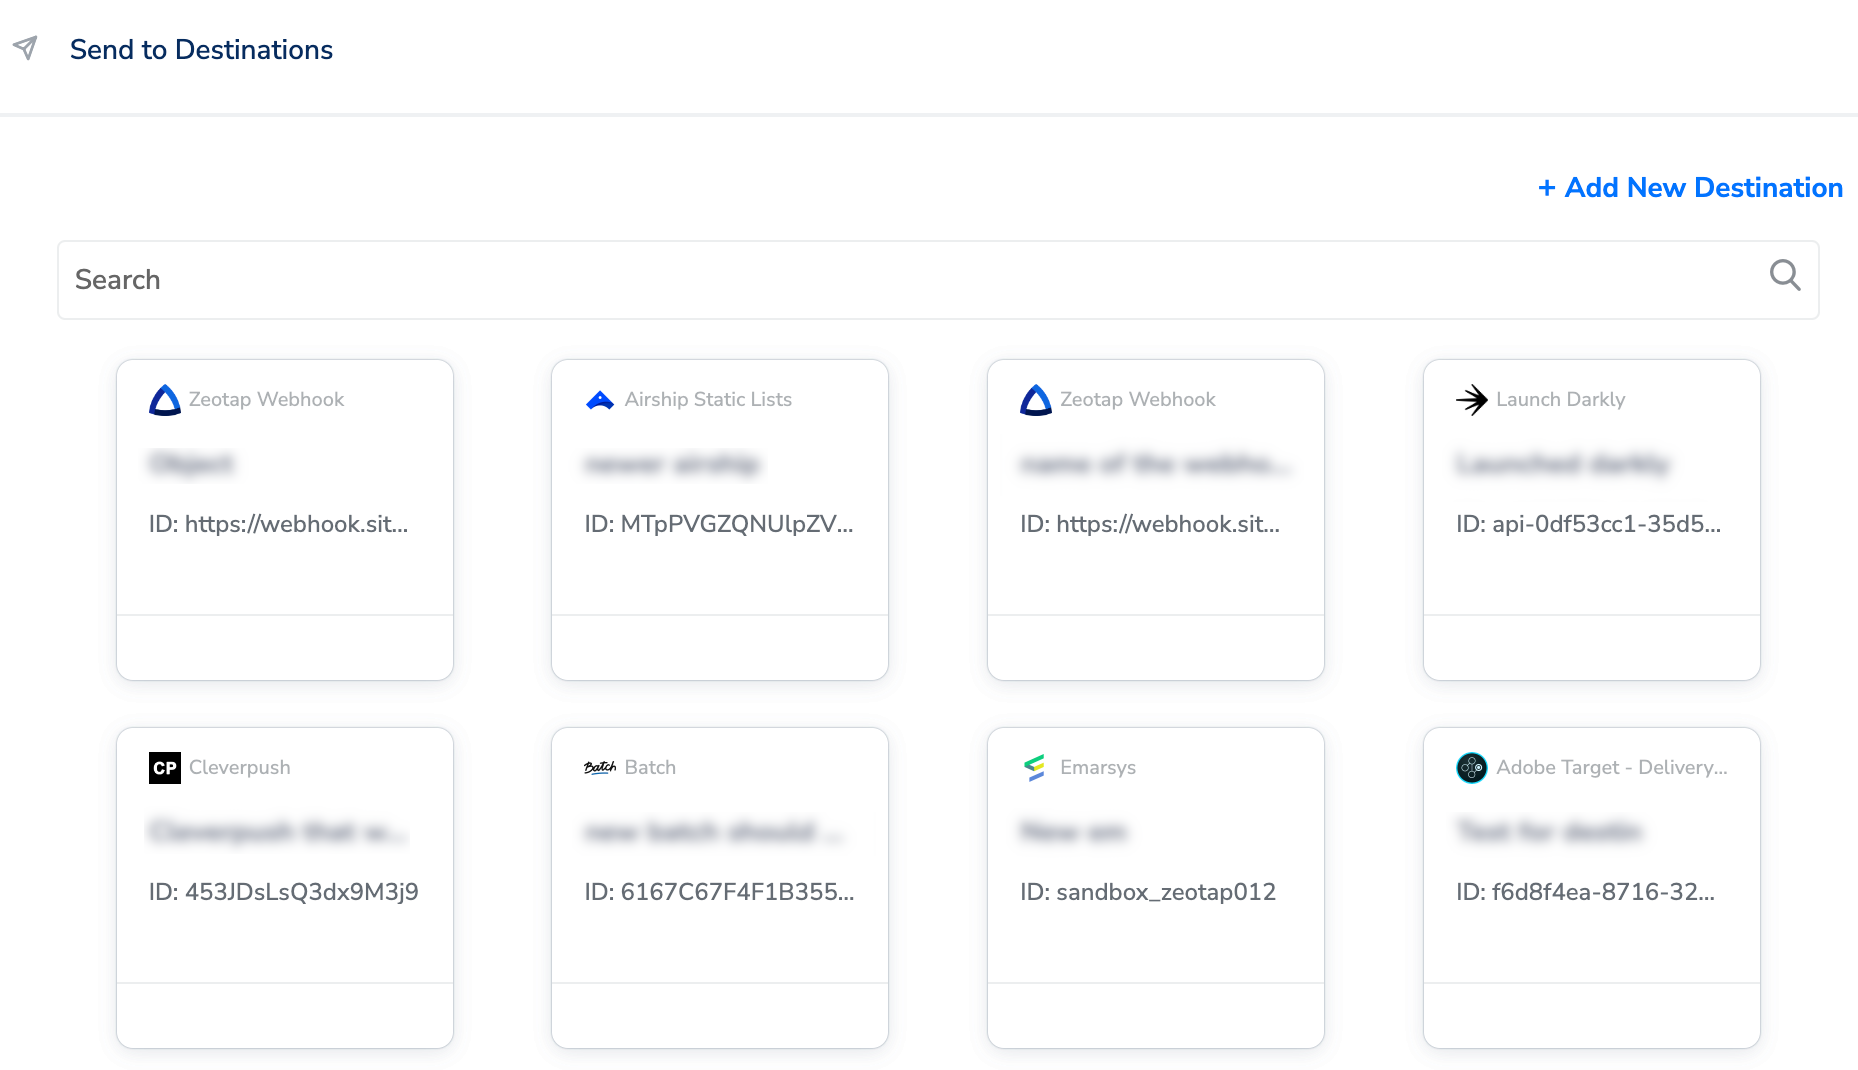
Add New Destination
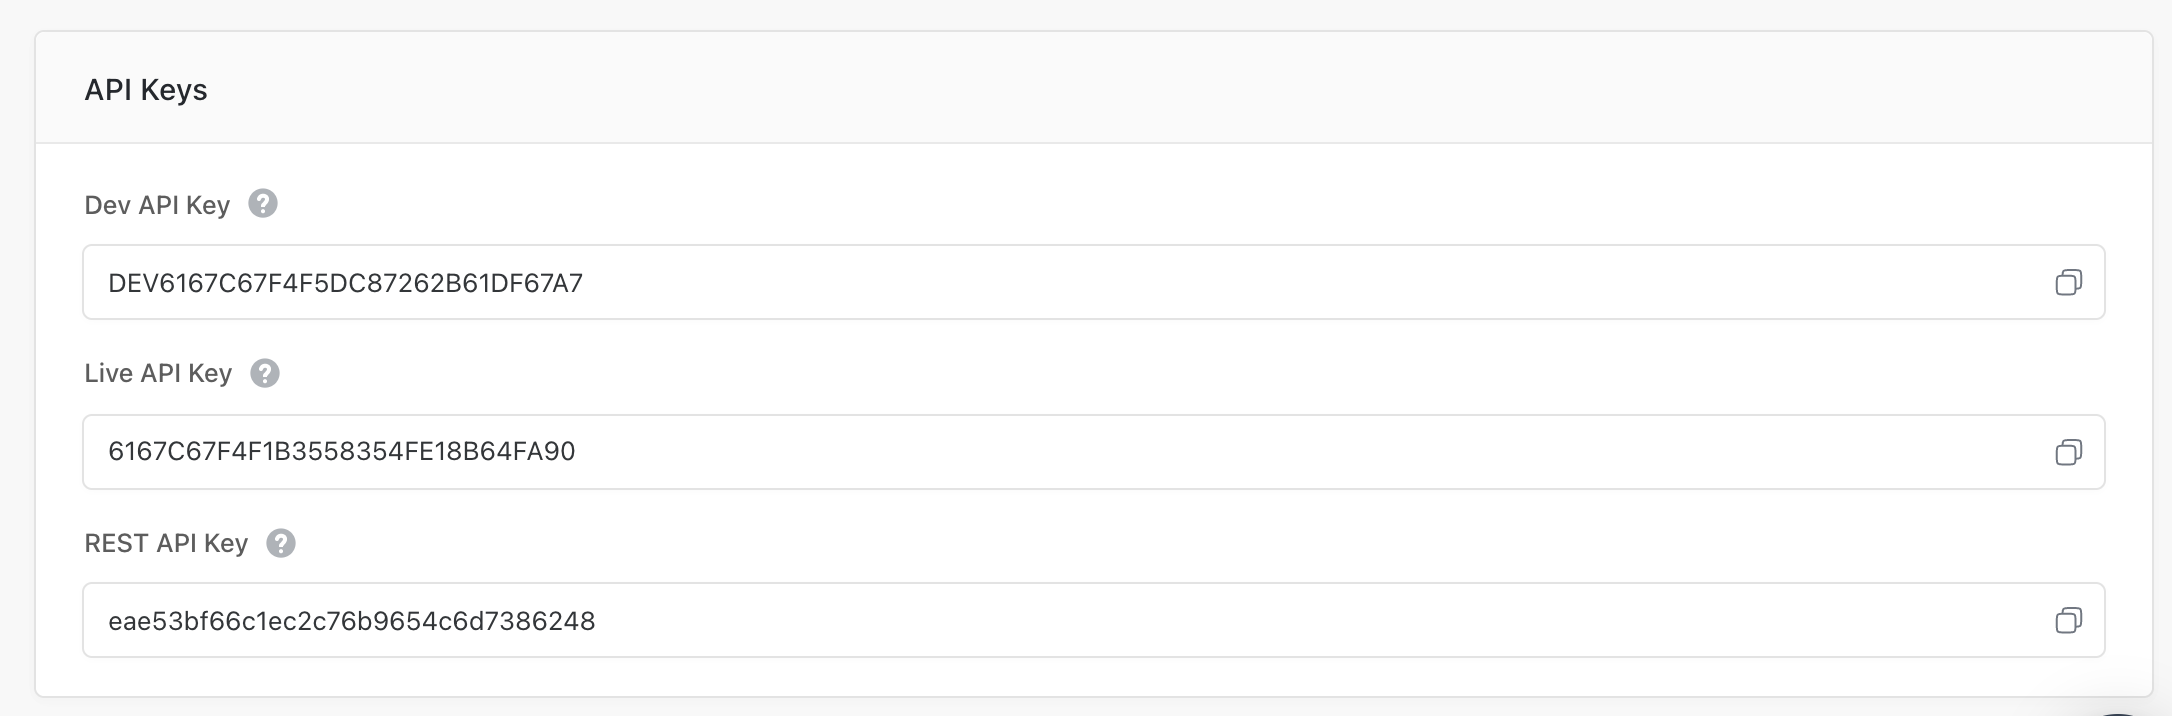
Perform the following steps to add a new destination:Add the Live API Key and Rest API Key that you obtained from Batch and click Next. Learn more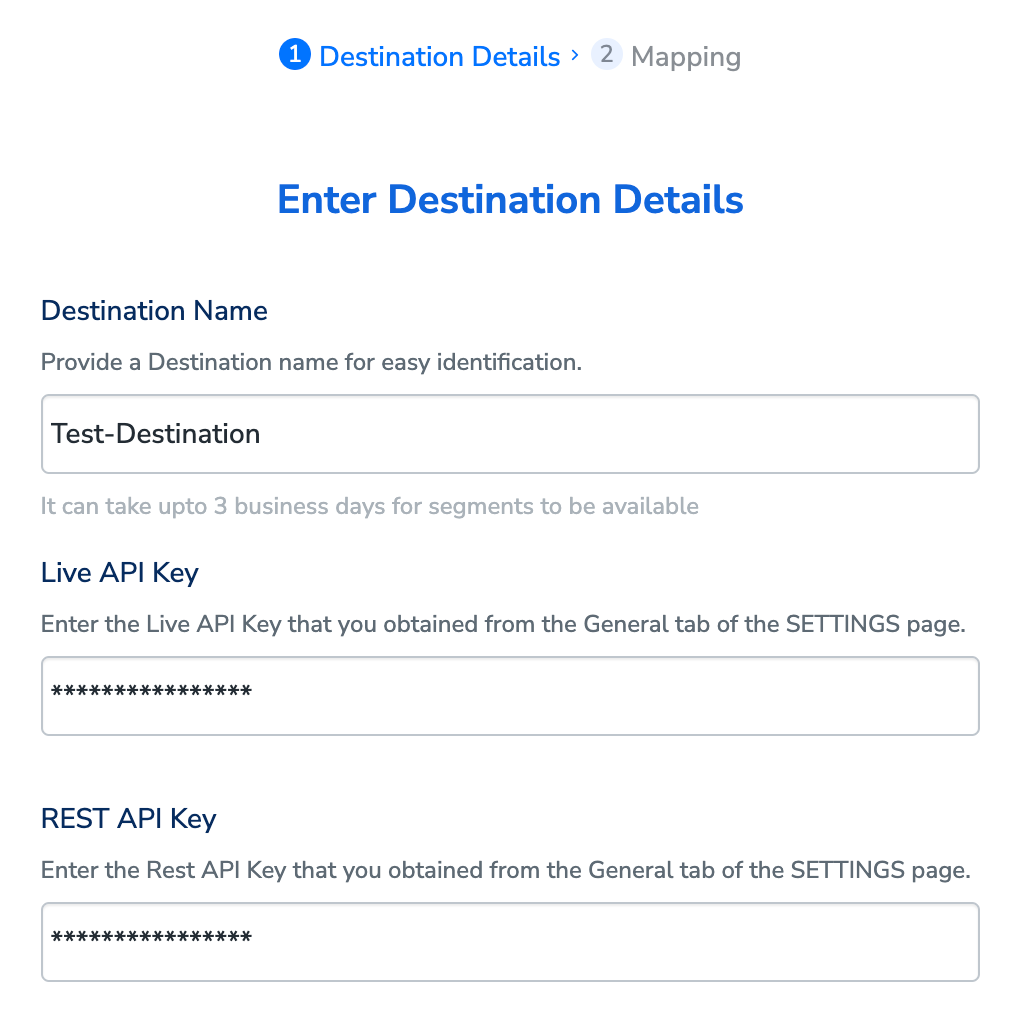
In the mapping screen that appears, under Choose your Action, select Batch Symphony as the action for sending data from the workflow created in Journeys. Under Map the Fields, map the Catalogue fields to relevant Destination fields as per your requirement.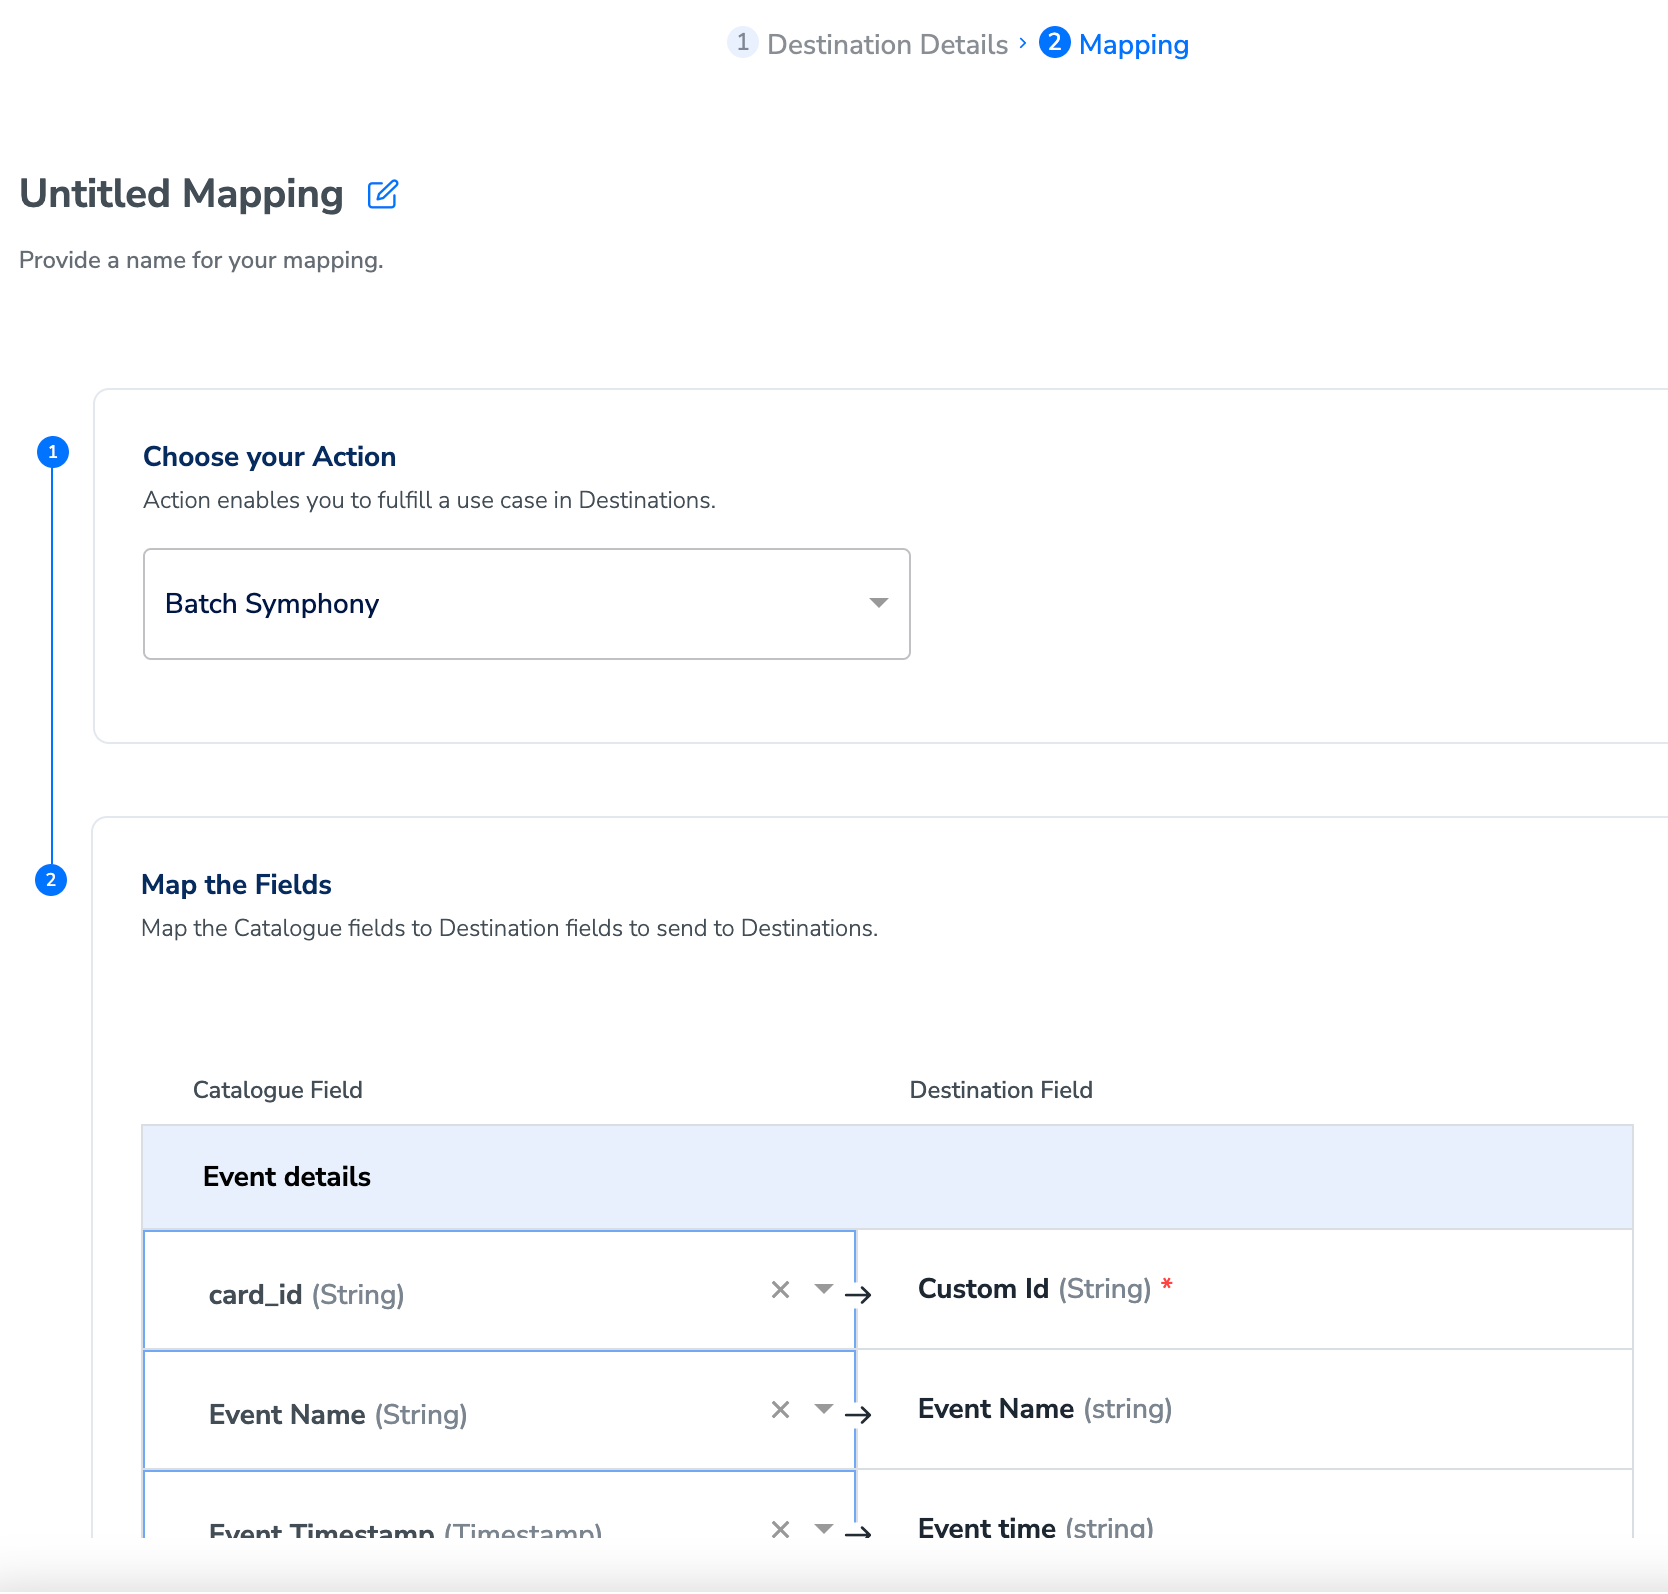
Note:When mapping fields in event attributes, make sure you use lower case. The values allowed here are a-z0-9_
Activate the Destination on Journeys
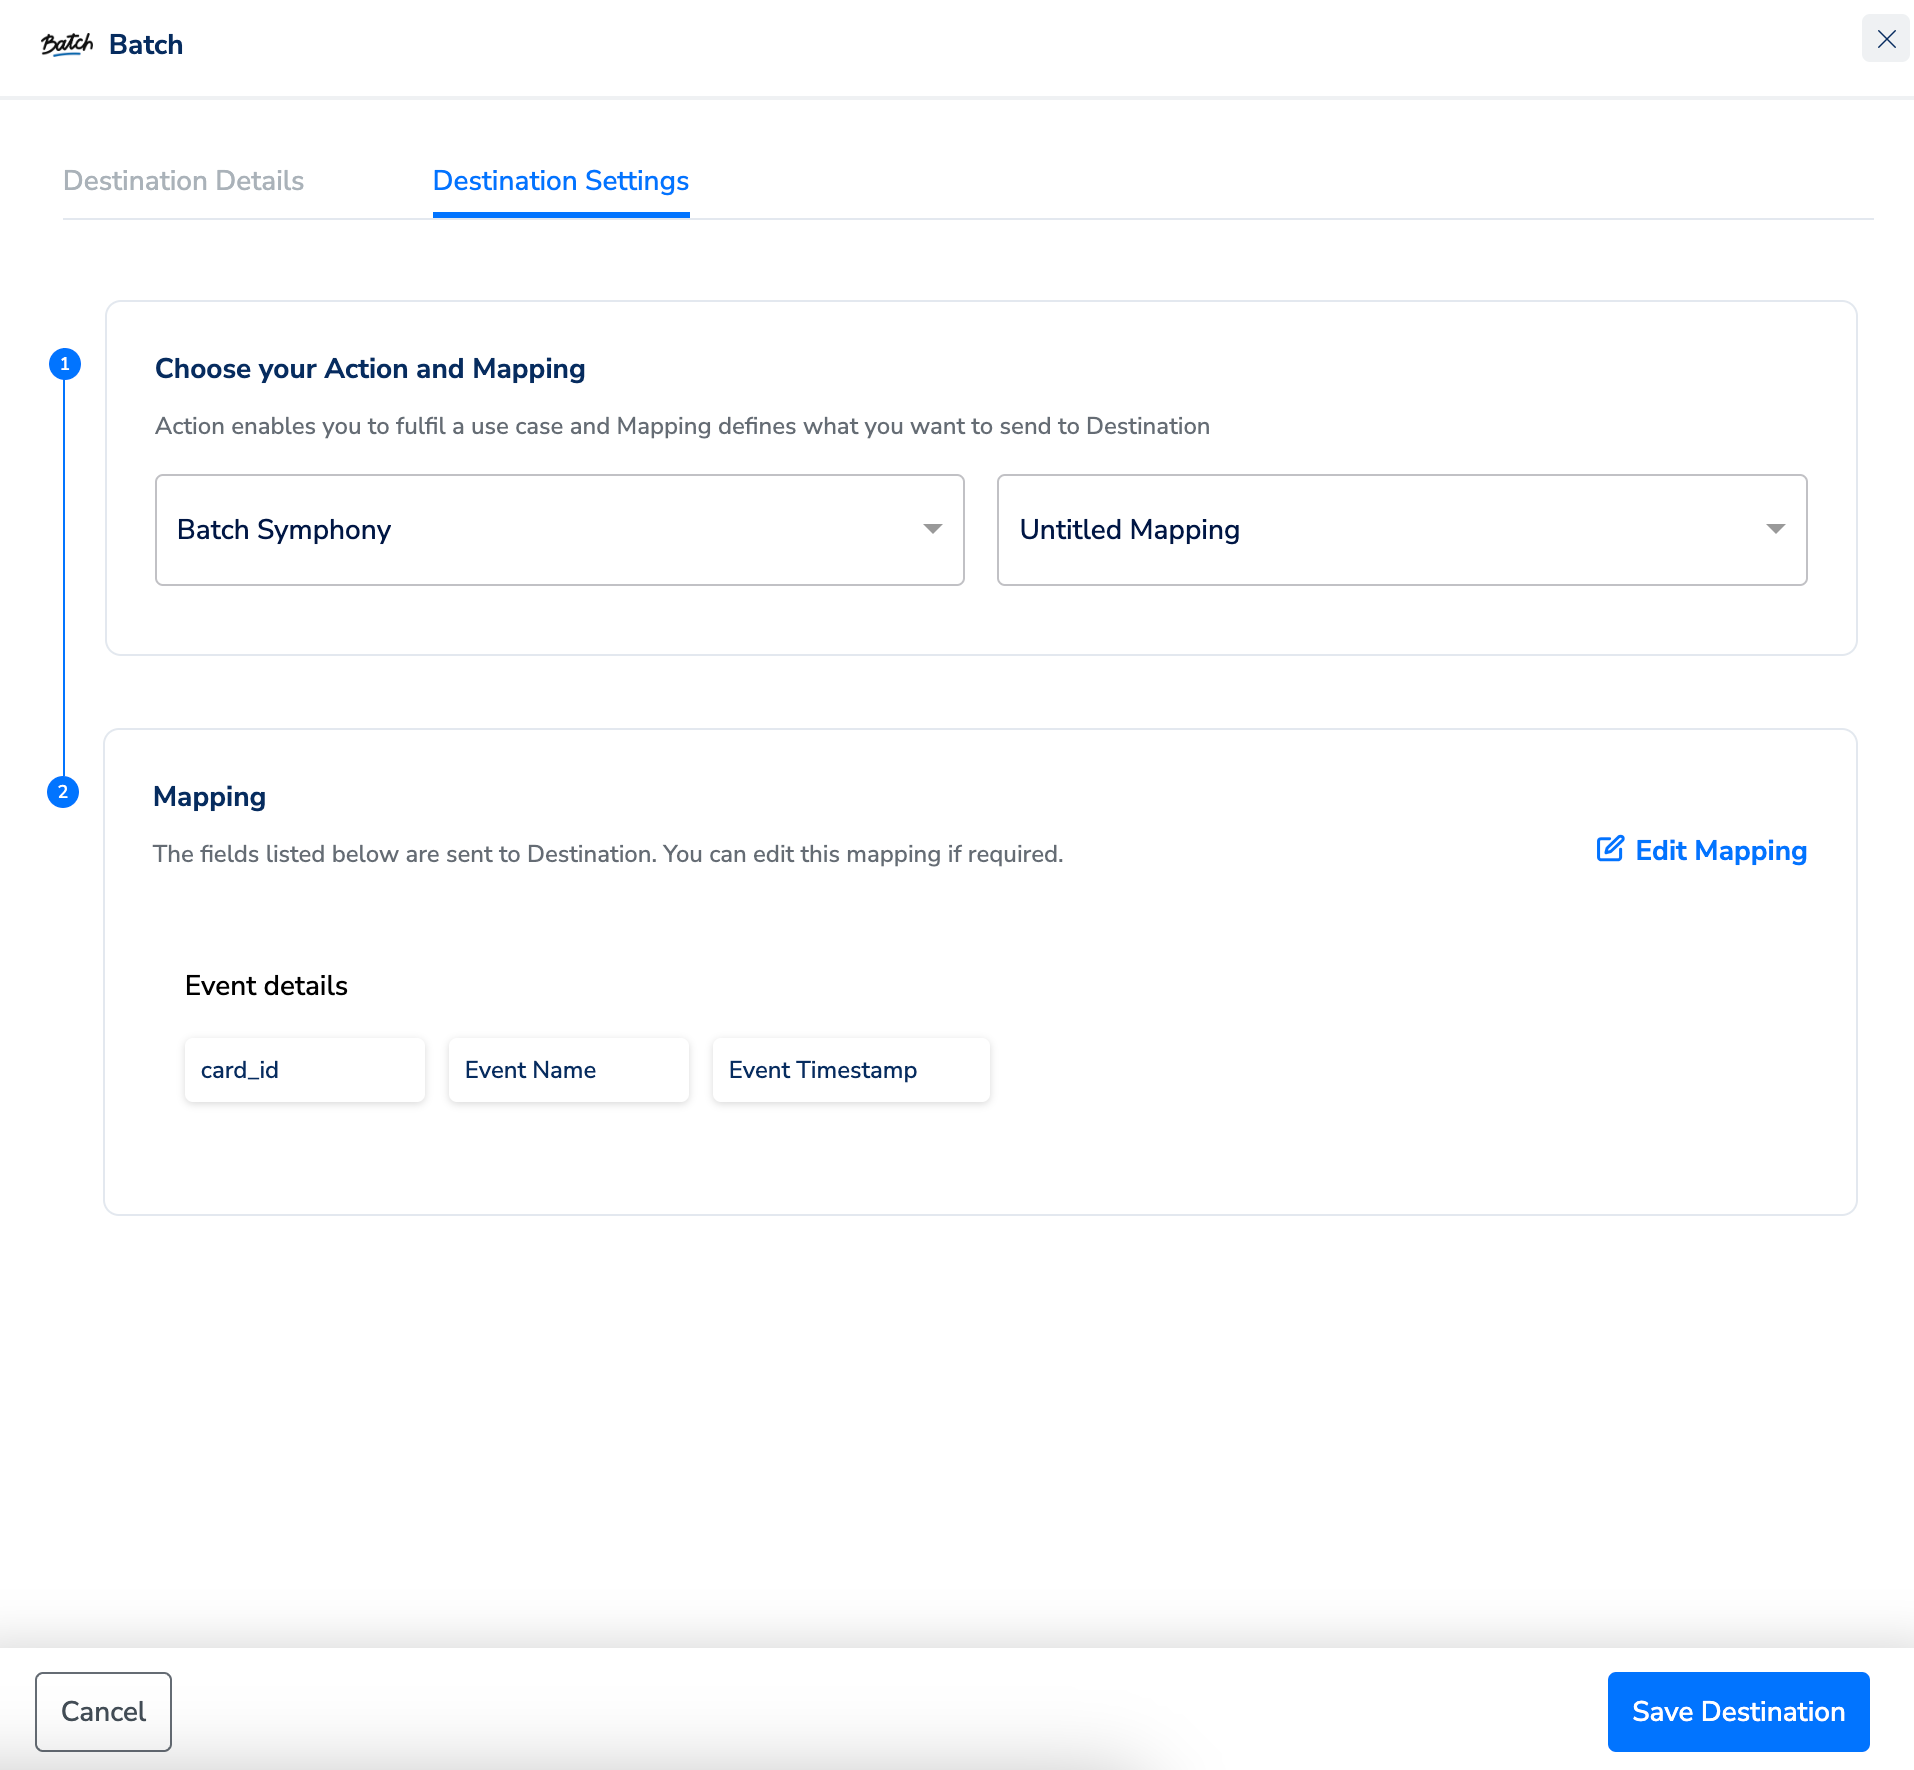
After creating a destination, next, you need to link it in the Send to Destination node within the workflow, as explained below.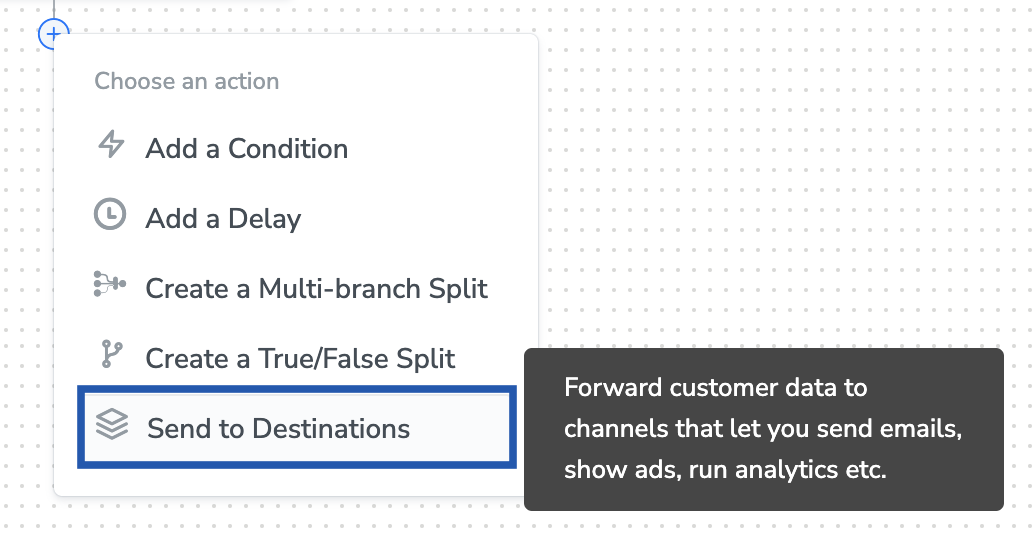
Under the Destination Details tab, the Live API Key and Rest API Keys fields are automatically populated based on the value that you had entered while creating the destination. However, under the Audiences field, you need to enter a name to categorise your users.
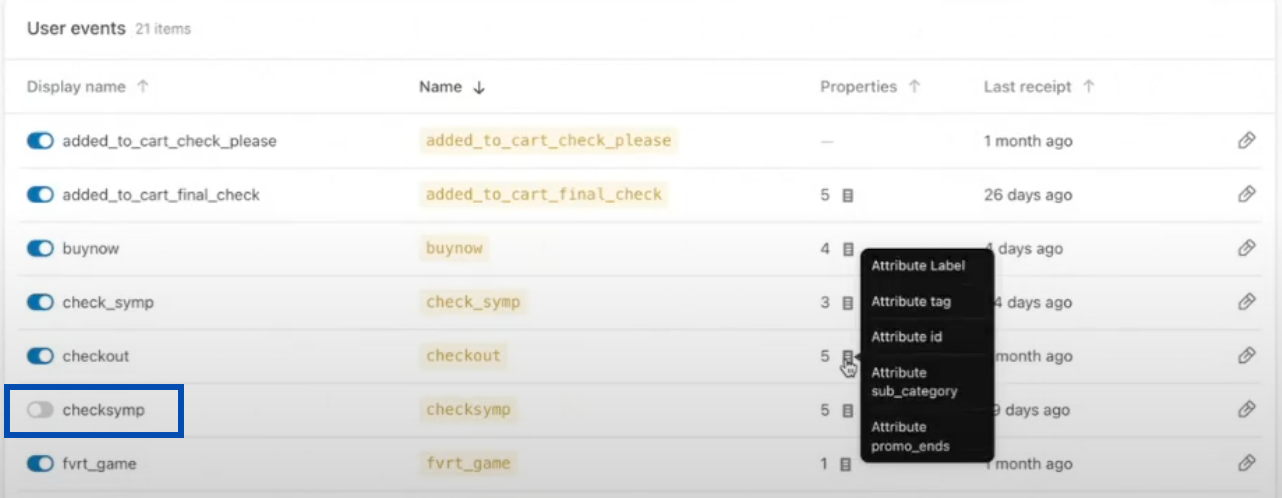
View Events Sent on Batch Dashboard
In the Batch dashboard, you can find all the User Traits, Events and other attributes shared from Zeotap to Batch under Settings > Custom data.
Create Push Trigger Automation in Batch
To create a push trigger automation in Batch, perform the following steps: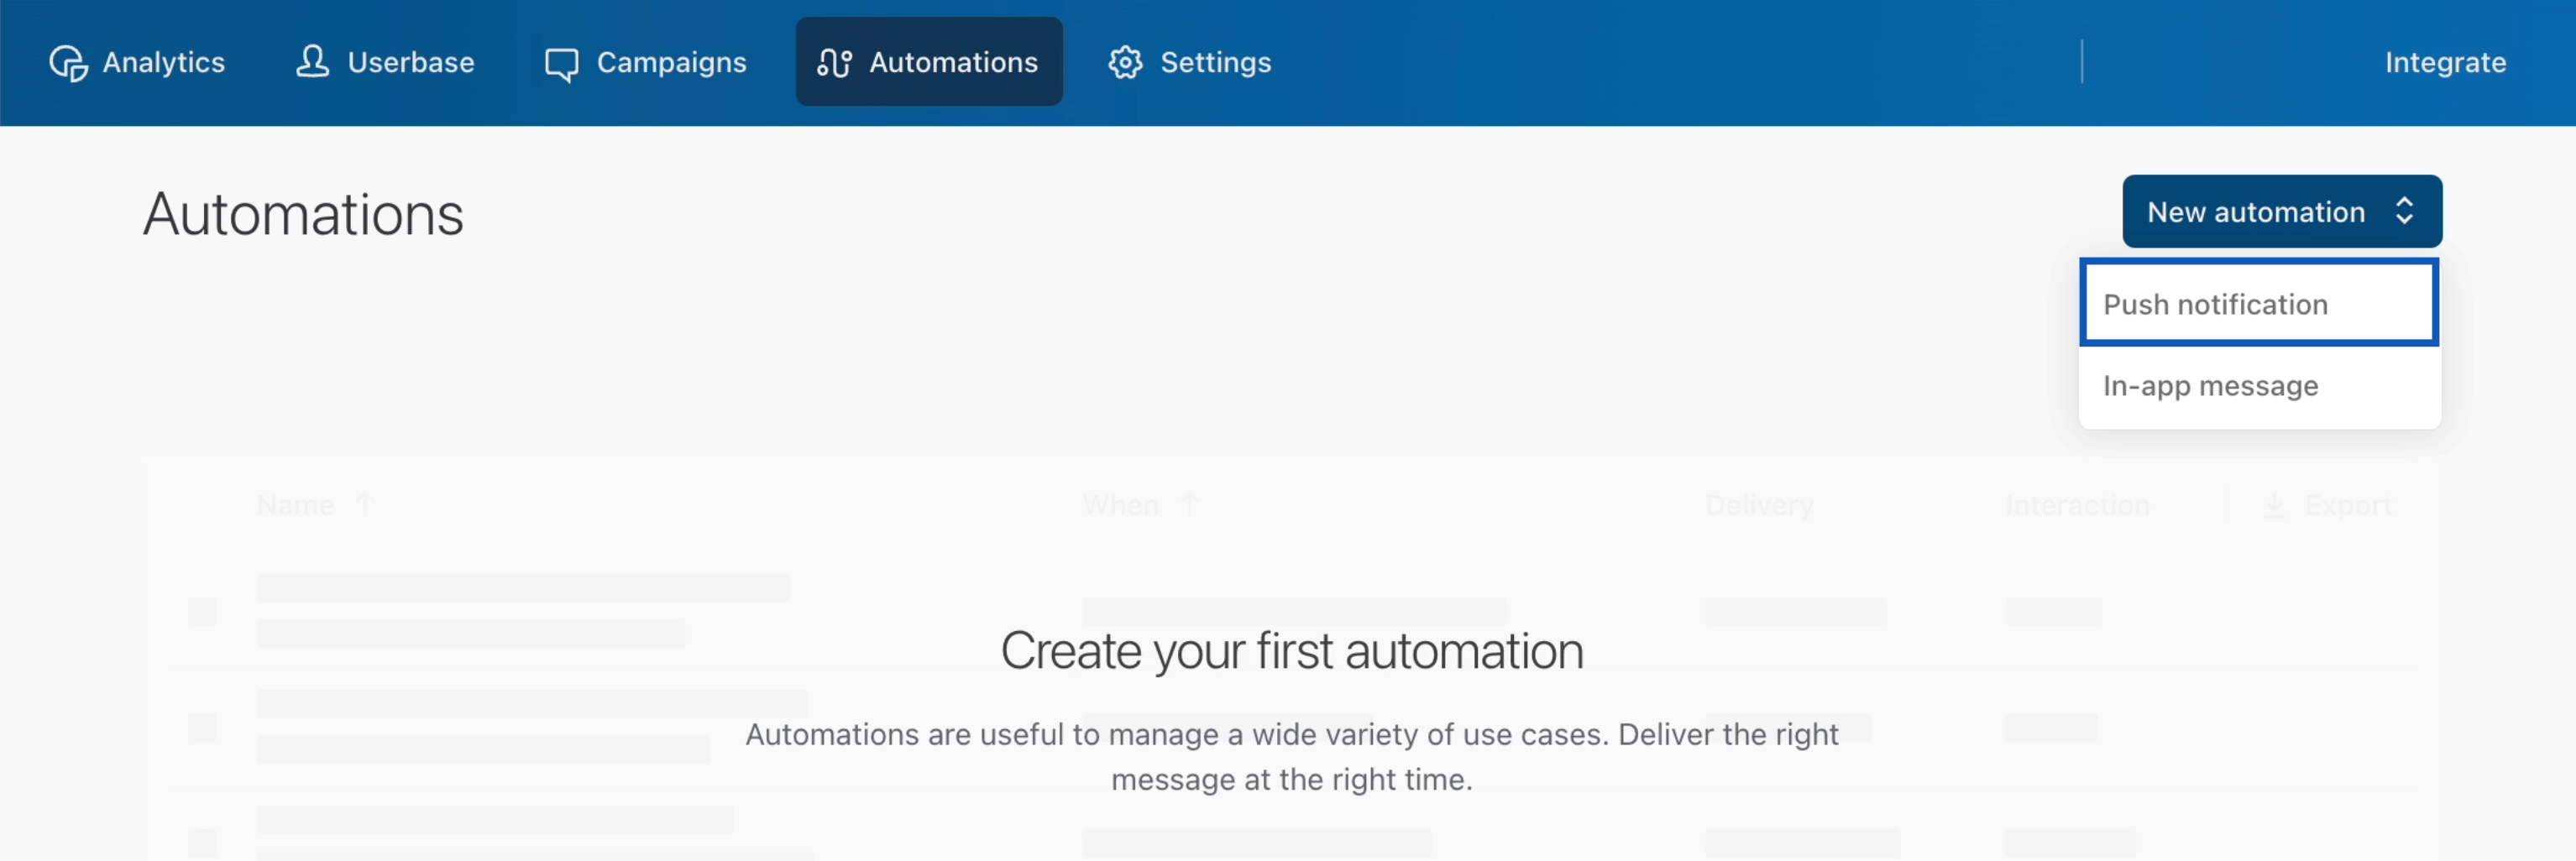
Based on the campaign type you choose, enter the required details as mentioned in the following steps:a. Enter a descriptive name for the automation.b. Under Custom Audiences, choose the desired audiences using the drop-down menu. This is an optional step.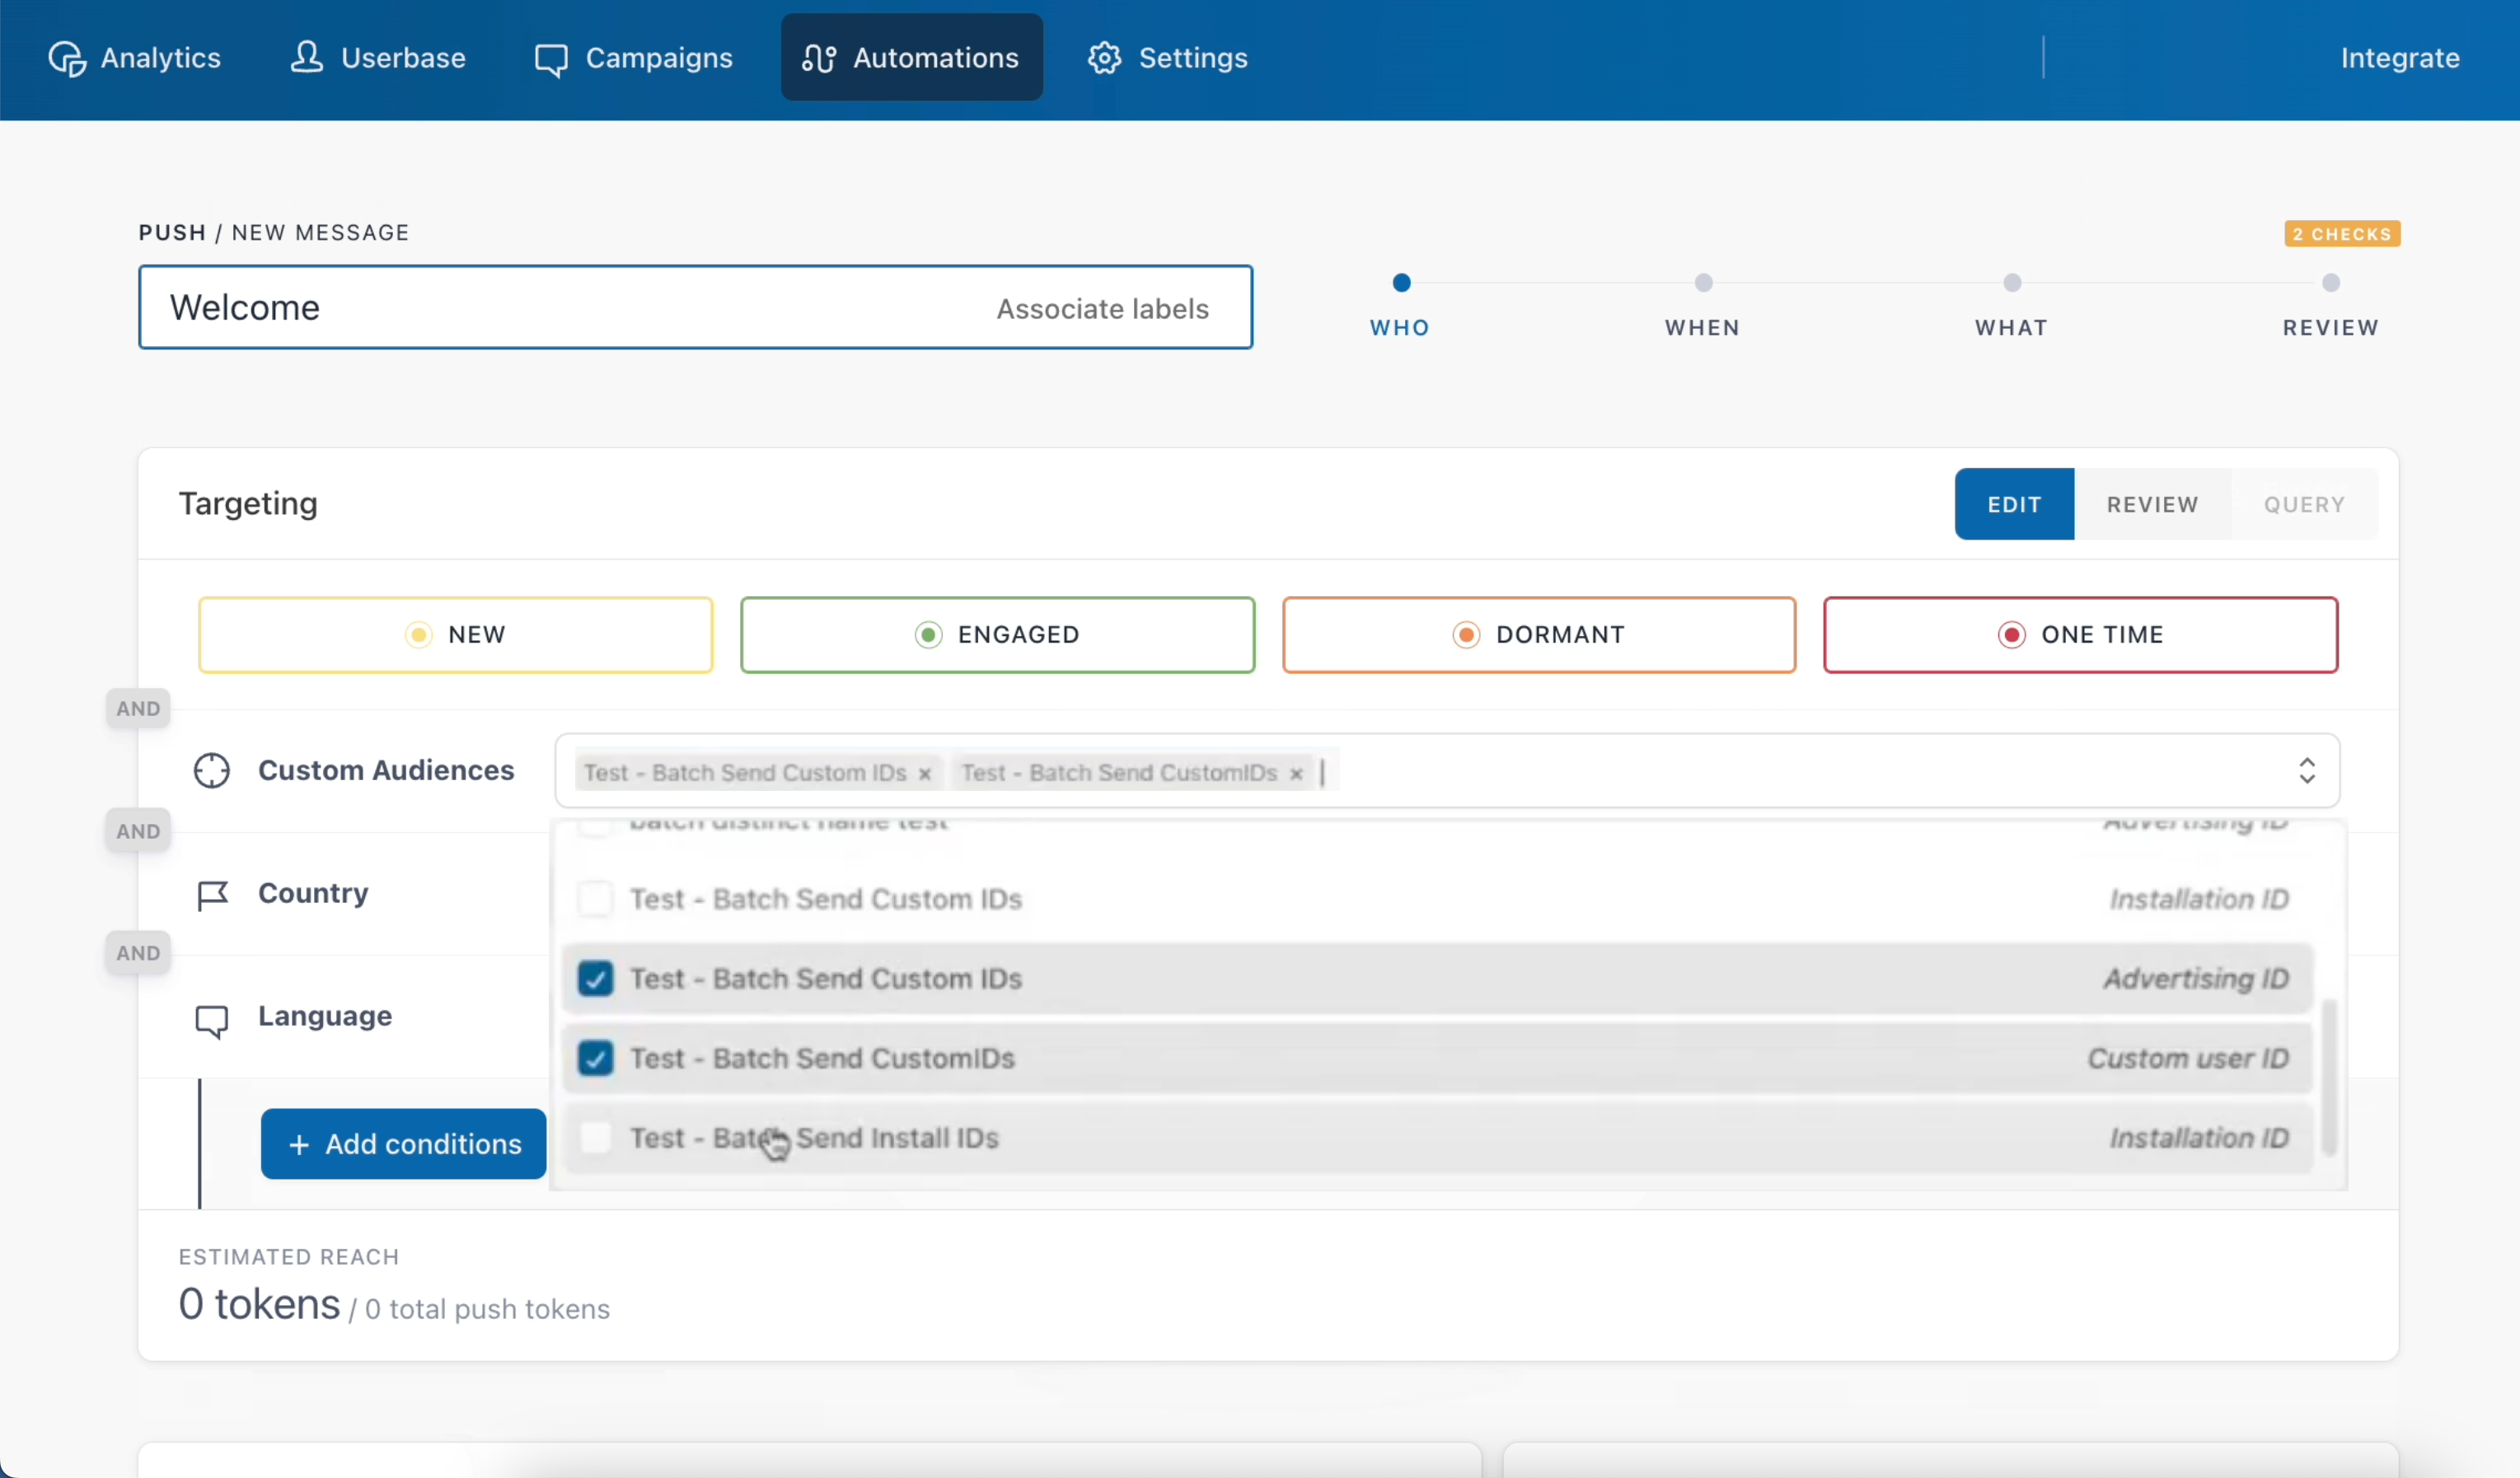
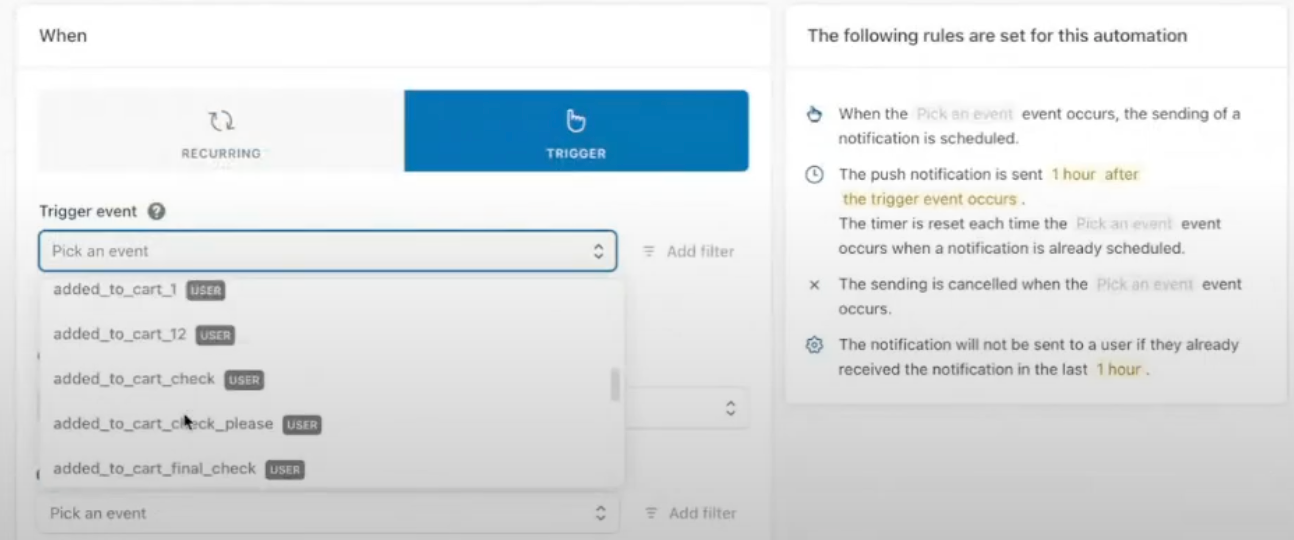
Click Save and run to start the automation. You can tailor the automation configurations according to your specific requirements.