Overview
Optimizely is a web personalisation platform that can run personalised web campaigns. Integrated with Zeotap it enhances Optimizely’s offering, allowing businesses to deliver highly personalised and engaging experiences to their website visitors, driving improved conversion rates and customer satisfaction.Integration with Optimizely
Prerequisites
Ensure that you understand the following concepts before starting this integration:Access Token
An Access Token is a unique identifier that grants authorised access to the Optimizely REST APIs, through which the data communication is established between Zeotap and Optimizely. Reach out to your Optimizely POC to obtain this information.Optimizely ID
Optimizely ID is a cookie that is placed by Optimizely on the user’s browser and stored in the browser’s local storage. Ensure that you capture this ID in Zeotap by using Zeotap’s JavaScript or Google Tag Manager (GTM) implementation.Optimizely Data Platform
Optimizely Data Platform (ODP) is a platform that allows businesses to gain a real-time understanding of their customers’ behaviours. When customers qualify the Symphony workflow, they are sent to ODP, where Zeotap leverages the capabilities of ODP to generate dynamic and real-time segments. These segments are subsequently utilised by Optimizely Web and Optimizely Full Stack implementations for better personalisation. To learn more about how to get started with ODP, refer here.Subscription Type
Based on the Symphony workflow that the customer qualifies for, you can choose the Subscription Type as either subscribe or unsubscribe. To better understand these concepts with respect to the Optimizely platform, let us consider an example. Imagine a customer visits your website and adds a specific product to their shopping cart.- As per the Symphony workflow configured for the Subscription Type as subscribe, here is how a customer qualifies. If the customer’s lifetime value (LTV) exceed $5000 and they perform the addToCart event, then they qualify the criteria for subscribing to a campaign that promotes a similar product with enhanced features.
- Once the customer goes through the unsubscribe workflow, which involves completing the purchase, they transition into the unsubscribe scenario. As a result, they are no longer included in the campaign.
Audience
Audience is a cohort/segment of customers, which can be identified using the identifiers like, Phone numbers, Email addresses, Device IDs, Cookies, CRM IDs and more. An example of an Audience for an e-commerce company can be its customers who have added items to their shopping carts but haven’t completed the purchase.Destination Setup
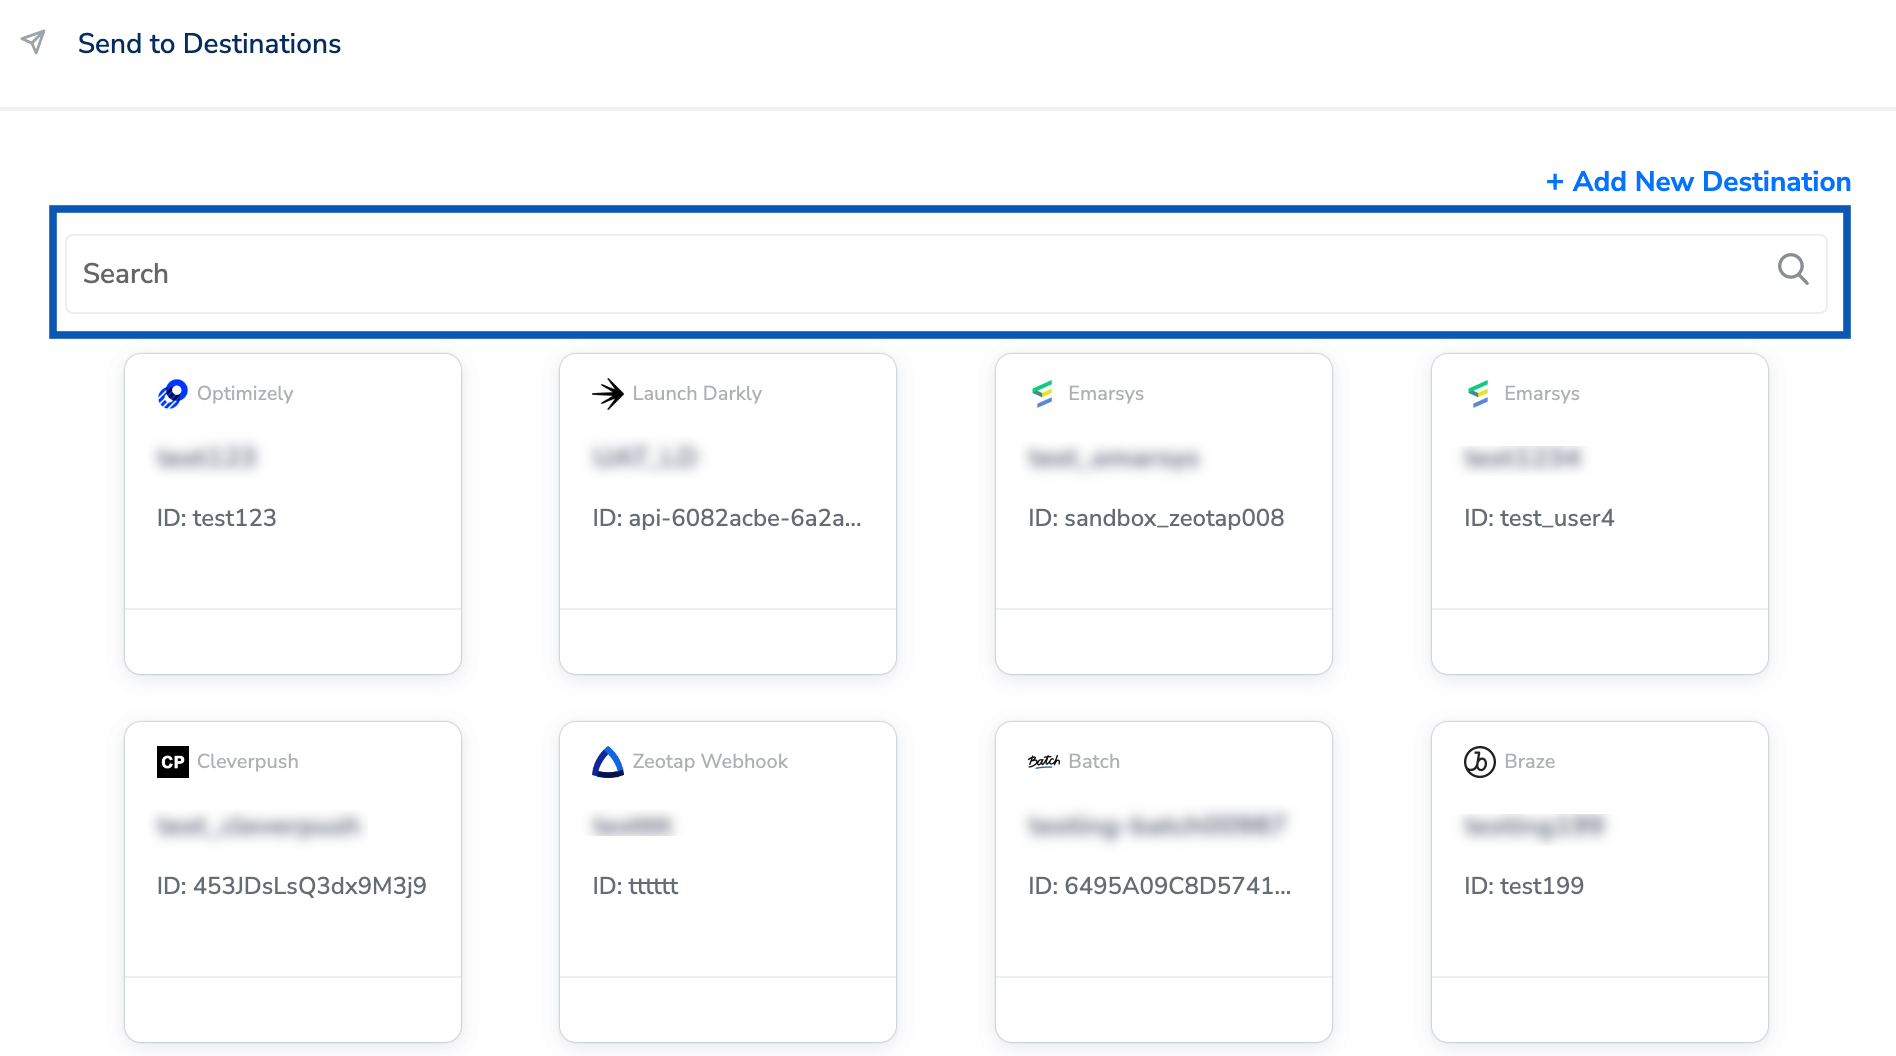
After you have applied filters or added conditions for your users in Journeys, you can activate them in Optimizely under Send to Destinations. A new window appears, where you can set up your destination. You can use an already existing destination from the list of available Destinations or create a new one by clicking + Add New Destination.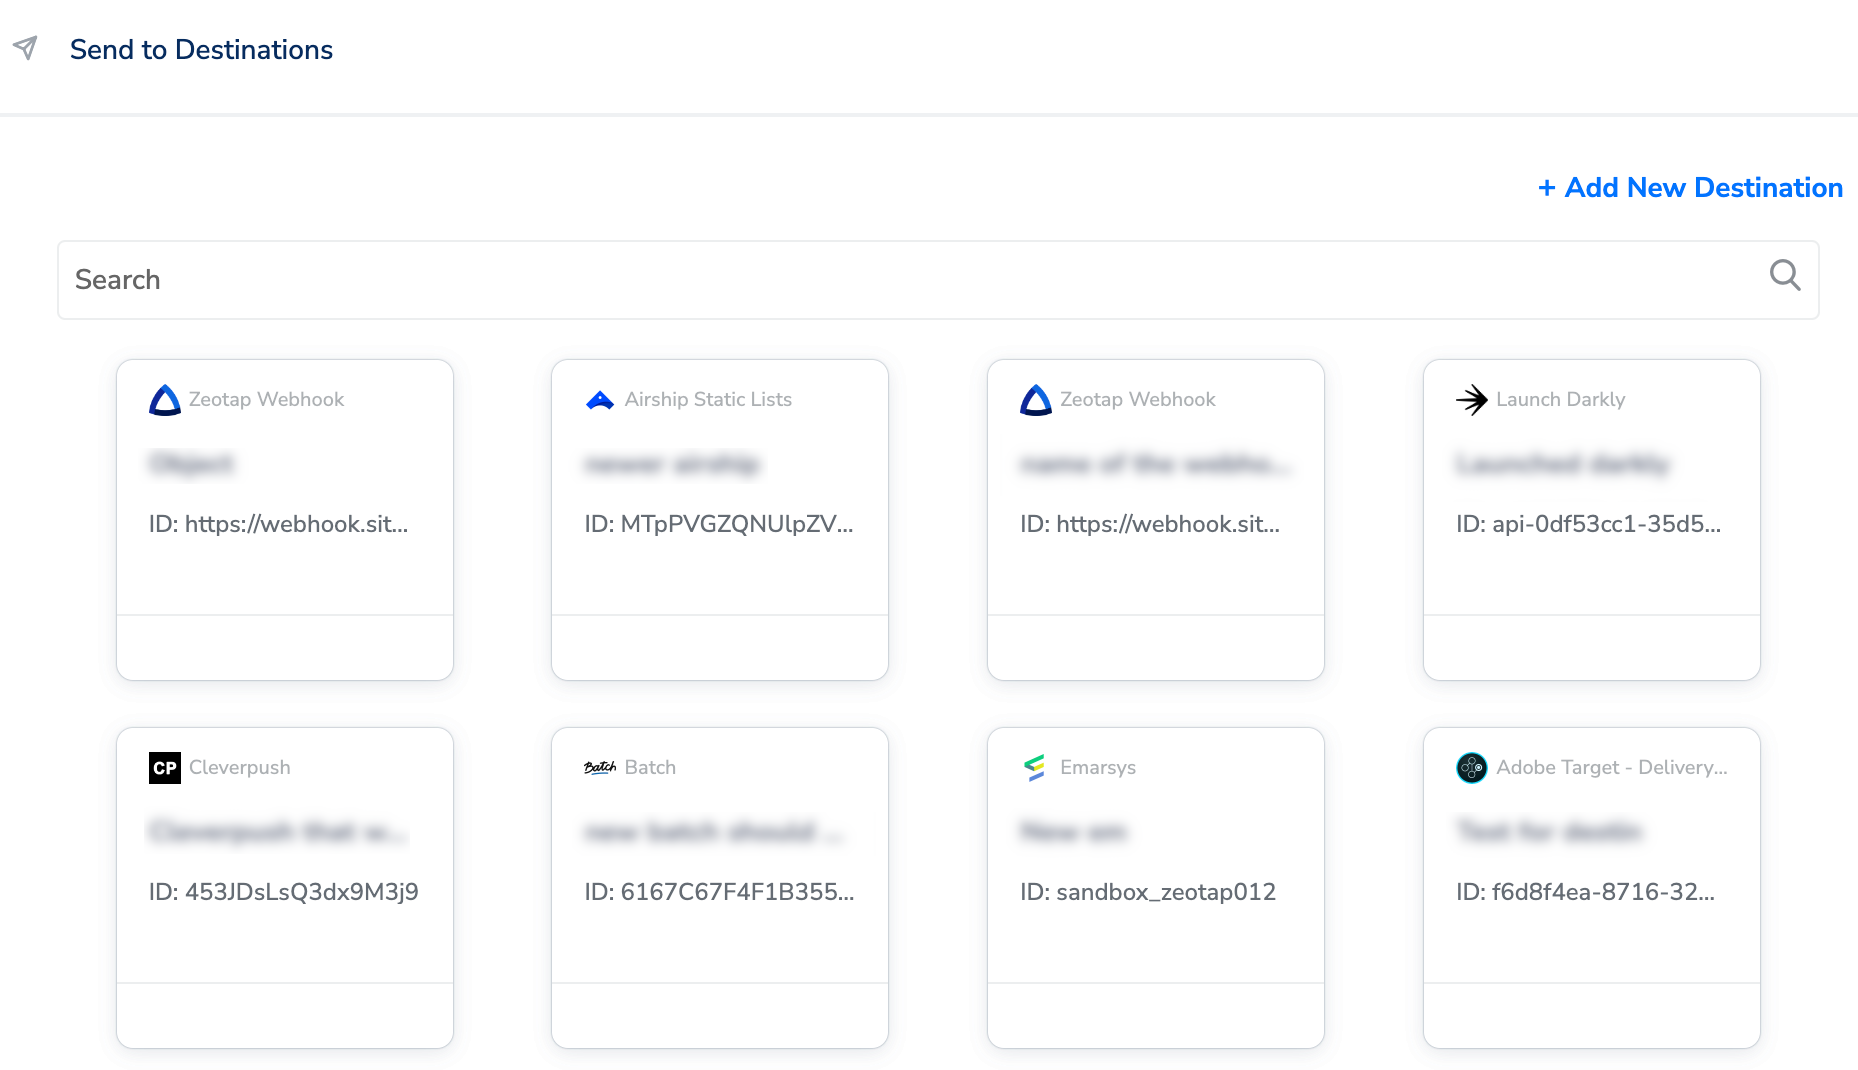
Add New Destination
Perform the following steps to add a new destination: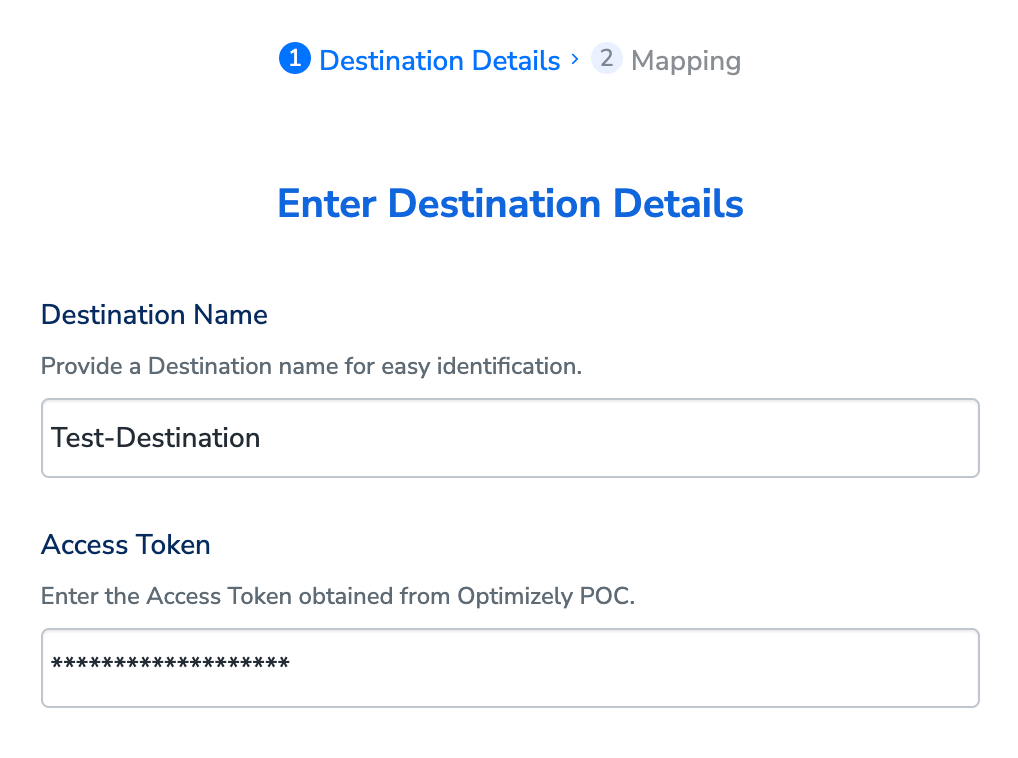
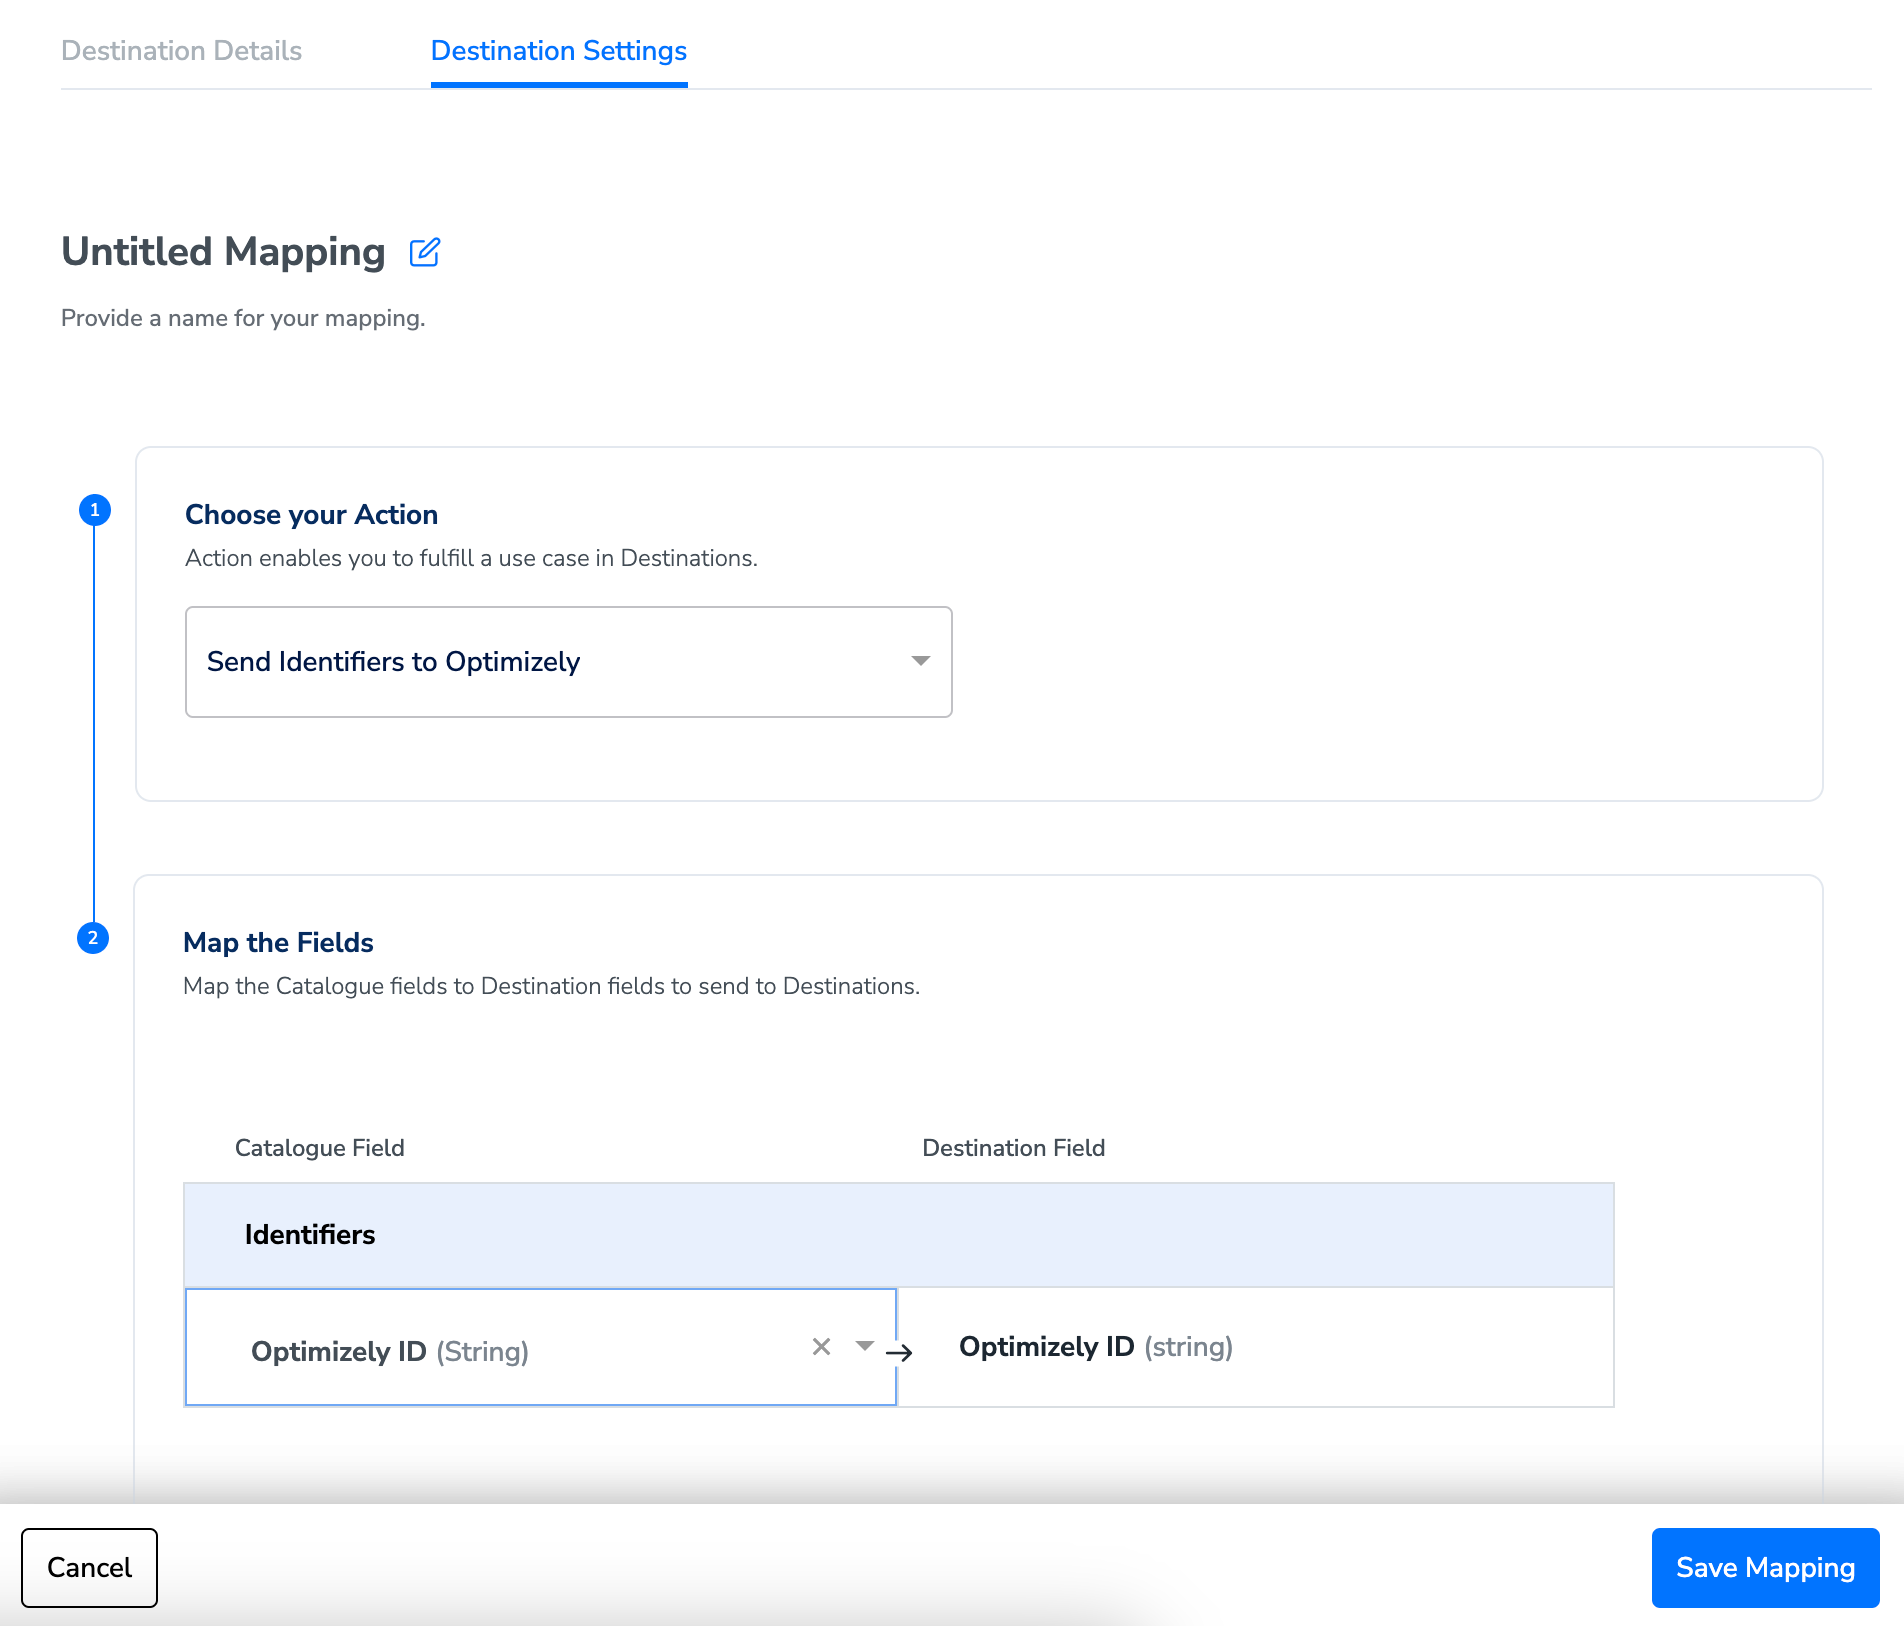
In the mapping screen that appears, under Choose your Action, select Send identifiers to Optimizely as the action for sending data from the workflow created in Journeys. Under Map the Fields, map the appropriate identifier from Zeotap CDP Catalogue to the Optimizely ID to send data to this destination.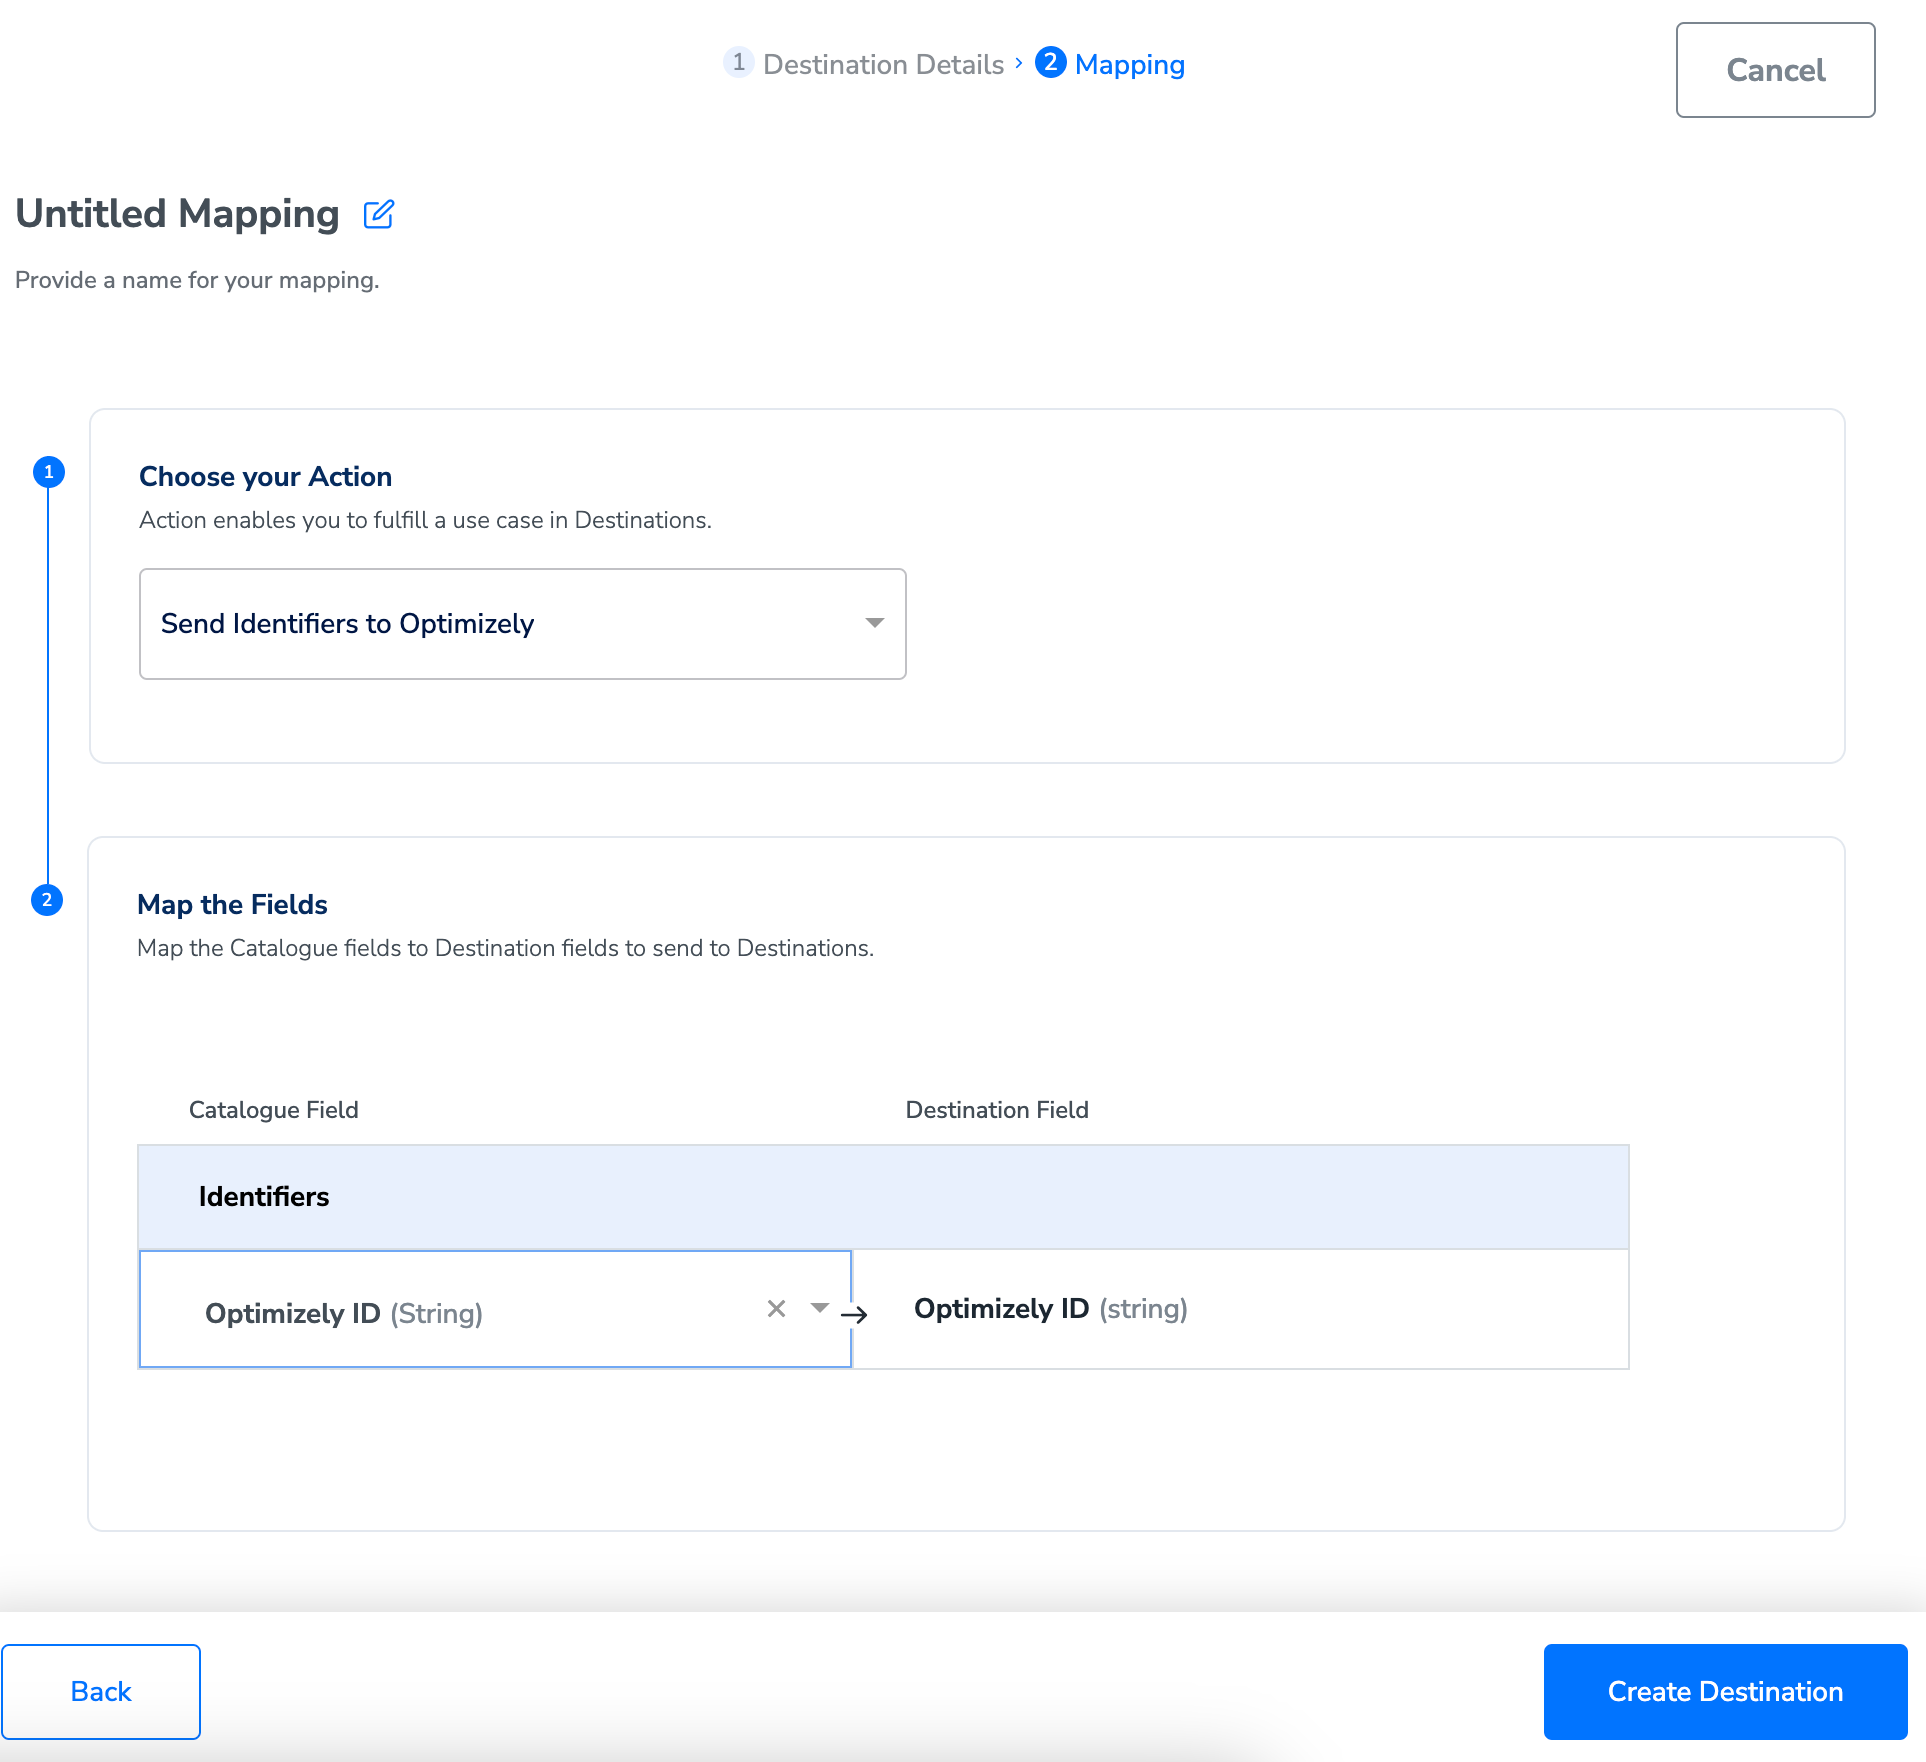
Activate the Destination on Journeys
After creating a destination, next, you need to link it in the Send to Destination node within the workflow, as explained below.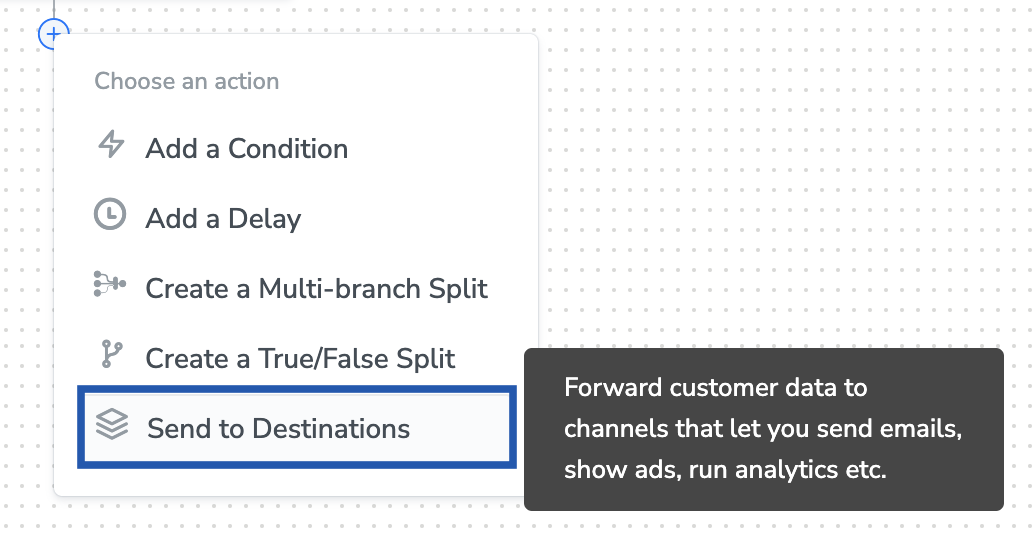
Under the Destination Details tab, the Access Token field is automatically populated based on the value that you had entered while creating the destination.a. Under Subscription Type, choose either subscribe or unsubscribe based on your requirement. Learn moreb. Under Audience, enter a name and description to categorise your users. Learn more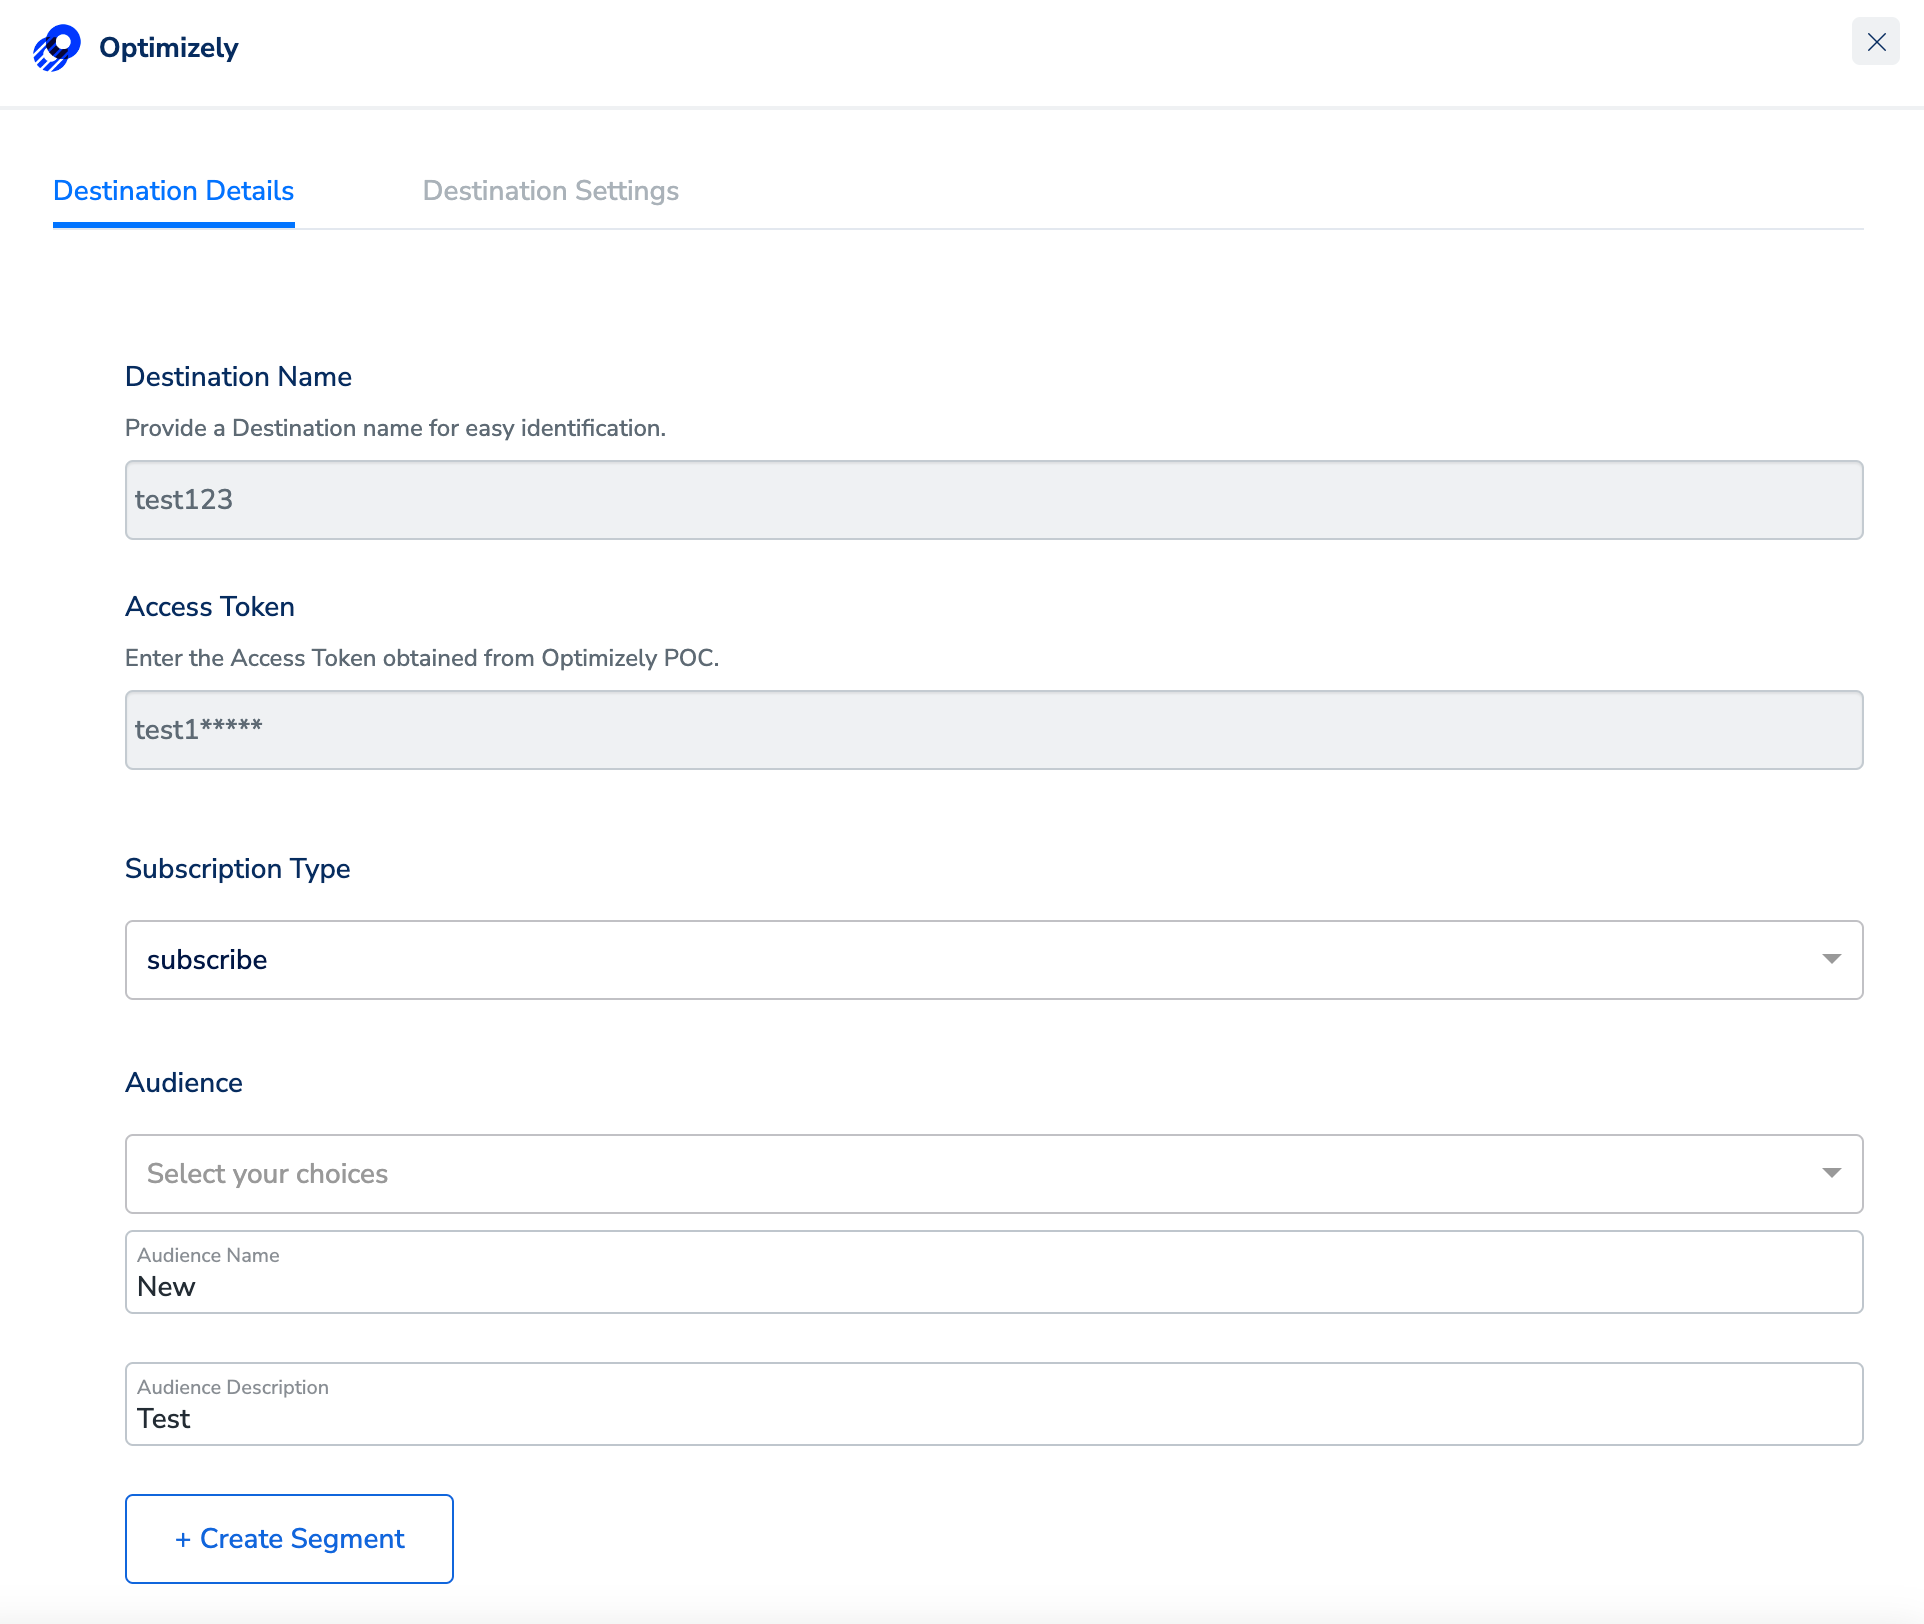
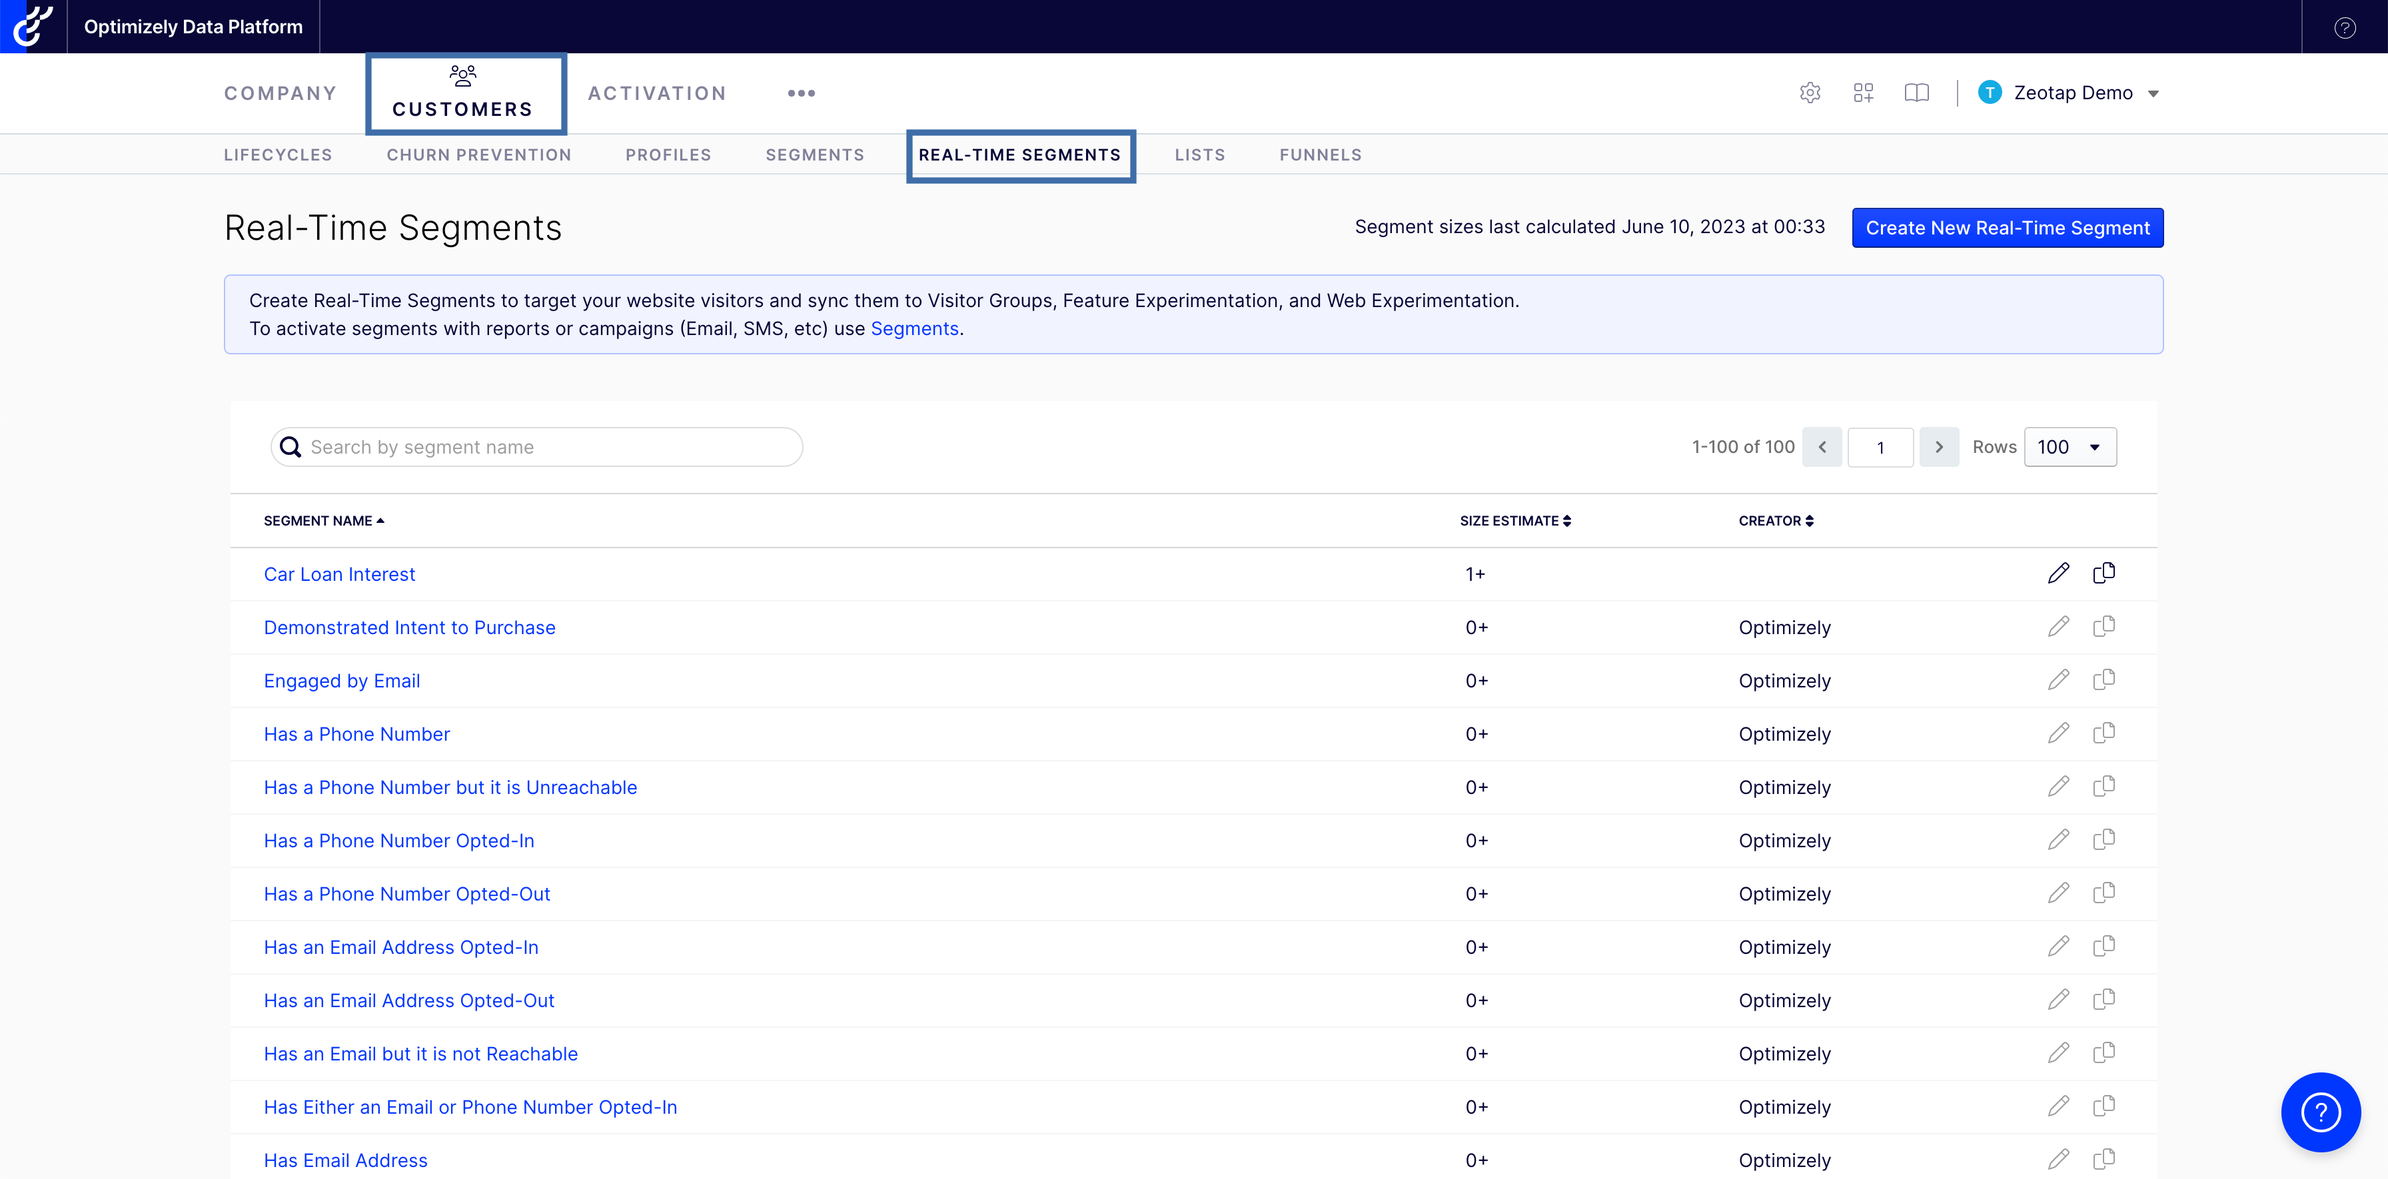
View Audiences on Optimizely
In the Optimizely console, you can view the real-time segments (Audiences) that are pushed by Zeotap under CUSTOMERS > REAL-TIME SEGMENTS.