Overview
This document outlines the technical procedure for Zeotap to directly trigger specific, pre-defined marketing campaigns in Iterable for targeted users in real-time. In this model, Zeotap handles user segmentation and workflow logic, determining when and which campaign should be sent. Iterable’s primary role is the creation, management, and execution of these campaigns upon receiving an API instruction from Zeotap. The goal is for Zeotap to make an API call to Iterable to immediately activate a designated campaign for a user when a corresponding event or condition is met within Zeotap.Pre-requisites
-
Iterable Account Access:
- Administrative or relevant permissions in your Iterable project to create and manage API keys.
- Complete all prerequisites asked by the platform to send a campaign
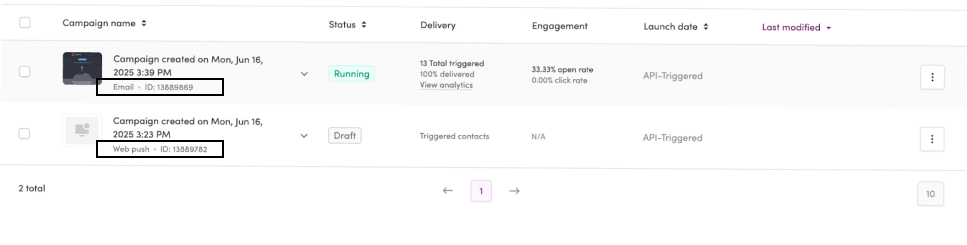
- API-Triggered Campaigns: The specific marketing campaigns to be triggered must already be created within Iterable and configured as “API-Triggered Campaigns.” Each such campaign will have a unique campaignId which is required for the API call.
- API triggered campaigns should be activated and set as Running
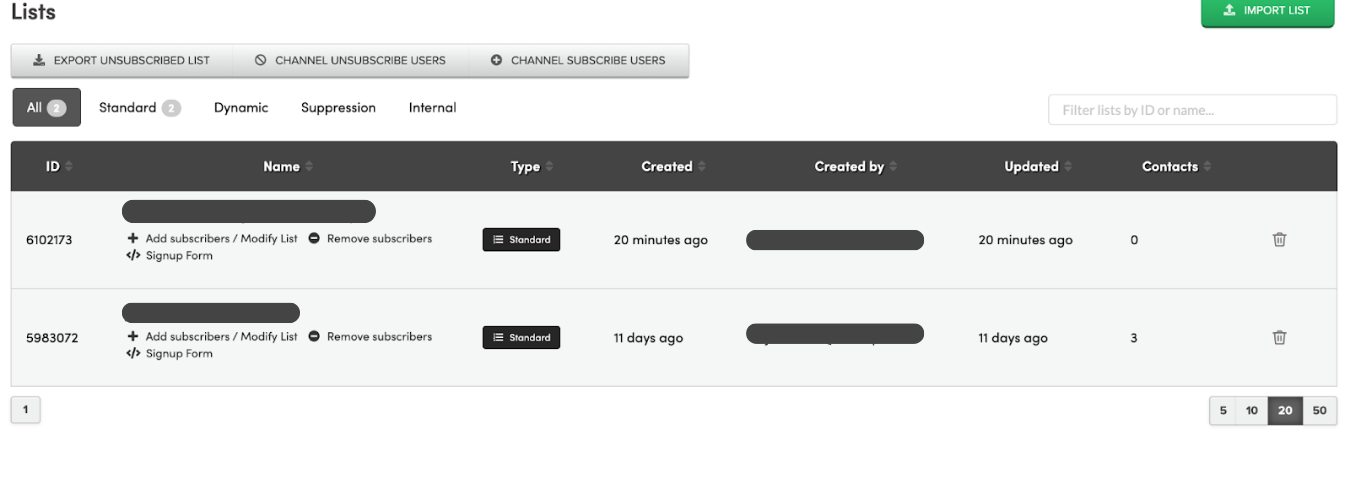
- For creating a subscriber list make sure you have the list ID. Note: The list gets appended every time you add a new user. If any of the identifiers is the same other fields will be updated.
- Iterable project’s primary user identifier as email.
-
User Identification Strategy:
- A consistent user identifier (e.g., email address or a unique customer ID) must be available in Zeotap at the time of the trigger and must correspond to the user profiles in Iterable.
Authentication
Interaction with the Iterable API requires an API key.Creating an Access Key (API Key)
Sign in to an Iterable project as an org admin or as a member that has the Manage Integrations project permission.
Navigate to Integrations > API Keys. This screen lists information about each of the API keys that have been created for the project, but it does not display the full API keys.
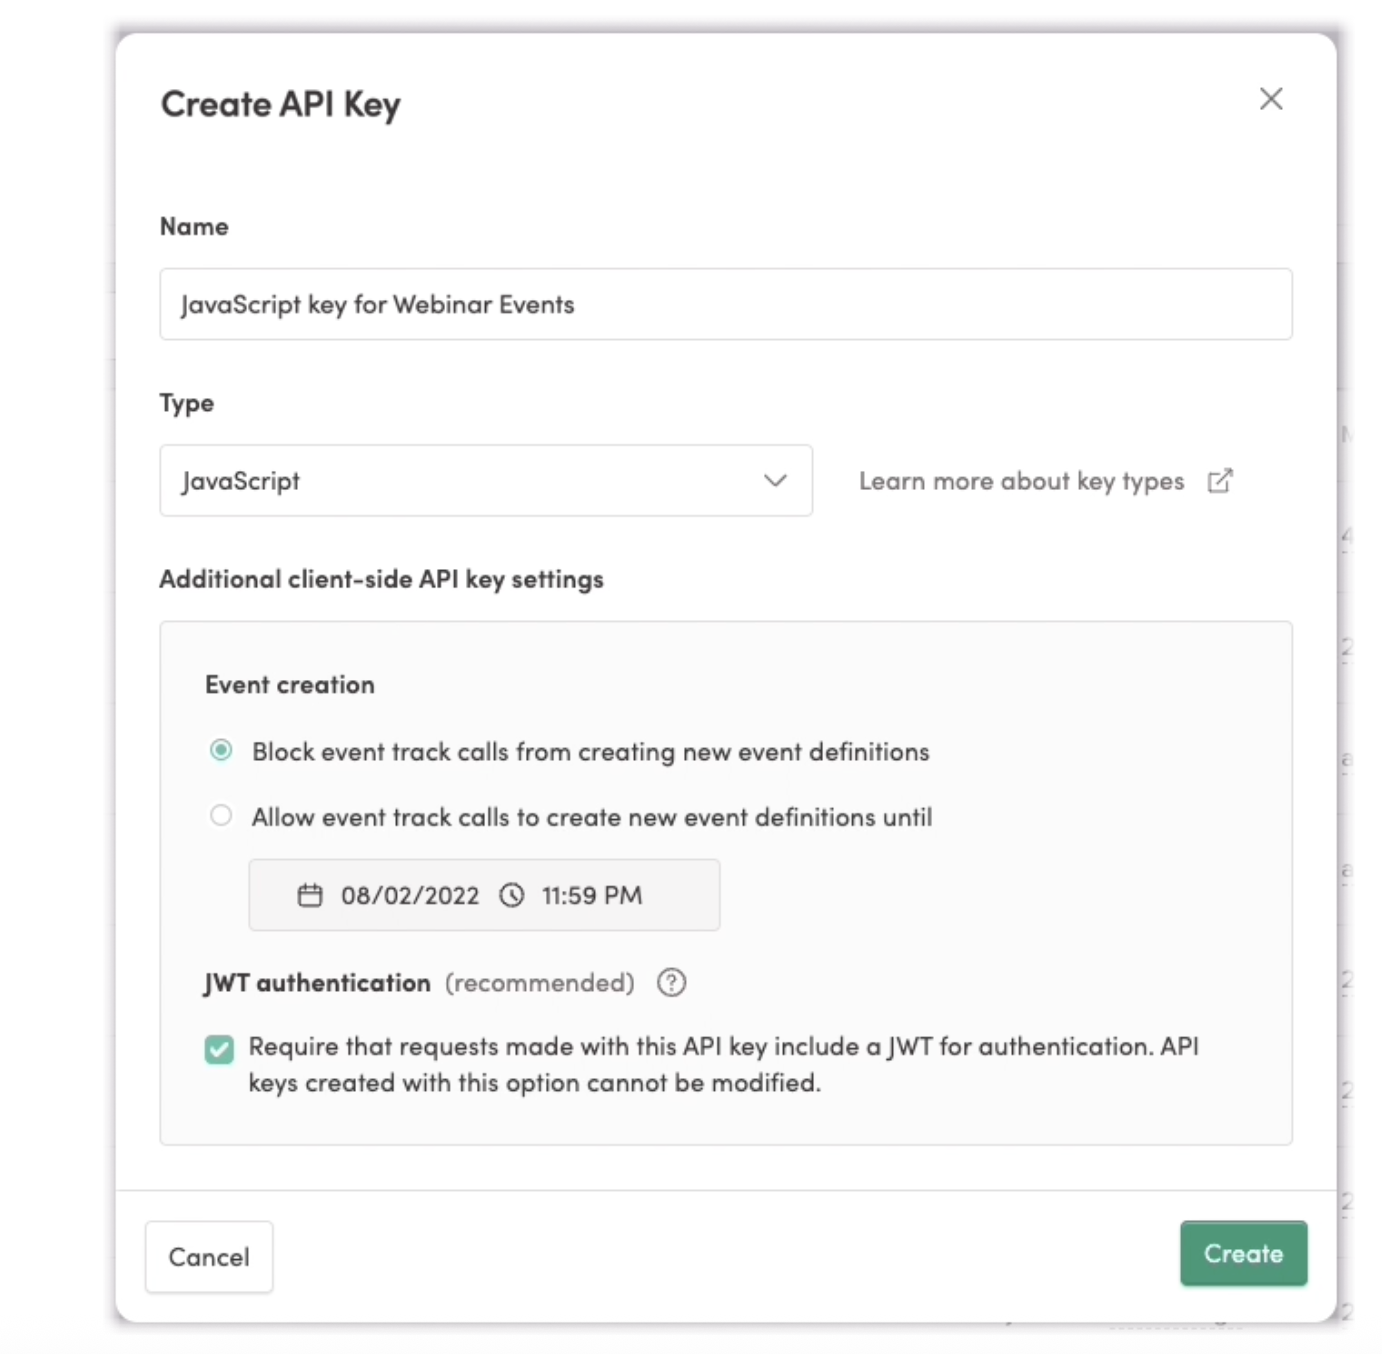
In the Create API Key window, enter a name for the key and select the type of API key you’d like to generate.
It’s a good idea to create a descriptive name for the API key so you know what the key is used for. This can be helpful if you have security reasons to disable or delete keys later, or for when you simply need to find and update a key later.
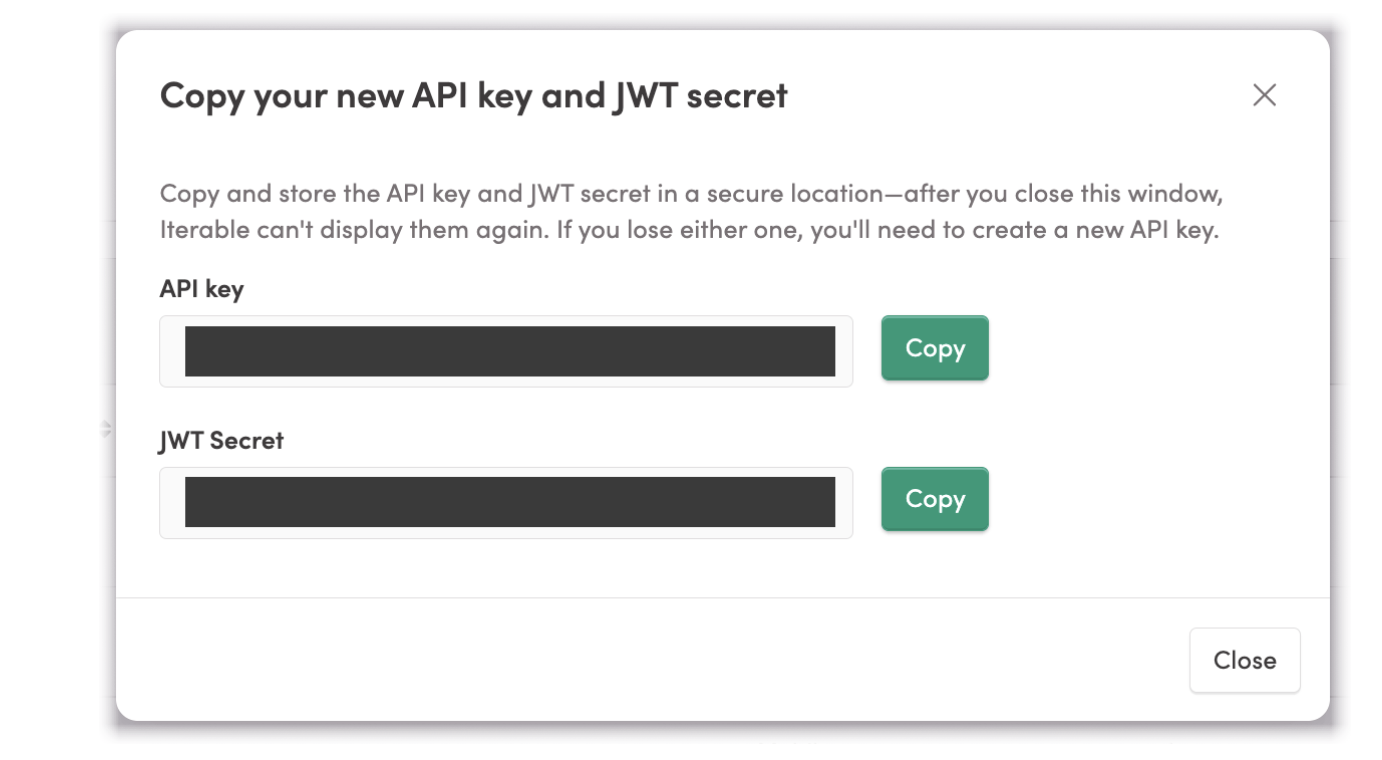
(Client-side only) If you have selected a client-side key type, you will see additional settings:a. Event Creation - Block creation of new event definitions, or allow them for up to 14 days in the future. For more information on this setting, see Event creation above.b. JWT Authentication - this is selected by default and highly recommended. To learn more about why this is encouraged, see JWT authentication above.
In the Copy Your New API Key window, copy the API key: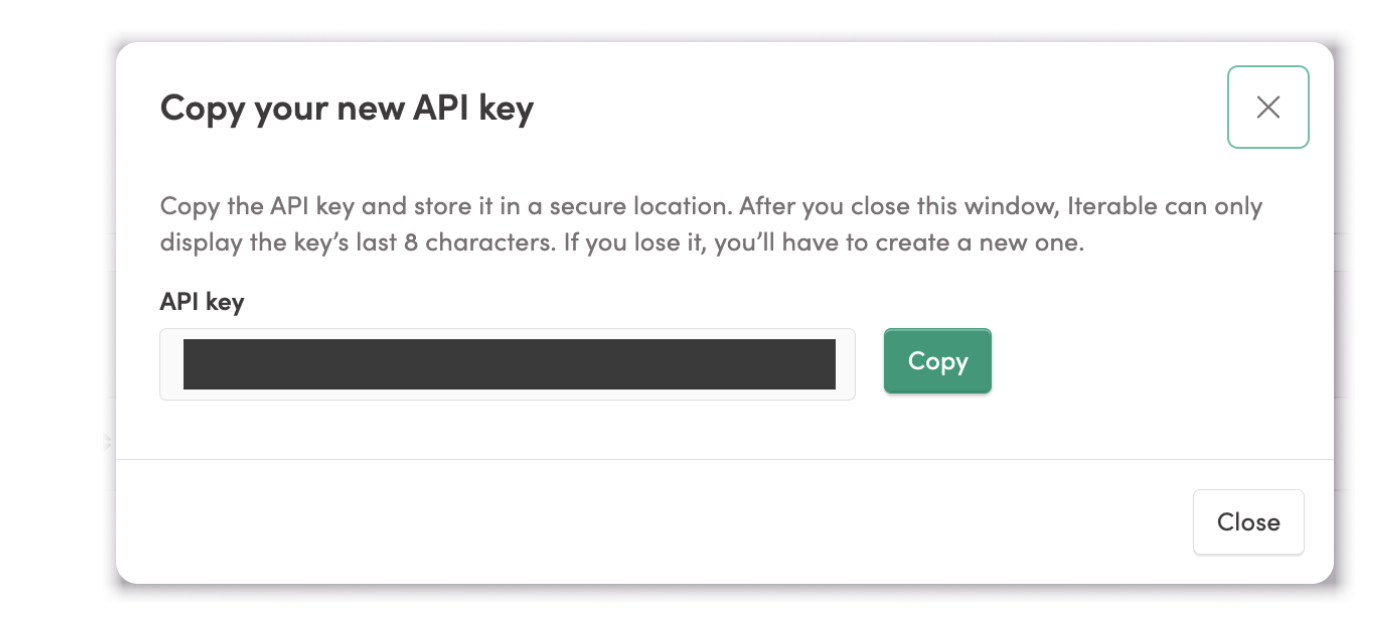
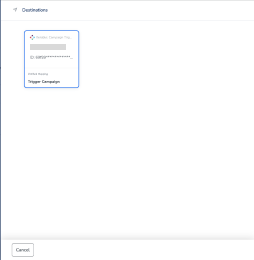
Create a Destination for Iterable - Campaign Trigger
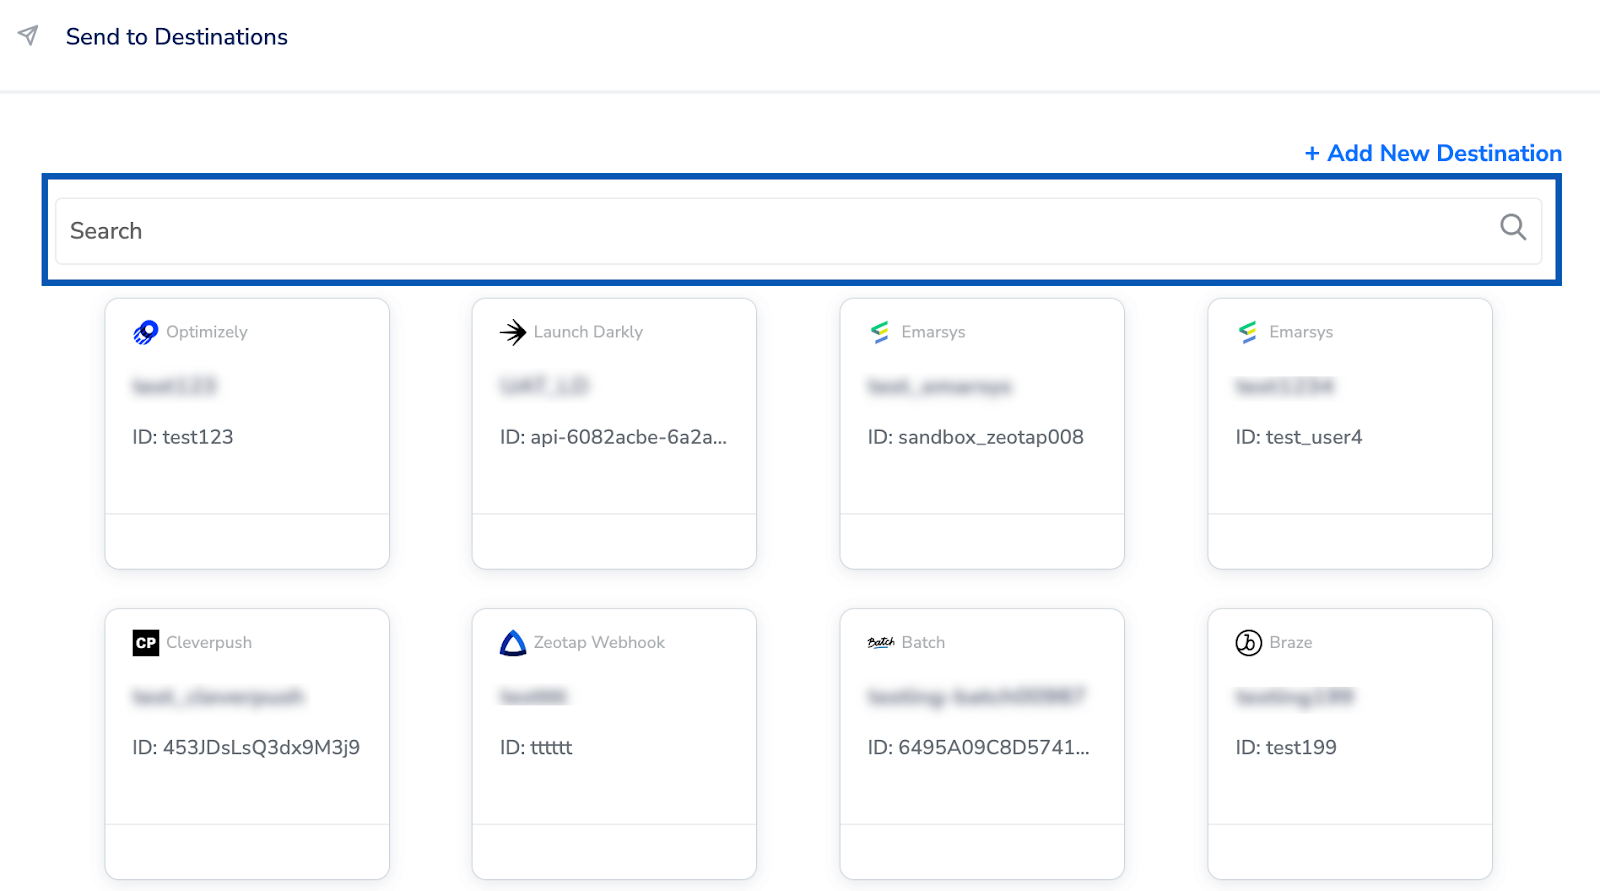
Perform the following steps to create a Destination for Iterable - Campaign Trigger: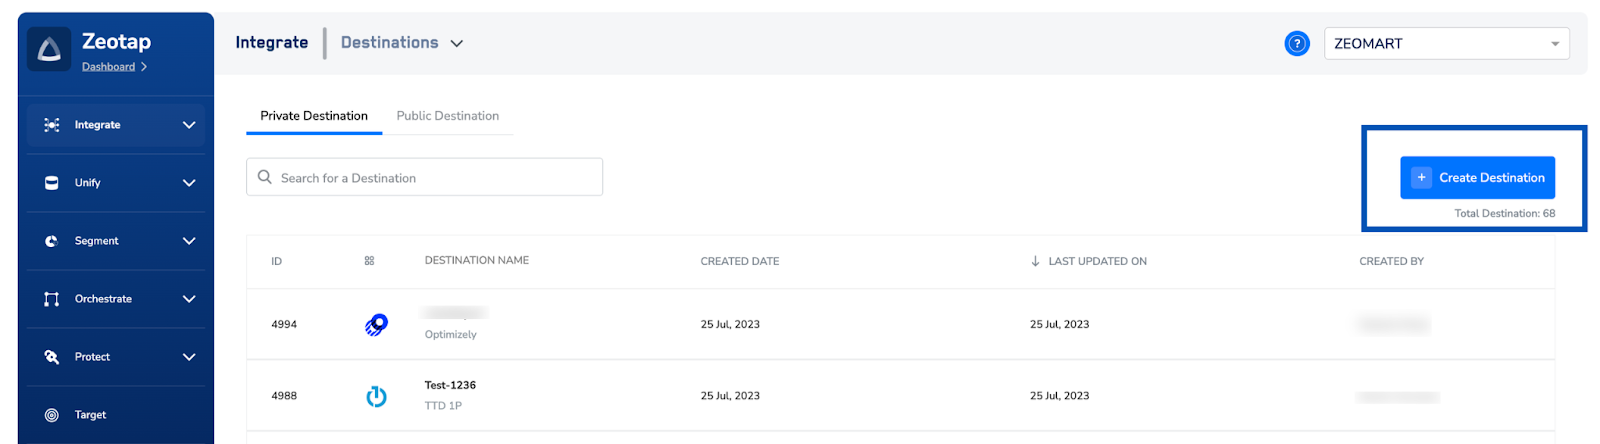
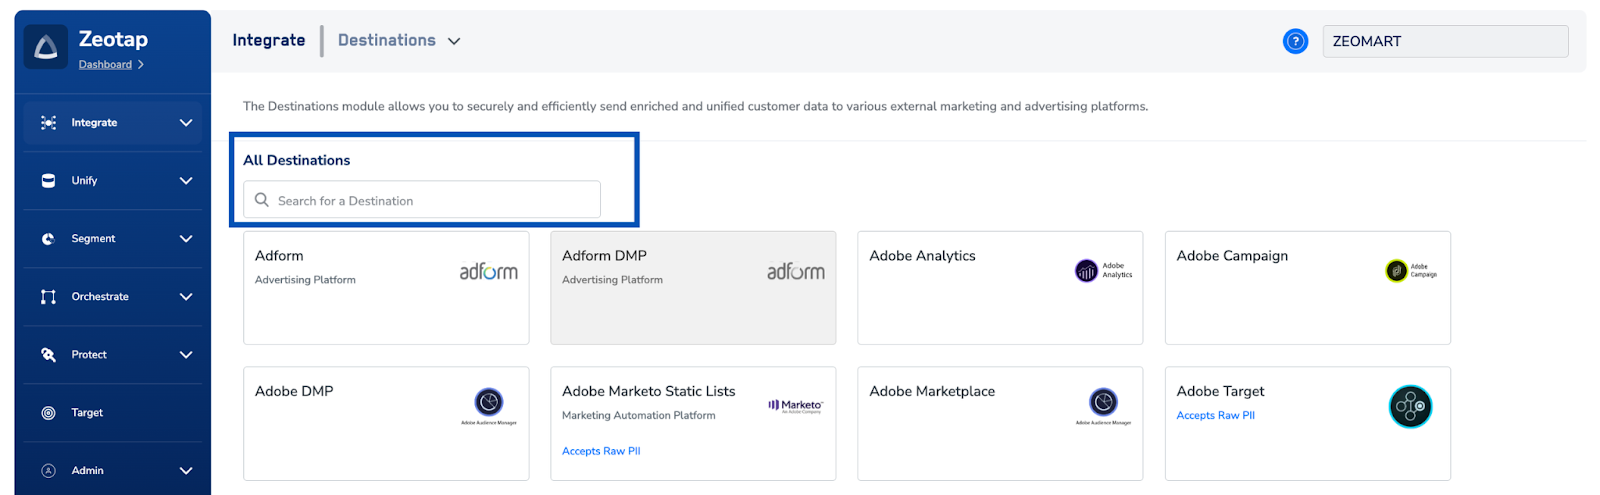
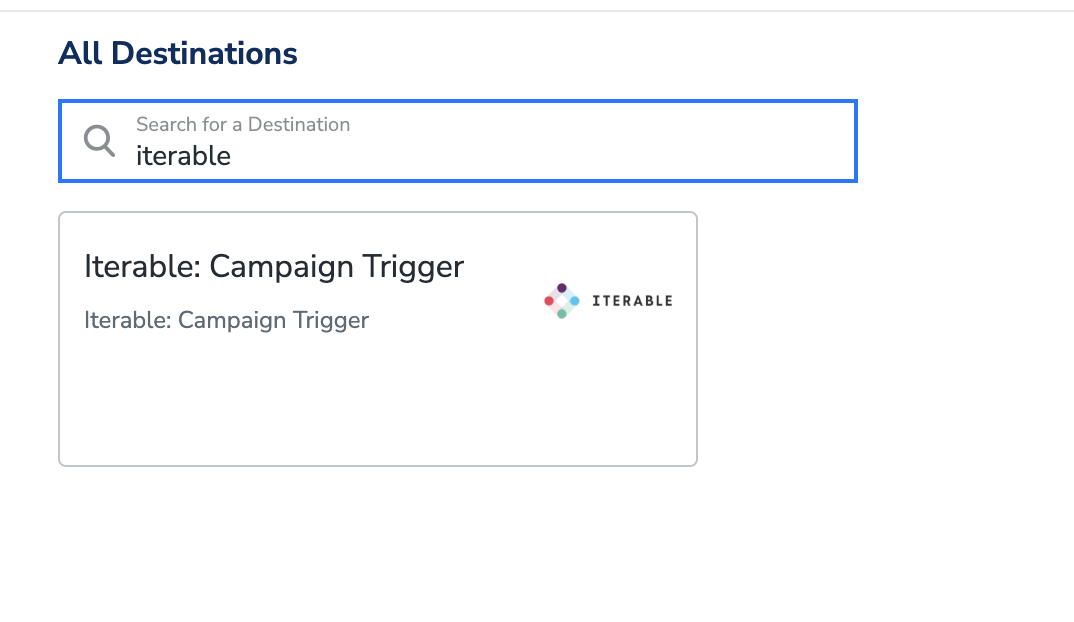
Click Iterable - Campaign Trigger. A screen appears displaying details about the particular destination towards the left. On the right-hand side of the screen find a list of fields that are required for the integration to be established. Enter the required details as mentioned in the following steps:a. Enter a name for the Destination.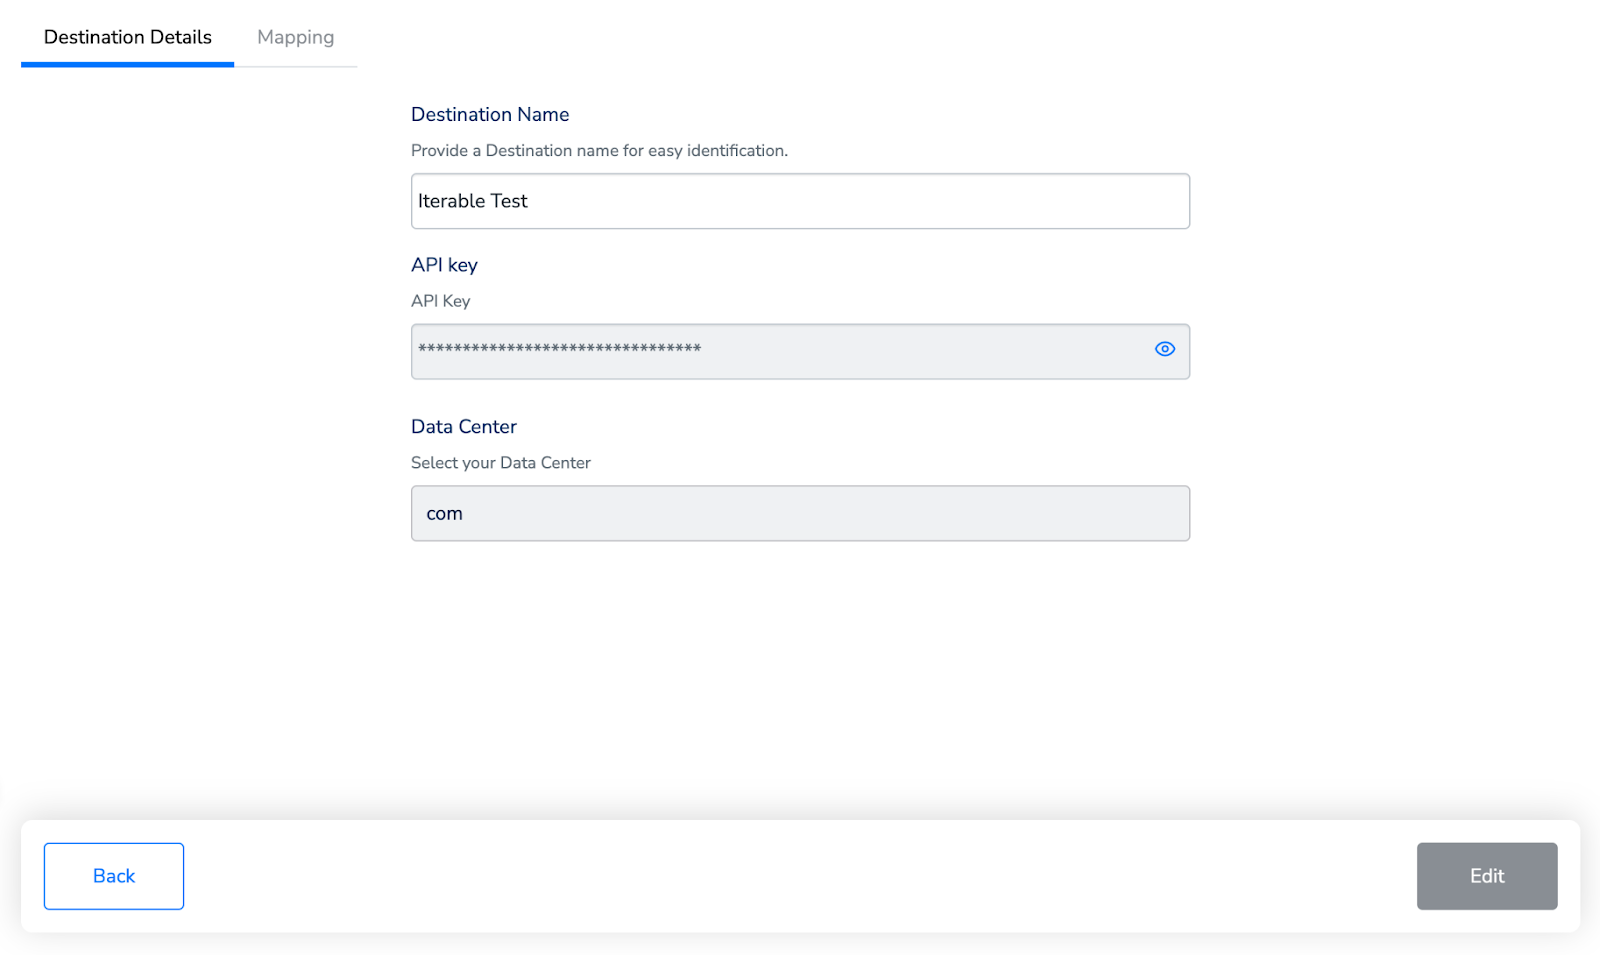
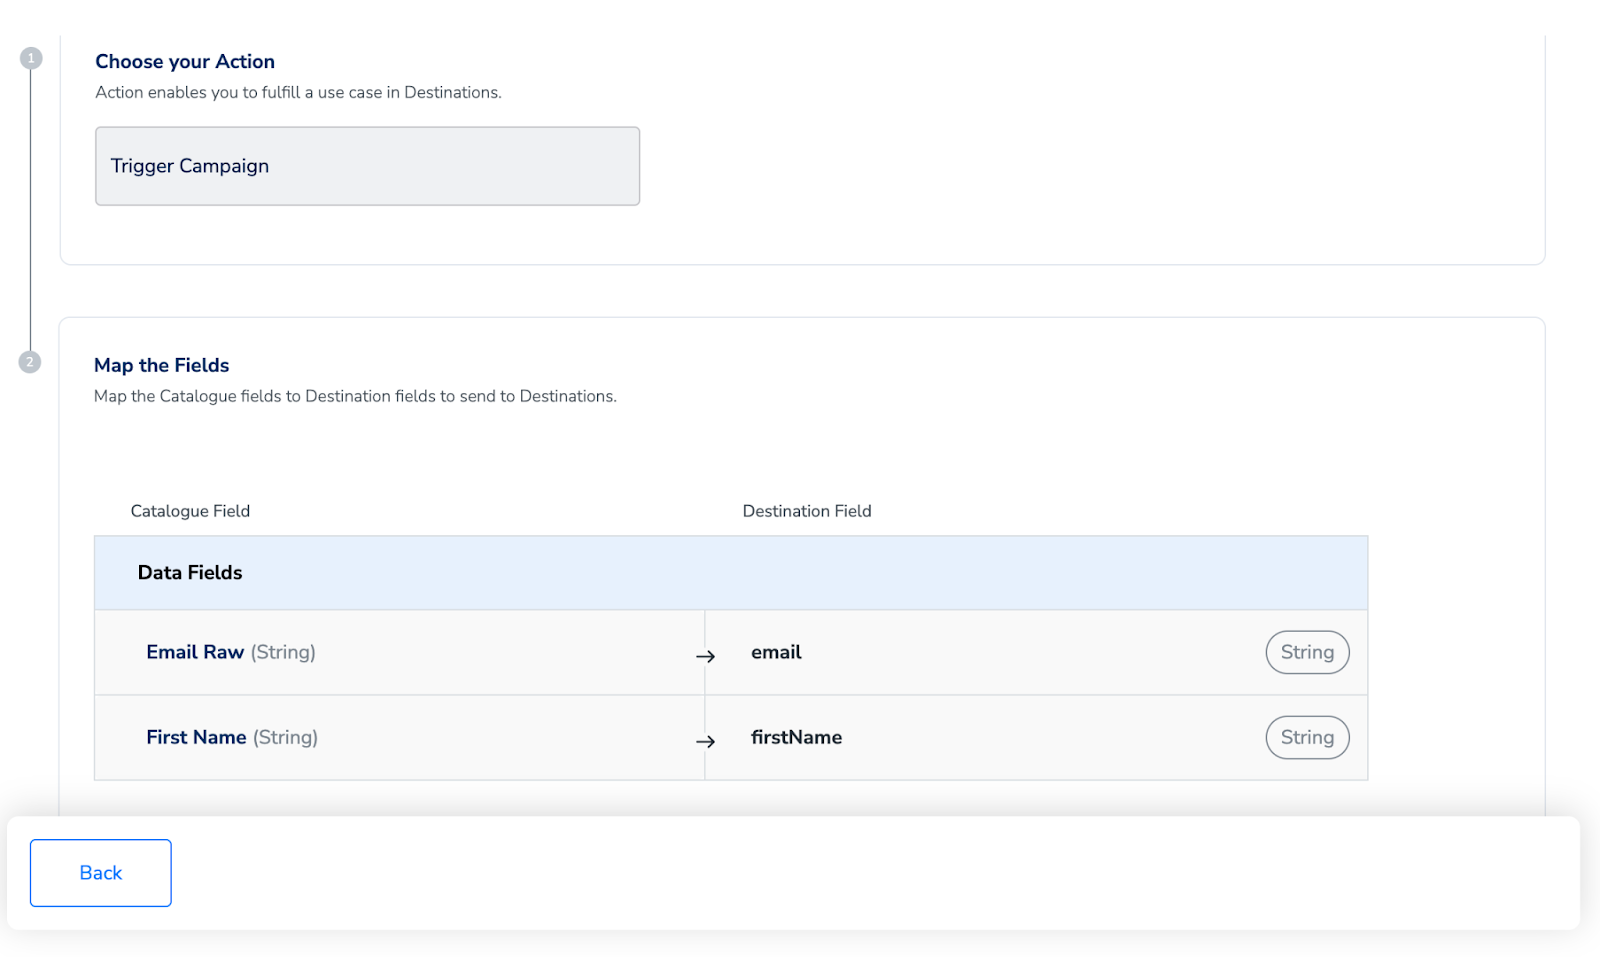
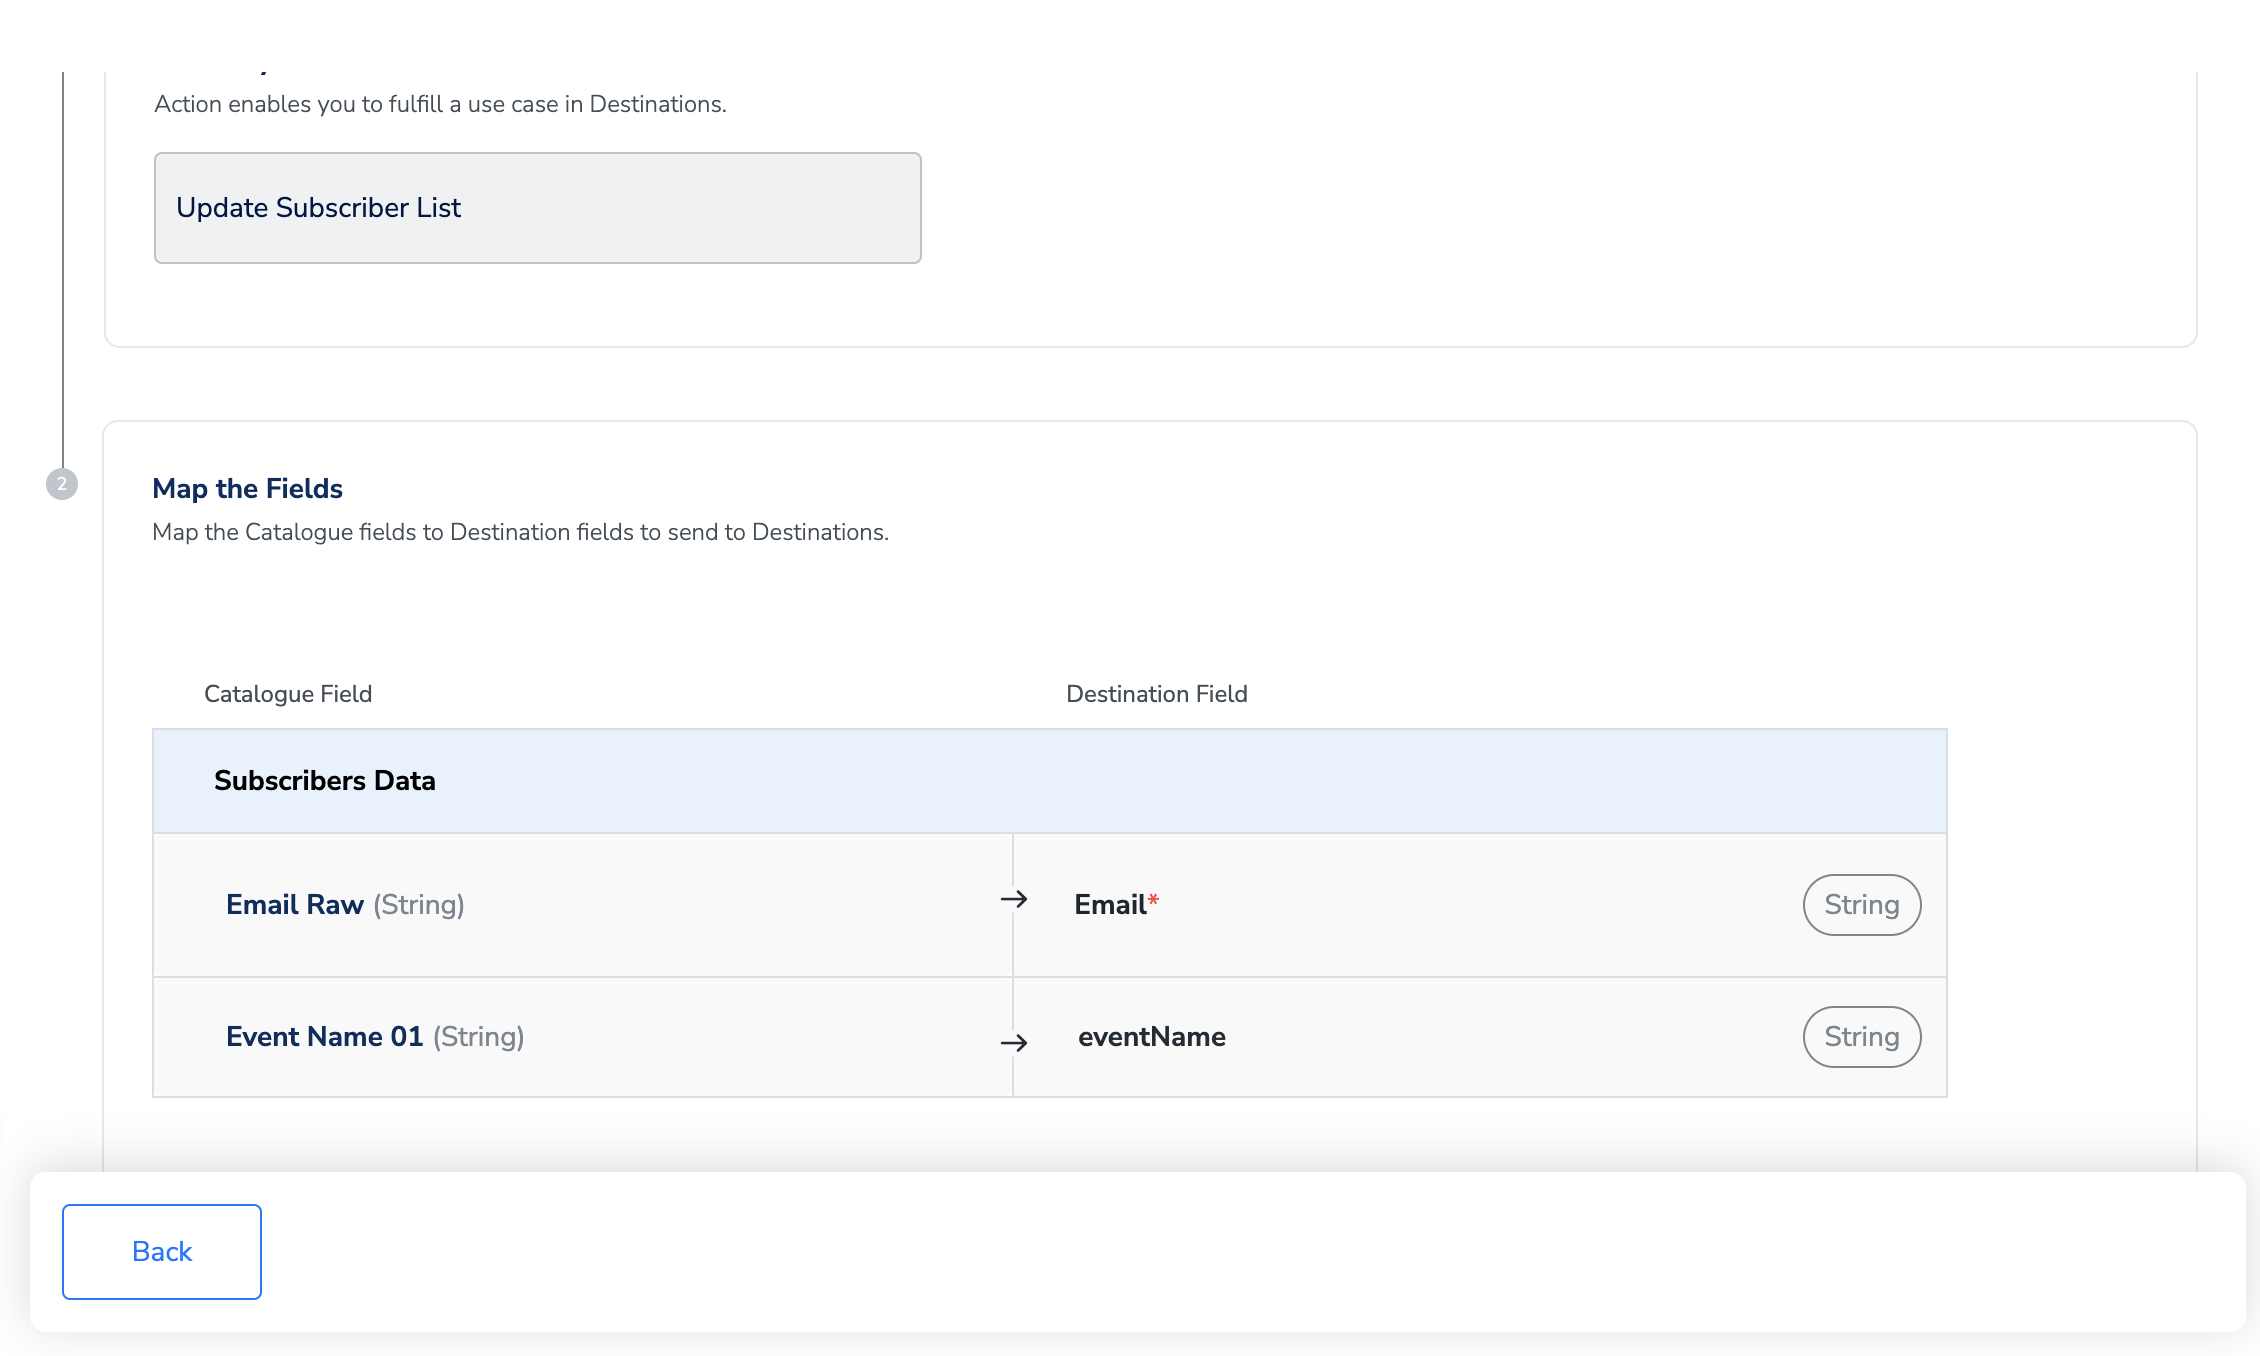
In the new screen that appears, choose the appropriate action and mapping as explained below. Under Choose your Action, choose Campaign Trigger/ Update Subscriber List as the action.You can map the following fieldsi. Identifier Email (for Update Subscriber List)ii. Any other custom field using the +Add Mapping button
Activate the Destination on Journeys
After creating a destination, next, you need to link it in the Send to Destination node within the workflow, as explained below.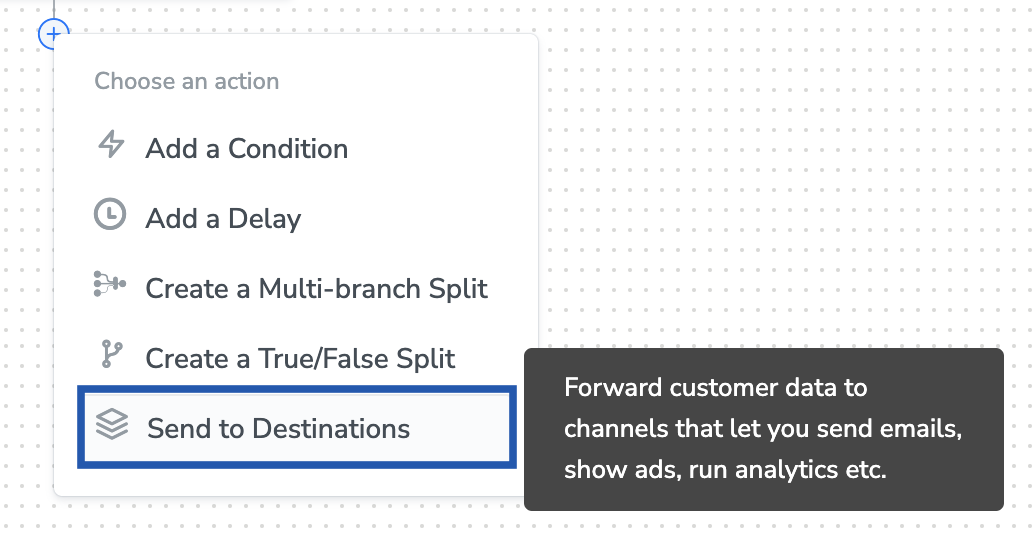
Under the Destination Details tab, the API key and data center fields are automatically populated based on the value that you have entered while creating the destination.
Under the Destination Settings tab, choose the List ID (String, we don’t support multiple list ID’s as of now), Campaign ID (String) and allow repeat marketing sends (true/false) as per your requirement.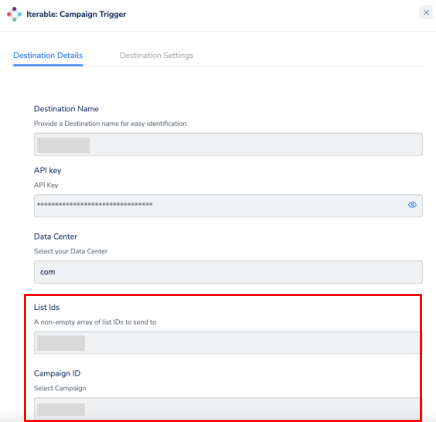
Note:While attaching a destination Campaign ID might be required field even if you are just trying to update subscriber list. You can add any value to it. It will not be used.