Connecting Zeotap to SendGrid for Contact Management
Overview
This integration allows you to automatically add and update contacts in SendGrid based on customer data and events from Zeotap. By connecting these two platforms, you can seamlessly sync your customer profiles and segments from Zeotap directly into SendGrid’s contact lists, ensuring your email marketing campaigns are always working with the most up-to-date customer information.How It Works
When customer data is updated or new segments are created in Zeotap, the integration automatically sends this information to SendGrid. SendGrid will then add new contacts to your specified lists or update existing contact information, keeping your email marketing database synchronized with your customer data platform in real-time.Prerequisites
In Zeotap:- Admin access to your Zeotap account
- Permission to create and manage integrations
- Customer segments or data ready to sync
- Active SendGrid account with API access
- Admin permissions to generate API keys
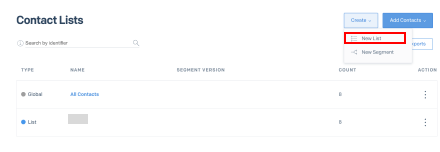
- Contact lists created where you want to add/update contacts
- Understanding of which contact fields you want to map
Step-by-Step Configuration Guide
Get Your Credentials from SendGrid
Log into your SendGrid account at https://app.sendgrid.com
Navigate to API Keys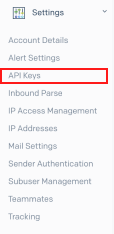
- Click on “Settings” in the left sidebar
- Select “API Keys” from the dropdown menu
Create a New API Key
- Click the “Create API Key” button
- Choose “Full Access” or “Custom Access” for better security
- Give your API key a descriptive name (e.g., “Zeotap Integration”)
Set API Key Permissions
- Under “Mail Send”, select “Full Access”
- Under “Marketing Campaigns”, select “Full Access”
- Under “Lists and Segments”, select “Full Access”
- Click “Create & View”
Copy and Save Your API Key
- Important: Copy the API key immediately and store it securely
- You won’t be able to view it again after leaving this page
- Keep this key confidential - it’s like a password for your SendGrid account
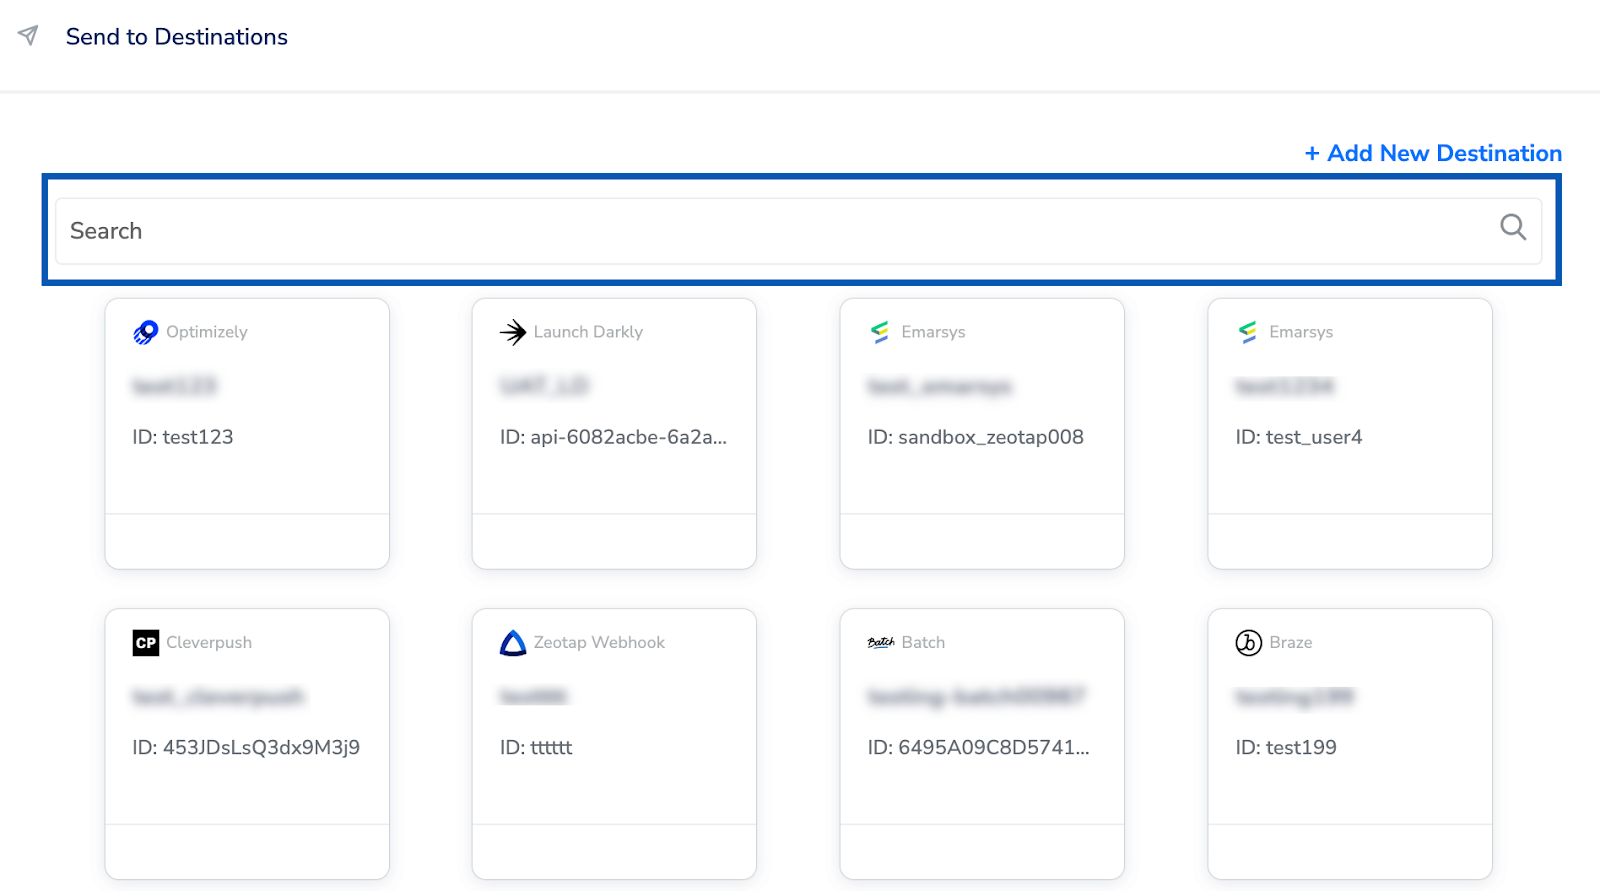
Create a Destination for SendGrid
Perform the following steps to create a Destination for Sendgrid: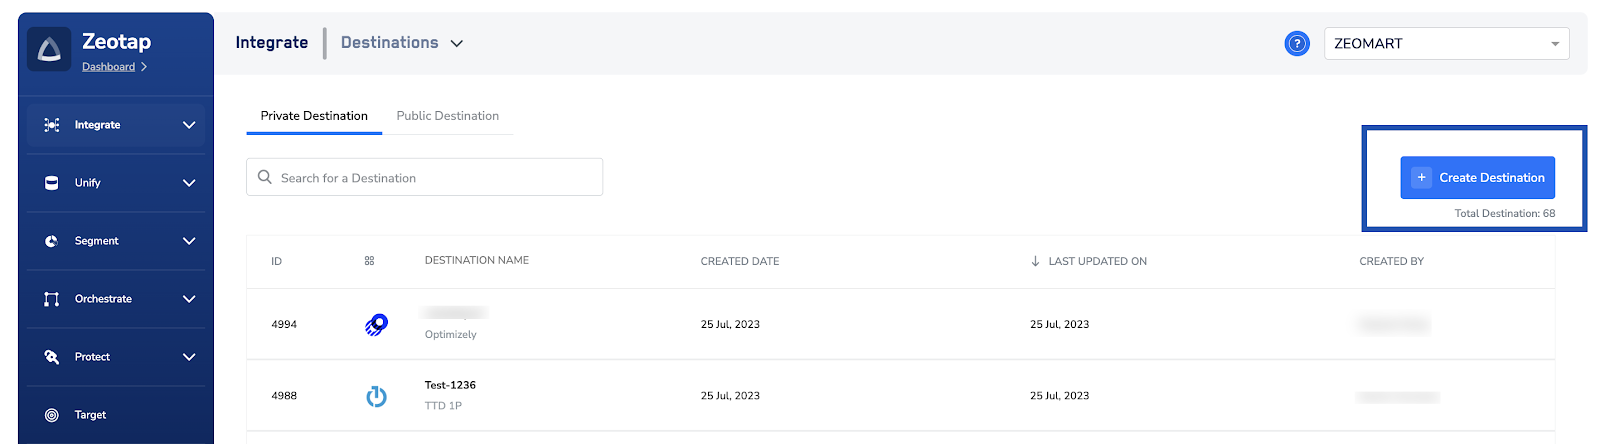
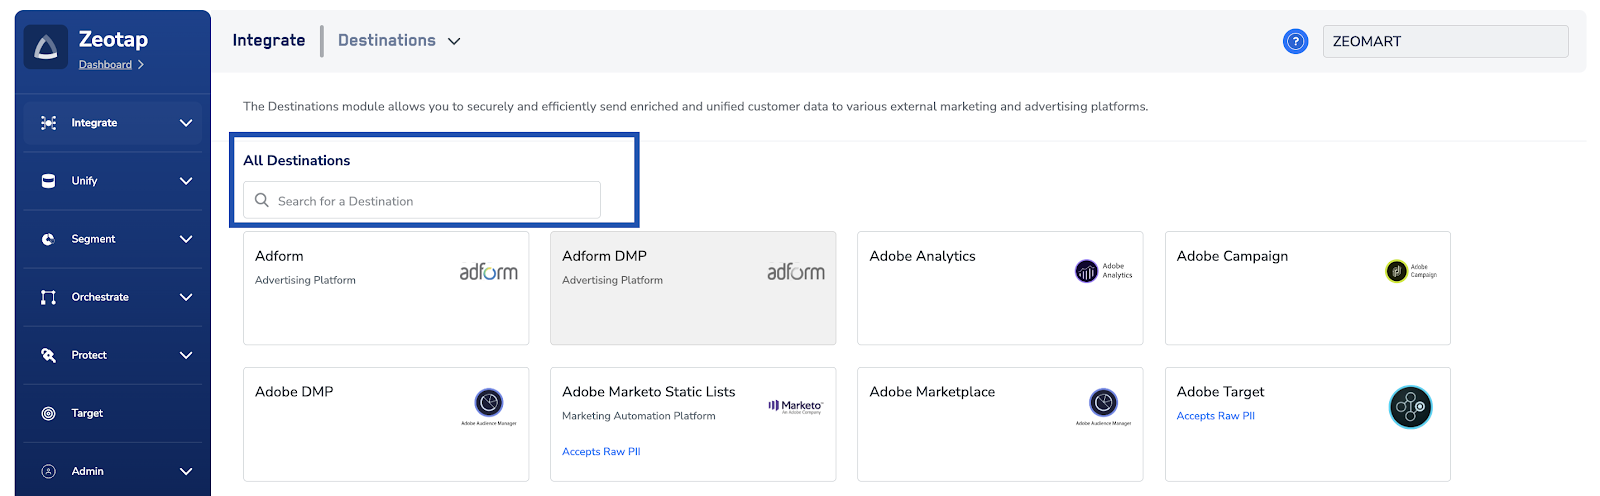

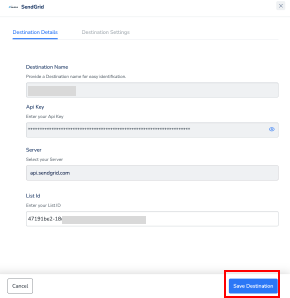
Click Sendgrid. A screen appears displaying details about the particular destination towards the left. On the right-hand side of the screen find a list of fields that are required for the integration to be established. Enter the required details as mentioned in the following steps:a. Enter a name for the Destination.
b. Enter the API key and server that you have obtained from your SendGrid account. The steps to get the access token is mentioned in the Prerequisites section of this document.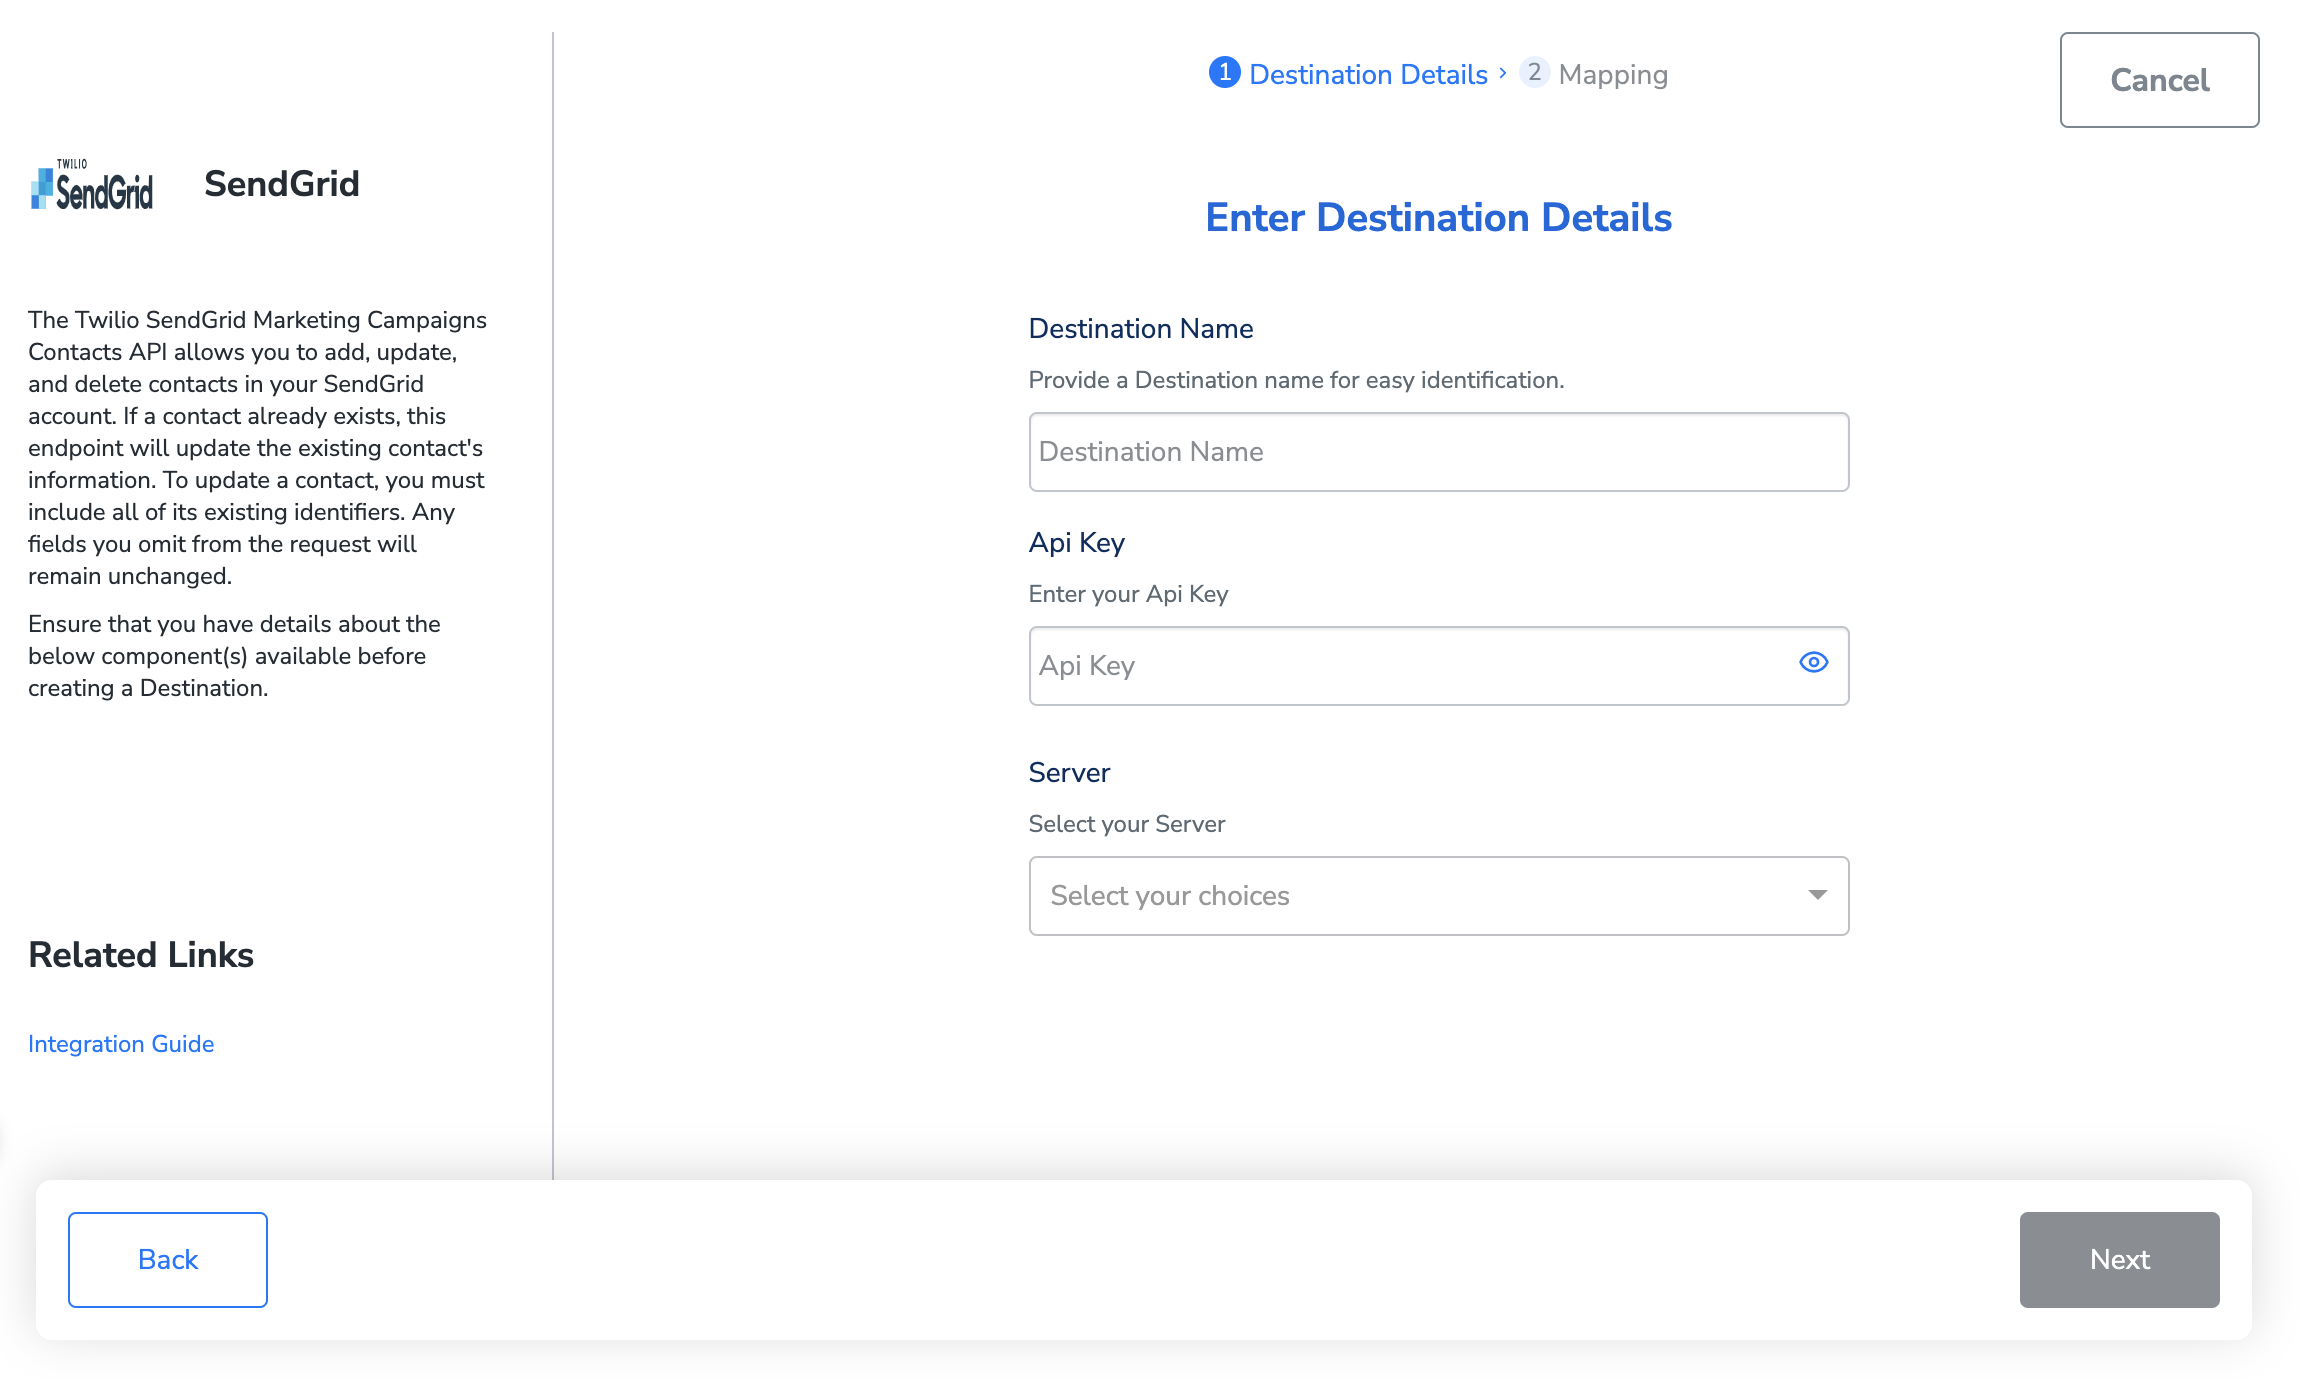
b. Enter the API key and server that you have obtained from your SendGrid account. The steps to get the access token is mentioned in the Prerequisites section of this document.
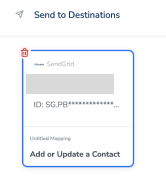
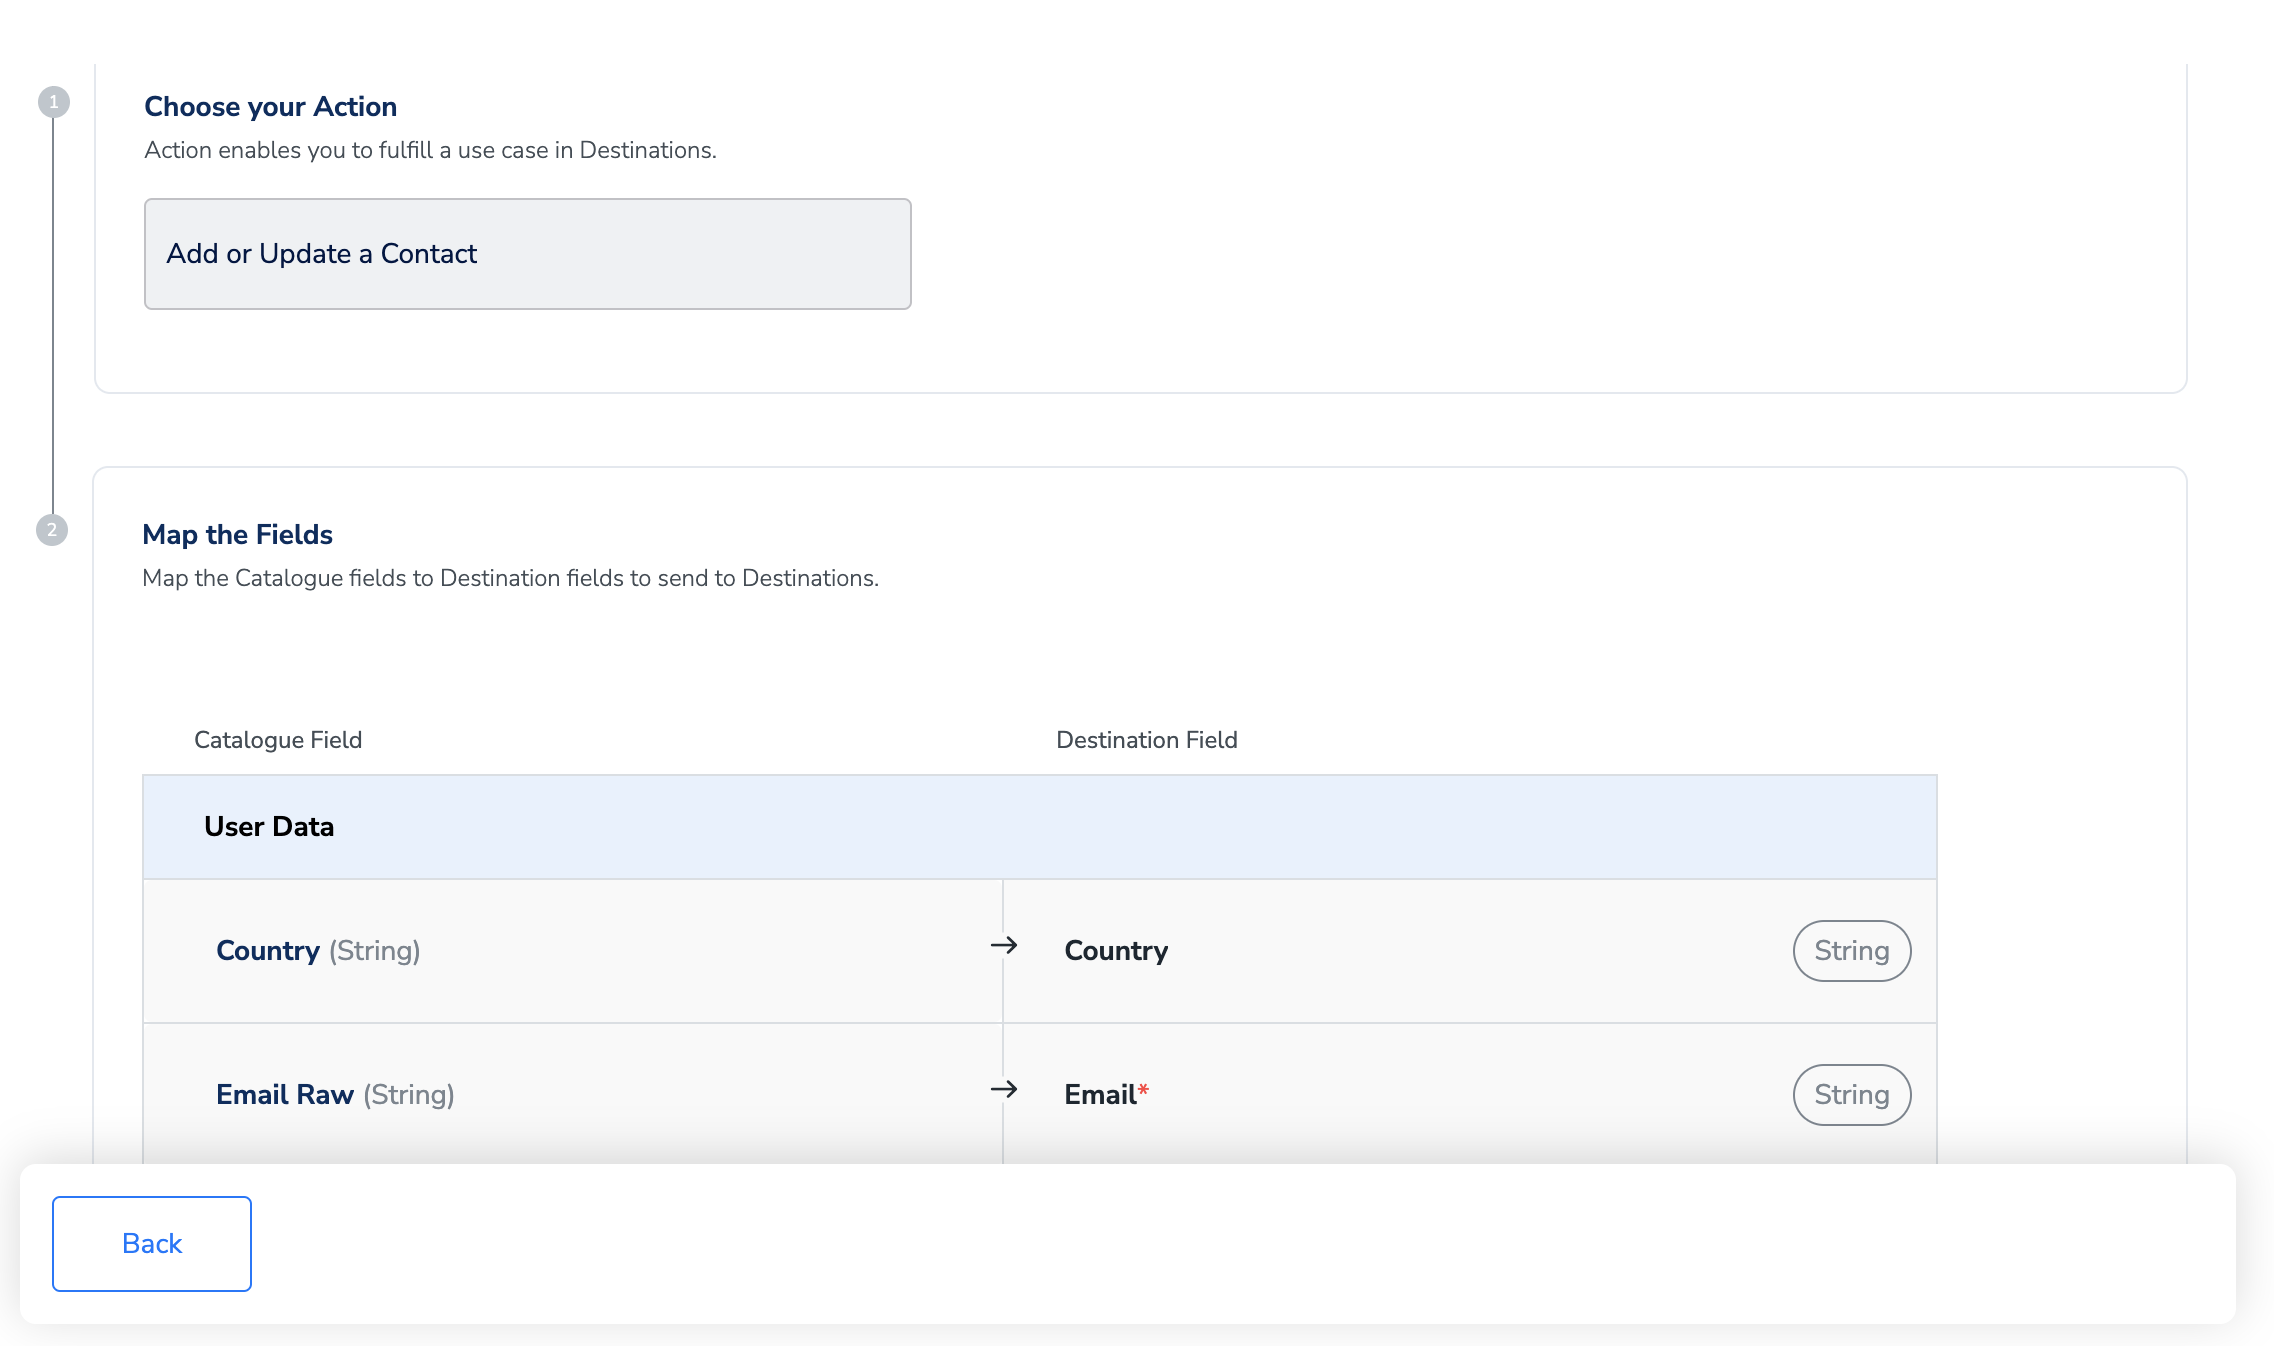
In the new screen that appears, choose the appropriateaction and mapping as explained below. Under Choose your Action, choose Campaign Trigger/ Update Subscriber List as the action.You can map the following fieldsi. Identifier Email and Country
ii. Any other custom field using the + Add Mapping button
ii. Any other custom field using the + Add Mapping button
Activate the Destination on Journeys
After creating a destination, next, you need to link it in the Send to Destination node within the workflow, as explained below.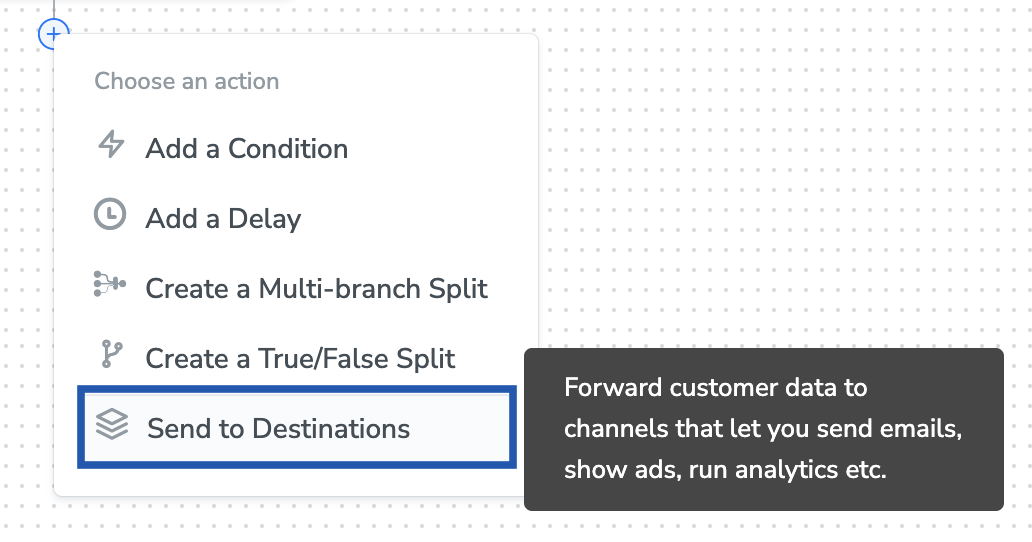
Under the Destination Details tab, the API key and server fields are automatically populated based on the value that you have entered while creating the destination.