Overview
Criteo’s Offline Sales Reporting bridges the gap between your online advertising and in-store performance. It allows you to connect offline transaction data—such as in-store purchases or call center sales—back to your digital campaigns. By securely uploading or integrating your point-of-sale data, Criteo matches those offline conversions to ad interactions using privacy-safe identifiers. This helps you measure the true impact of your campaigns, attribute sales accurately across channels, and optimize ad spend toward audiences and strategies that drive both online and offline results.Pre requisites
- You must have an Active Criteo Account.
- Client Name : Specify the Client Name in the following format: organizationname_offlinesales
Creating a Destination
Click on Criteo Offline Sales Reporting. A screen appears displaying details about the particular destination towards the left. On the right-hand side of the screen find a list of fields that are required for the integration to be established. Enter the required details as mentioned in the following steps:a. Enter a name for the Destination.b. Enter the Client Name.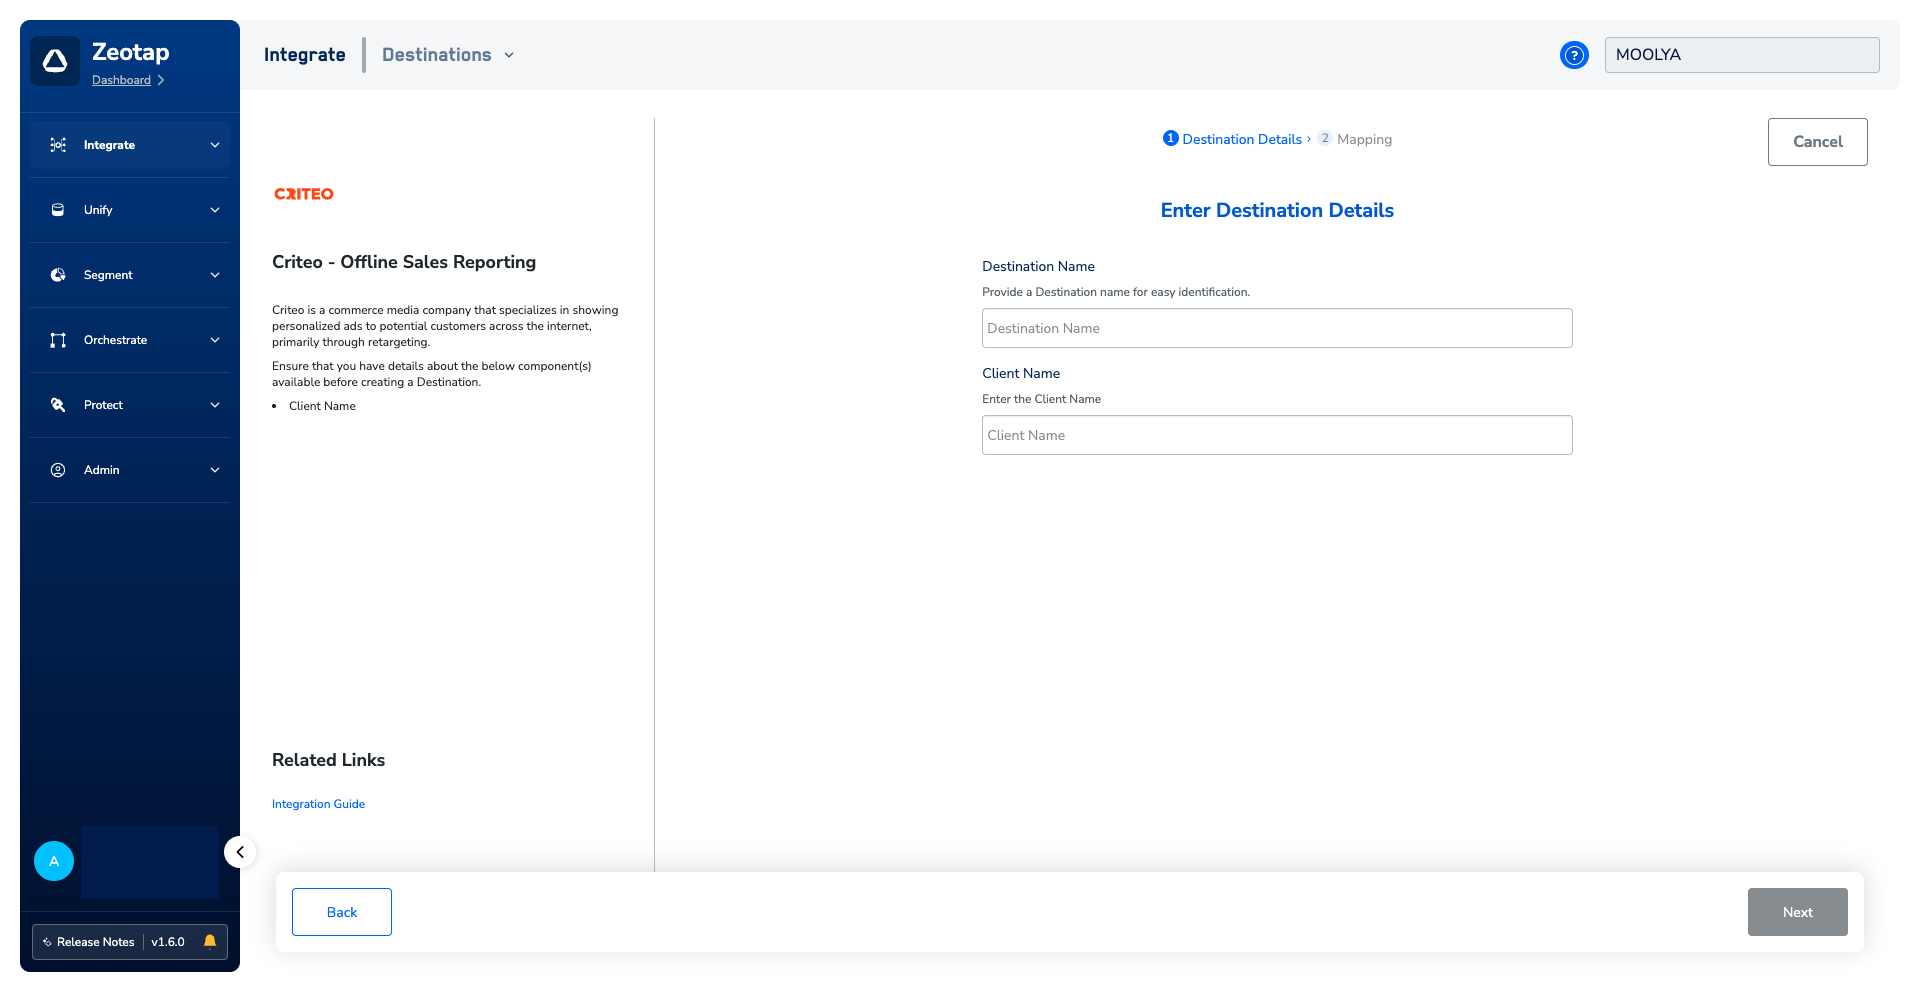
In the new screen that appears, choose the appropriate Action and mapping as explained below.a. Choose the desired action under Choose your Action and then choose the corresponding identifiers under Map the Fields. By default, the Output Identifiers that are accepted by the platform, such as email are displayed. However, you can edit, add, or remove an identifier from the list.b. Mandatory Fieldsi. Email ( Raw / MD5 / SHA256)ii. Event Idiii. Timestampiv. Item IDv. Item’s Pricevi. Item’s Quantityvii. Store IDviii. Site Typeix. IPx. User Segmentxi. Accountc. Click Save Mapping.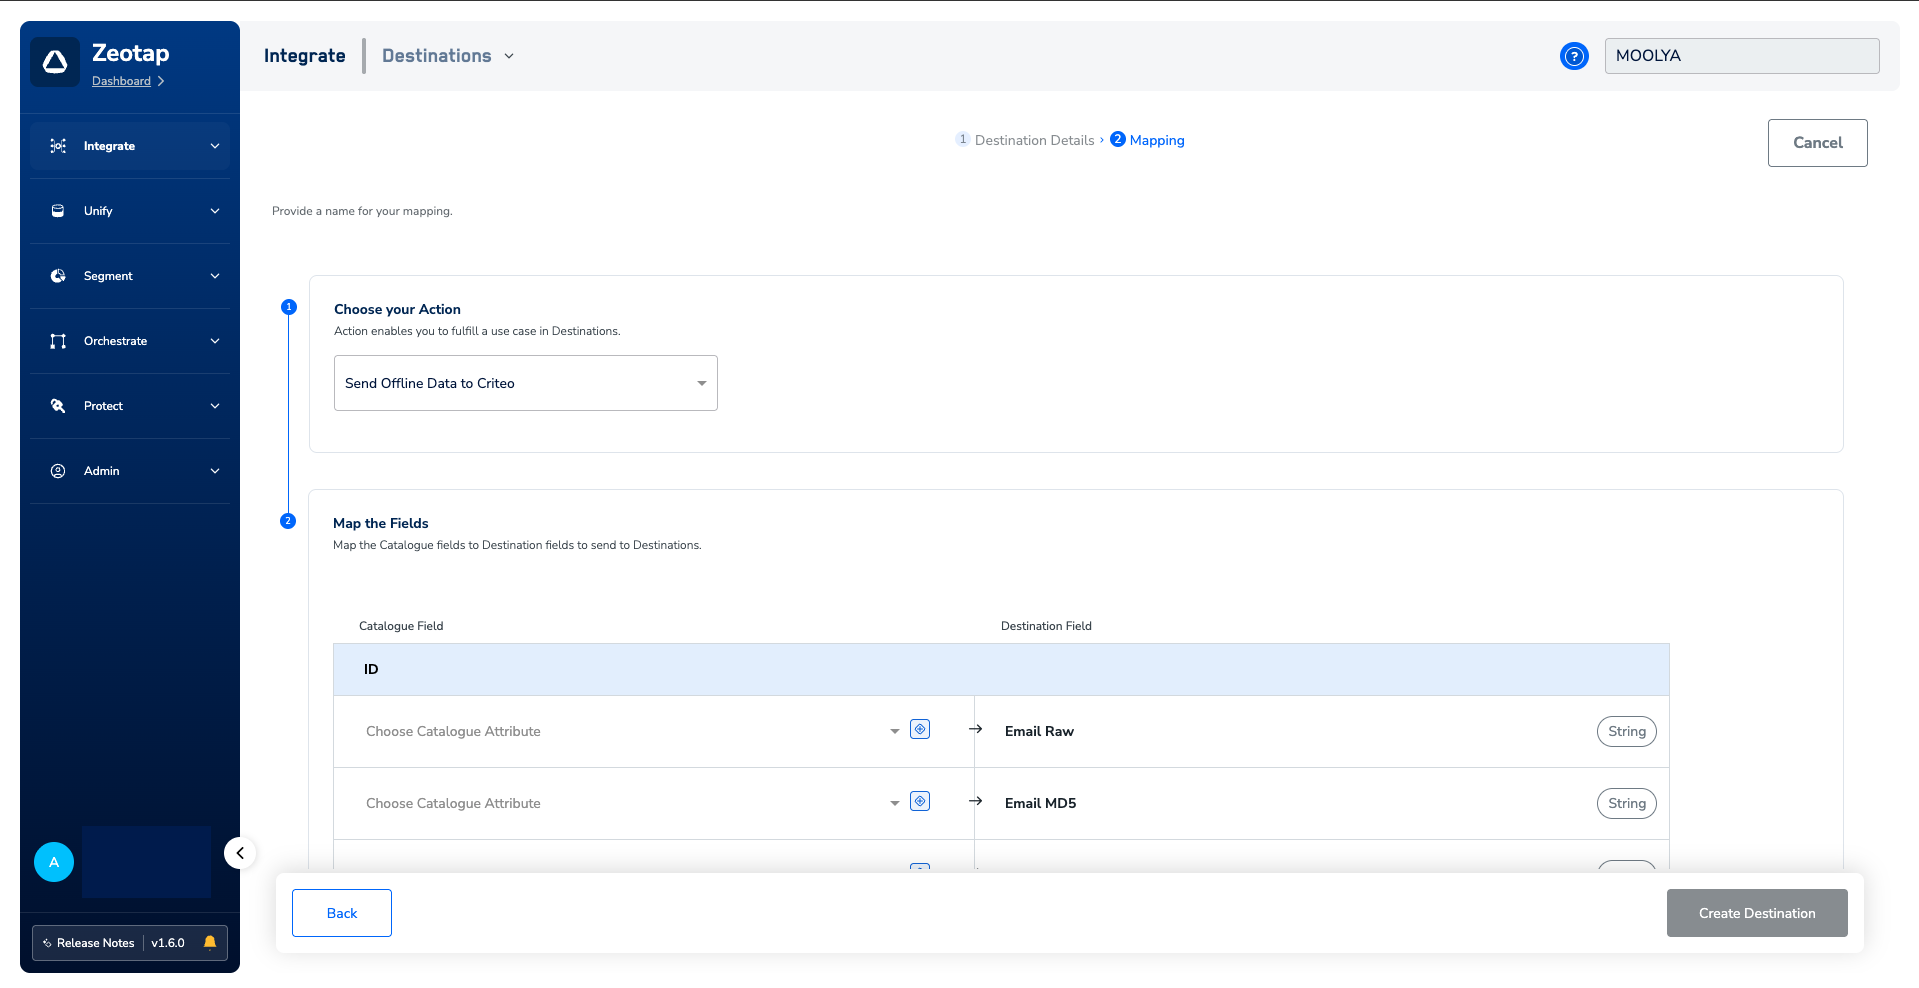
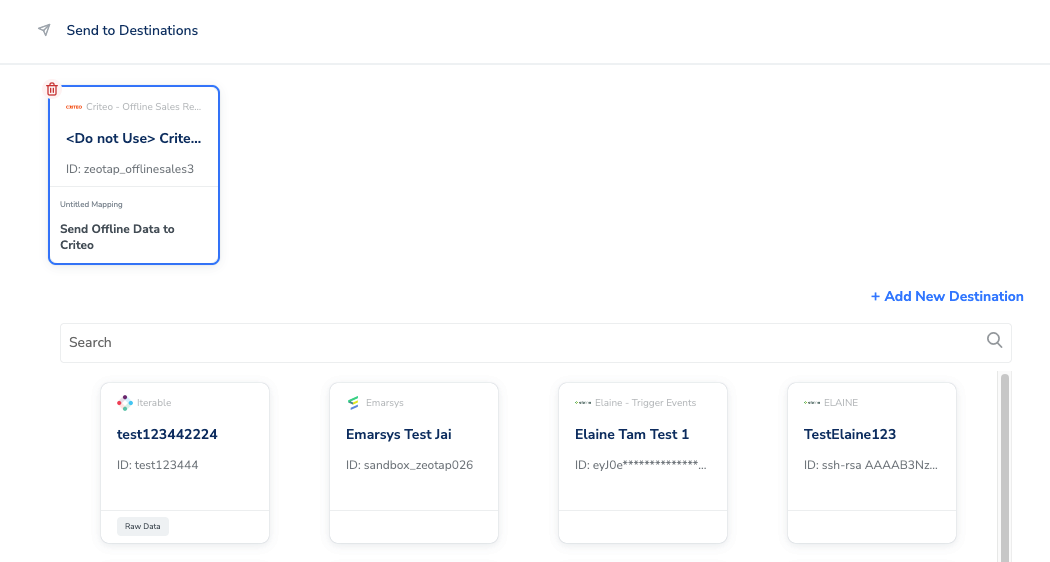
Activate the Destination on Journeys
After creating a destination, next, you need to link it in the Send to Destination node within the workflow, as explained below.
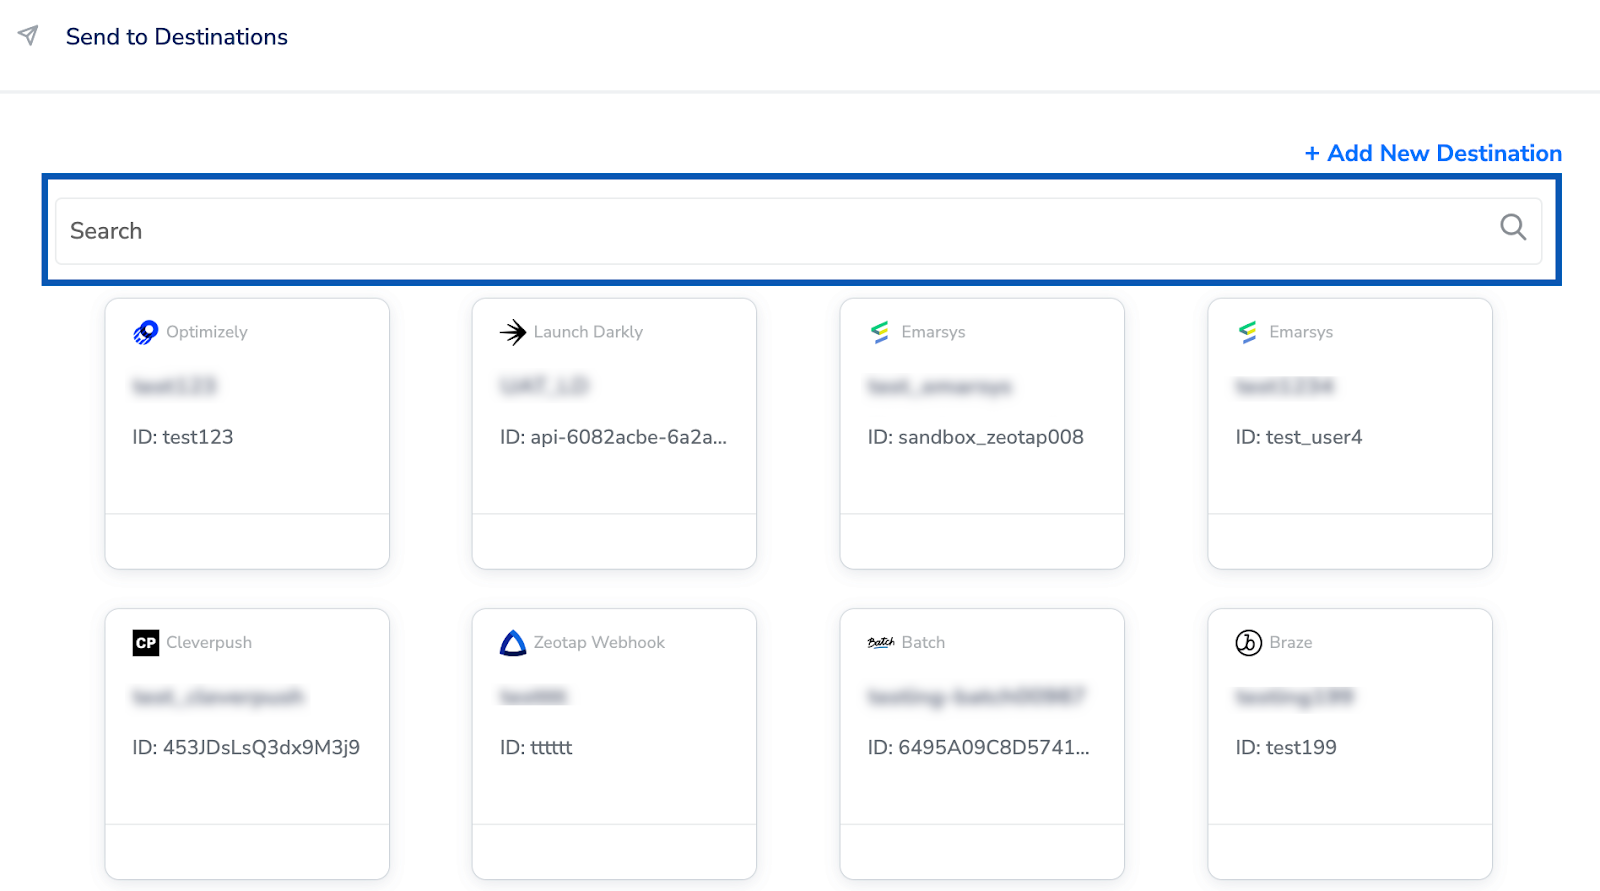
Under the Destination Details tab, the Client Name field is automatically populated based on the value that you have entered while creating the destination.