Overview
WhatsApp Business API is a leading messaging platform that enables businesses to communicate with customers at scale through the world’s most popular messaging app. It allows companies to send automated notifications, provide customer support, and run marketing campaigns without coding, triggering personalized messages, interactive buttons, and rich media content in real-time based on customer behavior. Integrating seamlessly with existing business systems via robust APIs, WhatsApp Business API helps drive customer engagement, support efficiency, and conversational commerce across global markets. It provides end-to-end encryption, template messaging, and analytics to optimize communication strategies while maintaining WhatsApp’s trusted user experience and achieving improved customer satisfaction and conversion rates. This integration with Zeotap enables you to send messages through WhatsApp.Pre requisites
- You must have a verified WhatsApp Business Account.
- You must have a verified Facebook Business Manager Account.
- You’ll need a phone number to associate with your WhatsApp Business Account. This number will be used for sending and receiving messages through the API.
- You must register your phone number using the WhatsApp Cloud API to receive its unique Phone Number ID. This is done by making a POST request to the /<PHONE_NUMBER_ID>/register endpoint.
Bash (Unix Shell)
- Template Creation and Approval: All message templates must be created in the WhatsApp Manager and approved by Meta. It’s best practice to use named variables (like ) instead of numbered ones for clarity and easier management.
- You must generate a System User access token with the correct permissions (whatsapp_business_management, whatsapp_business_messaging, whatsapp_business_manage_events) and configure a webhook to receive message status updates and replies.
Note:At the moment, this integration supports text-based templates only. Sending media content (such as images or videos) and links is not supported yet.
Creating a Destination
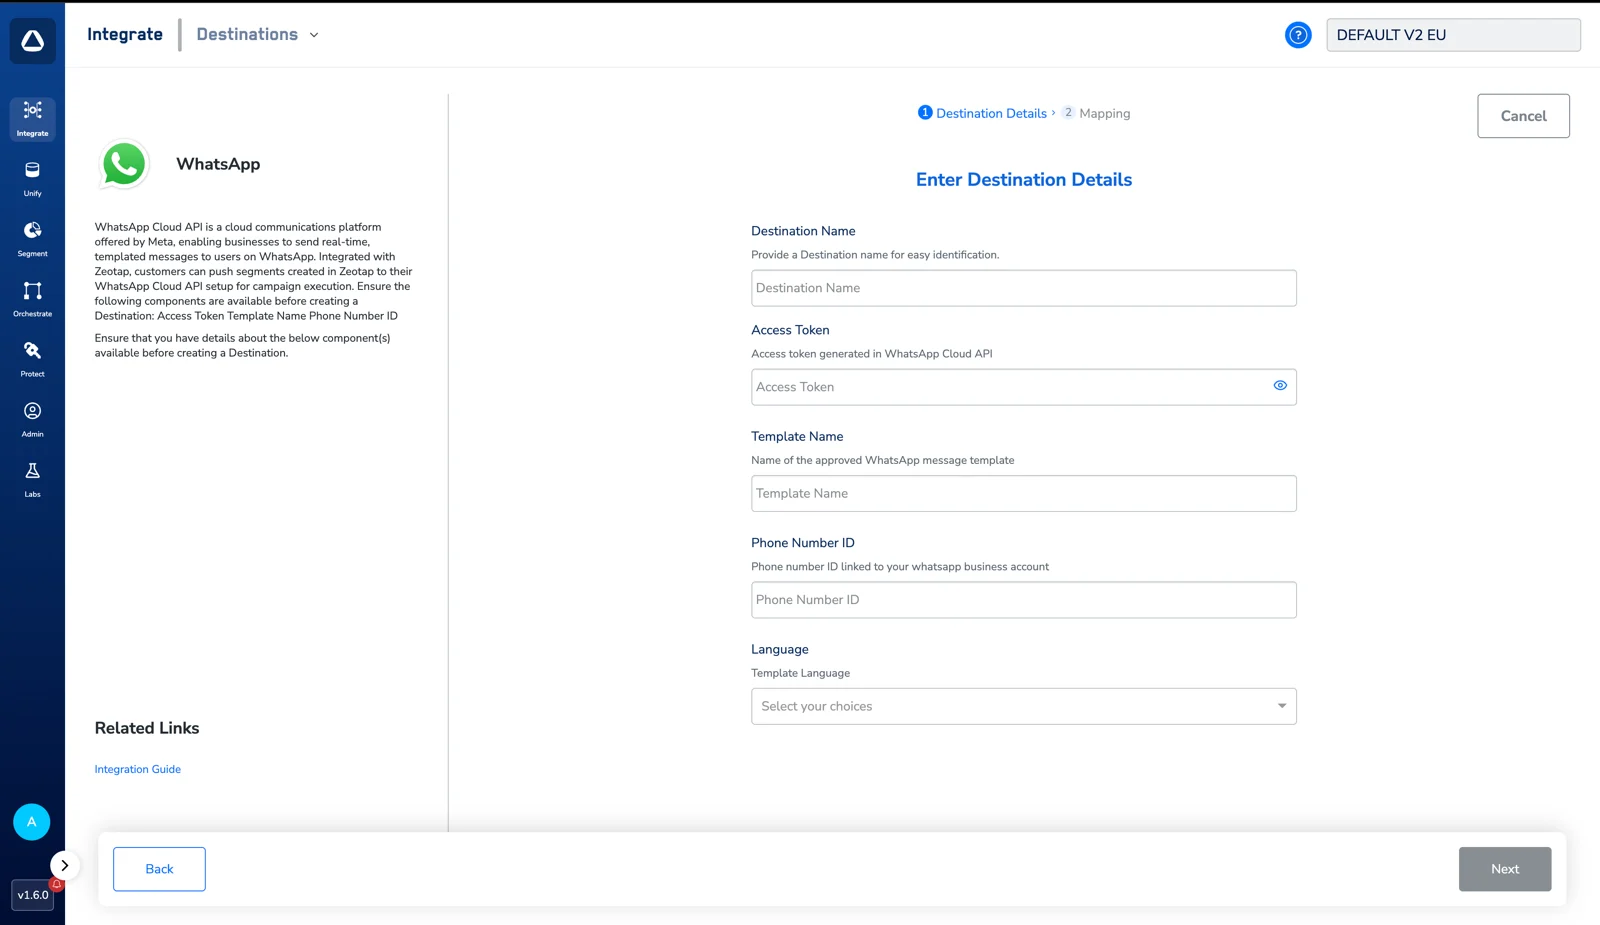
Click on WhatsApp. A screen appears displaying details about the particular destination towards the left. On the right-hand side of the screen find a list of fields that are required for the integration to be established. Enter the required details as mentioned in the following steps:a. Enter a name for the Destination.
b. Enter the Access Token.
c. Enter the Template Name.
d. Enter the Phone Number ID.
e. Select the Template Language from the dropdown menu. Refer to the WhatsApp Supported Languages documentation to identify the correct language code corresponding to the language selected when creating your template.
In the new screen that appears, choose the appropriate Action and mapping as explained below.a. Choose the desired action under Choose your Action and then choose the corresponding identifiers under Map the Fields. By default, the recipient number is visible.
b. Mandatory Fields
i. to
c. Click +Add Mapping Field and enter your exact template variable name in the field on the right.
d. Click Save Mapping.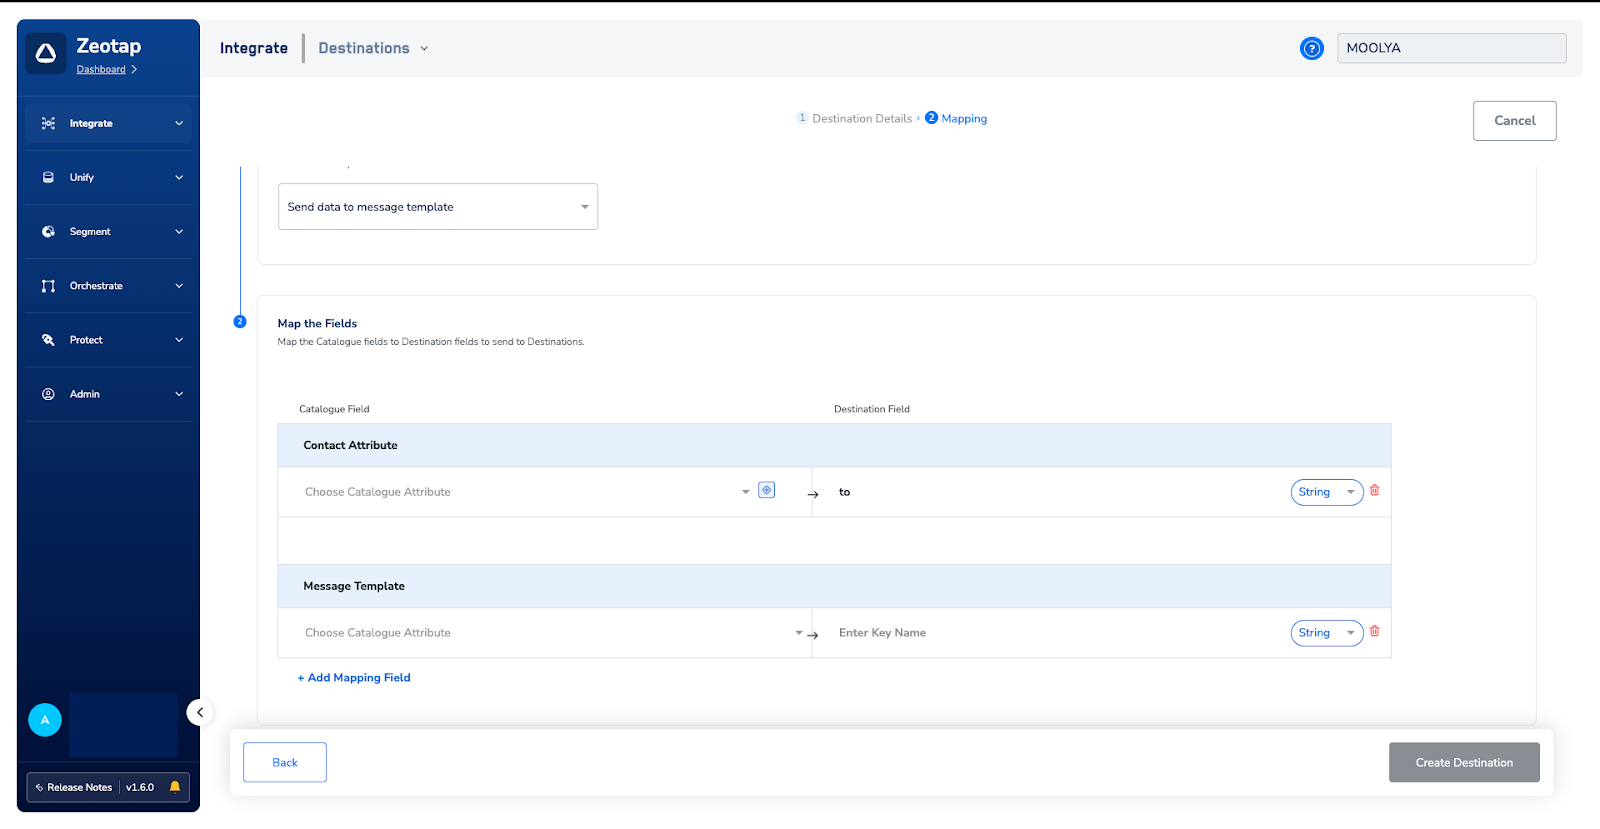
b. Mandatory Fields
i. to
c. Click +Add Mapping Field and enter your exact template variable name in the field on the right.
d. Click Save Mapping.
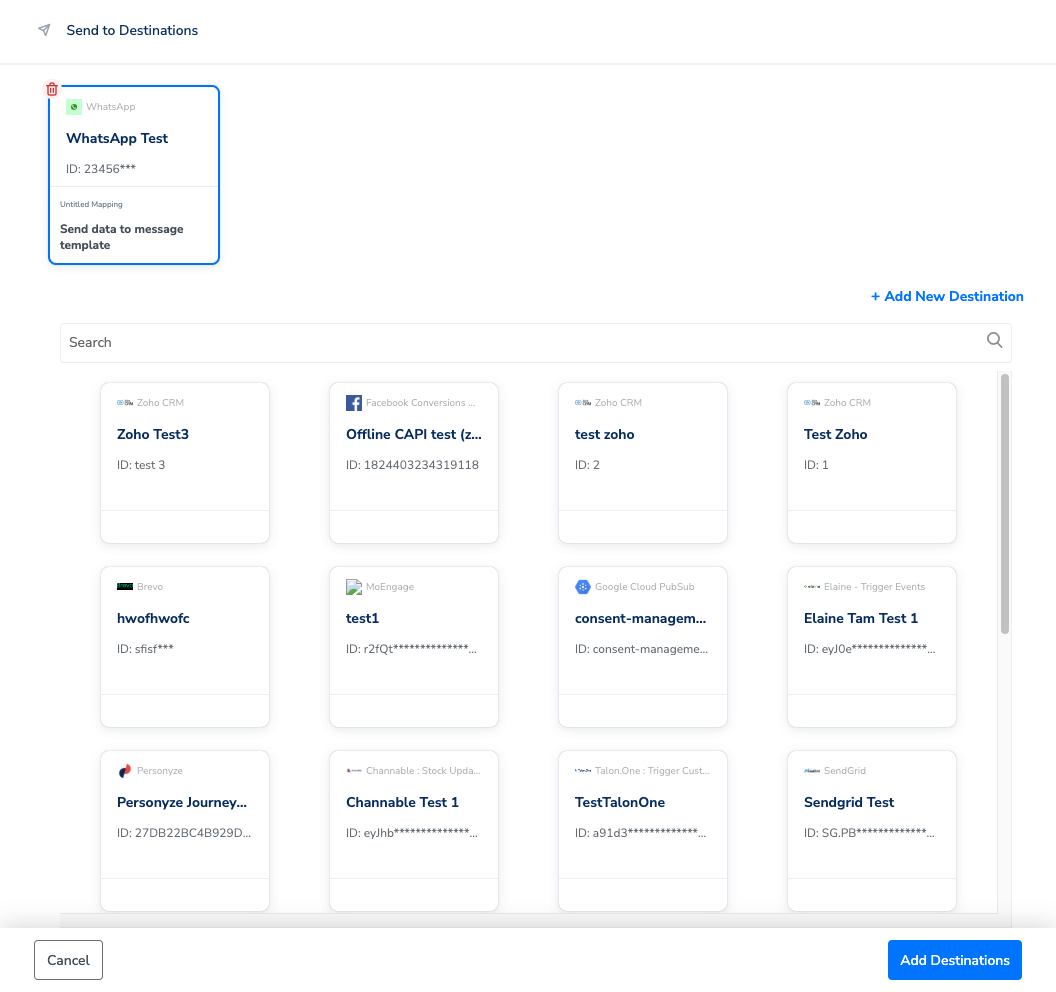
Activate the Destination on Journeys
After creating a destination, next, you need to link it in the Send to Destination node within the workflow, as explained below.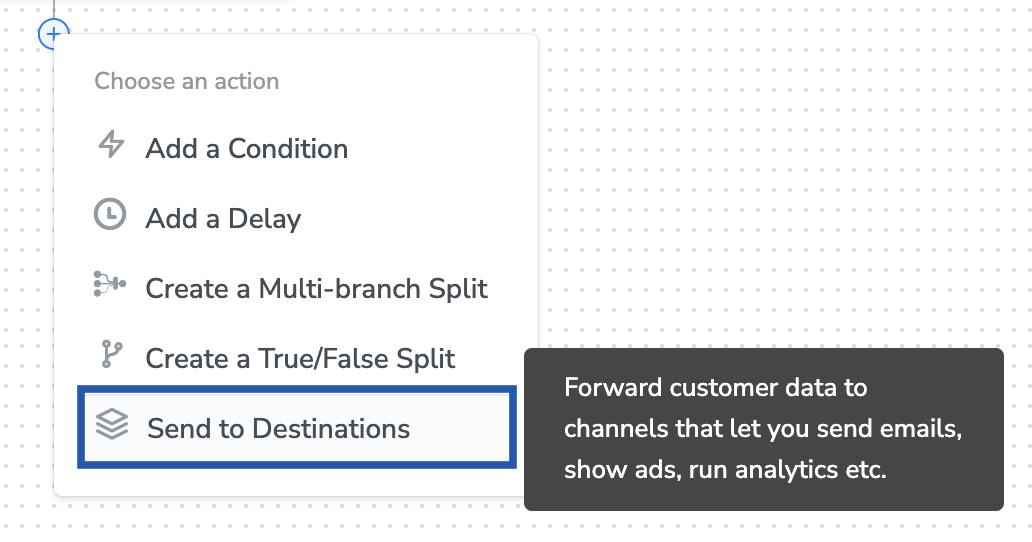

Under the Destination Details tab, the Access Token and Ad Account ID fields are automatically populated based on the value that you have entered while creating the destination.