Overview
Adobe Campaign is a marketing automation platform that helps businesses manage and deliver targeted email, mobile, and social media campaigns. When integrated with Zeotap CDP, it enables marketers to engage with customers in real-time and at scale. You can enable batching with this integration to aggregate data before sending it to Adobe Campaign. Batching occurs based on two factors: data size and processing time, whichever is met first. For example, if you set the batch size to 5 MB and the batch processing time to 2 minutes, the file is generated and sent when either condition is met. The maximum batch size is 10 MB, and the maximum processing time is 15 minutes.Supported Identifiers/Attributes
This integration supports raw email addresses and Custom IDs.Prerequisites
To enable this integration, ensure that you create an external account in Adobe Campaign and then connect the created external account to your cloud storage. The following Upload/Connection types are supported:- Amazon (AWS) S3
- Azure
Destination Setup
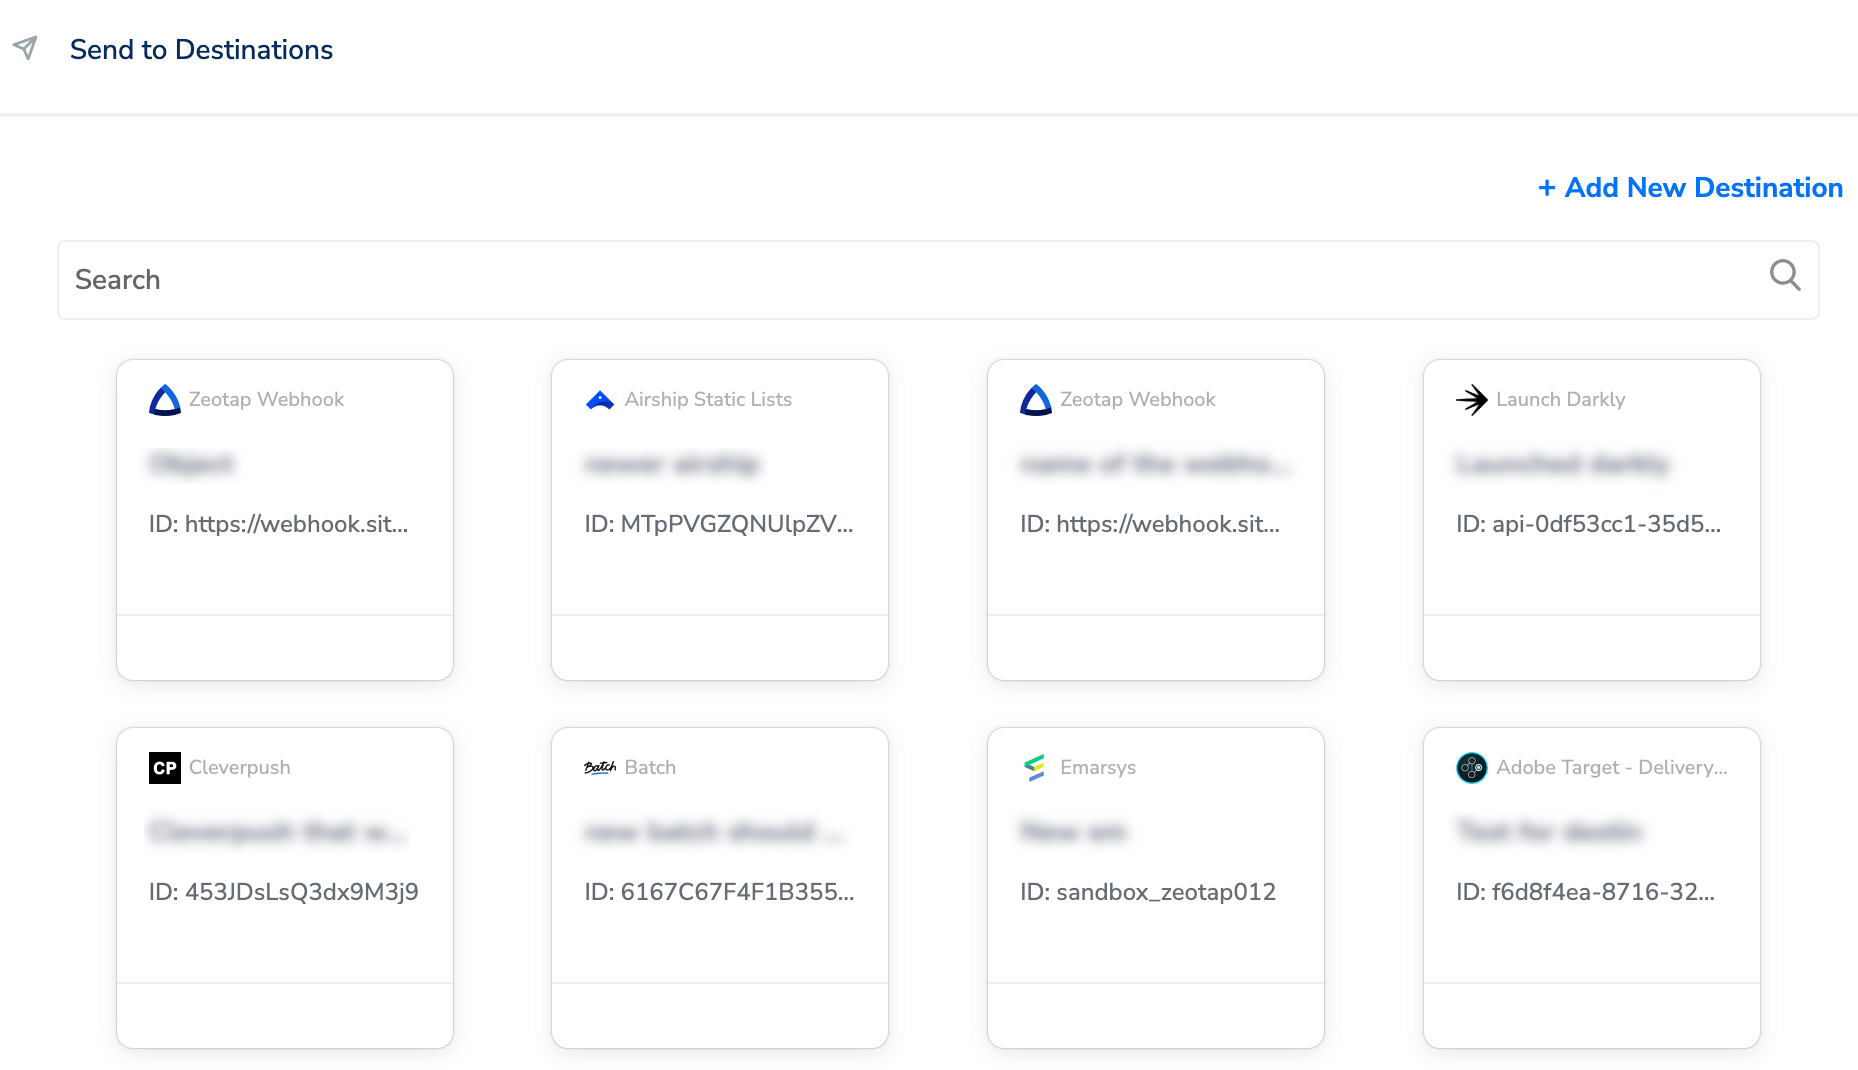
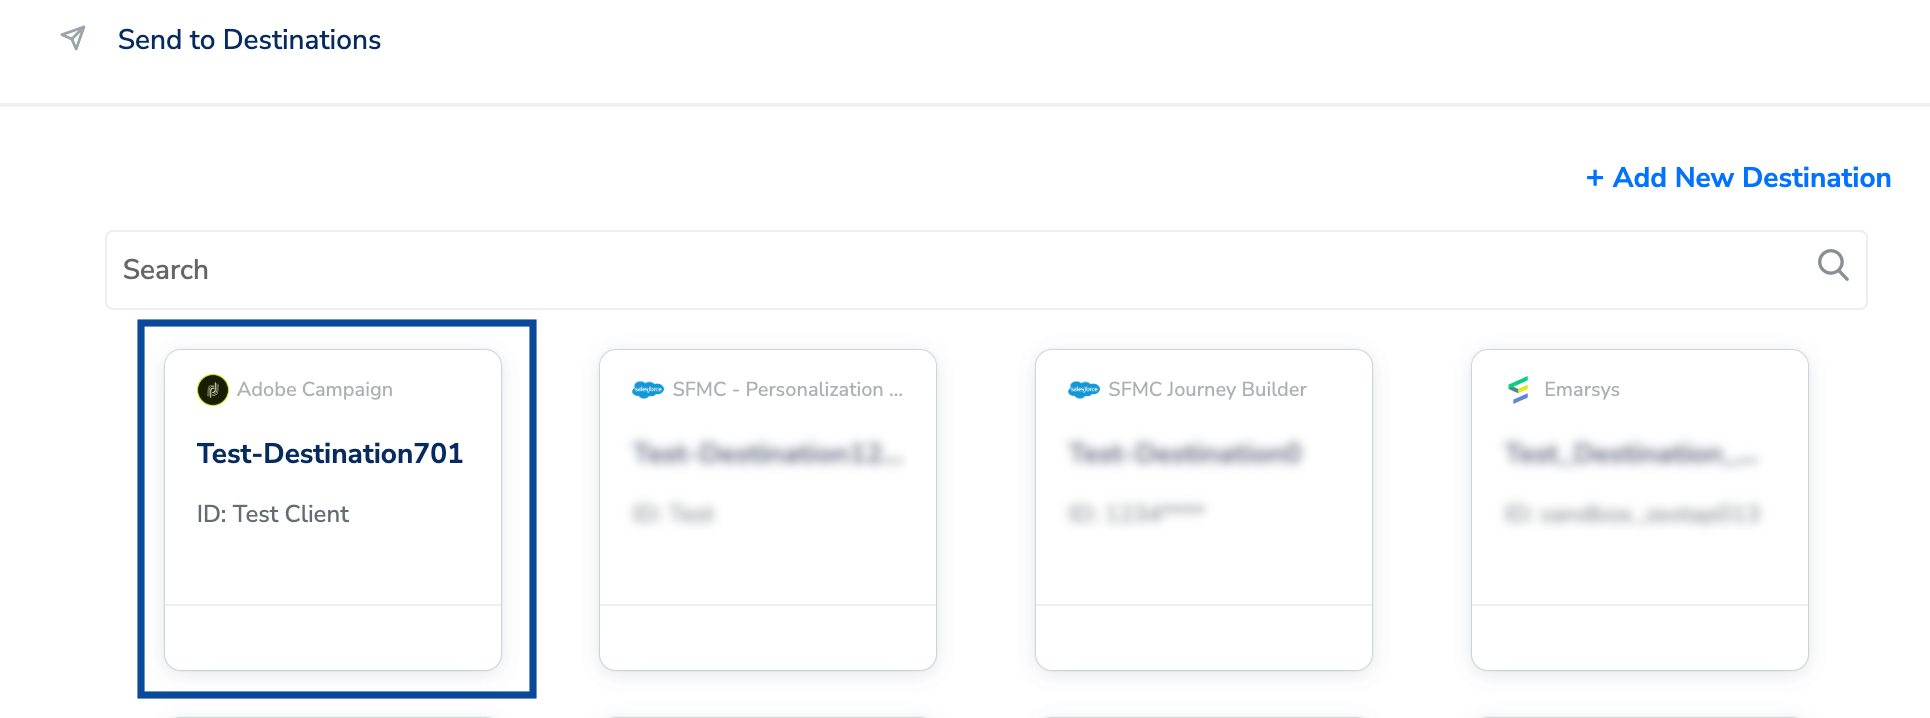
Once you have taken care of the prerequisites mentioned above, you can proceed to creating workflow in Journeys (Zeotap CDP). After you have applied filters or added conditions for your users in Journeys as mentioned in Create a Workflow, you can activate them in Adobe Campaign (Journeys) in the Send to Destinations node as shown below.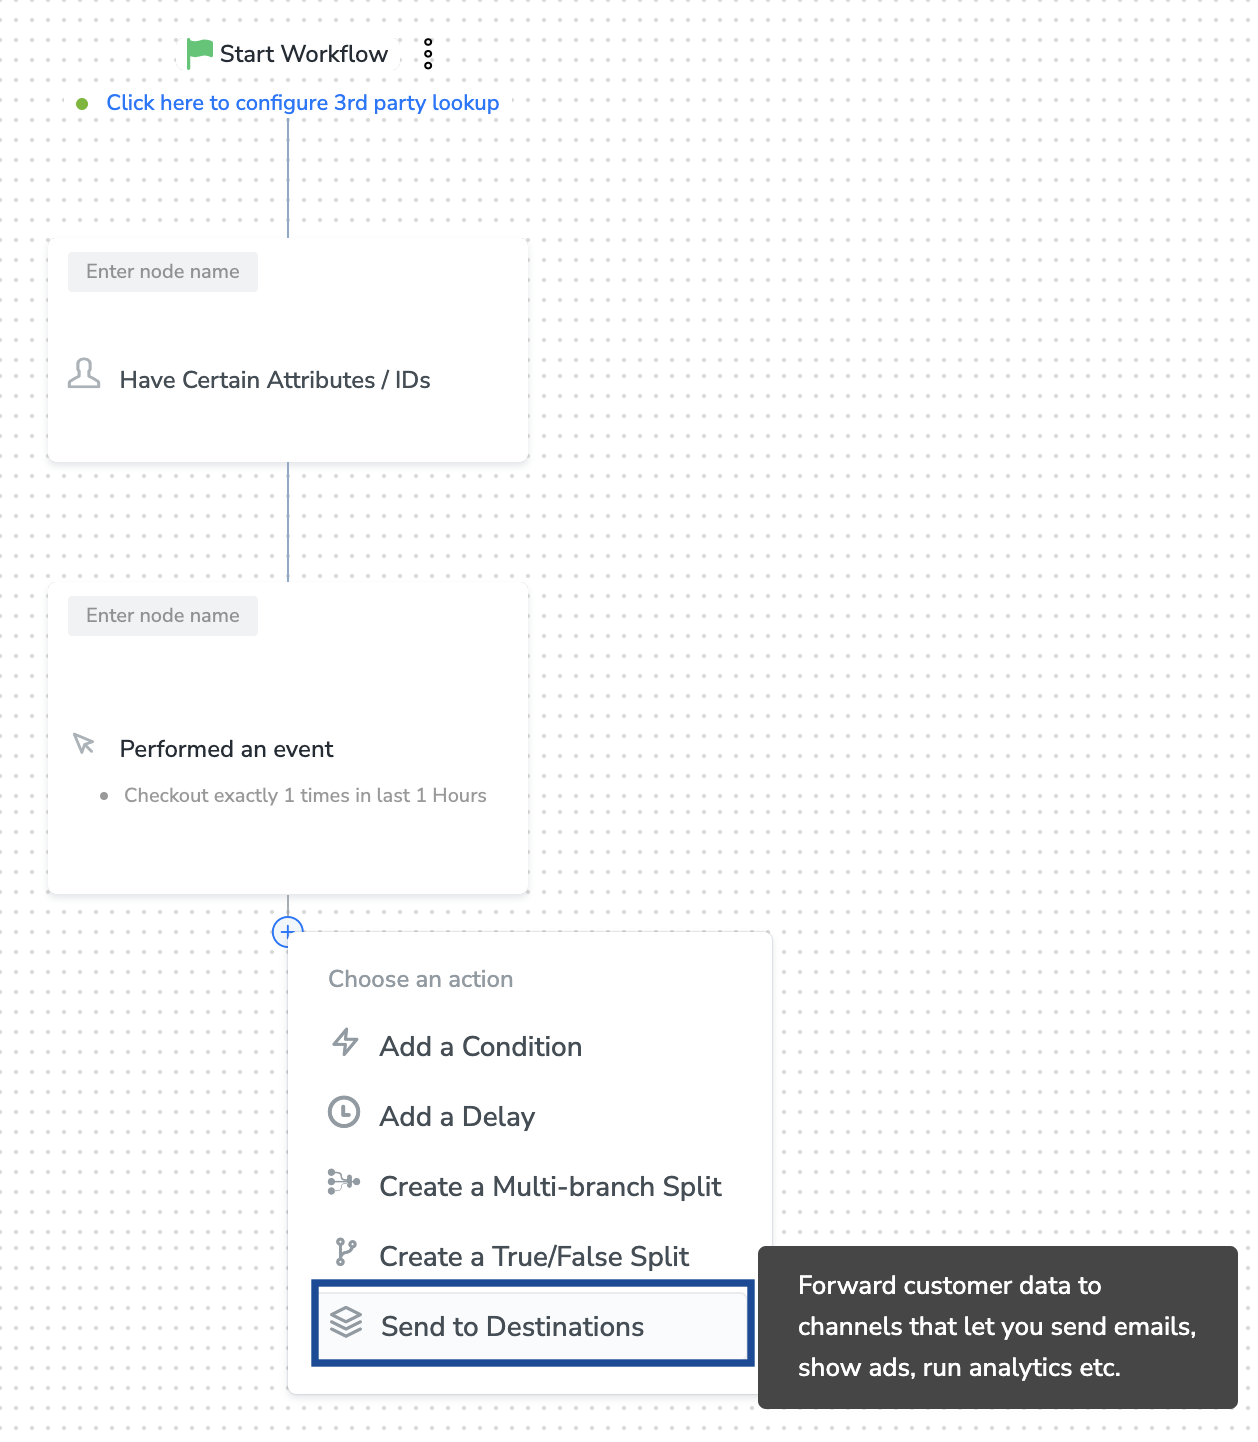
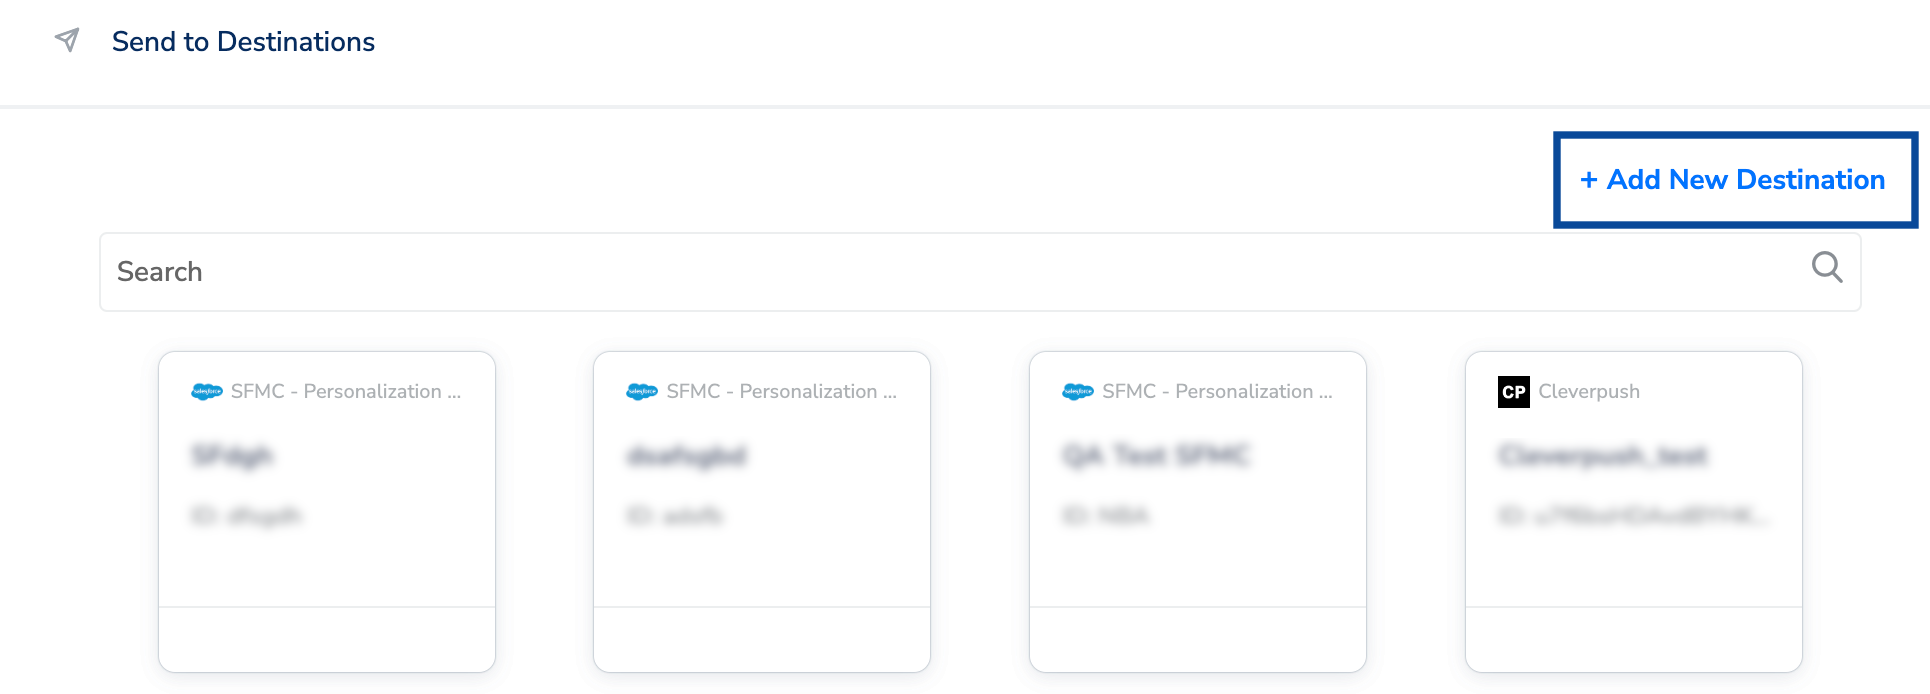
Note:To use an existing destination for activation in Journeys, see Add New Destination below.
Add New Destination
Choose the Upload Type from the drop-down menu. This integration supports the following Upload Types: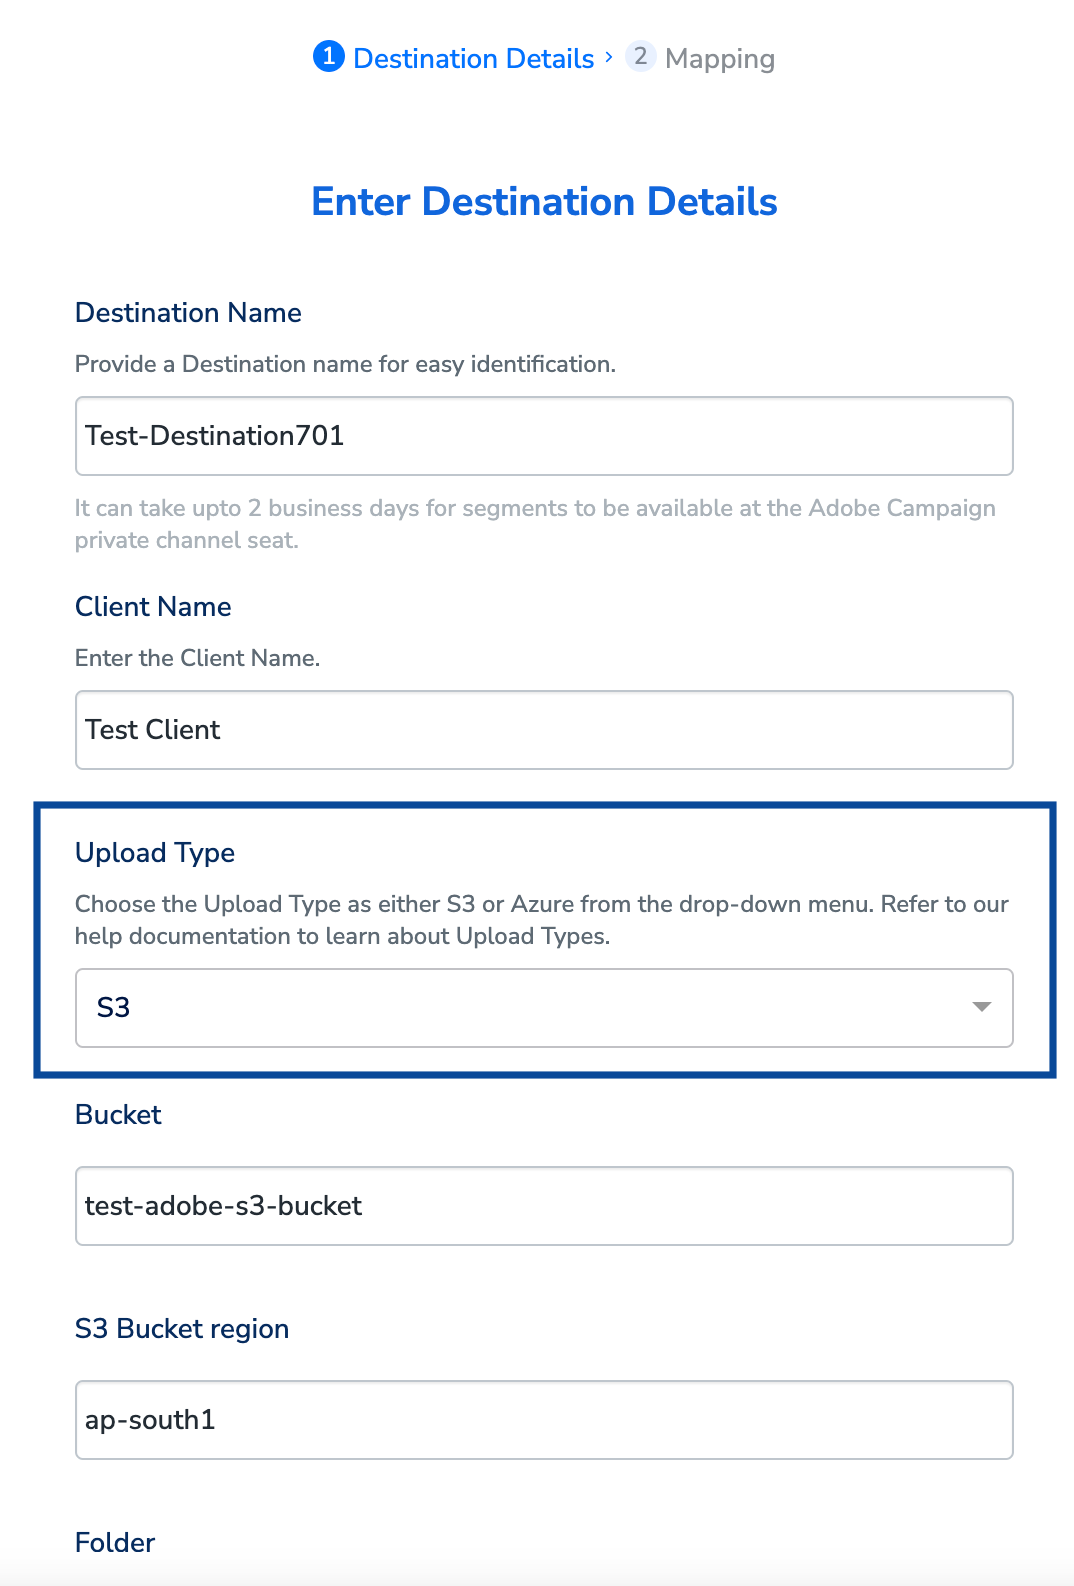
- If you choose S3 as your Upload Type, provide the following additional details of your Amazon S3 storage: a. In the Bucket field, provide the name of the Amazon S3 Bucket. b. In the S3 Bucket Region field, provide the geographical region where your Amazon S3 bucket is available. c. In the Folder field, provide the folder path in your storage location where Zeotap CDP can store your exported data. d. Enter the Client Id and Client Secret obtained from your Amazon S3 account (Access Key ID and Secret Access Key respectively). e. Under Filename Prefix, enter a text value without special characters, such as underscores (), spaces, or symbols (#, @, $.csv`, where the timestamp is in epoch format.
-
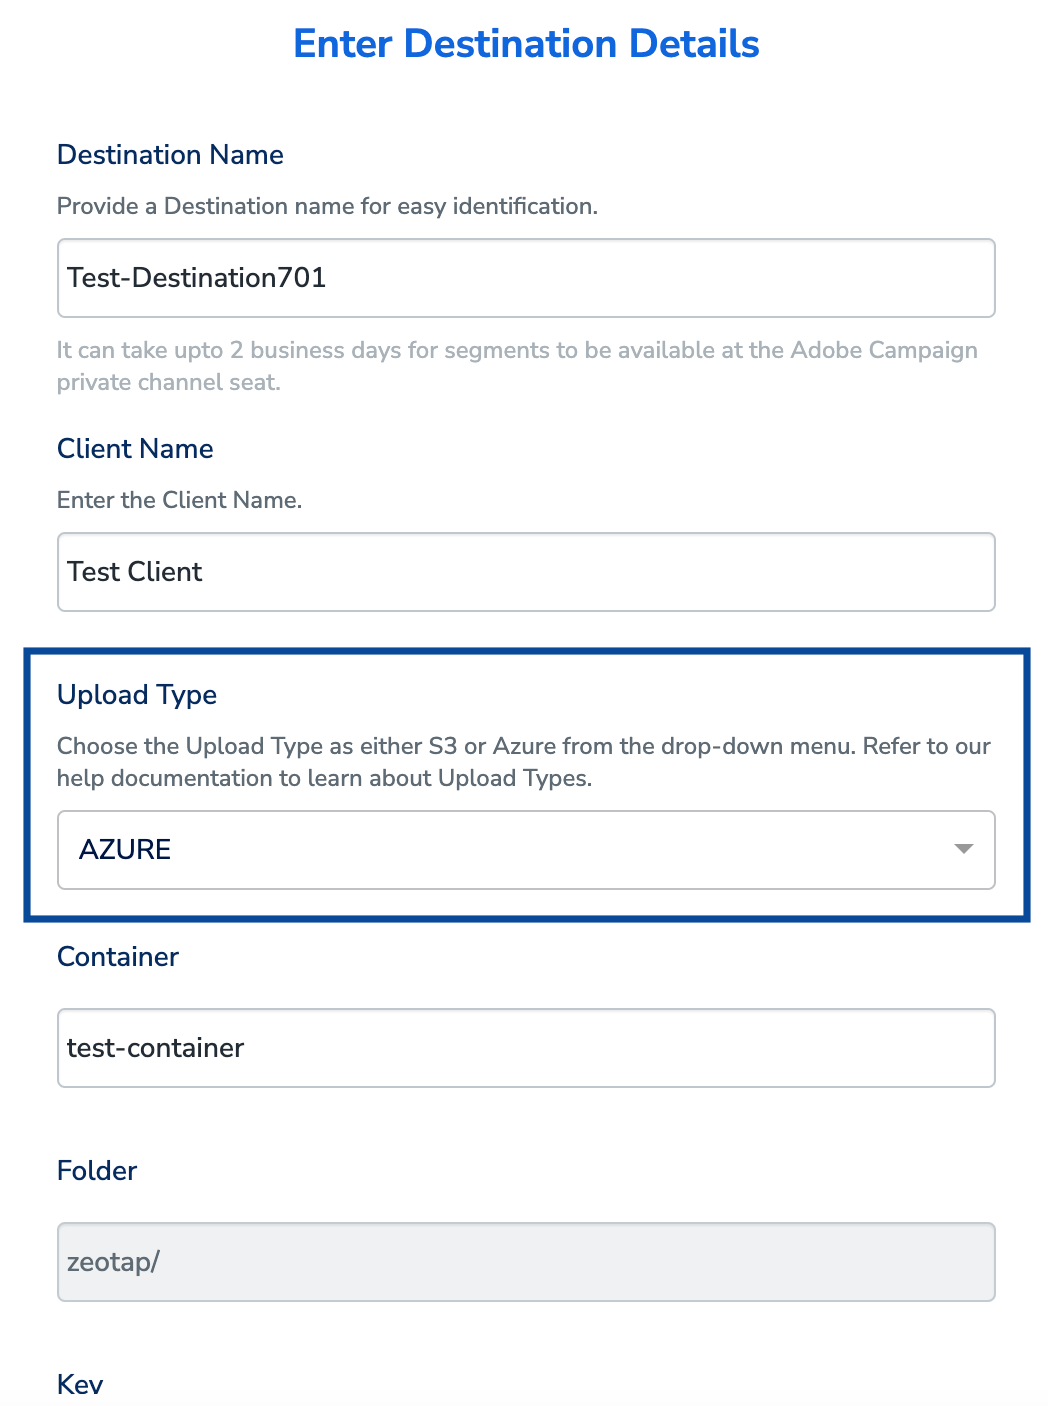
If you choose Azure as your Upload Type, provide the following additional details of your Azure storage:
a. In the Container field, provide the container details that hold your folder path.
b. In the Folder field, provide the path in your storage location where Zeotap CDP can store your export data as CSV files.
c. In the Key field, provide the RSA-formatted public key to add encryption with PGP/GPG to your exported files. Ensure that your public key is written as a Base64 encoded string.
d. Under Filename Prefix, enter a text value without special characters. The file name follows the format:
{filenamePrefix}{fileNumber}_${channelId}_${timestamp}.csv, where the timestamp is in epoch format.
In the mapping screen that appears, perform the following steps:a. Under Choose your Action, select Send multiple identifiers to Adobe Campaign in Journeys as the action for sending data from the workflow created in Journeys.b. Under Map the Fields, Email address is populated. Use + Add Mapping Field to add any custom identifiers you wish to send to Adobe Campaign.c. Use the Enable Batching checkbox to aggregate data before sending it to Adobe Campaign through the workflow. Batching occurs based on two factors: data size and processing time, whichever occurs first. The maximum batch size is currently 10 MB, and the maximum processing time is 15 minutes.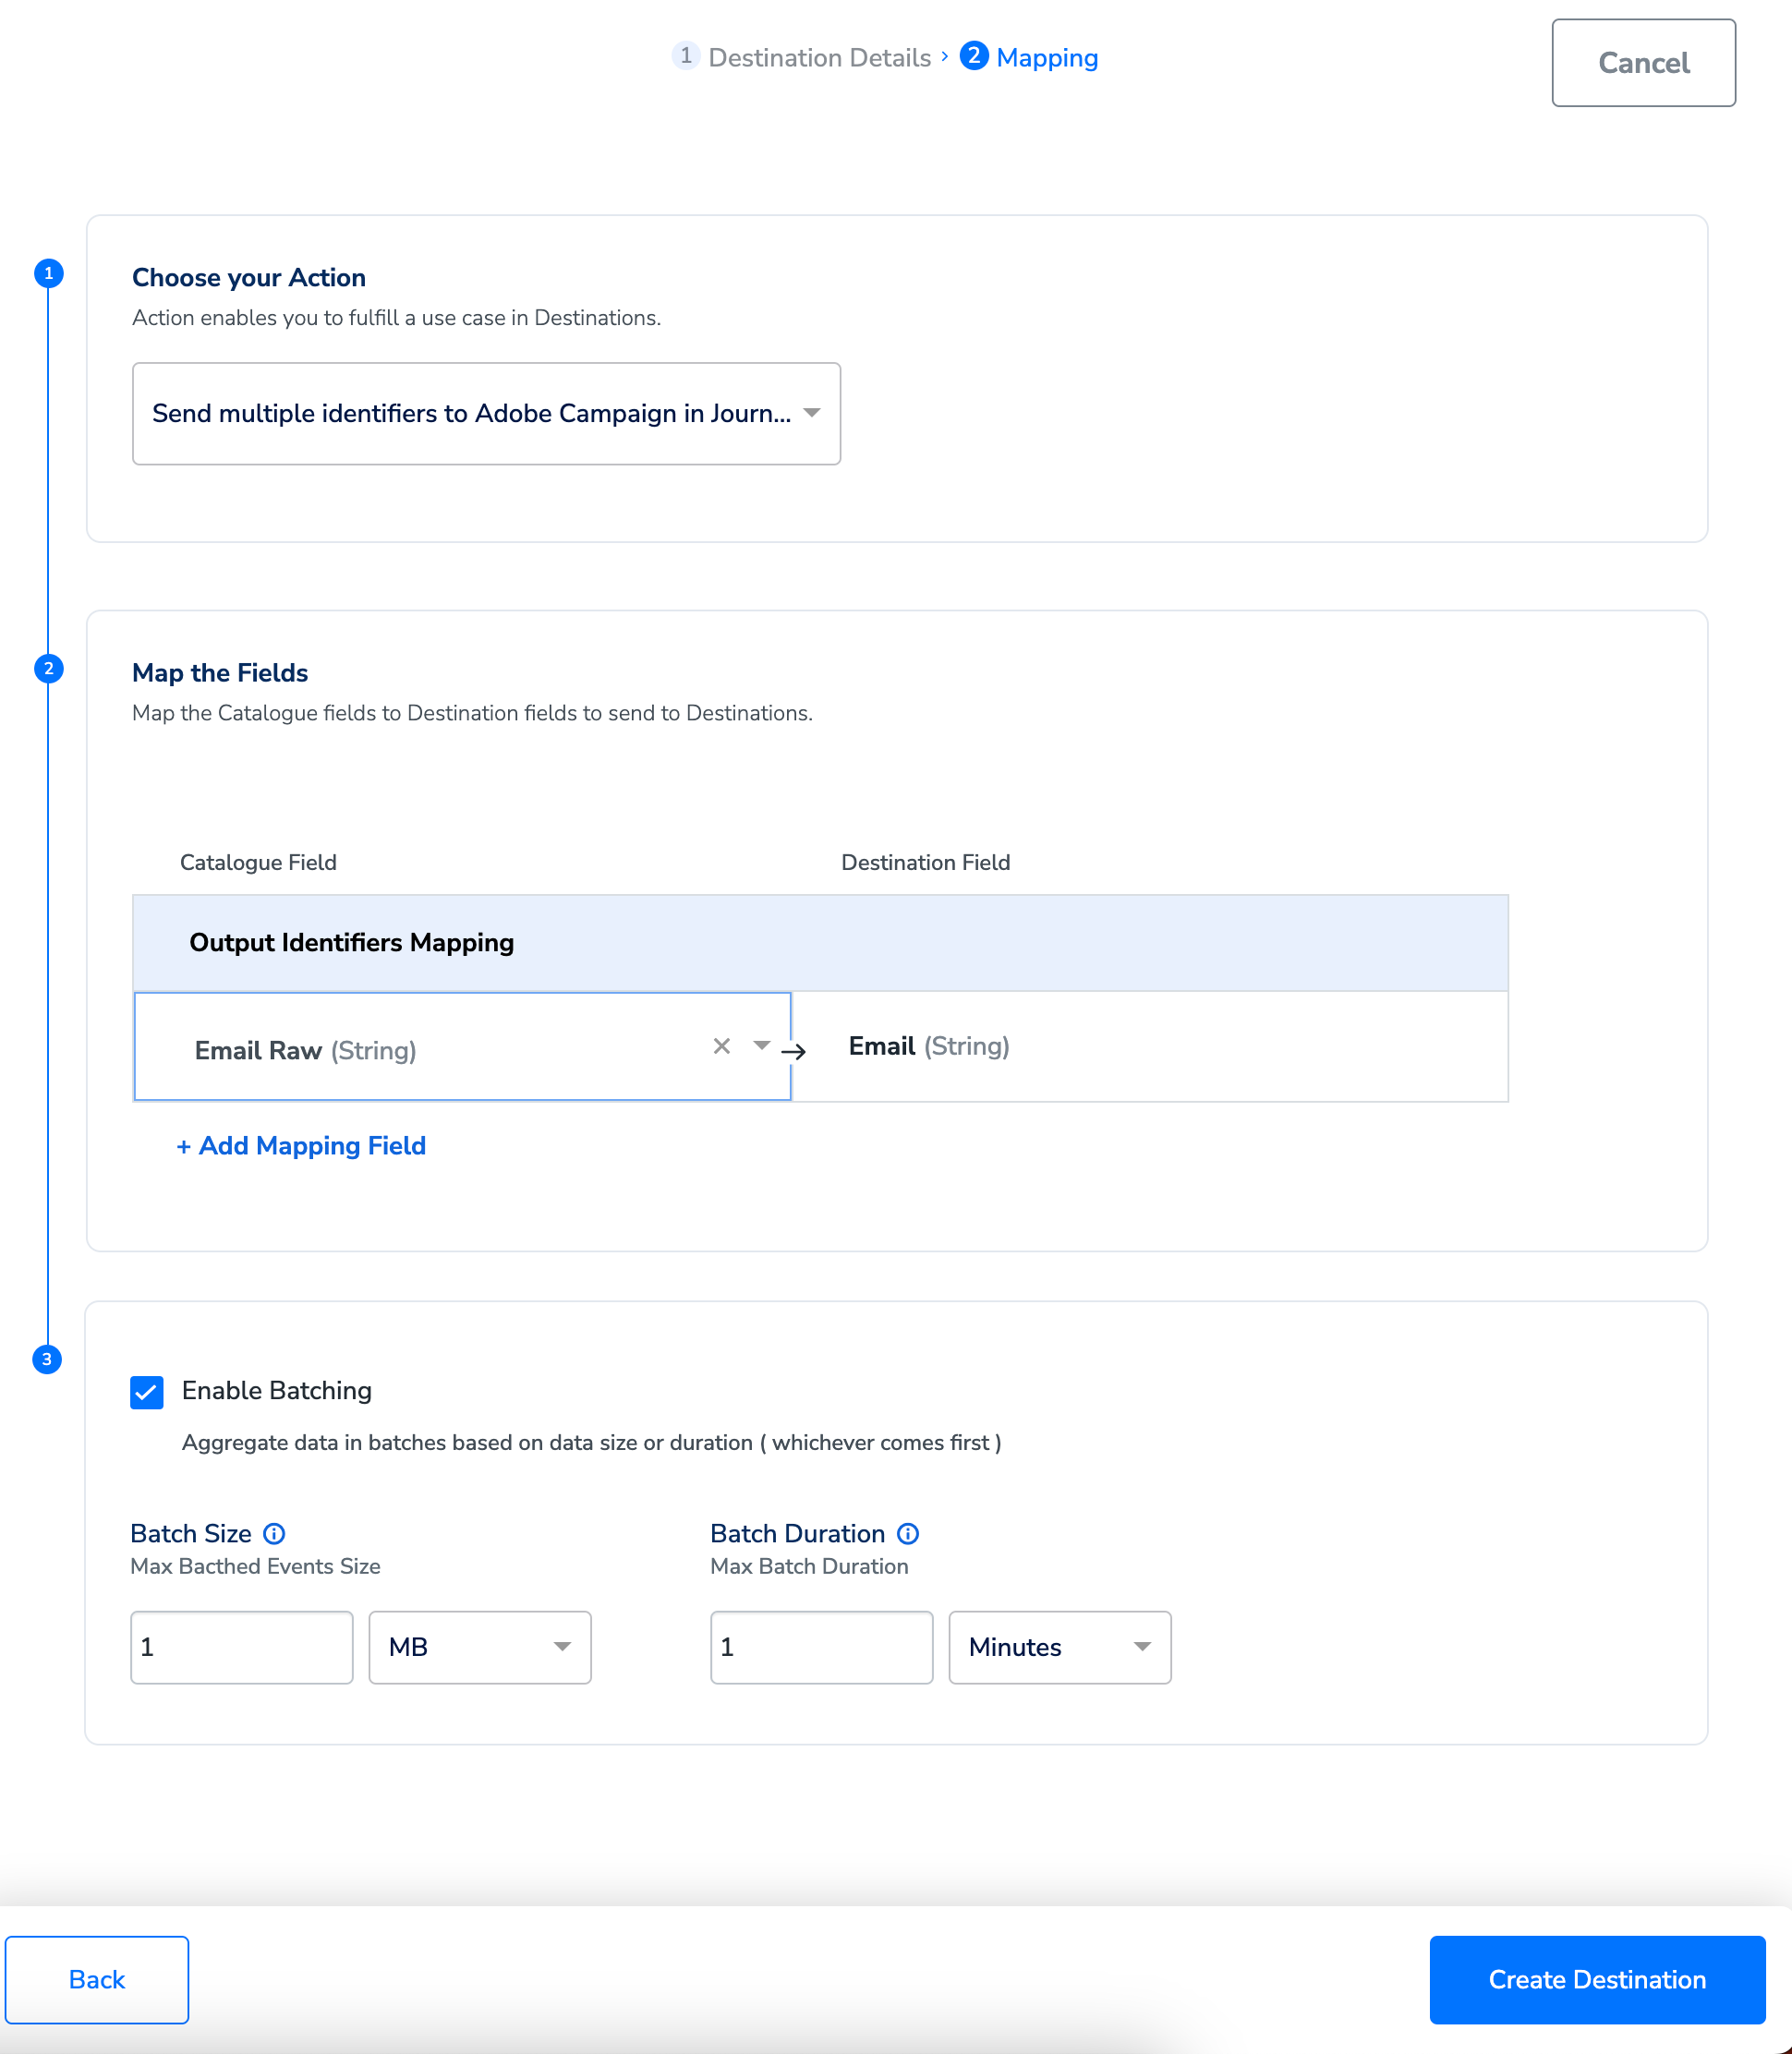
Activate the Destination on Journeys
After creating a destination, you can link it in the Send to Destinations node within the workflow, as explained below.Under the Destination Details tab, the Client Name, Upload Type, Container, Folder, Key, Prefix Name fields are automatically populated based on the values that you had entered while creating the destination. Enter the Audience Name to save the Destination.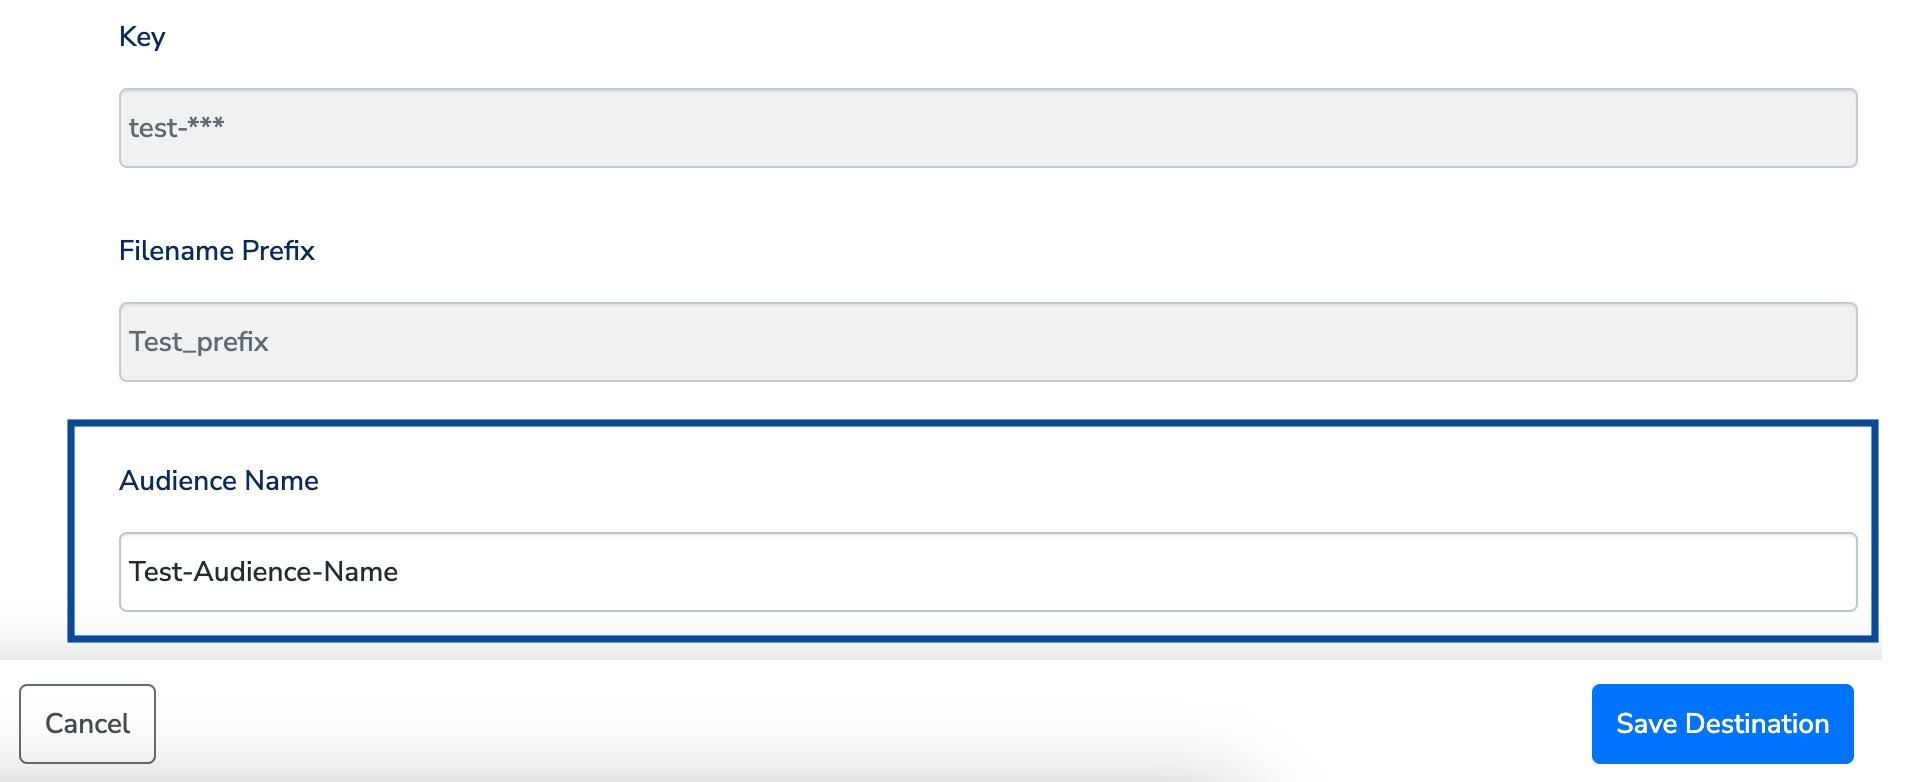
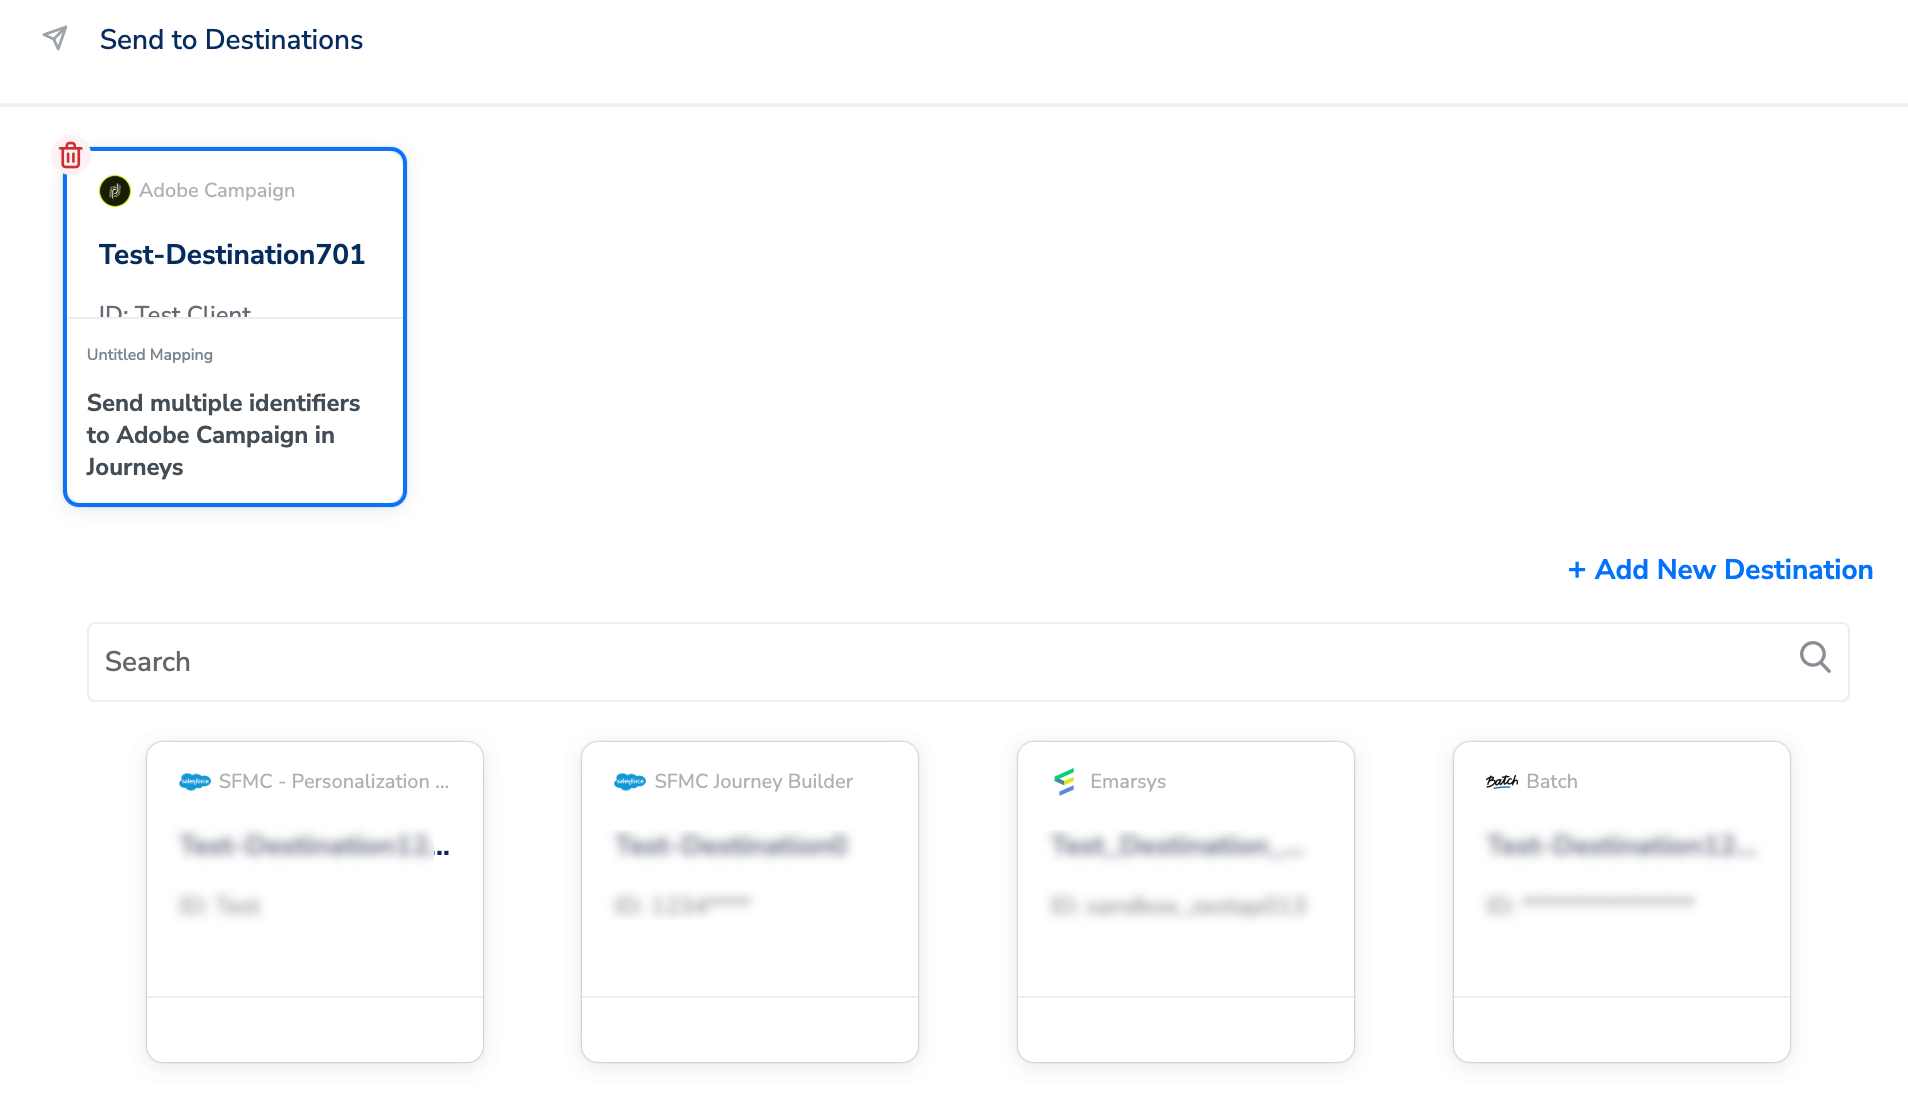
The linked Destination appears in the Send to Destinations node within the workflow as shown below. You can then build and customise your workflow as needed by clicking ’+’. You must enter a name for your workflow in the provided text box to save it.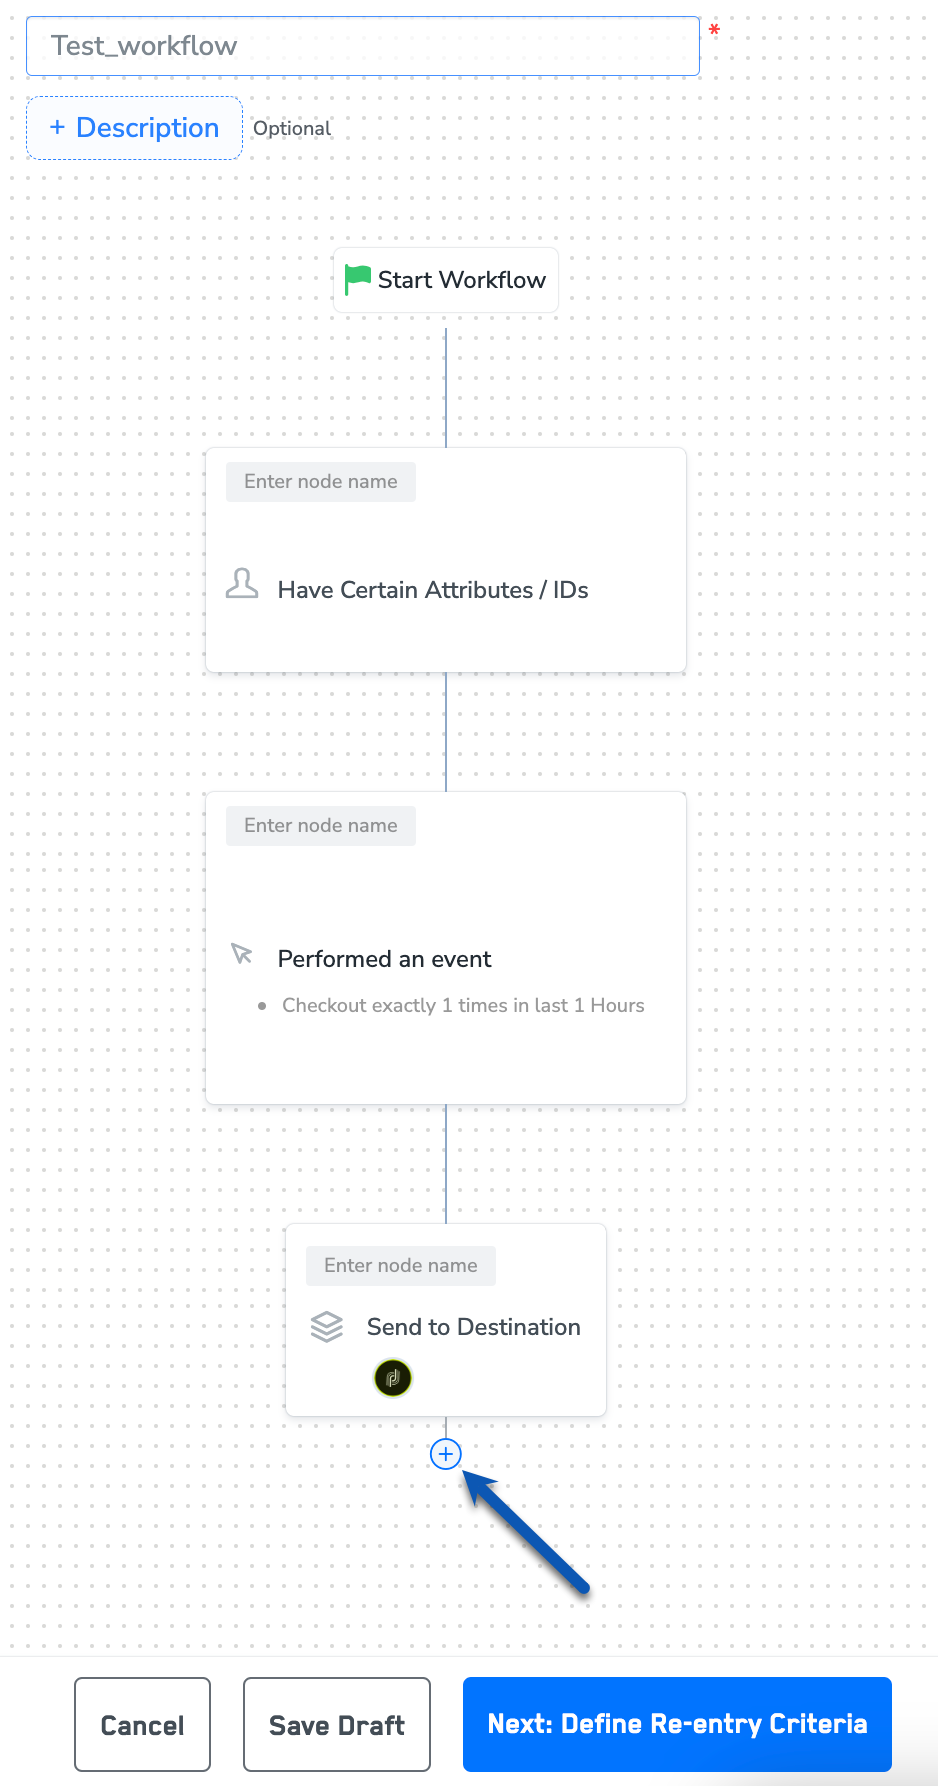
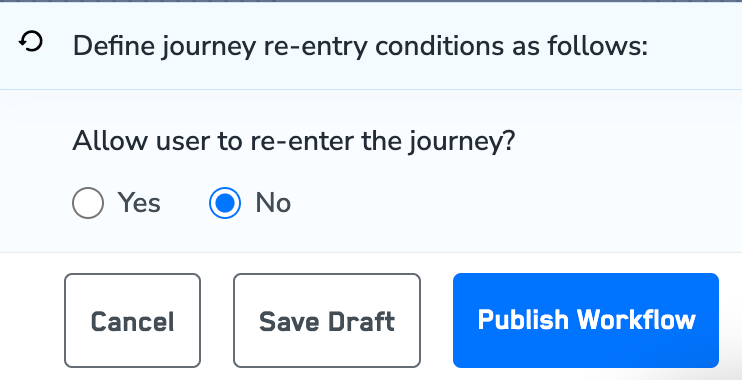
After adding conditions and filters for users, choose one of the following options:
- Save Draft — Enables you to revisit and edit the workflow before publishing.
- Next: Re-entry Condition — Determines whether a user can re-enter the same workflow.