Overview
This document outlines the requirements for the MoEngage User API endpoint. The primary purpose of this endpoint is to track user data by either creating a new user profile or updating an existing one. It allows for the addition of standard and custom attributes to a user’s profile, identified by a unique customer_id. This functionality is essential for maintaining an up-to-date and comprehensive user database within the MoEngage platform, which can then be used for segmentation and personalized campaign targeting. Other than user creation action, this destination also supports sending user events to Moengage, this helps in tracking user as well for personalised campaigns.Pre-requisites
Before using this API endpoint, you must have the following:- MoEngage Account: An active MoEngage account.
- API Keys: You need your Workspace ID (formerly DATA API ID) and a Data API Key. These can be generated from your MoEngage Dashboard by navigating to Settings -> Account -> APIs -> Data API Settings.
- Data Center URL: You must use the correct API endpoint URL corresponding to your account’s data center. The “0X” in the URL (https://api-0X.moengage.com) should be replaced with your specific data center number (e.g., 01, 02, 03).
Authentication
The API uses HTTP Basic Authentication.- Username: Your Workspace ID.
- Password: Your Data API Key.
Create a Destination for MoEngage
Perform the following steps to create a Destination for Moengage:
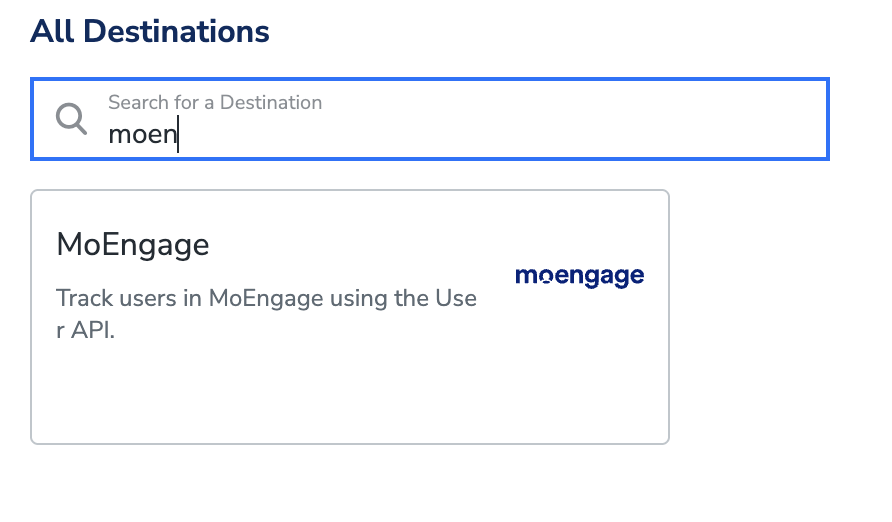
Click Moengage. A screen appears displaying details about the particular destination towards the left. On the right-hand side of the screen find a list of fields that are required for the integration to be established. Enter the required details as mentioned in the following steps:a. Enter a name for the Destination.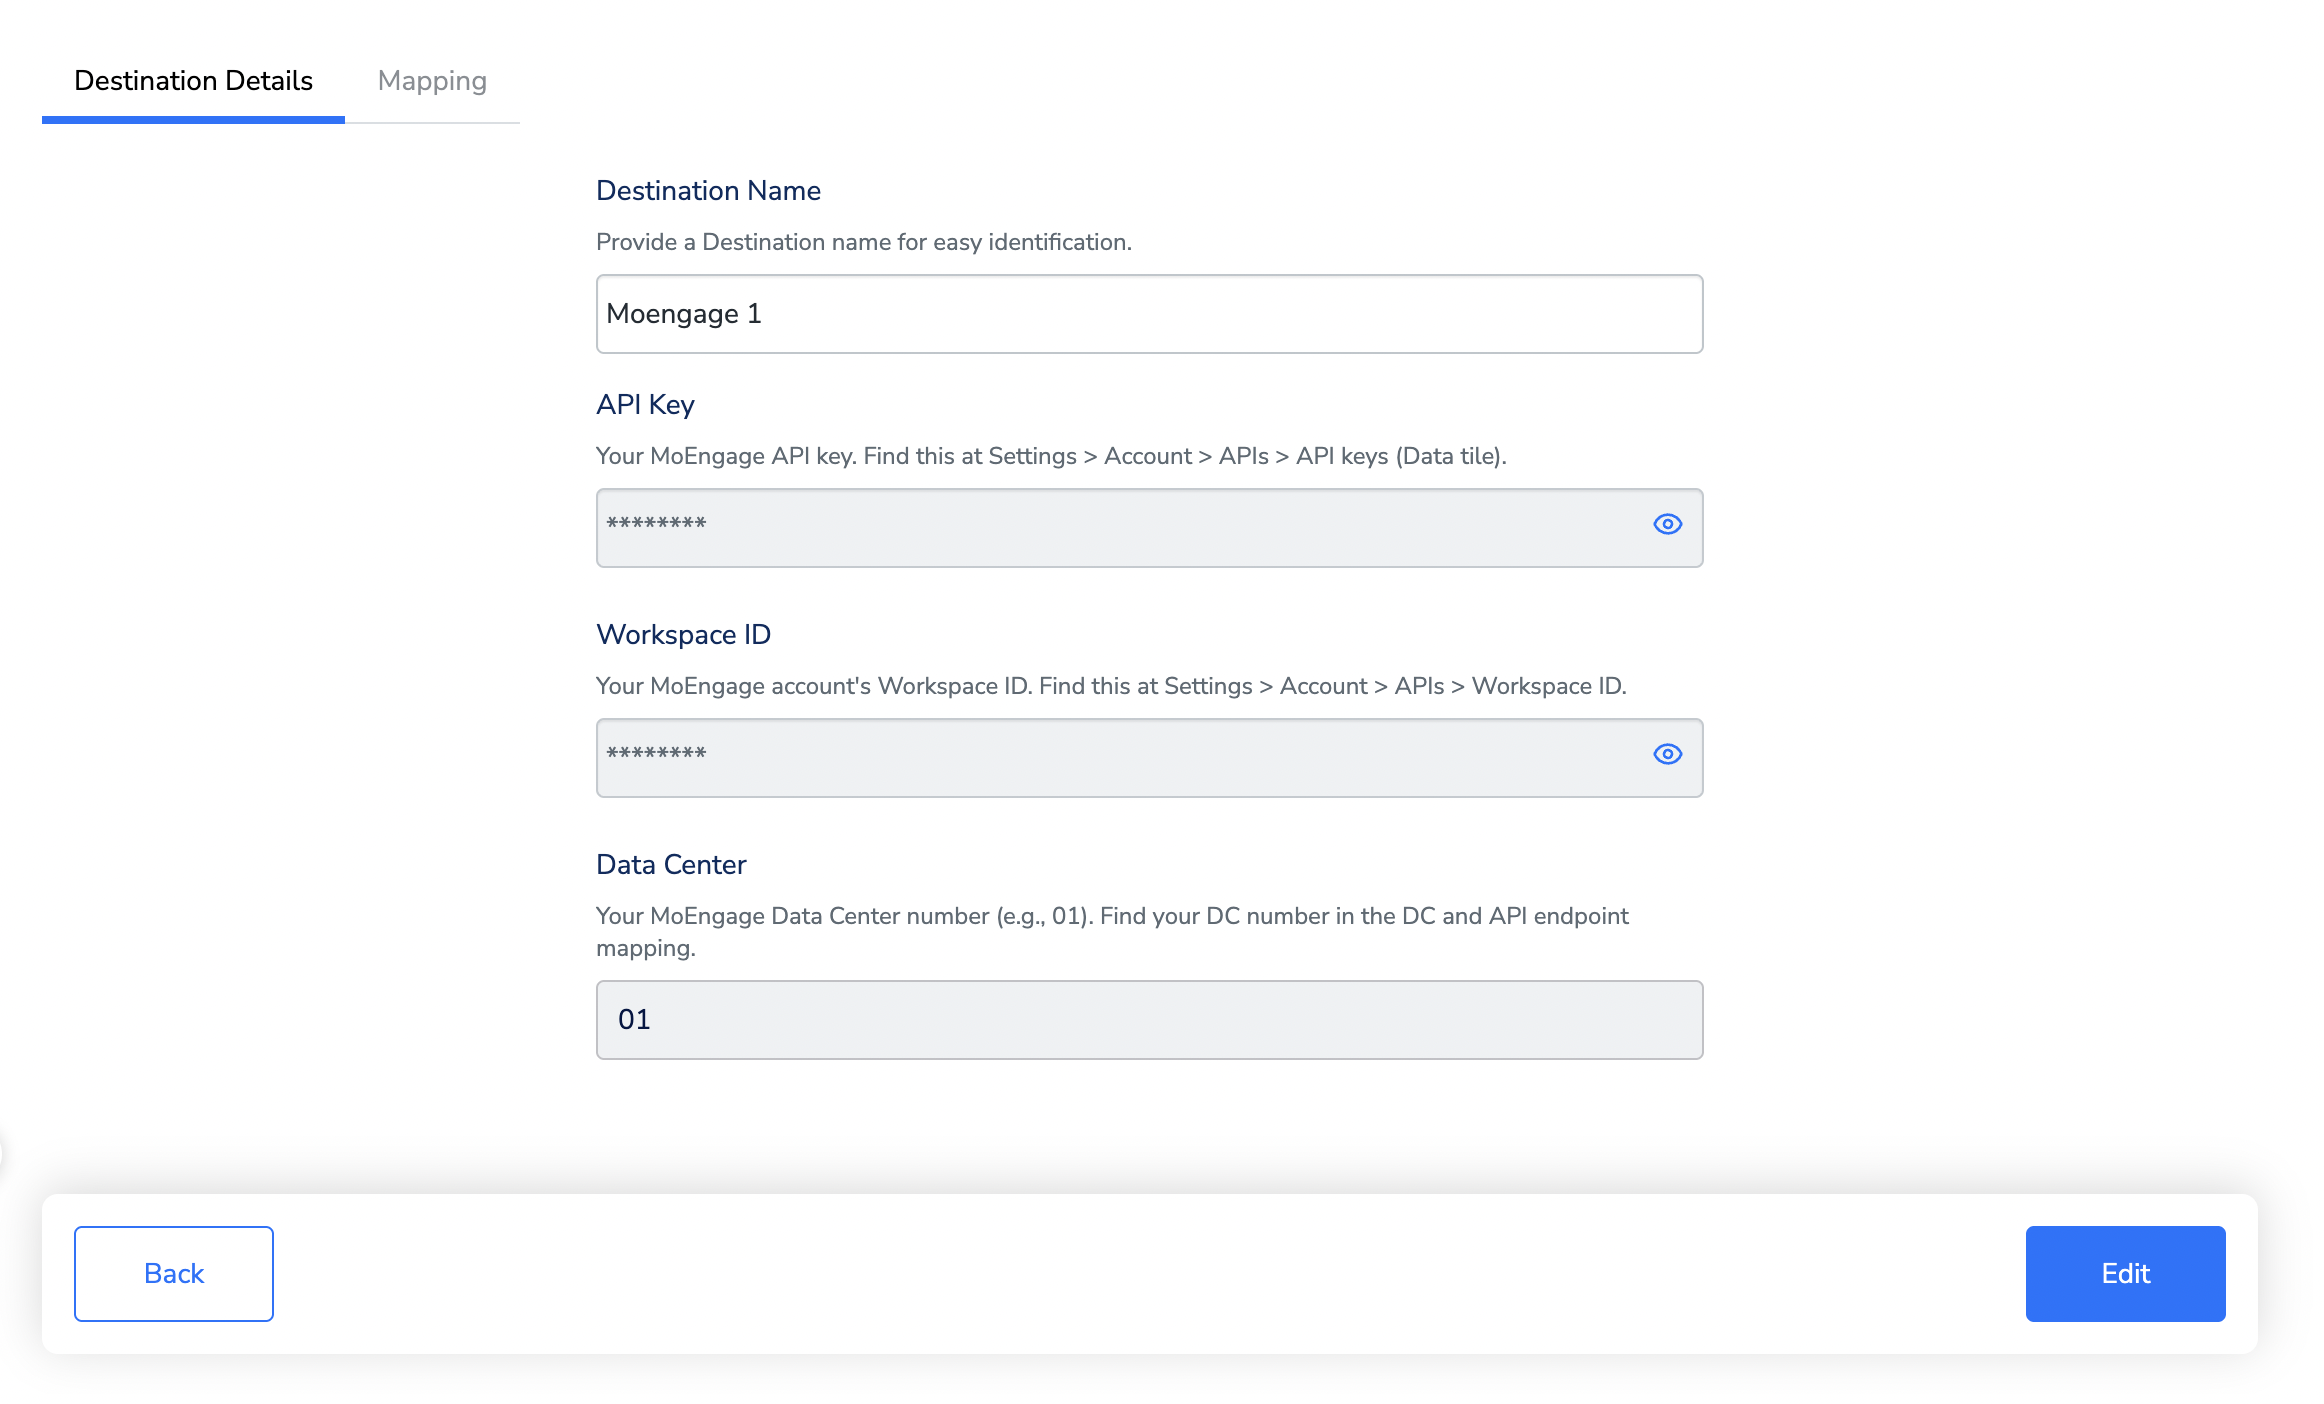
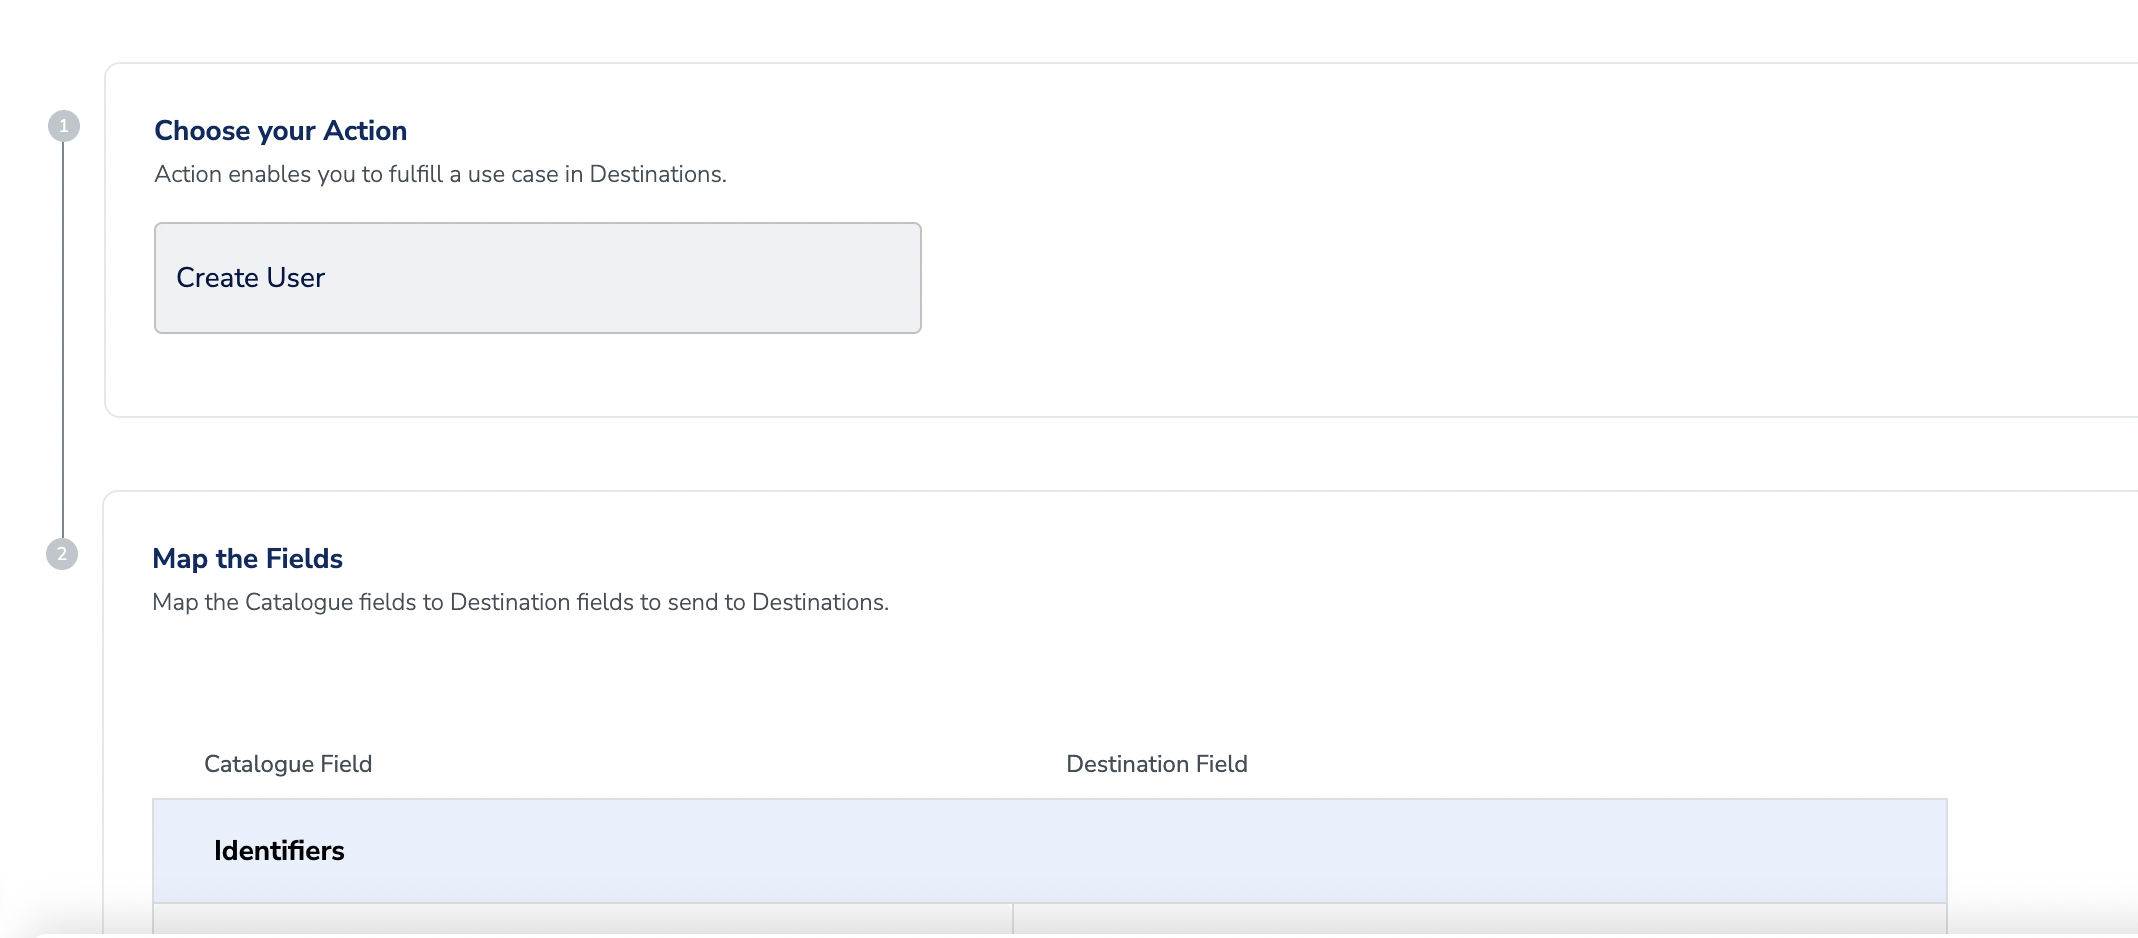
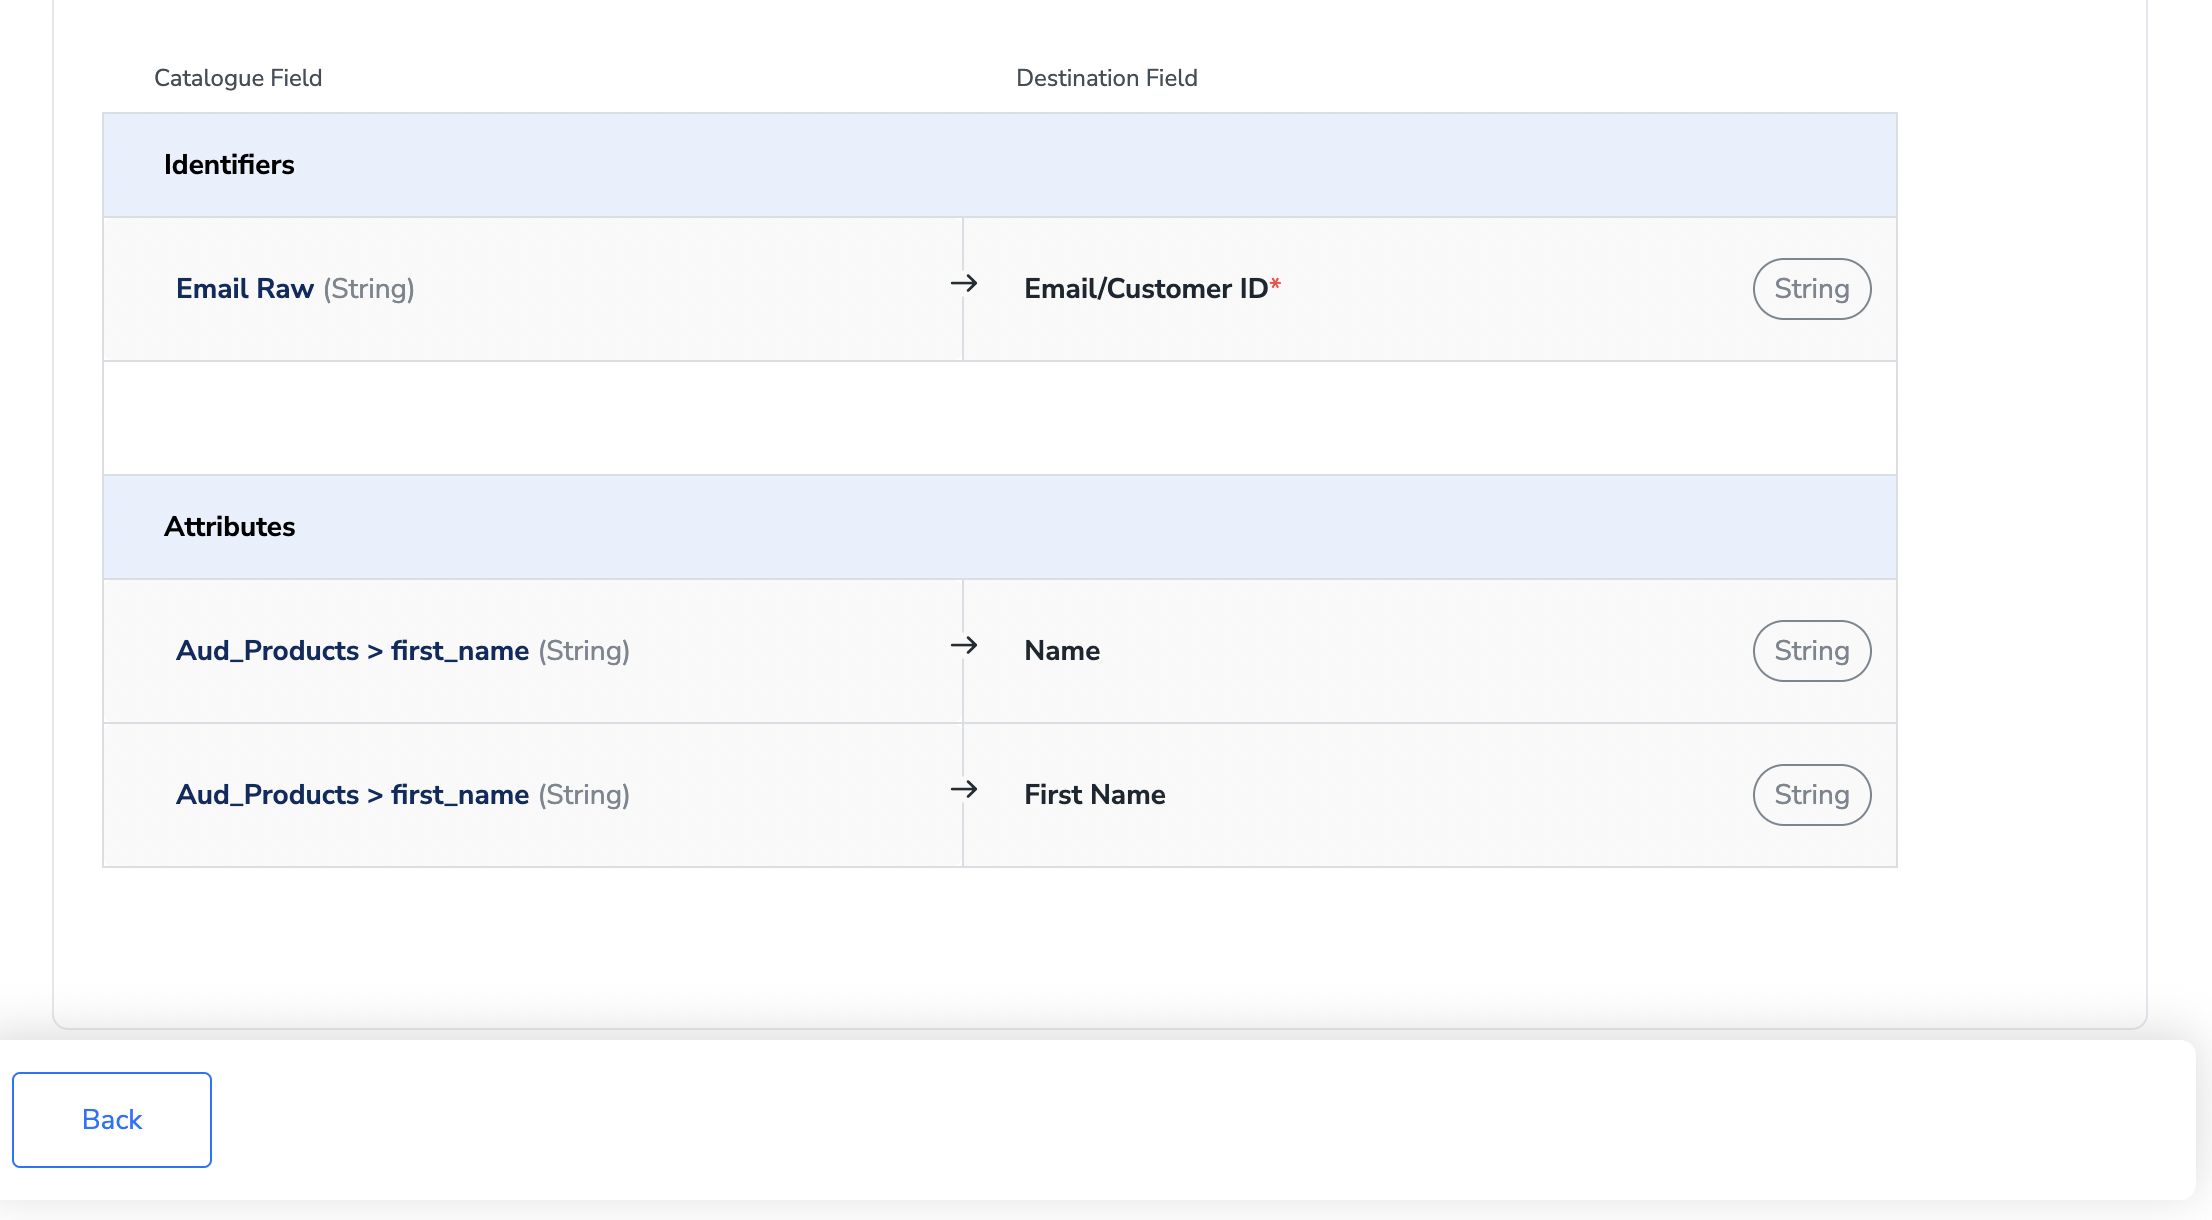
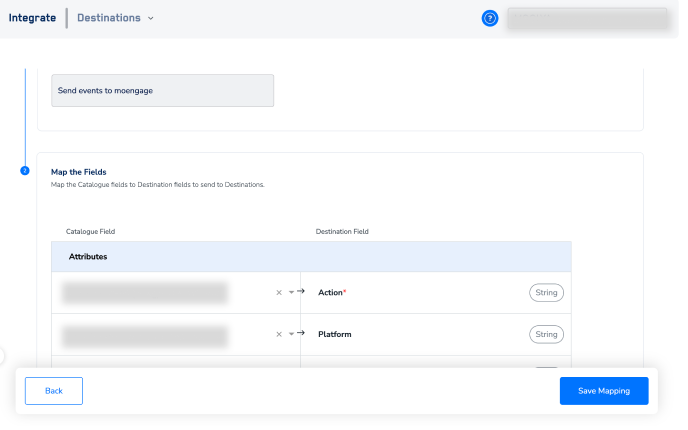
In the new screen that appears, choose the appropriateaction and mapping as explained below. Under Choose your Action, choose Sync User/Send Events as the action.You can map the following fieldsi. User ID/Emailii. Name, First Name and any other custom field using the +Add Mapping buttoniii. Action/Event Name and Action Attributes/Event Attributes related to the event. (Only for Send Events Action)
Activate the Destination on Journeys
After creating a destination, next, you need to link it in the Send to Destination node within the workflow, as explained below.
Under the Destination Details tab, the API key and data center fields are automatically populated based on the value that you have entered while creating the destination.
