Overview
Airship Static Lists is a customer engagement platform that helps marketers to deliver personalised and relevant experiences to their customers across multiple channels and touch points. Integrated with Zeotap, it enable marketers to engage with their customers in real-time and at scale.Supported Identifiers
This channel supports only.Available Actions and Supported Features
The following table lists the available action types for the integration and the supported features for each action type:| Action Name | ID EXTENSION | DELETE | DELTA UPLOAD |
|---|---|---|---|
| Send Named User to Airship | - | - | - |
Components of Airship Static Lists
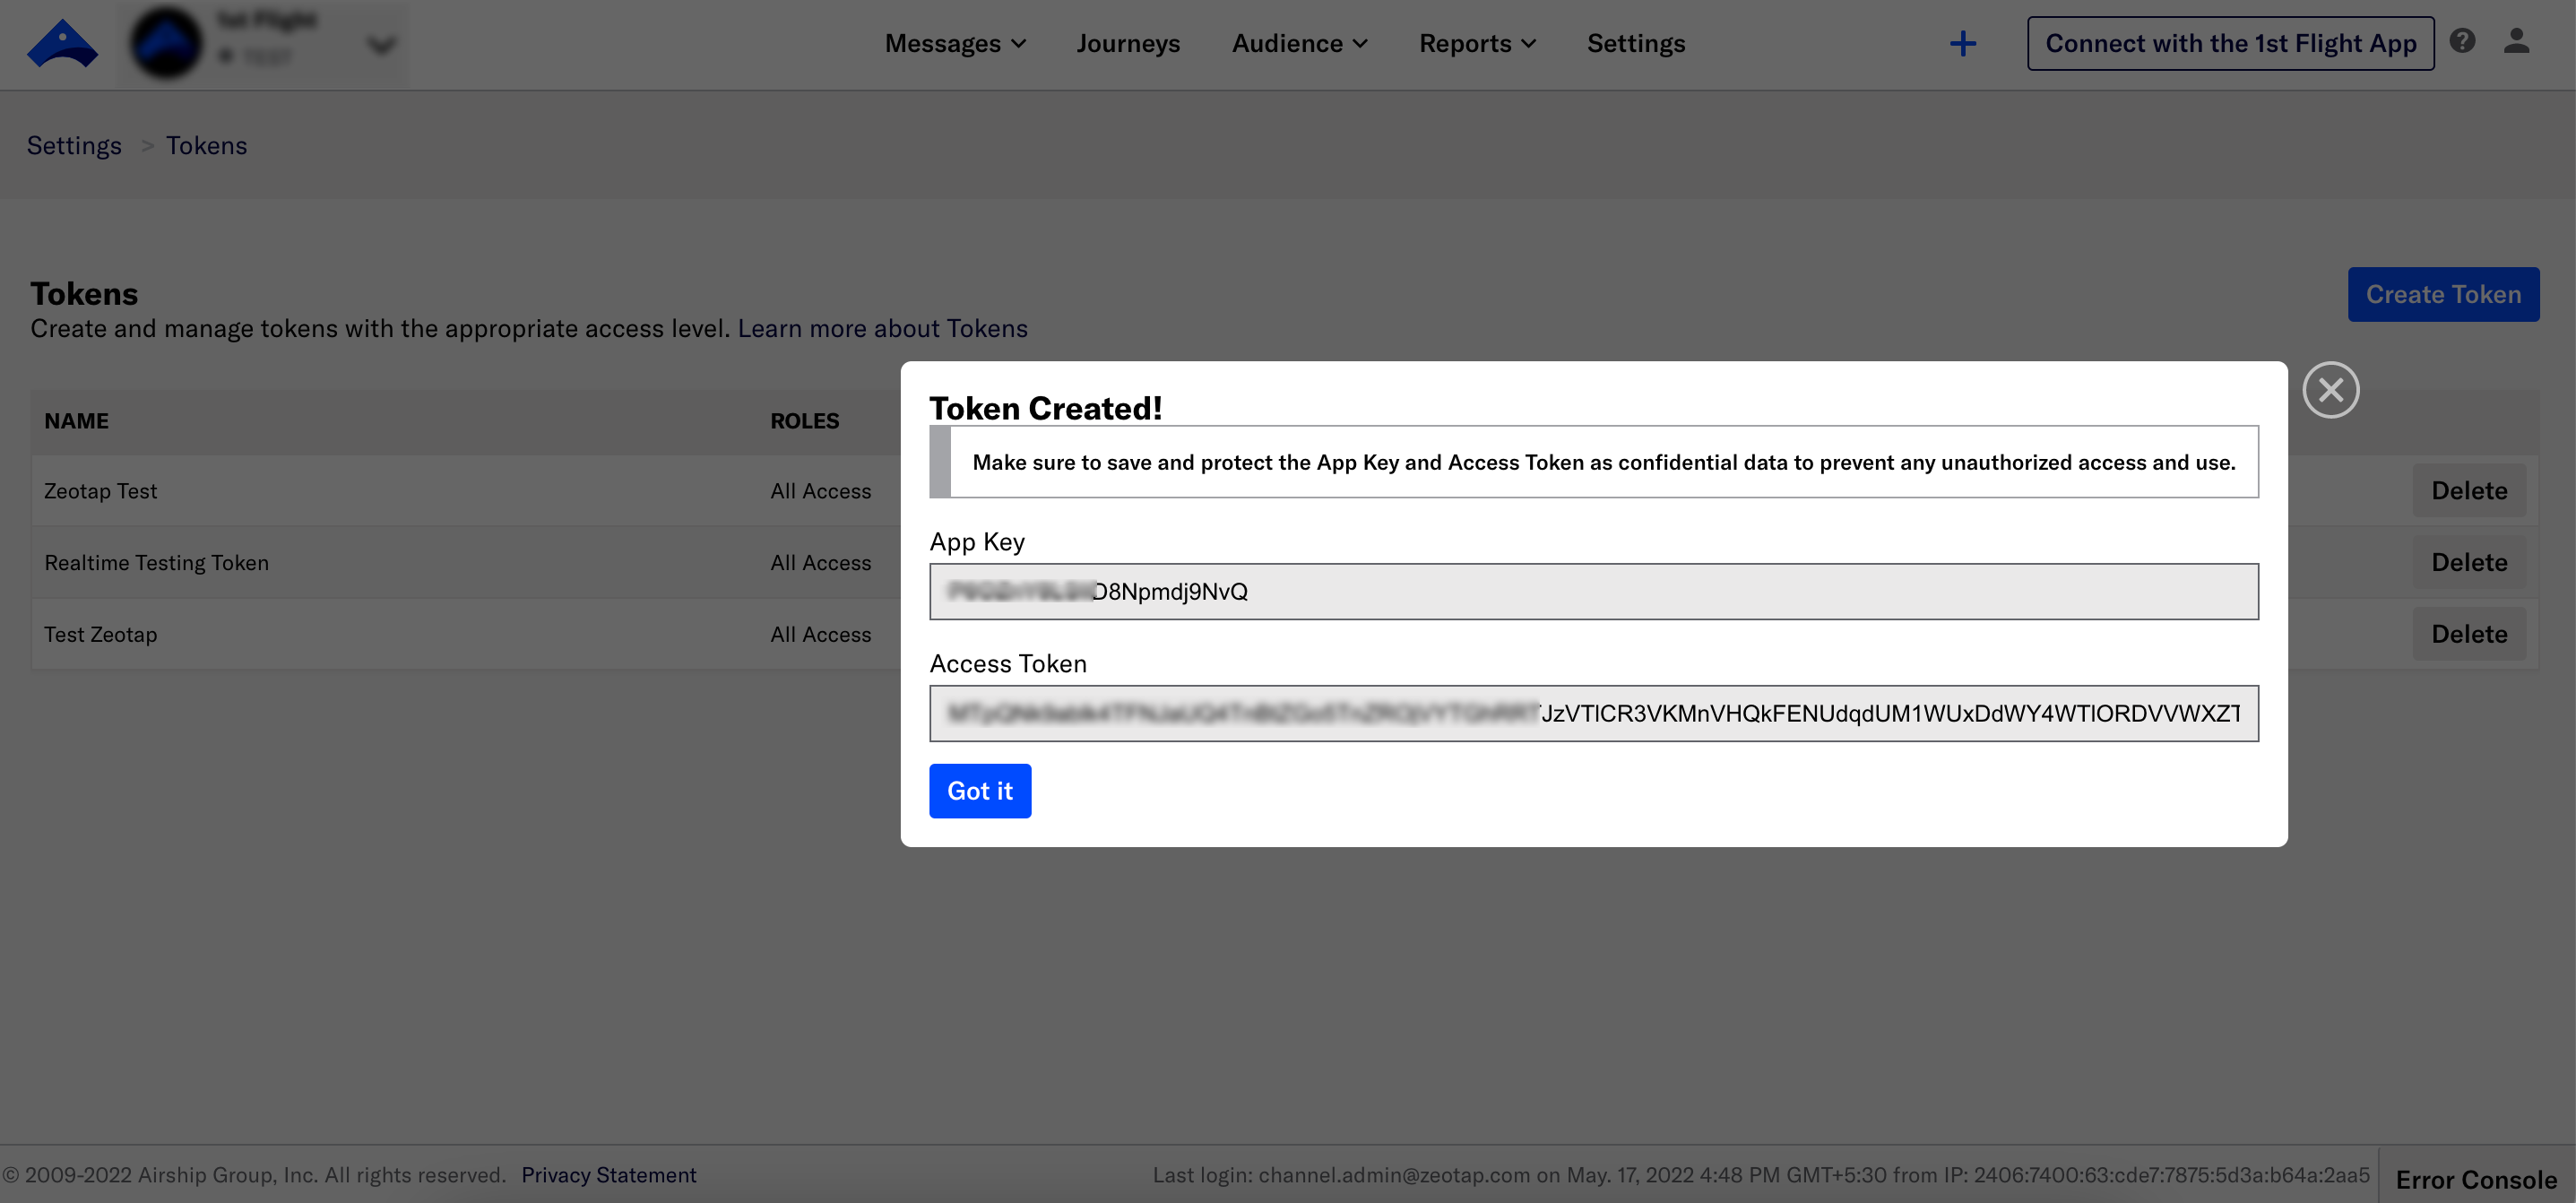
Ensure that you have details about the below components of Airship Static Lists available before creating a Destination.Access Token
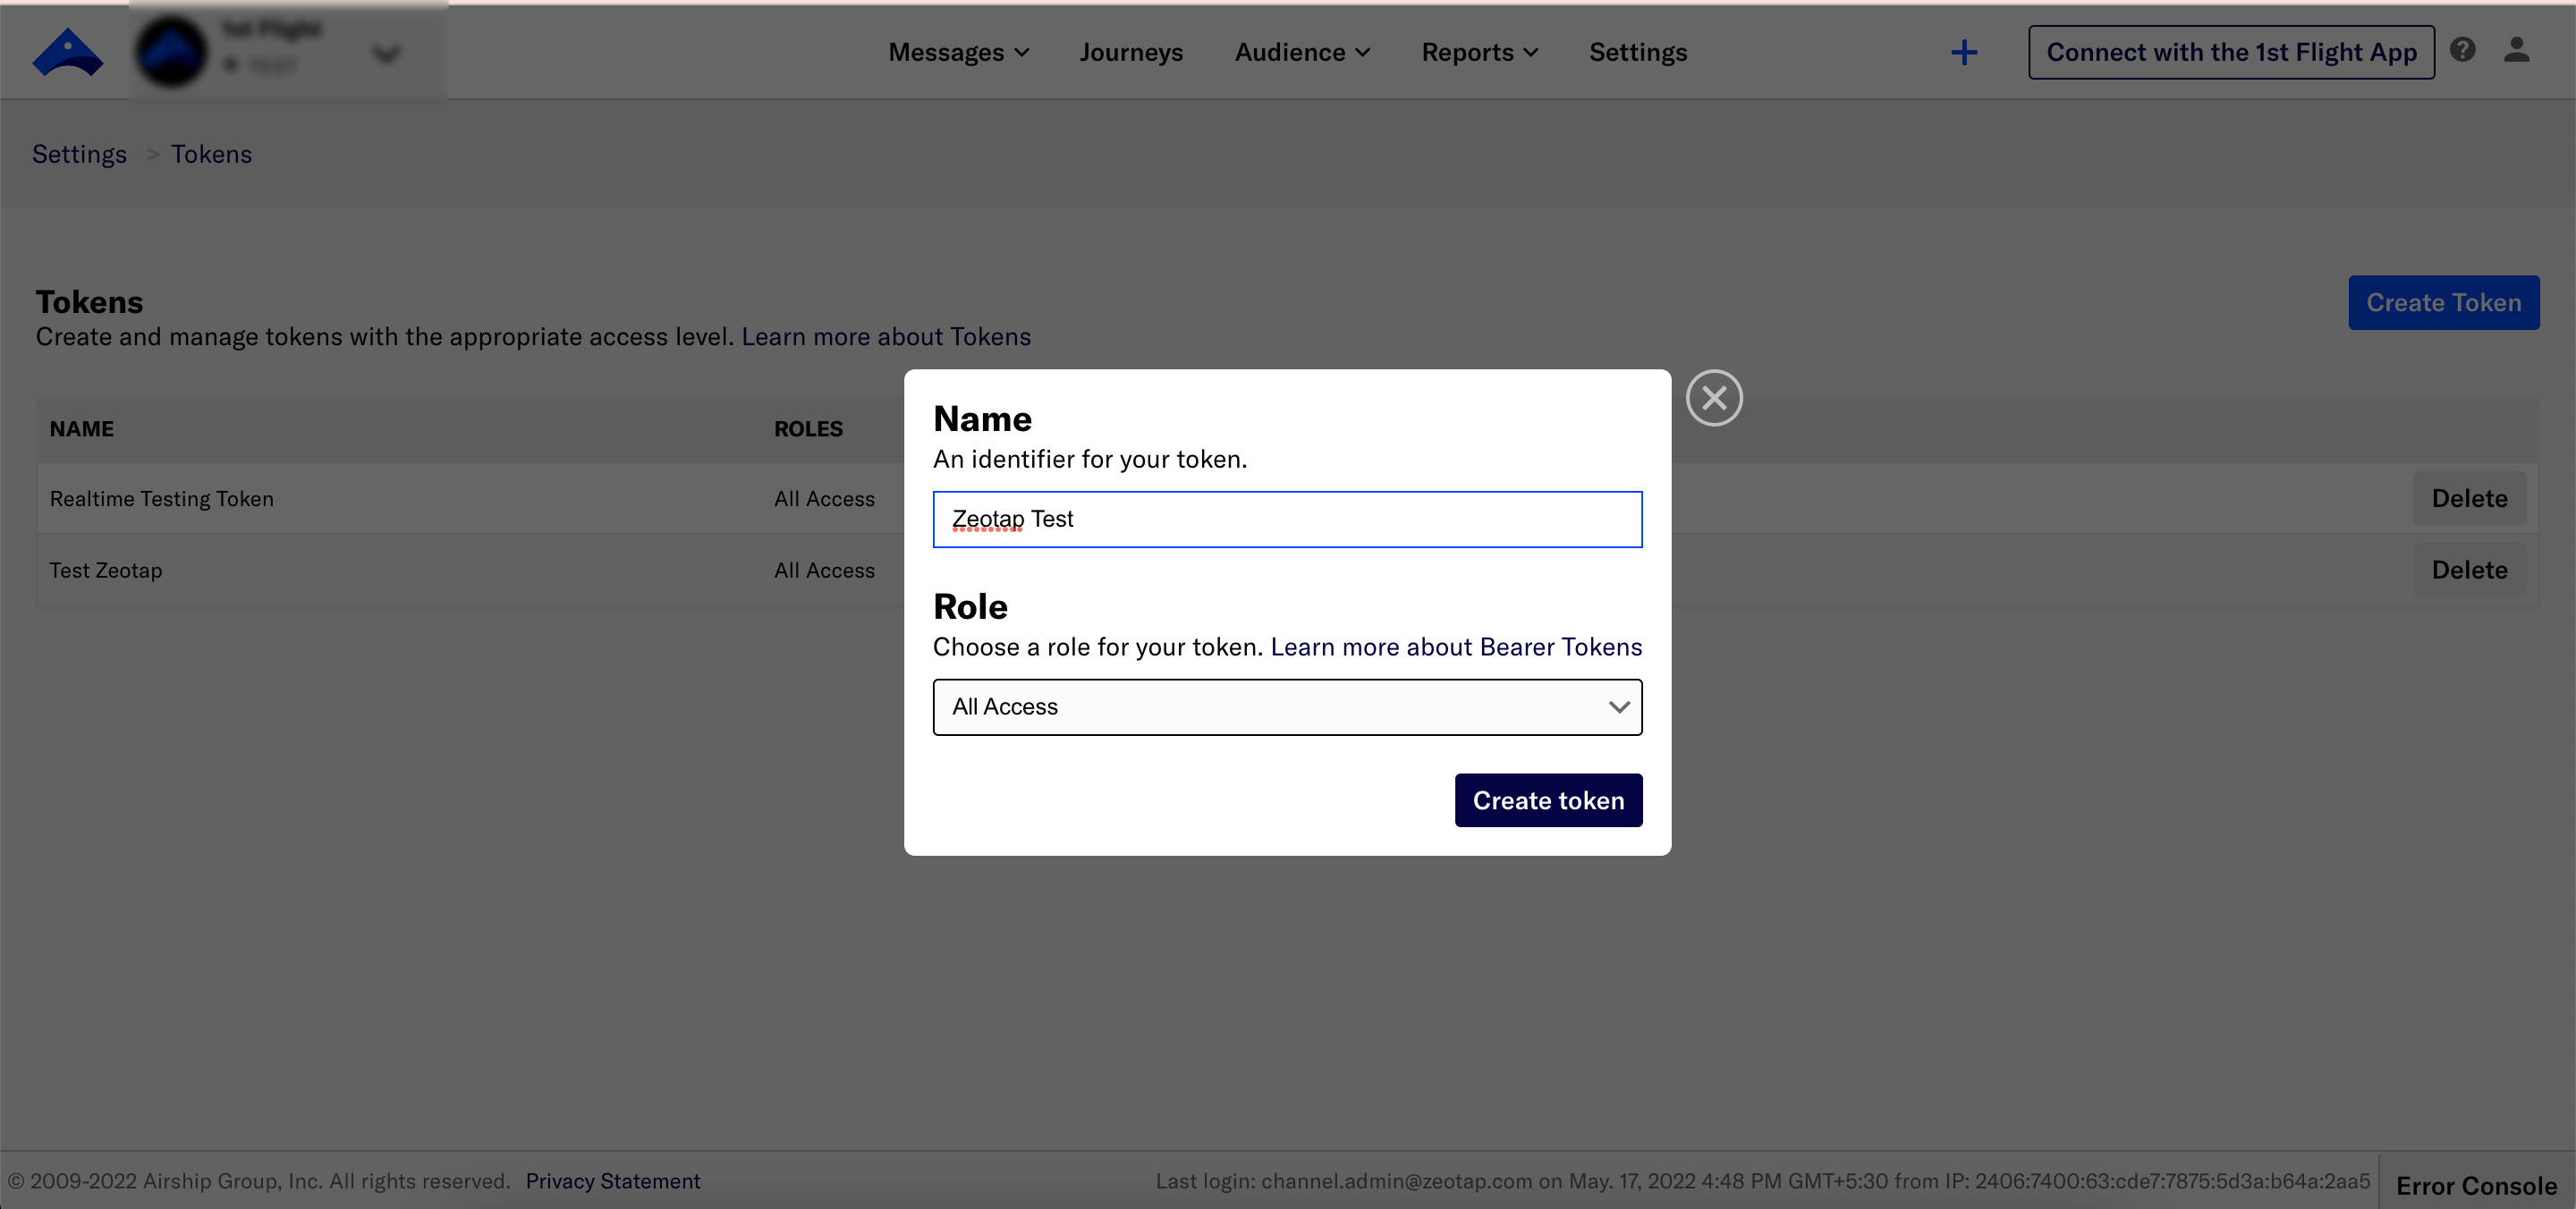
Perform the following steps to create and access tokens:
Select the Role you want to grant for this token. For additional information, see Airship API Security.
- Audience Modification: Grants read and write permission to audience APIs, including channels, named users, segments, lists and so on. Use this permission for users sending custom events into Airship.
- All Access: Grants full access to your Airship project, except Acoustic integrations. You must use this permission when creating a token for an inbound message handling web-hook.
Region
This is the region for which your account subscription is registered. Ensure to confirm it with your Airship account manager.Create a Destination for Airship Static Lists
Perform the following steps to create a Destination for Airship:
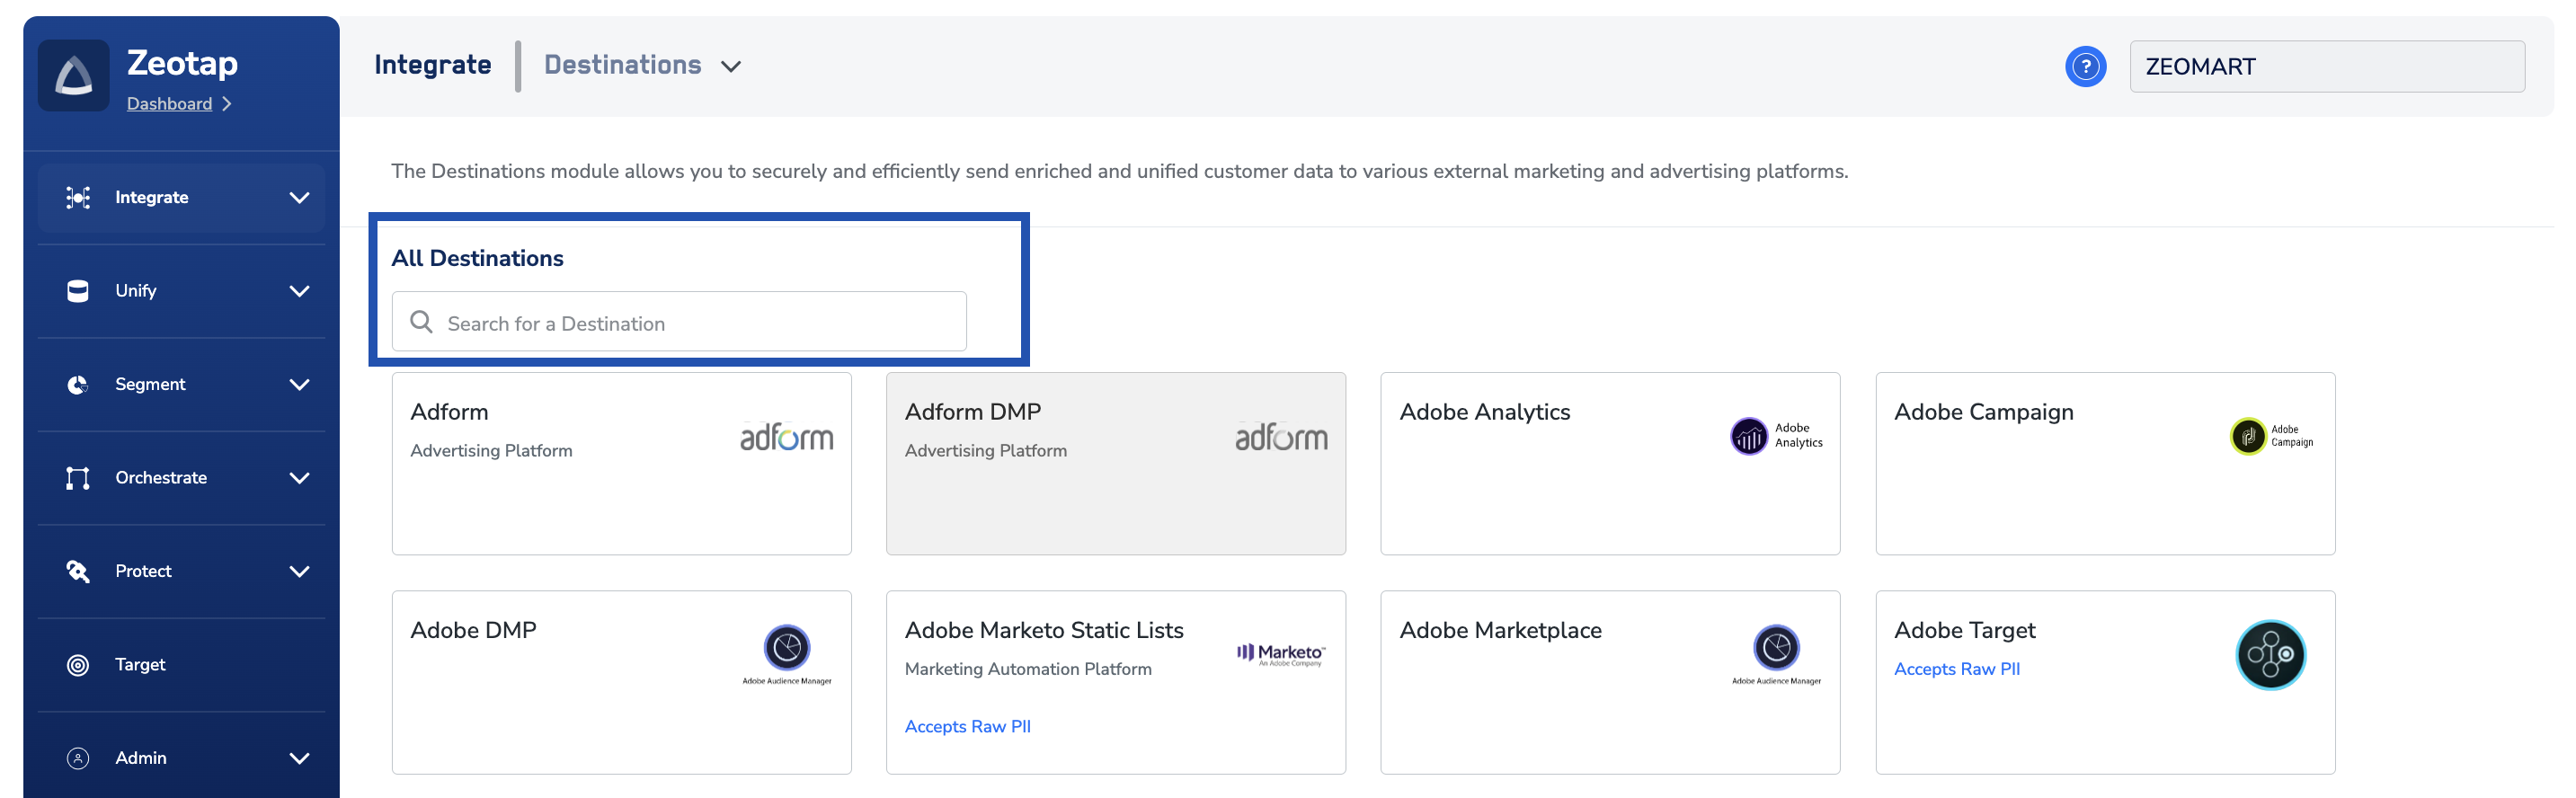
Click Airship Static Lists. A screen appears displaying details about the particular destination towards the left. On the right-hand side of the screen find a list of fields that are required for the integration to be established. Enter the required details as mentioned in the following steps:a. Enter a name for the Destination.b. Enter the Access Token.c. Select the appropriate Region from the drop-down menu.d. Review all the values entered above and then click Next to proceed.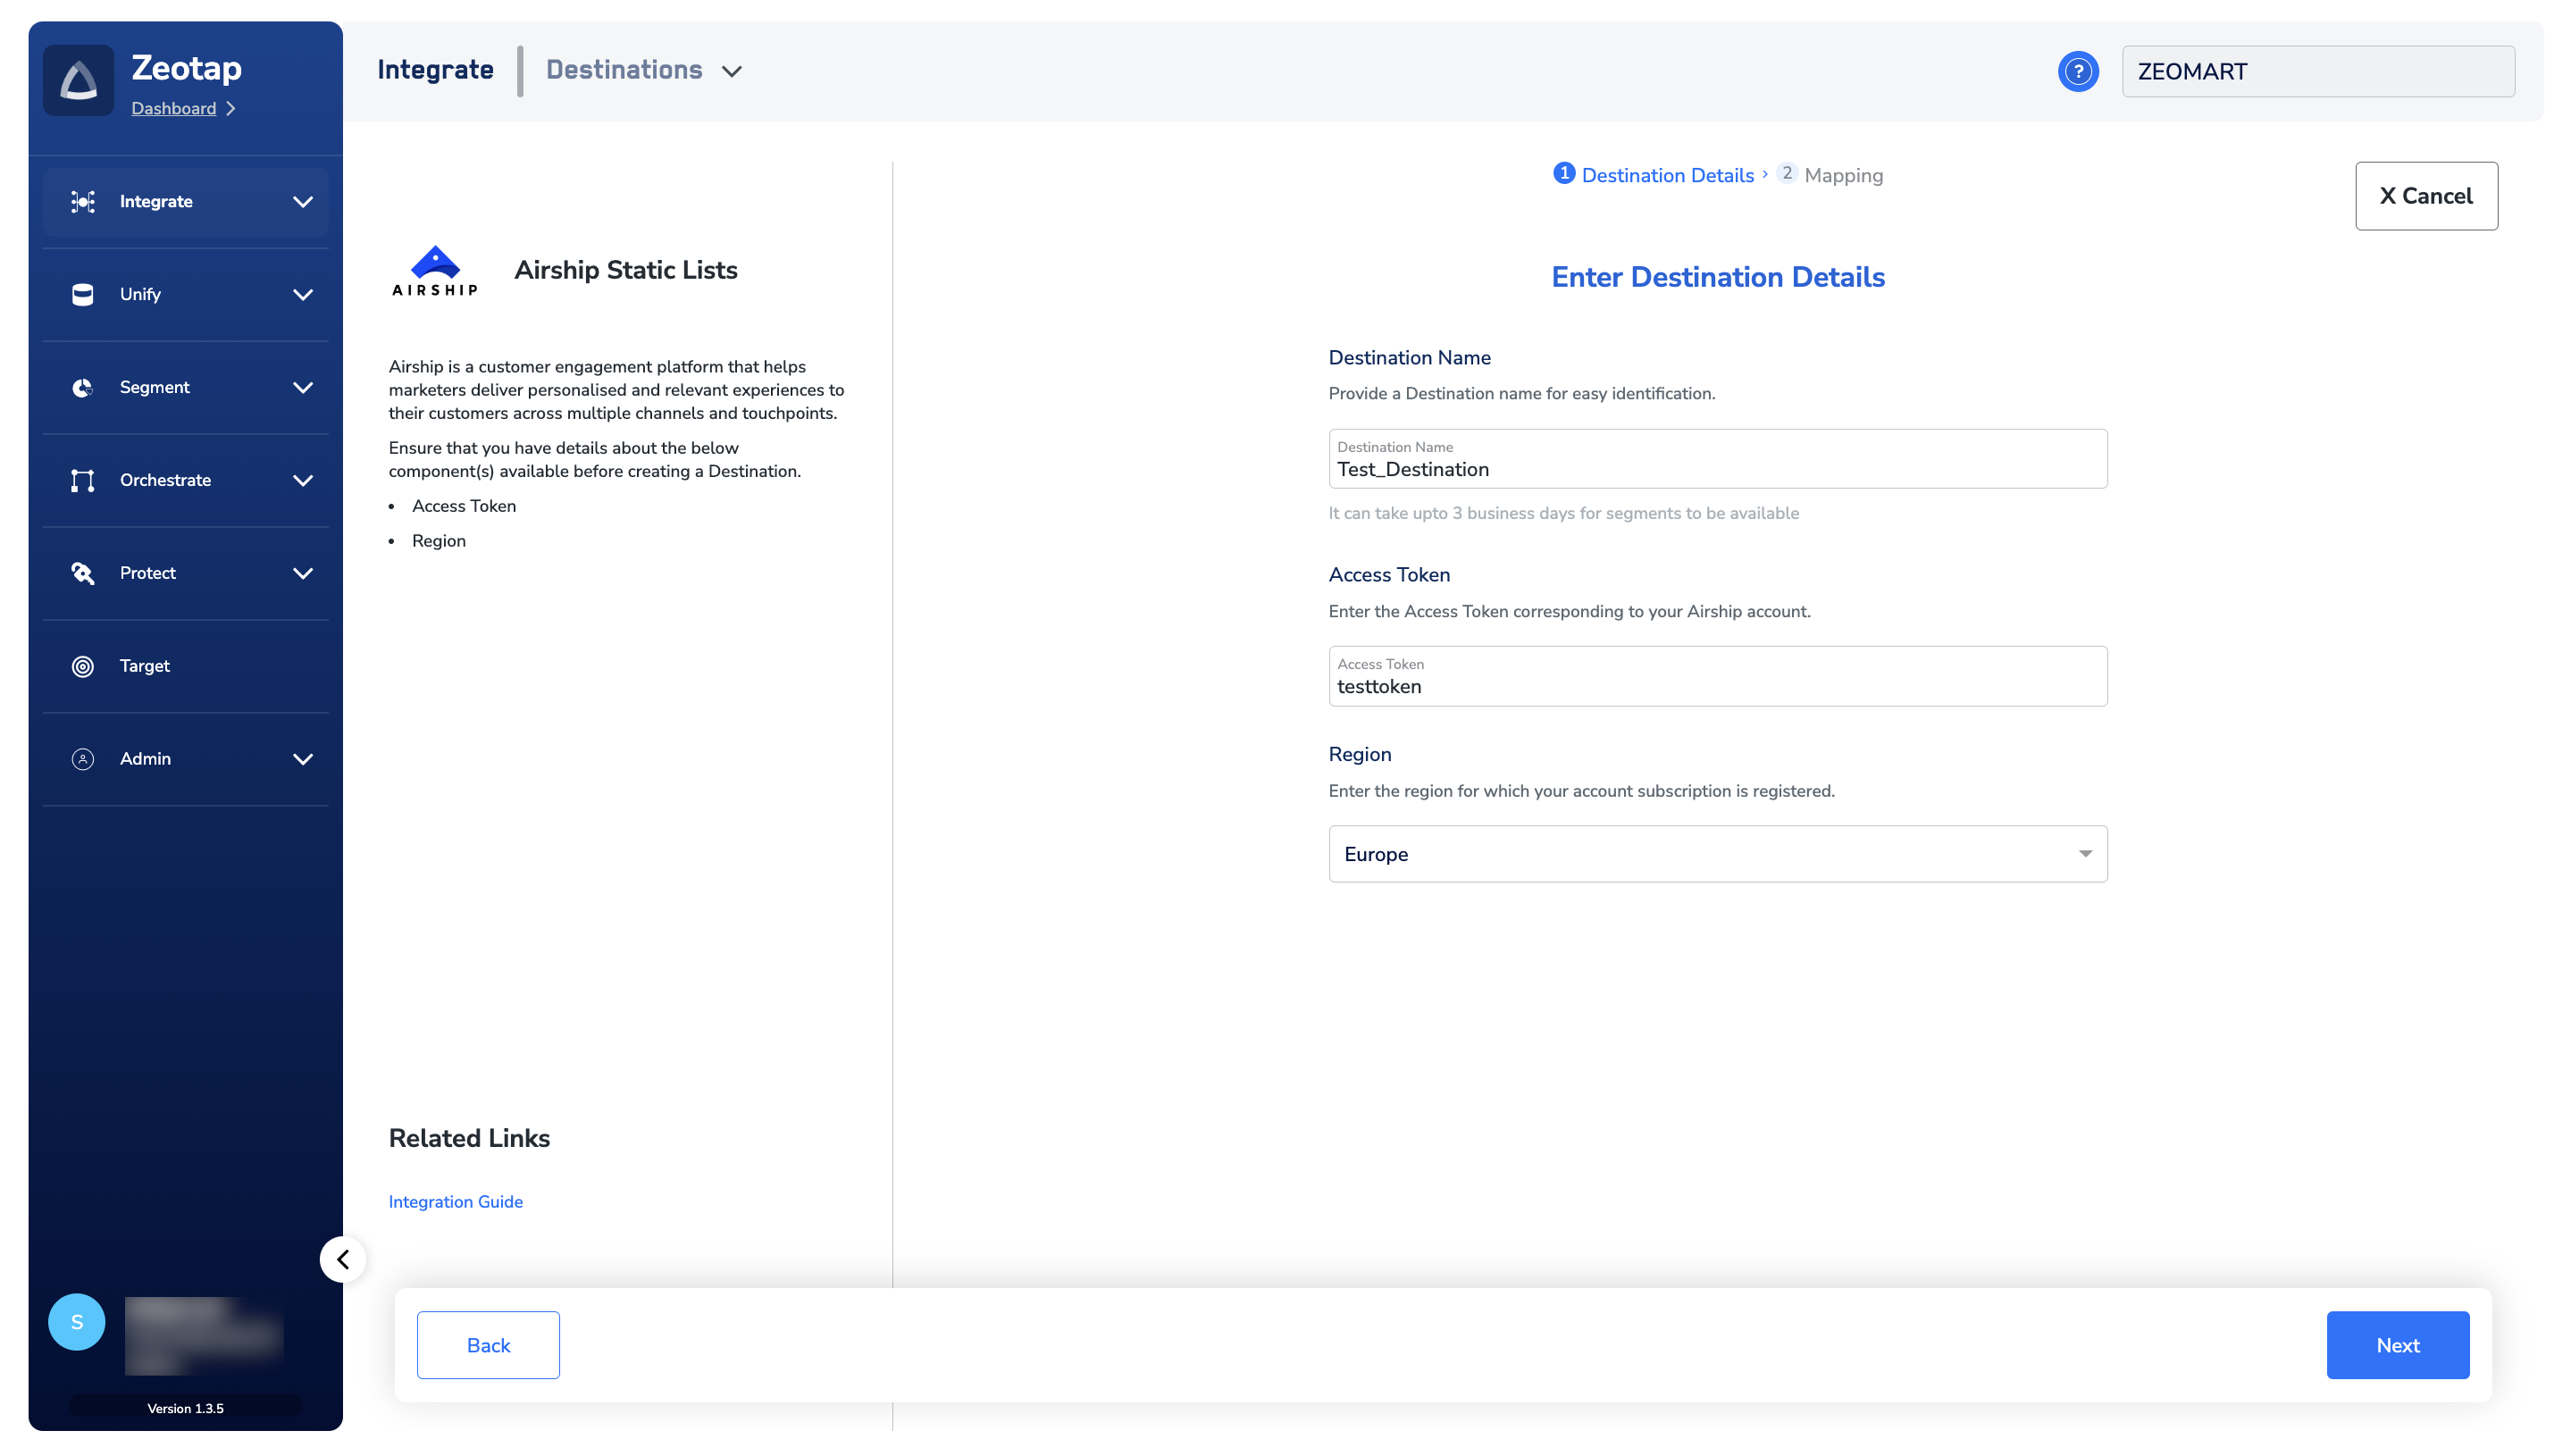
Note:To access the help documentation for this integration, clickIntegration Guide under Related Links.
In the new screen that appears, choose the appropriate Action and mapping as explained below.a. Choose Send Named User to Airship under Choose your Action and map the corresponding identifiers under Map the Fields.b. Click Create Destination. The created Destination gets listed in theAudience application, which can be linked to an Audience/segment.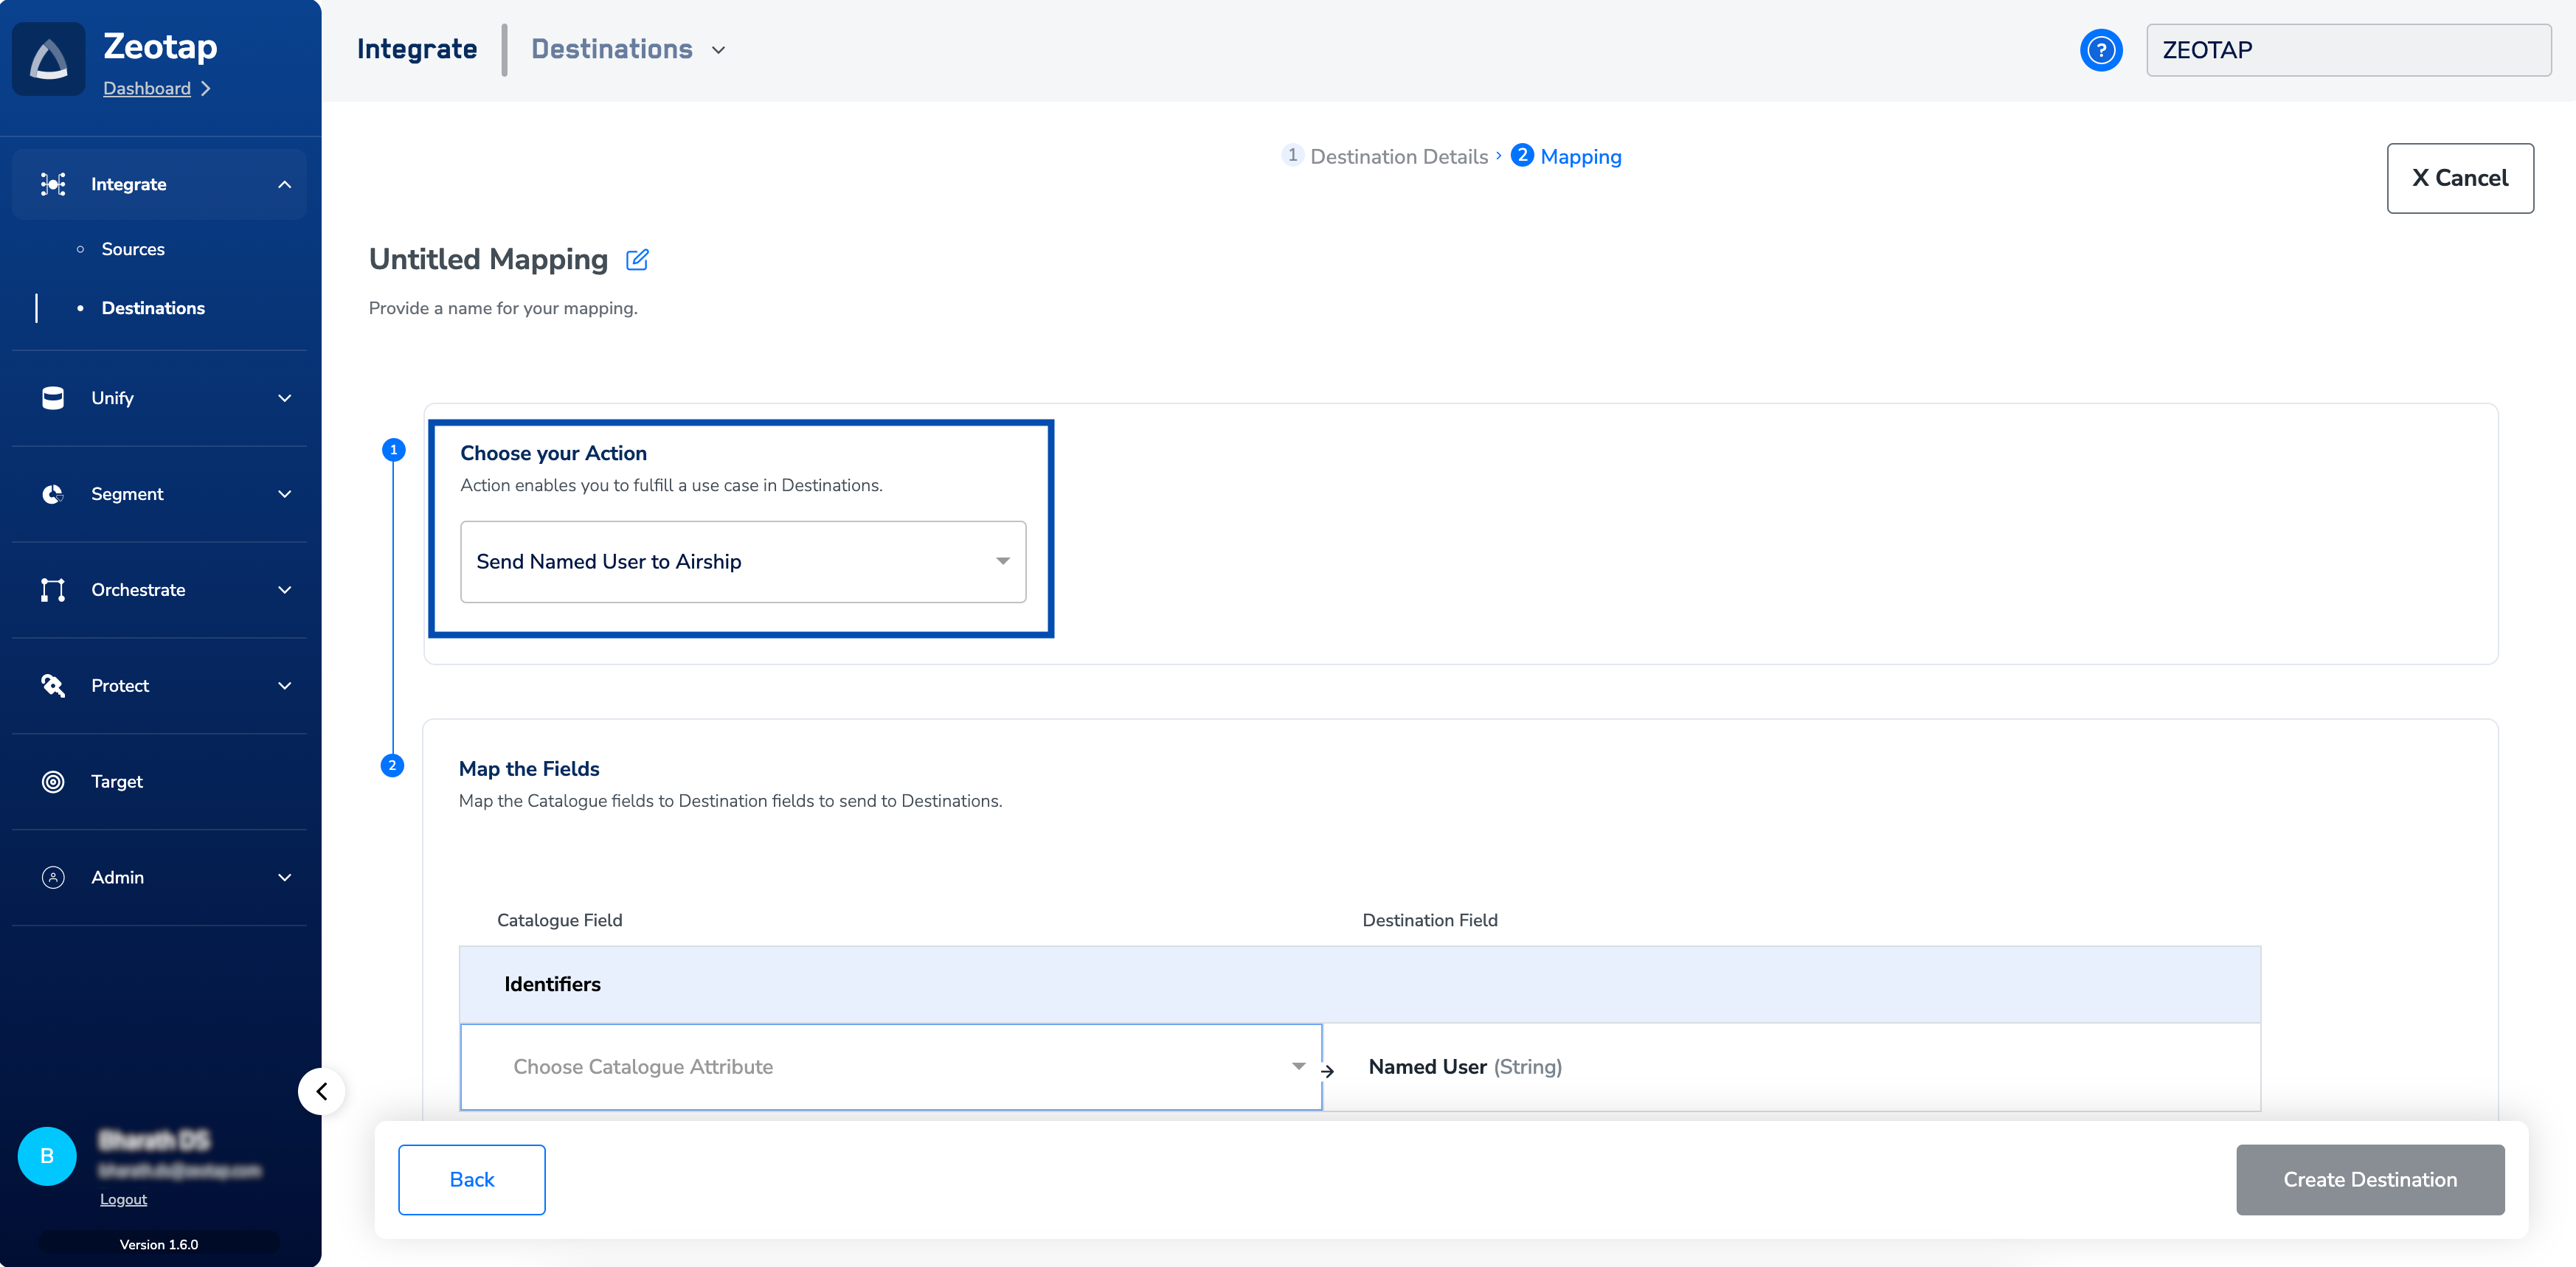
Link an Audience to the Airship Static Lists Destination
For information about how to link an audience (segment) to the created Destination in Audiencesapplication, refer here. Note that it can take up to three business days for the segment to be available at the Airship Static Lists seat. In addition, ensure that you link only one Destination at a time to avoid activation issues.Note:The terms Audiences and Segments are used interchangeably to refer to customer cohorts belonging to a specific category.For example, an Audience or a segment can be a specific group of customers who are over 18 years of age and haveperformed an
addToCart event within the last 30 days.