Overview
The Bulk Profile Update API allows you to update user profiles for multiple visitors to a website in bulk using a batch file. Integrated with Zeotap, you can make changes to multiple user profiles within a single Adobe Target account at once, saving time and effort compared to updating each profile individually. Note that you can update profile attributes, which in turn can be used to add or remove a profile from the Activity (campaign). To know more about updating the user profile using single or bulk updates, refer here.Supported Identifiers
This integration allows you to send Mbox 3rd party IDs, PCID and any custom attributes to Adobe Target. The Mbox 3rd Party ID is a client-specified identifier passed to Adobe Target through an mbox call asmbox3rdPartyId.A PCID is an auto-generated identifier stored in a visitor’s cookies to uniquely identify each visitor.
Available Actions and Supported Features
The following table lists the available action types for the integration and the supported features for each action type:| Action Name | ID EXTENSION | DELETE | DELTA UPLOAD |
|---|---|---|---|
| Send Mbox 3rd party ID | ✅ | ✅ | - |
| Send PCID and attributes | - | - | - |
Components of Adobe Target (Bulk Update)
Ensure that you have details about the below components of Adobe Target available before creating a Destination.- Client ID
- Client Secret
- Client Code
- Tenant ID
Client ID and Client Secret
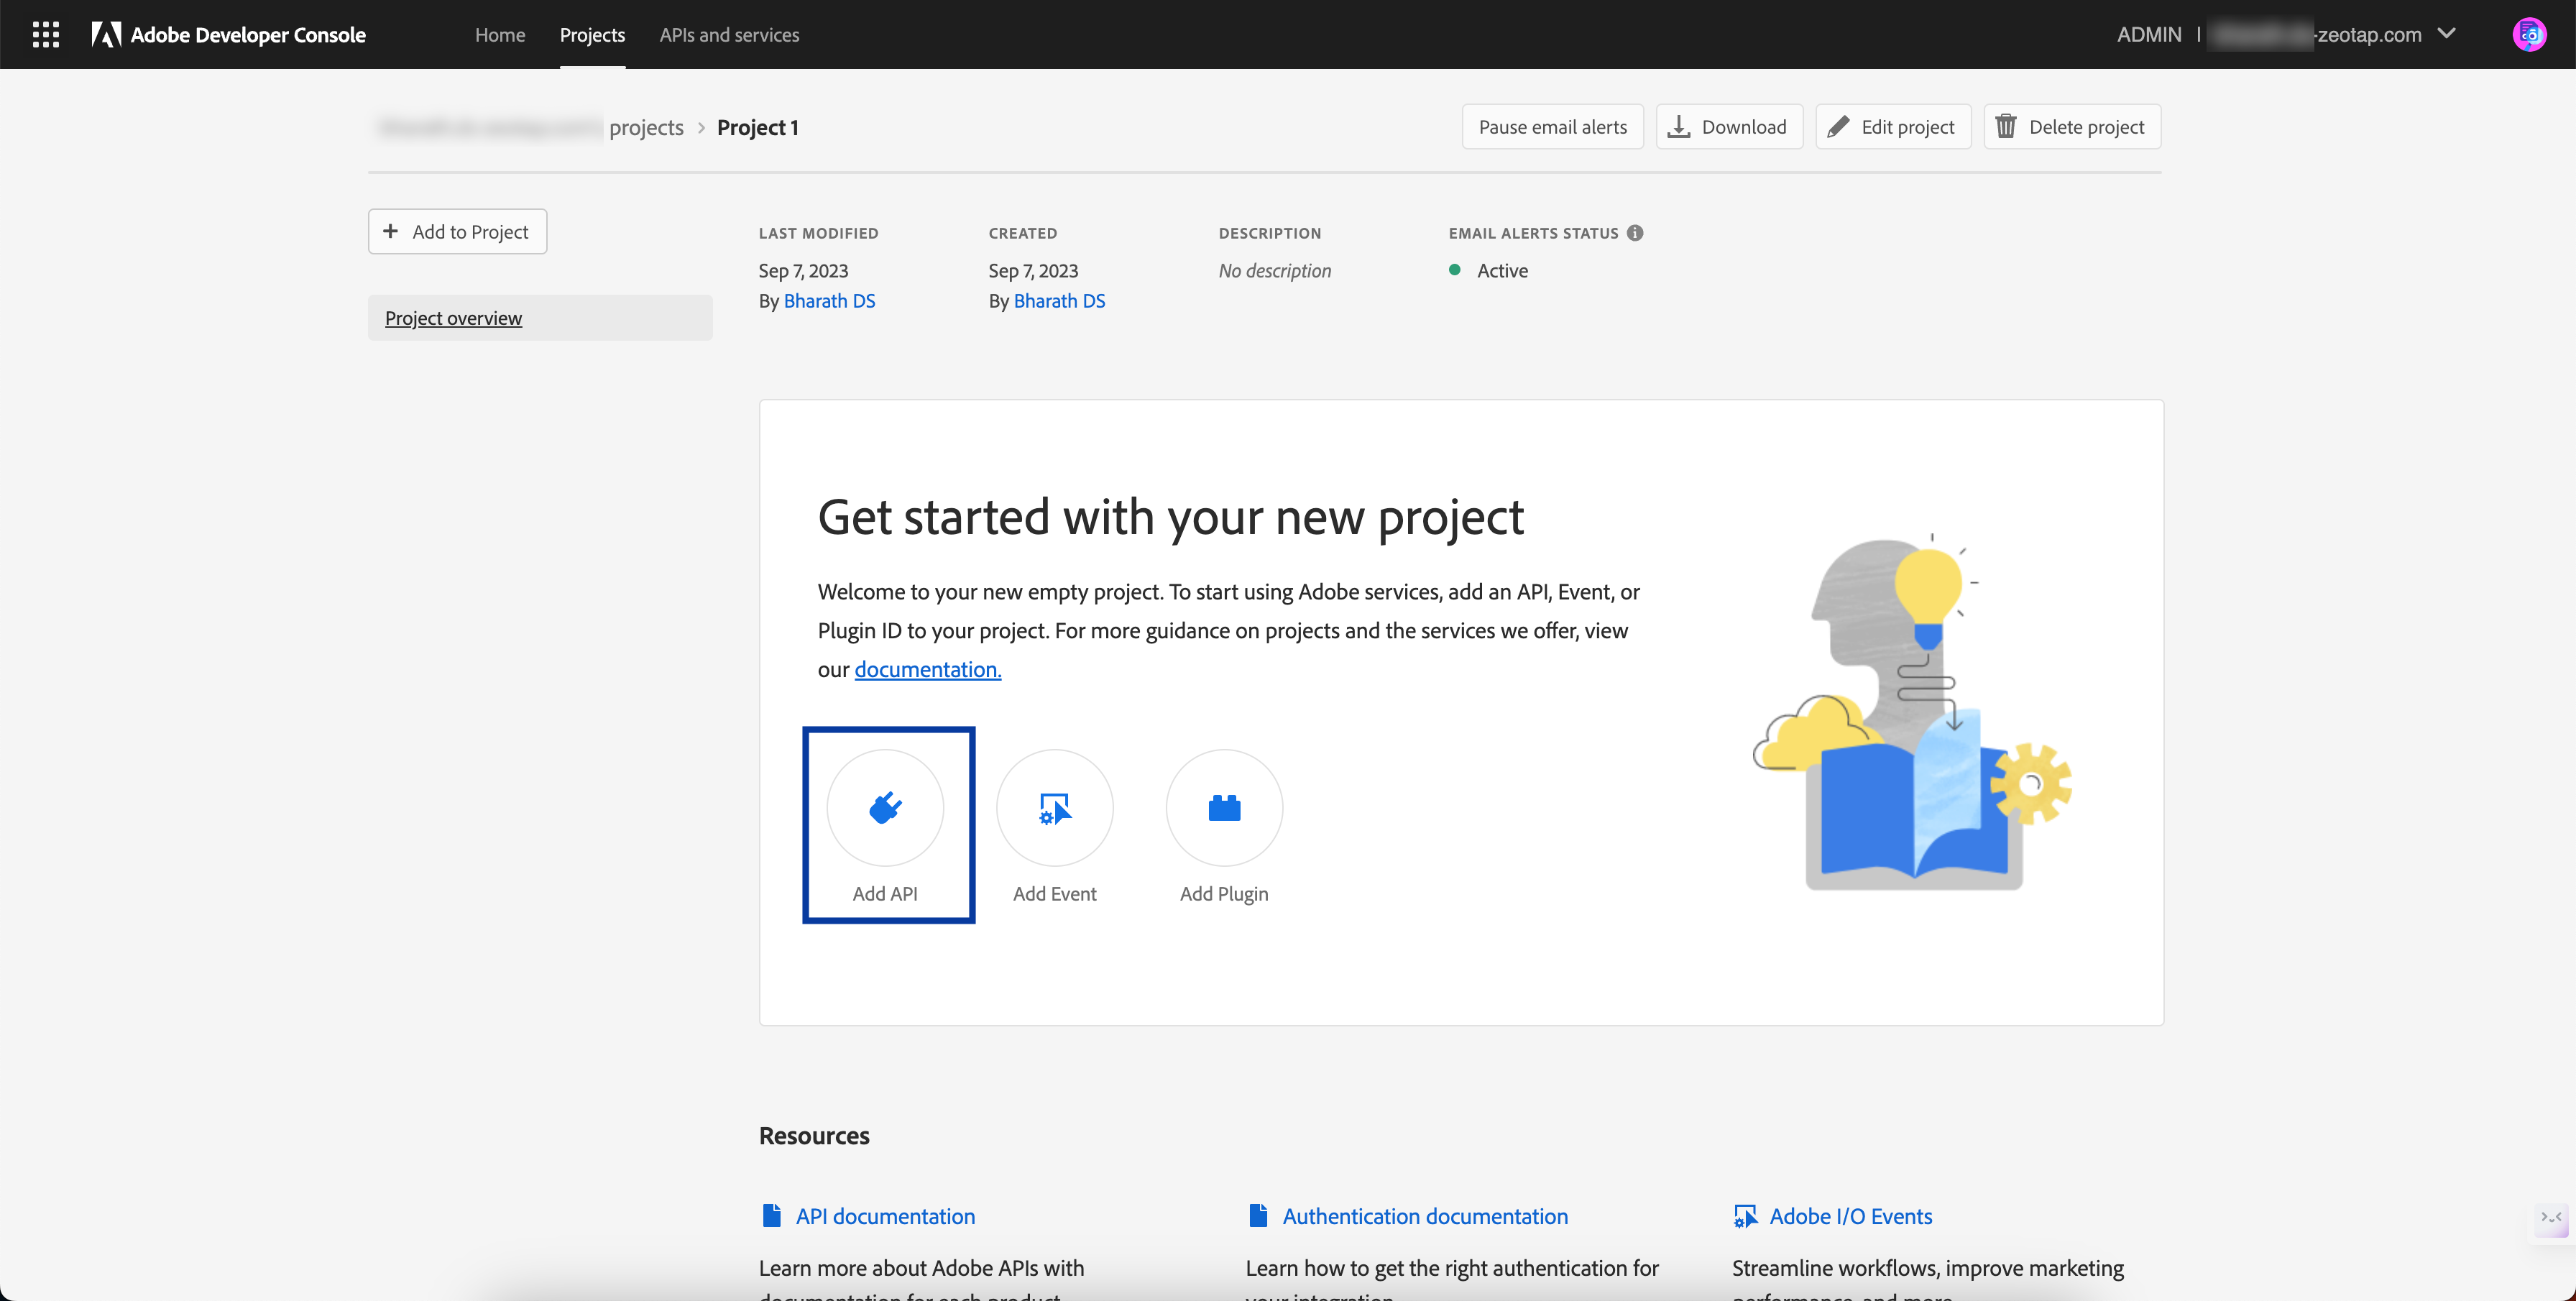
The client ID is a unique identifier for the application or service making the request, while the client secret is a confidential password that verifies the authenticity of the request. These credentials are used to access and manipulate data in the Adobe Target platform.To obtain the Client ID and Client Secret, log into the Adobe Developer Console and perform the following steps:

In the new screen that appears, all the APIs supported by Adobe are listed. Here, click Adobe Targetand click Next.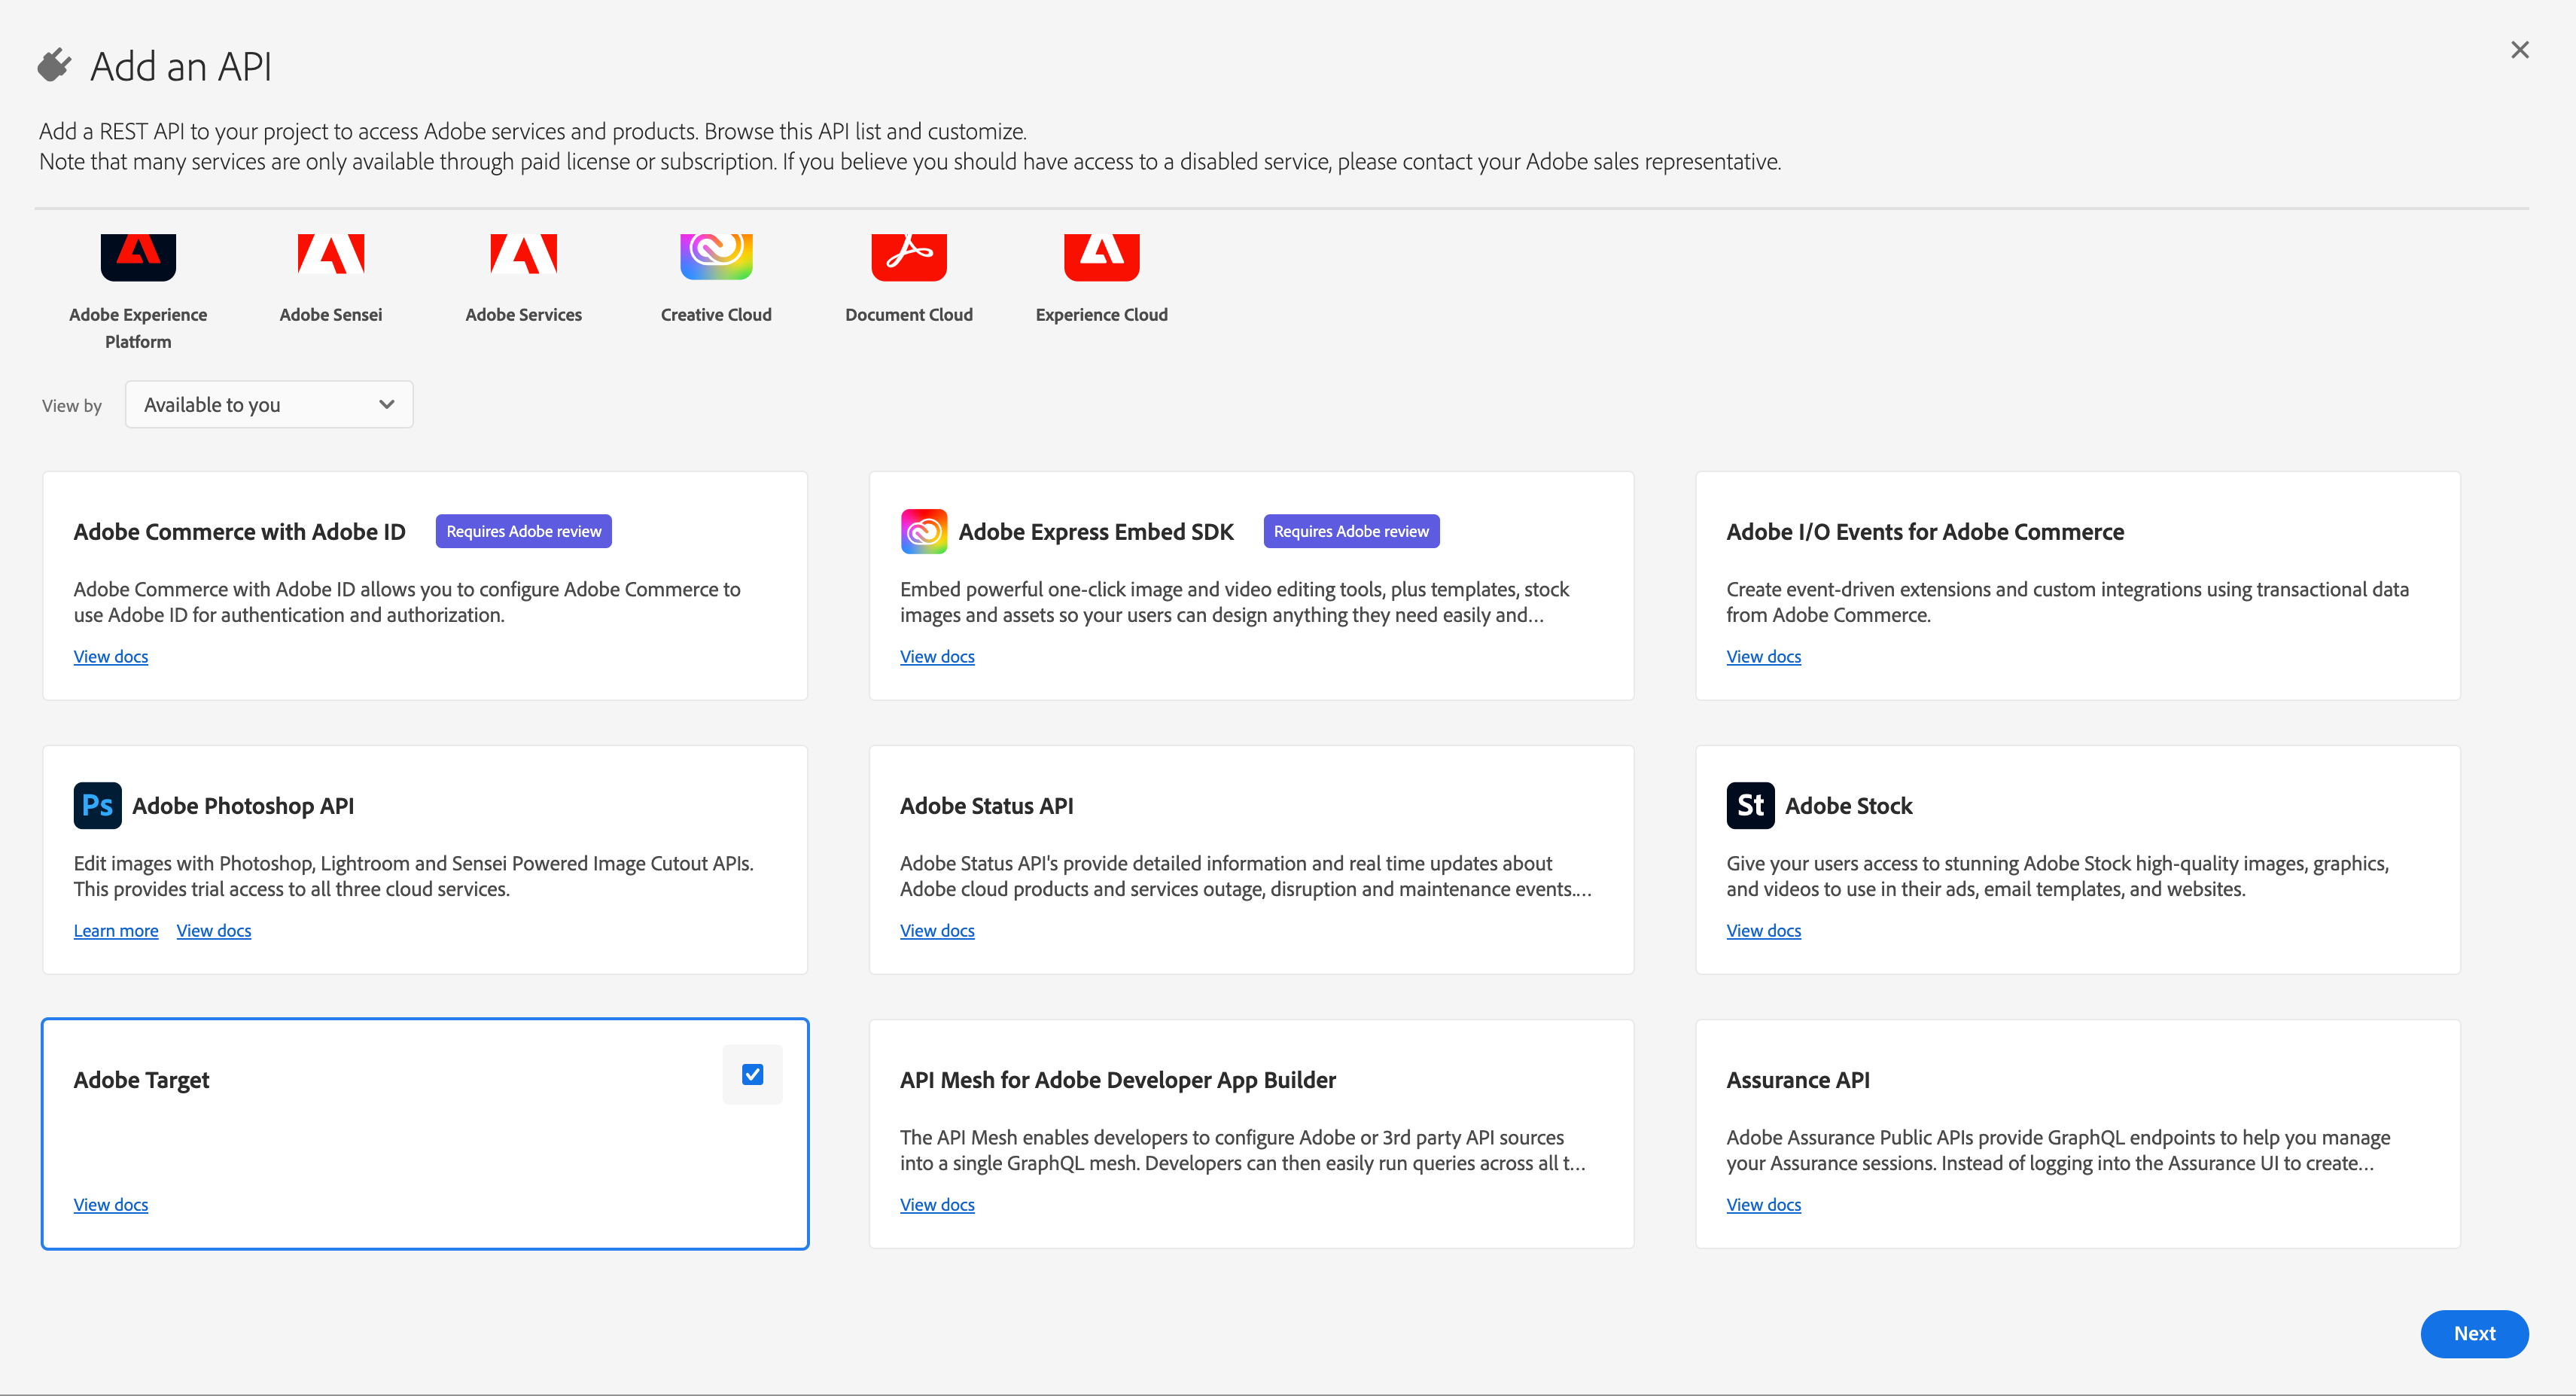
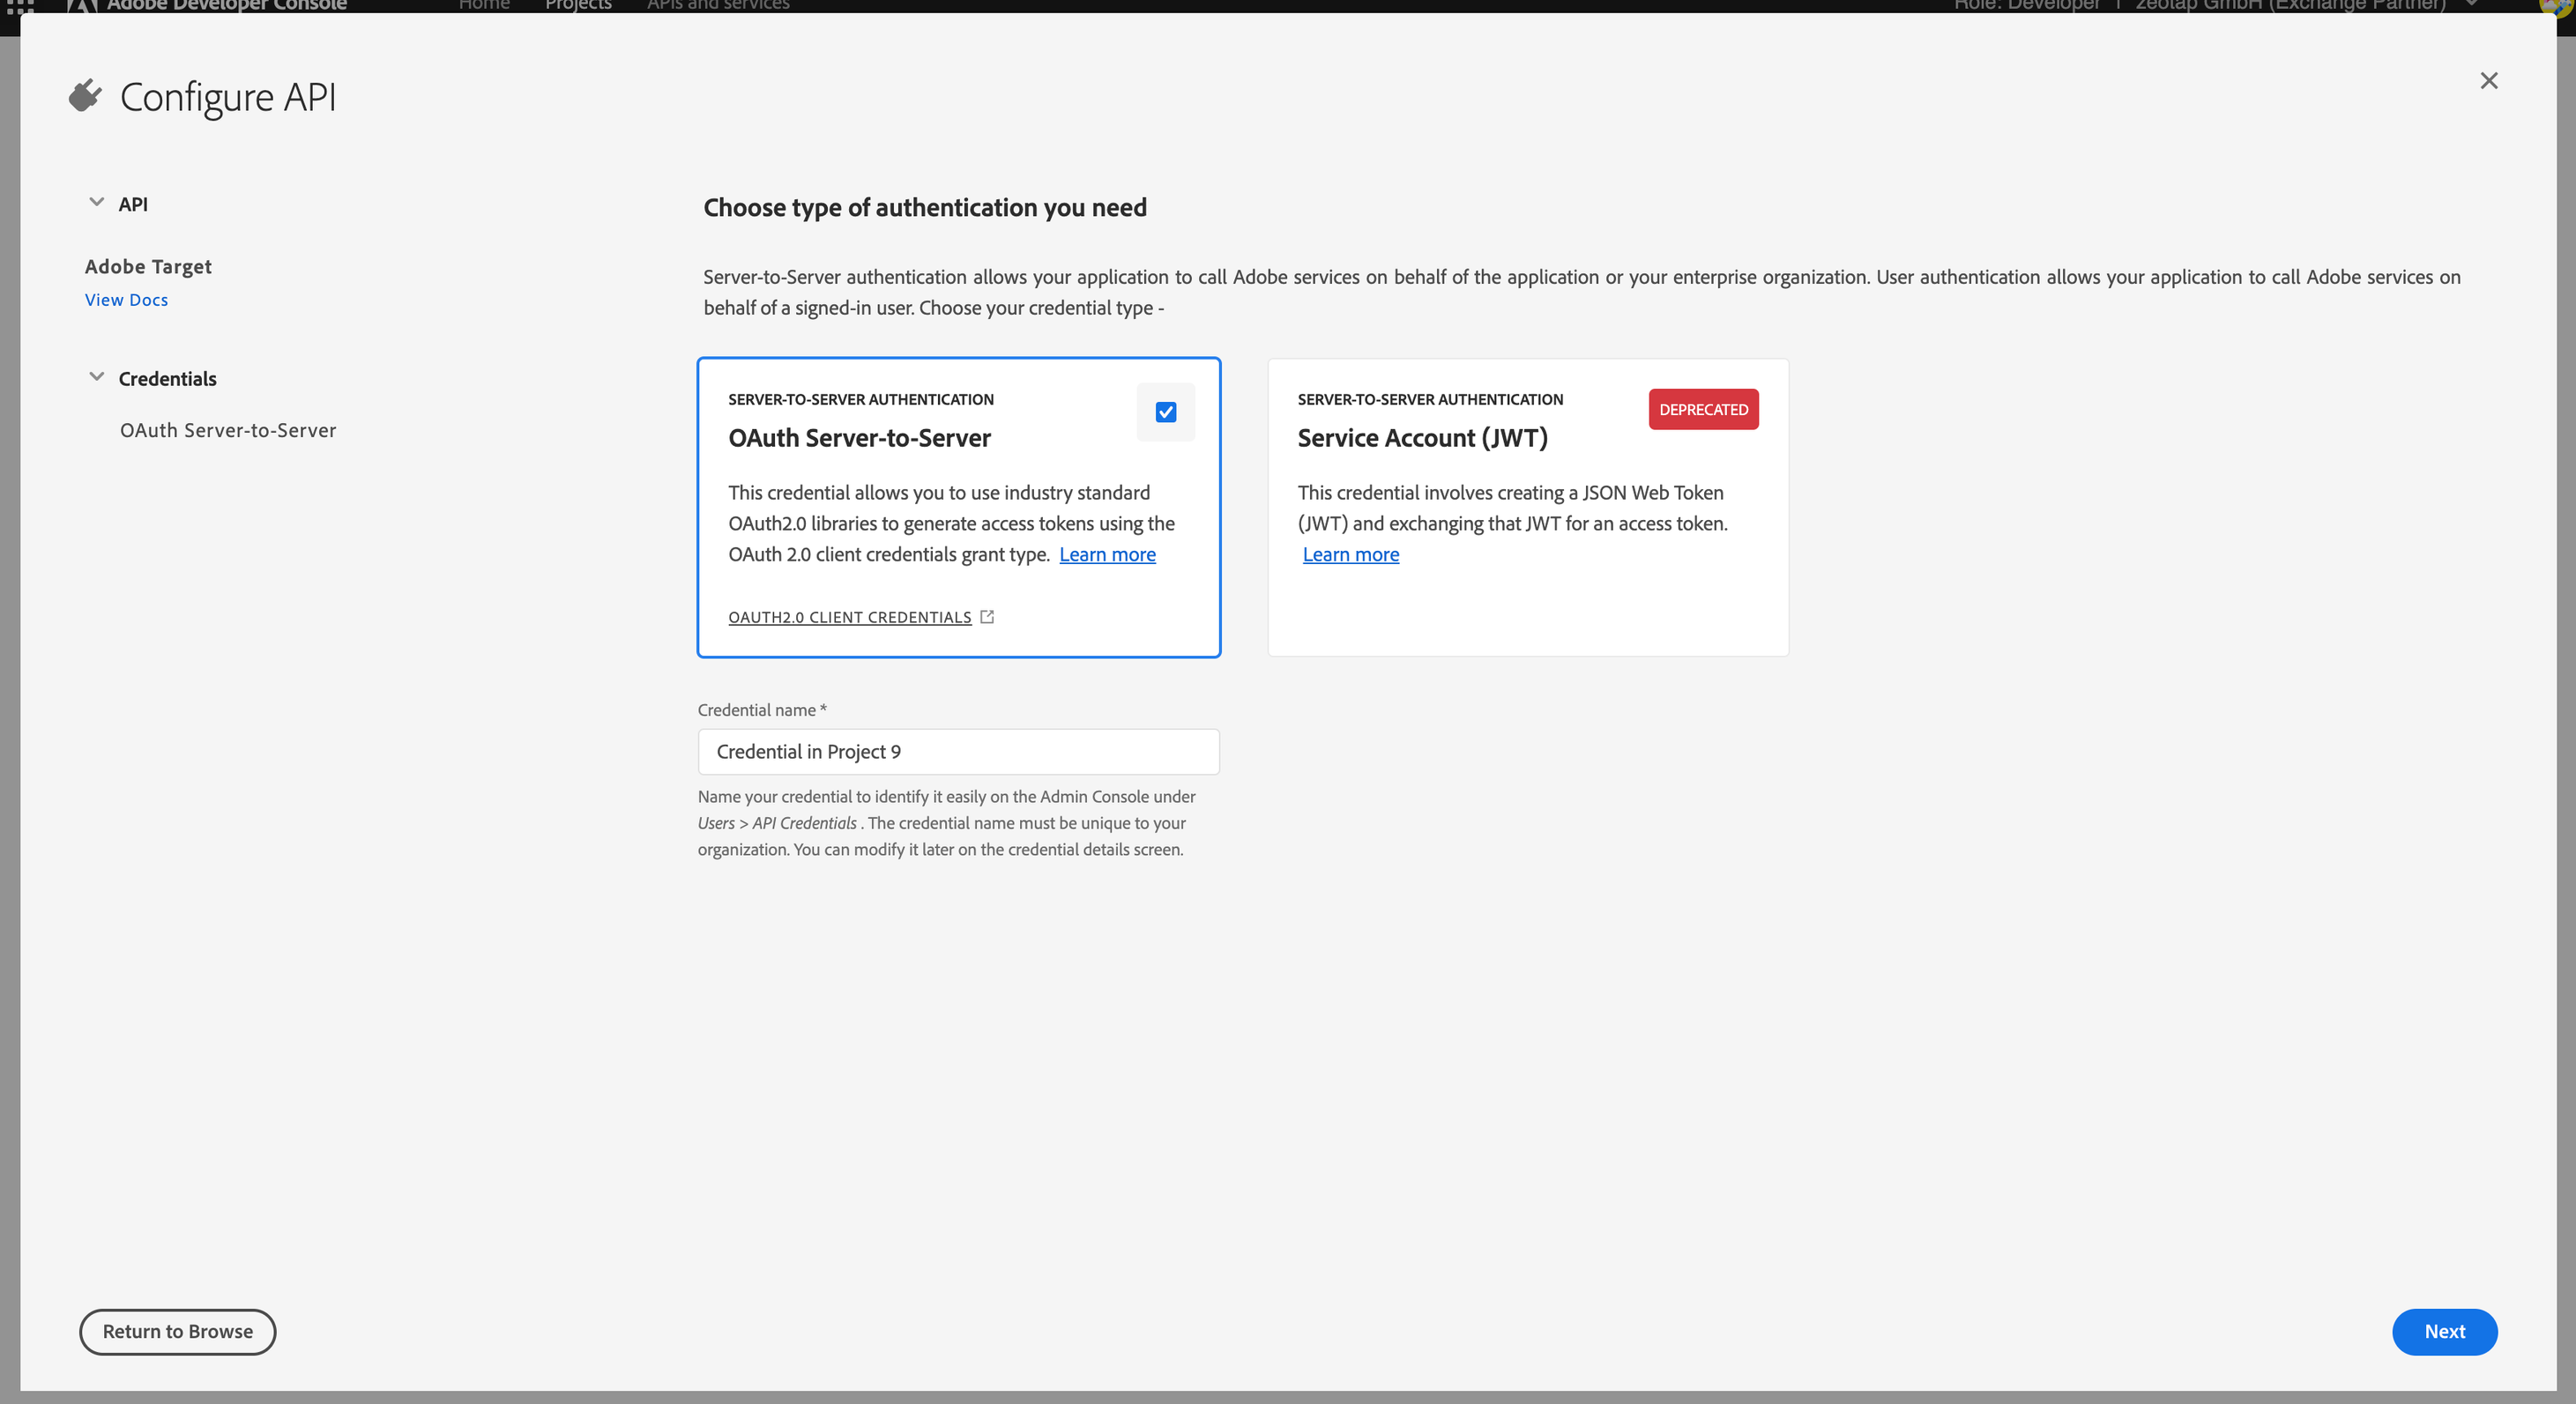
To view the details of the project that you have created, click OAuth Server-to-Serveras shown below.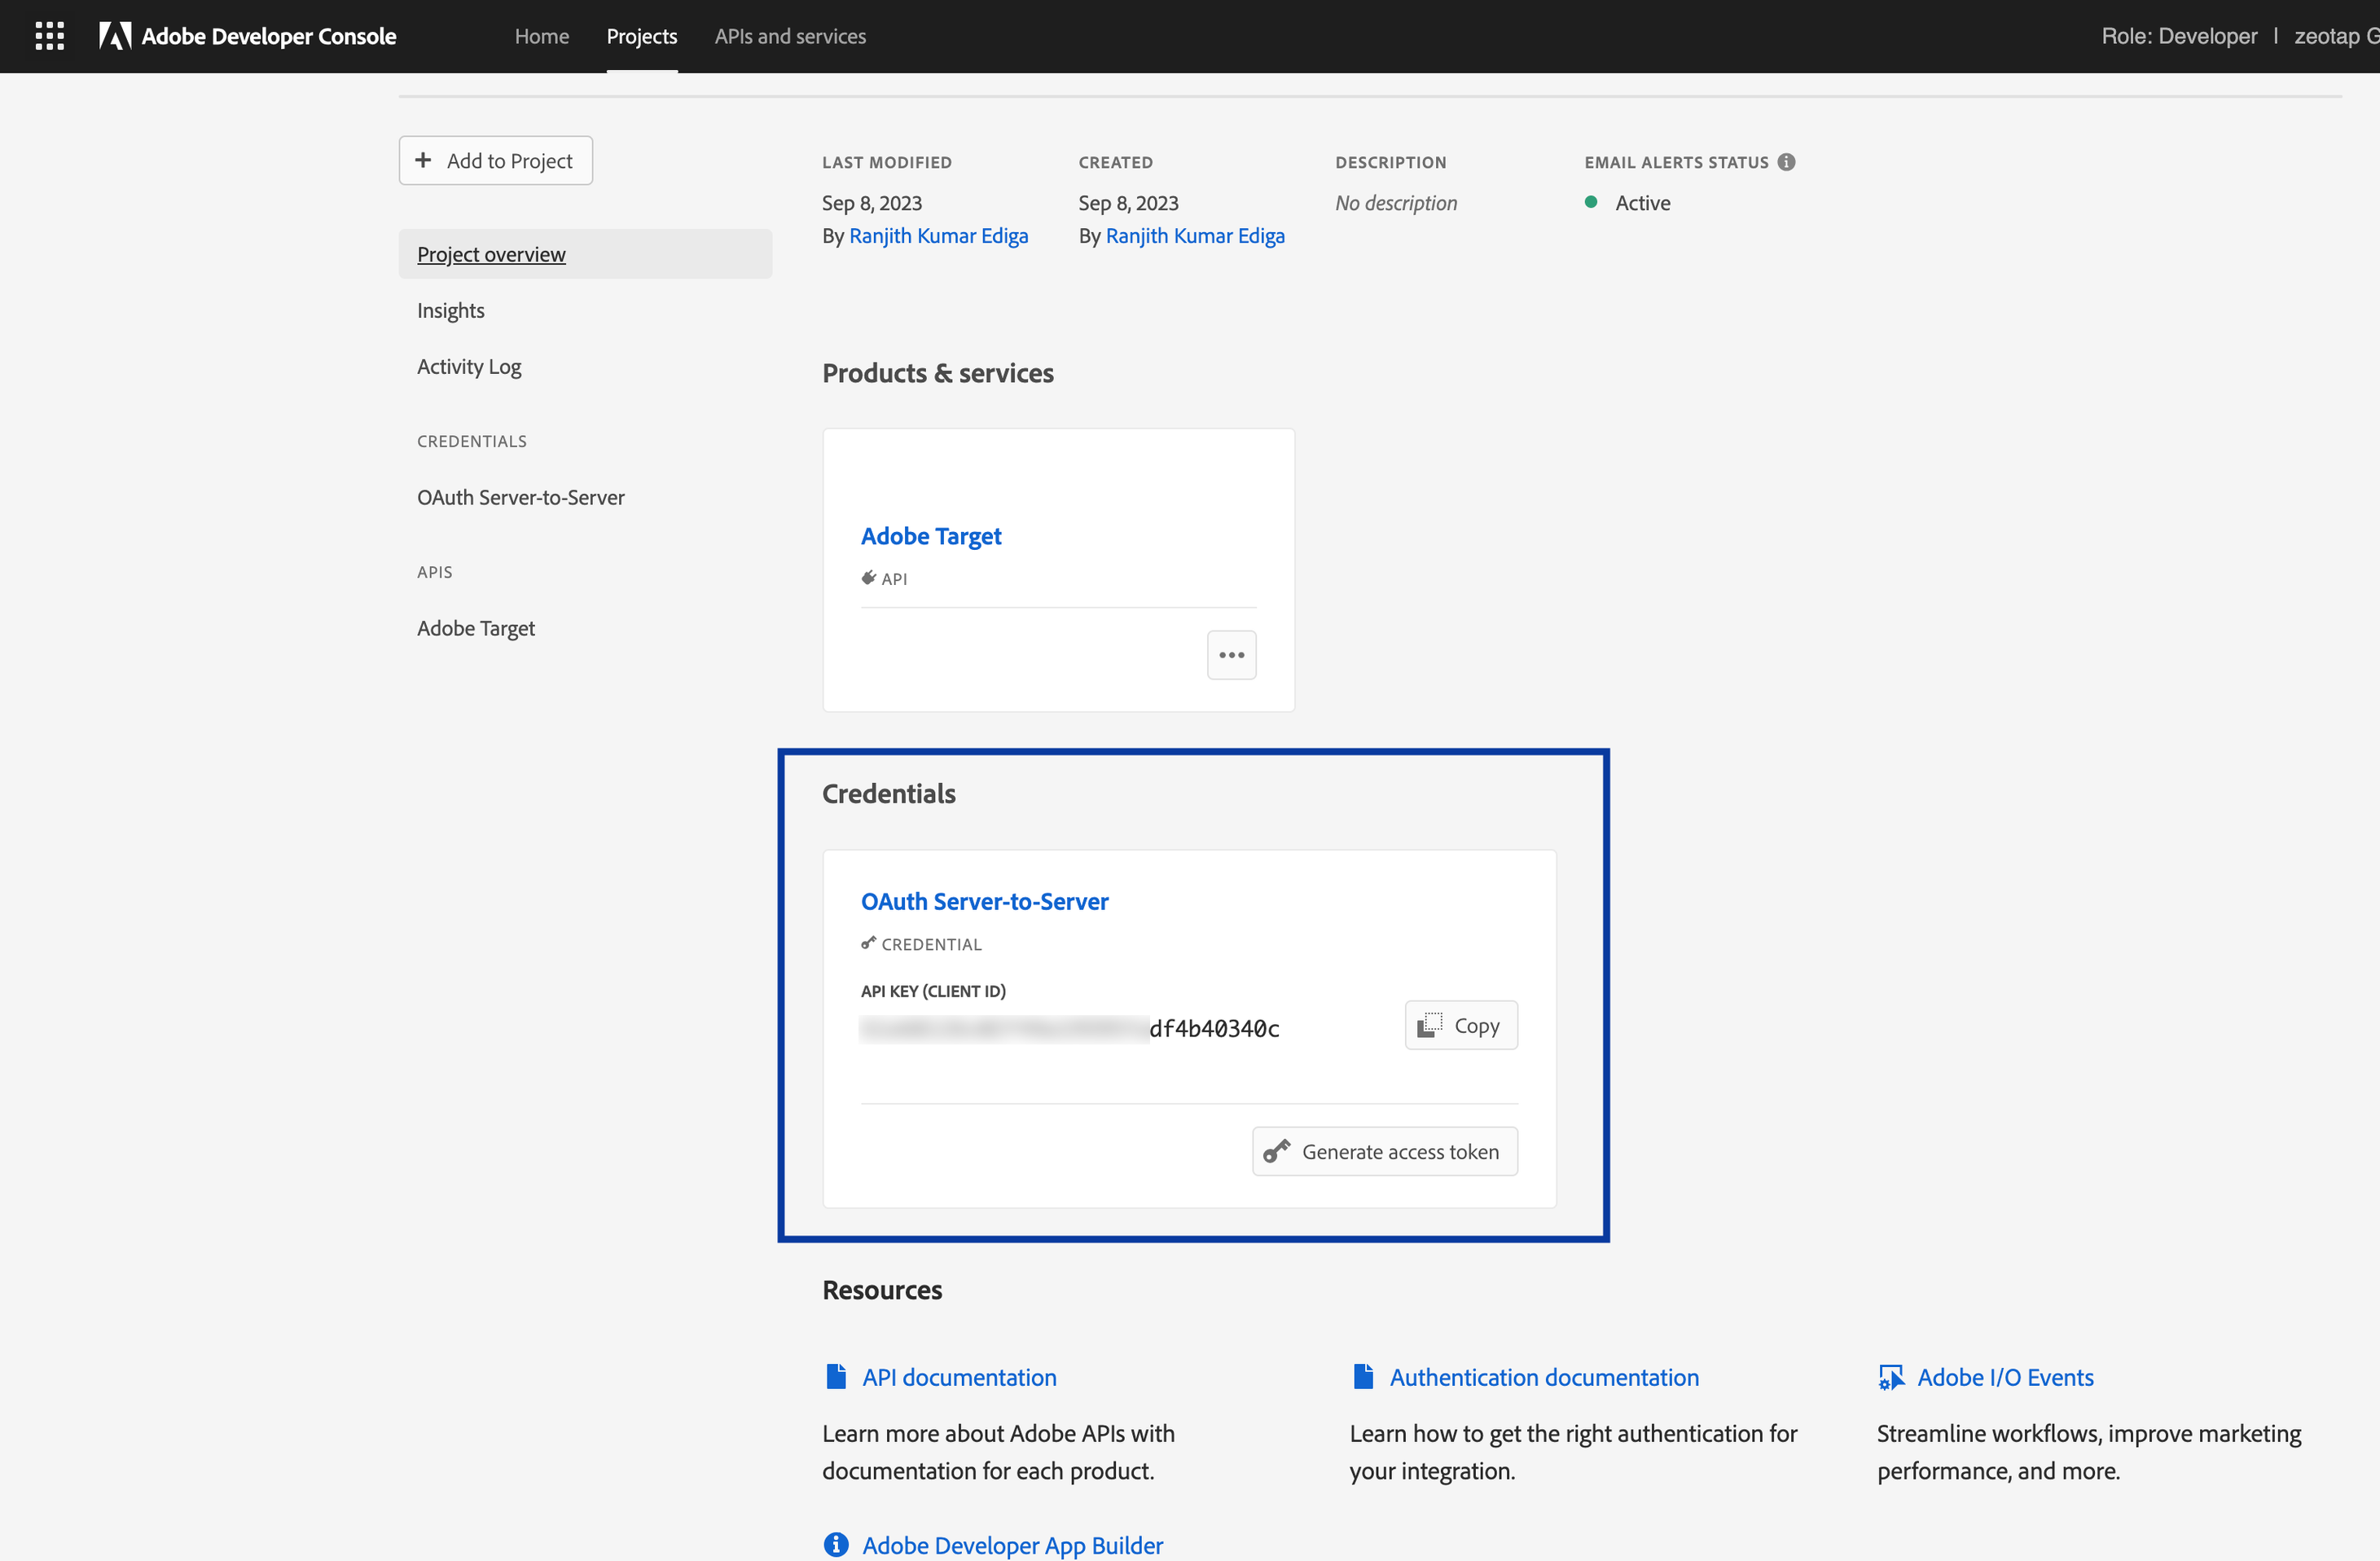
In the next screen, you can find the Client ID. However, to view the Client Secret, click Retrieve Client Secret.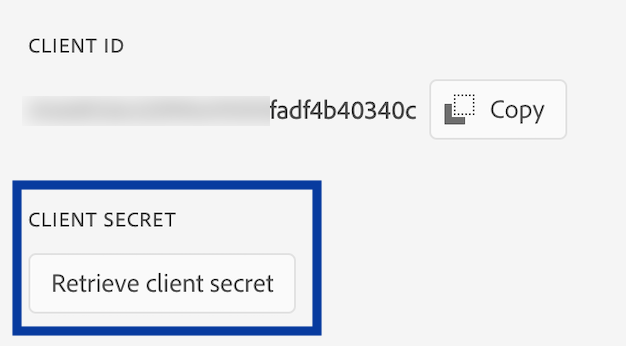

Client Code
A Client Code is a unique identifier assigned to a specific client or user to track and personalise their experiences across different channels and devices. You can obtain the Client Code from the Adobe Experience Platform by navigating to Administration > Implementation > Account details.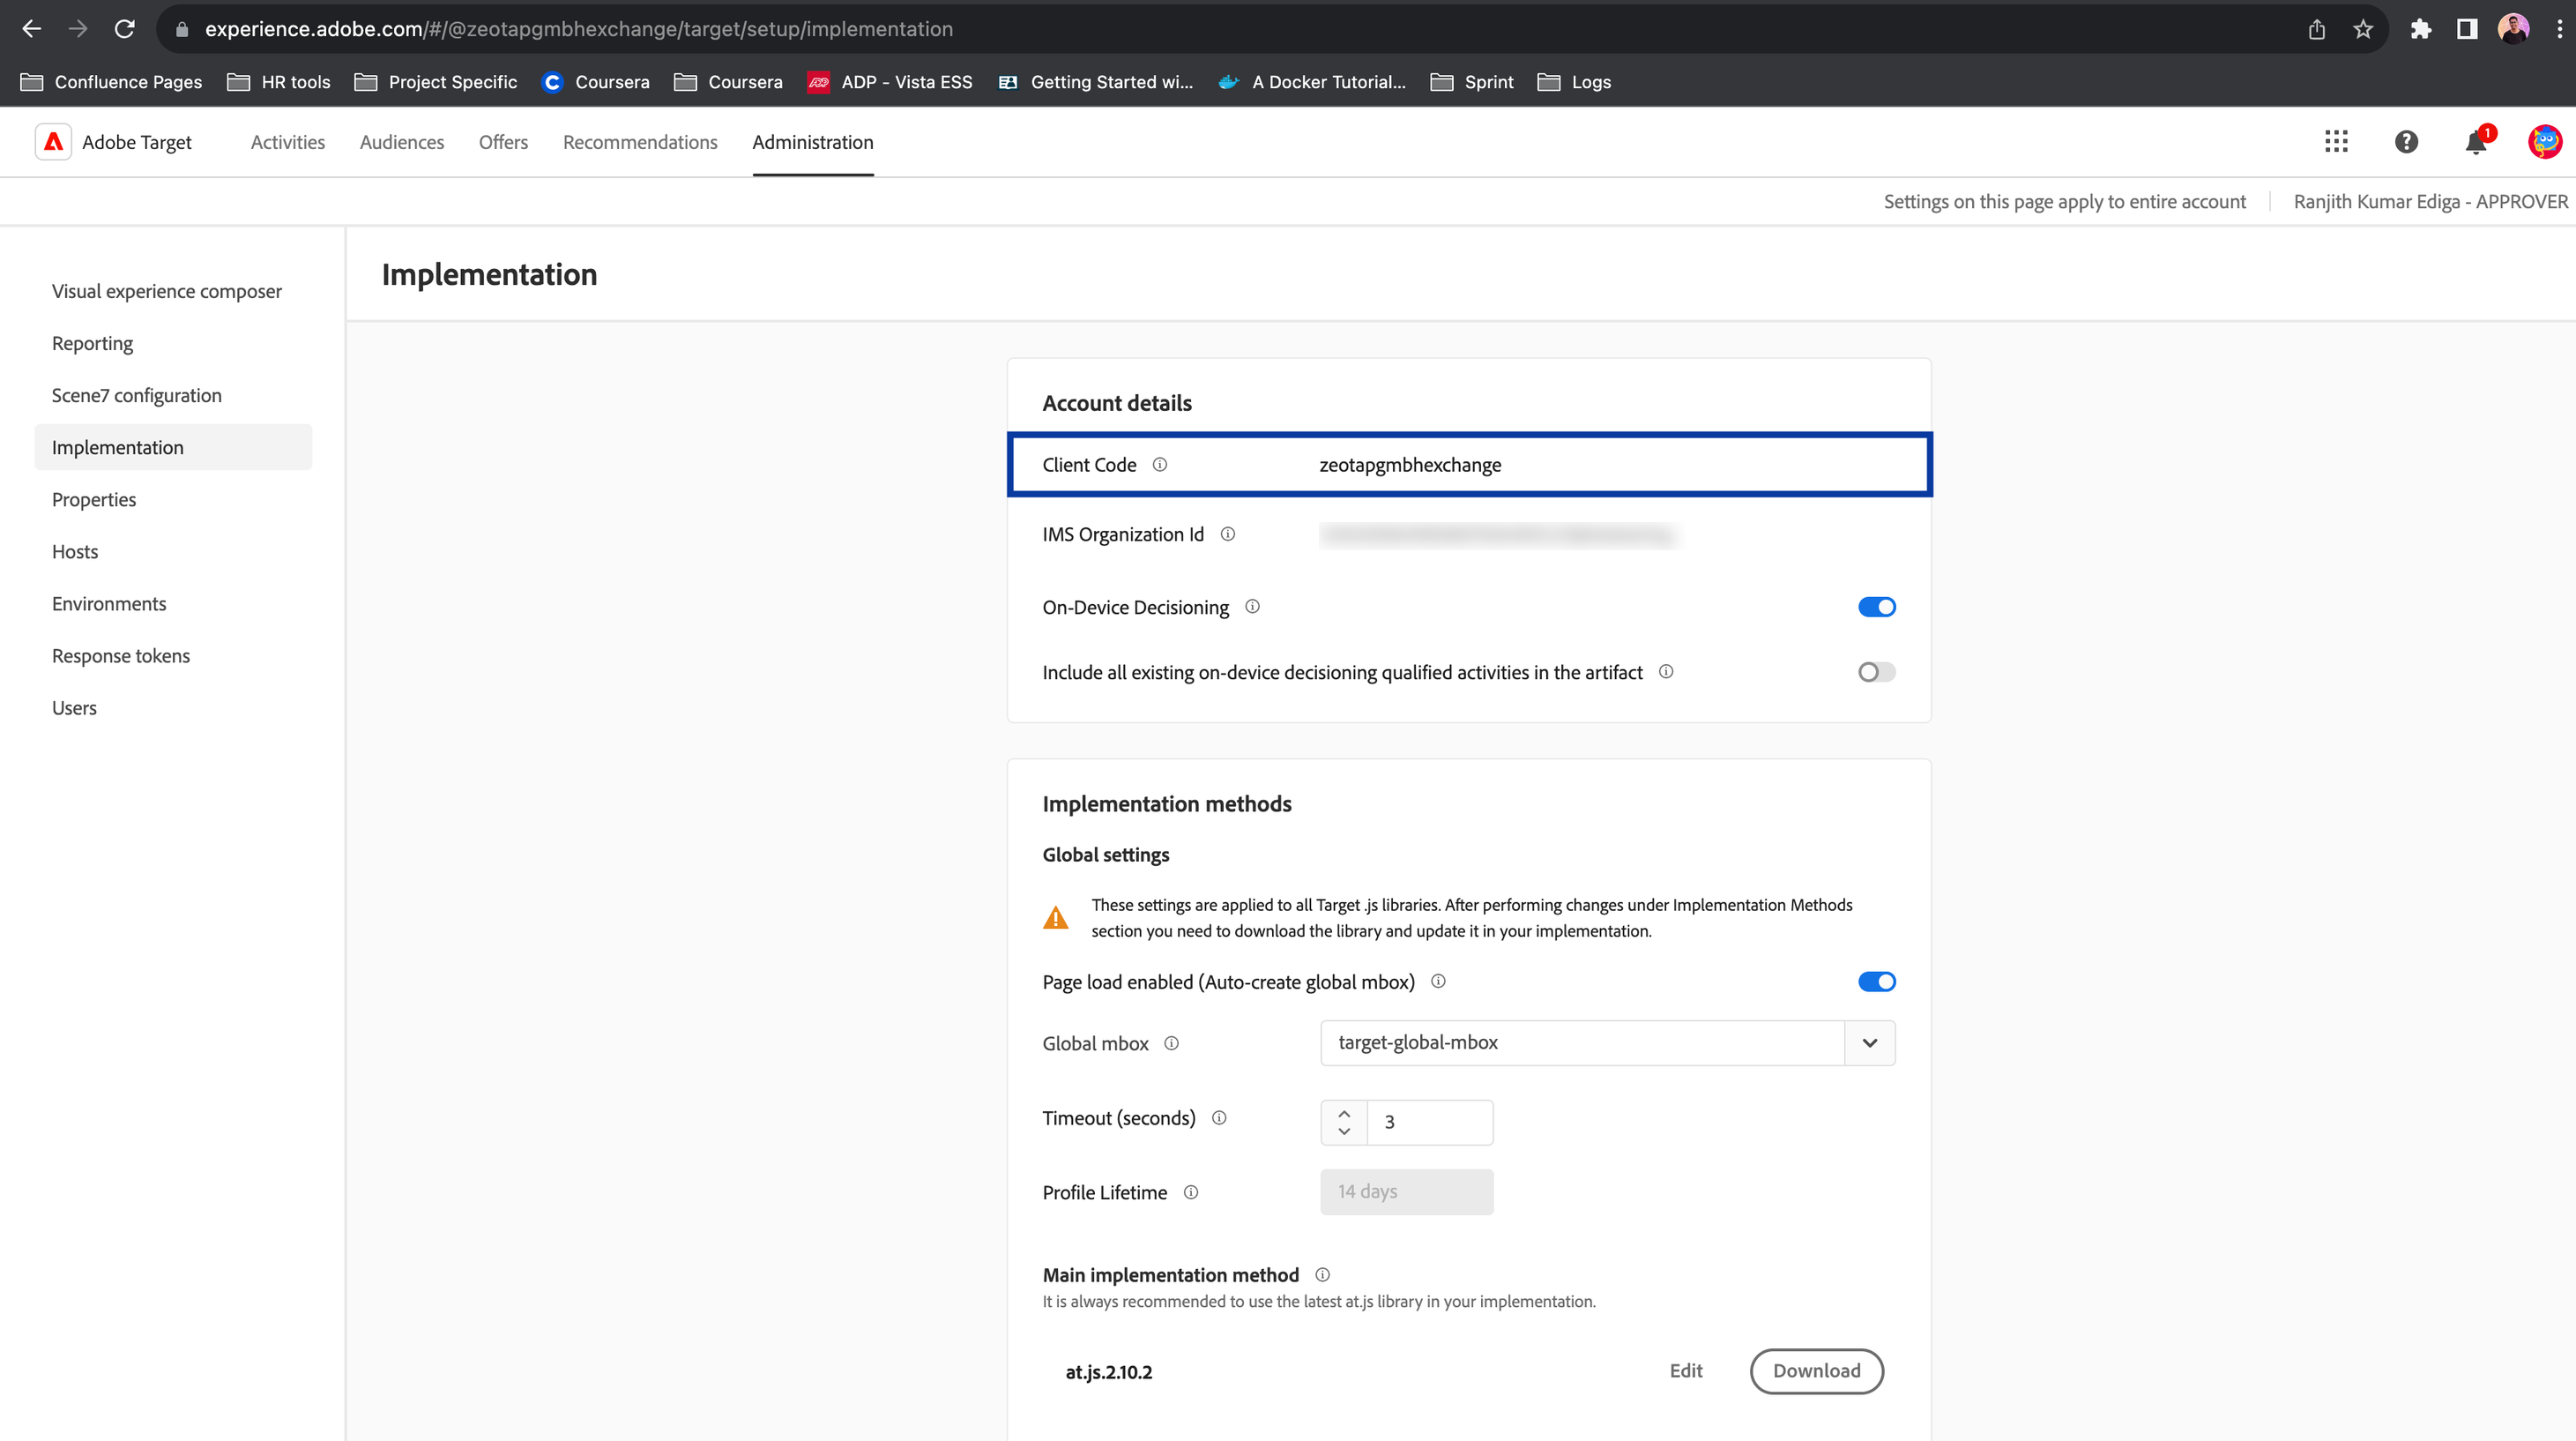
Tenant ID
A Tenant ID is a unique identifier assigned to an organisation or individual to uniquely identify them within the Adobe Experience Platform (AEP) ecosystem. This identifier is used to authorise user access to specific capabilities within AEP. To obtain your Tenant ID, log in to the Adobe Experience Cloud, open Adobe Target and click the Target card. Use the Tenant ID value as noted in the URL subdomain. For example, if your URL when logged in to Adobe Target is<https://mycompany.experiencecloud.adobe.com/...>, then your Tenant ID is mycompany.
Note:The Tenant ID is different from your Client Code. The Tenant ID exists in the URL when you are logged in to Adobe Target.
Create a Destination for Adobe Target (Bulk Update)
Perform the following steps to create a Destination for Adobe Target (Bulk Update):
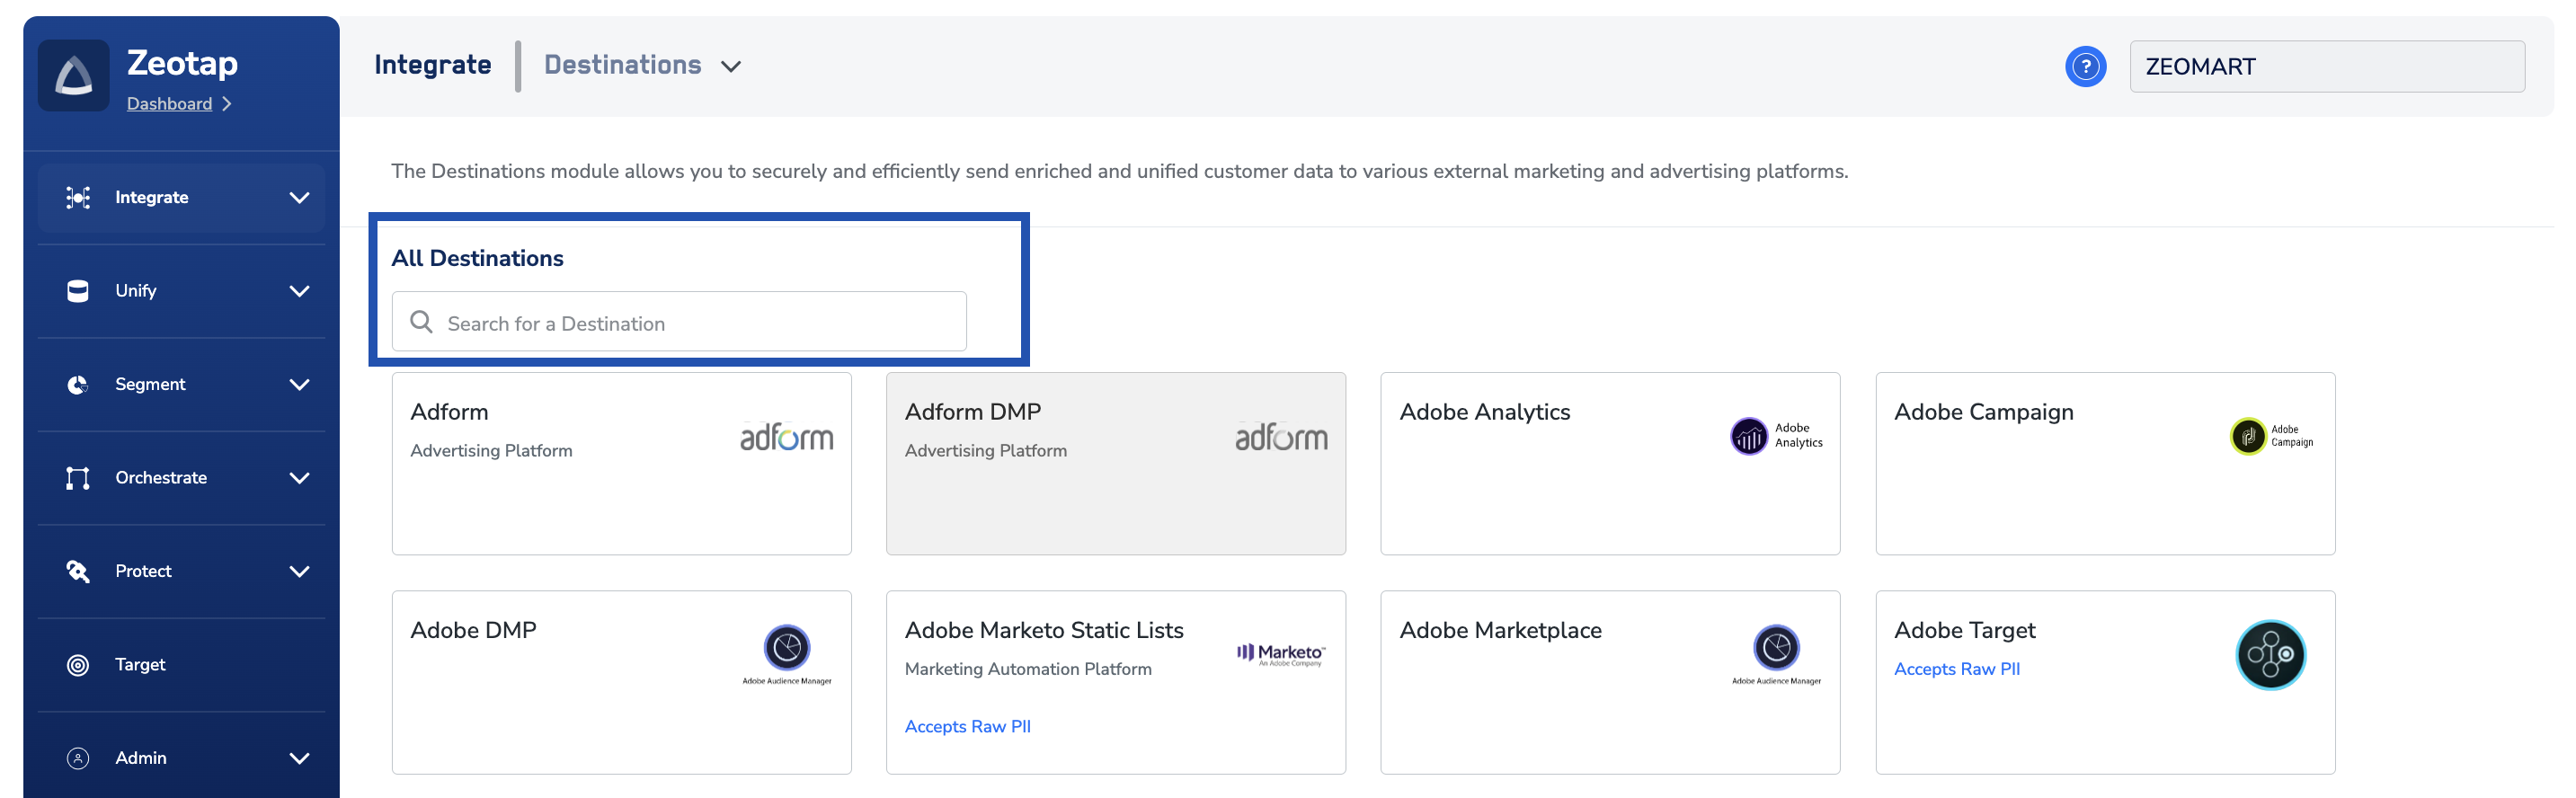
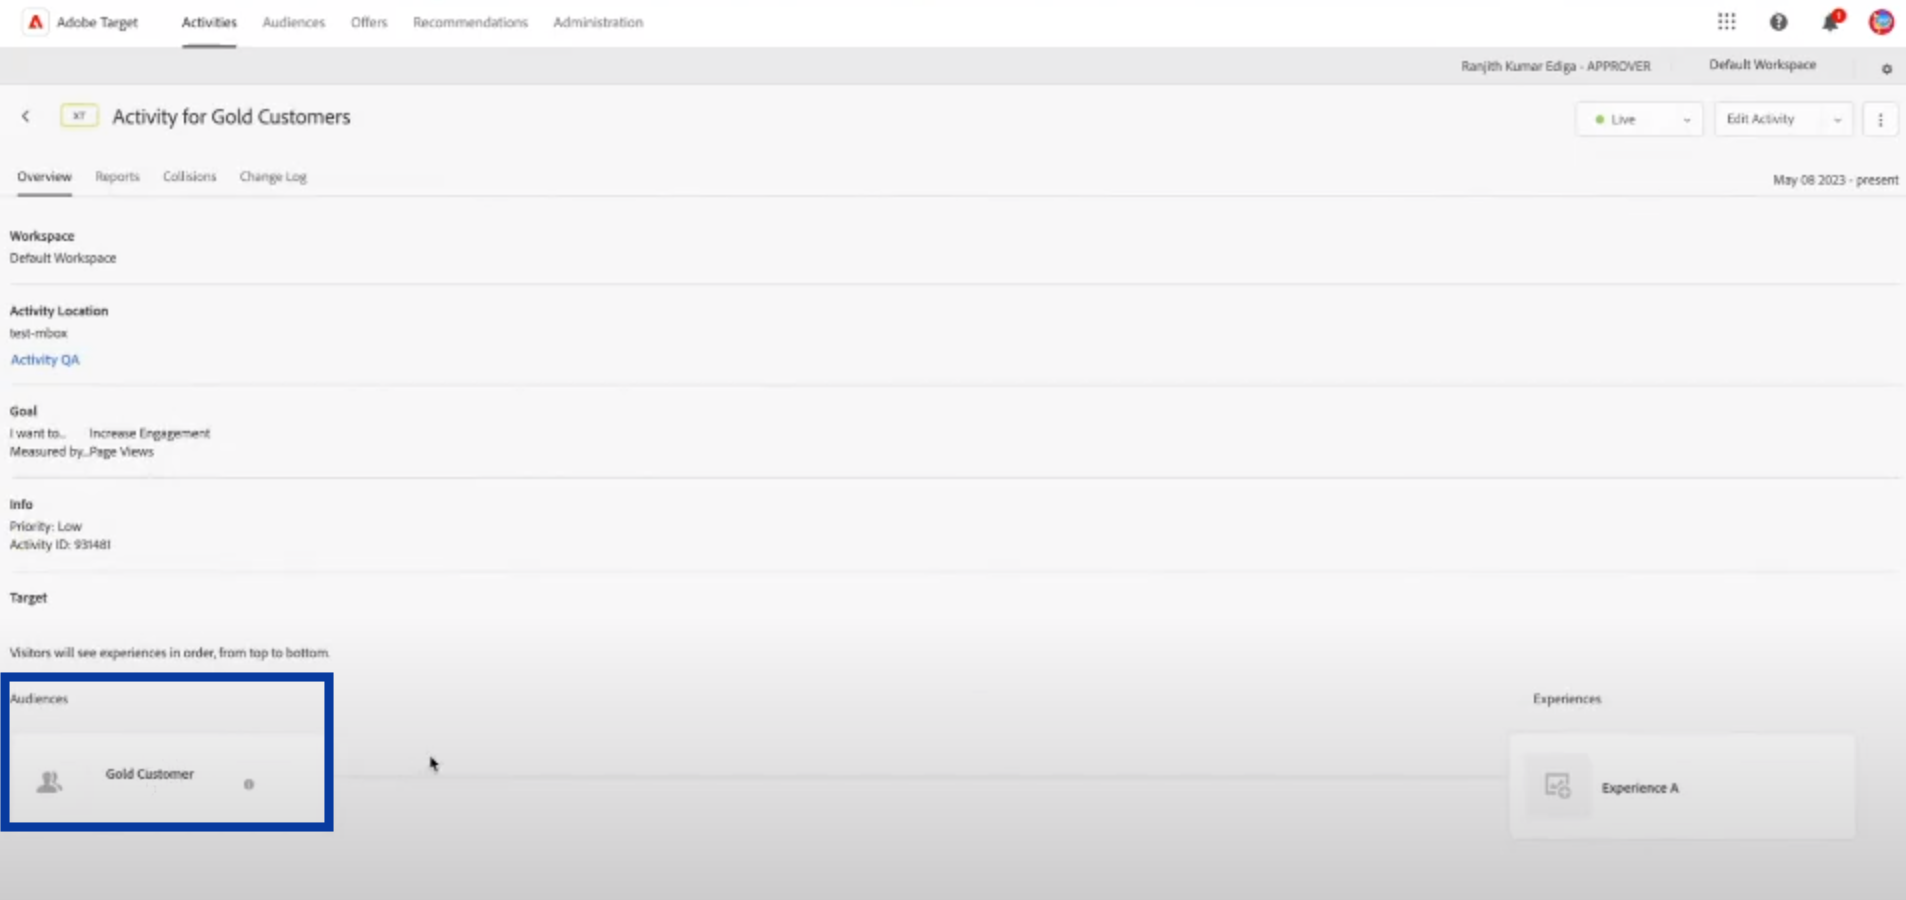
Click Adobe Target - Bulk Update. A screen appears displaying details about the particular destination towards the left. On the right-hand side of the screen find a list of fields that are required for the integration to be established. Enter the required details as mentioned in the following steps:a. Enter a name for the Destination.b. Enter the Client ID, Client Secret, Client Code and Tenant IDthat you have obtained in the above steps.c. If you want to automate the process of Audience creation through Zeotap, then you can select the Allow Zeotap to create Audience in Target checkbox. Otherwise, you have to create the Audience manually. Note that the segment Id value is equal to true for all the Audience that are automatically created. You can confirm this from the below screen.d. Review all the values entered above and then click Next to proceed.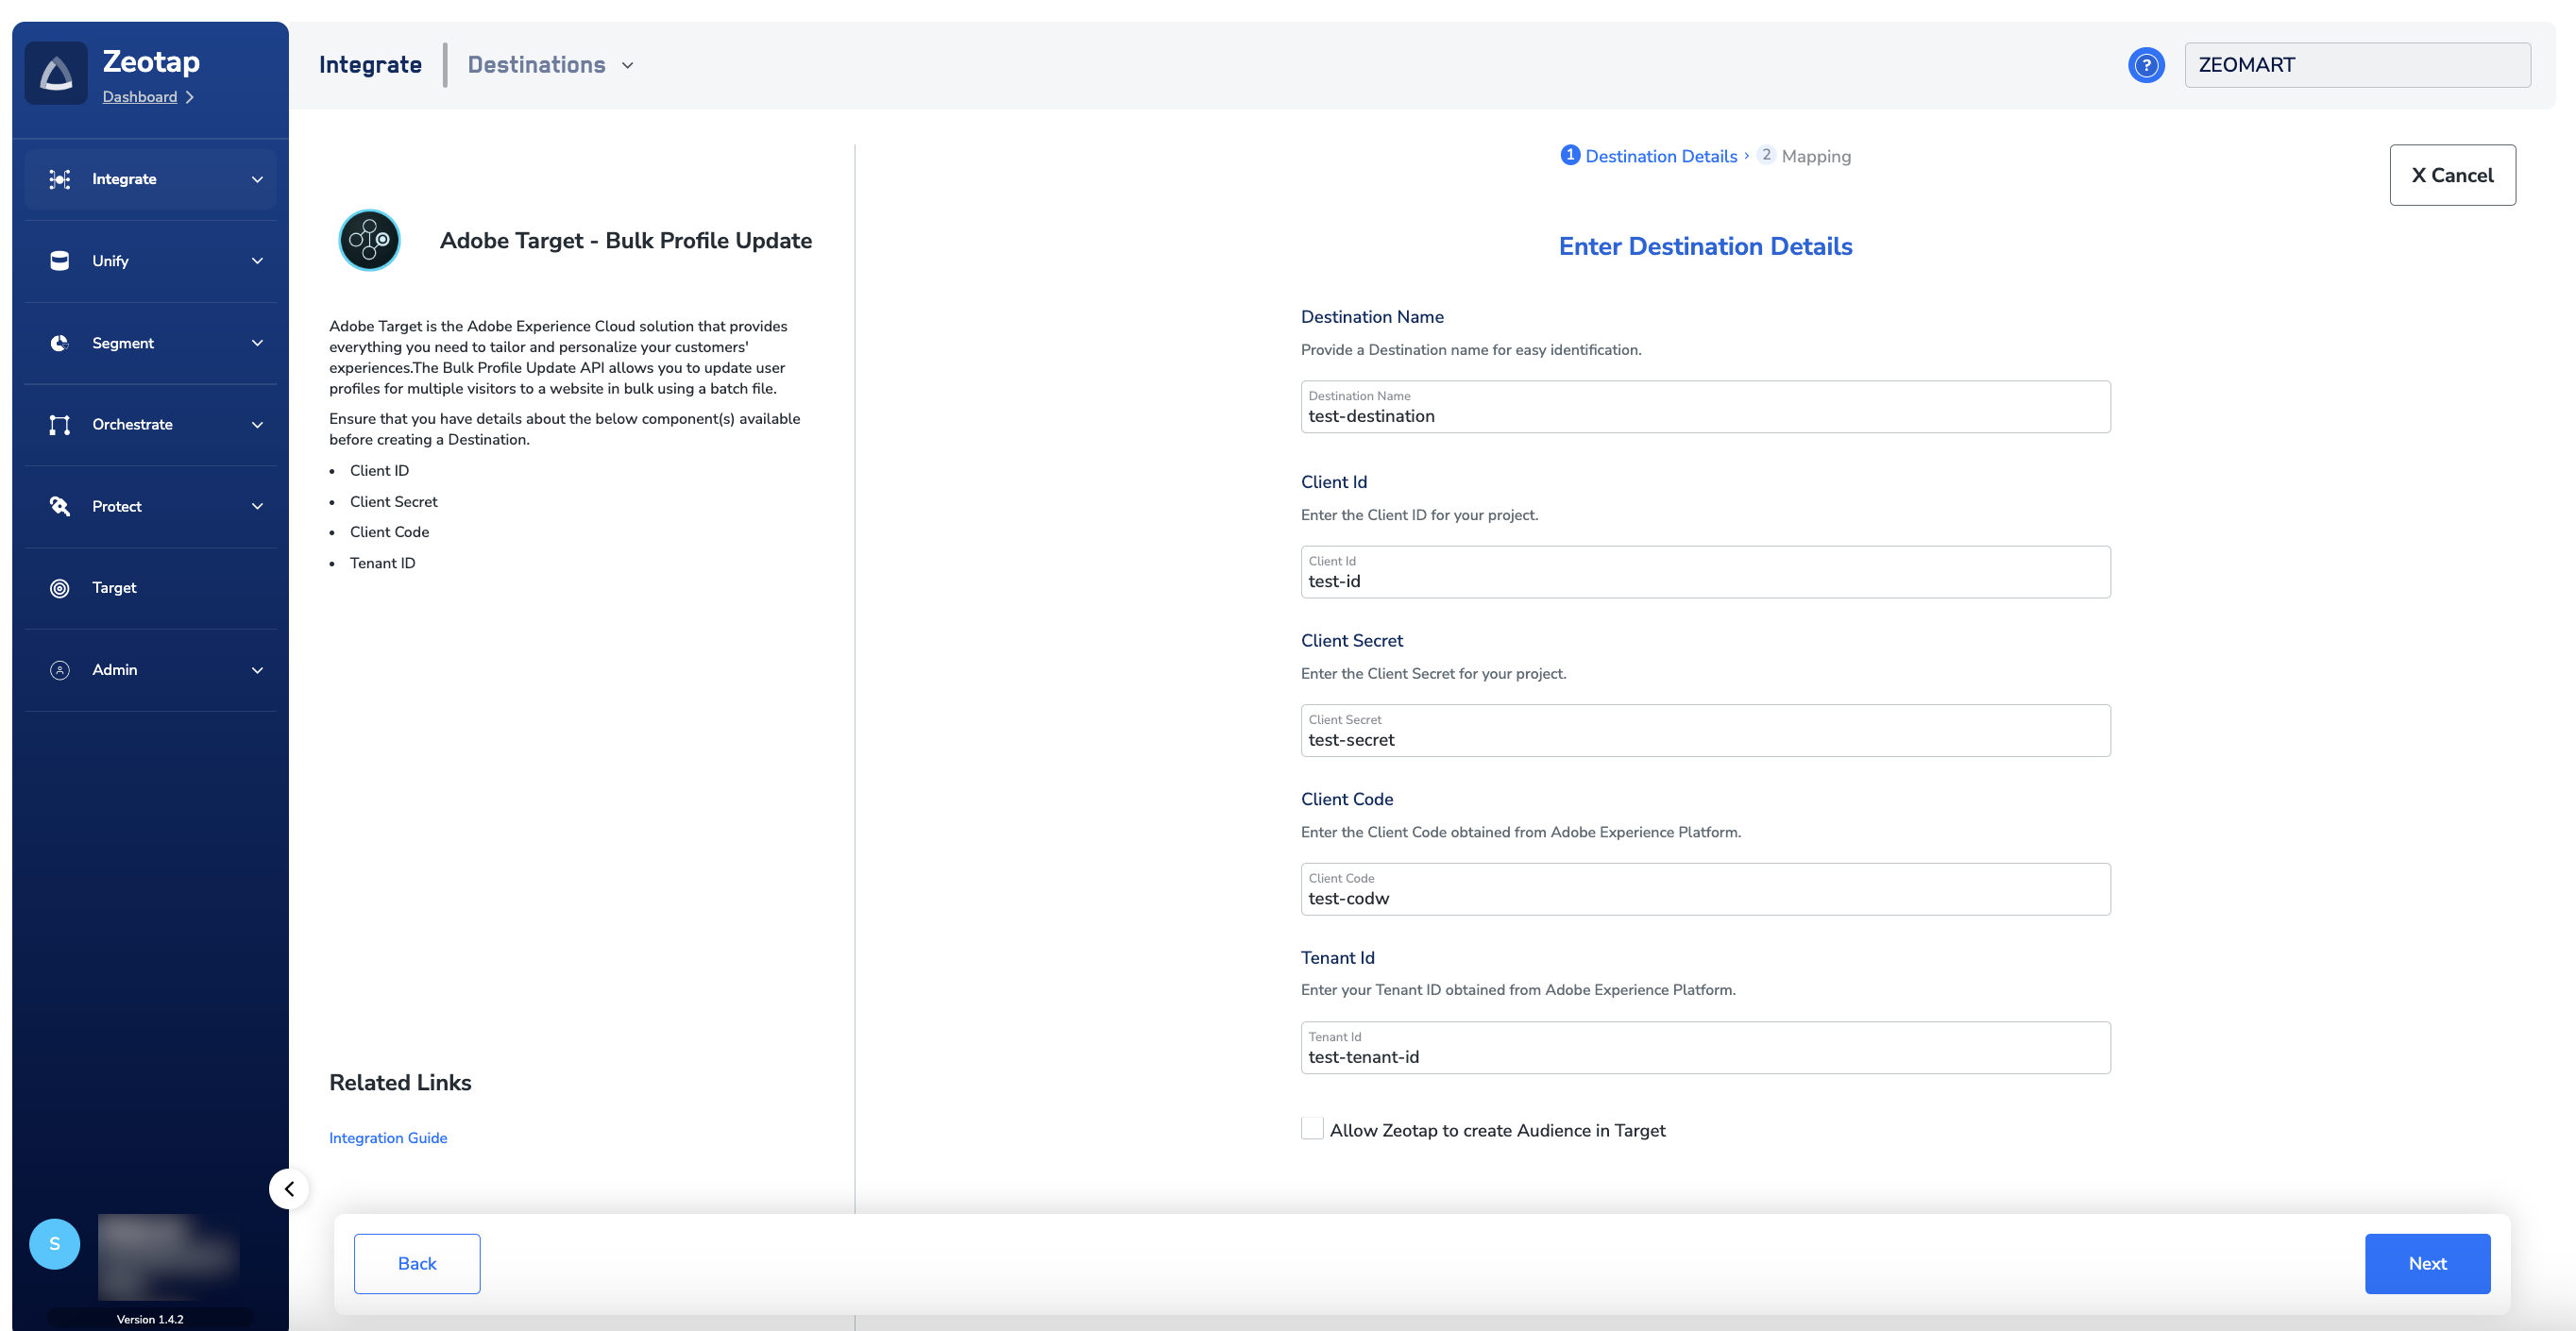
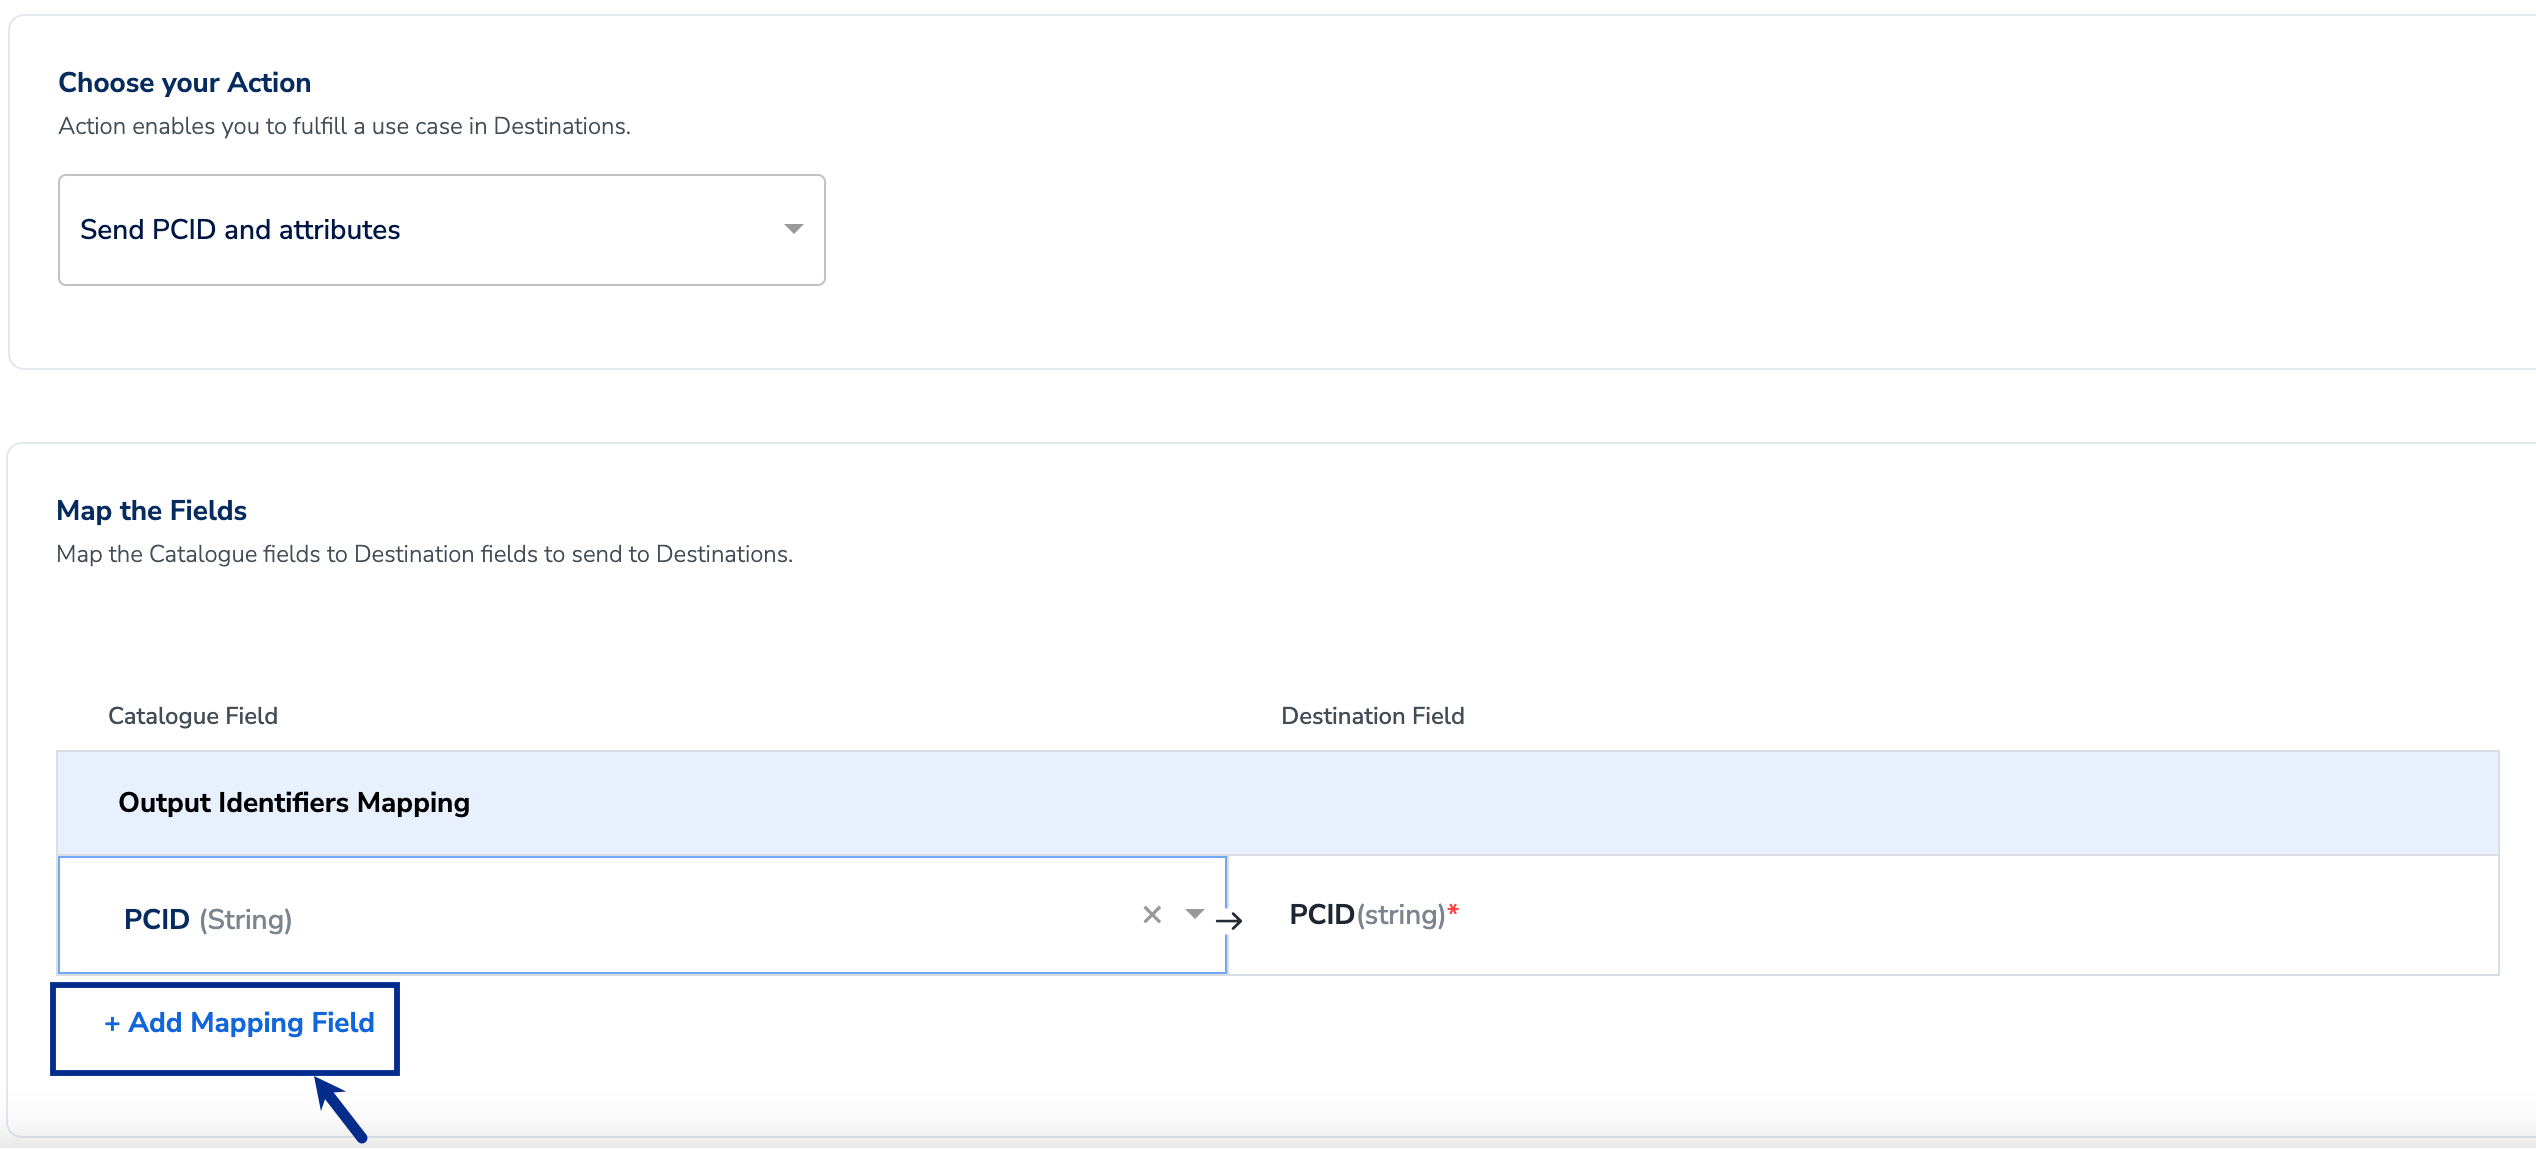
In the Action and Mapping screen that appears, choose either Send Mbox 3rd Party ID or Send PCID and attributes as your action based on the identifier and attribute you want to send to Adobe Target. Correspondingly, map the Catalogue and Destination fields.a. Use Send Mbox 3rd Party ID to send only Mbox third party ID, which is a client-specified identifier passed to Adobe Target through an mbox call. Learn more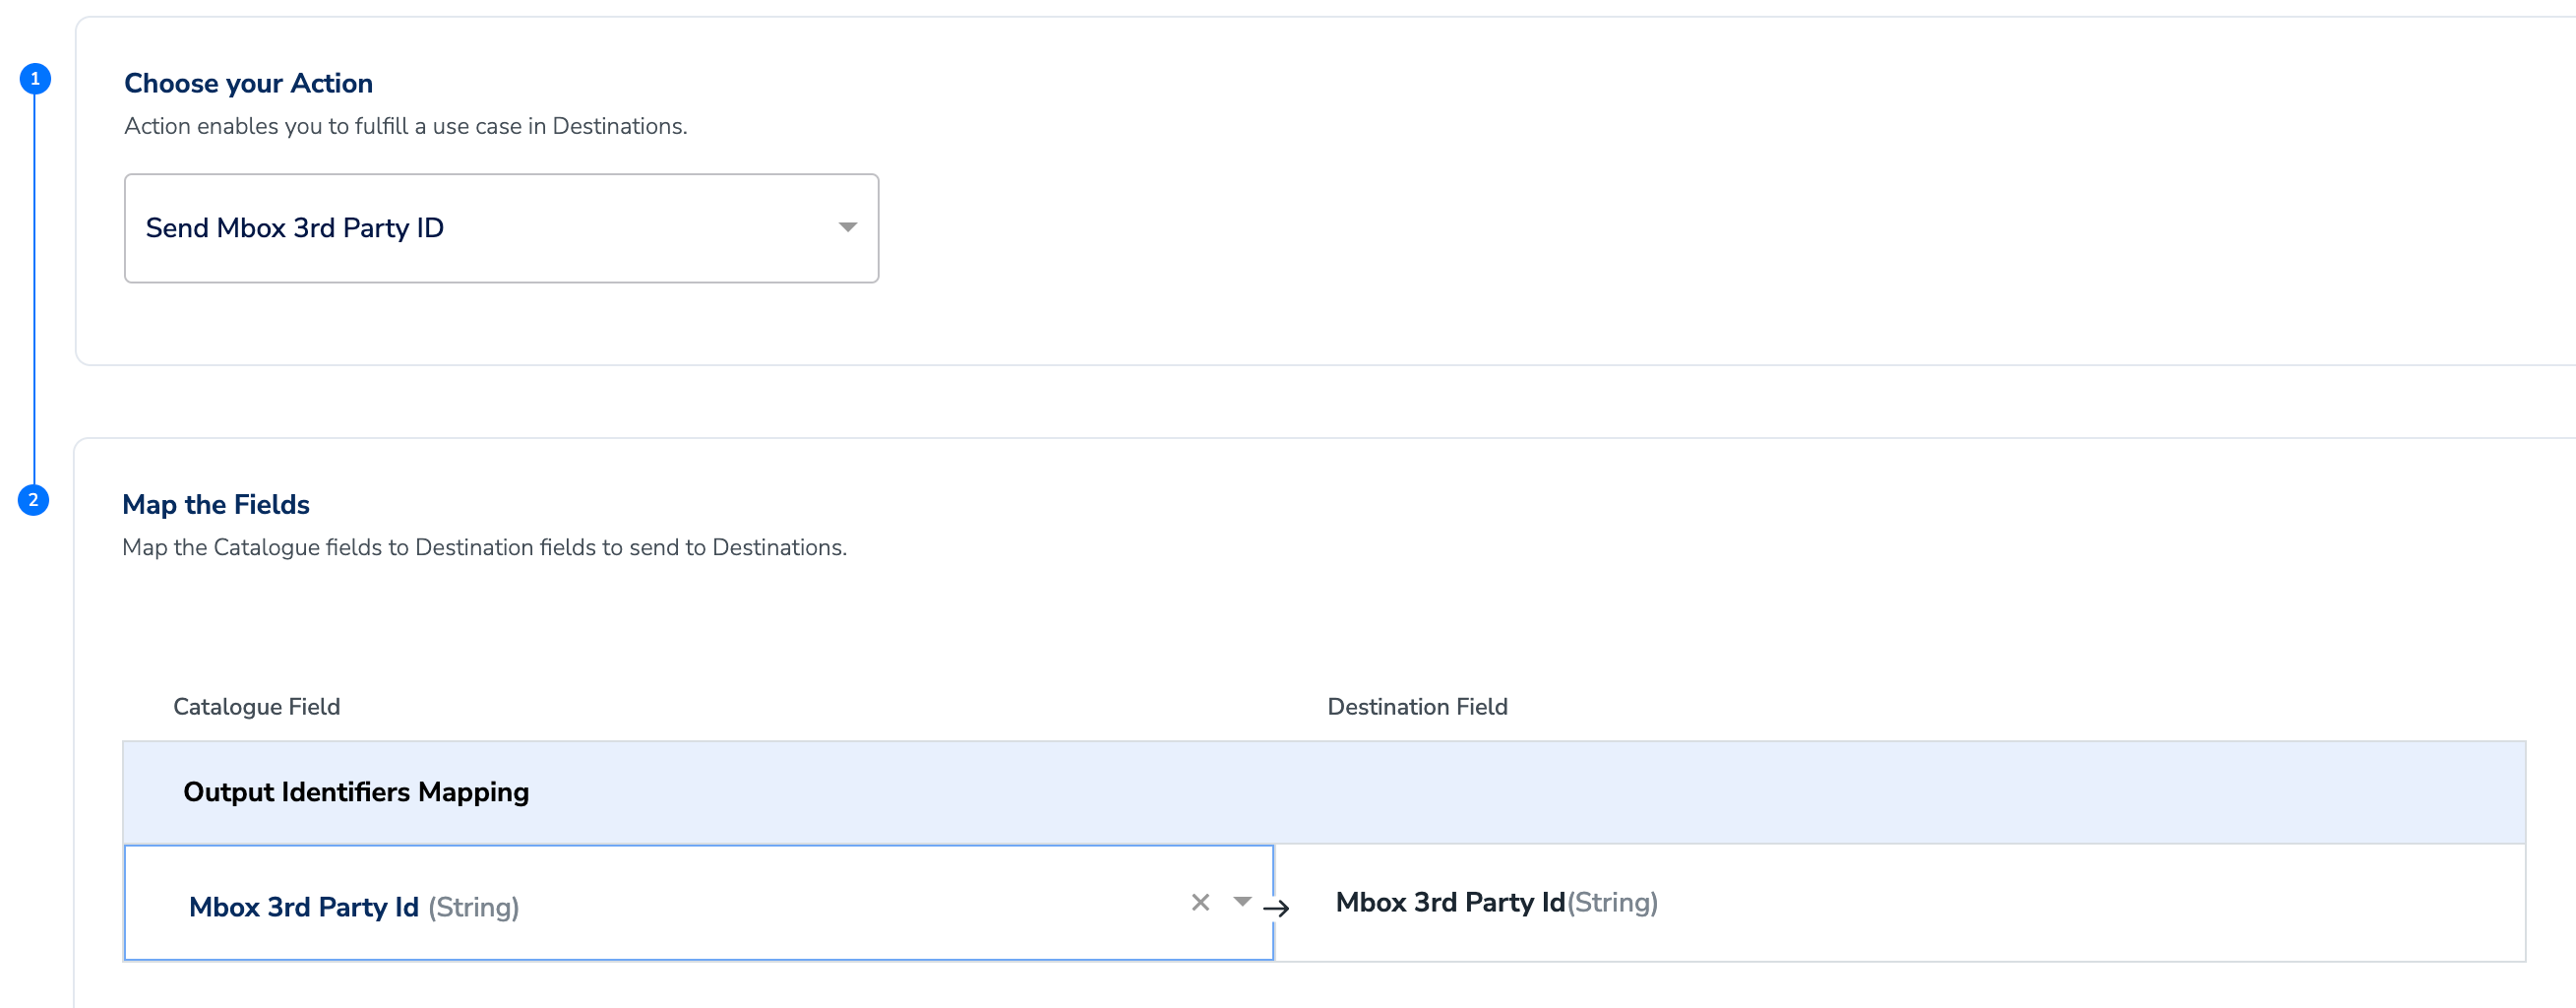
Note:This action supports ID extension.
Link an Audience to the Adobe Target (Bulk Update) Destination
For information about how to link an Audience or segment to the created Destination in the Audiences application, refer here. Note that it can take up to three business days for the segment to be available at the Adobe Target (Bulk Update) seat.Note:The terms Audiences and Segments are used interchangeably to refer to customer cohorts belonging to a specific category. For example, an Audience or a segment can be a specific group of customers who are over 18 years of age and have performed an
addToCart event within the last 30 days.Activate the Audience on Adobe Target (Bulk Update)
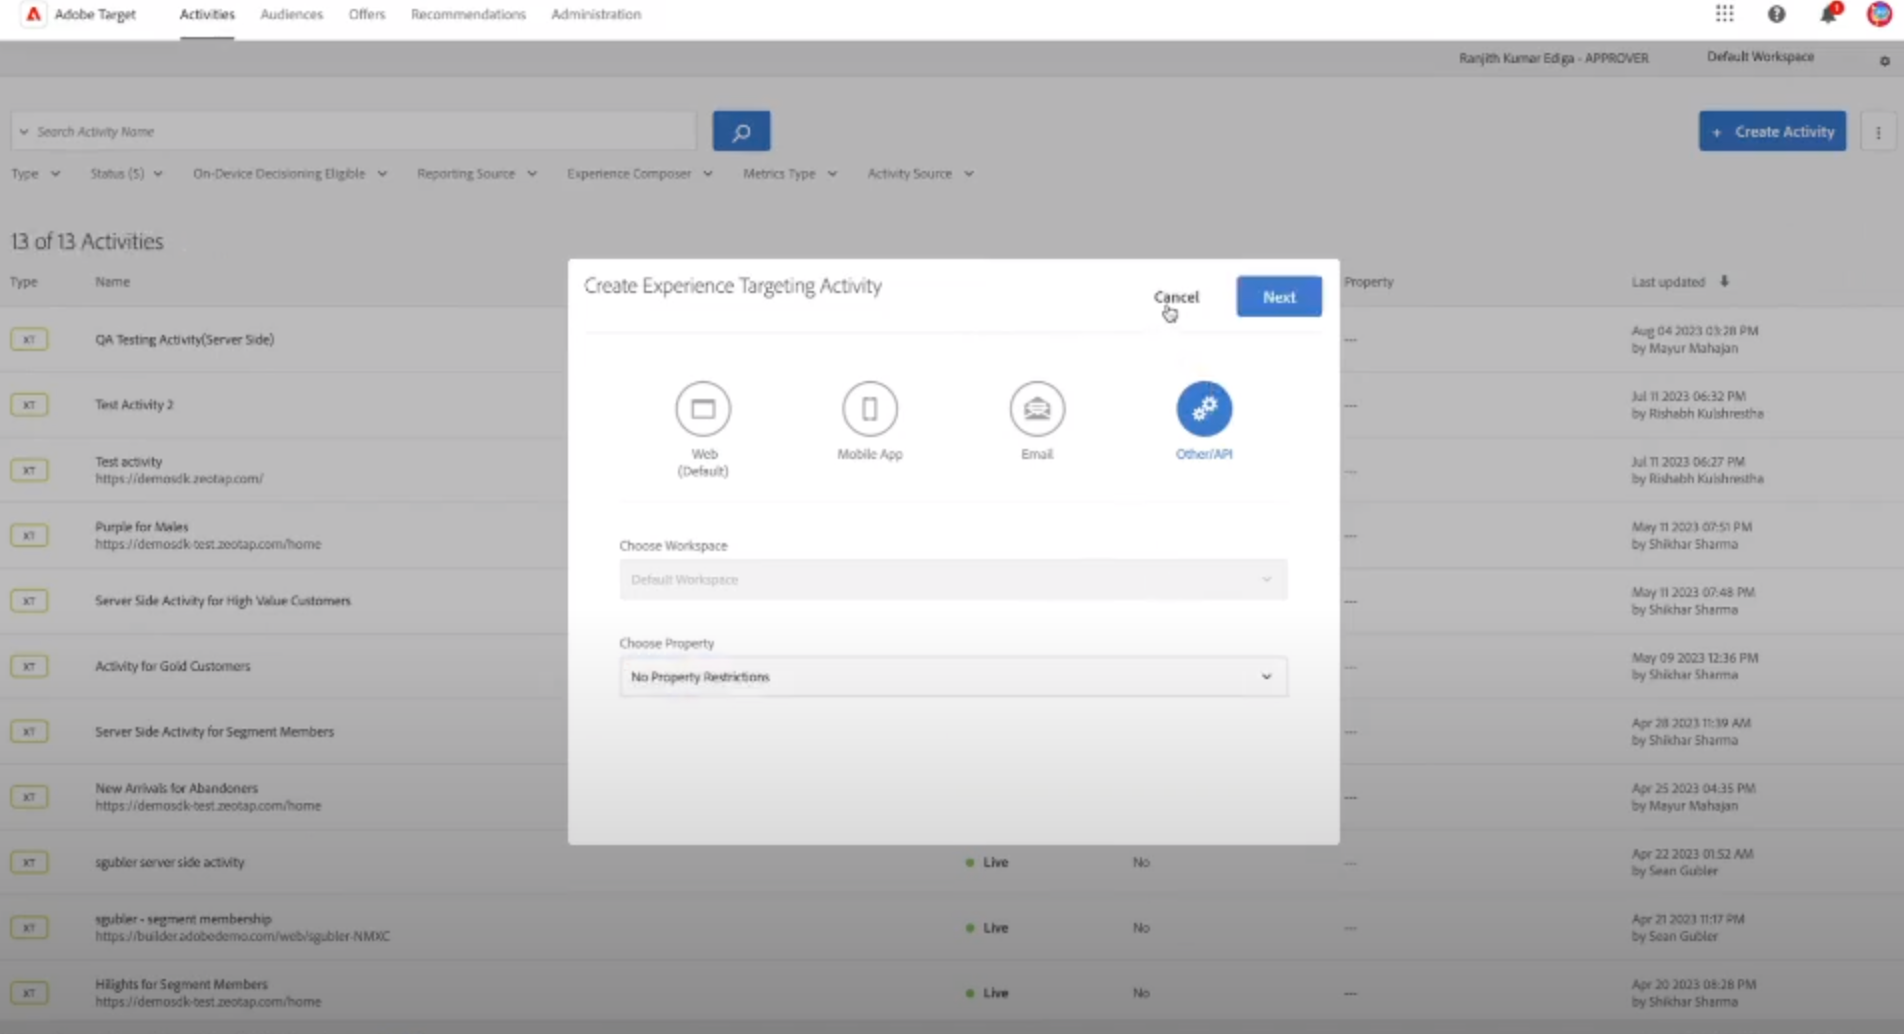
Perform the following steps to Activate the Audience on the Adobe Experience platform:Here, you can find the list of Activities that are in live status. To create to new activity, click + Create Activity and choose the kind of activity that you wish to create. In this example, we are creating an Experience Targeting Activity.