A/B Testing allows you to divide a group of individuals into different variations and establish separate connections with each variation. This approach helps you assess the effectiveness of various messaging platforms. For example, let us imagine you have a customer base consisting of frequent shoppers and you want to increase their average order value. Here is how you can conduct an A/B Test:
  • Offer a 10% discount on all purchases, to 40% of the frequent shoppers.
  • Provide a “buy one, get one free” promotion to another 40% of the frequent shoppers.
  • Keep a group of 20% untouched by any specific incentive.
After analysing the results, you can measure the impact of each approach on the average order value and determine the most effective strategy. This way, you can apply the most successful strategy to the entire group of frequent shoppers, leading to increased ROI.
Note:This functionality is exclusively available for customers who have opted for it. To enable it, reach out to your Zeotap POC.

Create an A/B Test

Once you have successfully applied the critera for your Audience, enable the A/B Test from the Audience activation screen by clicking Set A/B Test.
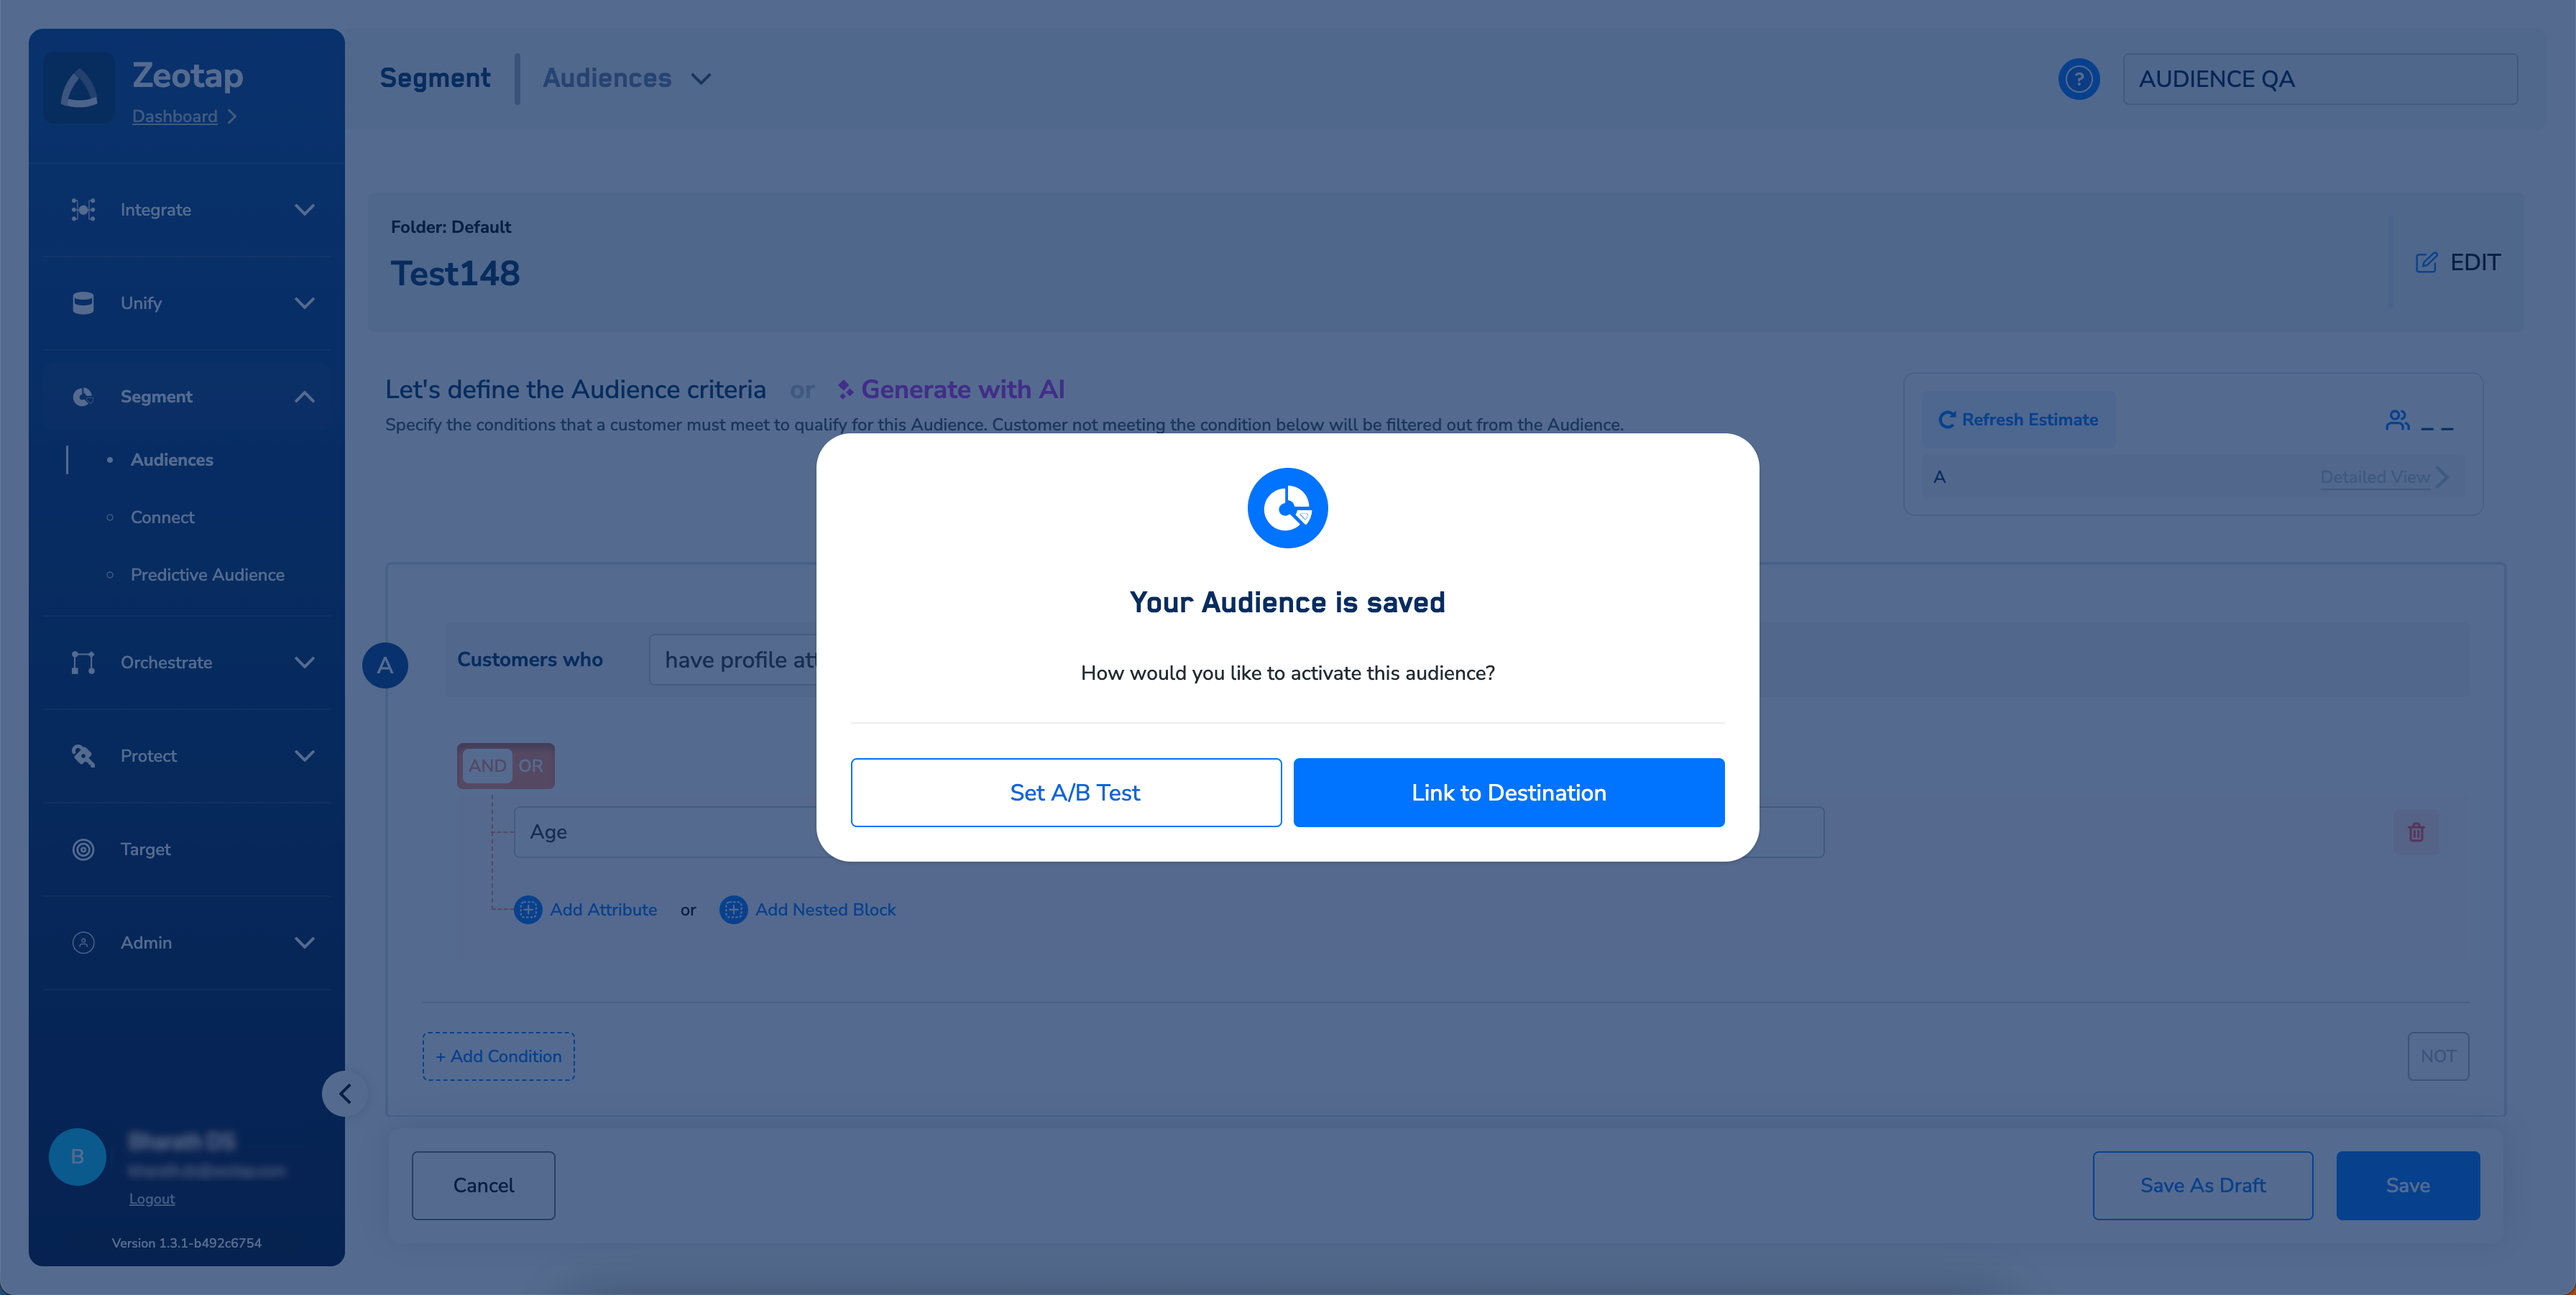
Alternatively, you can enable the A/B Test on the Audience listing page. To do so, on the desired Audience, click the three dots shown in the image below. Then, click Set A/B Test. Note that the Set A/B Test option is available only for Audiences in the Published status.
Once you are on the Set A/B Test screen, perform the following steps to create an A/B Test:
1
Enter the names for the cohorts.
2
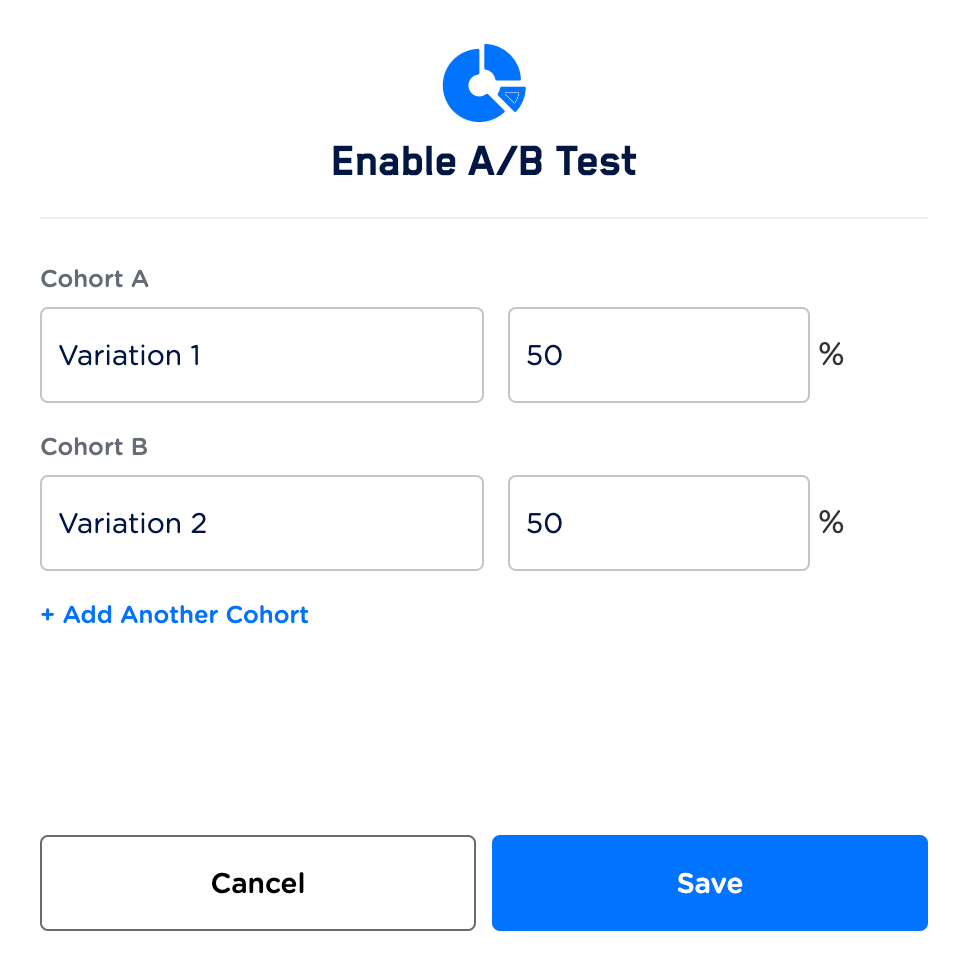
Provide the percentage of customers you want your cohorts to contain.
Note: Ensure that the following points are taken care of, while enabling A/B Testing:
  • You can create a maximum of six variations for your A/B test.
  • Ensure that the total of all your variations always add up to 100%.
  • Note that the system throws an error if the sum of the assigned percentage exceeds 100.
3
When you are satisfied with your variations, click Save.
4
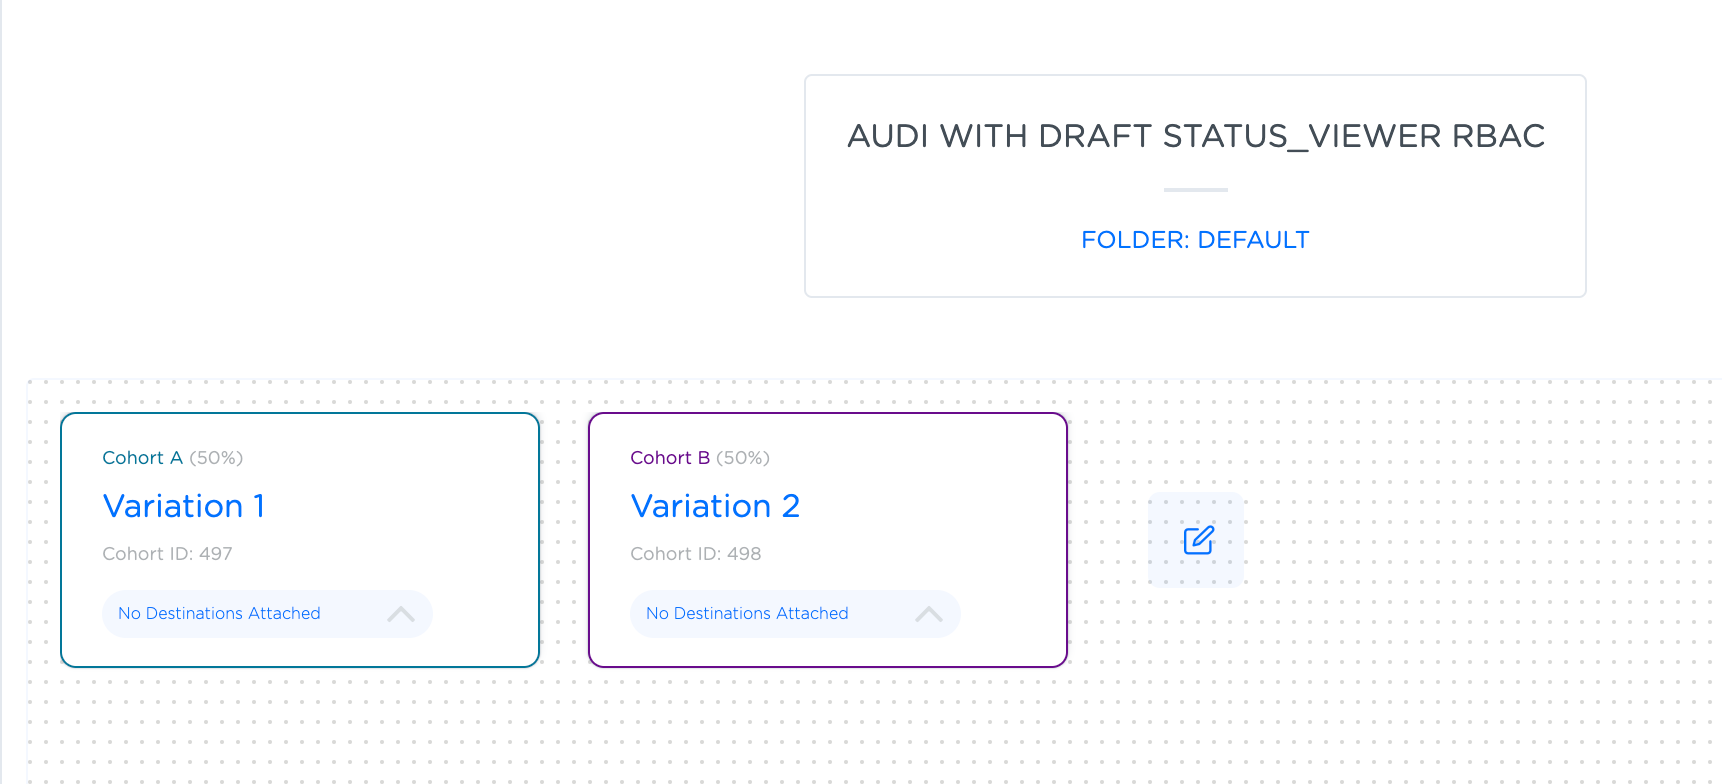
In the new screen that appears, you can link Destinations to each cohort by dragging and dropping the Destination.
5
Configure the Destination under Destinations Settings. For more information about how to configure the Destination Settings, refer here. Note that you can also edit the variations at this stage by clicking the Edit icon.
6
In the window that appears, click Activate. Ensure that you review your variations before activating the test because once a test is activated, variations cannot be edited.
Last modified on February 26, 2026