Overview
Microsoft Fabric is an all-in-one analytics platform that unifies data engineering, data integration, data warehousing, data science, real-time analytics, and business intelligence under a single SaaS offering. It combines technologies like Power BI, Azure Synapse, and Data Factory into a seamless experience powered by OneLake, a centralized data lake for the entire organization. Designed for both technical and business users, it streamlines the entire data lifecycle from ingestion to visualization. The Microsoft Fabric source in Zeotap enables the customer to seamlessly bring data from their Microsoft Fabric instance into Zeotap.Pre-requisites
Make sure you have the following information handy before creating a Microsoft Fabric source in Zeotap.- Service Principle : Steps to create Service principle is outlined in the authentication section.
-
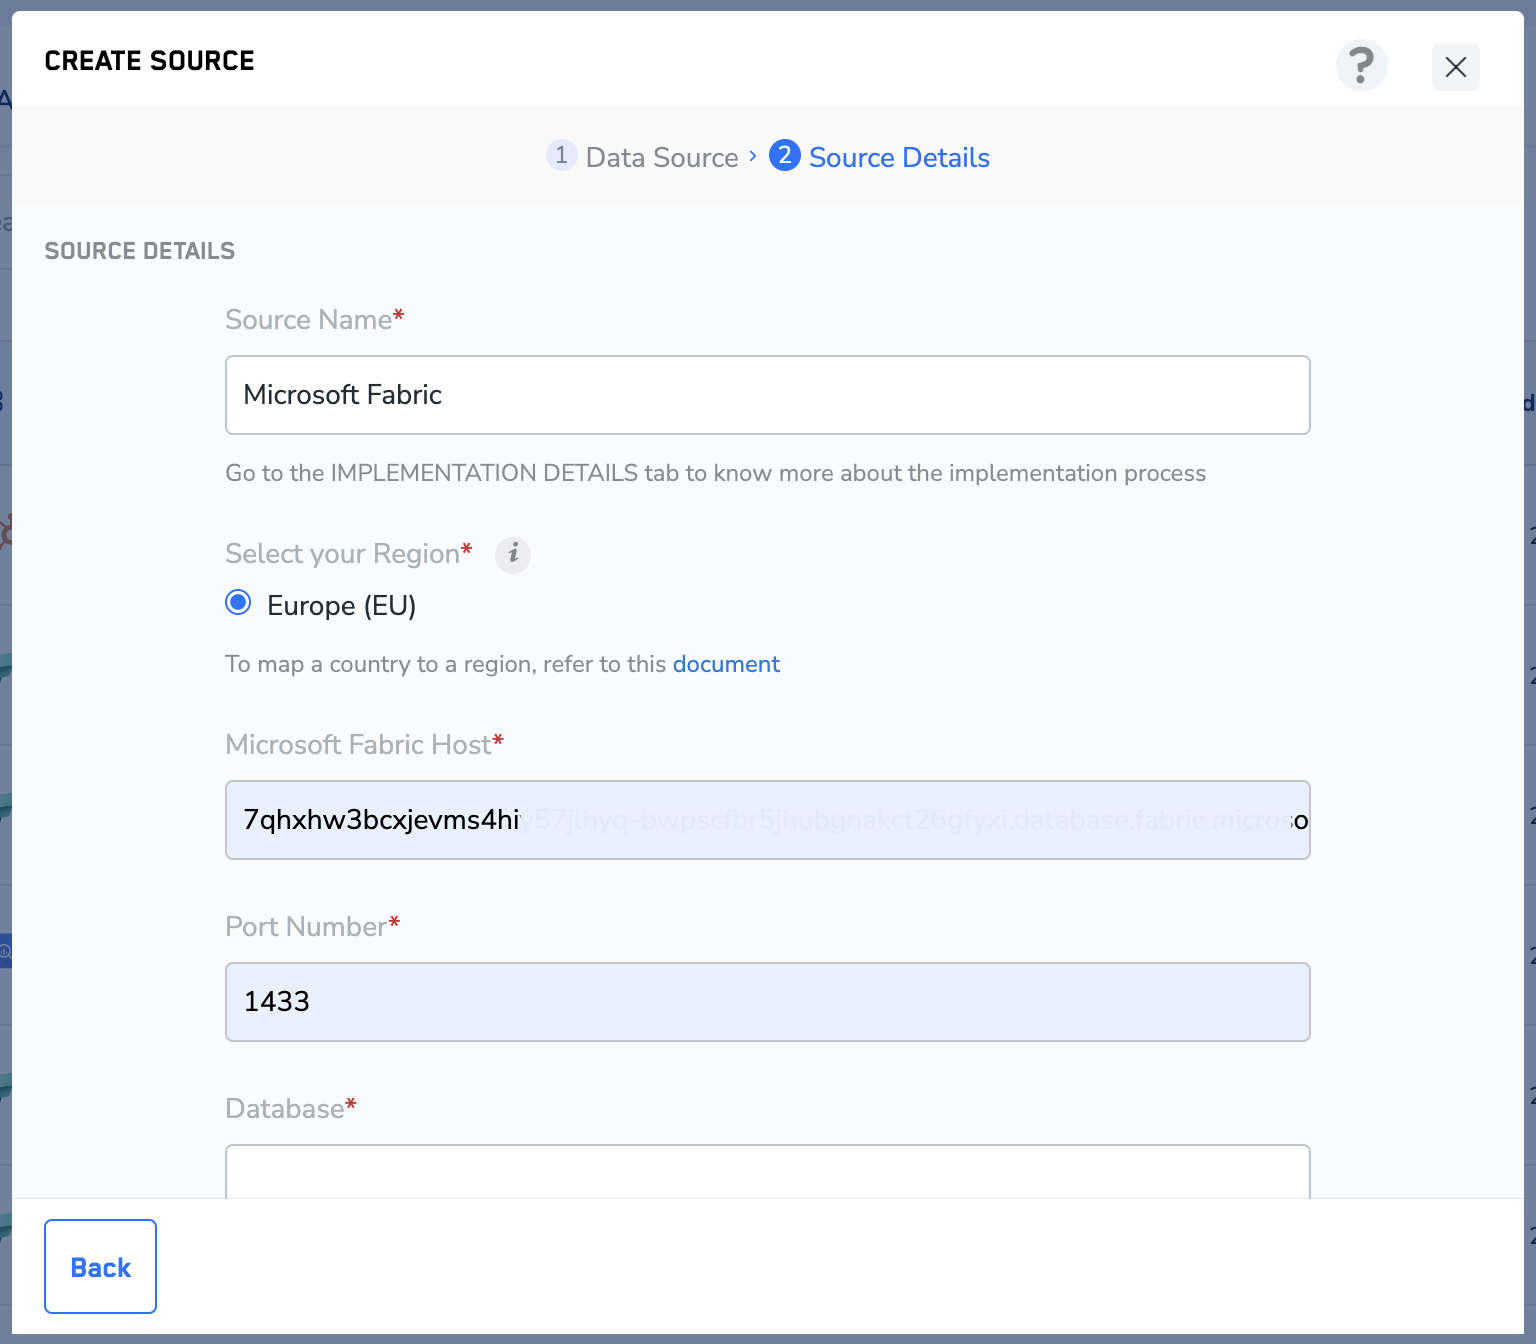
Host: The hostname or IP address of your Microsoft Fabric instance. If using the hostname, make sure to only insert the hostname and not the full URL (remove the leading
http://and the final/). - Port: The port number of your Microsoft Fabric instance. The default is 1433.
- Database: The name of the database in Microsoft Fabric.
-
Table :
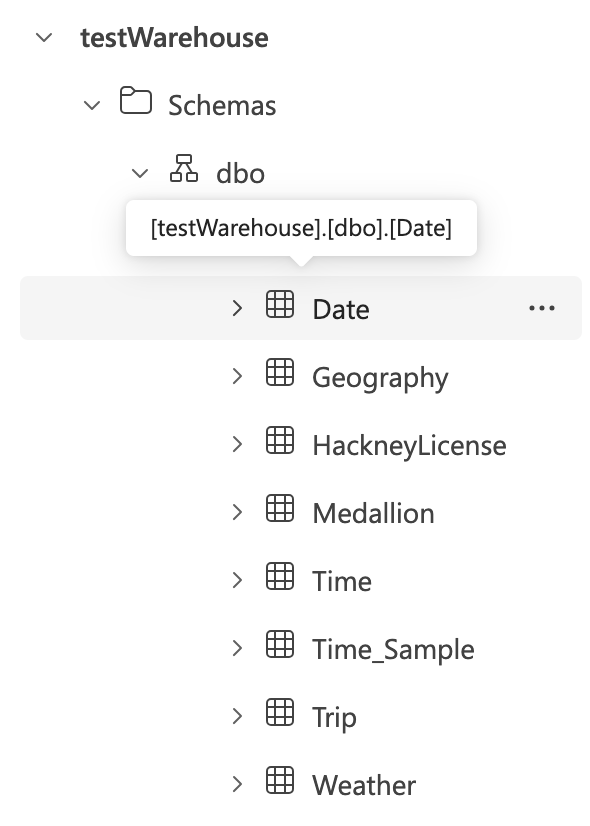
The name of the table in Microsoft Fable from which you want to fetch data. It should follow the format:
warehouseName.schemaName.TableName. You can find more details in this section. You may also use views by replacingTableNamewithViewName. - Tenant ID (or Directory ID) : The Tenant ID of the service principal.
- Client ID (or Application ID) : The Client ID of the service principal.
- Client Secret : The Client Secret associated with the service principal.
Authentication
Service principal creation
First, we need to create a service principal. These are the credentials Zeotap will use to access your Microsoft Fabric resources.Sign in to the https://entra.microsoft.com/.
Pick a name for your application and select Accounts in this organizational directory only as the supported account type.
Client secret
Name your client secret and select its expiration date. To maintain access to Fabric, make sure to refresh your client secret prior to its expiration.
Fabric configuration
By default, Microsoft Fabric may not be accessible via service principal. To connect, you’ll need to take the following steps.Log in to Microsoft Fabric.
Scroll down to Developer settings and select Service principals can use Fabric APIs. Make sure the toggle is set to Enabled.
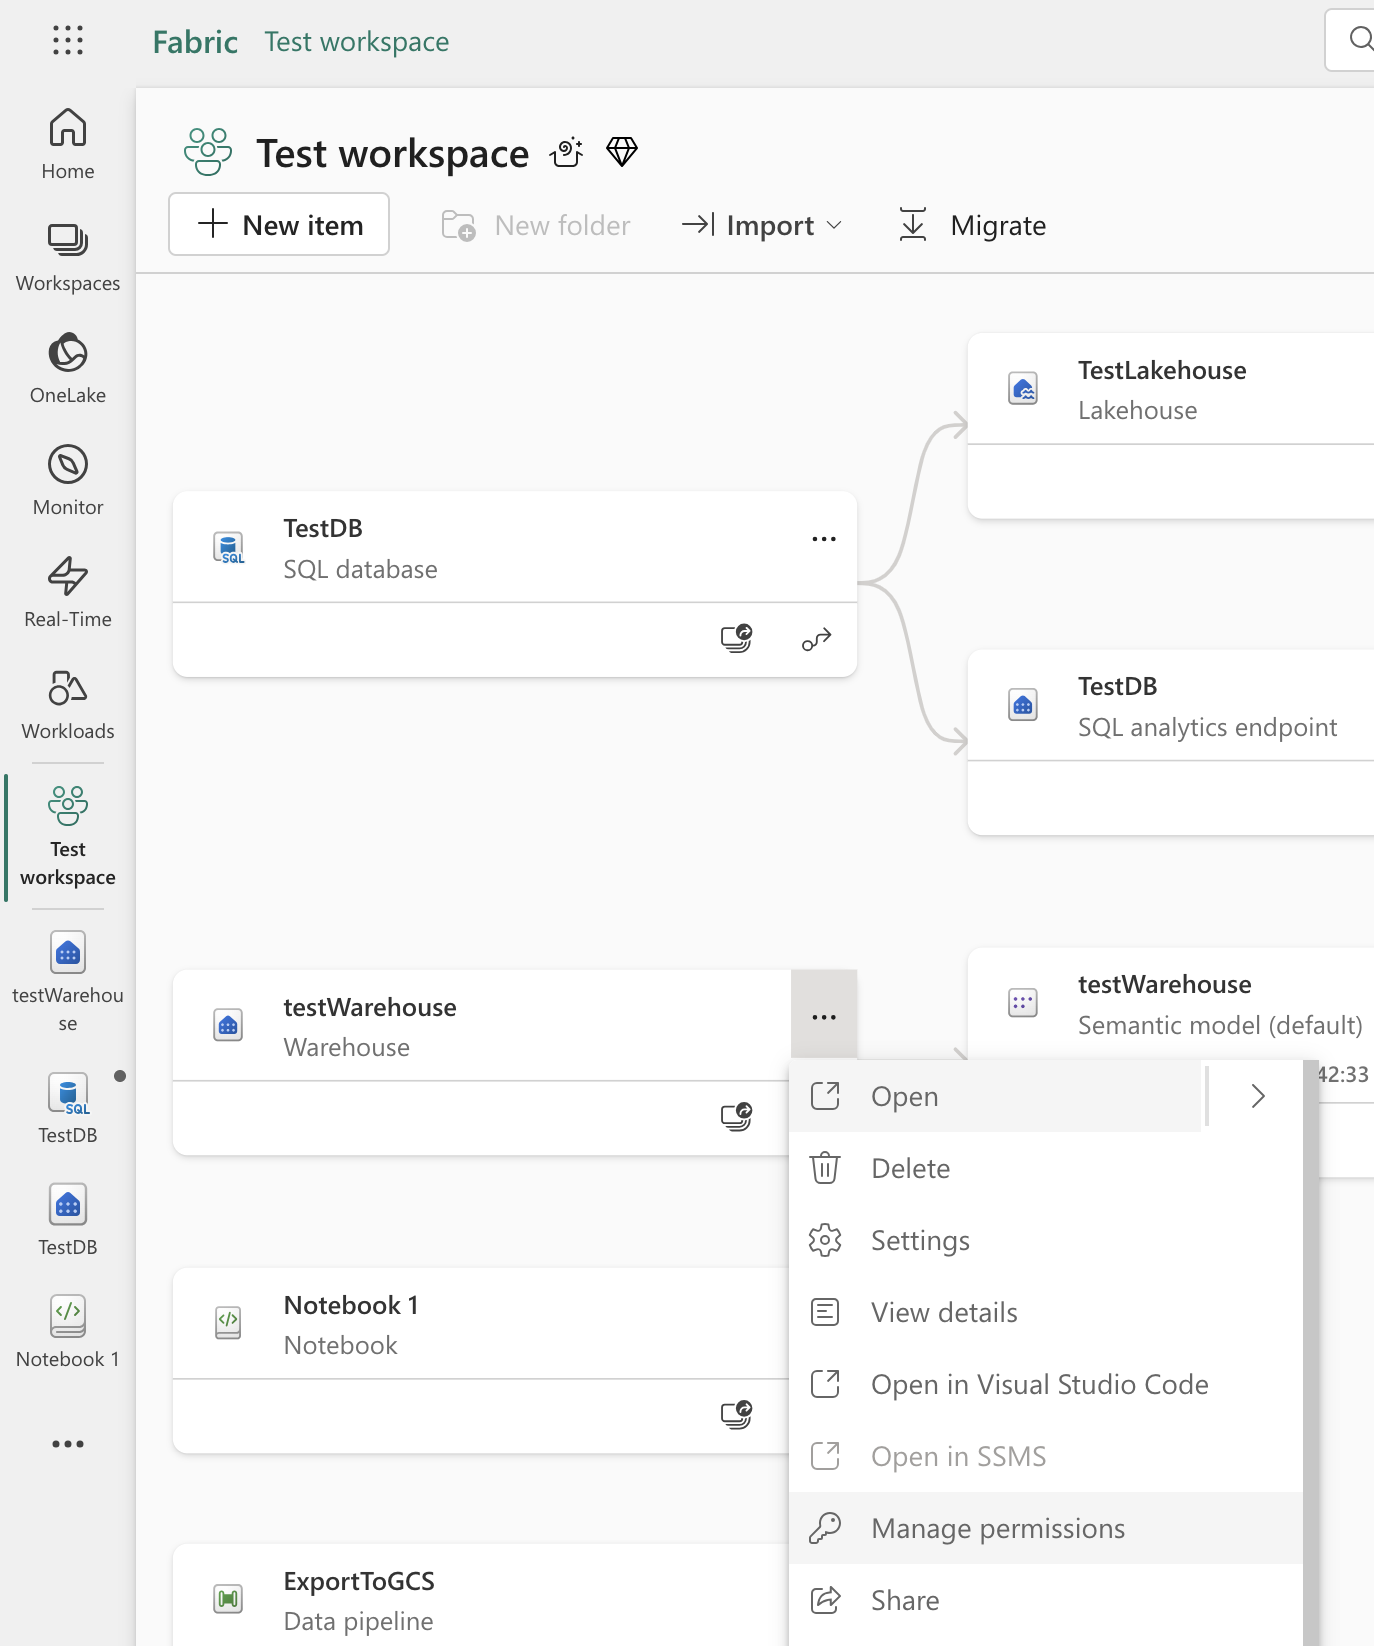
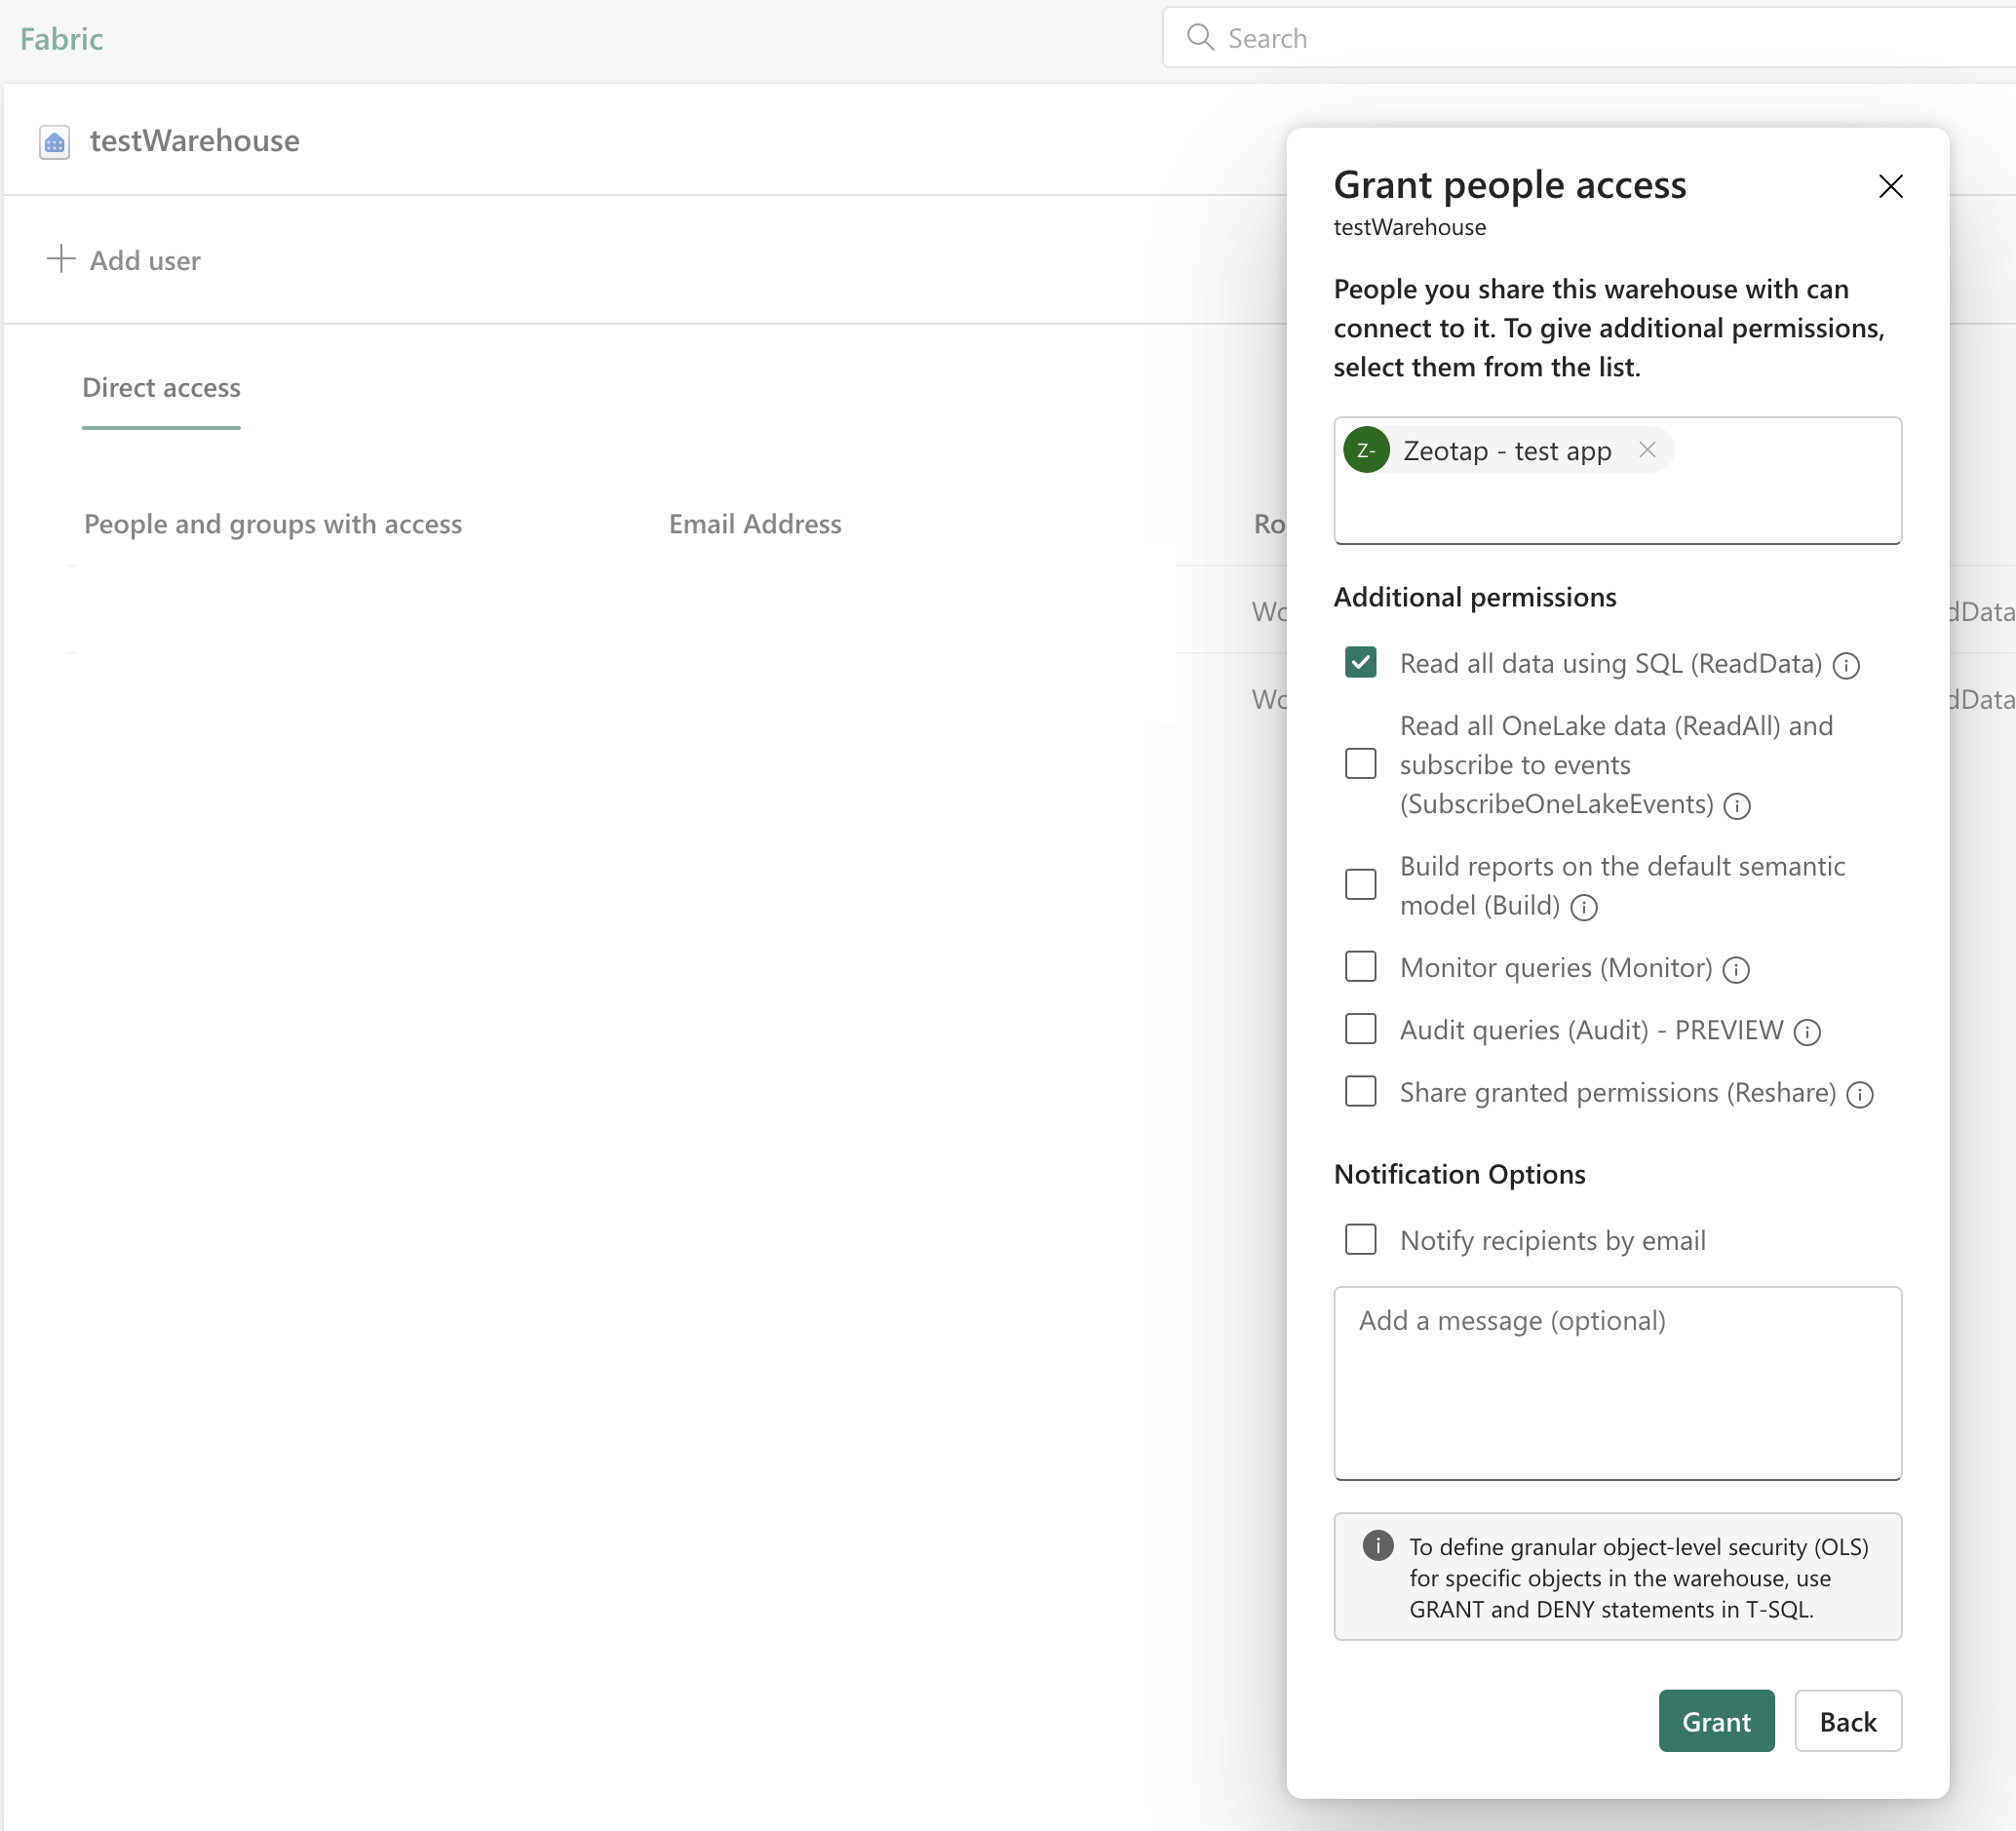
Attaching your service principal to your Fabric warehouse
Log in to Microsoft Fabric.
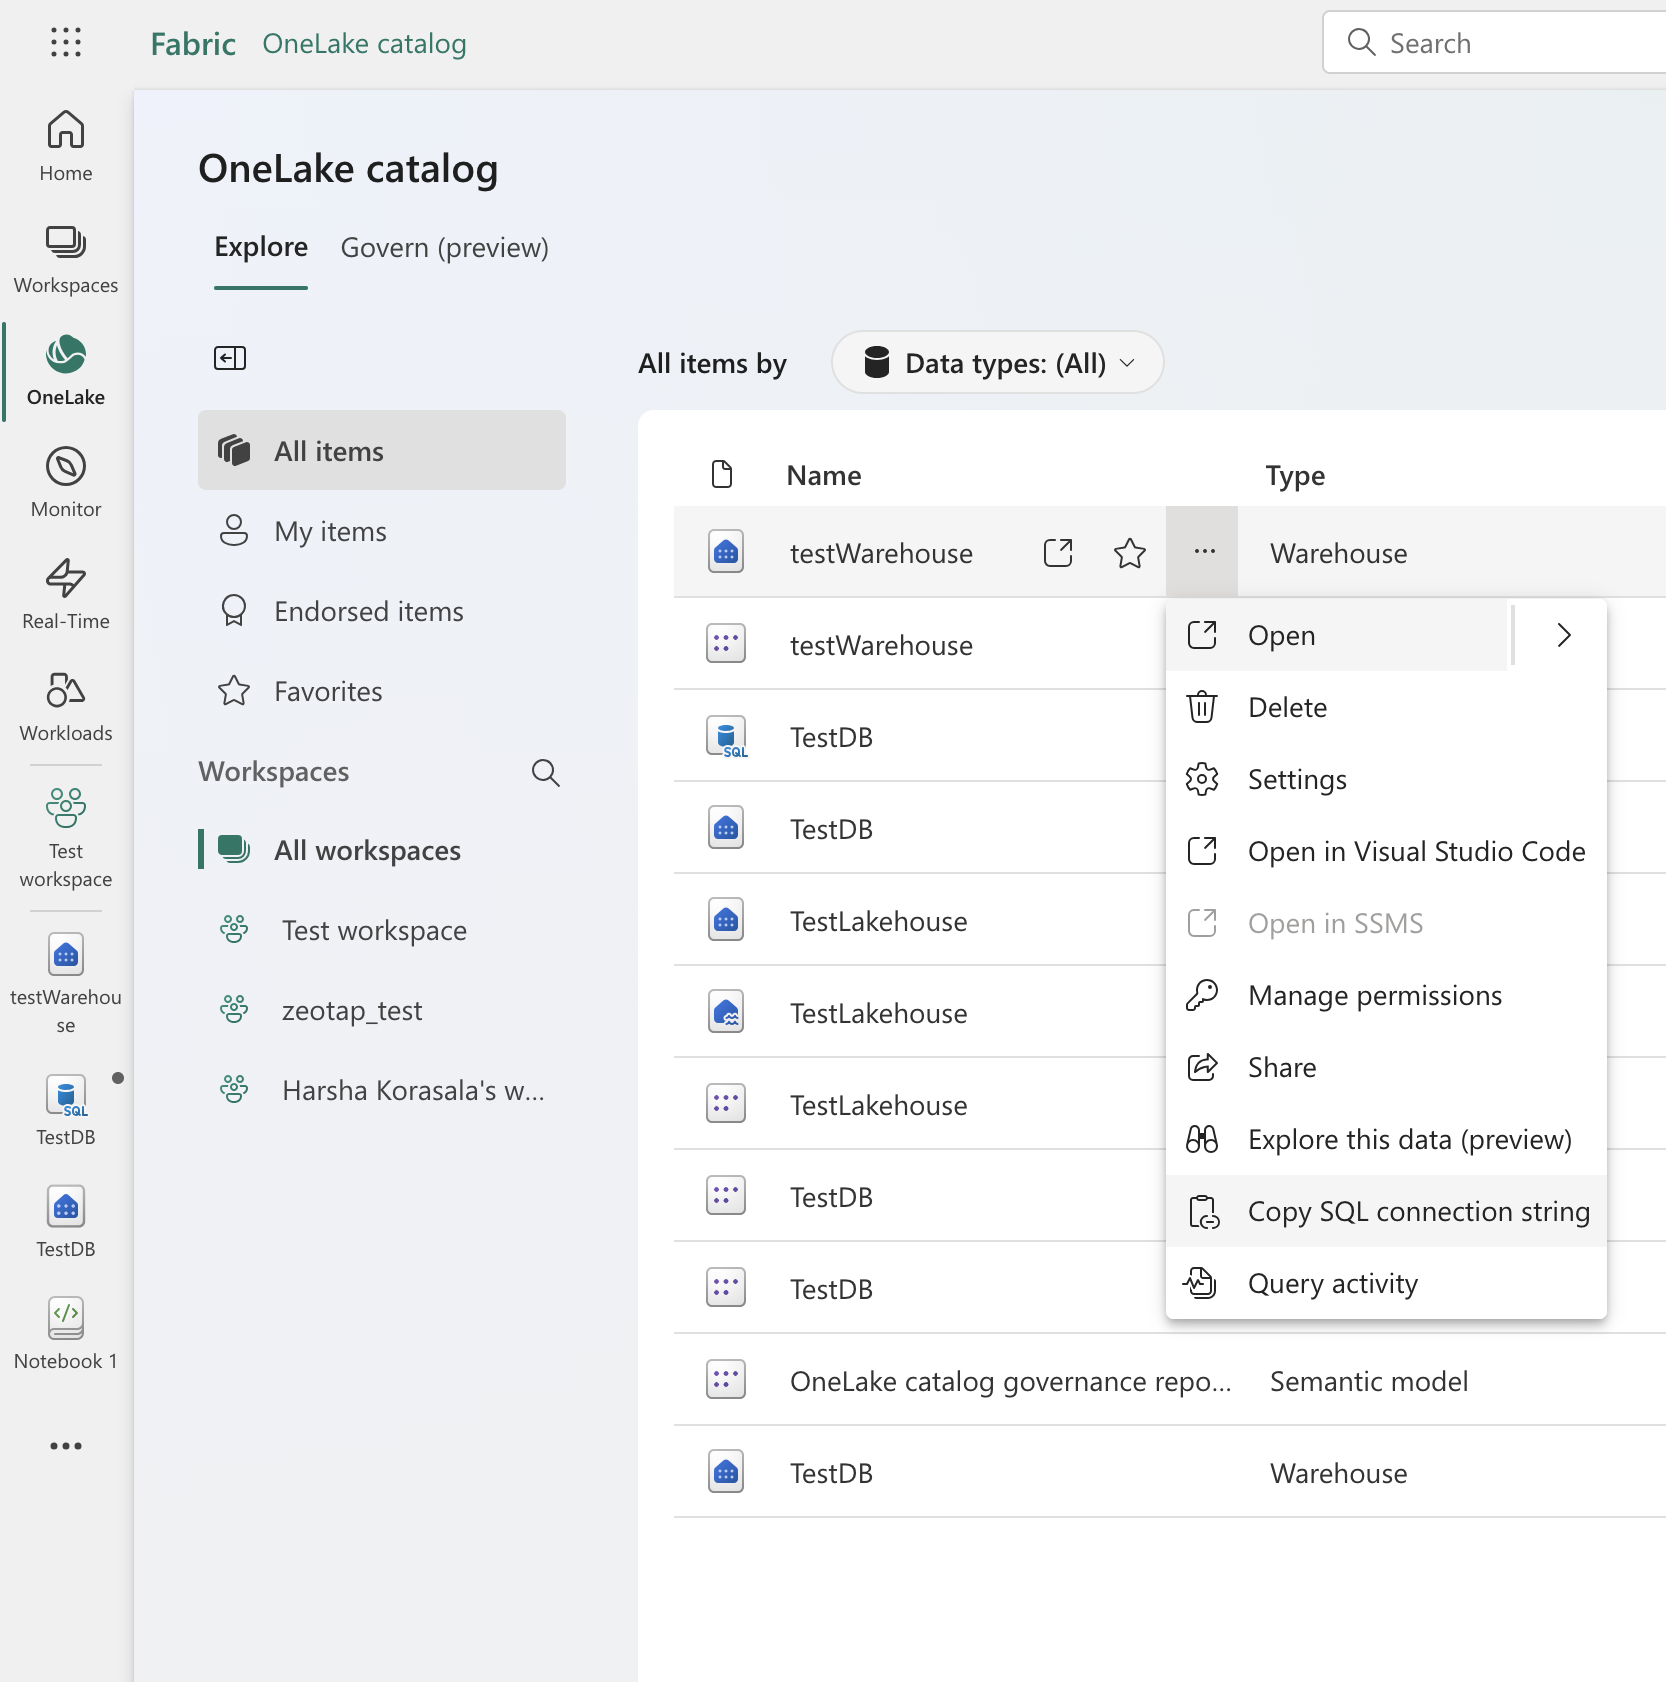
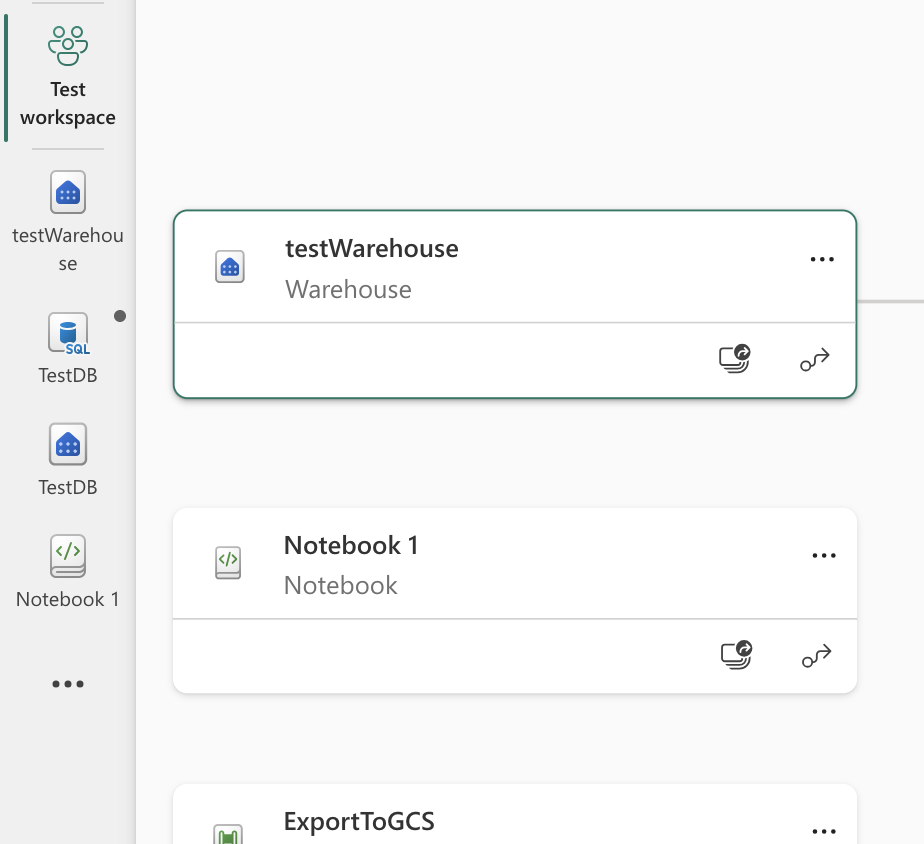
Retrieve the SQL connection string
To retrieve the connection string, follow these steps:
Or, in OneLake:
Create a Microsoft Fabric Source
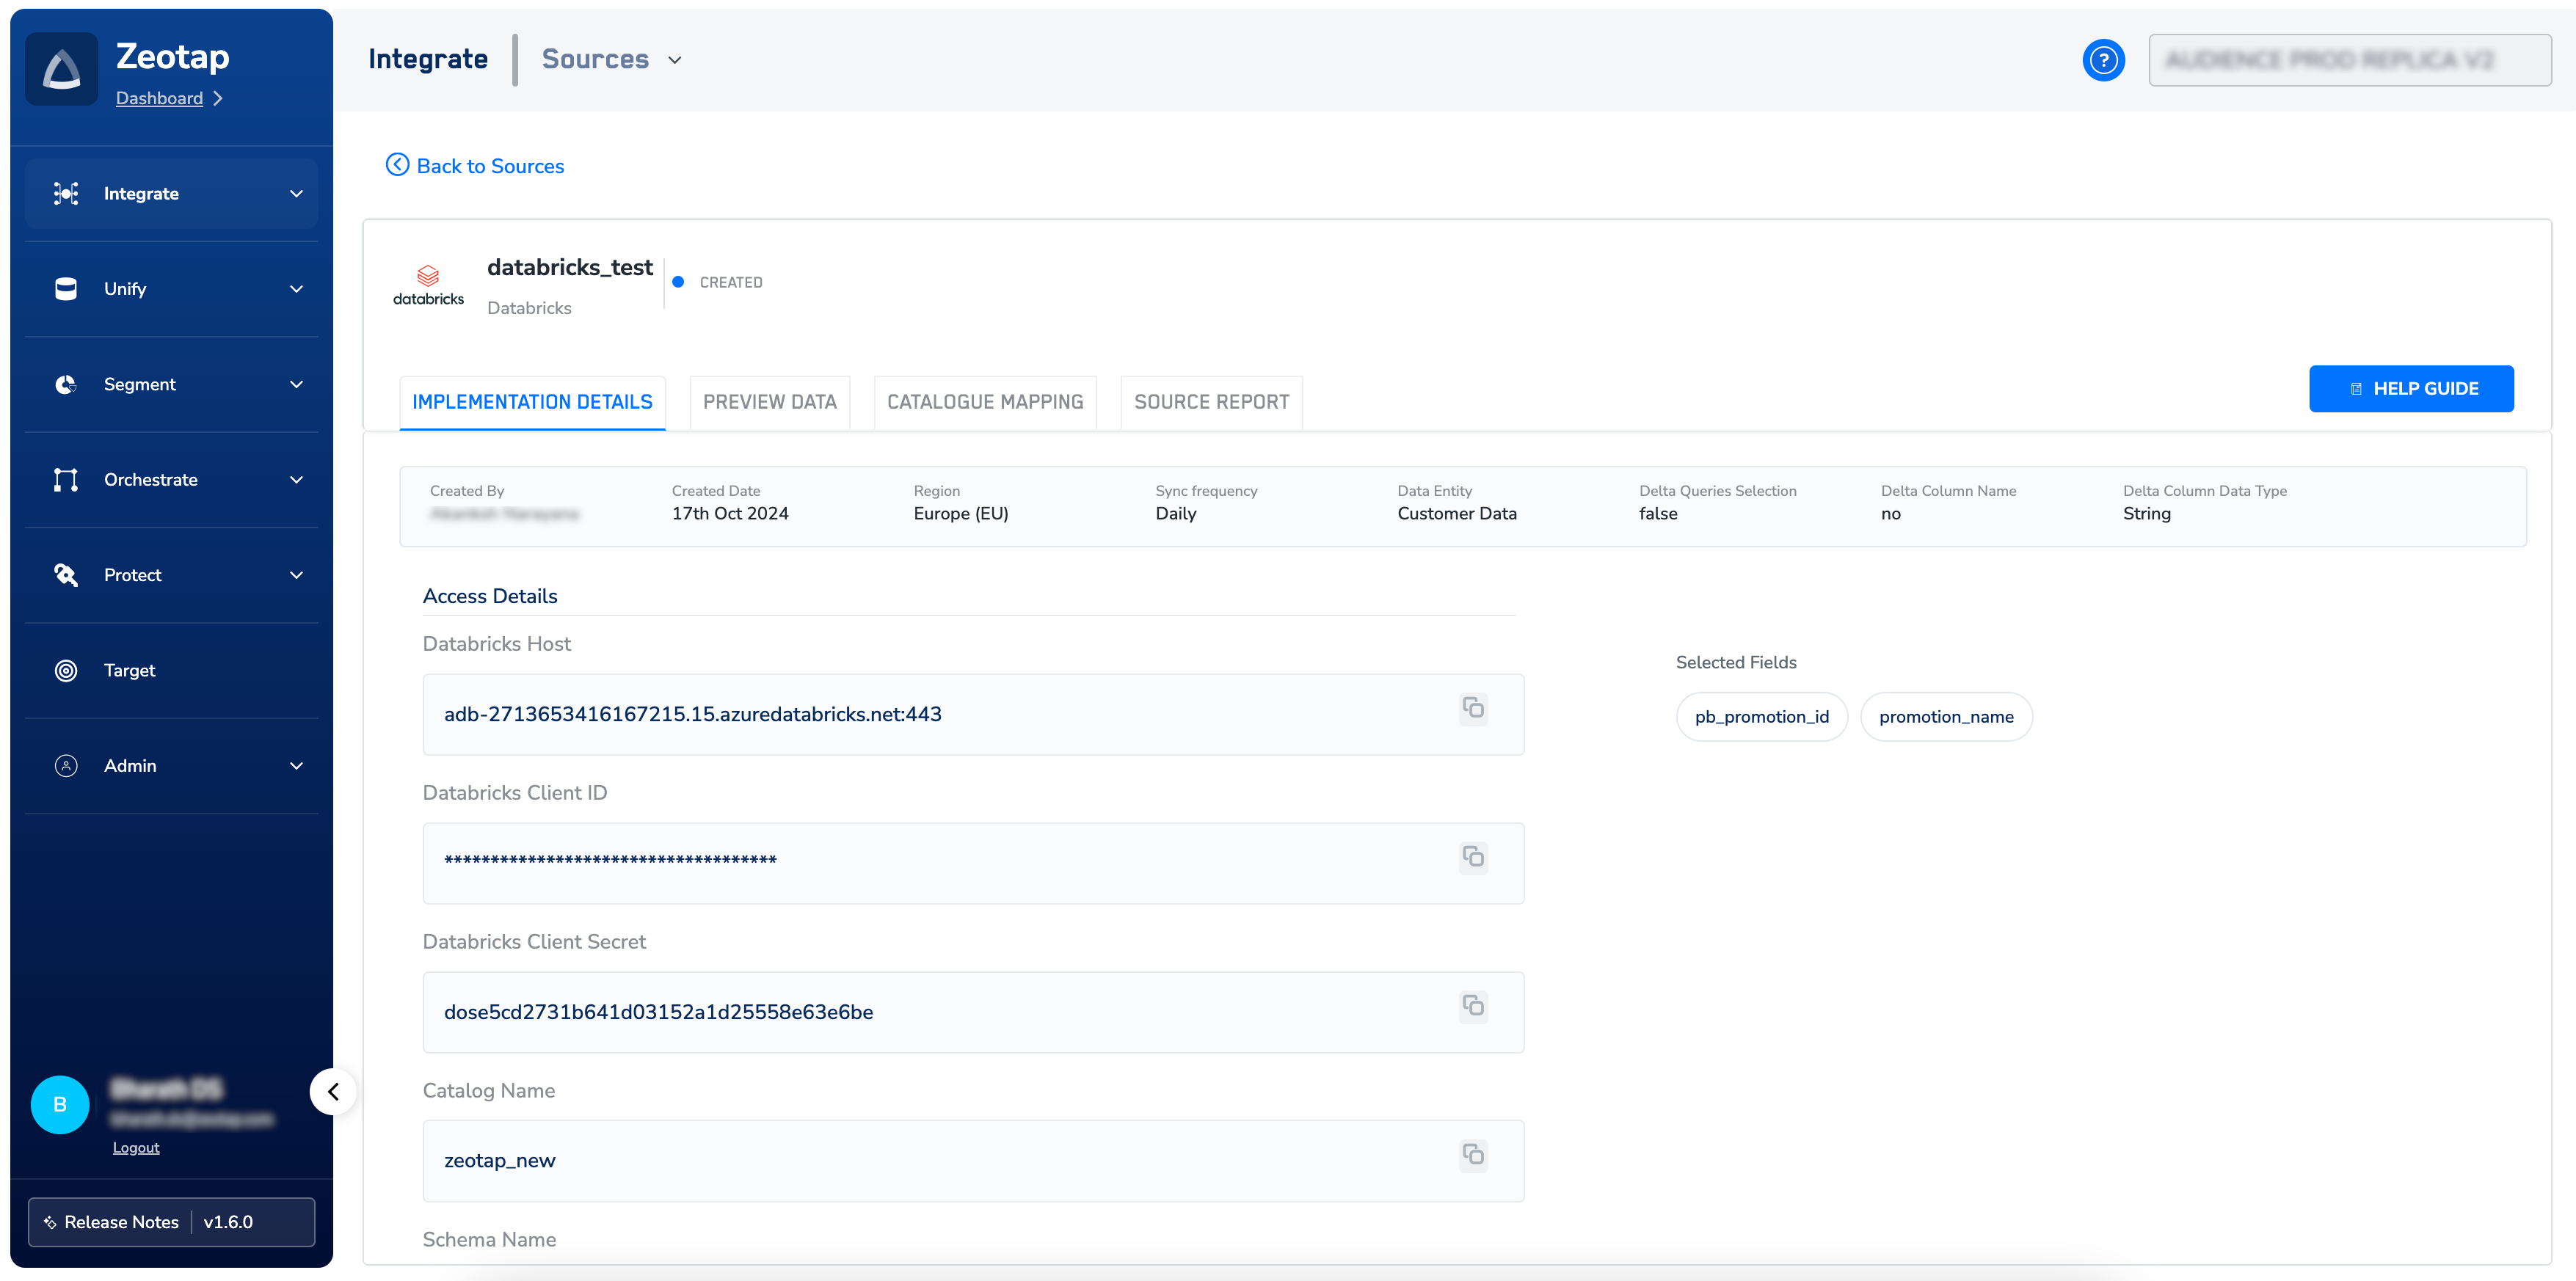
Once you have obtained the above details from your Microsoft Fabric account, perform the following steps to create a Microsoft Fabric Source in the Zeotap CDP App:.png?fit=max&auto=format&n=ROPrHg77hrORMuiL&q=85&s=146e94f6110f76970d52baf2ab1e964b)
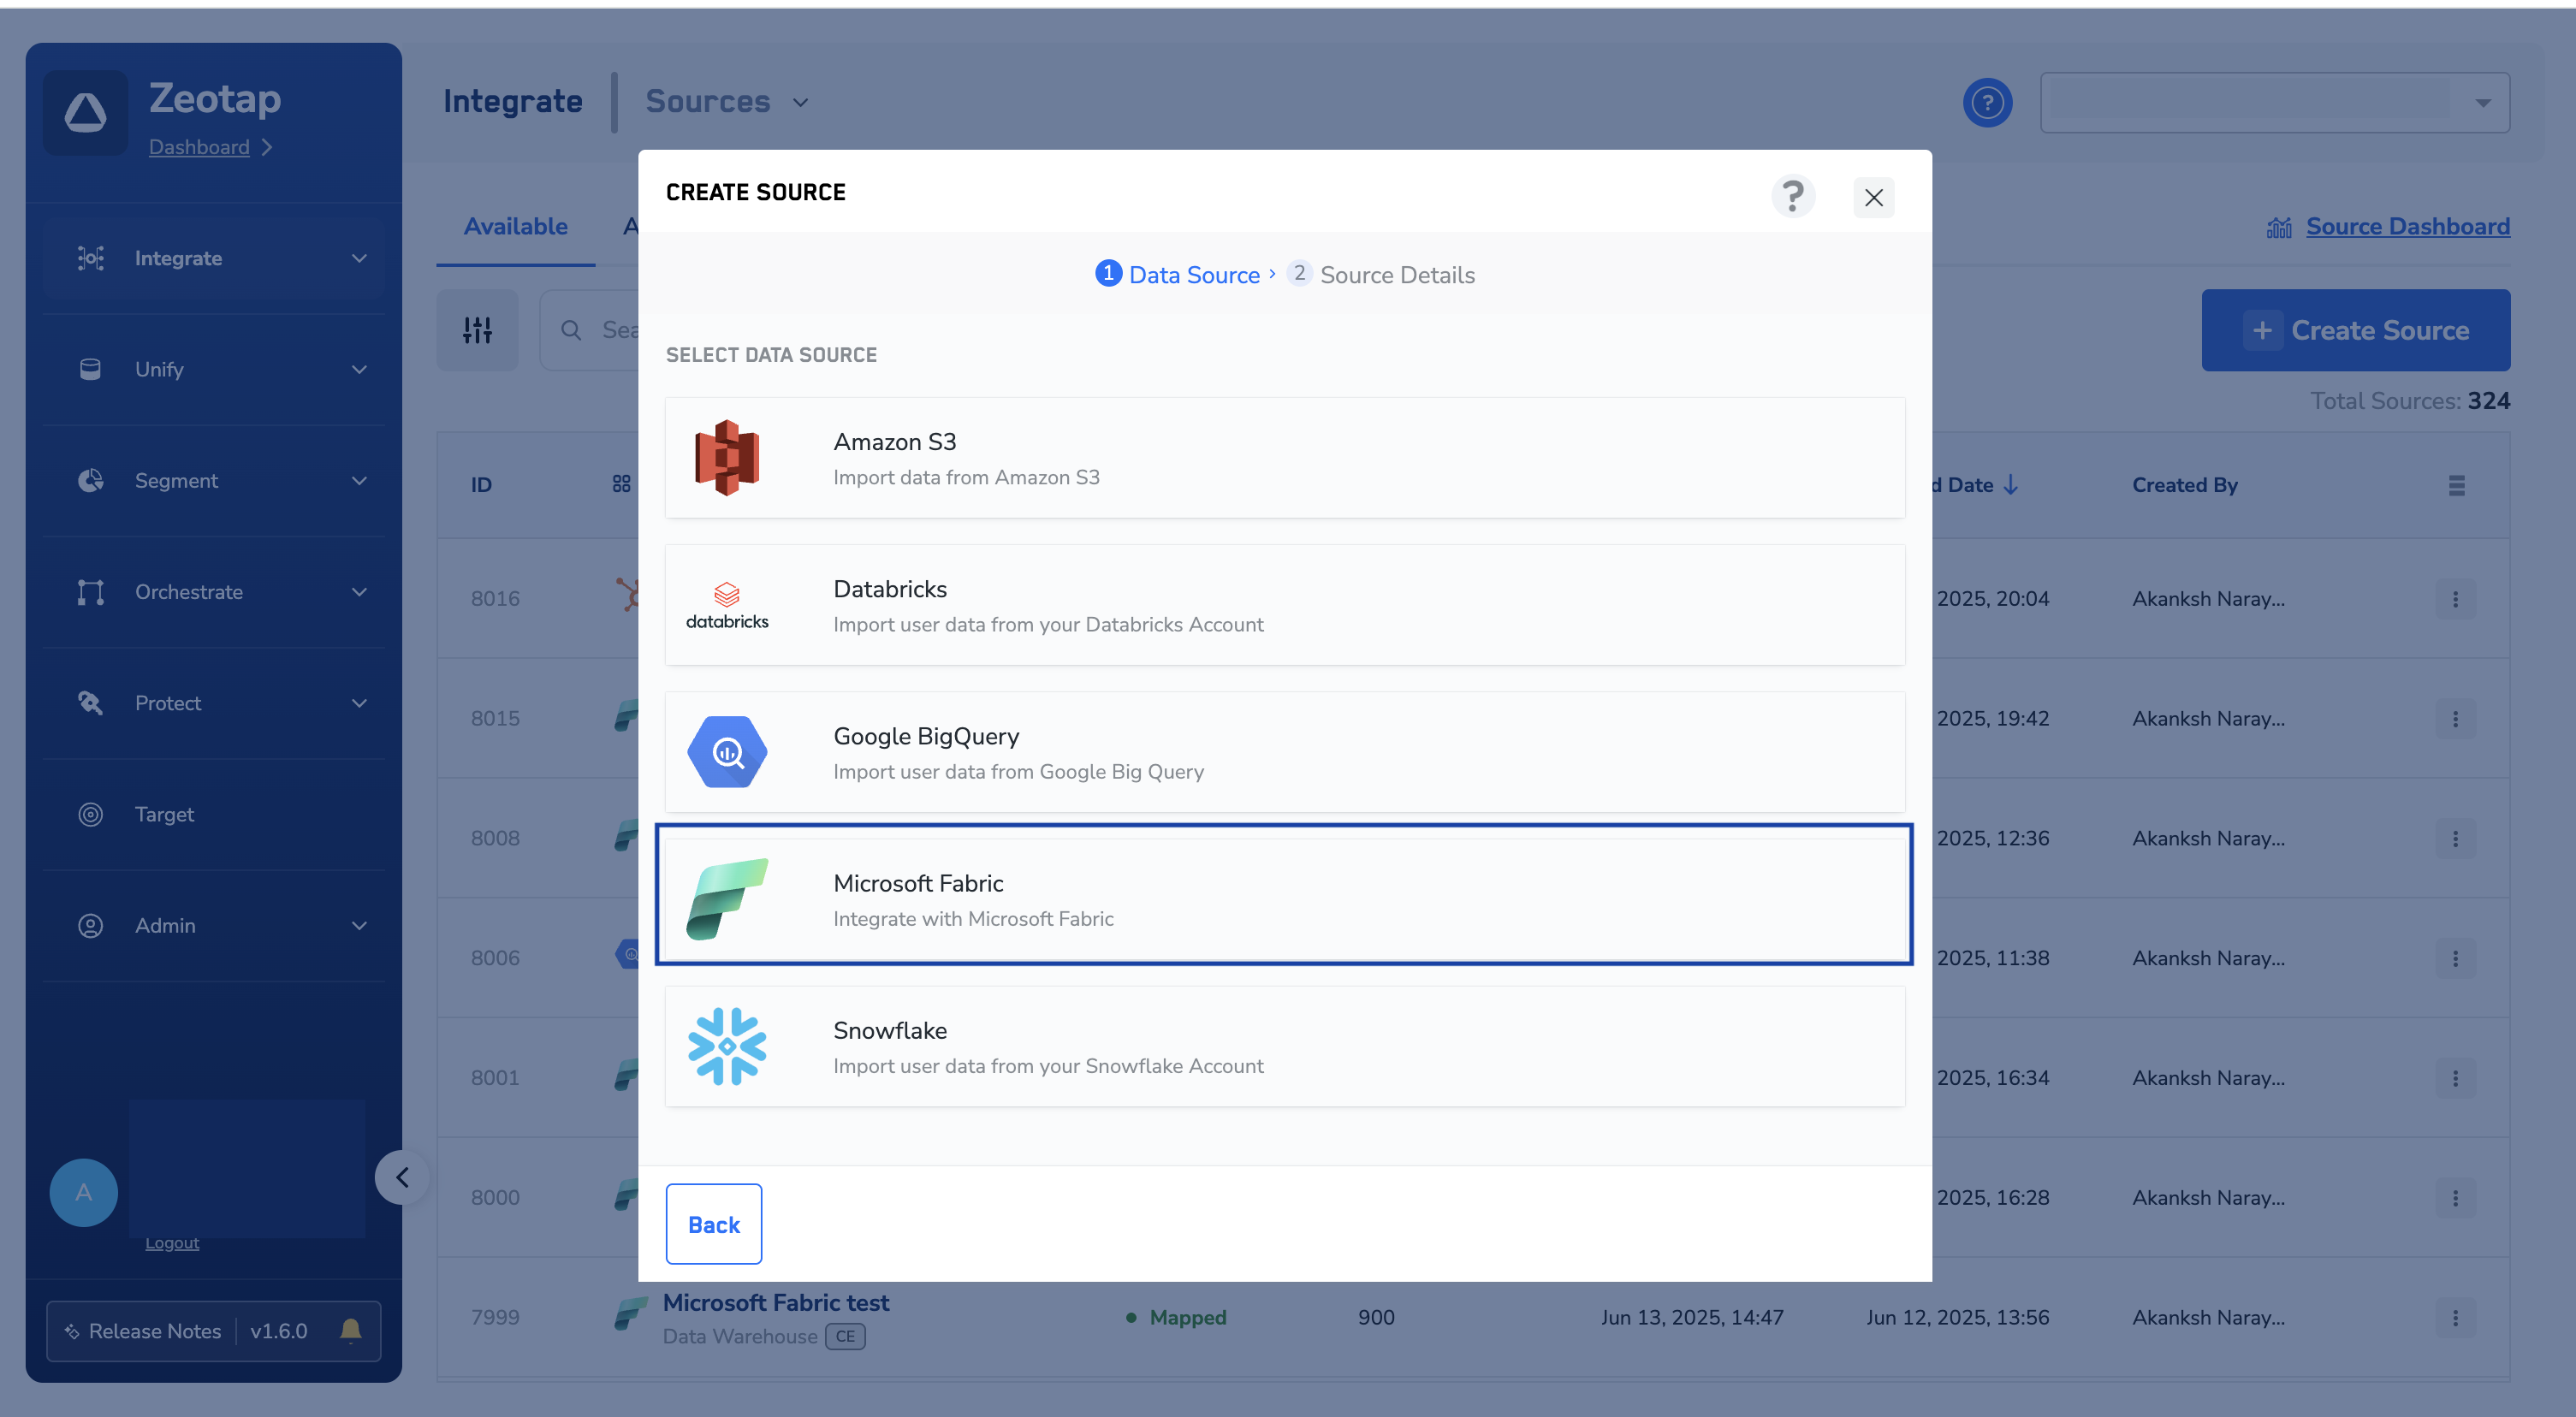
Provide the Database Name, Table Name, Tenant ID, Client ID and Client Secret obtained in the Pre-requisites section.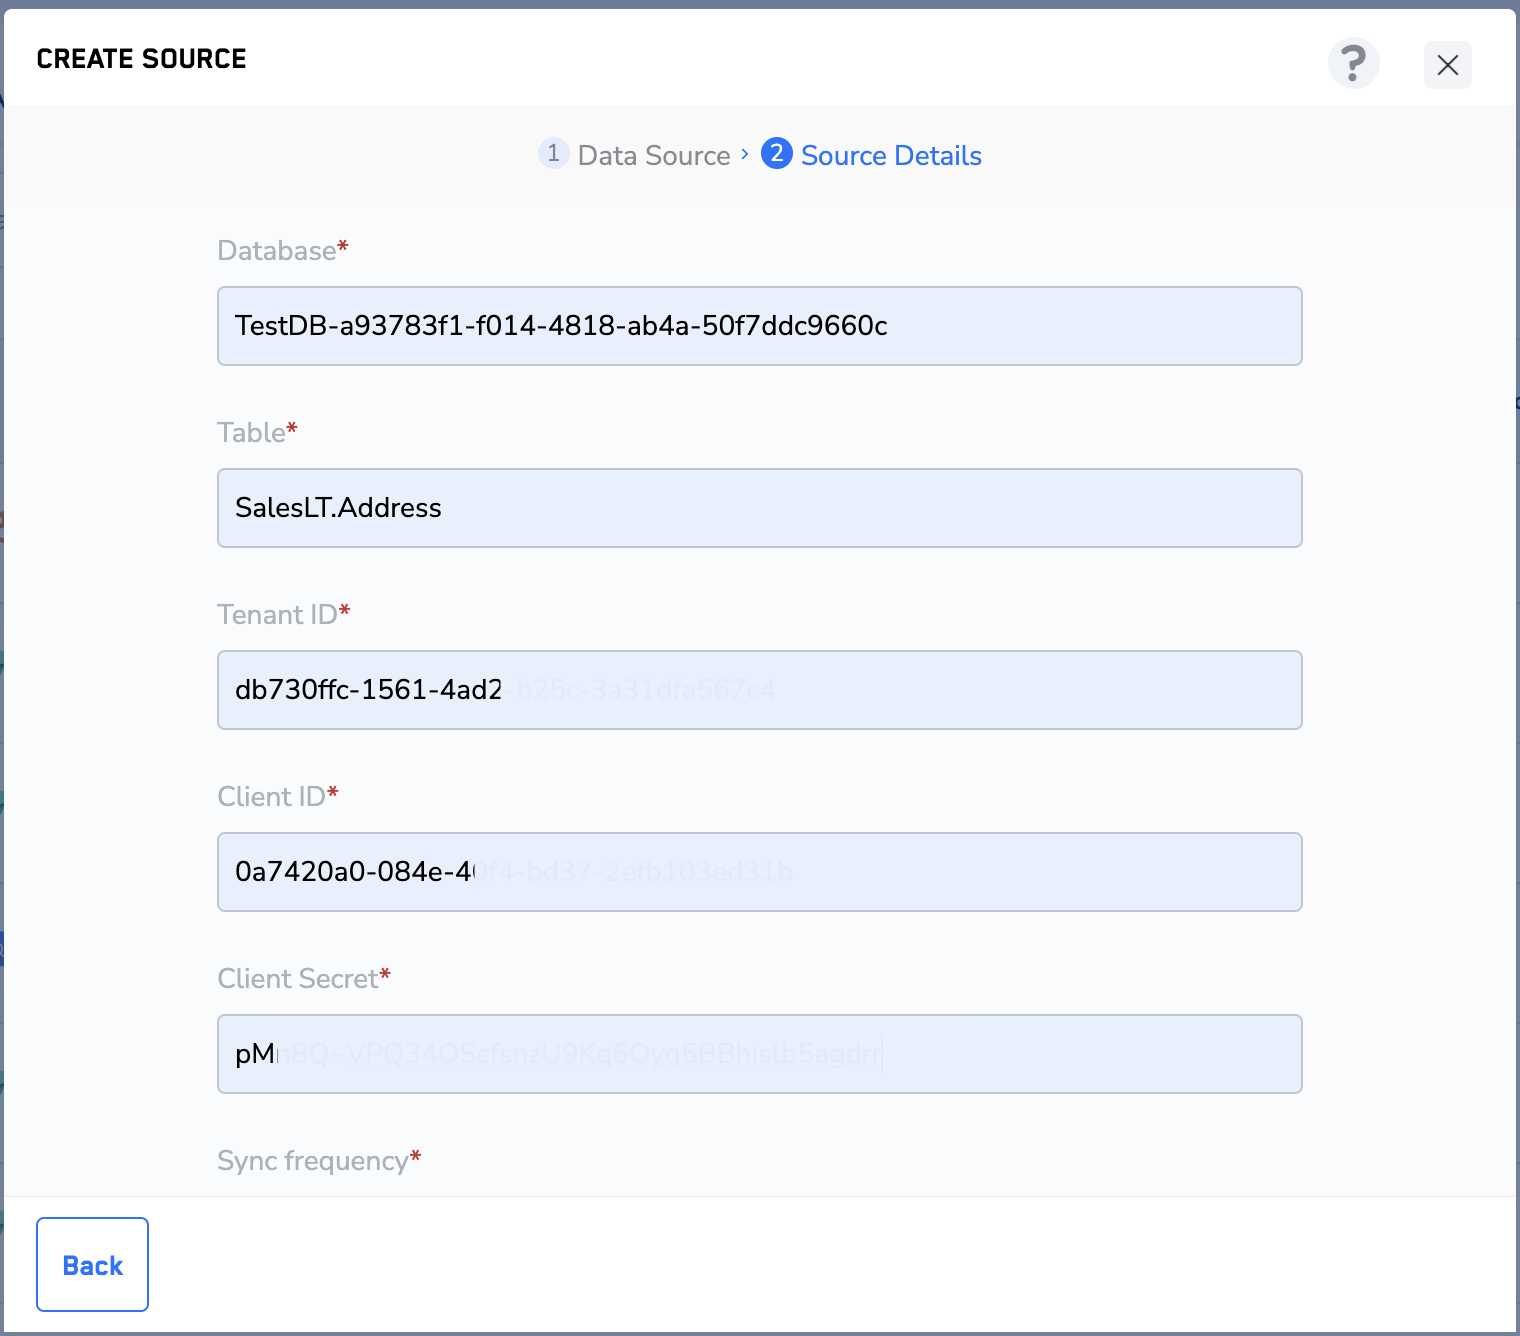
Choose the Refresh Frequency from the drop-down menu. The first data sync takes place once you create the source. However, the subsequent syncs take place based on the refresh frequency that you select. Currently, we support the following sync frequencies:
- Daily
- Weekly
- Monthly
Under Data Entity, depending on the type of data you want to ingest, choose either Customer Data or Non Customer Data and proceed with the Source creation. To know more about Customer Data and Non Customer Data, refer here.
Note:The initial data transfer from Microsoft Fabric source to Zeotap CDP may take time, depending on the data volume. For assistance with Microsoft Fabric source setup or other questions, reach out to the Zeotap support team at [email protected].