Configure Real-Time Data in Cleverpush
This section provides information about how to establish a real-time connection between Cleverpush and Zeotap using Zeotap’s endpoint through a Webhook connection. In addition, you can select the events that you want to ingest. Perform the following steps to configure the real-time data in Cleverpush:Select the channel you have created from the Channels dropdown. For more information about how to create a new channel in Cleverpush, refer here.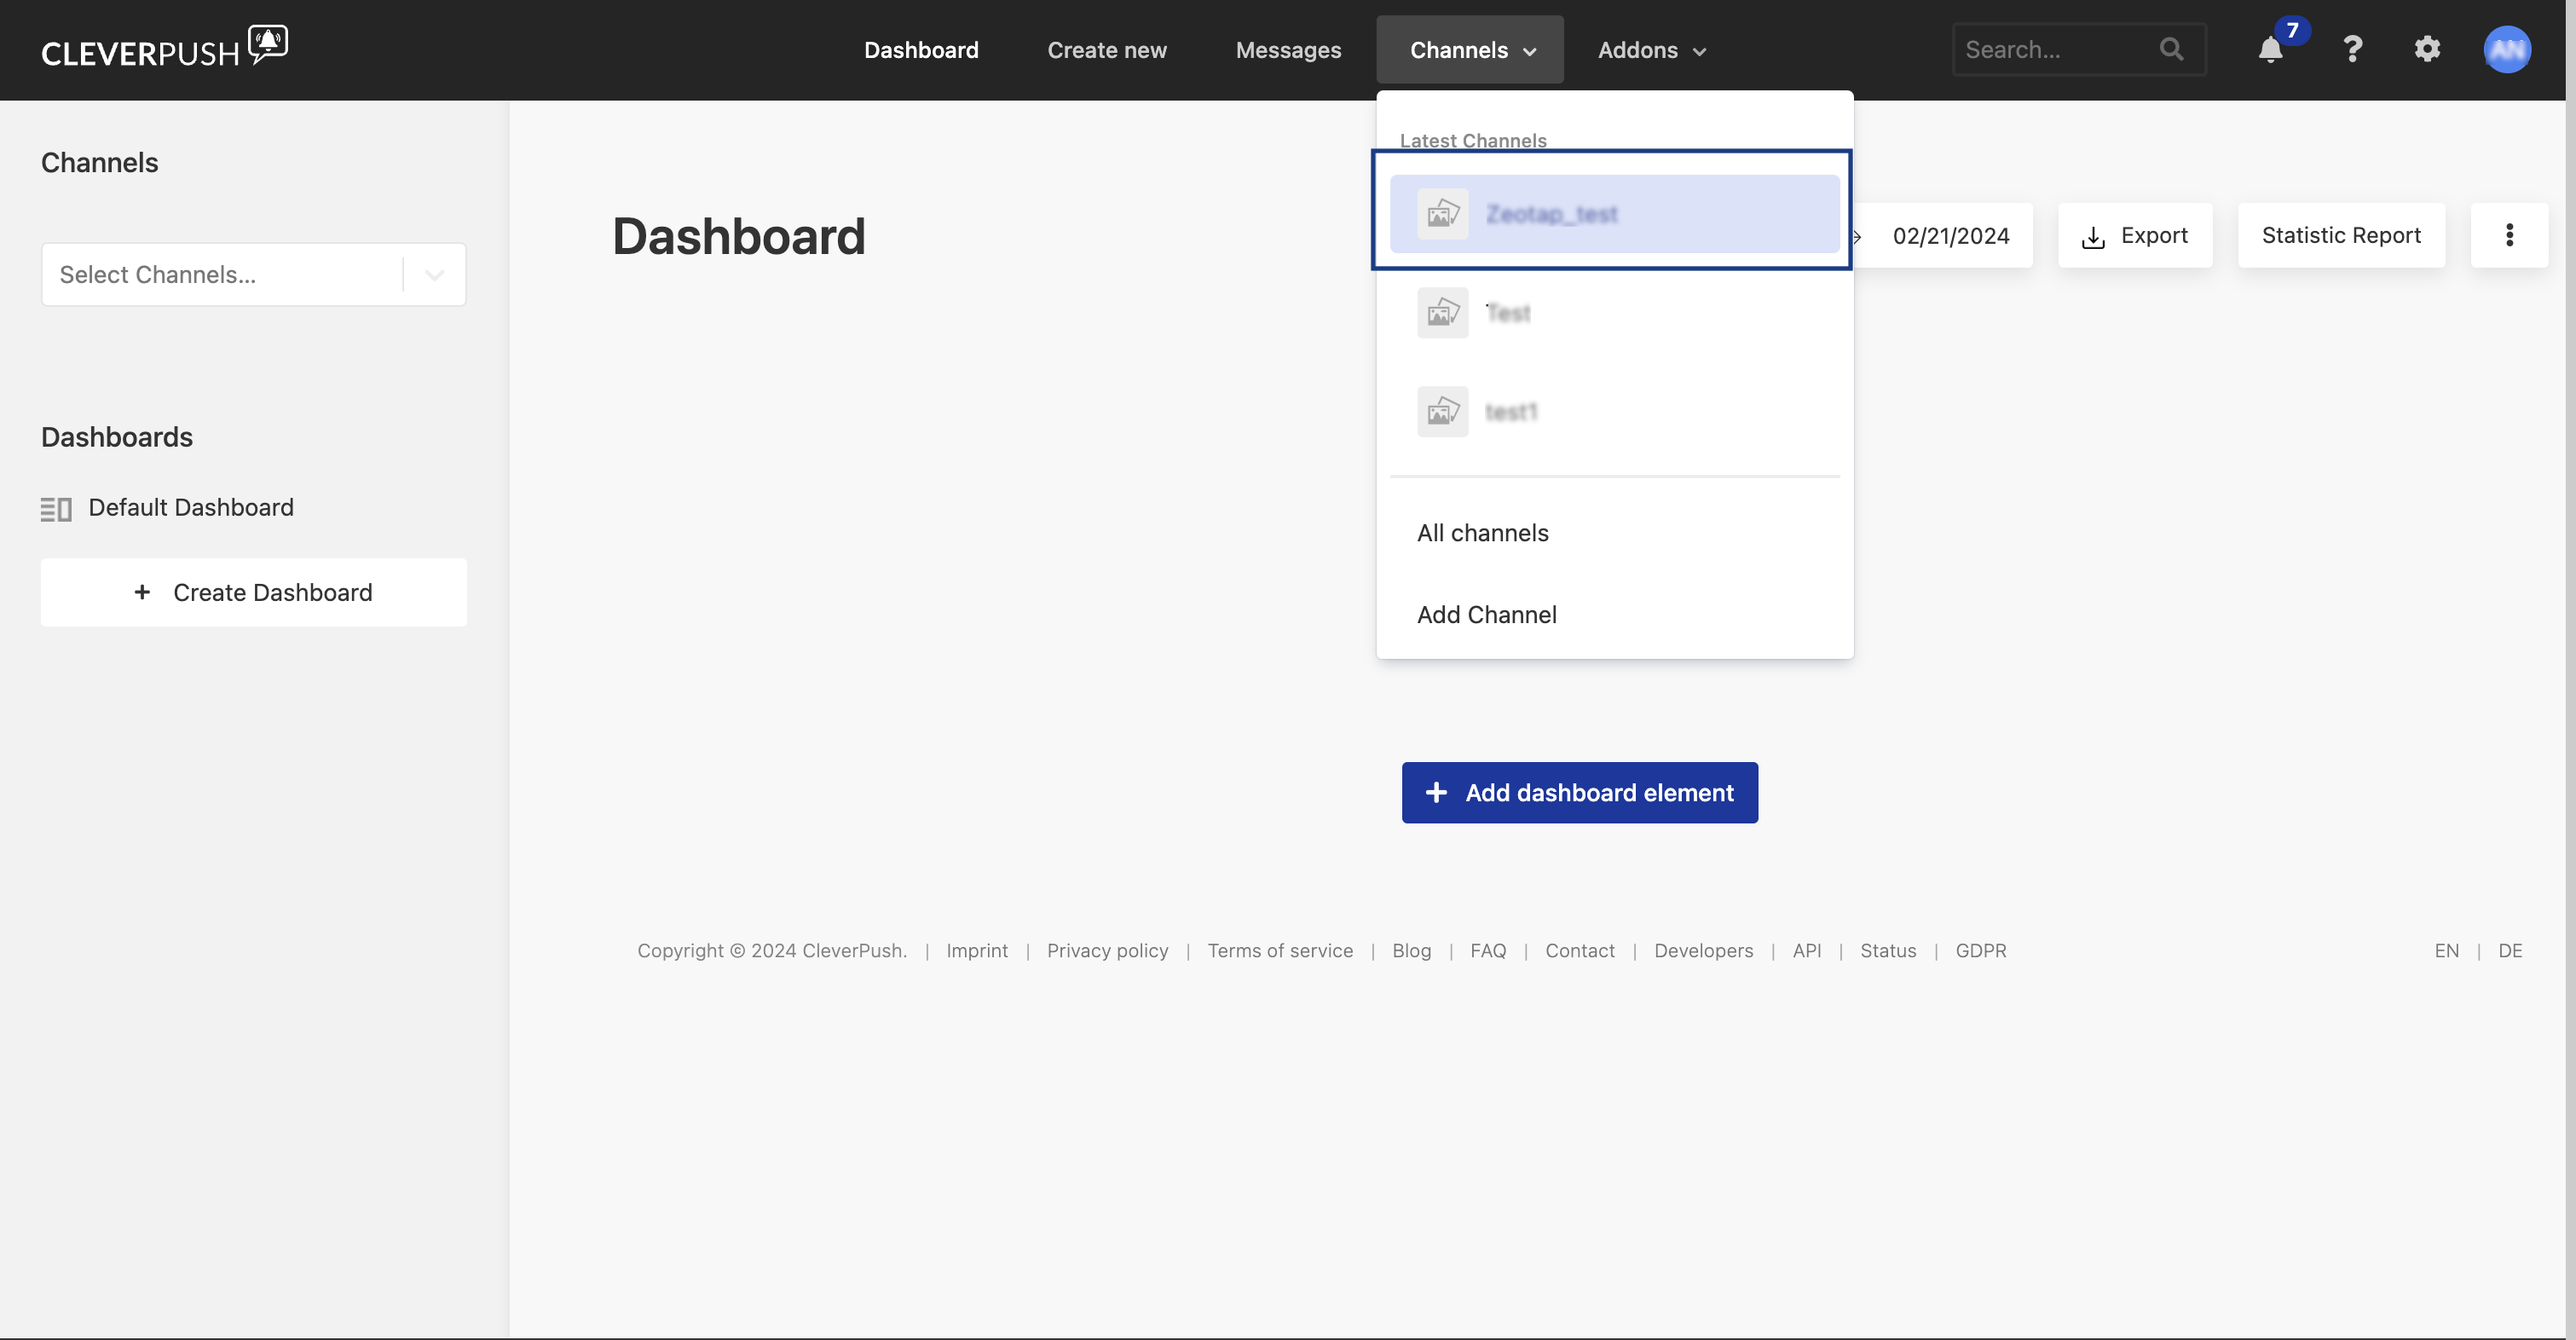
Under the channel you have created, setup the platforms for which you need the notifications to be pushed. Note that Zeotap CDP supports Web Push, App Push and Email Push. For more information about how to setup Web Push, App Push and Email Push platforms, refer here.
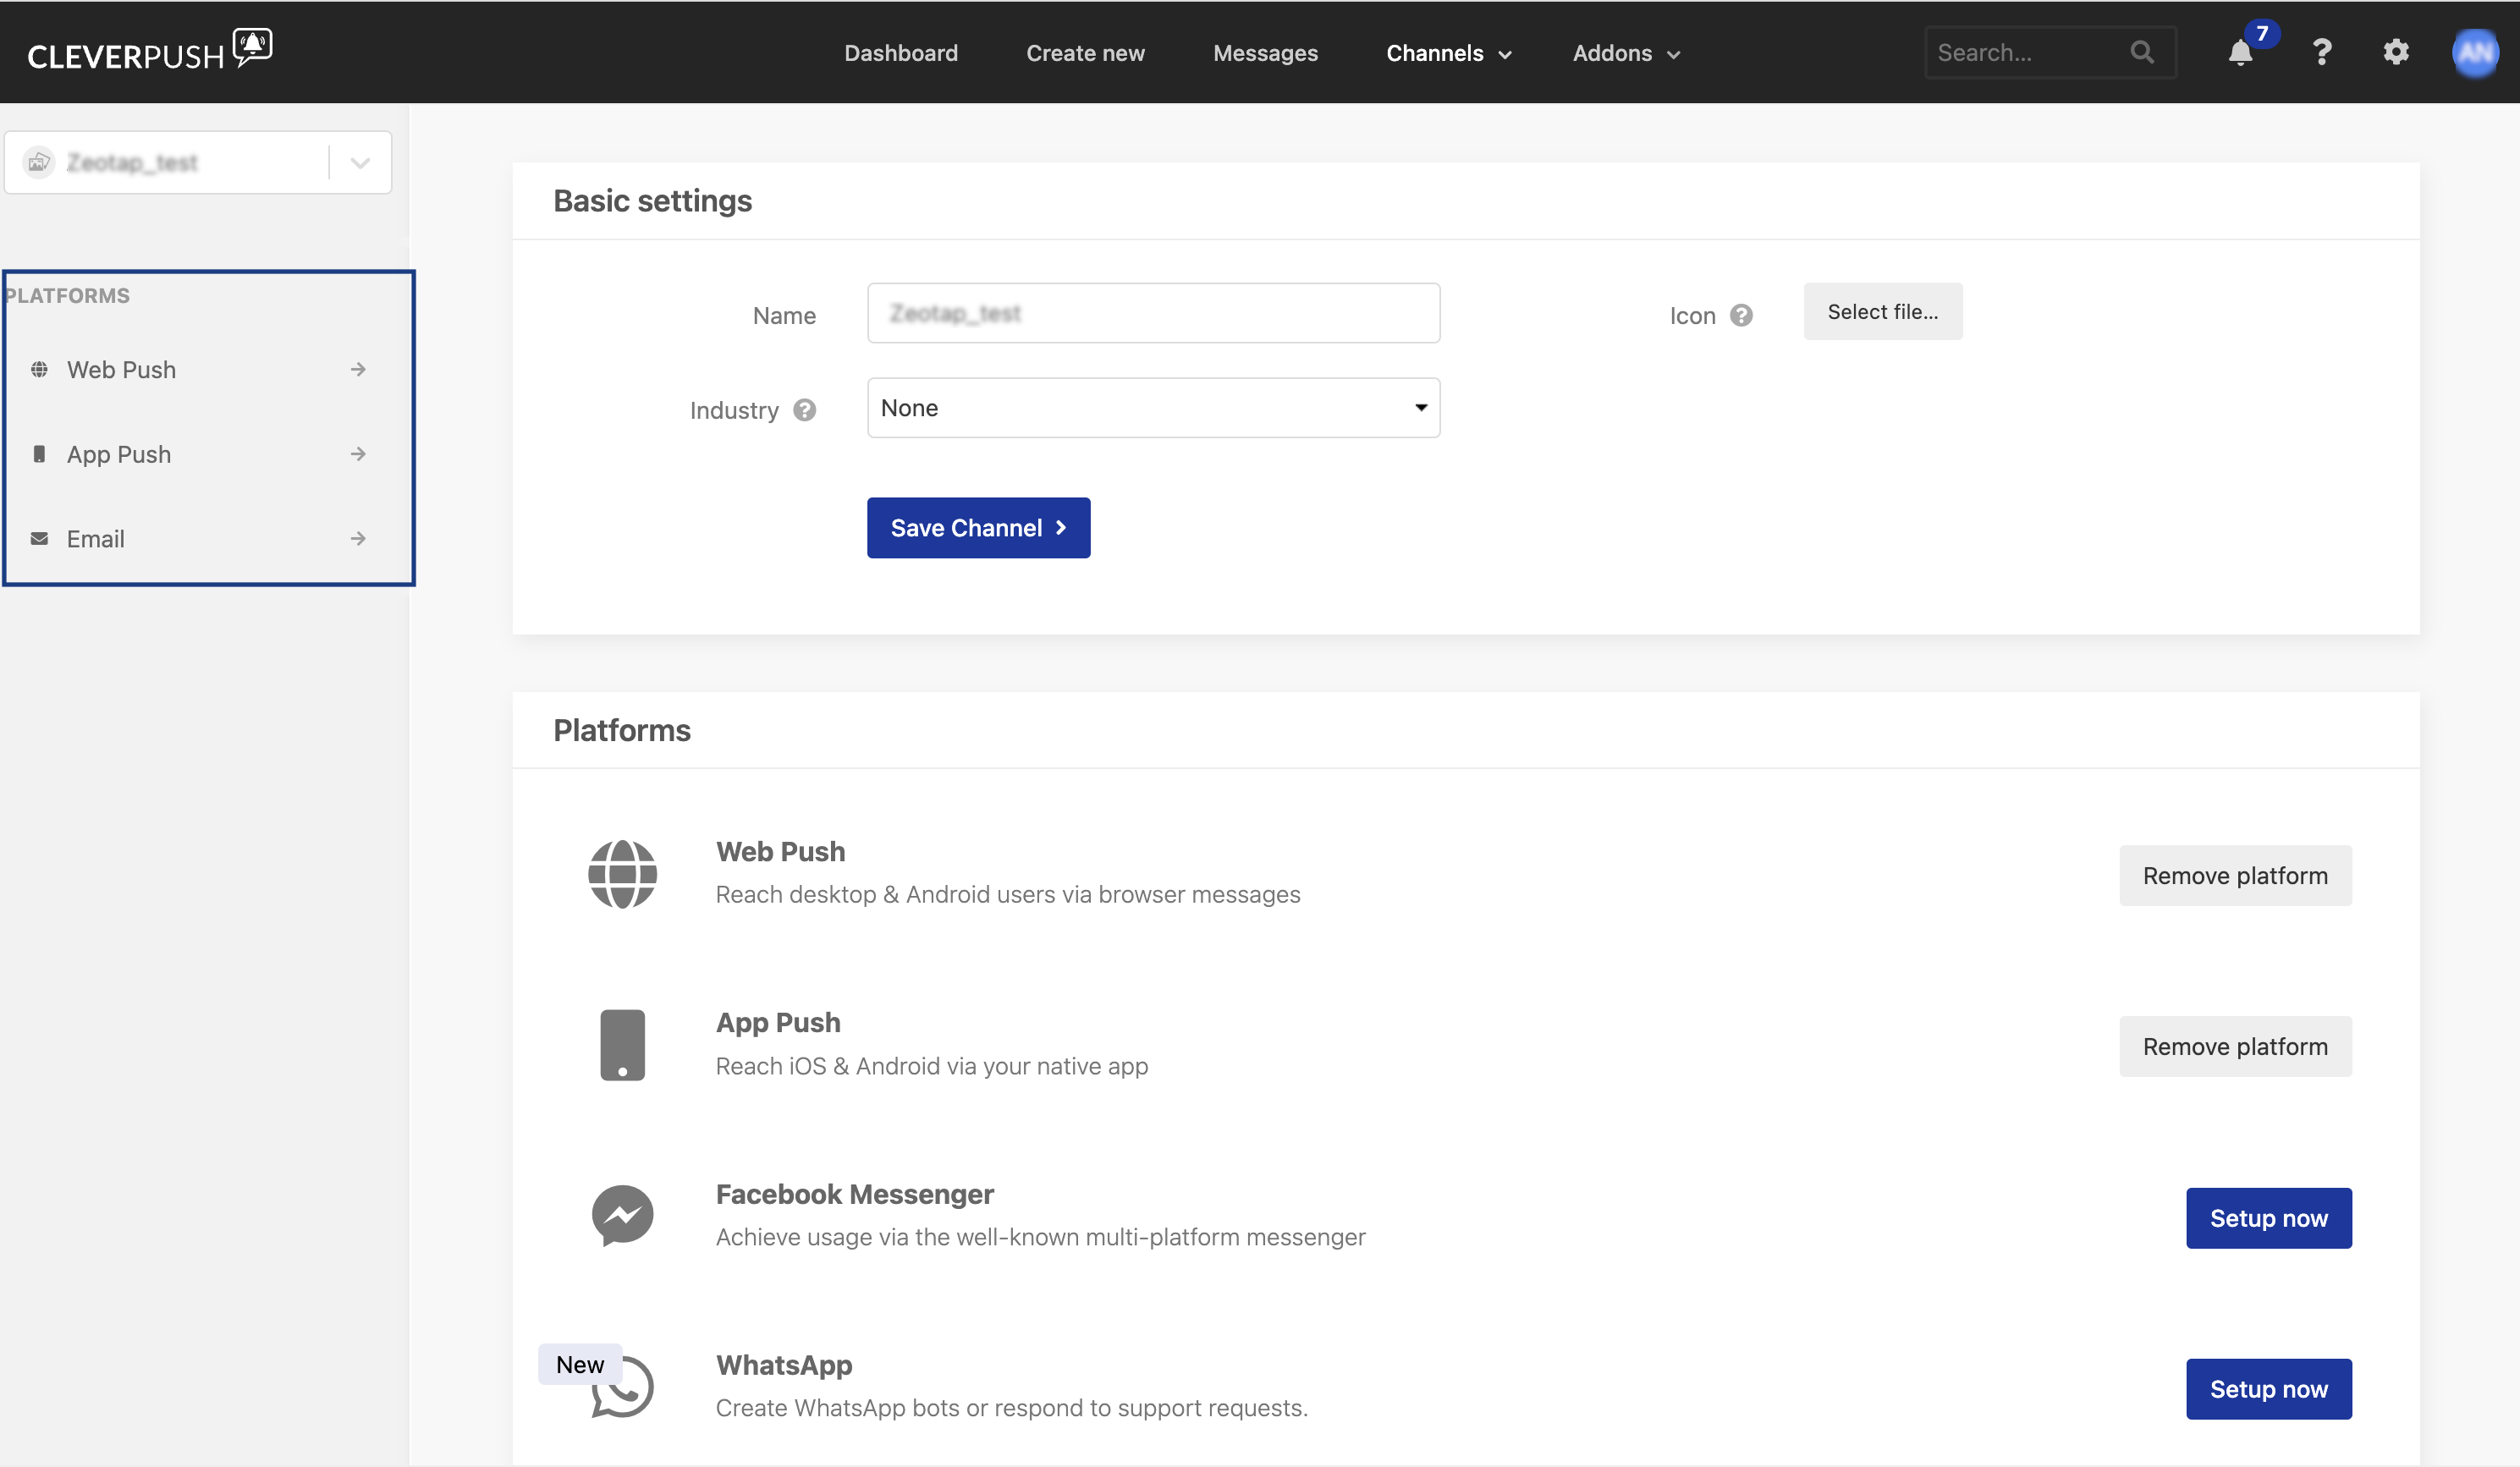
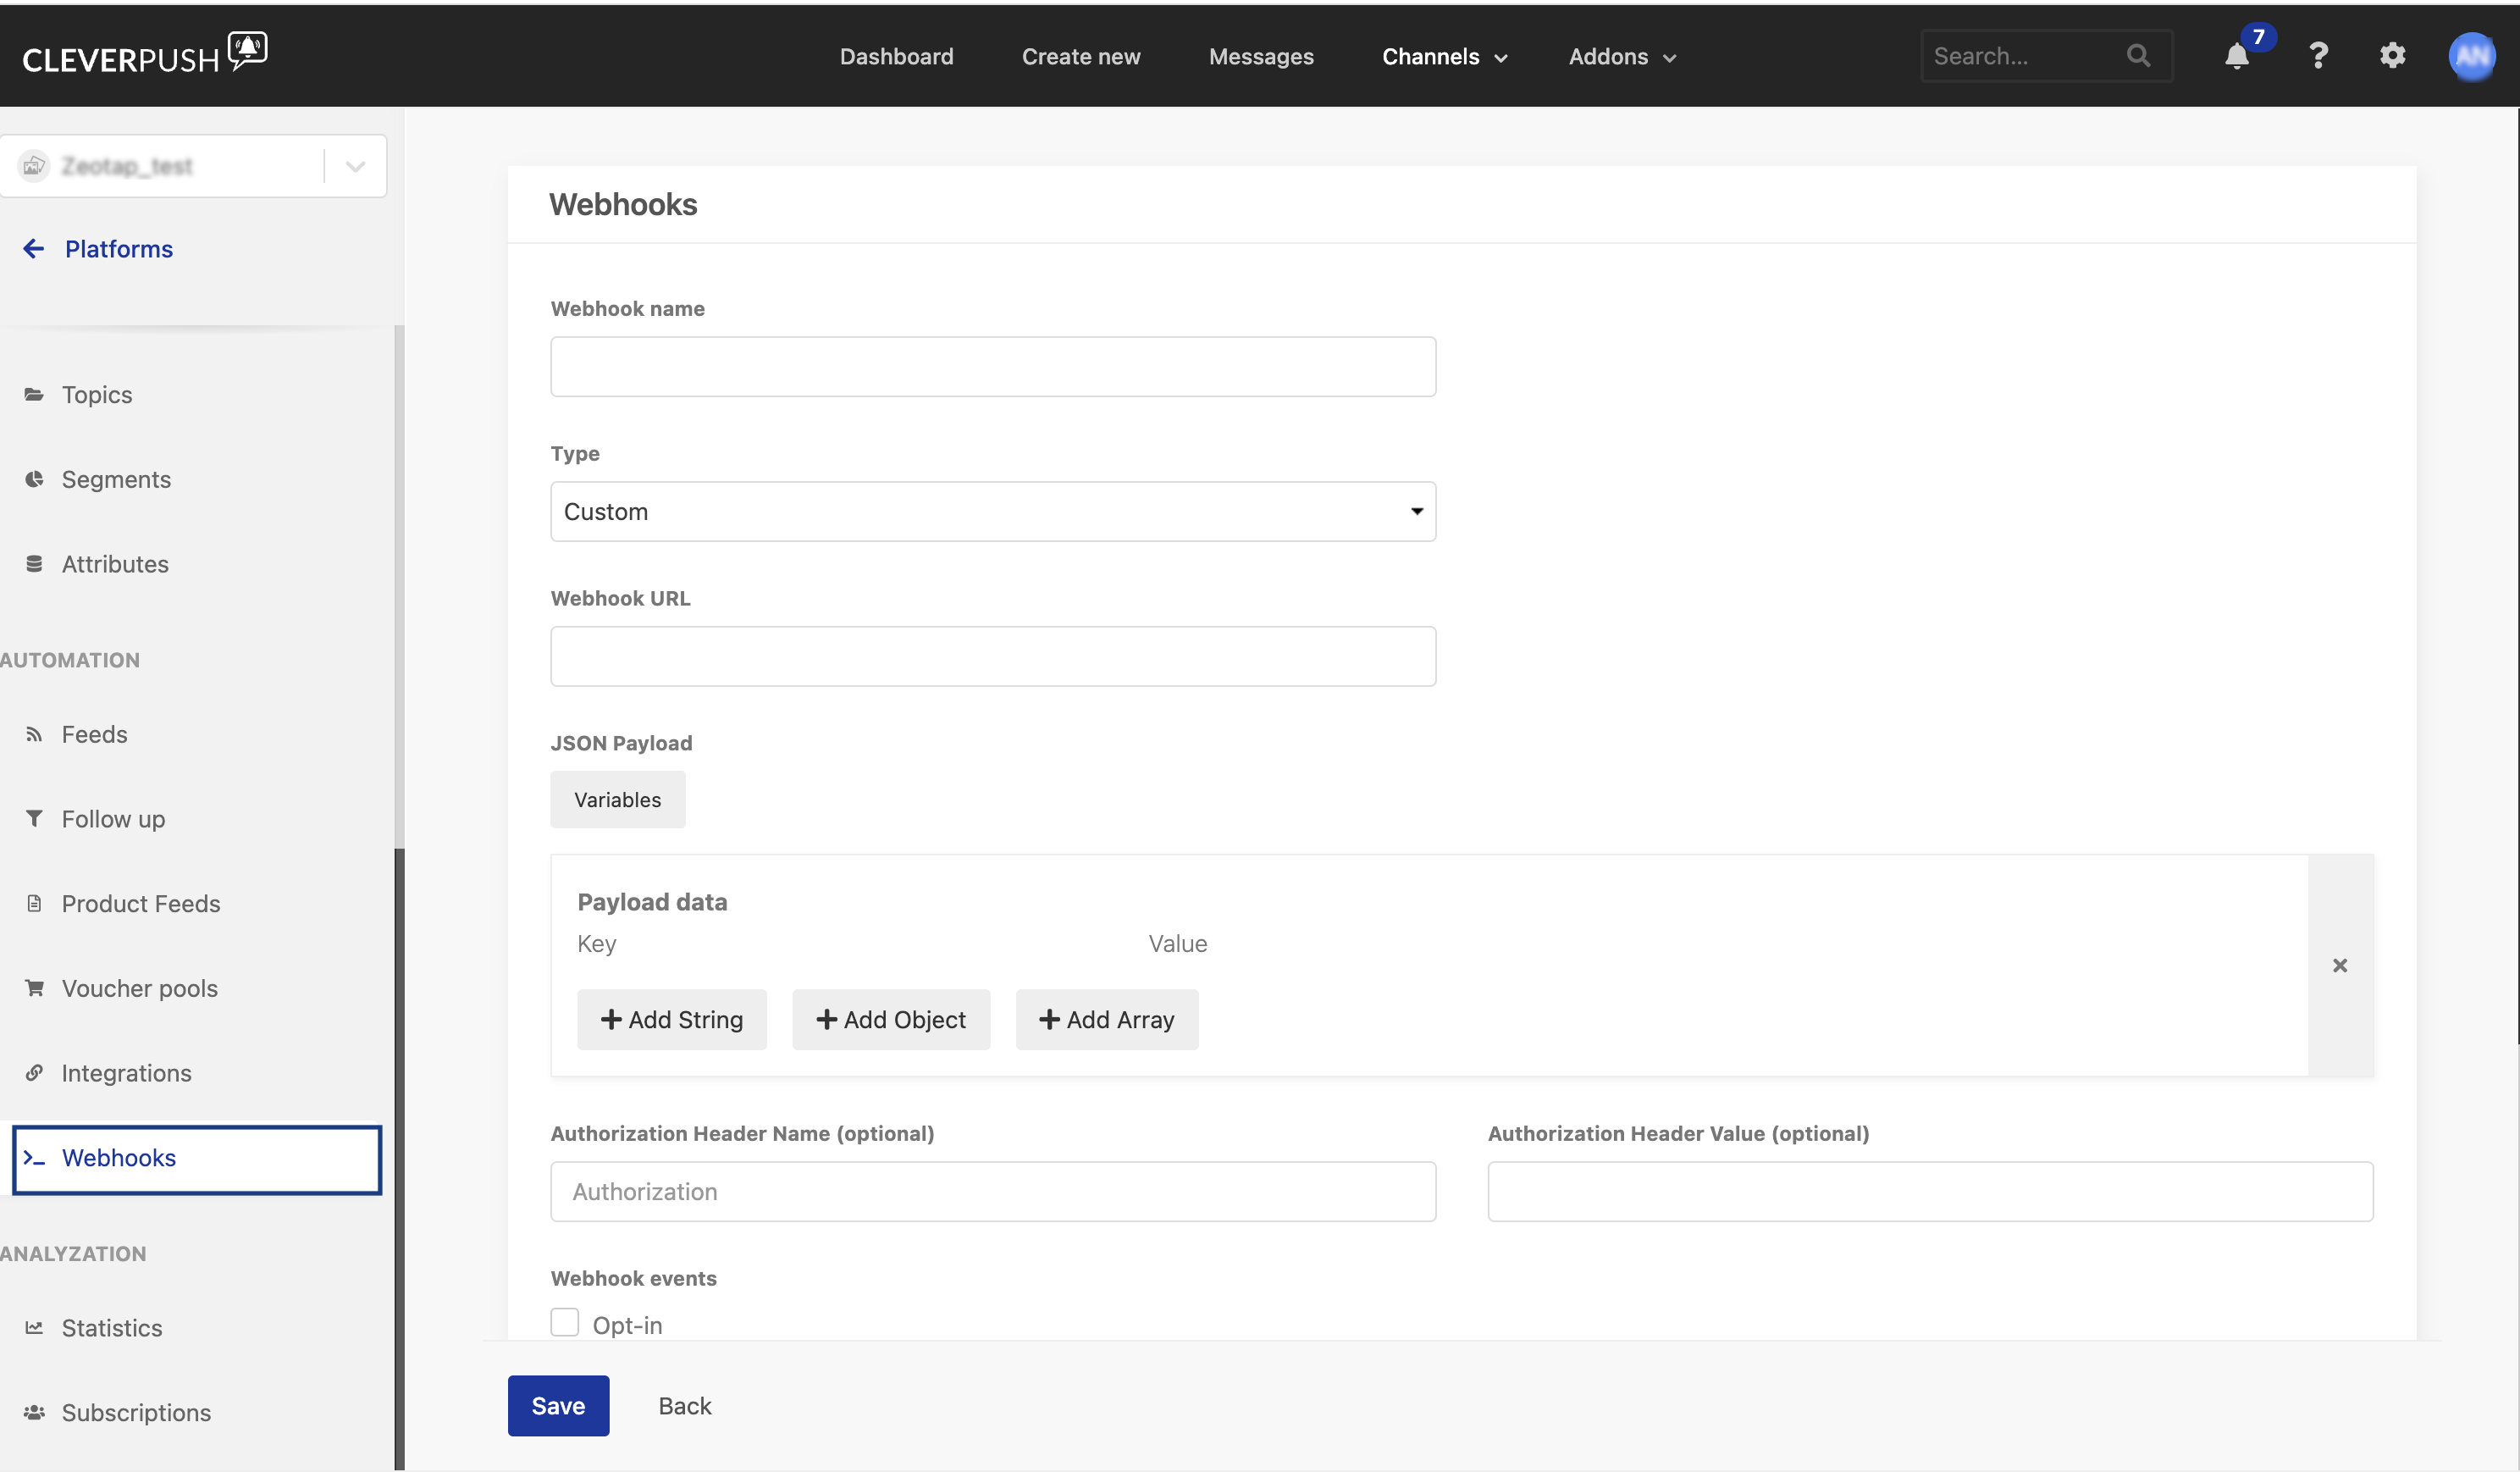
Select the Platform in which you want to establish the real-time connection and navigate to Webhooks.
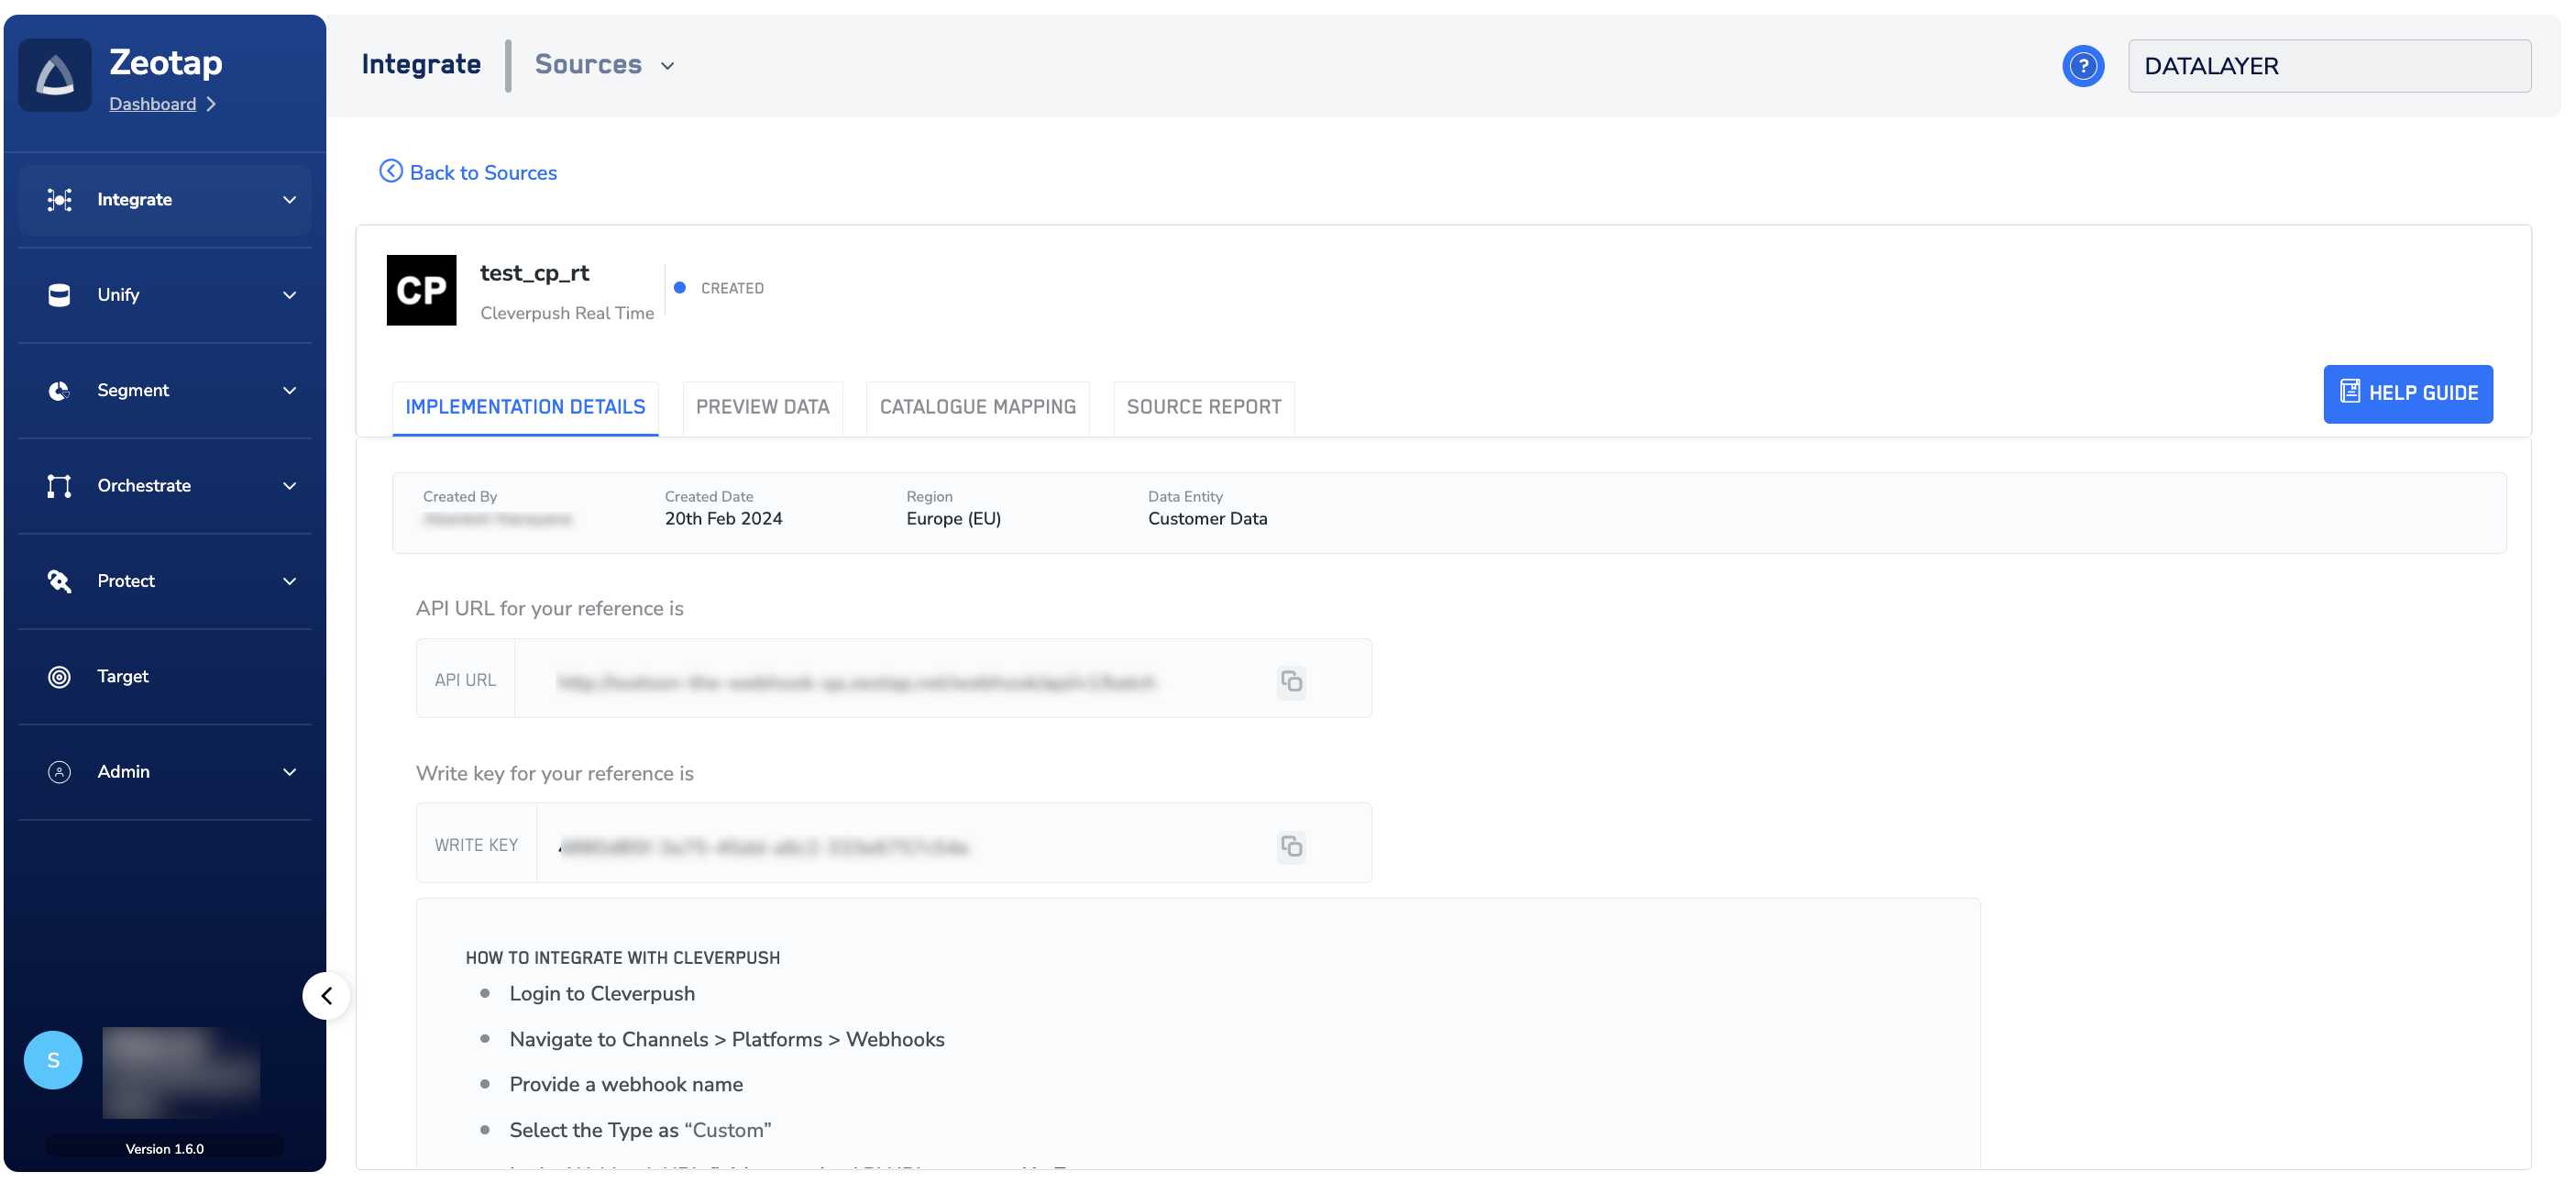
Enter the Webhook URL. This is the API URL generated while creating the Cleverpush Real-Time Source in Zeotap CDP.
Enter the Authorization Header Value. This is the Write Key generated while creating the Cleverpush Real-Time Source in Zeotap CDP.
Note:The records for the country and city columns are blacklistedfor ingestion because SPL uses the user’s IP address to find out the country and city automatically. For the complete list of blacklisted fields, click here.