Note:Refer to Microsoft Dynamics CRM Source to know more about this source.
Prerequisites
Ensure that register an App in your Dynamics 365 instance and keep the following details handy before creating a source in Zeotap CDP:- App Client ID
- Tenant ID
- App Client Secret
- Organization URL
Step 1: Obtain App Client ID, Tenant ID and App Client Secret
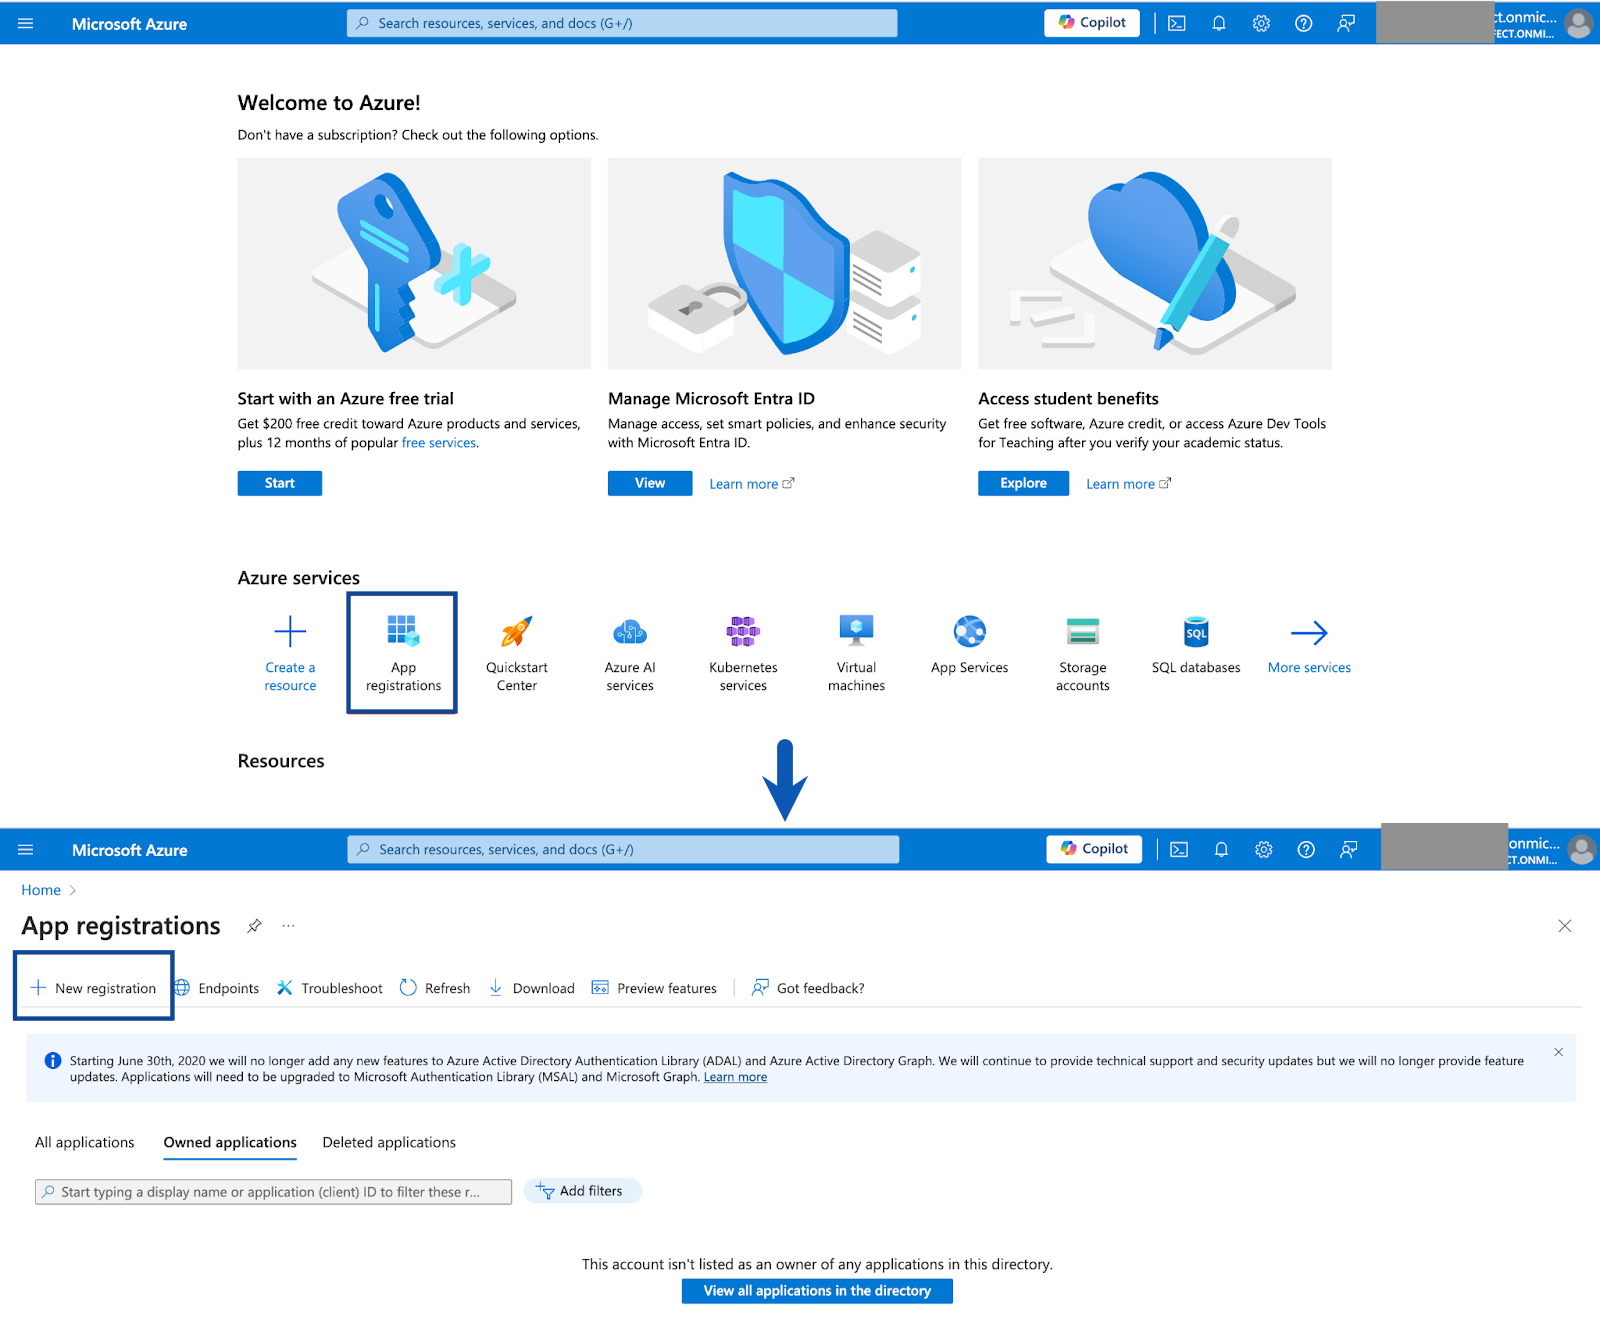
Perform the following steps to register an app and generate the App Client ID and Tenant ID:Log into the Azure portal.
In the Application Registration form, provide the following information: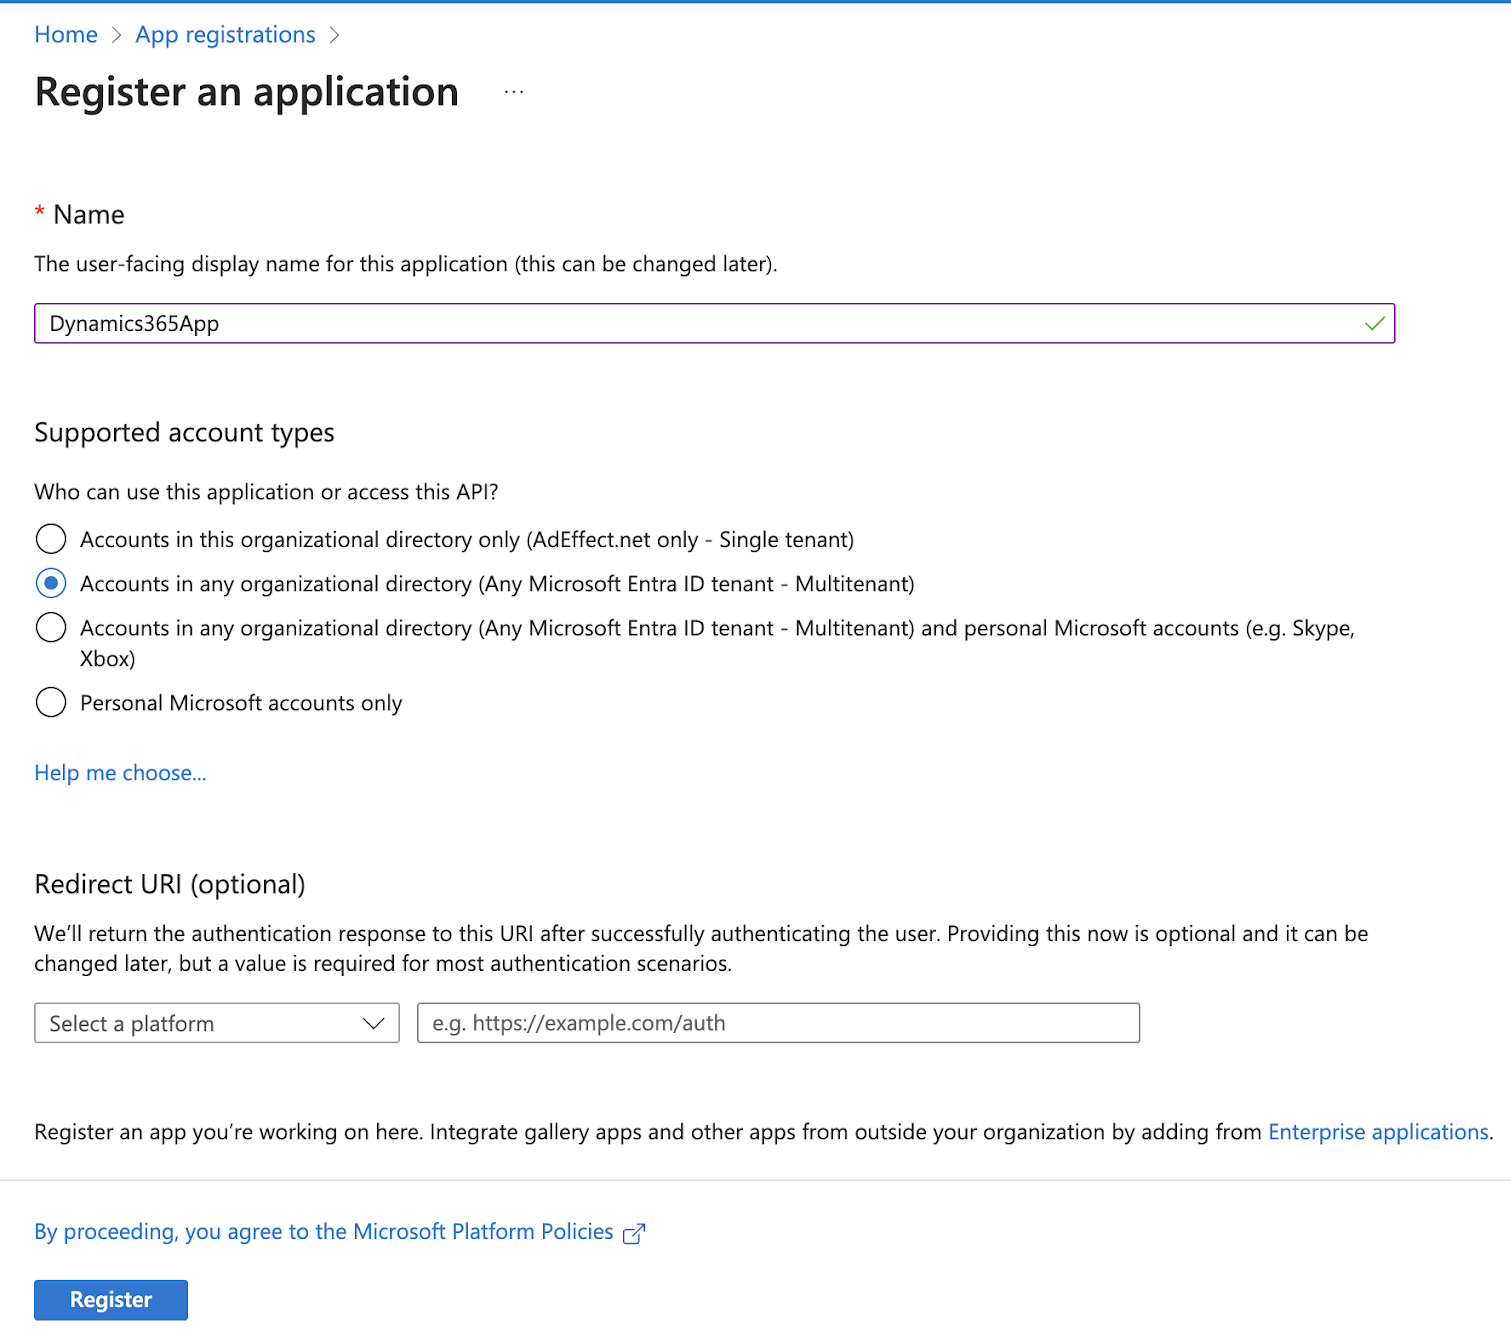
- Under Name, enter a meaningful name for the registration app.
- Under Supported Account Types, select Accounts in any organizational directory (Any Microsoft Entra ID tenant - Multitenant) using the radio button as shown in the image below.
- Leave the redirect URL blank.
Select Register.
Once the App is registered, you can copy the values displayed for Application (client) ID and Directory (tenant) ID. These values are required for integrating MS Dynamics with Zeotap CDP.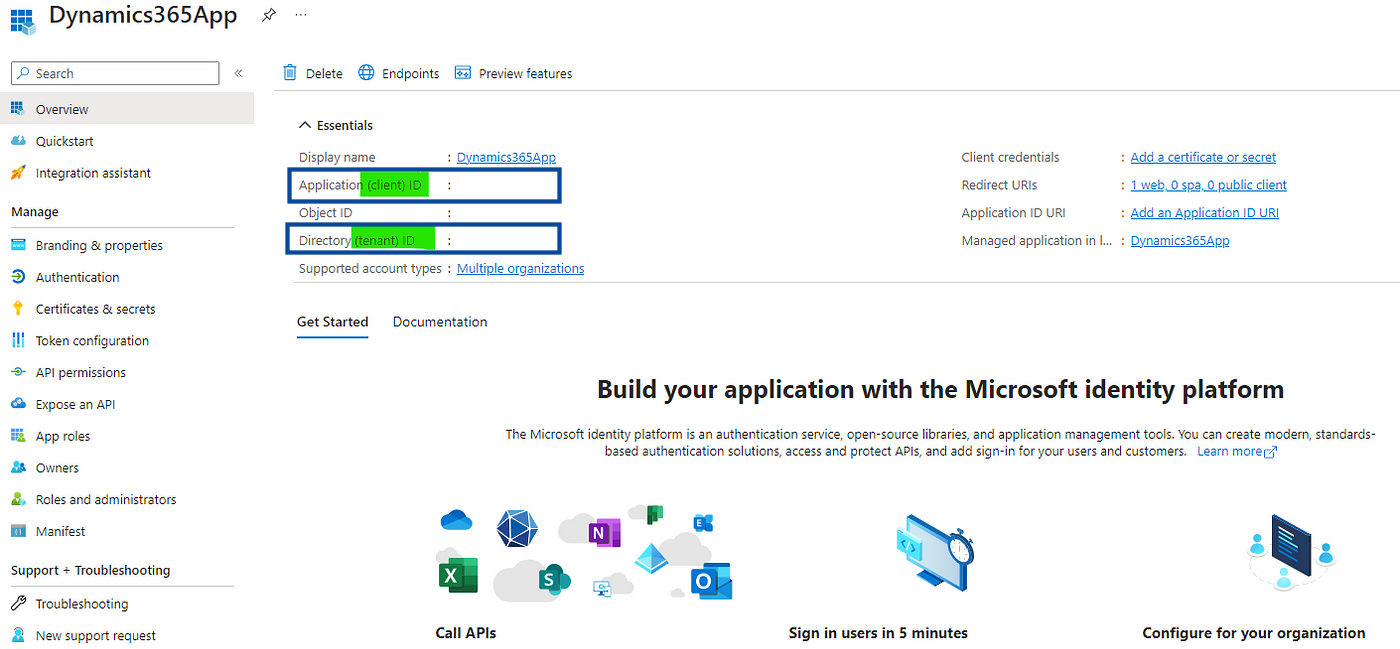
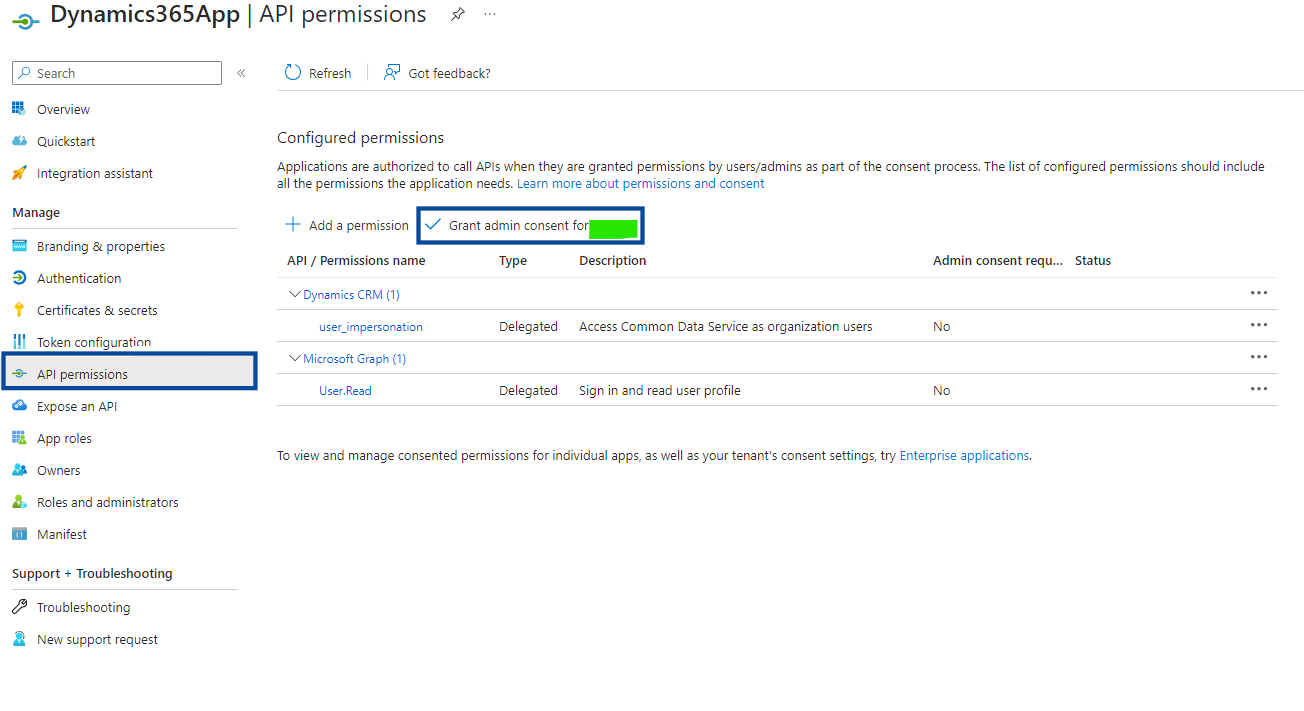
Next, you must provide the necessary permissions for the API. To do so, in the left navigation panel, click API Permissions.
Under Select permissions, use the checkbox to select the user_impersonation permission and click Add permissions.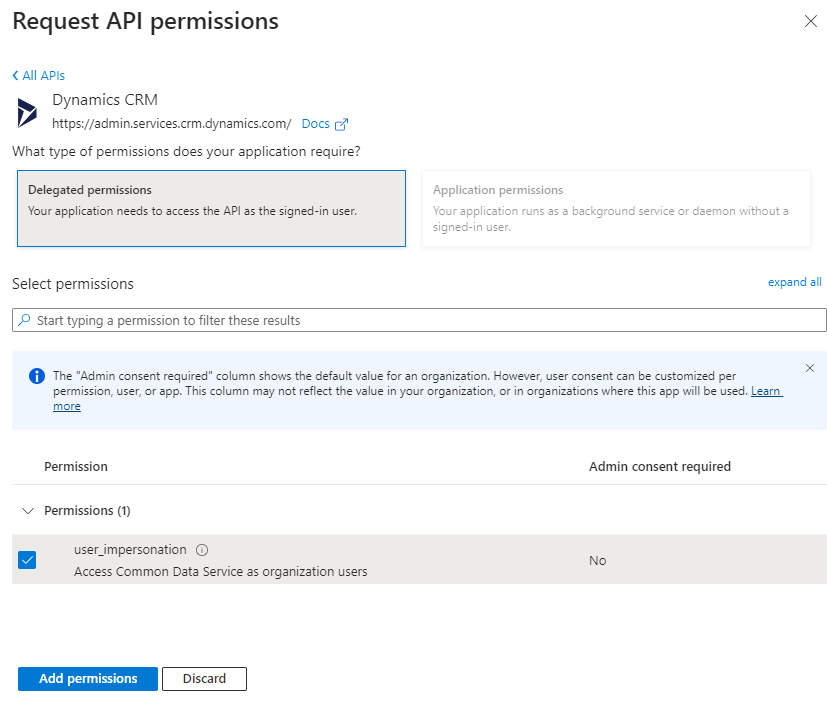
In the new window that appears, provide the following details:a. In the Description field, enter a short description for the client secret.b. For Expires, choose the validity of the client secret using the drop-down menu.c. Click Add.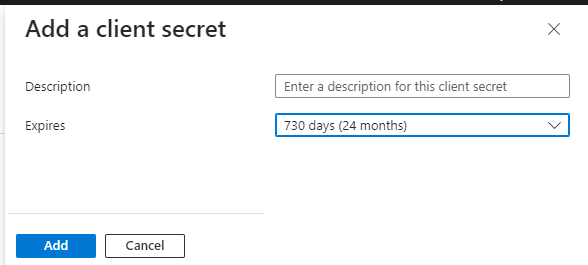
To find the client secret added, in the left navigation panel, click Certificates & secrets and go to the Client secrets tab as shown below.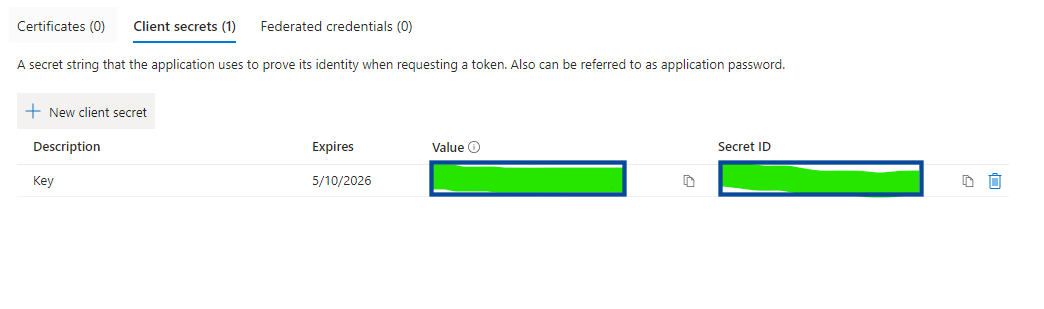
Copy the value displayed under Value. This is the App Client Secret required when creating a MS Dynamics CRM source in Zeotap CDP. The value is shown only once, so copy and save it securely.
Step 2: Grant Dynamics 365 App Permissions in Power Automate Portal
Log into the Power Automate portal at https://admin.powerplatform.microsoft.com/.
In the left navigation panel, click Environments and then choose the environment where your Dynamics CRM is located as shown below.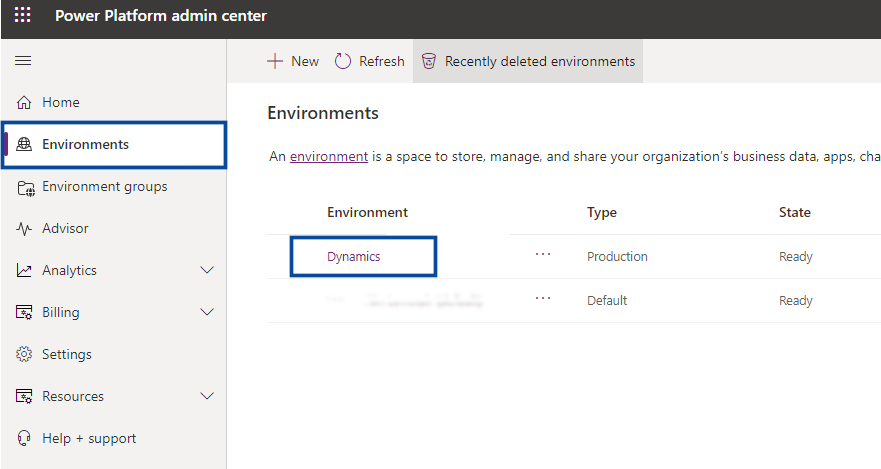
Click Settings. Under Details, find the Environmental URL as shown in the image below. This is the Organizational URL required when creating the MS Dynamics CRM source in Zeotap CDP.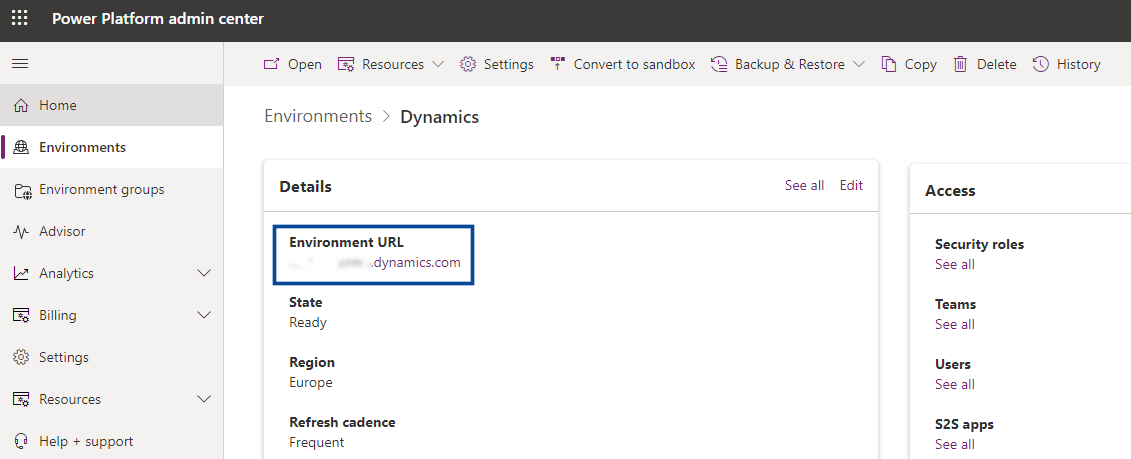
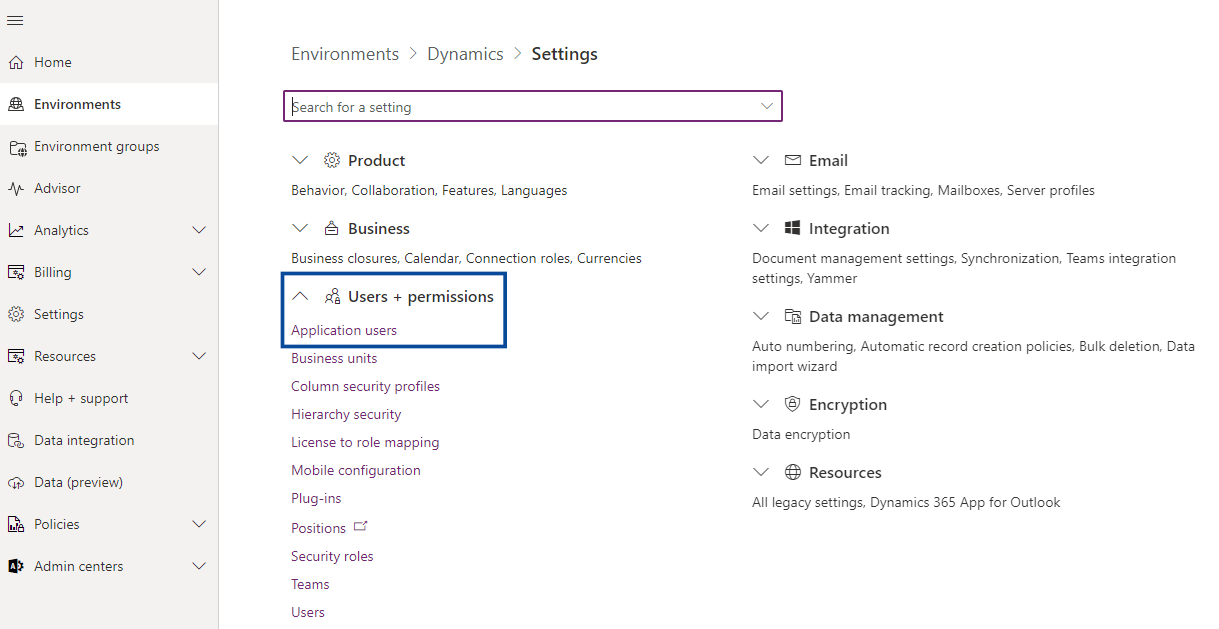
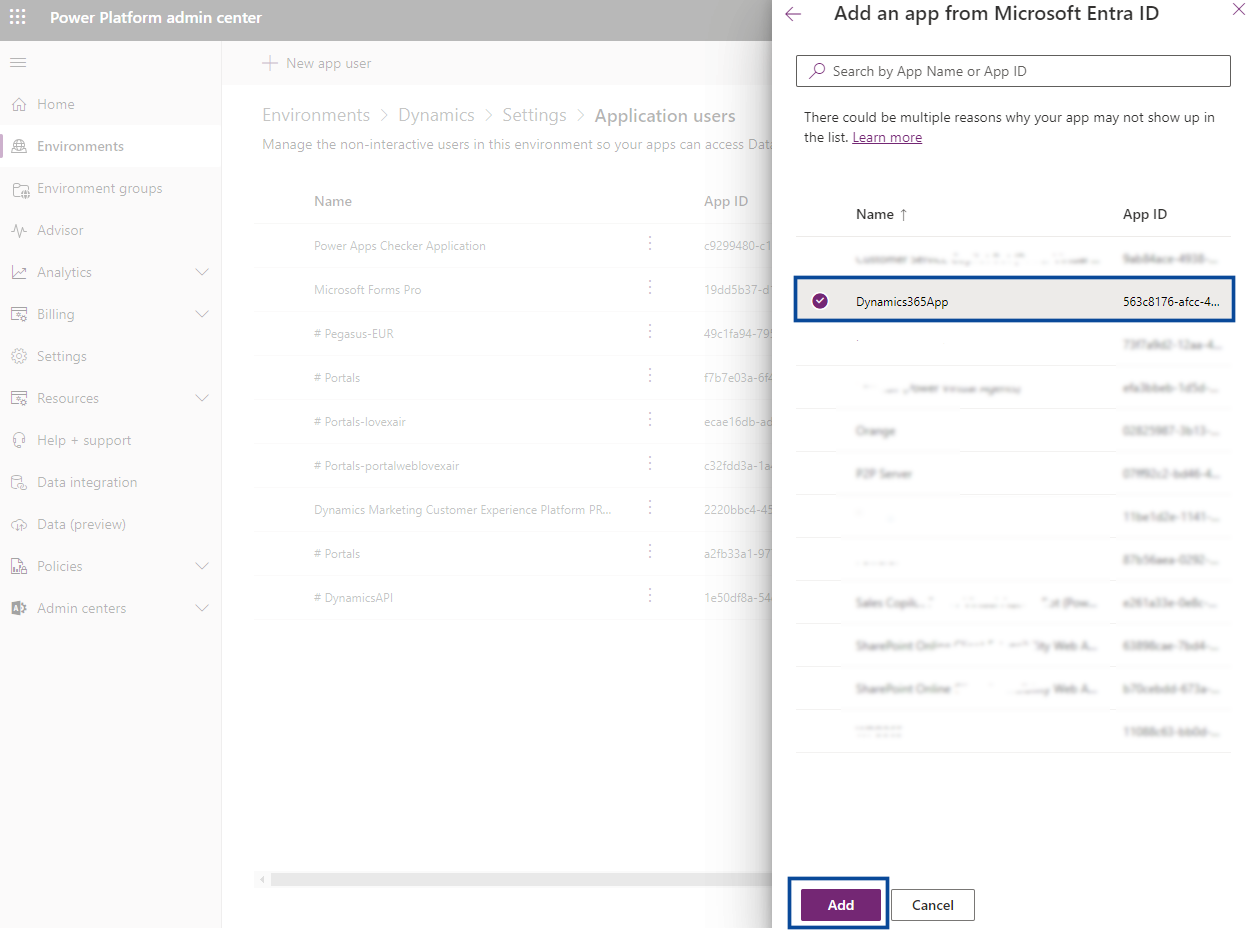
In the Create a new app user window, under App, choose the Business unit using the drop-down menu and then click + Add an app.
Once done, you will be taken back to Create a new app user window. Next to Security Roles, select the Edit icon as shown below.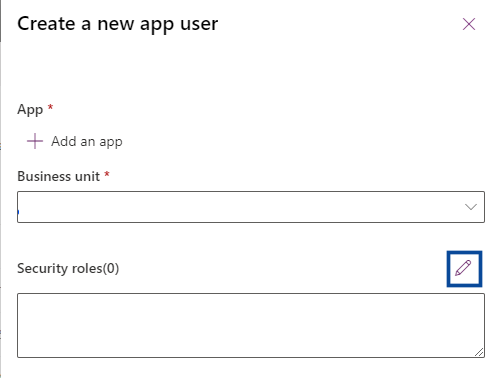
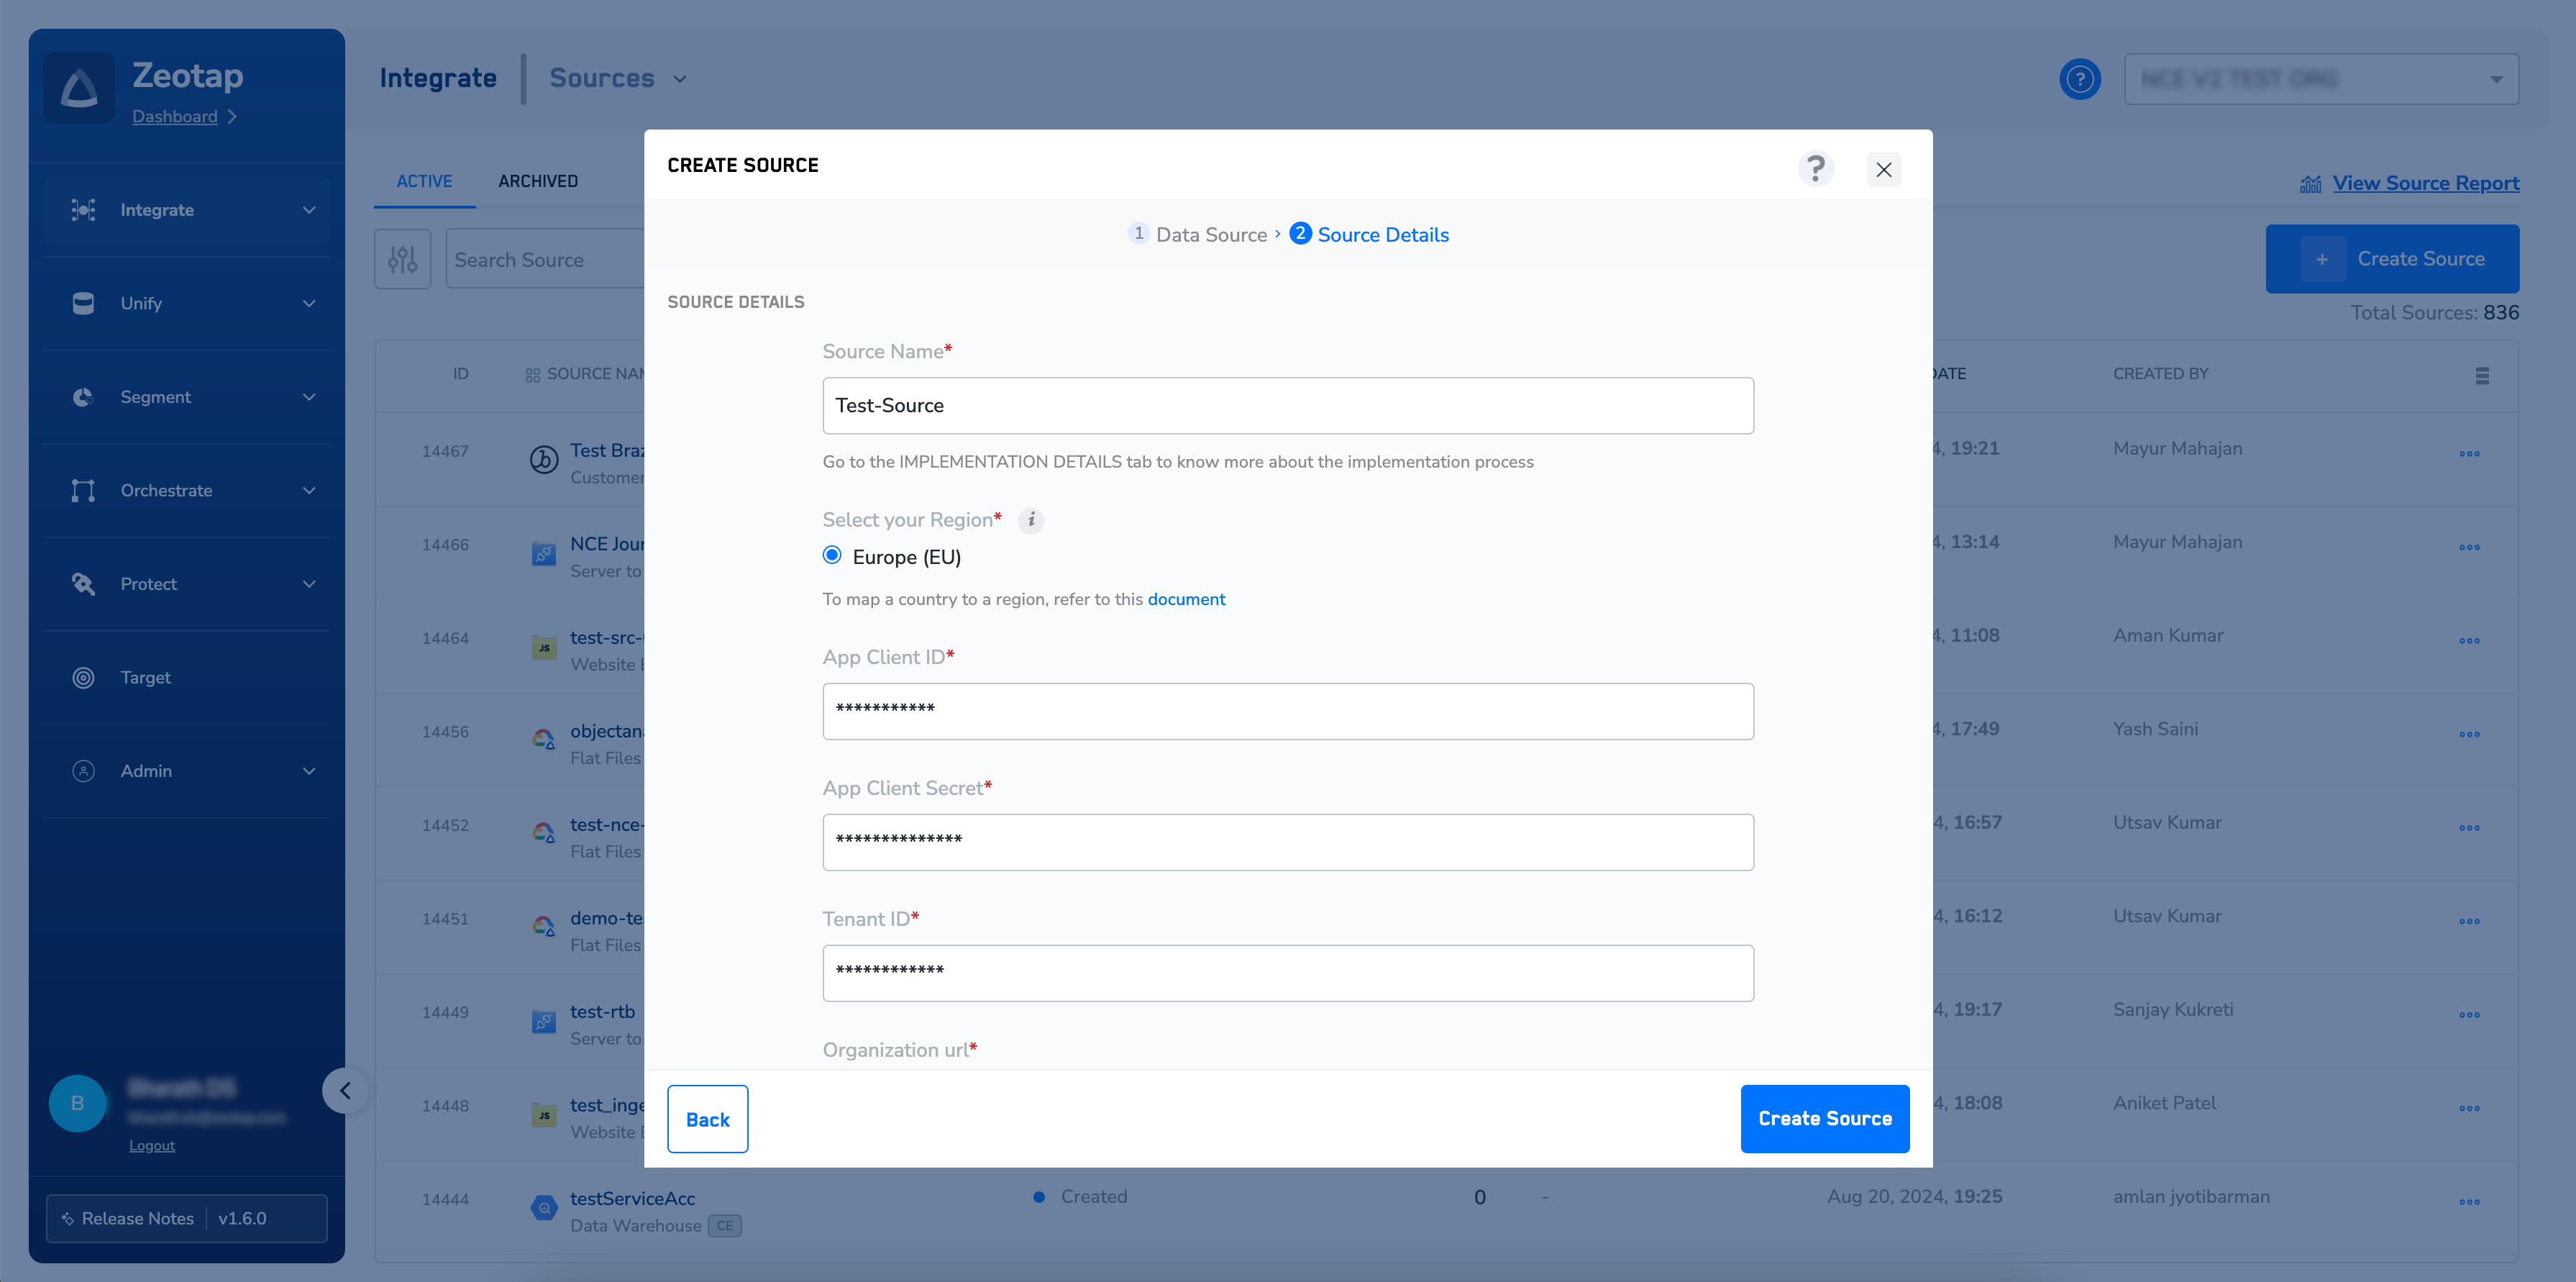
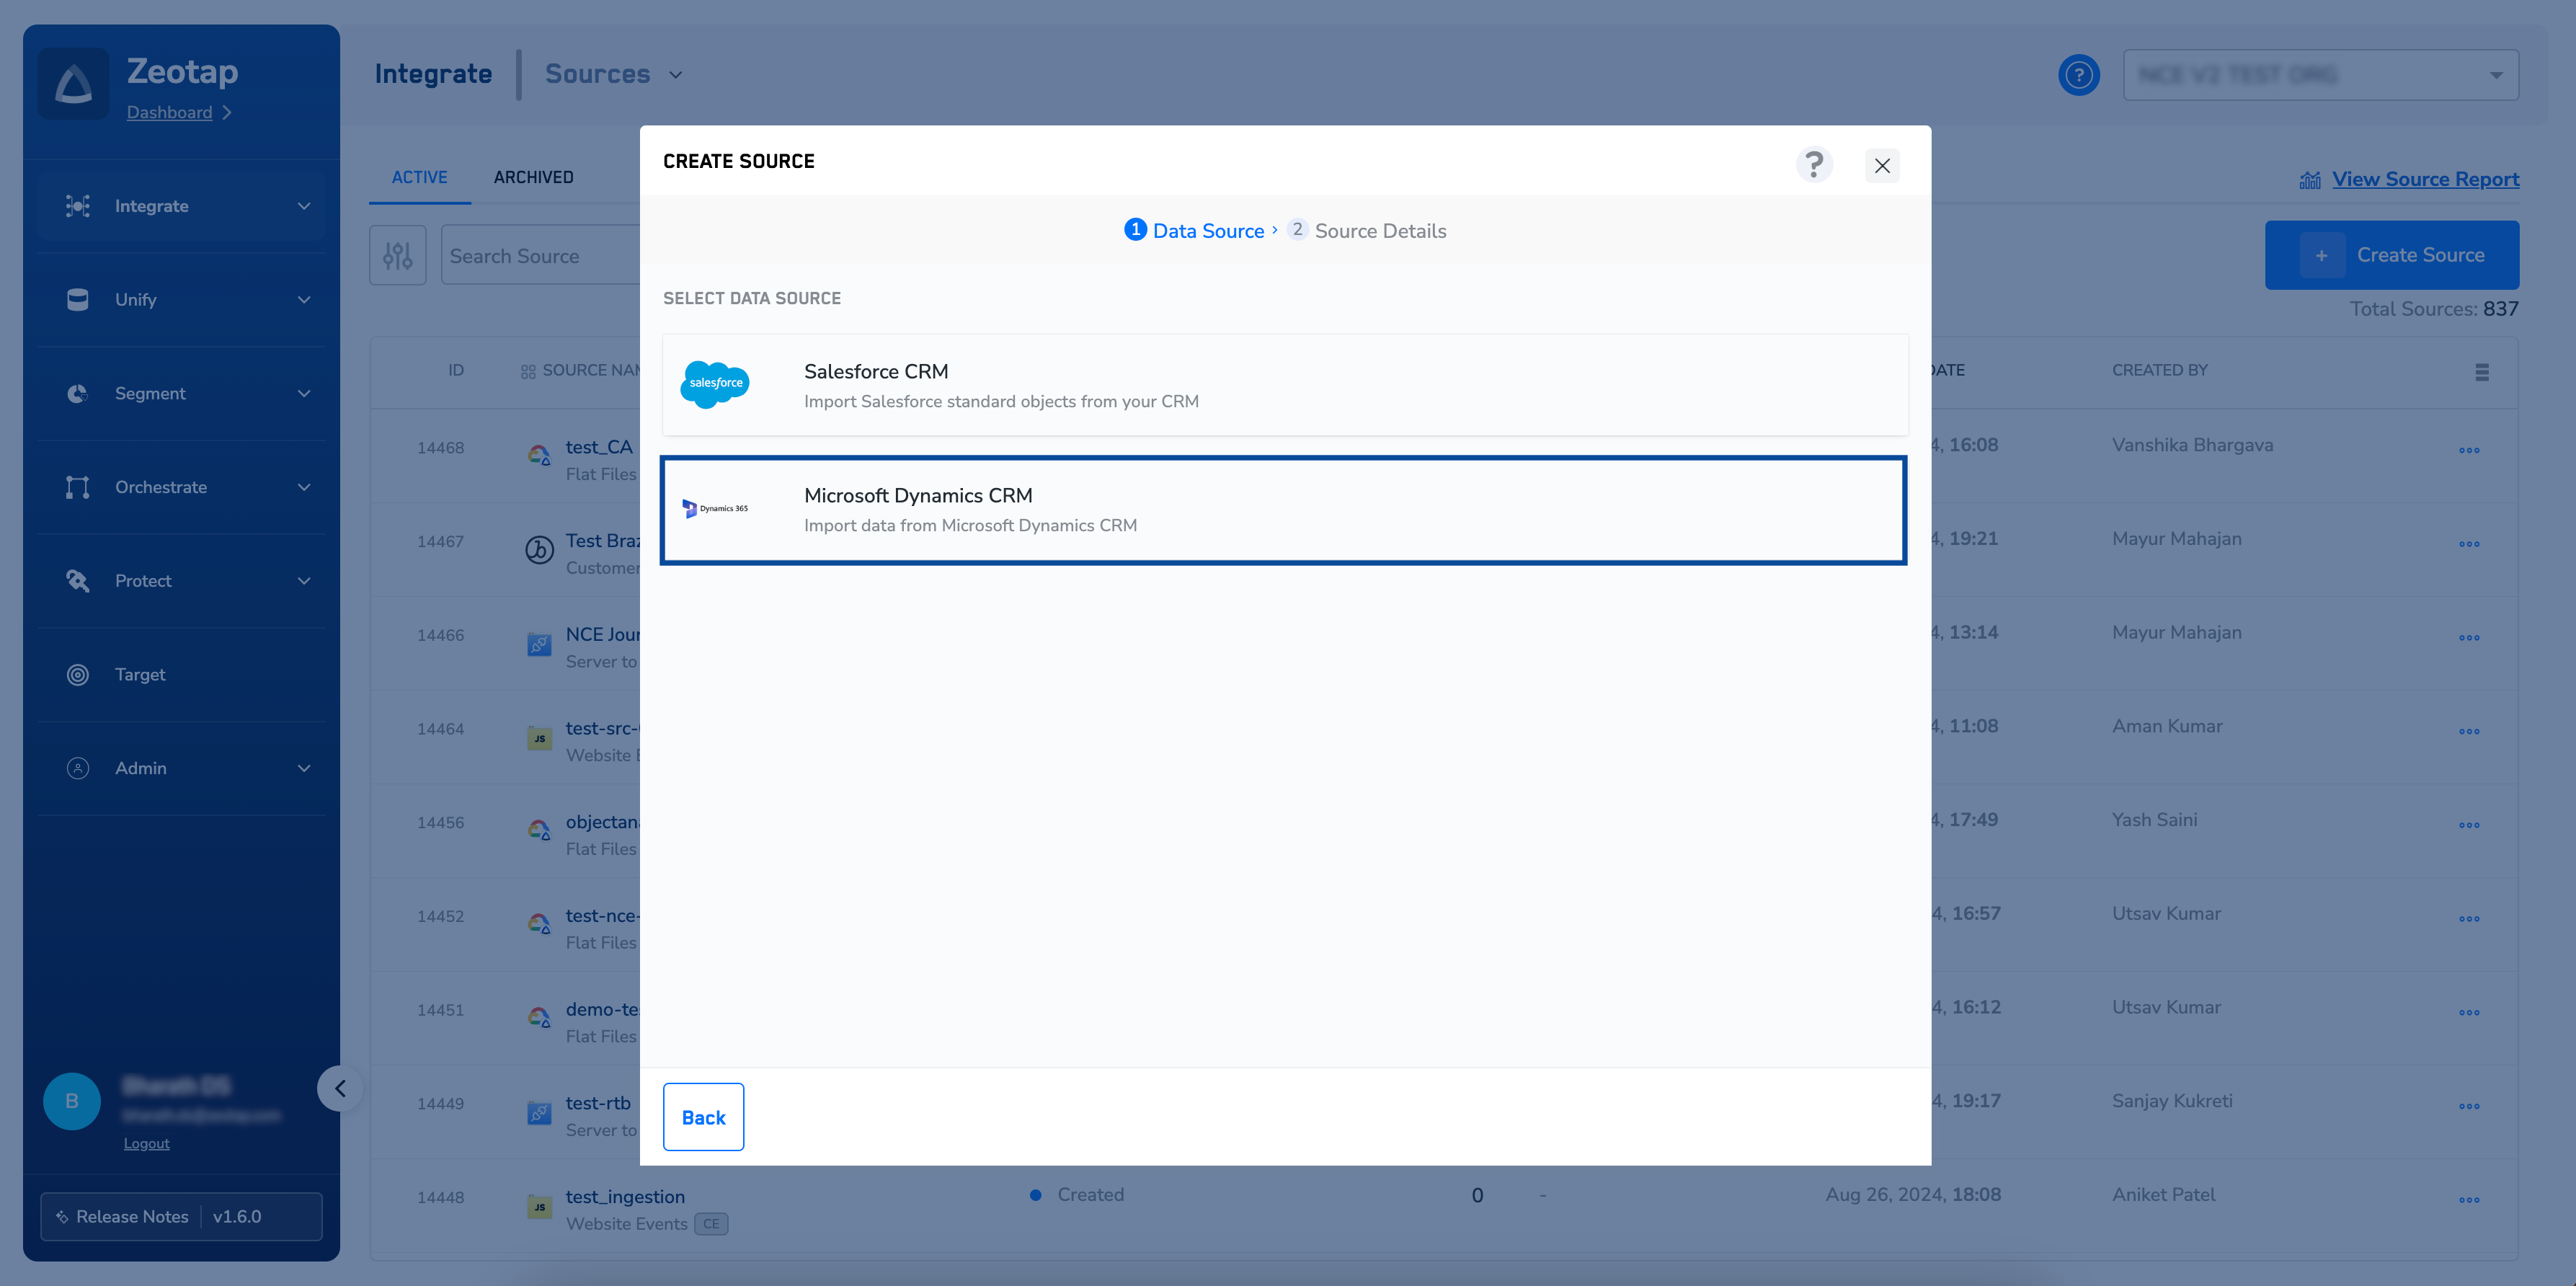
Create an MS Dynamics Source in Zeotap CDP
Perform the following steps to create a Salesforce CRM Source in the Zeotap CDP App: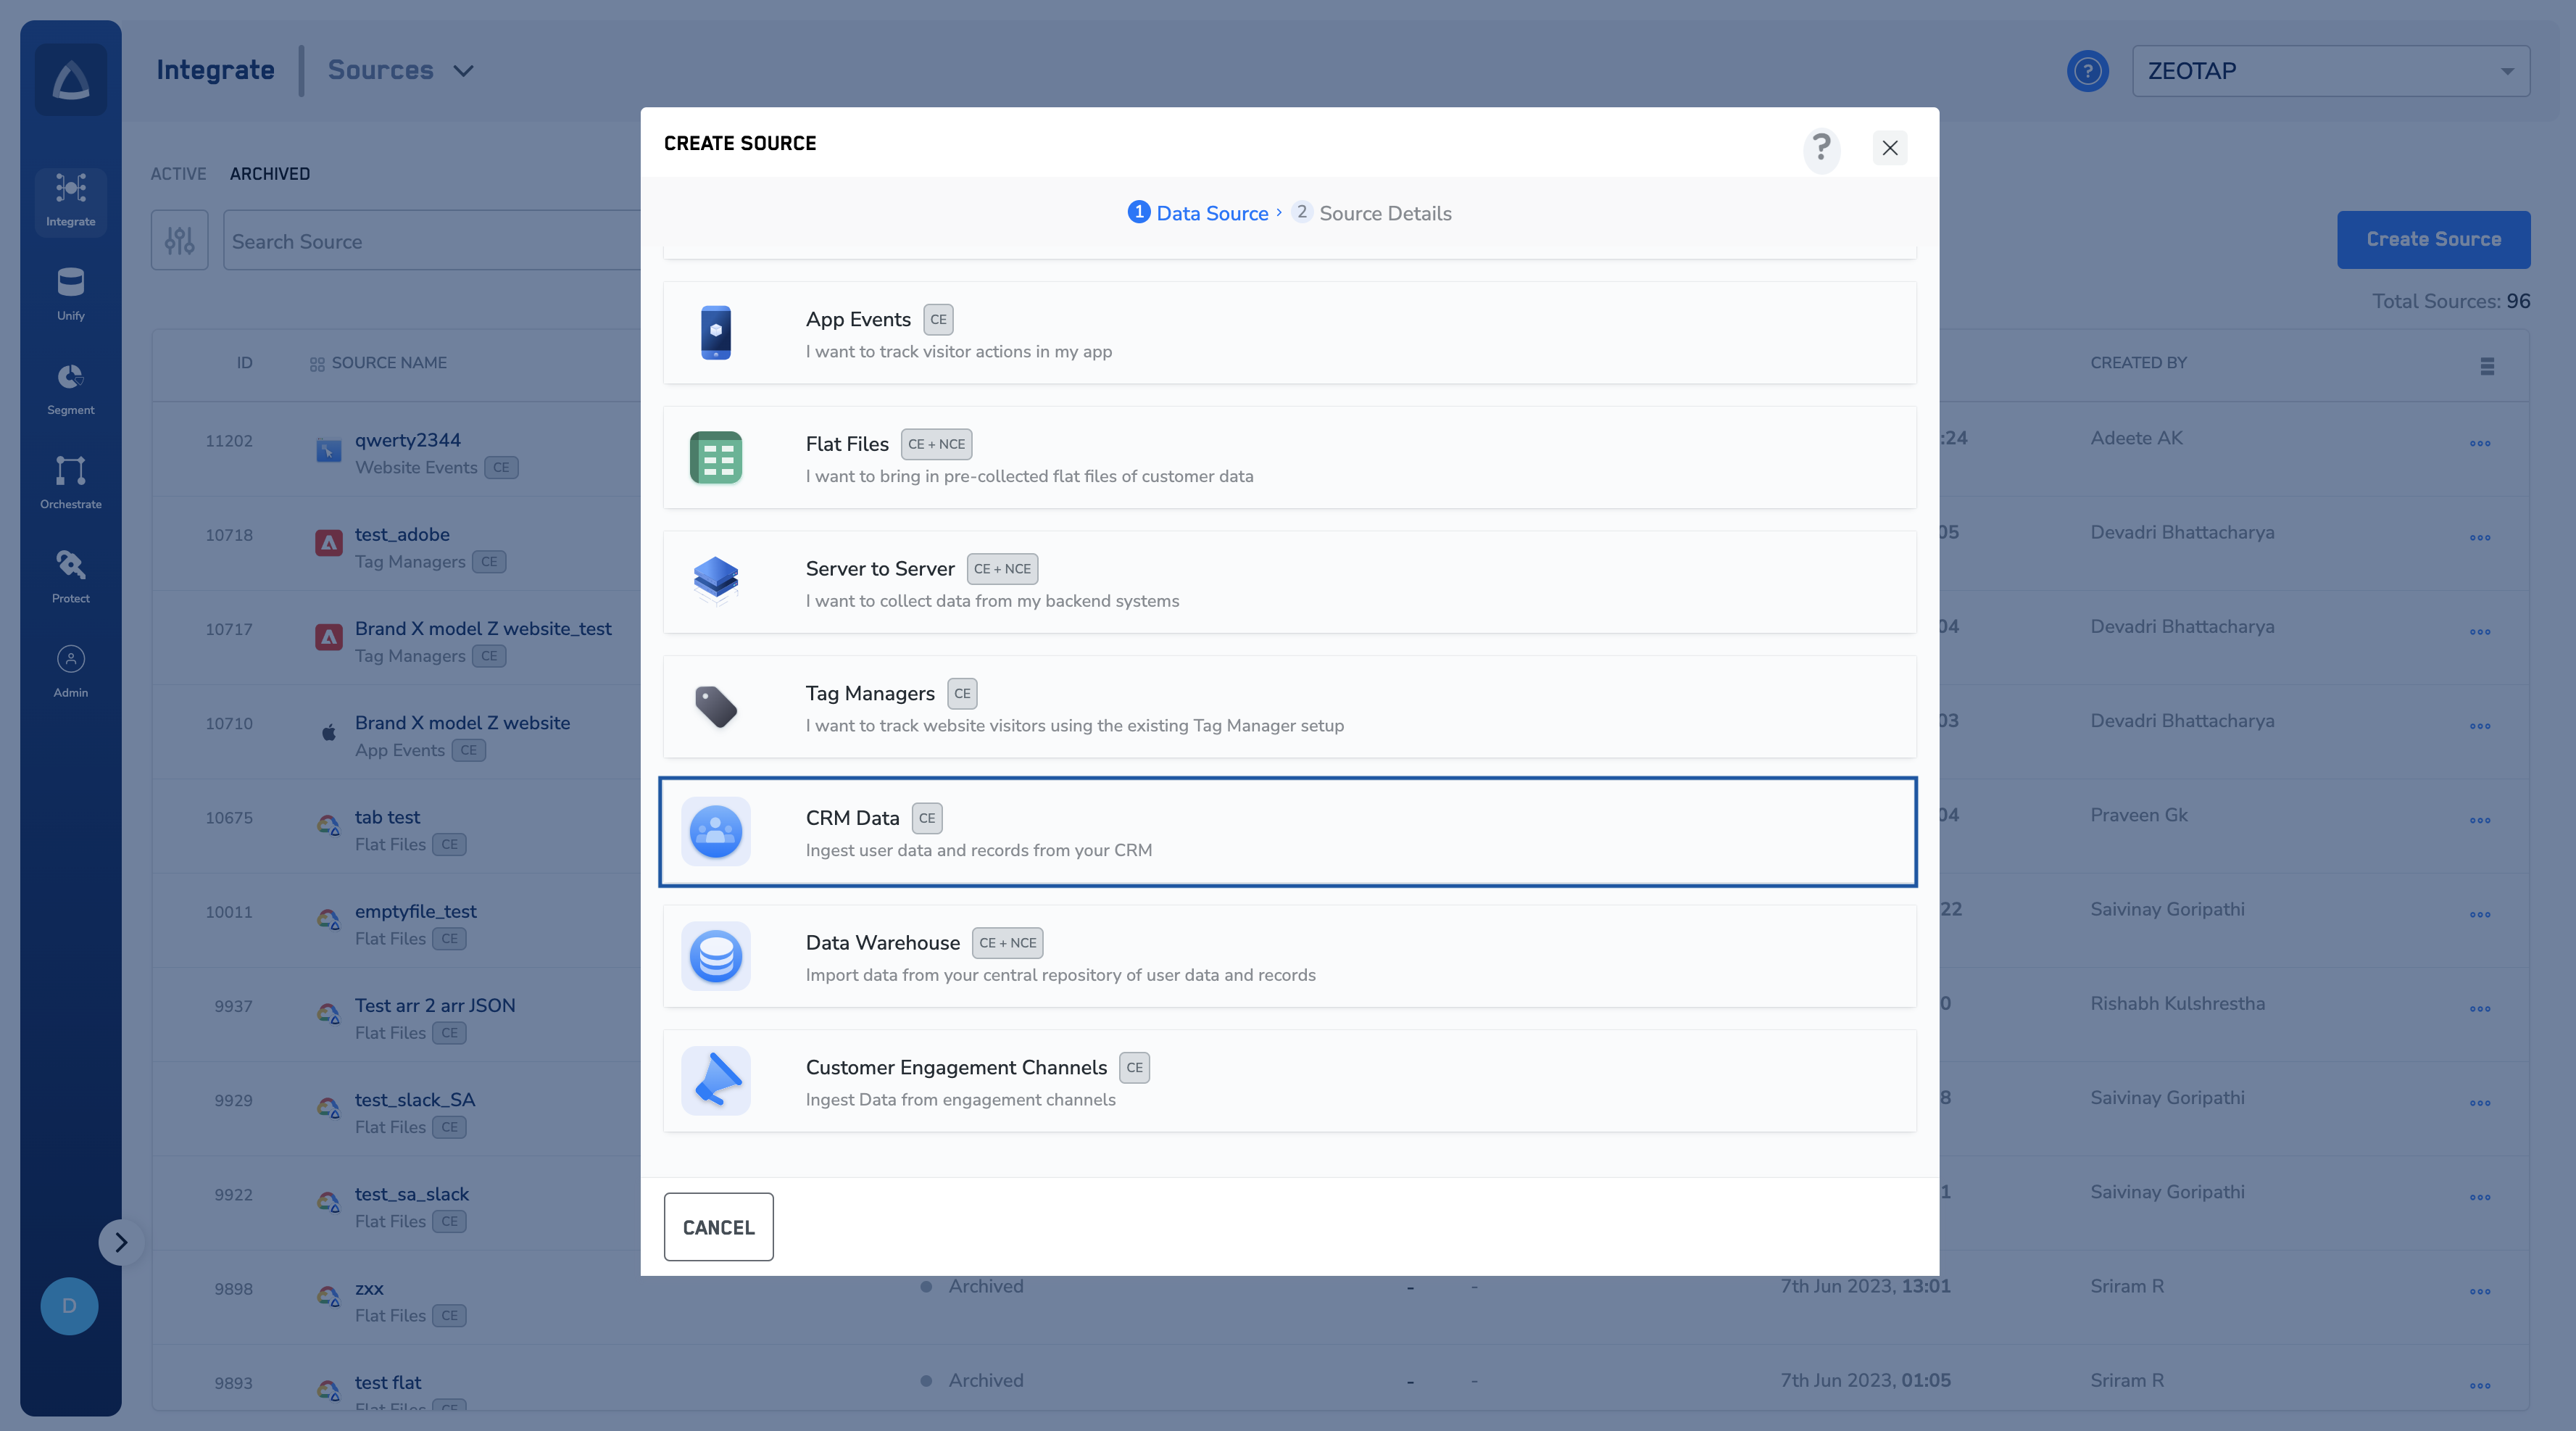
Enter the App Client ID, App Client Secret, Tenant ID and Organisational URL obtained from the Azure portal in the respective fields. For more information about how to obtain these values, refer to the Prerequisites section.
Provide the desired Entity name. For example, account, campaign and incident (case) can be used to track and support sales, marketing and service activities. To learn more about what entities mean in MS Dynamics, refer here.
Under Data Entity, depending on the type of data you want to ingest, choose either Customer Data or Non Customer Data and proceed with the Source creation. To know more about Customer Data and Non Customer Data, refer here.