1
Begin by adding an entry condition and providing the basic details, such as the Workflow Title and Description.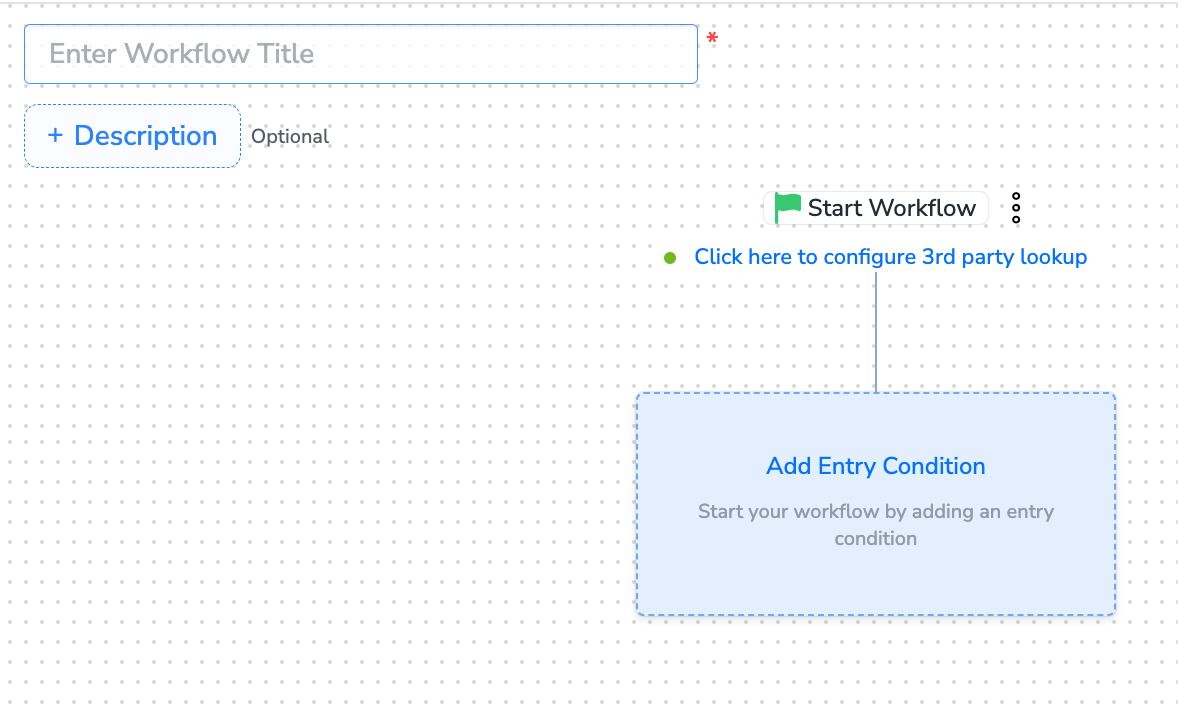
2
Perform Actions in Workflow Creation. The following actions are available during workflow creation:
Add an Entry Condition
Add a Delay
Add a Condition
Apply Multi-branch Split
Apply True/False Split
Save as Draft
Add or Delete a Node
Name a Node
Add Re-entry Criteria
Understand Audience Logging
3
After adding conditions and filters for users, choose one of the following options:
- Save Draft: Enables you to revisit and edit the workflow before publishing.
- Next: Re-entry Condition: Determines whether a user can re-enter the same workflow.
4
After defining the re-entry criteria, click Publish Workflow. The workflow appears in the Workflow Listing screen with a Published status.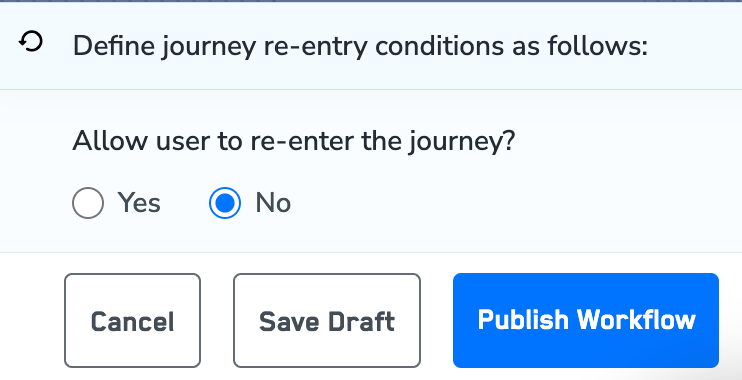
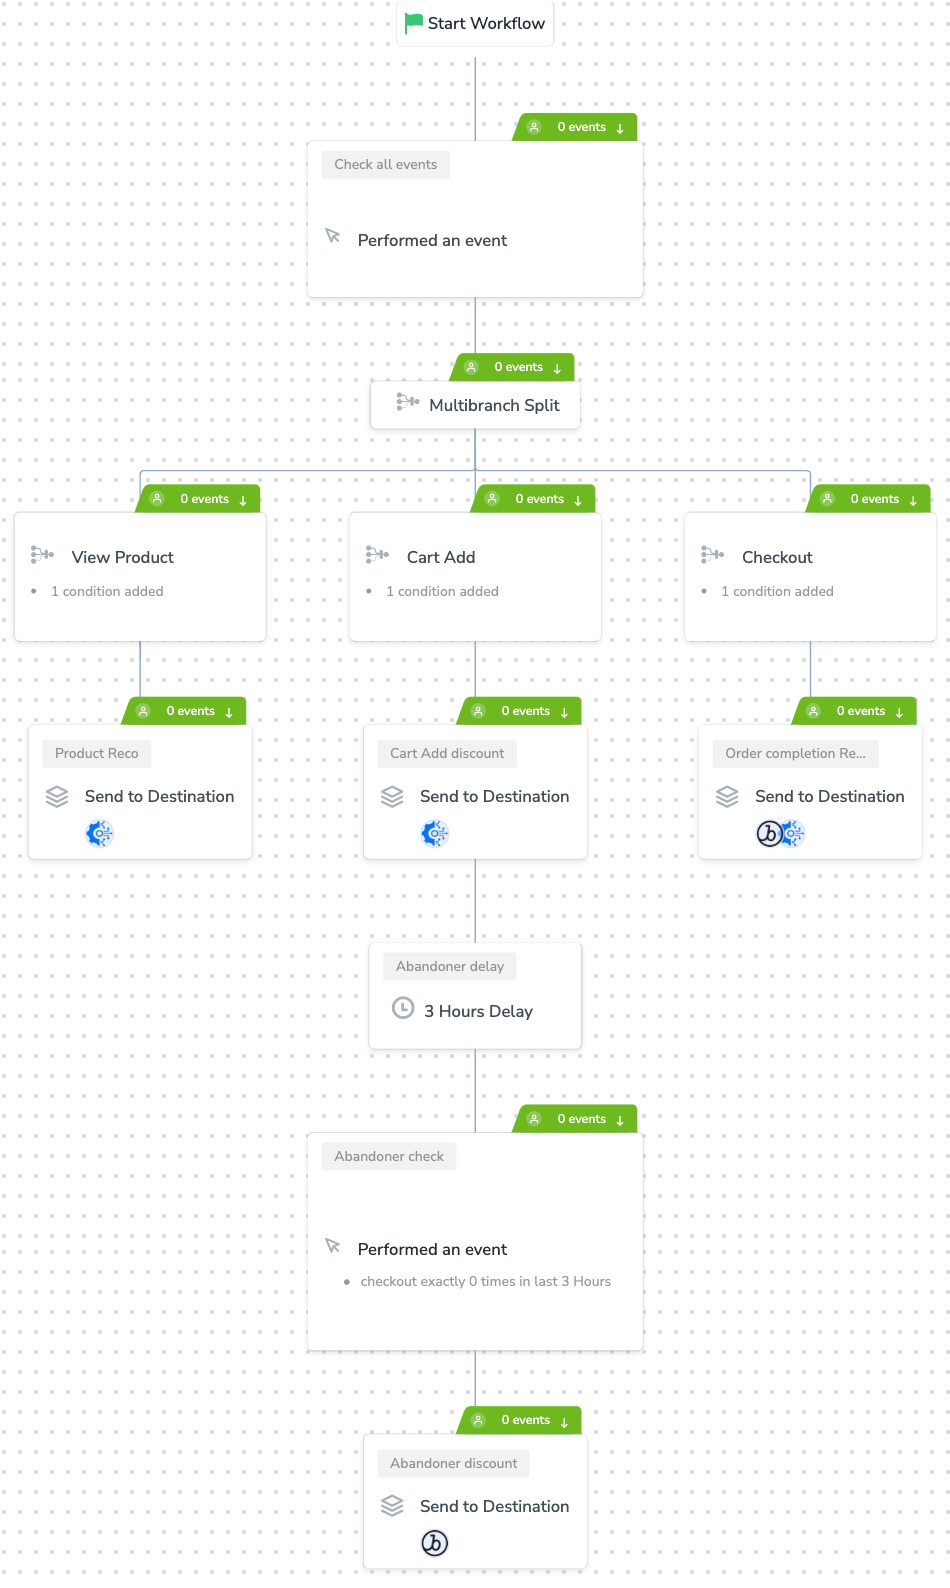
Sample Workflow