Create Folders and Sub-Folders
Search a Folder
Collapse/Expand Folders
Rename a Folder
Delete Folder
Drag and Drop the Folders
Create Folders and Sub-Folders
By using Folders and Sub-Folders, you can categorise and group your Workflows effectively. Use the options mentioned below to create folders and sub-folders. Note that, by default, the default and archived folders are created automatically, when you create a new workflow.Create Folders
To create a folder, click the + sign against Folders as shown below. Enter a name for the folder and click the tick mark against it.
Create Sub-Folders
To create a sub-folder, click the + sign against the folder under which you want to create the sub-folder. Enter a name for the sub-folder and click the tick mark against it. Note that you can create a maximum of five sub-folders.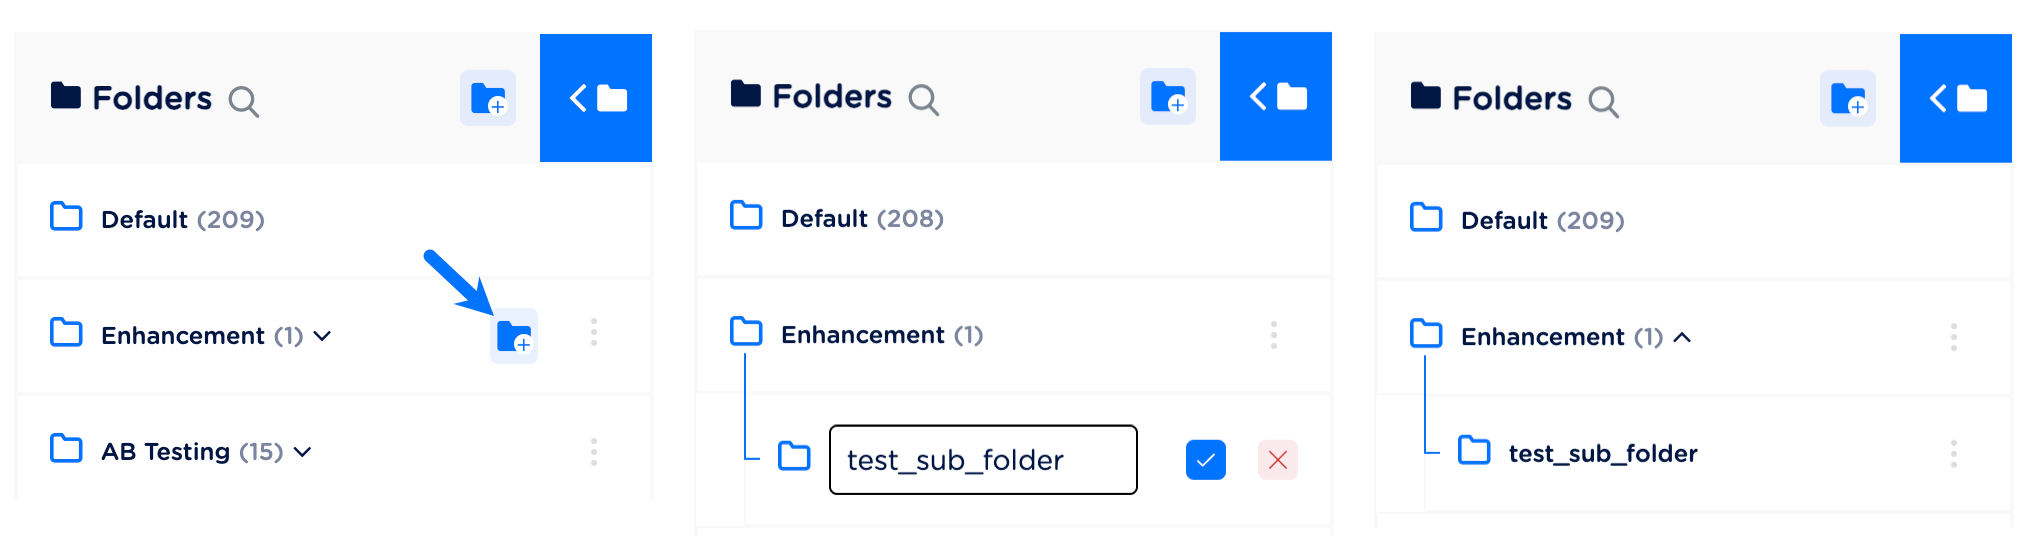
The following are some useful information related to naming a Folder/Sub-Folder:
- You cannot have the same name for any two folders or sub-folders.
- The folder name cannot be more than 35 characters including spaces.
- A new folder is always created or added at the top of the folder list.
Workflow Count
The count of Workflows residing in the folder is displayed at the folder level.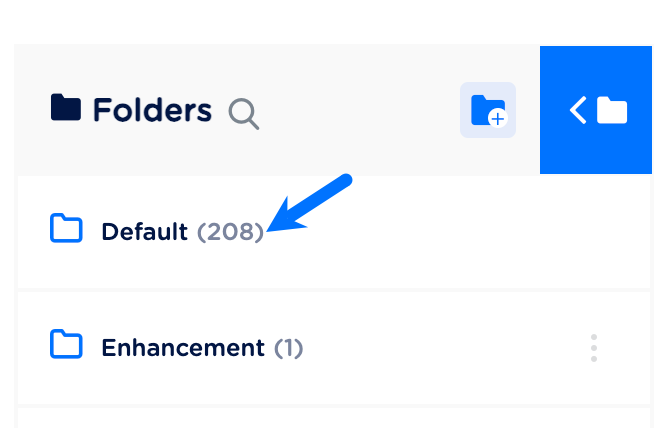
Search a Folder
The Search folder functionality offers several advantages to you as a customer. It saves you time by allowing you to quickly locate folders by name instead of manually navigating through numerous folders. It is particularly beneficial for you when dealing with large and complex folder structures, as you can instantly retrieve the desired folder regardless of its position in the hierarchy. The accuracy of search results ensures that you can find specific folders, even when dealing with similarly named folders or a large number of folders. To search for a particular folder, click the search icon and enter the name of the folder.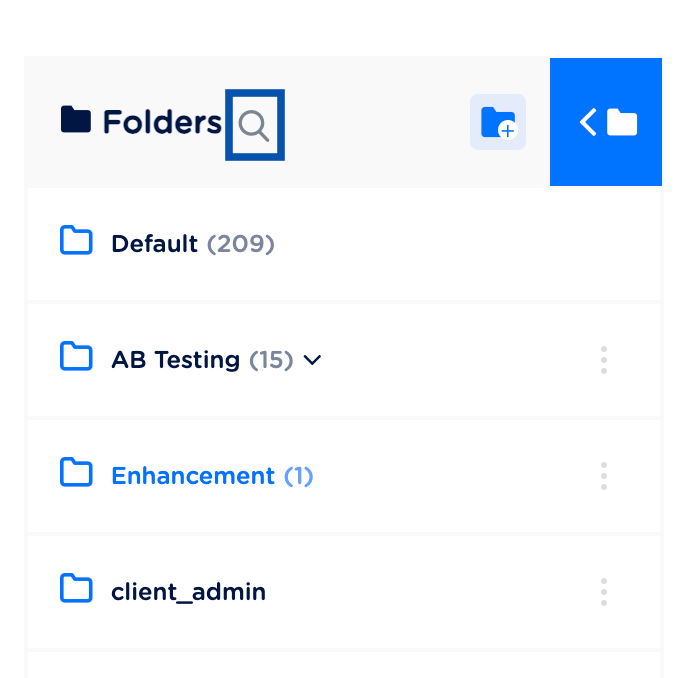
Collapse/Expand Folders
The functionality of collapsing or expanding folders provides you with the ability to customise your folder list display based on your preferences and needs. Collapsing the folder list frees up valuable screen real estate, allowing you to utilise a larger portion of the working area for your primary tasks. You can toggle between collapsing and expanding the folder list by clicking the folder icon.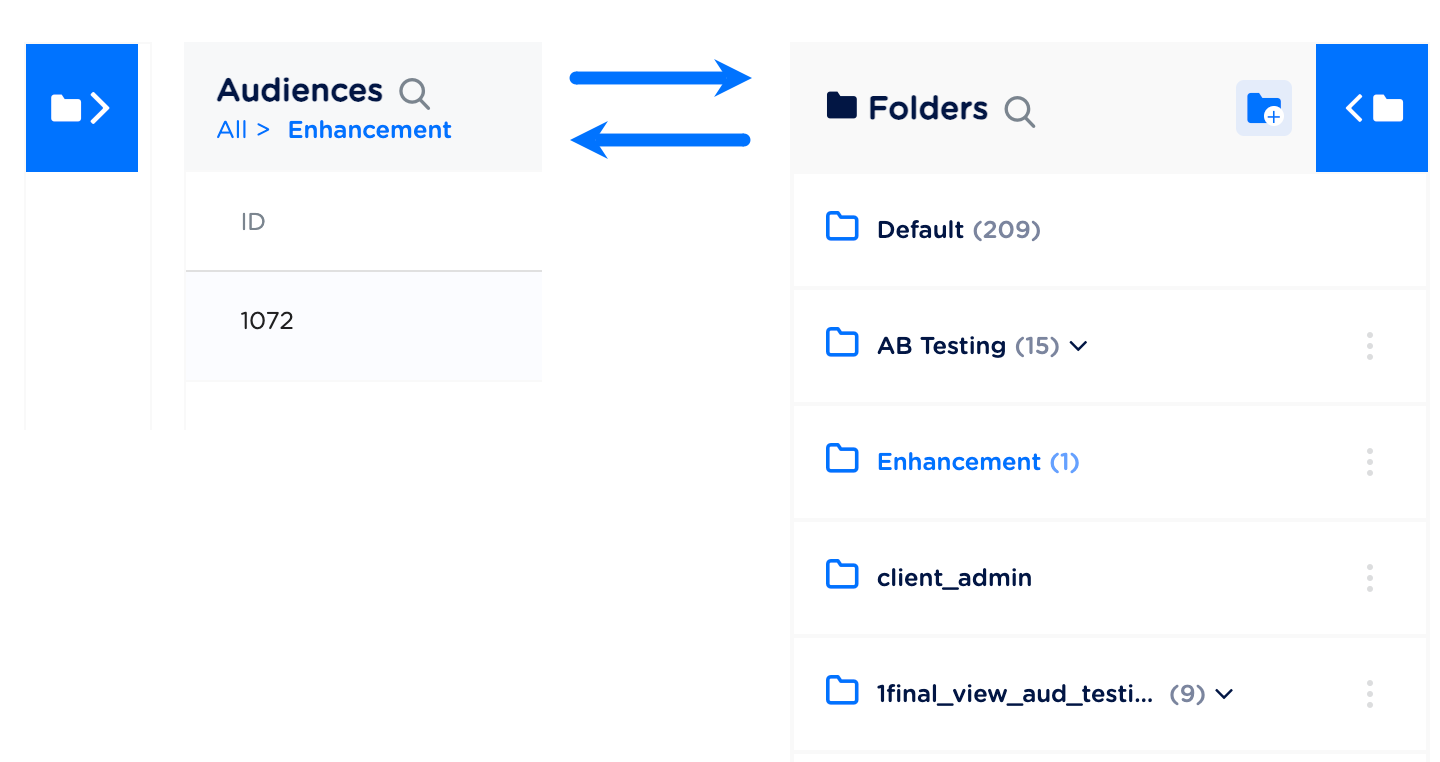
Rename a Folder
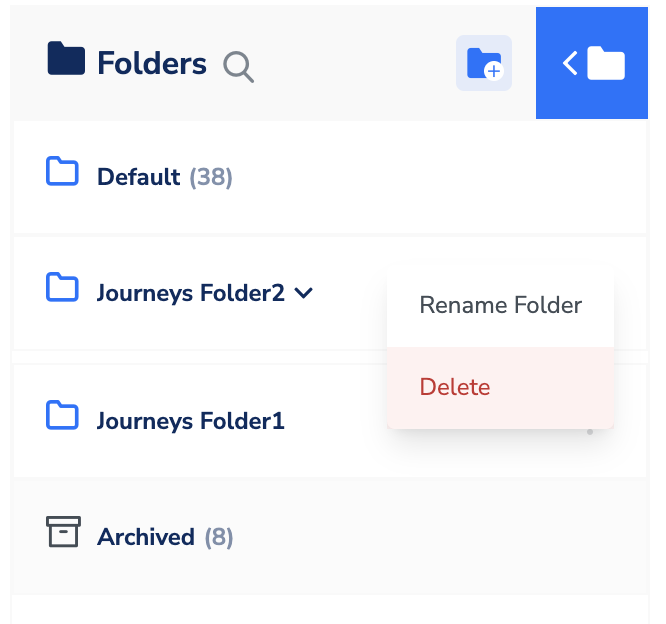
To rename a Folder/Sub-Folder, click the three dots against the folder that you want to rename and click Rename Folder. Enter a new name for the folder and click the tick mark.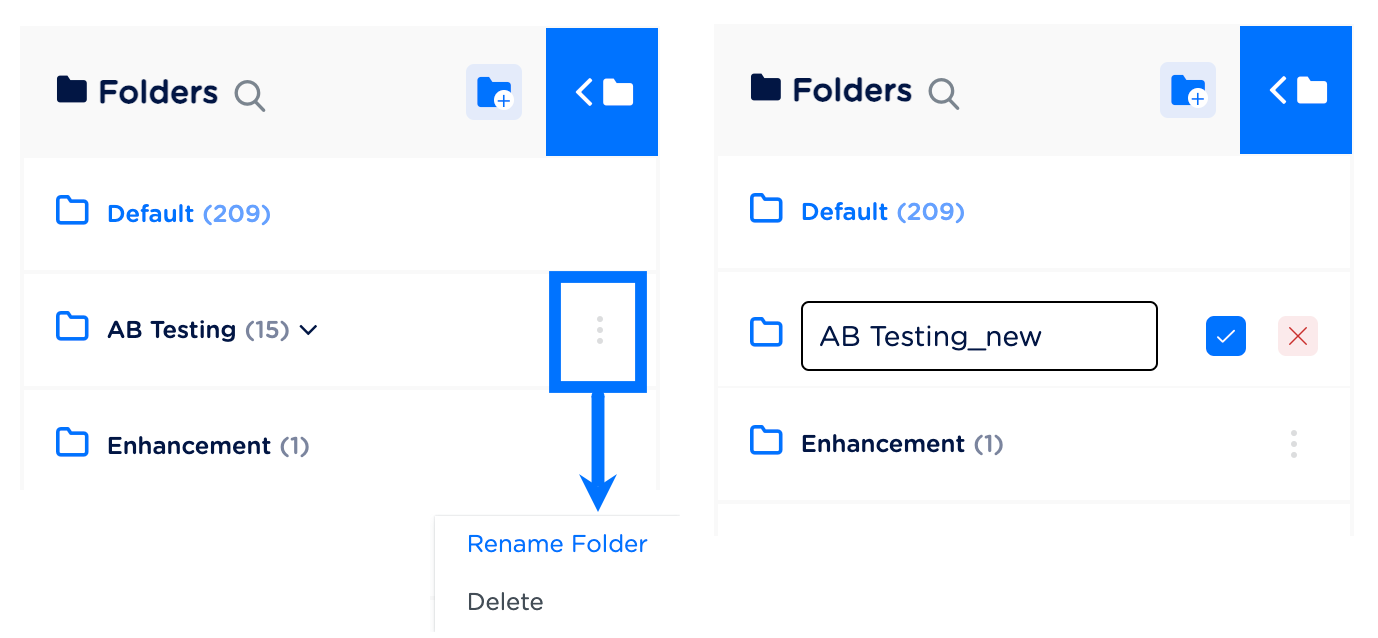
Delete a Folder
The Delete folder functionality allows you to remove folders from your active folder list. By performing the delete function, you can archive a folder along with its sub-folders. The system archives the folder and its Workflows only after you confirm the deletion. Note that when you delete a folder, all the sub-folders and Workflows contained within gets archived. Once archived, they cannot be retrieved back.