
Prerequisites

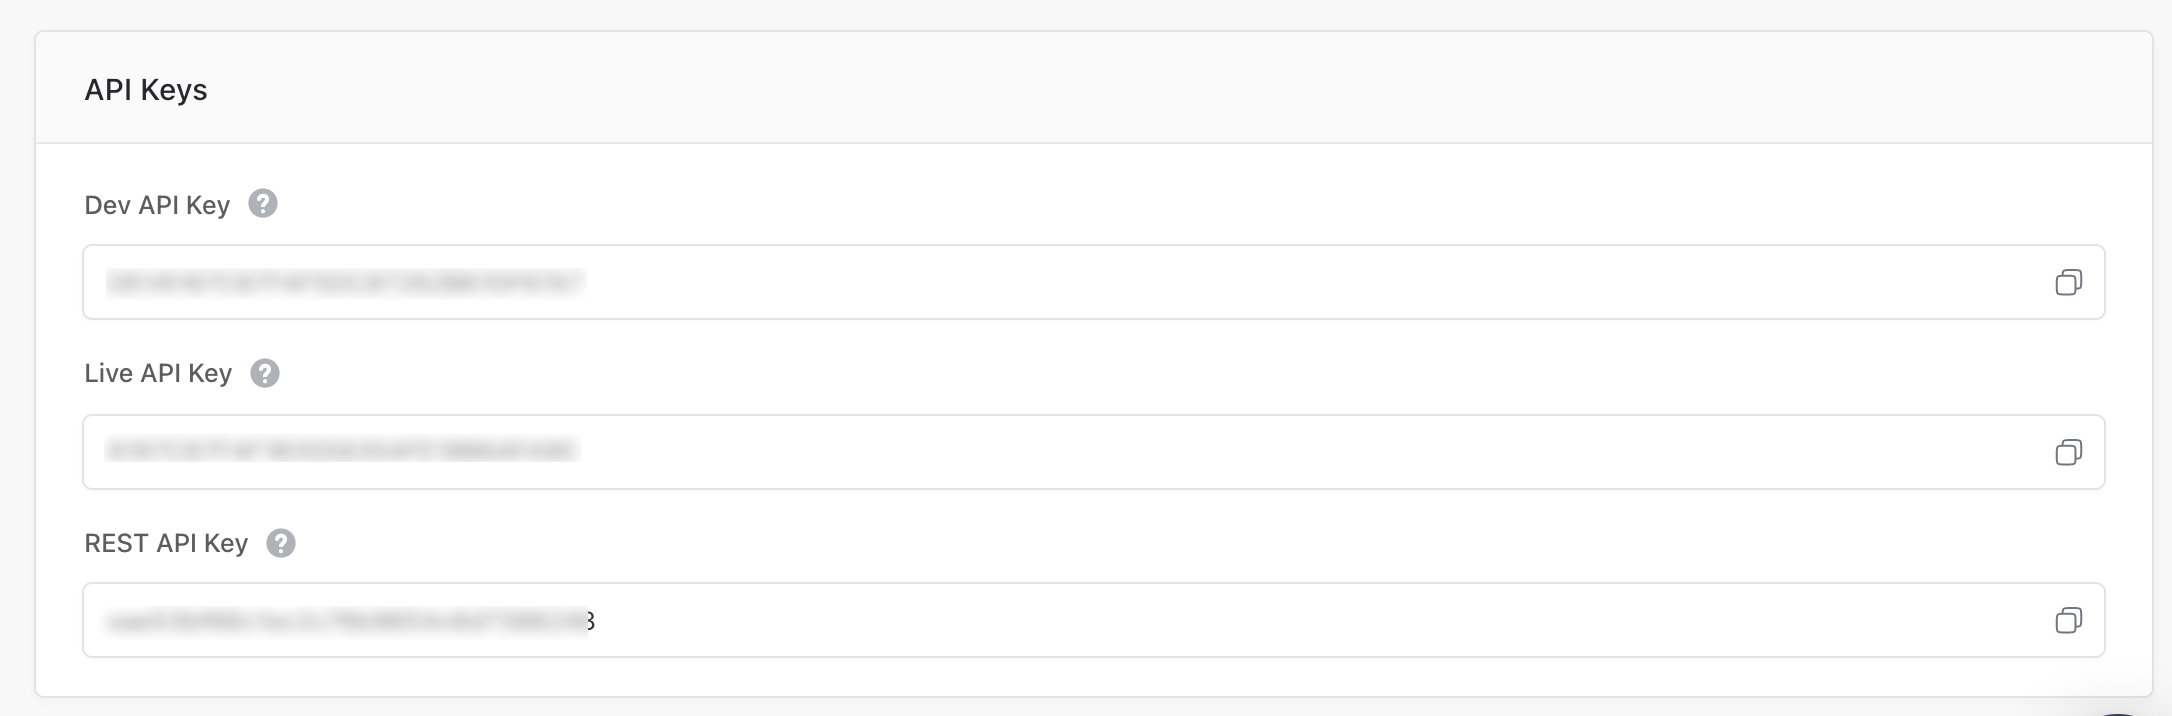
For you to create a Batch source, ensure that you have obtained the following details on the Batch console. To do so, perform the following steps:
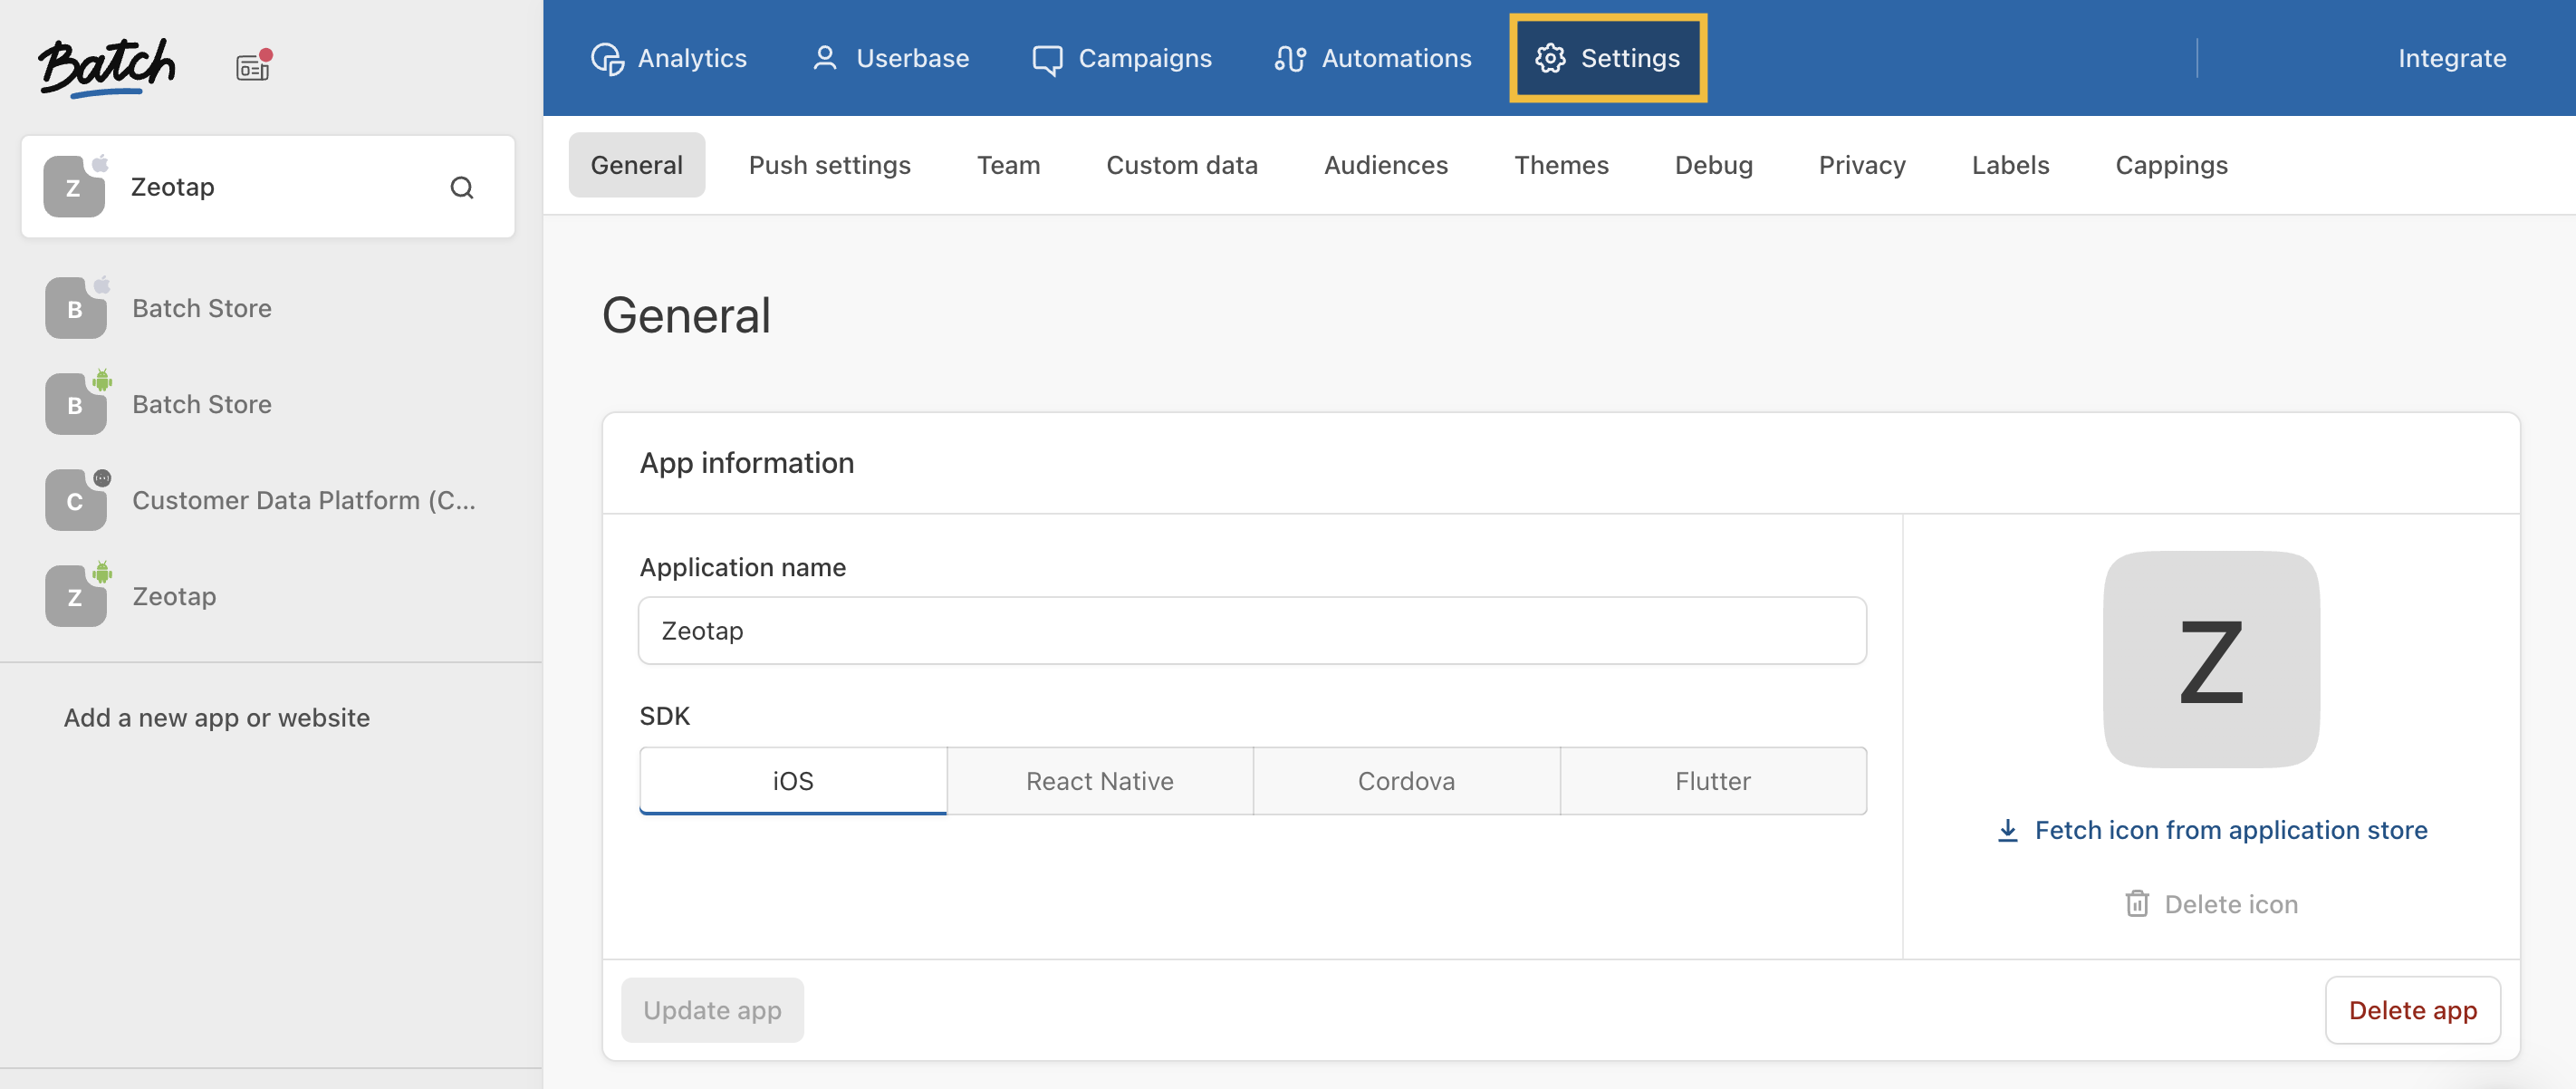
1
Navigate to the Batch Dashboard and click SETTINGS from the top panel as shown below.
2
The General tab of the SETTINGS page displays the API keys. Copy the Live API Key and REST API Key and use them while creating the Destination.

Create a Source

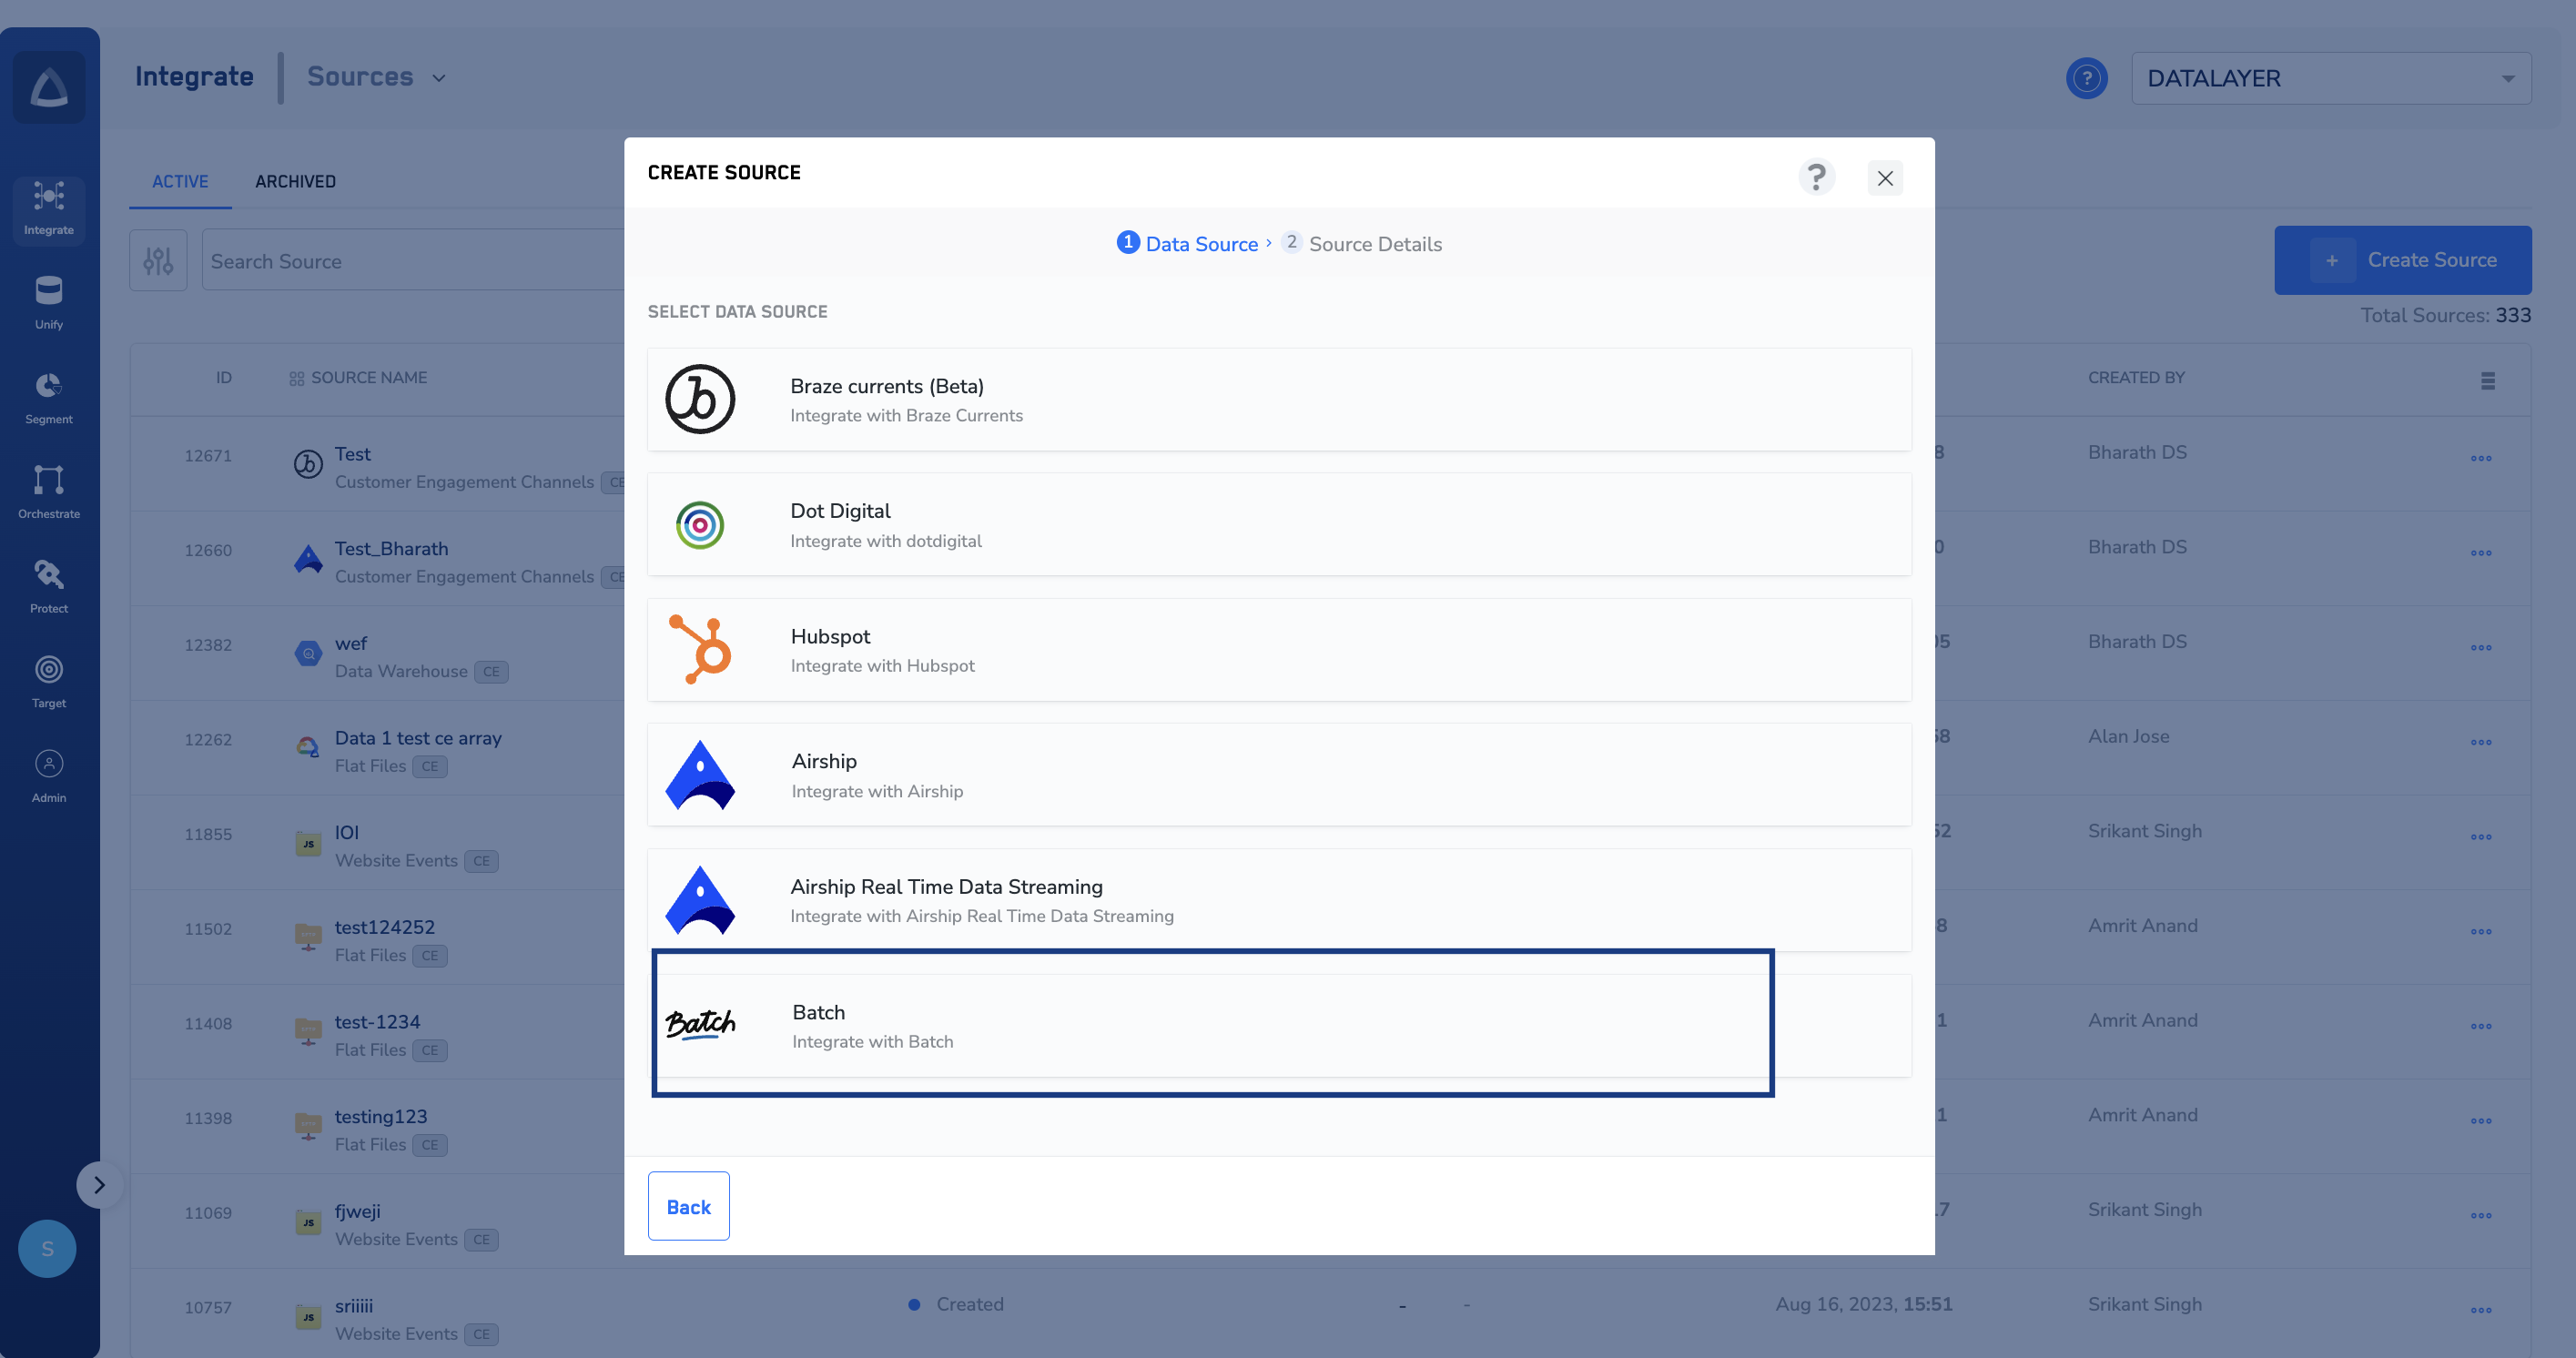
Perform the following steps to establish a connection with Batch by using their built-in connector through Sources:
1
Navigate to the Sources application under Integrate, in the Zeotap CDP App.
2
Click CREATE SOURCE.
3
Choose Customer Engagement Channels as the Category.
4
Click Batch as the Data Source.
5
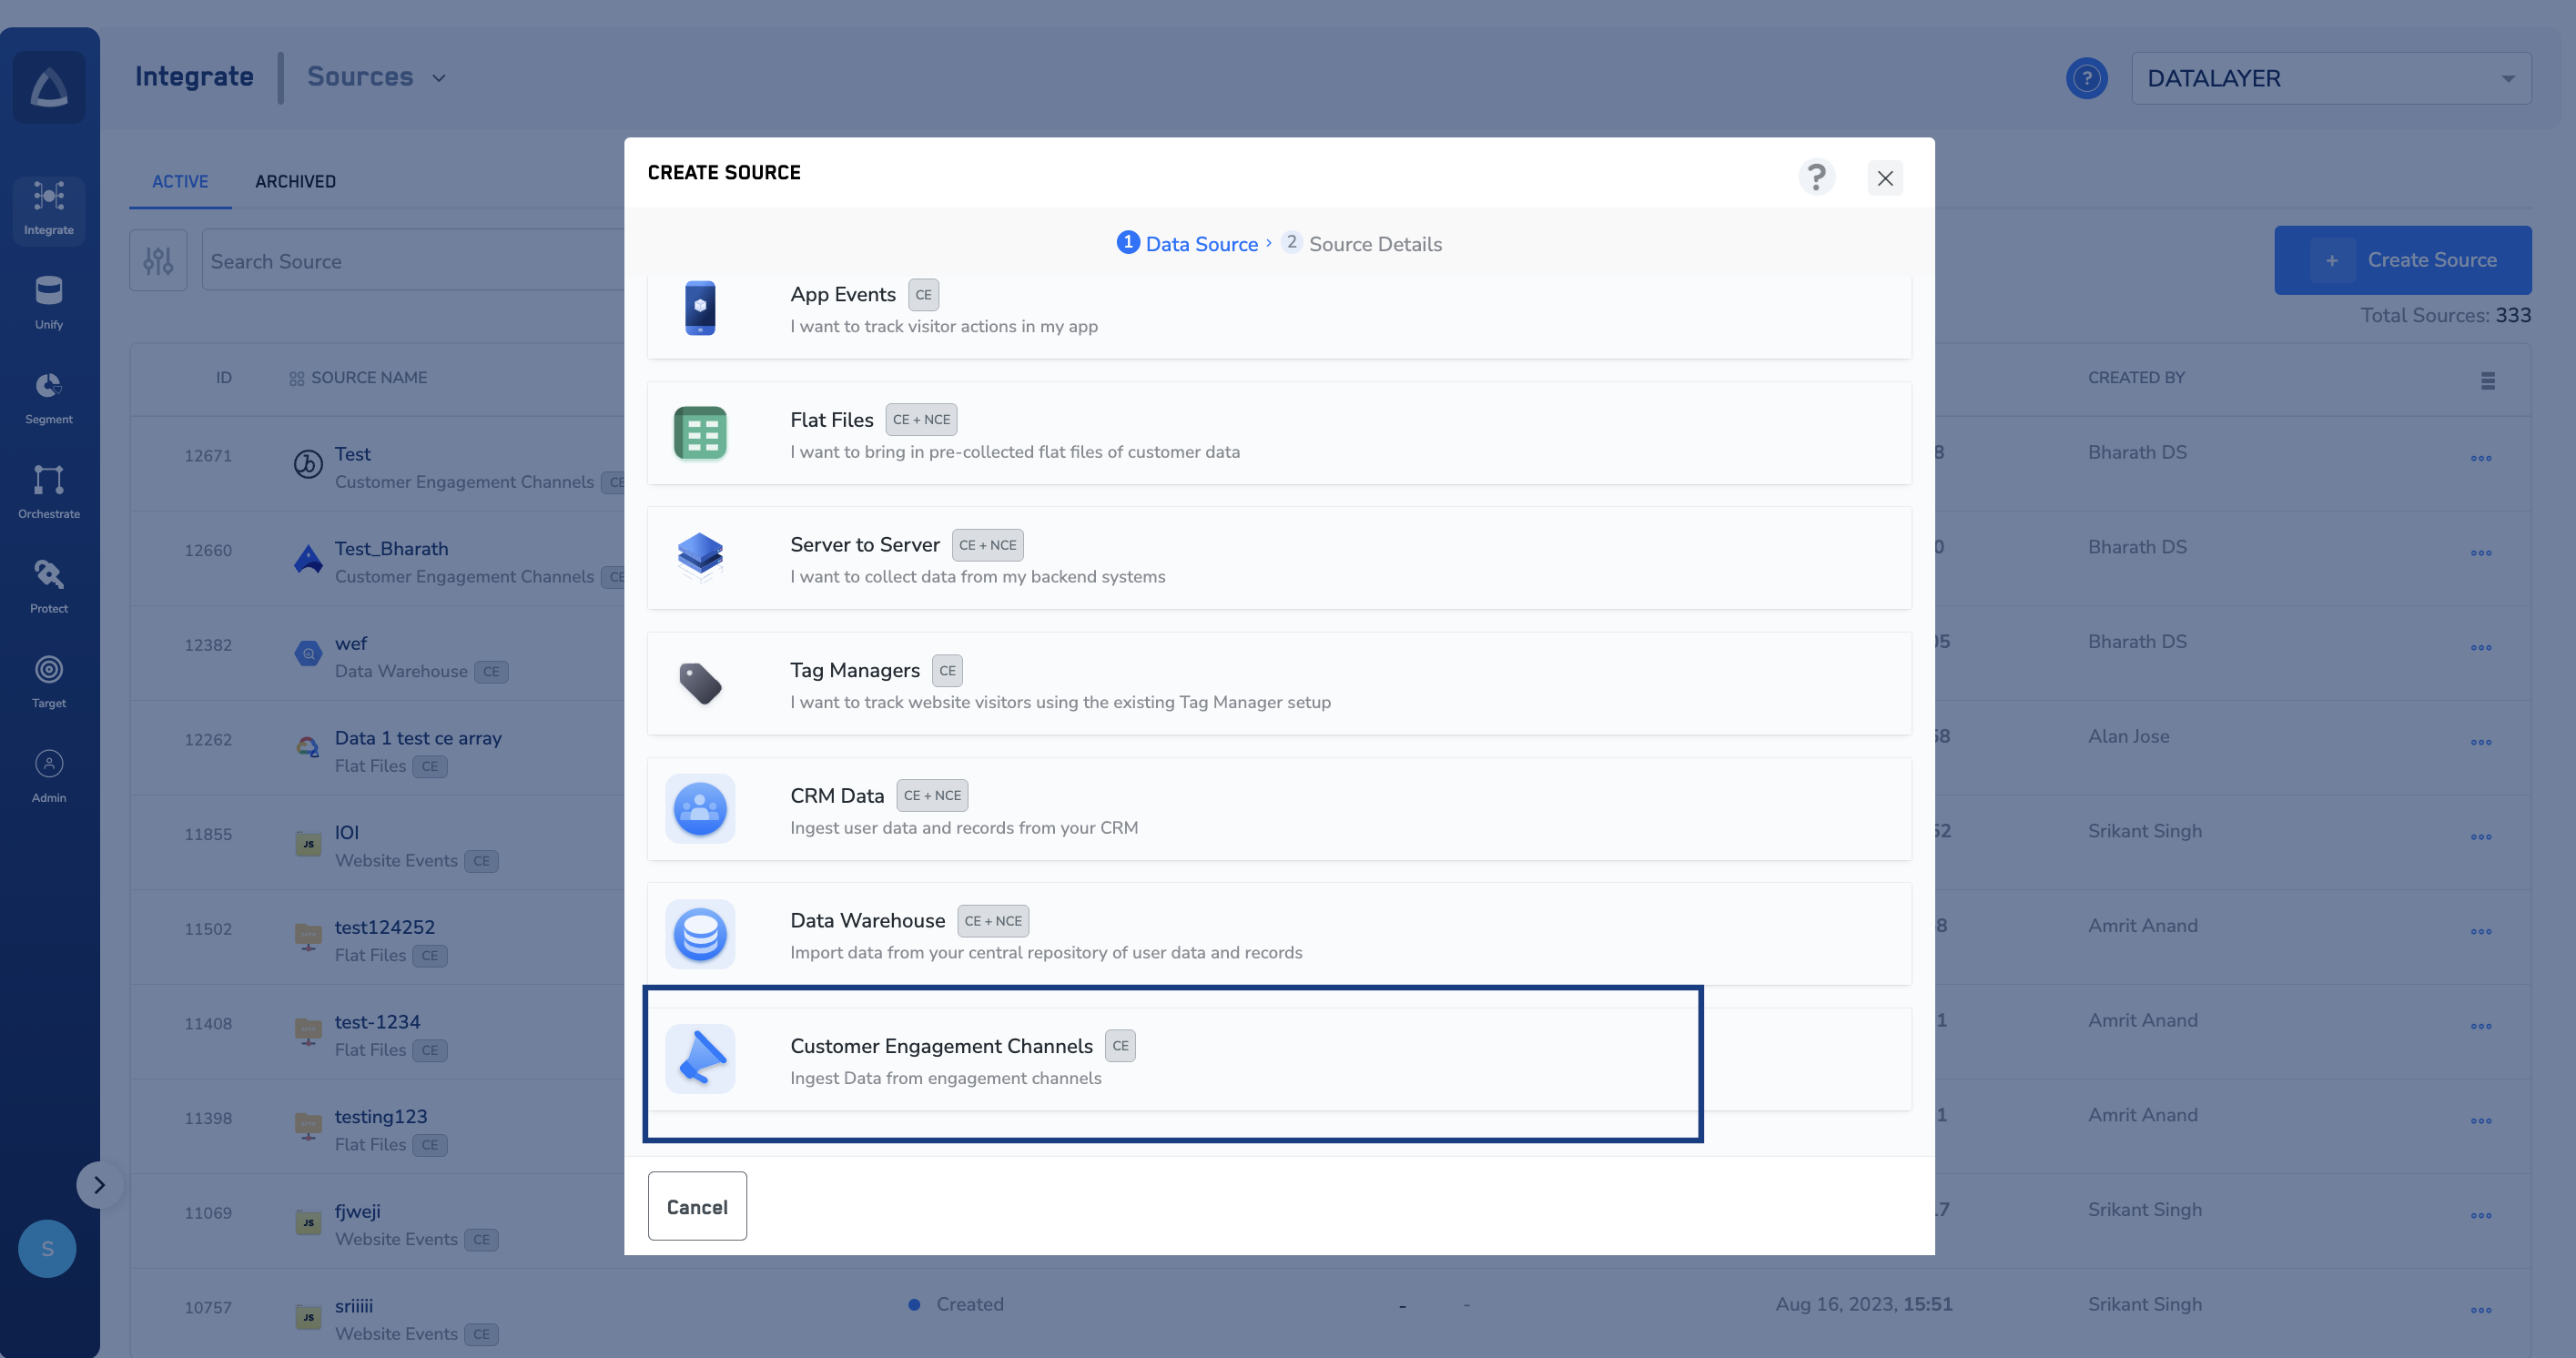
In the window that appears, provide the following details:a. Enter a name for the Source.b. Enter the Rest API Key and Live API Key that you obtained from Batch.c. Under Data Entity, depending on the type of data that you want to ingest, choose either Customer Data or Non Customer Data and proceed with the source creation. To know more about Customer Data and Non Customer Data, refer here.d. Select the Region of upload.e. Choose the desired Sync Frequency from the drop-down list. The first data sync takes place once you create the source. However, the subsequent syncs take place based on the sync frequency that you select. Currently, we support the following sync frequencies:
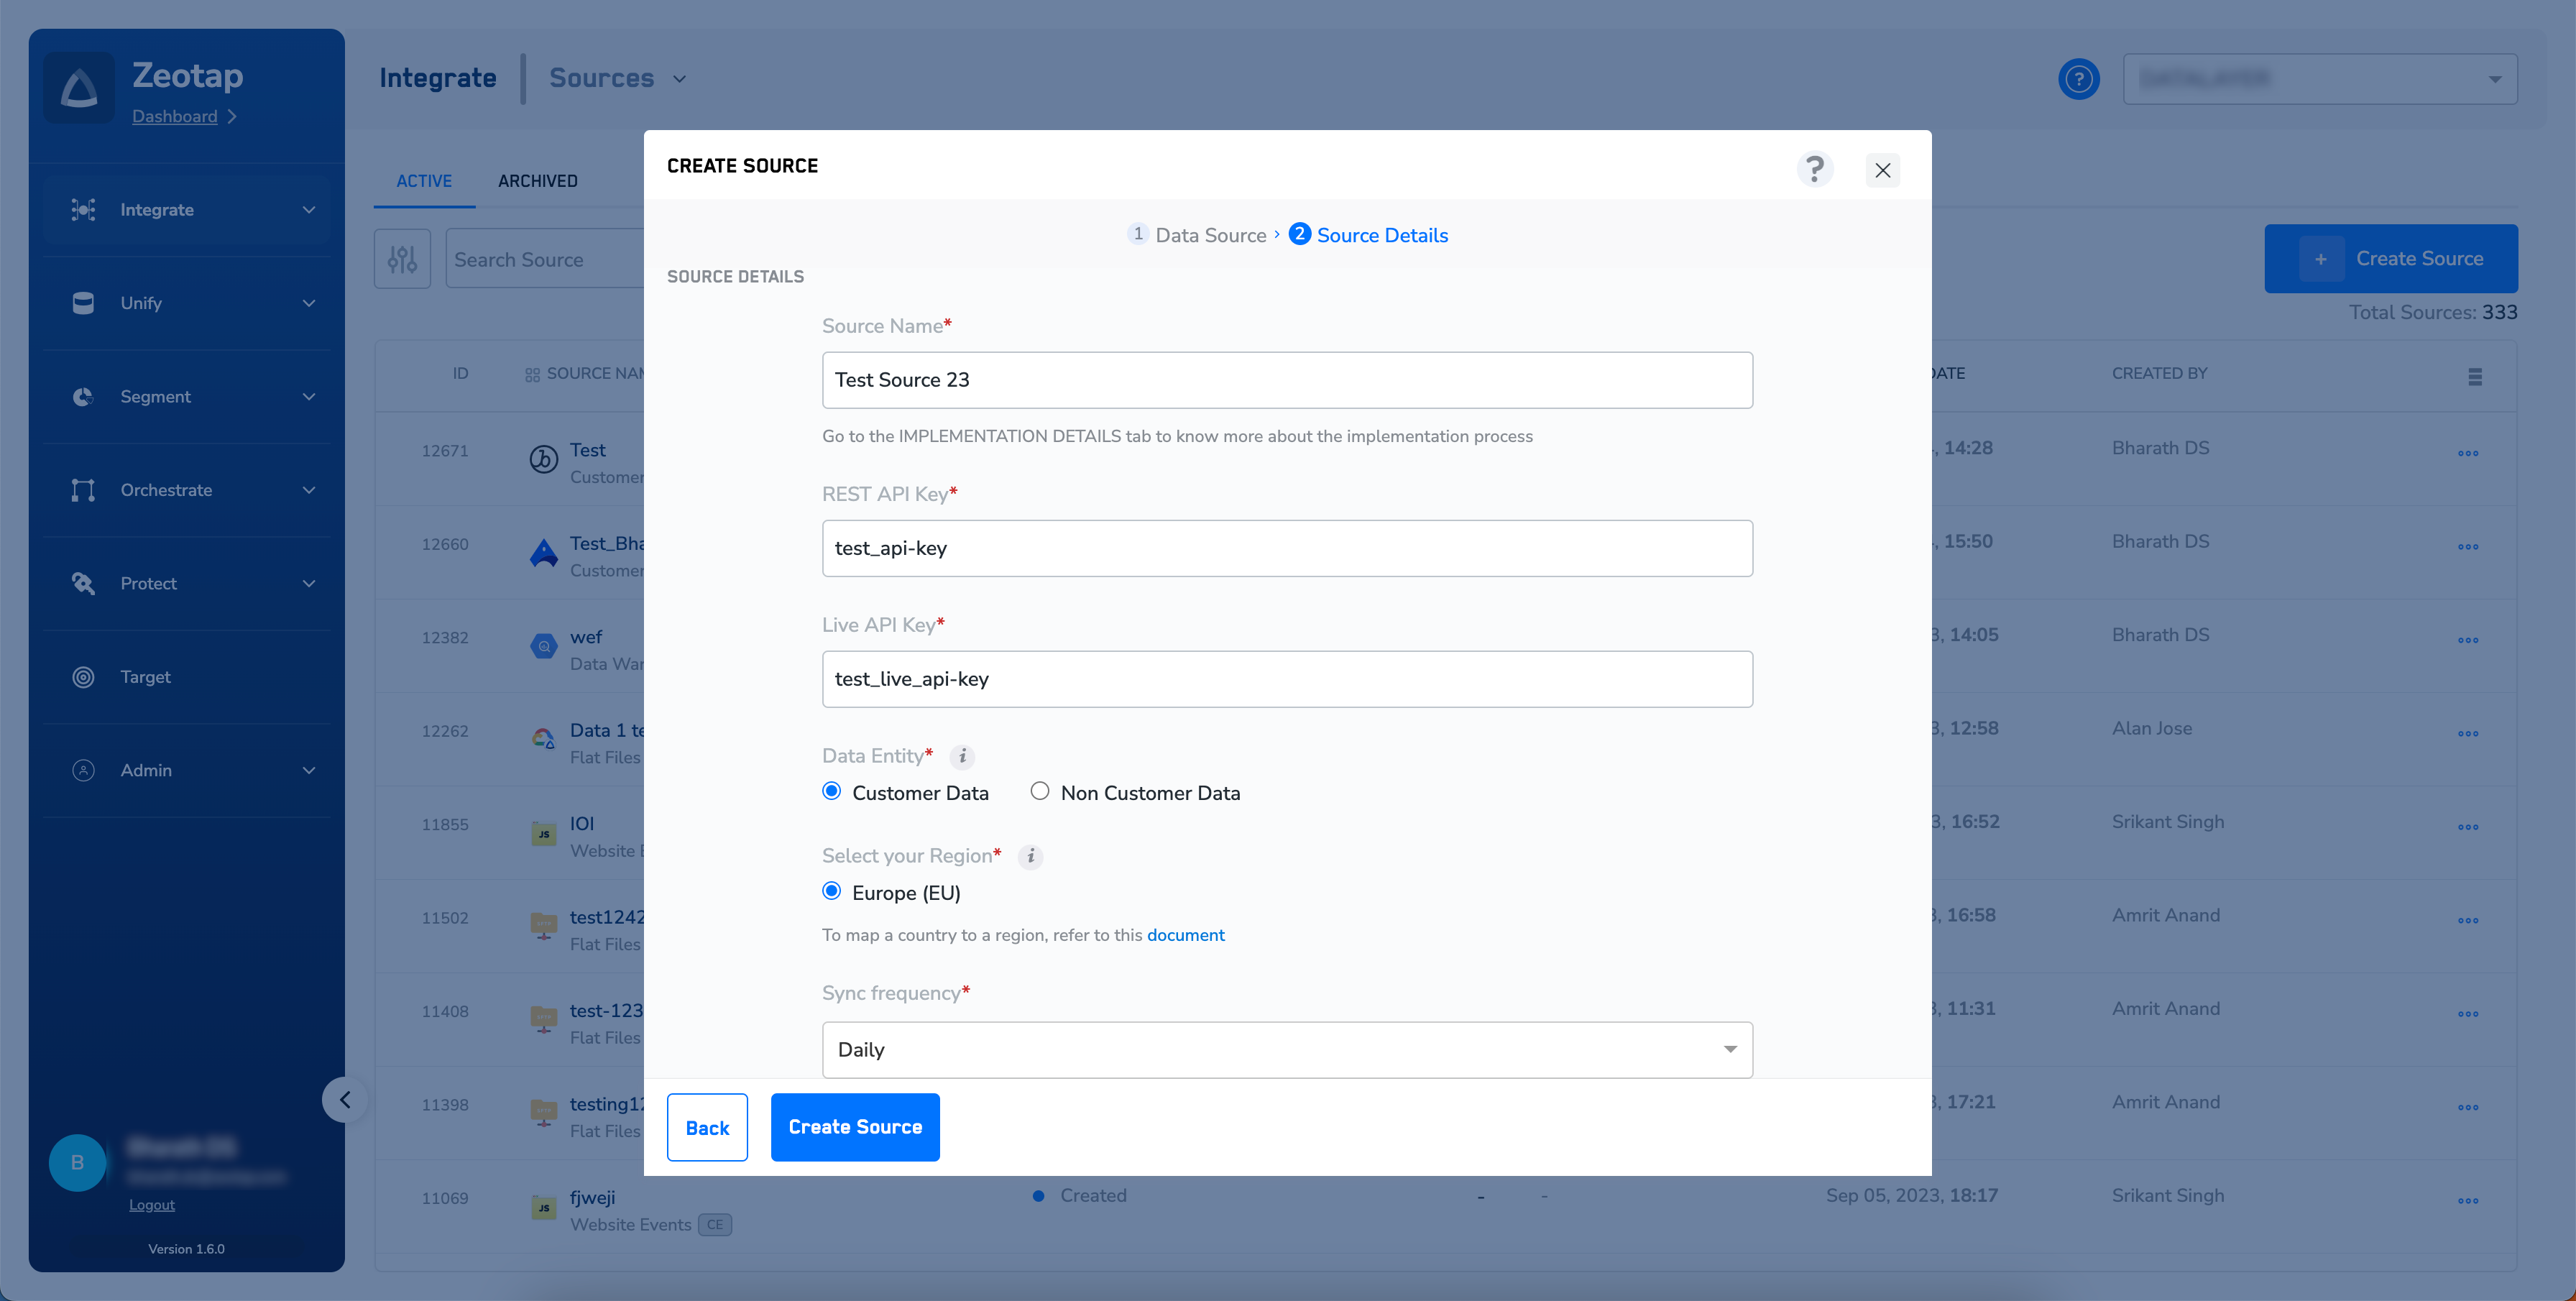
  • Daily
  • Weekly
  • Monthly
f. Choose either JSON or CSV as the File Type from the drop-down menu. Note that if you choose CSV as the file type, you must provide the file delimiter as well. A file delimiter is a character or sequence of characters used to separate individual data fields within a file. This can be a comma, tab or semicolon.
6
Click CREATE SOURCE. Upon successfully creating the source, it appears on the SOURCES listing page. You can open the created source and find essential details about the created source under the IMPLEMENTATION DETAILS tab.
Last modified on February 26, 2026